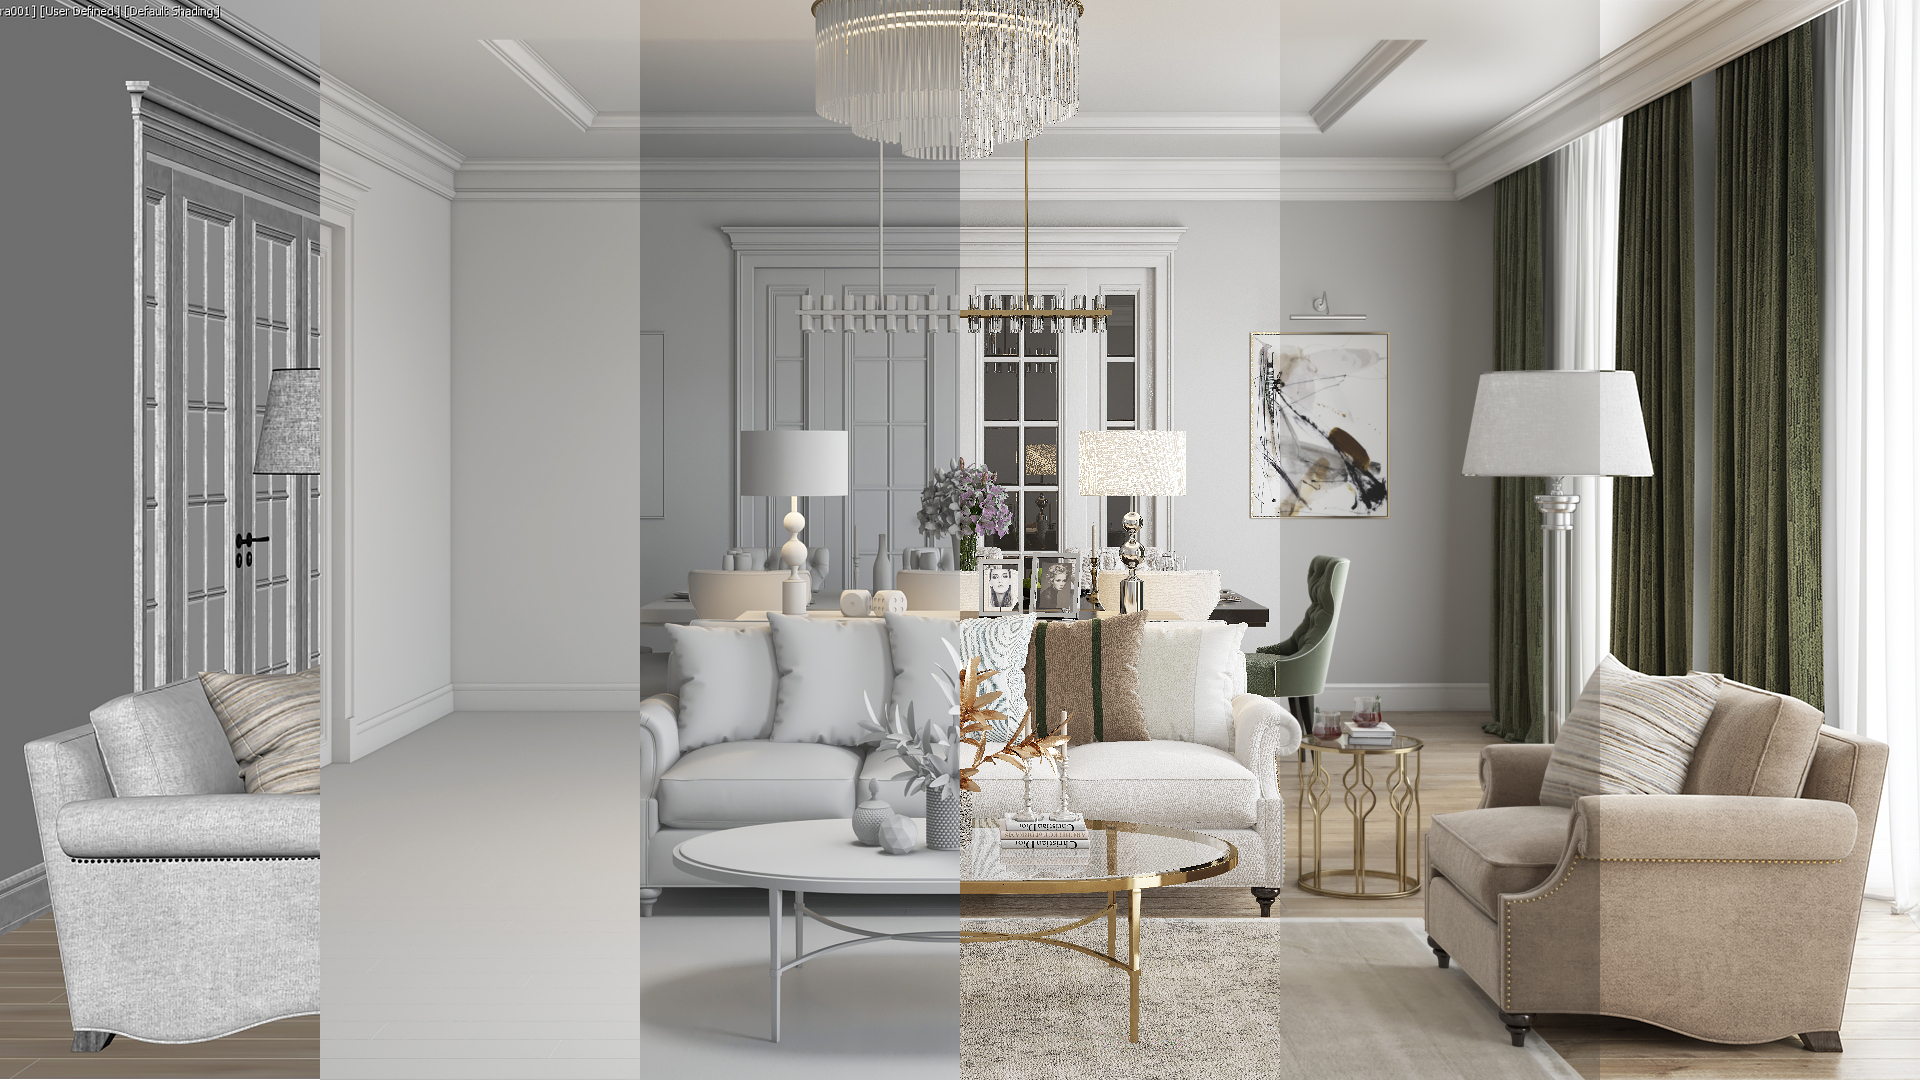
The digital rendering process consists of several stages. Basically, it all starts when a client sends a project brief to a 3D visualization studio. Then, 3D artists create stunning photoreal imagery using information from a given assignment. And after that, they send the render results to a client. These are three fundamental stages that every CGI project includes. But there are also some intermediate steps necessary for creating perfect 3D images. By these, we mean the rounds of corrections that every CG render undergoes.
It is a rare case when a CGI project is accomplished without any adjustments made along the way. So, introducing corrections to render results is an integral part of a well-organized 3D rendering workflow. Specialists of any professional architectural visualization company know this. That is why they always include a few revisions in a project cost.
But how do clients get to know which exactly adjustments need to be made? For this, the 3D visualization team shows them intermediate results. This way, the clients can check whether the work is going in the right direction and ask for adjustments if needed.
Preliminary CGI drafts can come in different forms. Usually, the studio and the client agree on the format of intermediate results before the work starts. However, not all clients know about all the kinds of preliminary drafts they can get throughout the process. Which means that they might miss on the opportunity to ask for necessary adjustments at some point. To help them avoid this, we created this guide. Read on to learn about 6 types of intermediate rendering results that help fine-tune final CGI!
#1. Grayscale render of an empty room
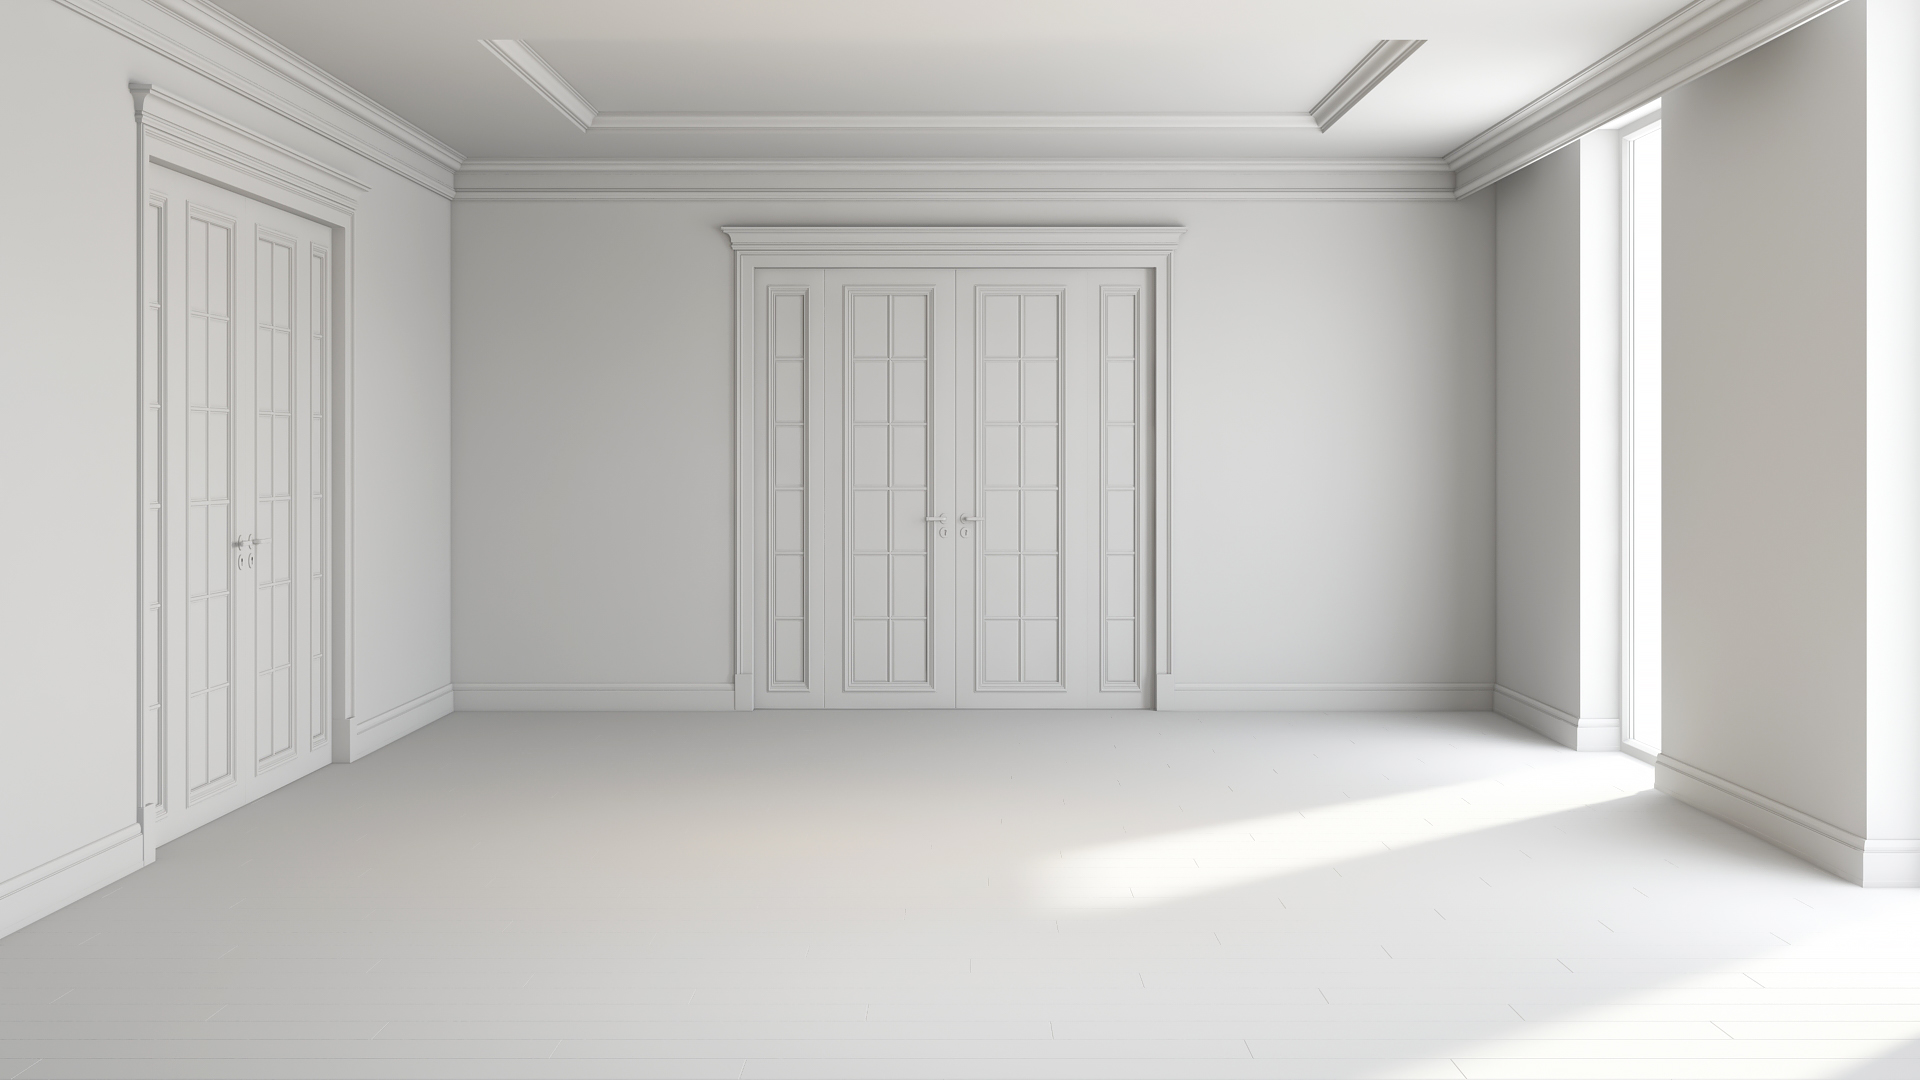
As the name suggests, grayscale or so-called clay rendering shows the room in gray color. This CGI presents the space without any materials, textures, artificial lighting, and even 3D models of furnishings or decor. Such 3D visualization interior design services are usually requested at the earliest stages of work. Grayscale renders help to check the geometry and proportions in the room. Also, such a CG render help to make sure that the dimensions and locations of windows, doors, baseboards, and moldings are correct.
#2. Grayscale render with furnishings and yellow lighting
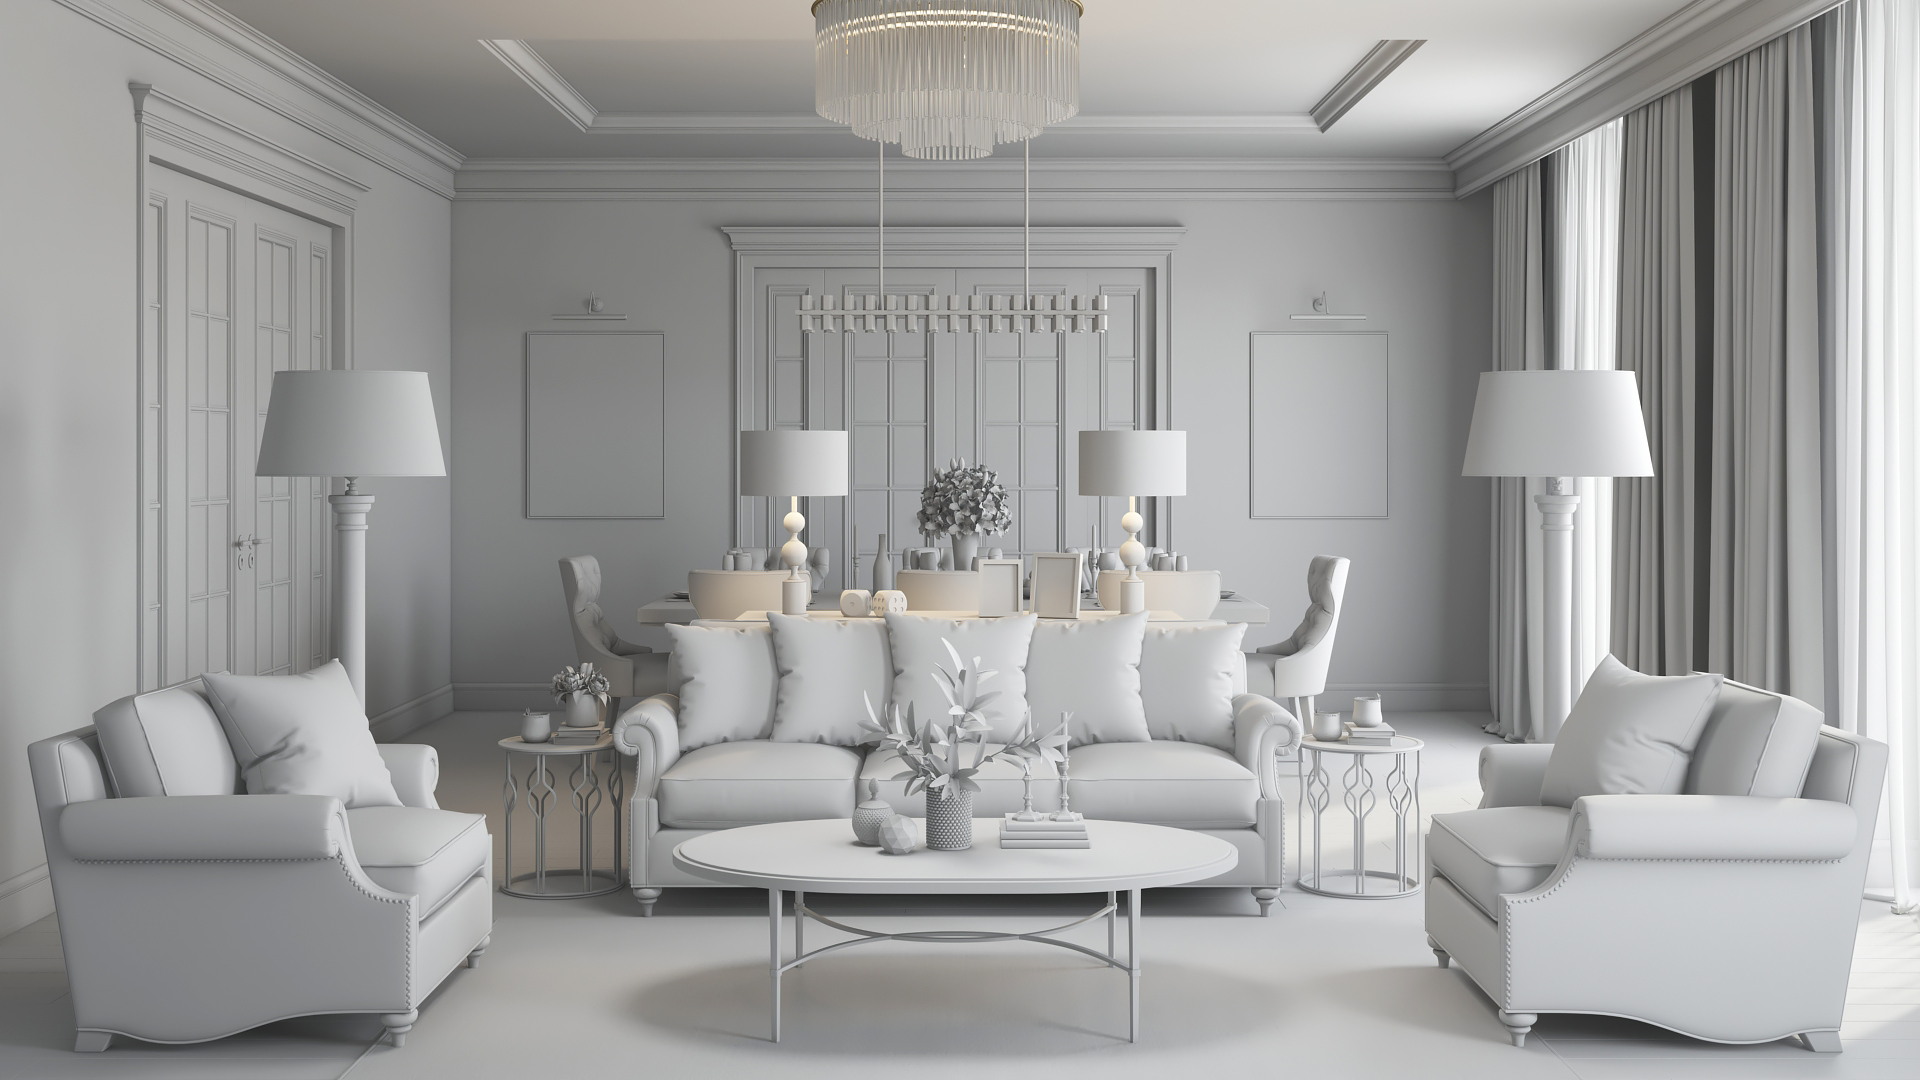
The image that you see above is also a grayscale render. But unlike the previous CG picture, it includes a lot of new details. Here, the visualization artist added 3D models of furnishings and decor as well as set the lighting coming from artificial sources. This illumination is visible as yellow spots on gray surfaces and objects.
Usually, such render results are requested in the middle of the working process. They allow one to check the composition, camera angle, shape and size of all objects in the room, and lighting scheme. At this stage, the client might ask to correct any of these aspects: replace some furniture, rearrange decor pieces or lighting fixtures, change the point of view, etc.
#3. Viewport screenshot
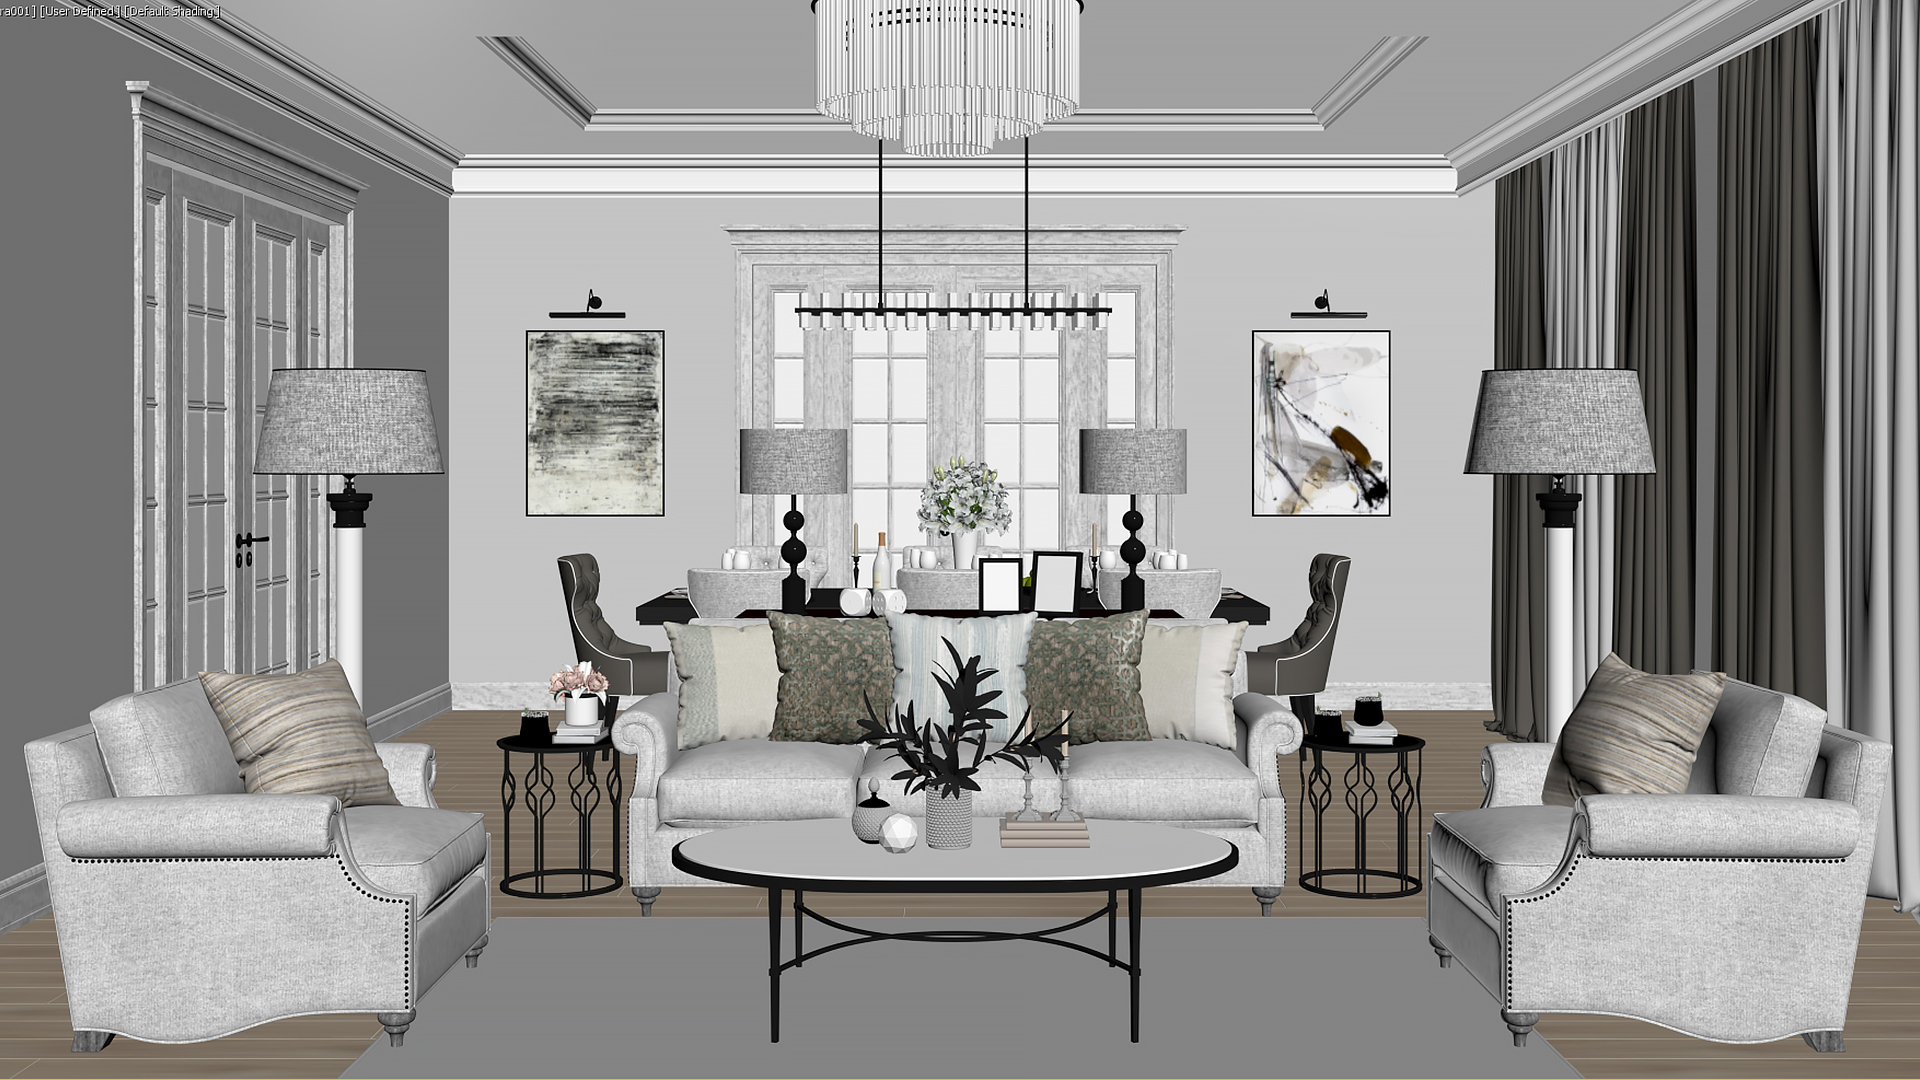
This kind of image is actually not a render. It is simply a screenshot from the camera viewport of 3ds Max software — the program used by our 3D artists to create renderings. With the help of such pictures, one can get a preliminary view of future visualization — check composition, proportions, etc. However, this is not the best type of intermediate render results that one can get. That’s because a viewport screenshot does not show objects and materials in enough detail and does not provide information on lighting. So, we recommend opting for clay renderings instead.
Showcase your architectural project like a true work of art, brought to life with cutting-edge AI-powered CGI technology.
#4. Fast render

After the basics are approved with the help of grayscale CG visuals, the clients usually want to see the updated results with textures and materials. At this stage of the architectural rendering process, 3D artists might offer to show them so-called fast renders. These are drafts with materials shown with reduced visual quality. Such CG images do not need much computing power to be rendered, so they can be produced much quicker than finalized high-res CGI.
As you can see from the picture above, textures in fast renderings are not traced perfectly. However, they are visible enough to understand if all the materials and colors are shown correctly. Also, this type of render results allows seeing how the lighting works in the space. So, at this stage, the client might ask to change a certain color, texture, or lighting if needed.
#5. Final high-res CGI without post-production

When all the details were checked, adjusted, and approved with the help of grayscale and fast renders, the 3D rendering process proceeds to its final stage. Now, it is time to make finalized visualization in a high resolution. It can be FullHD, 3k, 4k, or more depending on a particular project’s needs.
Once the process of rendering high-resolution CGI is complete, the client gets accurate photoreal visuals that precisely reflect every detail of architecture or interior design. But there’s still a way to make these render results better and refine them to absolute perfection. The next paragraph will show you how.
#6. Final render after post-production

Now the work is almost over, but there is one more step to take. After the images are rendered in high resolution, they undergo post-production. It is when the 3D artists add final touches to the render using Photoshop or some other suitable software.
At this post-processing stage, it is possible to tweak the colors, brightness, contrast, sharpness, depth, add some special effects, a brand’s logo, etc. This way, the render is polished until it’s perfect and meets all the customer’s requirements. After the post-production is over and the client approves the results, photoreal imagery is finally ready. Then, it can be successfully used in presentations or marketing materials.
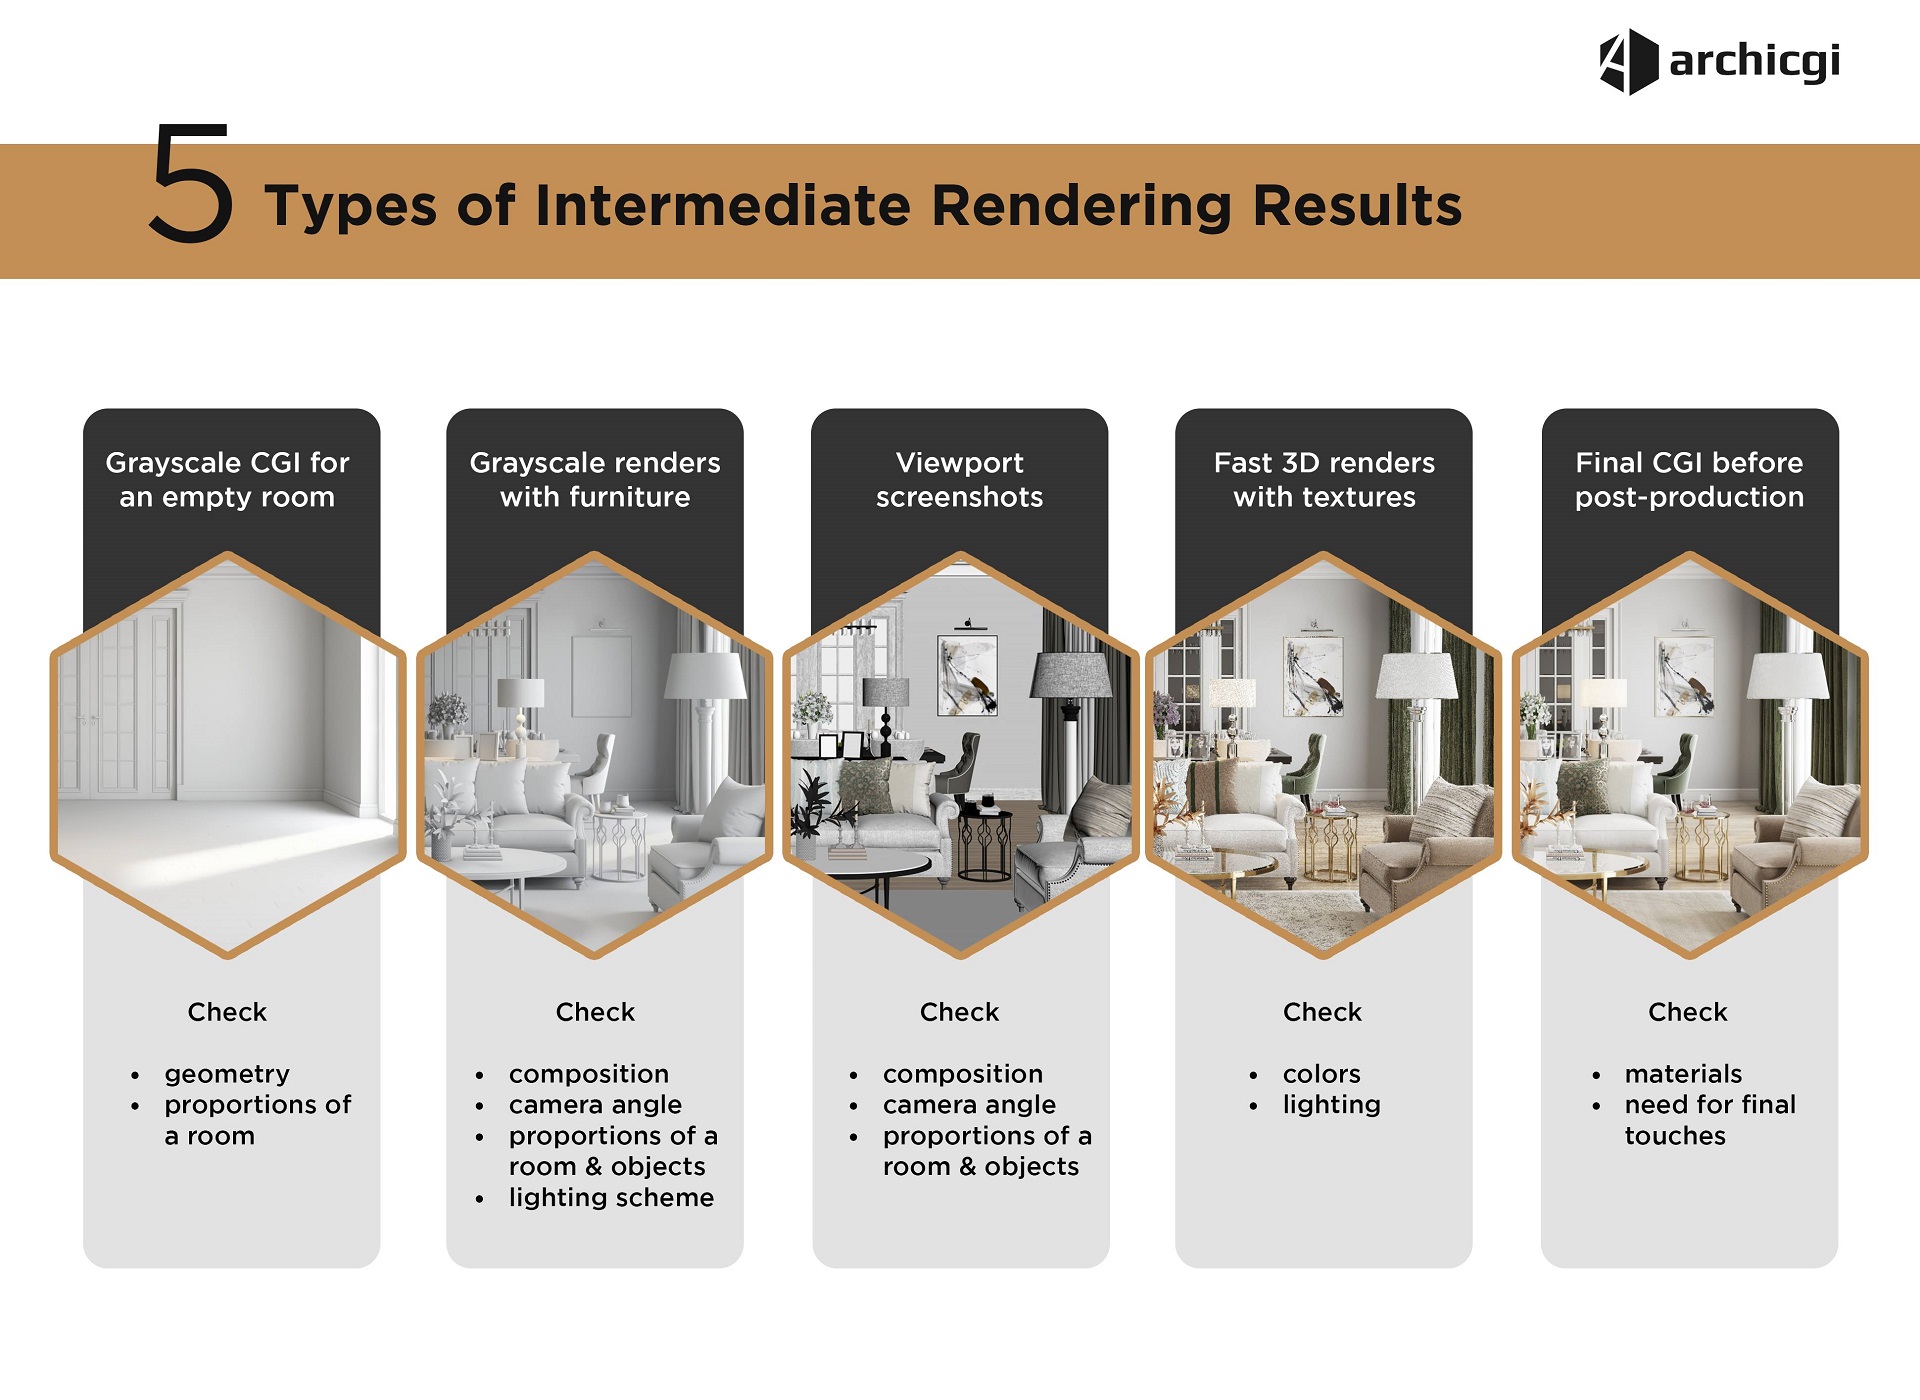
The CGI creation includes several stages, and it is possible to correct the intermediate render results on each of them. One can check the geometry, proportions, dimensions, lighting scheme, and composition using a clay rendering or viewport screenshots. In their turn, fast renders can help to correct textures, materials, and lighting properties. And a high-resolution render will help to understand what finishing touches have to be added on the post-production stage to fine-tune the outcome.
Want to learn how much your project costs? See how we evaluate 3D rendering projects
Want to win clients in no time with show-stopping photoreal 3D renders of your projects? Choose top-class CGI services and do it with ease!
Chris Kostanets Chris manages the work of 2 CGI teams and teaches Middle PMs. She loves Scottish landscapes, Ancient Greek culture, and Plein-air painting. At home, Chris is a caring parent for 3 cute chickens and a magnificent rooster.

Senior Project Manager, Mentor


