


When you order a 3D architectural walkthrough from a CGI studio, you want it to be a real game-changer at the project presentation. Essentially, it is an immersive animation made with specialized software that takes viewers on a virtual tour of a building or a space. It allows them to explore the design from various angles as if they were physically walking through it. For interiors, many studios start with an interior rendering service before moving to full-scale animation.
That’s why a 3D walkthrough cost is not that cheap. So, naturally, you don’t want to spend a hefty amount only to get a mediocre result. The most impactful projects combine well-structured storytelling with advanced techniques like architectural 3D animation, ensuring that the walkthrough convinces clients instantly.
Why does this format work so well? Because people make decisions emotionally, not just rationally — even in investment and home-buying fields where you’d expect clinical thinking. Drawings and schematics show technical aspects, but they can’t approach the audience’s emotions and imagination. Most clients are laymen where construction is concerned, unable to fully understand plans and blueprints. A 3D walkthrough animation bridges that gap by making the project tangible and emotionally resonant.
In this article, our architectural visualization company specialists will share a simple 6-step checklist for things you need to do to plan an impactful real estate walkthrough. You will find out how to prepare a comprehensive scope of work and make the most out of this incredible technology. Check it out!
#1. Find Examples of Architectural Videos That You Like
To begin with, try selecting 2-5 examples of a 3D architectural walkthrough video that you find truly impactful. Then, use them as a reference to better understand what you want your animation to look like. Think about what you like about those videos in particular. That can be the aesthetic, the dynamic, or the general feel. Overall, making a selection like that can help you find inspiration and ideas. Also, it will be easier for you to take the next steps when you know what exactly you’d like to see in your architectural walkthrough.
#2. Think About the Setting for Your 3D Walkthrough
A thoroughly designed setting can really make your concept pop. So, to showcase an exterior in the most flattering way, think about what weather, time of the day, and season you want to depict it in. And for an interior, you should plan the lighting — whether you want to show it with natural or artificial light.
It’s best to demonstrate a transition from daytime to nighttime to make a 3D home walkthrough presentation really comprehensive. This way, you can show what the building will look like throughout the day and present your interior and exterior lighting solutions. Together, these elements create a seamless virtual tour and 3D rendering that feels natural and immersive.
Keep in mind that weather and time of day dramatically change perception. Imagine a house on a sunny summer day with a blooming garden versus a cozy home on a rainy evening with windows lighting up in the dark — the emotional impact is completely different. Showing the building across seasons demonstrates the variable ambiance the property could have throughout the year.
#3. Select Contextual Elements for the Video
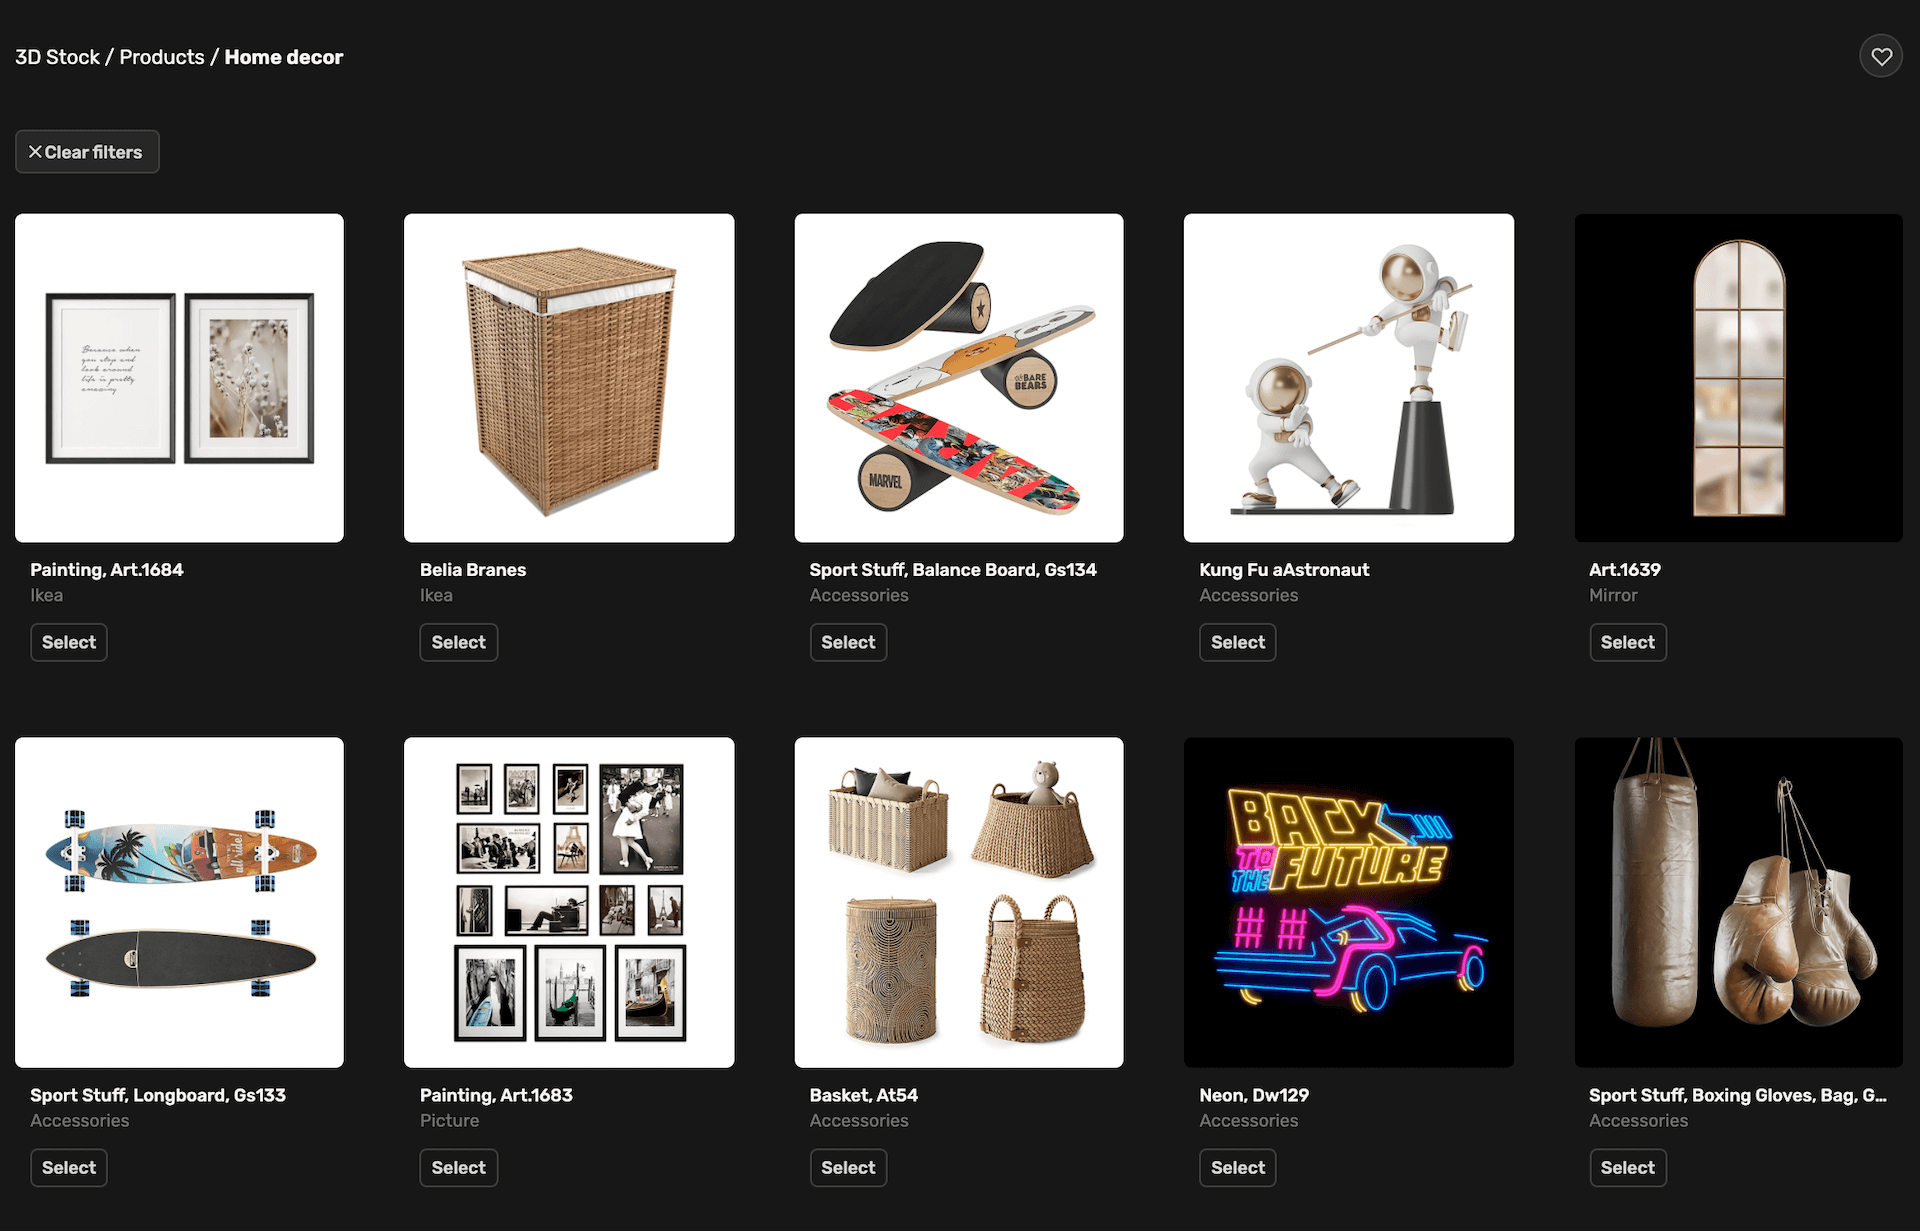
A lively and realistic 3D architectural walkthrough video should feature lifestyle items matching the design. Normally, a professional architectural visualization firm like ArchiCGI will have its own library of high-quality, ready-to-use 3D assets. You can choose objects like furniture and decor for the interior, as well as plants, cars, and other things you find in a street for an exterior. As a result, your CG virtual tour will be very life-like, unique, and appealing to your client. This makes 3D rendering for real estate especially valuable for developers and marketers who want to impress investors and buyers.
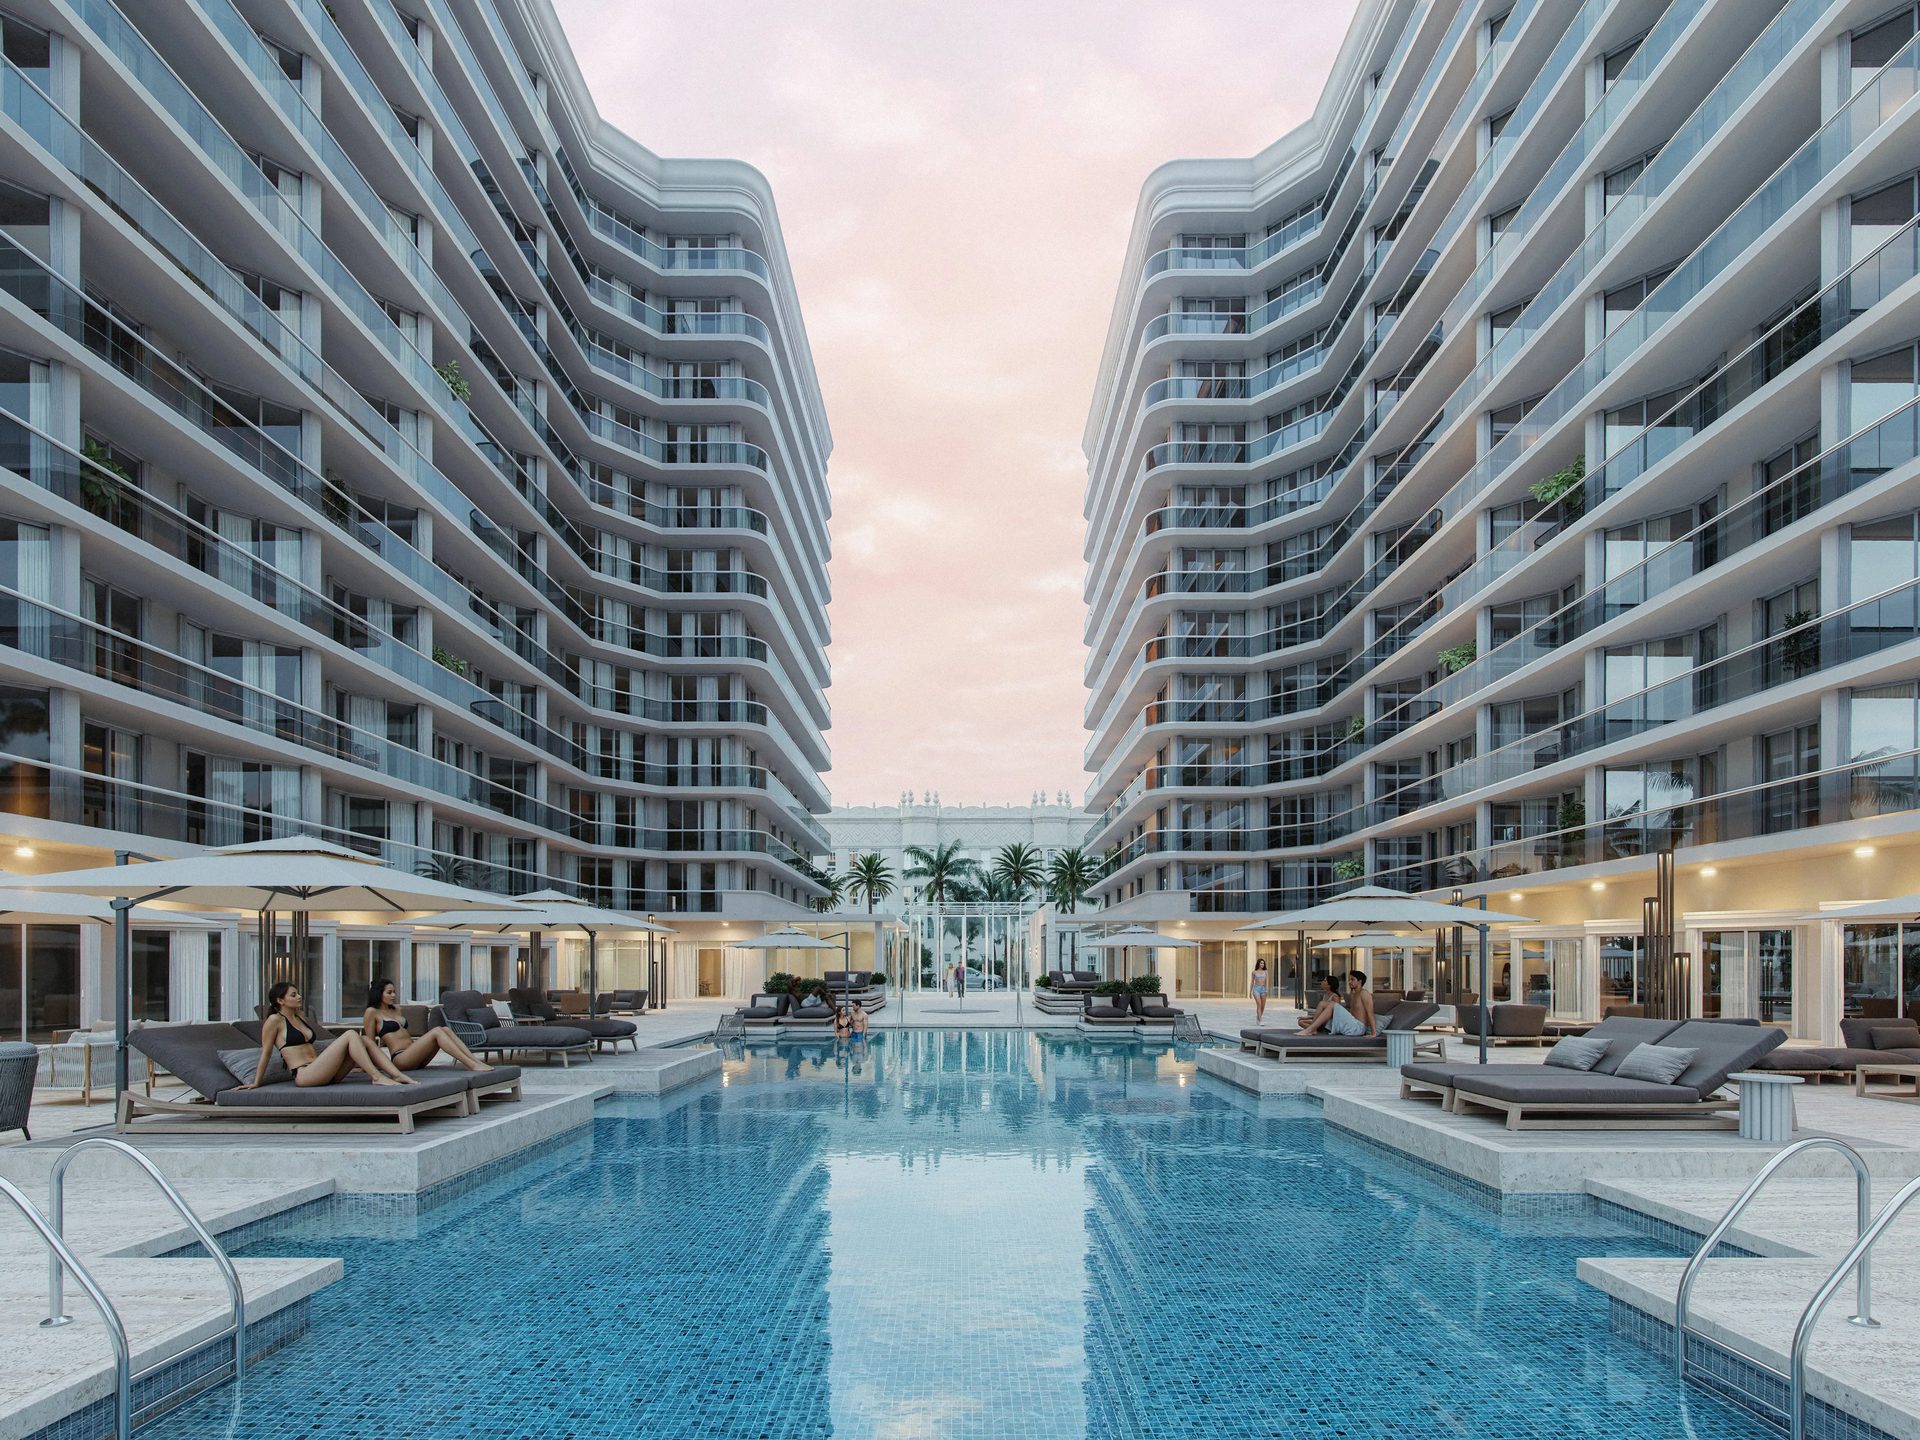
Go beyond basic props to include amenities that evoke desire — a home cinema, playground, spa, pool, or cars cruising into the driveway. These details help portray the building not just as a concept but as a real-life dwelling. For the neighborhood, consider showing a golf course, park, restaurant, or other infrastructure. You can even include people engaging in activities: tenants parking cars, families with children playing in the yard, or residents shopping. This creates a lively mood that helps viewers understand the atmosphere of the future place.
Immerse clients into your projects with realistic 3D animations
#4. Plan the Camera Path
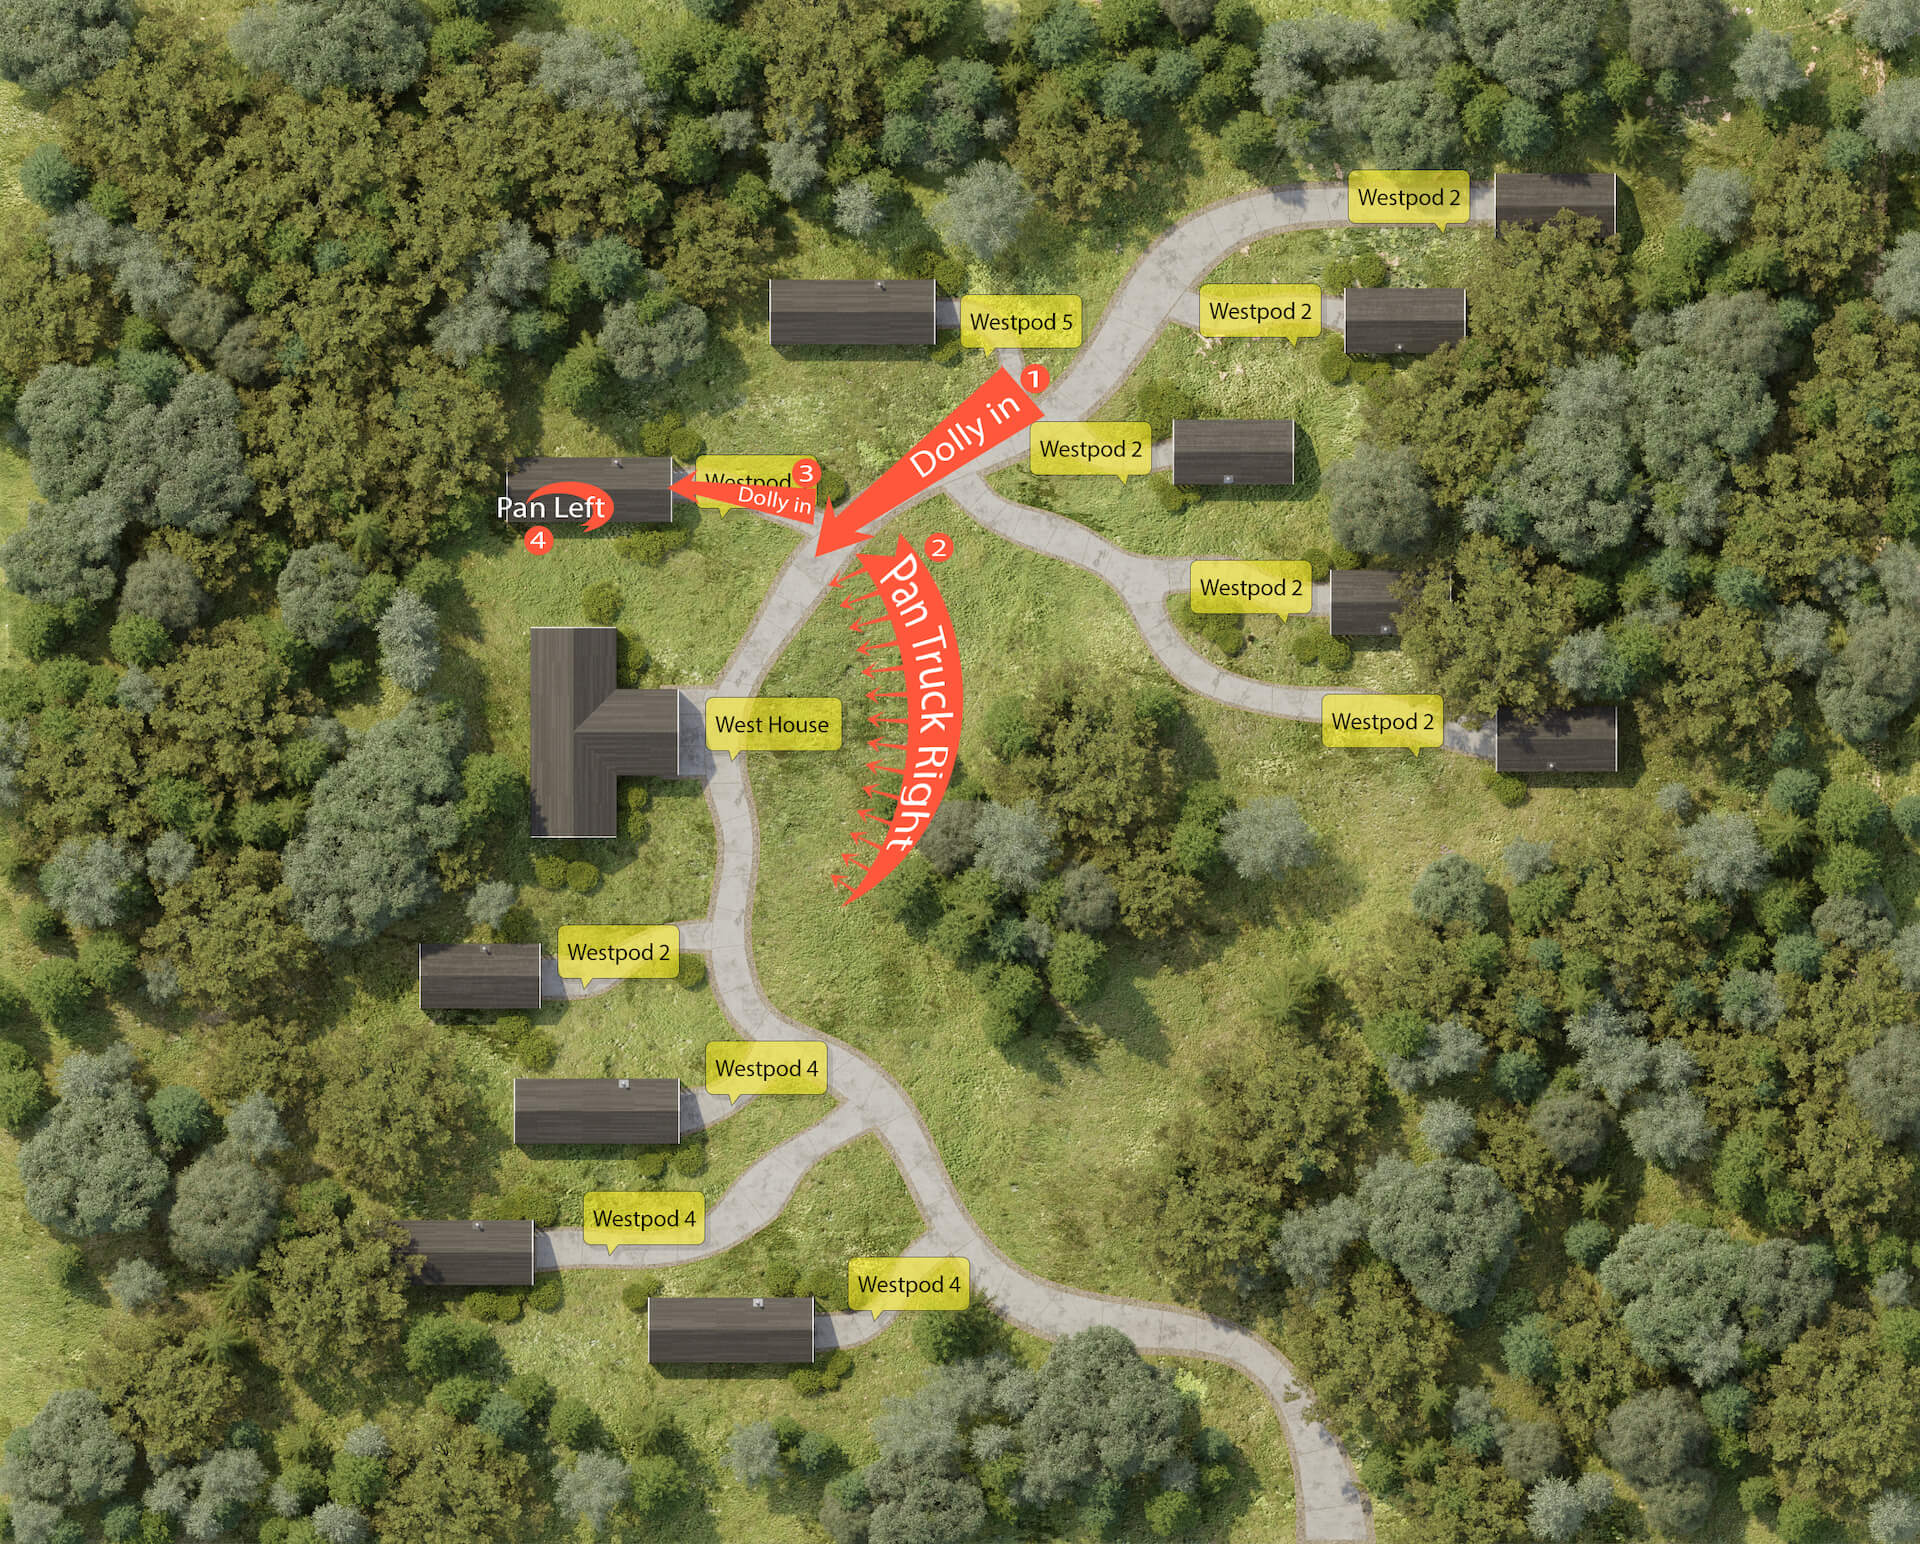
A well-planned camera path can help you tell your project’s story and make the animation a captivating visual journey for your client. So, think about where you want to begin, what parts of the design you want to highlight, in what order, and how you want to end. A great way to make an architectural CG video more cinematic is to begin and end it with atmospheric shots that don’t necessarily have to be very informative. For example, you can start with 3D exterior rendering of the façade and then move indoors to highlight the interior spaces. Instead, they can help you set the tone for your presentation and convey the mood of the place you’ve designed.
The goal is to create a presence effect — as if viewers are currently touring the real estate. Rapid but well-calculated changes between scenes make the presentation spectacular and dynamic. You can treat the audience with a close-up shot and then an aerial view in quick succession. Since CG artists create 3D walkthrough animation from scratch, they have flexibility to show the building at angles a cameraman would find challenging to shoot.
#4. Choose Camera Movements, Transitions, and VFX
A 3D architectural walkthrough animation can have many different types of camera movements in it. They allow for creating a specific dynamic for the CG video — from slow and thoughtful to energetic and refreshing. Transitions also play a significant role. For instance, a slow fade has a much more different feel than a snappy cut. So, you can play around with several options to find the best ones for your needs.
And lastly, we have visual effects. In the context of architectural animation, you won’t have any dramatic ones. But a sun glare here and there or a welcoming fire in the fireplace can make a big difference when you present your project to the client. Just think about the effects you’d like to see in your walkthrough, and your team of 3D animators will realize all of your ideas.
#6. Add a Matching Soundtrack
A soundtrack is a cherry on top of every successful architectural 3D walkthrough video. It can be music or a voiceover — or both if need be. Usually, the best choice is to go with a slightly understated music track that supports the visuals without overpowering them. This way, you can add the final touch to your video so it will fully reflect the ambiance of the place.
Voiceover can be used to explain certain aspects of the building, while background music enhances the journey experience. Together, they make the presentation more memorable and professional.
The Long-Lasting Impact
The most effective presentation is one that makes people think and talk about it even after it ends. Members of the audience can carry copies of the footage or access cloud storage to download it anytime. This allows them to rewatch the 3D walkthrough animation to understand aspects of the building they need more information about — and to relive the emotions they felt during the presentation. That emotional recall can push clients over the edge with a decision to approve the project.
Schedule a free demo of 3D solutions for your business
Brief for a 3D Walkthrough Company

A 3D walkthrough brief is a decision-making tool that defines scope, priorities, and production boundaries at the planning stage, before production work starts. It ensures alignment with presentation, approval, and marketing requirements while maintaining control over timelines, budgets, and revisions. The brief is therefore organized into a series of clearly defined steps.
1). Provide general project information.
The brief establishes the project framework by outlining its purpose, audience, and use case. It defines the required video length, delivery format, and any technical constraints that affect production planning. For architectural walkthroughs, location and environmental context clarify how the project should be positioned and perceived. Early notes on priorities or constraints help prevent misalignment before production begins.
2). Send references.
References anchor visual decisions and reduce ambiguity. Mood, lighting, and time-of-day preferences define the intended atmosphere, while drawings, site plans, and floor plans provide spatial accuracy. Existing BIM objects or ready 3D models streamline production and can significantly reduce scope and cost. Additional visual materials such as sketches, prior visuals, materials, textures, or stylistic examples help align expectations on quality and tone.
3). Give script information.
Unlike static imagery, a walkthrough requires narrative structure. Script input defines camera movement, key viewpoints, pacing, and transitions between spaces. It also clarifies the presence of people, vehicles, or animated elements. Even a high-level script ensures the animation communicates priorities rather than presenting the space randomly.
4). Determine environmental conditions.
Environmental context shapes realism and lighting behavior. Exterior surroundings may need to reflect the real location or a conceptual setting, depending on the project goal. For interiors, views outside windows, balconies, or terraces influence mood and spatial perception. These conditions also define natural light sources, which are critical to visual credibility.
5). Discuss post-production.
Post-production requirements determine how the walkthrough communicates beyond visuals. This includes music, ambient or industrial sound, voiceover, subtitles, captions, branding elements, and maps. Editing style and pacing should reflect the intended platform, whether for presentations, sales, or digital channels. Clear direction at this stage avoids last-minute revisions.
6). Choose the final resolution.
Output specifications align quality with usage. Resolution is selected based on distribution needs, ranging from HD to 4K. Delivery formats, additional exports, and optional source files are defined upfront to support marketing, presentations, or internal use without unnecessary production overhead.
Get your project estimated in just 1 hour - fill out this brief!
That’s the end of our 6-step checklist to help you prepare for a 3D architectural walkthrough video project. Using it, you’ll know exactly what you want the final results to look and feel like. And your team of 3D animators will be able to bring your vision to life in the most accurate way within the shortest amount of time. And if some industry vocabulary in briefs sounds unfamiliar, our glossary of 3D rendering terminology explains all the key terms.
Looking for a way to create a stunning real estate virtual tour? Use our professional services to get a photorealistic walkthrough that will really make an impact at your next presentation!

Ana Wayne
Content Writer, Copywriter
Ana is a content writer for ArchiCGI. She has a passion for design and architecture - and for talking about it. Outside of work, she is a fan of sci-fi movies and a street food connoisseur.

Comments
Kenns
Catherine Paul