The 3D model render became an indispensable part of marketing and commerce. Lately, 3D visualization has often been used for product presentations and listings. It has become a standard practice for manufacturers and distributors, as well as online shops. Architectural visualization and product modeling are particularly in demand.
Quite often, a customer wants to see preliminary results of work to make changes and corrections. Besides, they want to ensure that the object has been shown in the best light. It is especially relevant for creating 3D model renders for catalogs.
Sometimes, a client may only need the geometry of an object. Essentially, it is a 3D model with material settings and lighting. That’s because they want to perform the rendering themselves. In such situations, the final result of the modeling must be passed to the customer as a file with the 3D model geometry. These may be files in .max, .3ds, .obj, etc.
That brings us to the question: what is the best way to agree on the 3D model render details in such cases?
Of course, the best option for 3D model approval is using high-quality 3D renders. They are often associated with photorealistic models, but that’s not always the case. The artist might also need to create another type of 3D model render — from the grid of the model to a full photorealistic image.
Let’s take a look at the types of renders and when each of them is applicable.
3D Model Render: Intermediate Stages
Here are the intermediate stages of the project where you can request the result for corrections.
Grid Render
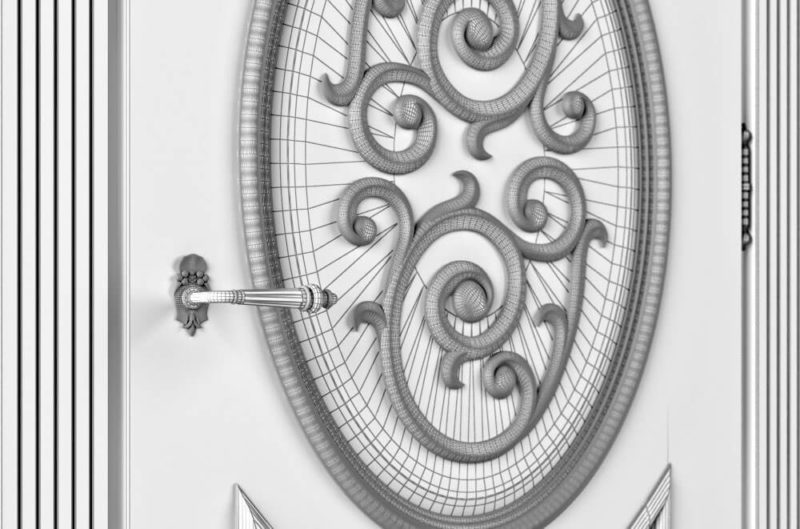
In open 3D galleries, professional forums, or websites with collections of 3D models you can see visualizations, which have a segmentation grid instead of photorealistic shaders and textures. Such a “technical” visualization is done primarily to show colleagues or the architect the geometry of the 3D model, without diverting attention to the surface effects, glare, and materials.
3D Model Render in Gray Material
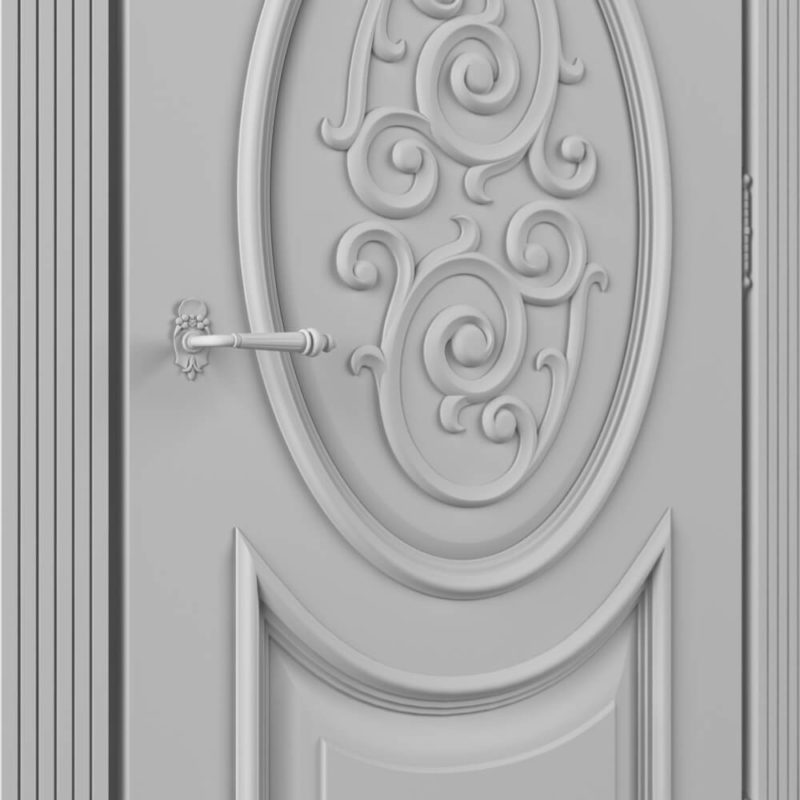
With this type of render, you can see a completed 3D model in volume, but without colors and materials. You can also adjust angles and light sources to the textures and materials settings and get an image of an interior or exterior design project. In this image, the geometry and architectural features of the project will be clear to designers and architects. However, it is way too early to show the project to the end customer. Architectural renders, for example, need some additional work done to become comprehensible.
Both ways are appropriate for the approval of a 3D model. To agree on more complex objects, such as interior or exterior design or a 3D model of a district or a city, there are more convenient types of rendering.
Take your design presentation to a new level with interior rendering
Types of 3D Rendering for Complex Objects
Following are the types of rendering processes for more complex objects and the types of intermediate results you can ask for.
Fast Renders or so-called Preliminary Drafts

They are mainly used to speed up the approval of the final result. Textures aren’t traced very clearly, but the process takes only a few minutes. As for their advantages, first of all, the drafts let a viewer see the geometry and lighting. Furthermore, they allow one to check whether all the elements correspond to the project brief. Rough drafts are a perfect way to reach an agreement on details of 3D model render between the architect and 3D visualizer.
Final 3D Model Render
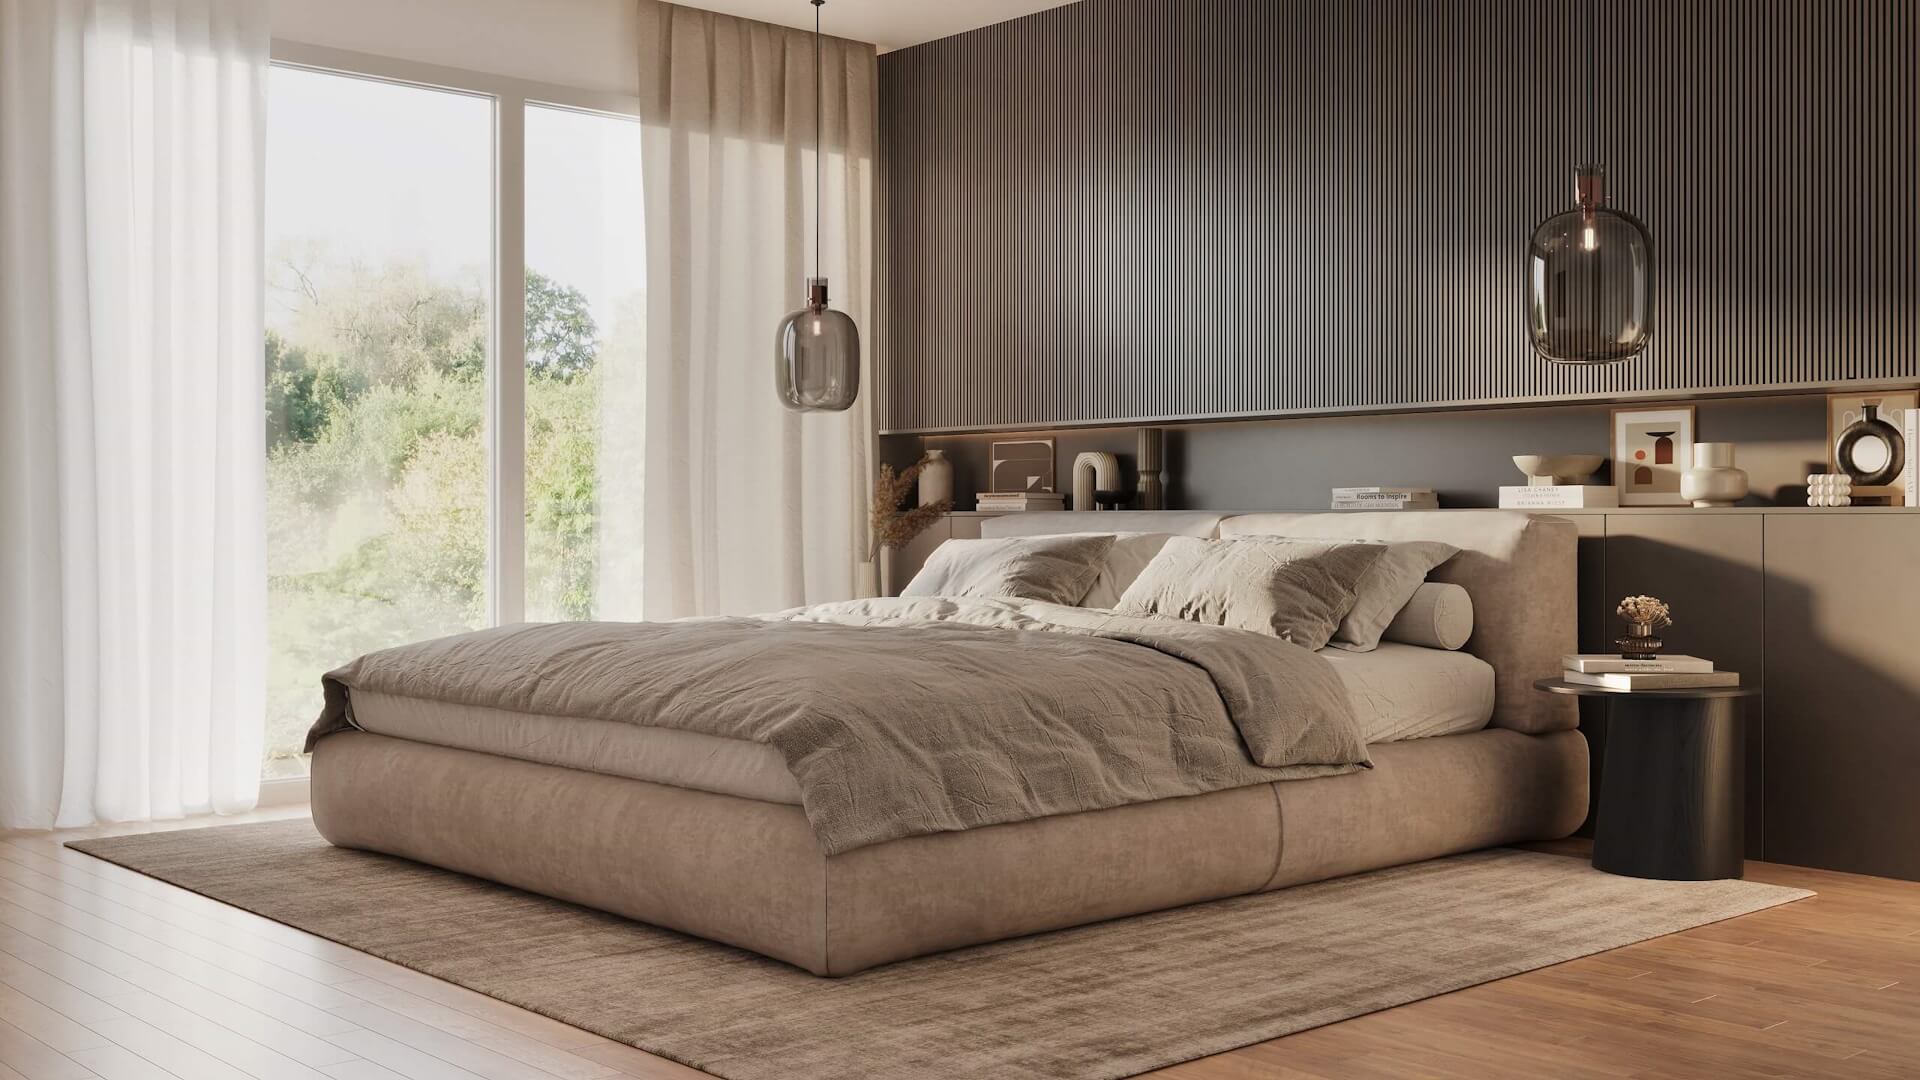
Once all necessary corrections are agreed upon, it’s time to render the image in final quality. At this stage, the 3D artist sets the desired resolution for the 3D model render, and the computer calculates the image in the highest possible quality. Depending on the image resolution, quantity of objects in the scene, and complexity of materials, the rendering process can take from 1 hour to a few days. The only way to speed up the process is to use a more powerful computer or a render farm. Once it is completed, there are just a few more things to do before demonstrating the results to the client.
Final Image with Post-production
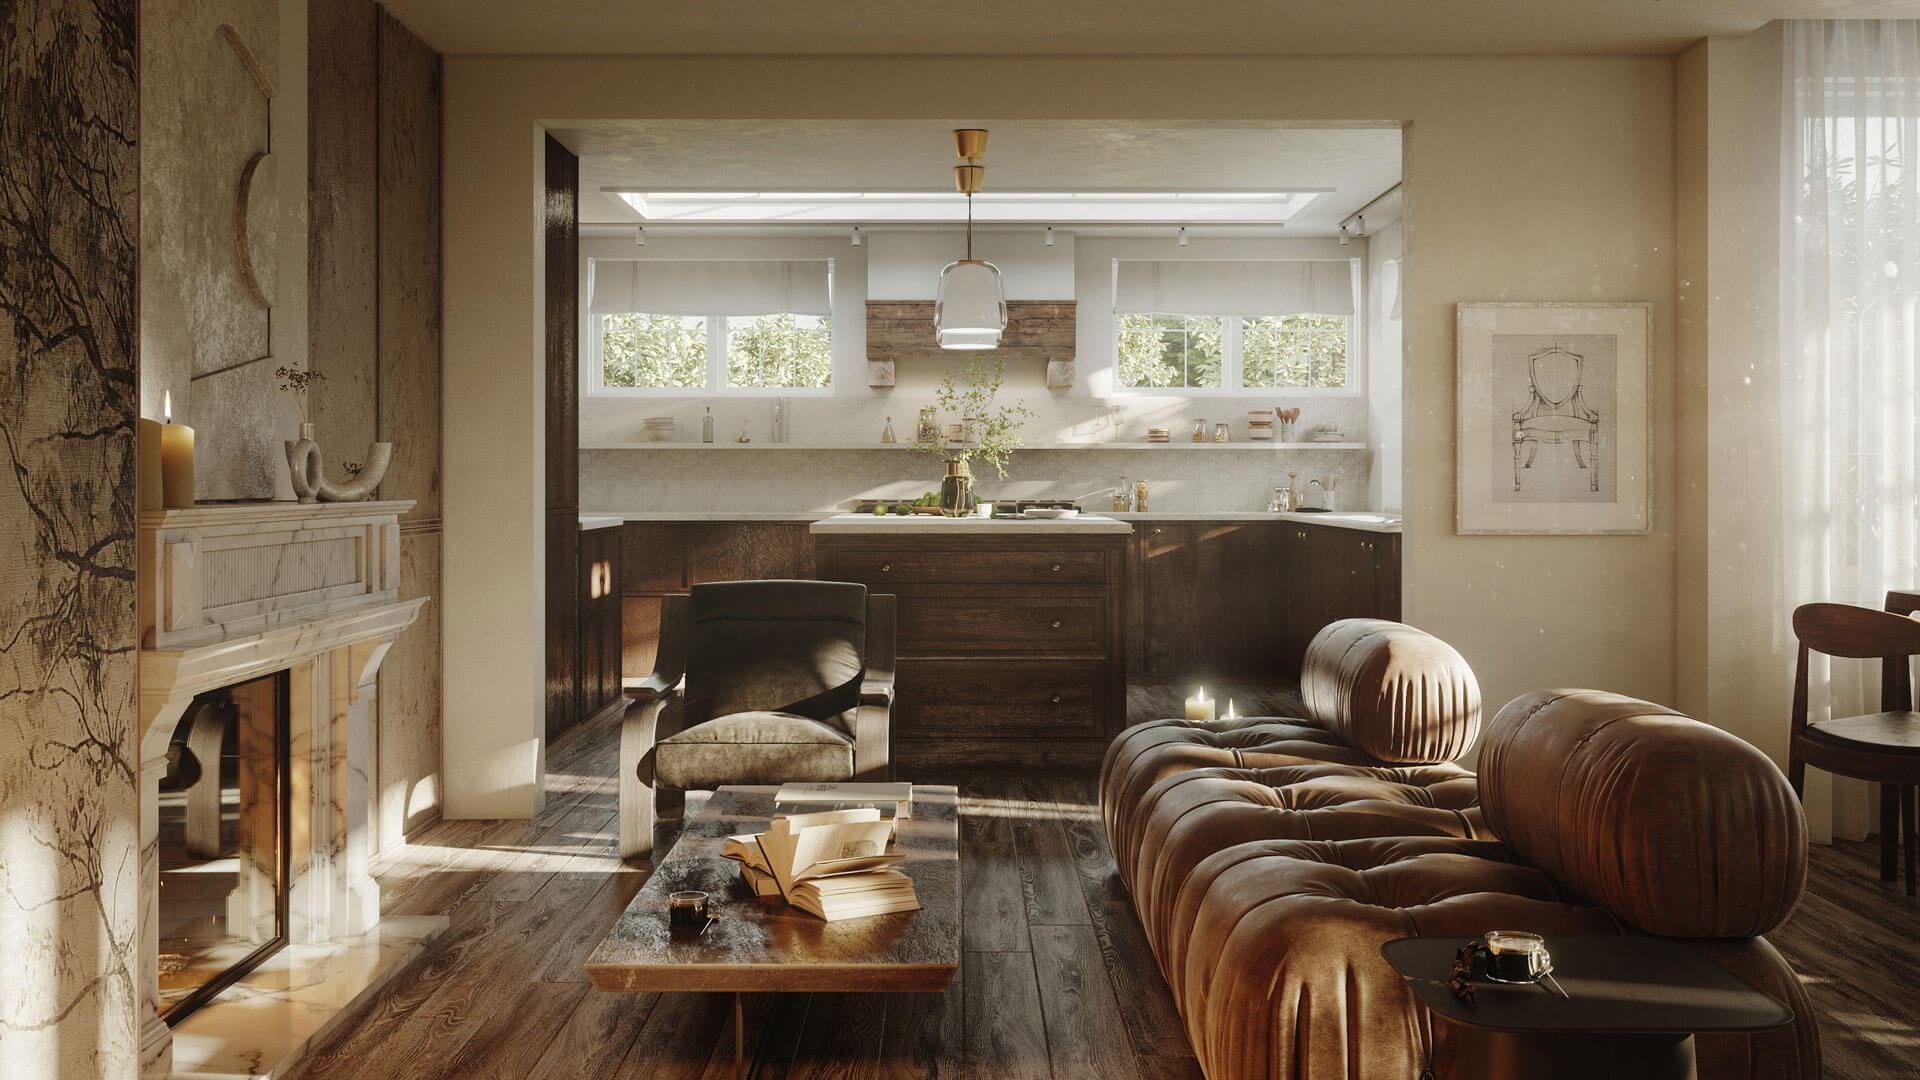
At this stage, a 3D artist can improve the brightness and contrast and add special effects. As well as that, they can add people to an image to make the 3D model render more natural and visually appealing. This option is ideal for project presentations to the end customer or for marketing purposes.
As you can see, the intermediate stages of rendering allow one to get faster approval for the model. This way, you can save valuable time and money. When ordering 3D modeling and rendering services, ask your personal manager if it is possible to see preliminary results, such as a grid render or draft render. This is especially important if you do not have the full technical assignment, which is to be completed after showing preliminary results to the client.
Showcase your architectural project like a true work of art, brought to life with cutting-edge AI-powered CGI technology.
ArchiCGI has an individual approach to every project. Need high-quality 3D rendering services? Contact our sales managers and we will find the best system of model approval that will ensure your project’s success.
We wish your companies prosperity, and 3D model renderings – the highest quality ever!

Catherine Paul
Content Writer, Editor at ArchiCGI
Catherine is a content writer and editor. In her articles, she explains how CGI is transforming the world of architecture and design. Outside of office, she enjoys yoga, travelling, and watching horrors.


