

3D Modeling Process: Assets for QiSpace, a Norwegian Startup
Let us begin by saying that this project was quite unique. What made the 3D modeling process here particularly exciting was the final purpose. Because it was about establishing an absolutely innovative approach to presenting real estate on sale.
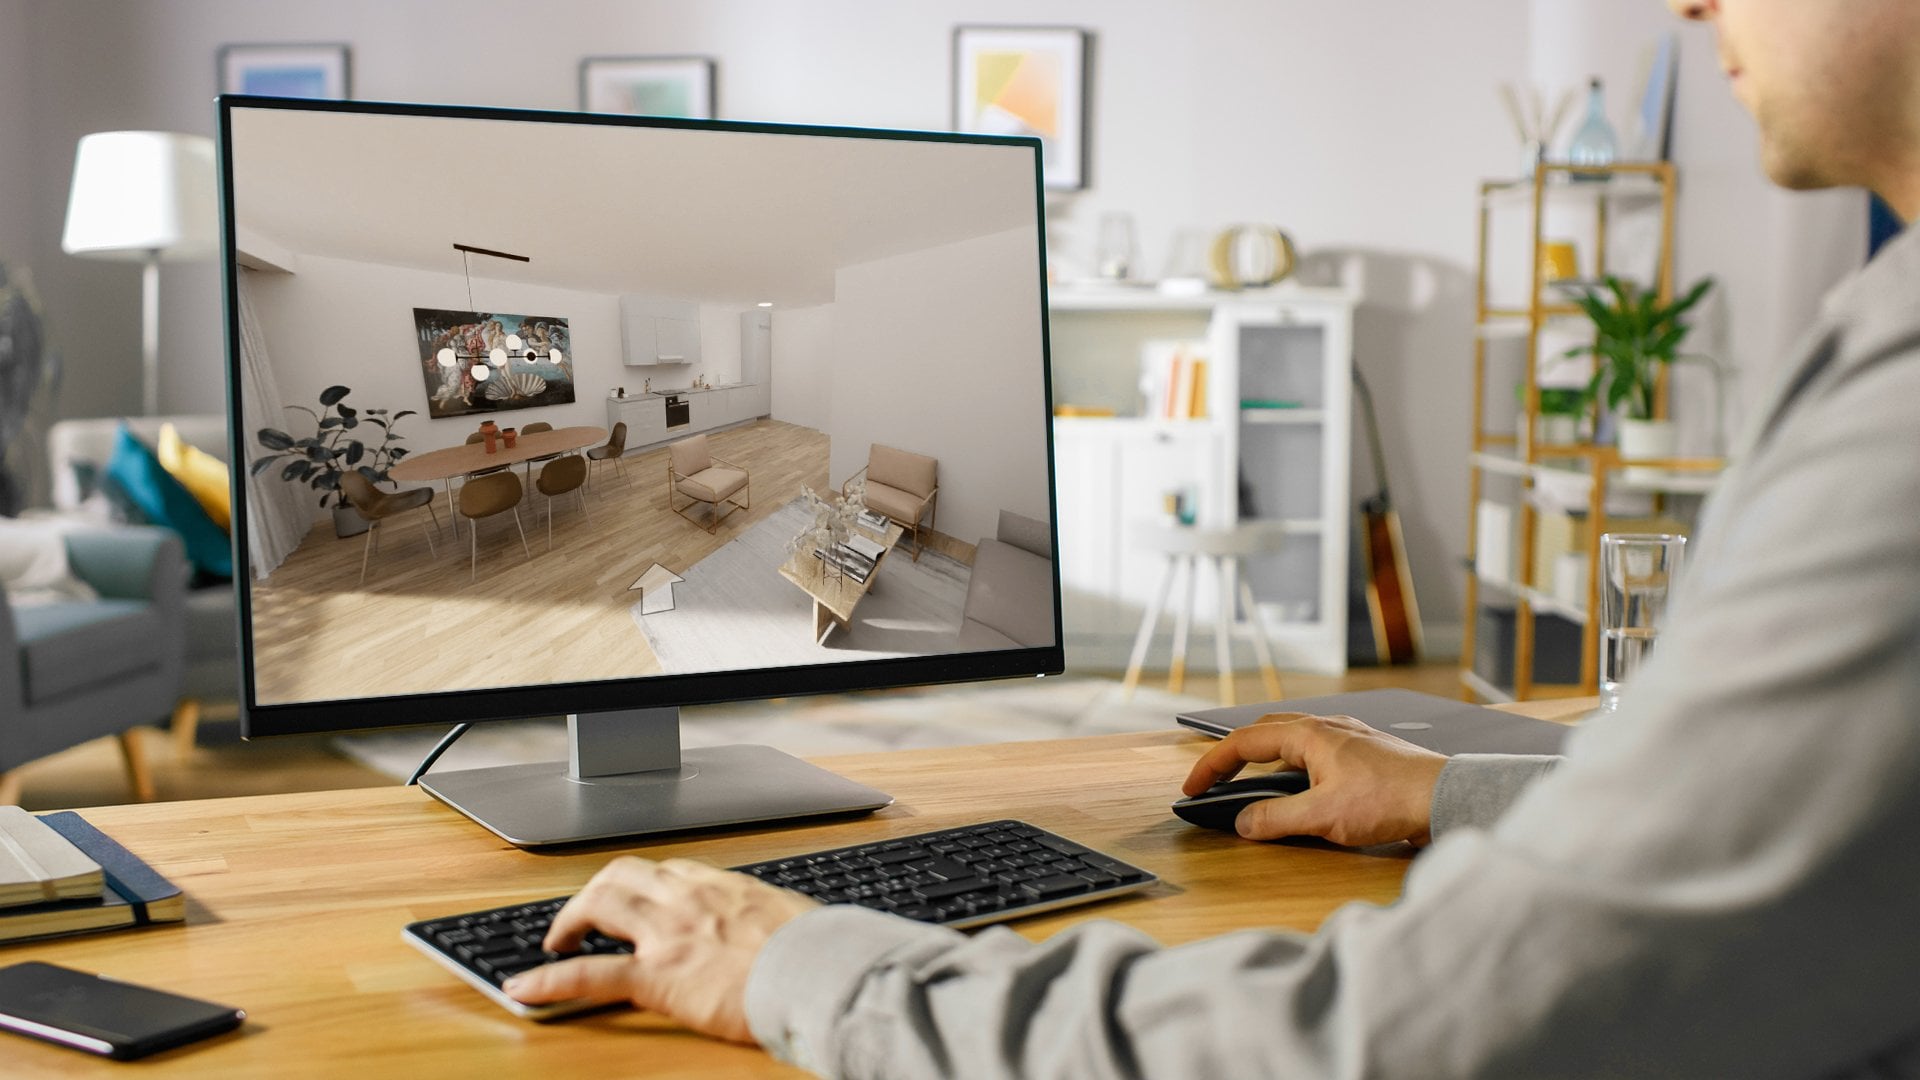
Our client here was a Norwegian tech startup called QiSpace. Currently, they’re developing powerful technology for automating architectural 3D visualization. Its purpose is to help real estate developers improve property sales by showing future homes with different interior design options easier than ever before.
So, how does this innovative technology work? It reads BIM/IFC files as input, then digitally “furnishes” apartments, and renders CG visuals of those using an ultra-fast custom-built engine into the qispace.com online platform. This way, one can effortlessly create a virtual interior for every single apartment in a future building – so that the buyers can see what exactly their home might look like. Moreover, they can view apartments in interactive 3D tour mode, which allows them to inspect every corner up-close.
What separates QiSpace’s service from other options available is that the visualization process is done automatically. And that means there’s no need to spend time on having every single apartment interior separately visualized by 3D artists, like with traditional 3D rendering services for interior design. It’s especially useful for projects of large apartment blocks where there are many flats with different layouts.
Naturally, the input drawings and the software itself aren’t all that one needs for such a visualization process. There also needs to be the graphic part — 3D models of furnishings, appliances, and decor to actually fill the CG rooms. So, to have all the necessary CG objects made, Kent Løset from QiSpace sought out a professional 3D rendering company. In July 2020, he decided on partnering up with ArchiCGI and we began our collaboration. Now, let’s see how it went and what came out of it in the end!
The Scope of the Project
The goal of the 3D modeling process was to create 3D assets for automatic interior visualization. Namely, we had to model items for all kinds of rooms: hall, kitchen, living room, bathroom, bedroom, kid’s room, and office.

As for the types of CG objects we needed to make, there were 3D models of furniture, appliances, and decor items, as well as textures and materials for them. All of those were grouped into 3 collections called Archetypes. Each Archetype included assets for creating interiors in one of 3 popular styles: Classic, Scandinavian, and Eclectic.
Project Specifics
Since the primary purpose of the technology developed by QiSpace is fast visualization, we needed to create 3D items that could be processed very quickly in the rendering engine designed by Qispace. Only this way, 3D rendering for real estate developers could be produced ultra fast.
That’s why we made low-poly 3D models. Now, what are those? The term “low-poly” refers to a low count of polygons in a 3D model. Polygons, in their turn, are the elements that comprise the surface of a 3D object. The more there are, the more detailed an asset is, but also longer to render. And in our case, we needed precisely high rendering speed and not a high level of detail.
To help us produce all the required items, the client sent a detailed assignment with references of different types. Which exactly? Read on to find out!
The Brief
The guys from QiSpace provided us with a really comprehensive brief, which facilitated the 3D modeling process. There was a detailed Excel sheet, PDFs, links to the websites of finishing materials manufacturers, images, and CAD files.
Now, let us briefly explain how we used those different types of references:
- The Excel sheet had the list of items we needed to make.
- The PDFs contained information on the size and dimensions of the 3D models.
- The reference images were used to understand the shapes, textures, and colors of items. That helped us correctly recreate all the visual aspects of every object.
- The CAD files were 3D models. But due to their technical specifics, we couldn’t just work with them as is. So, we used them as references to fully or partially remodel the objects.
And so, after we’d received and studied the brief, we were all set to begin the process of 3D modeling. Let’s move on to the details of it!
The Stages of 3D Modeling Process
For this project, the client requested that we use the Blender software for 3D modeling and texturing. In most similar projects, we work in 3ds Max. But our team of 3D modelers is always open to the requests of our clients, we are flexible and well-versed in various software. So, we easily switched to Blender.
The modeling process itself included different kinds of work. There were:
- basic 3D modeling;
- cleanup of ready 3D models;
- creation of textures.
Now, let’s see how our 3D artists approached each of those tasks.
Stage 1: Basic 3D Modeling
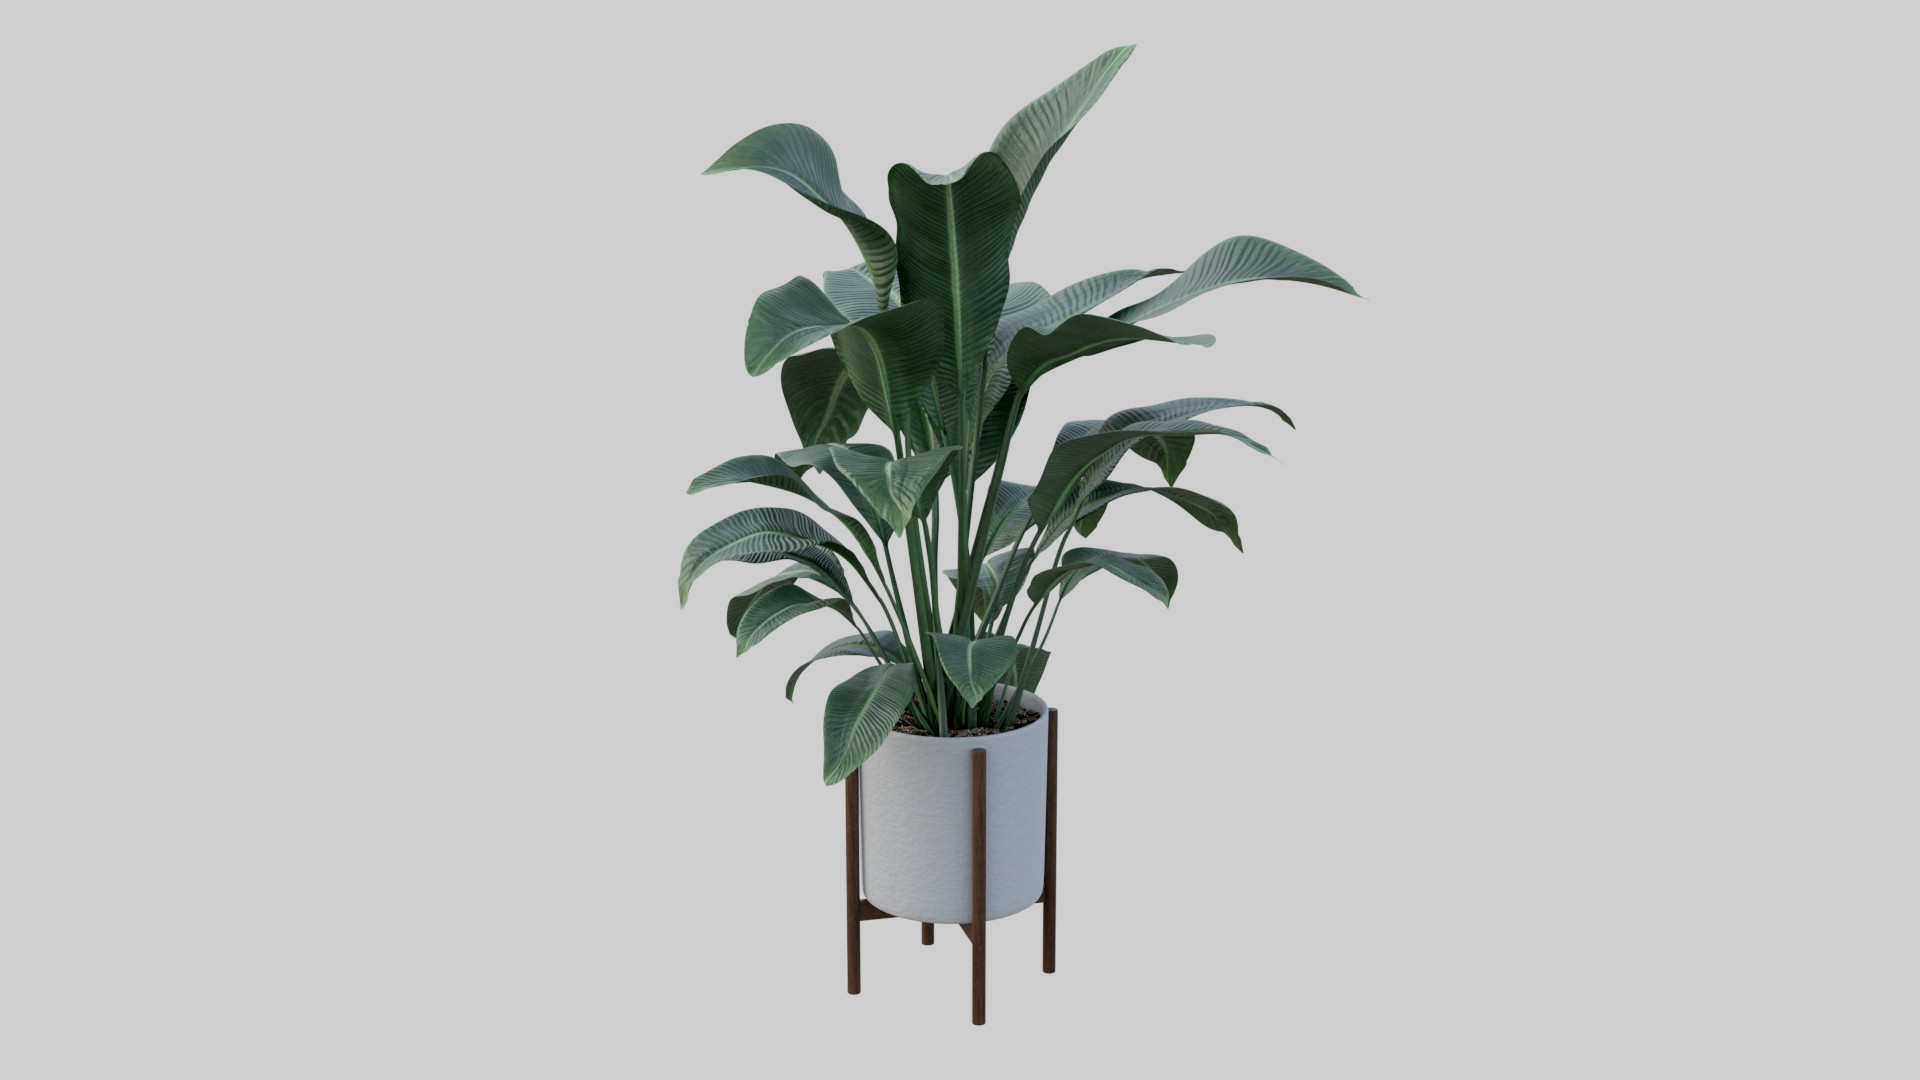
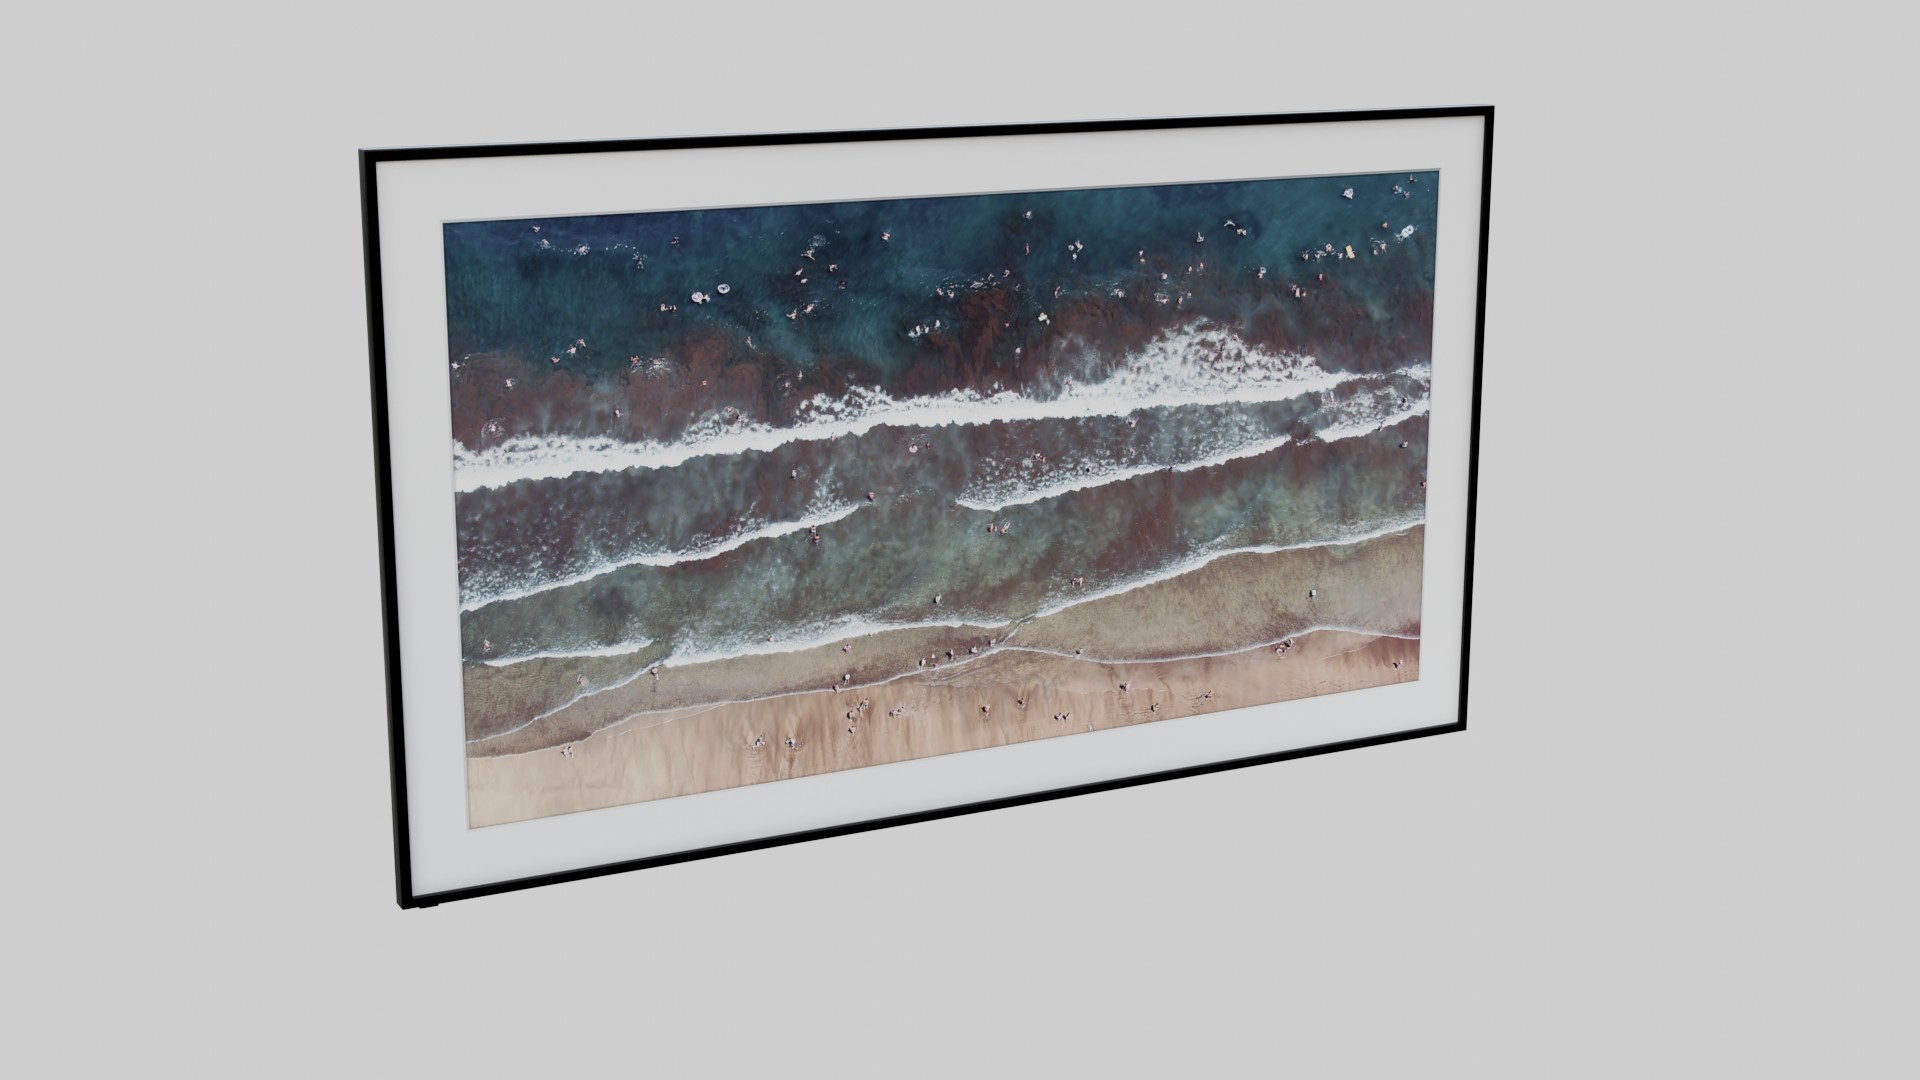
The main kind of work we did in this project was the creation of custom 3D models of furniture and decor pieces. Here, we had primarily 2 types of objects to make:
- rigid ones, like pieces of wooden furniture;
- soft ones, like cushions and curtains.
The stages of the realistic 3D modeling process were different depending on the type of item. Let’s take a look at those.
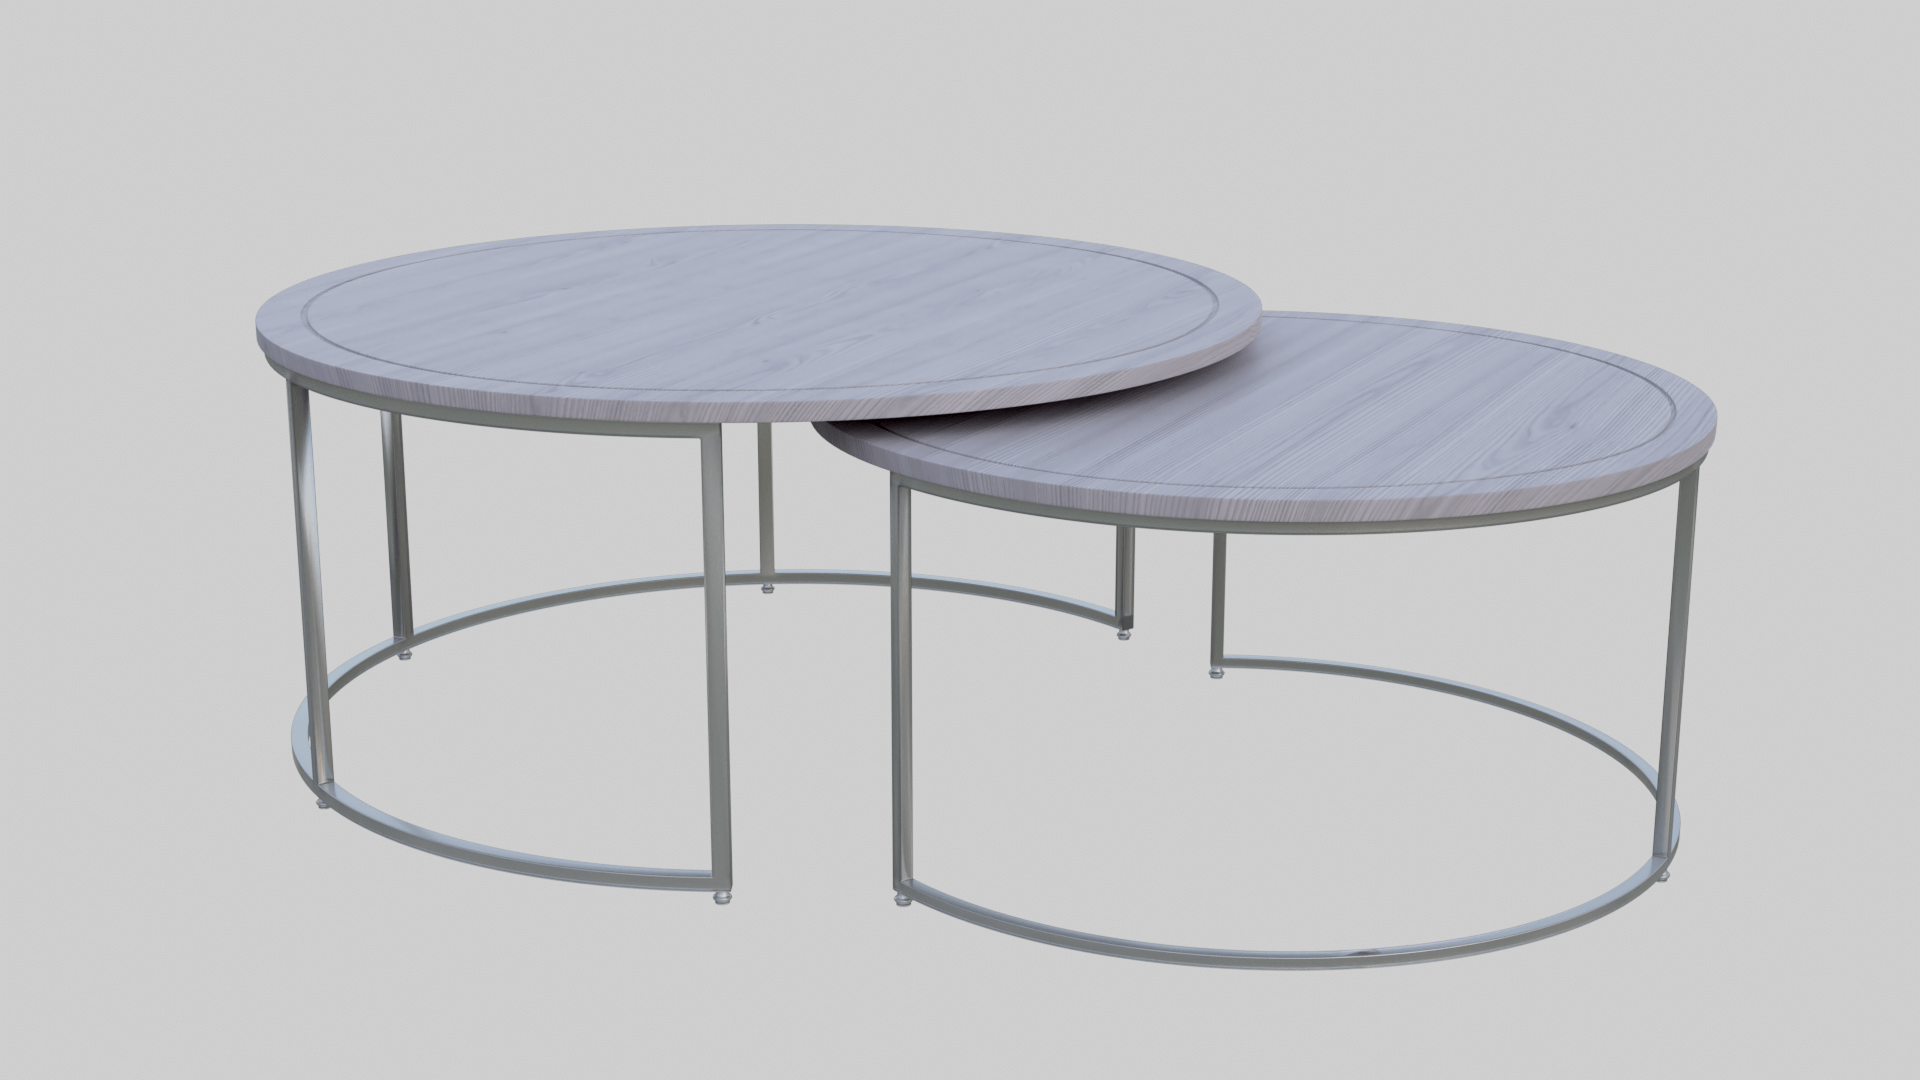
#1. The Process for Rigid Items

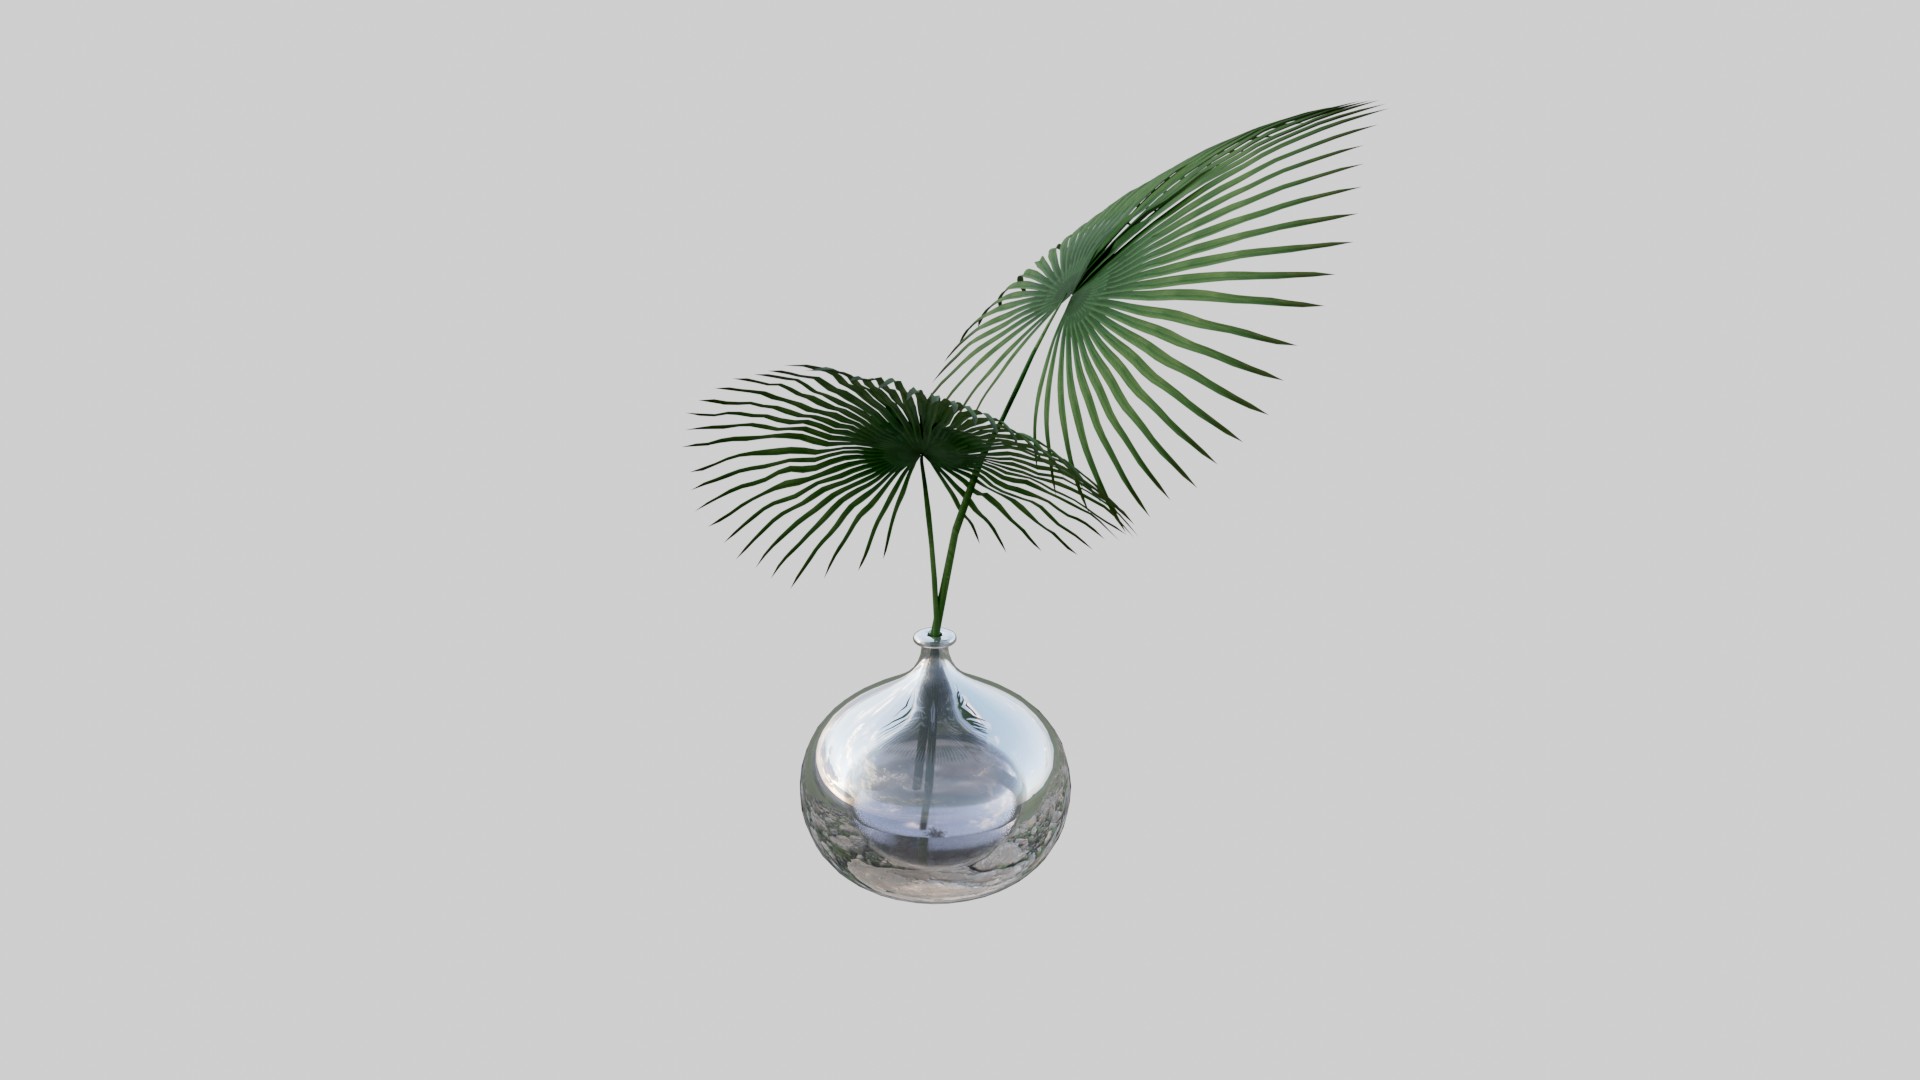
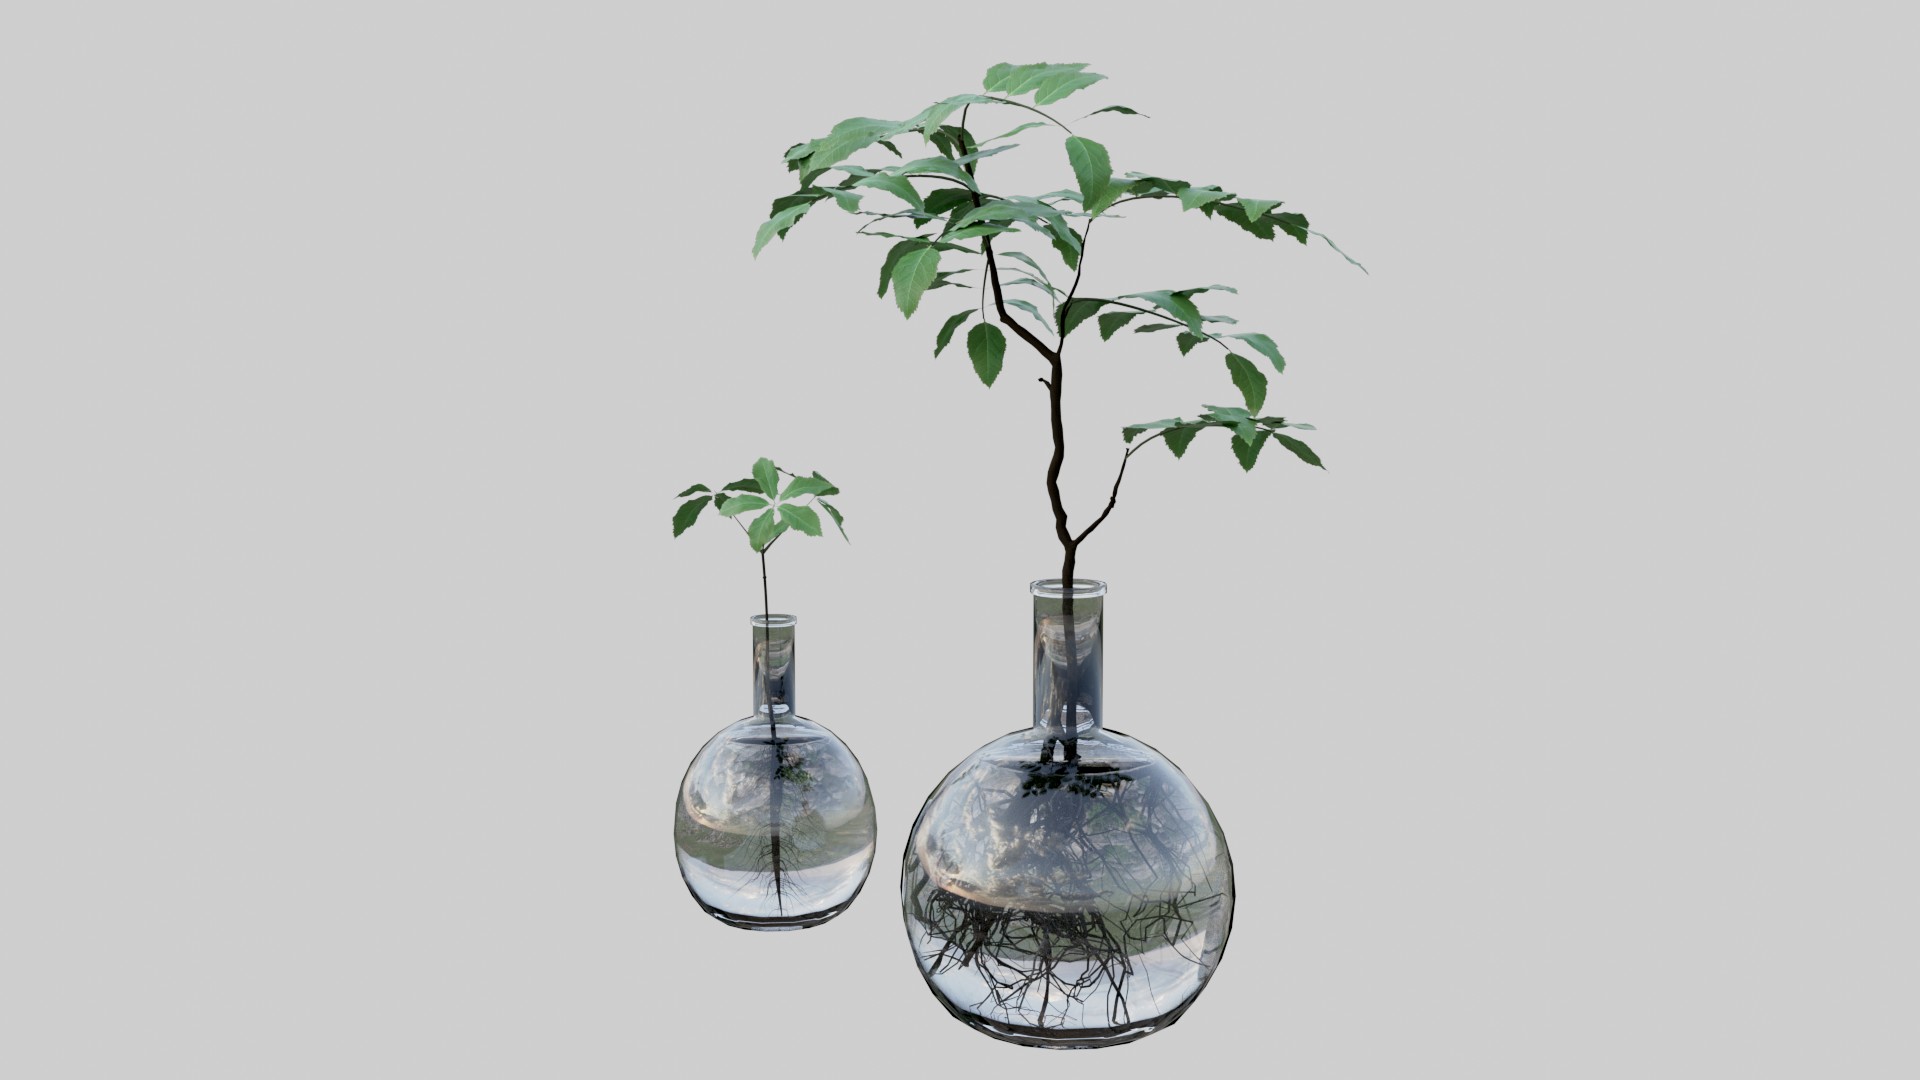
Our 3D modeling process for both rigid and soft items always began with analyzing the shape of the future model, whether it would consist of one primitive or several, and what primitives those would be. Primitives are ready-to-use simple shapes, such as rectangles and spheres, that one can just insert into the workspace in Blender and modify as needed.
Having selected the primitives, we’d create a roughly shaped object at first, and then we’d add details and smooth out the edges where necessary. Now, here, the process of modeling rigid items was over. It worked perfectly for things made of wood, metal, and glass, such as tables, bed frames, lamps, etc. But upholstered furniture and textiles required a bit more work than those.
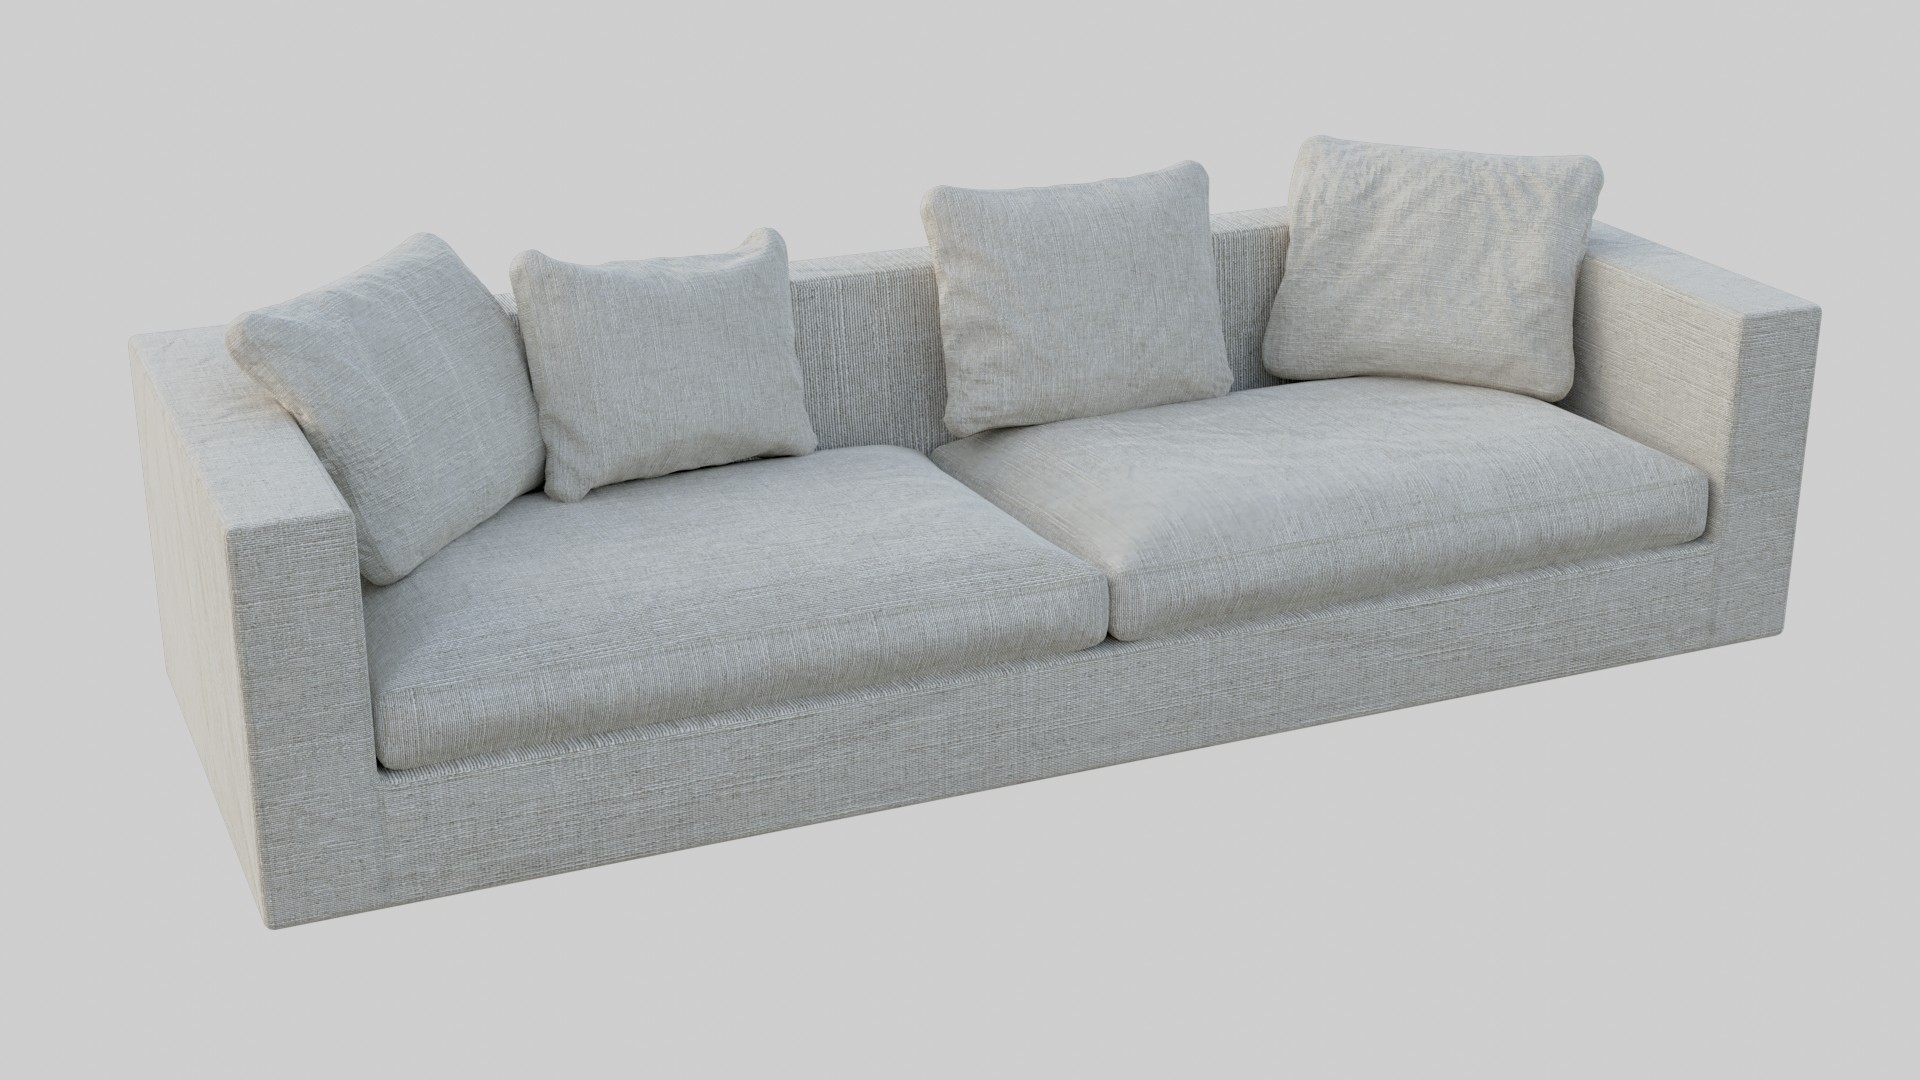
#2. The Process for Soft Items
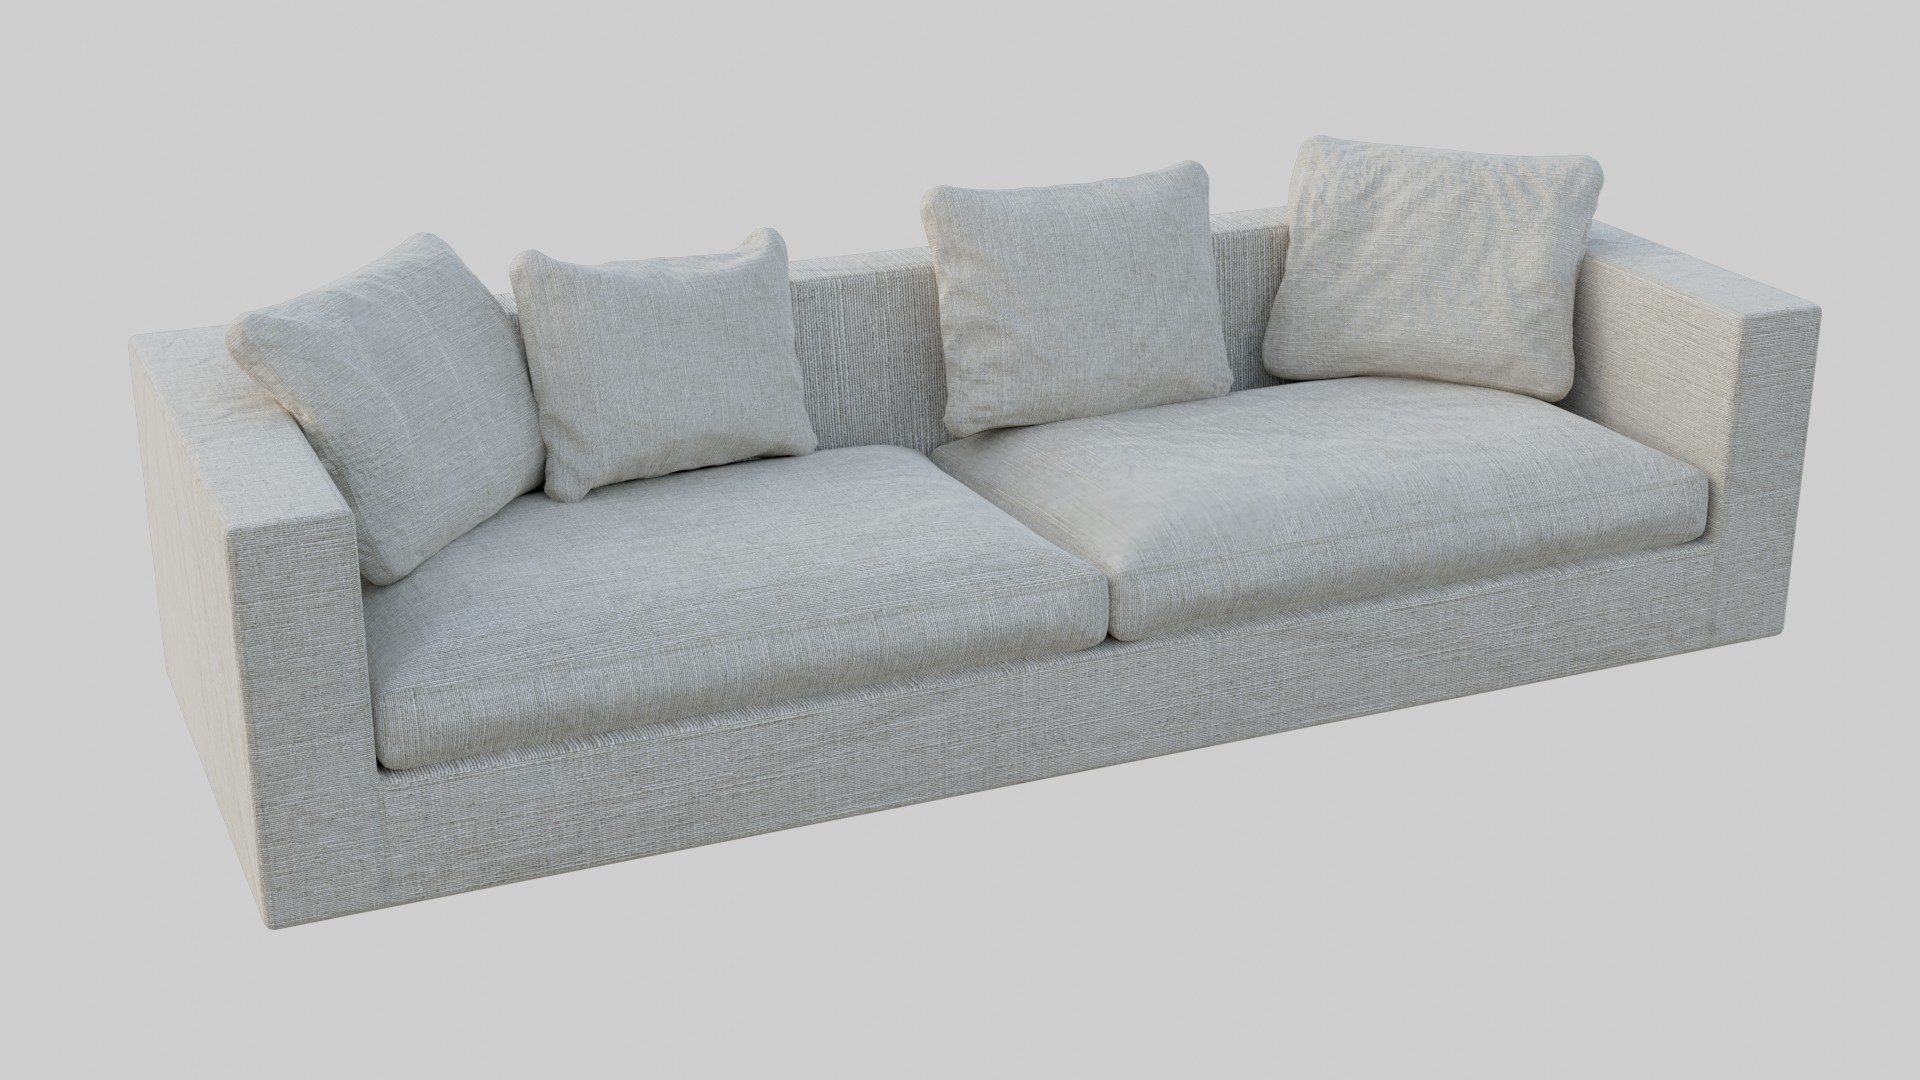
To recreate things like sofas, cushions, and bed linen, our 3D modeling experts used Blender’s physics simulation system. Basically, it allows for simulating various real-world phenomena. For instance, the simulation makes it possible to imitate the flow of liquids, the folding of cloth, the bounciness of jelly, and so on.
Also, it allows one to make 3D objects interact with each other, just like they would in real life. For example, a 3D modeling specialist can assign the properties of a heavy rigid object to a chair and the properties of a light flowy cloth to a blanket. Then, they can virtually drop the blanket on the chair and get beautiful, naturally-looking folds on the cloth. This way, 3D artists can save quite a lot of time on modeling and get very realistic items.
Want to learn how much your project costs? See how we evaluate 3D rendering projects

It takes a great amount of expertise to set all the parameters right from the first couple of tries. Yet, it’s probably the most interesting part of the 3D modeling process. Just imagine our CG specialists throwing blankets on 3D sofas until they get perfect folds. Much less boring than you imagined, right?
Stage 2: Cleanup of 3D Models
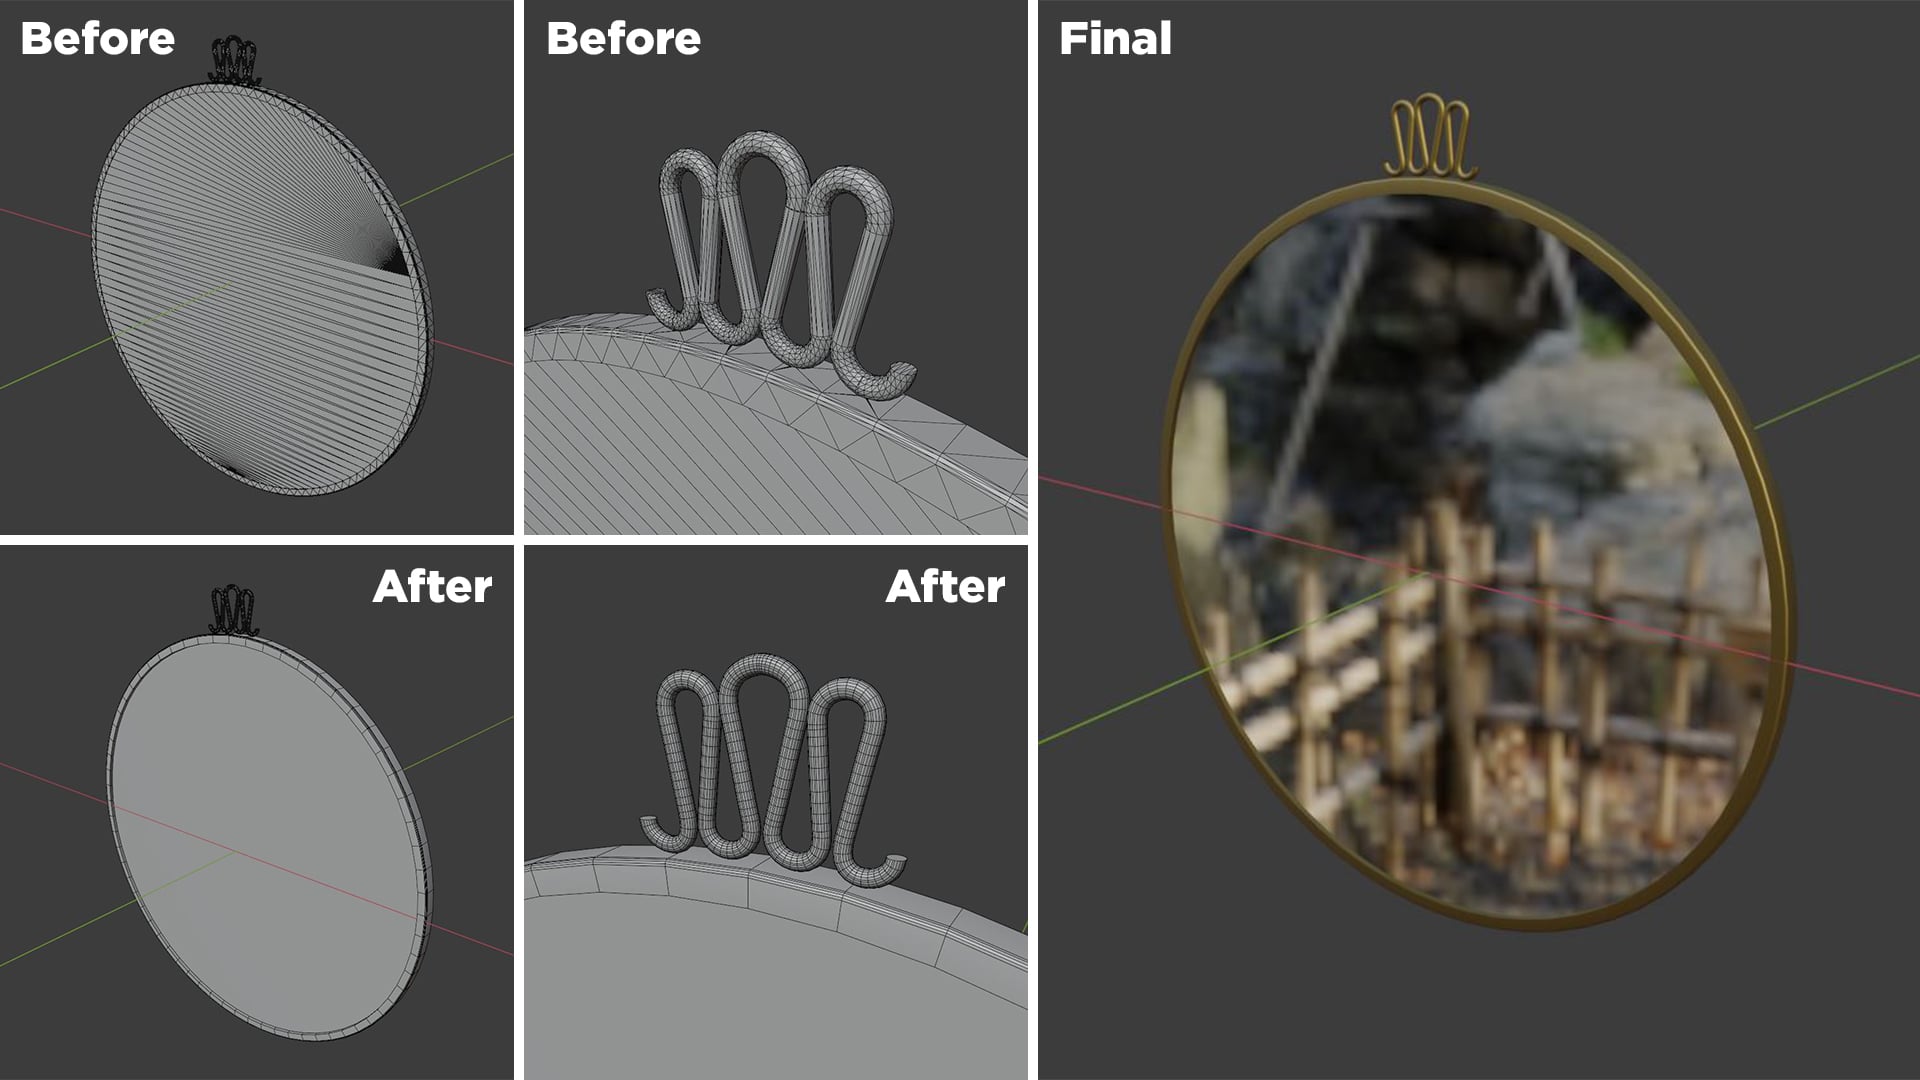
The client submitted some 3D assets like furniture and decor pieces for us to work with. They were CAD files, not ready-to-use yet. The thing was that these objects made in CAD modeling programs had a polygon mesh structure different from that of the files initially created in Blender.
Because of this, the rendered objects could end up having errors in geometry, such as odd faces where there should be a smooth surface. Furthermore, CAD files had numerous extra details, such as inner structural elements of items and various screws that one cannot see from the outside. That’s a lot of data we didn’t need in our 3D modeling process. Therefore, the CAD files had to be optimized.
In some cases, they only required a little mesh correction before they were suitable for further use. In other cases, we had to remodel the objects completely. But using the size and shape of CAD models as a reference, we created new 3D objects rather quickly and easily.
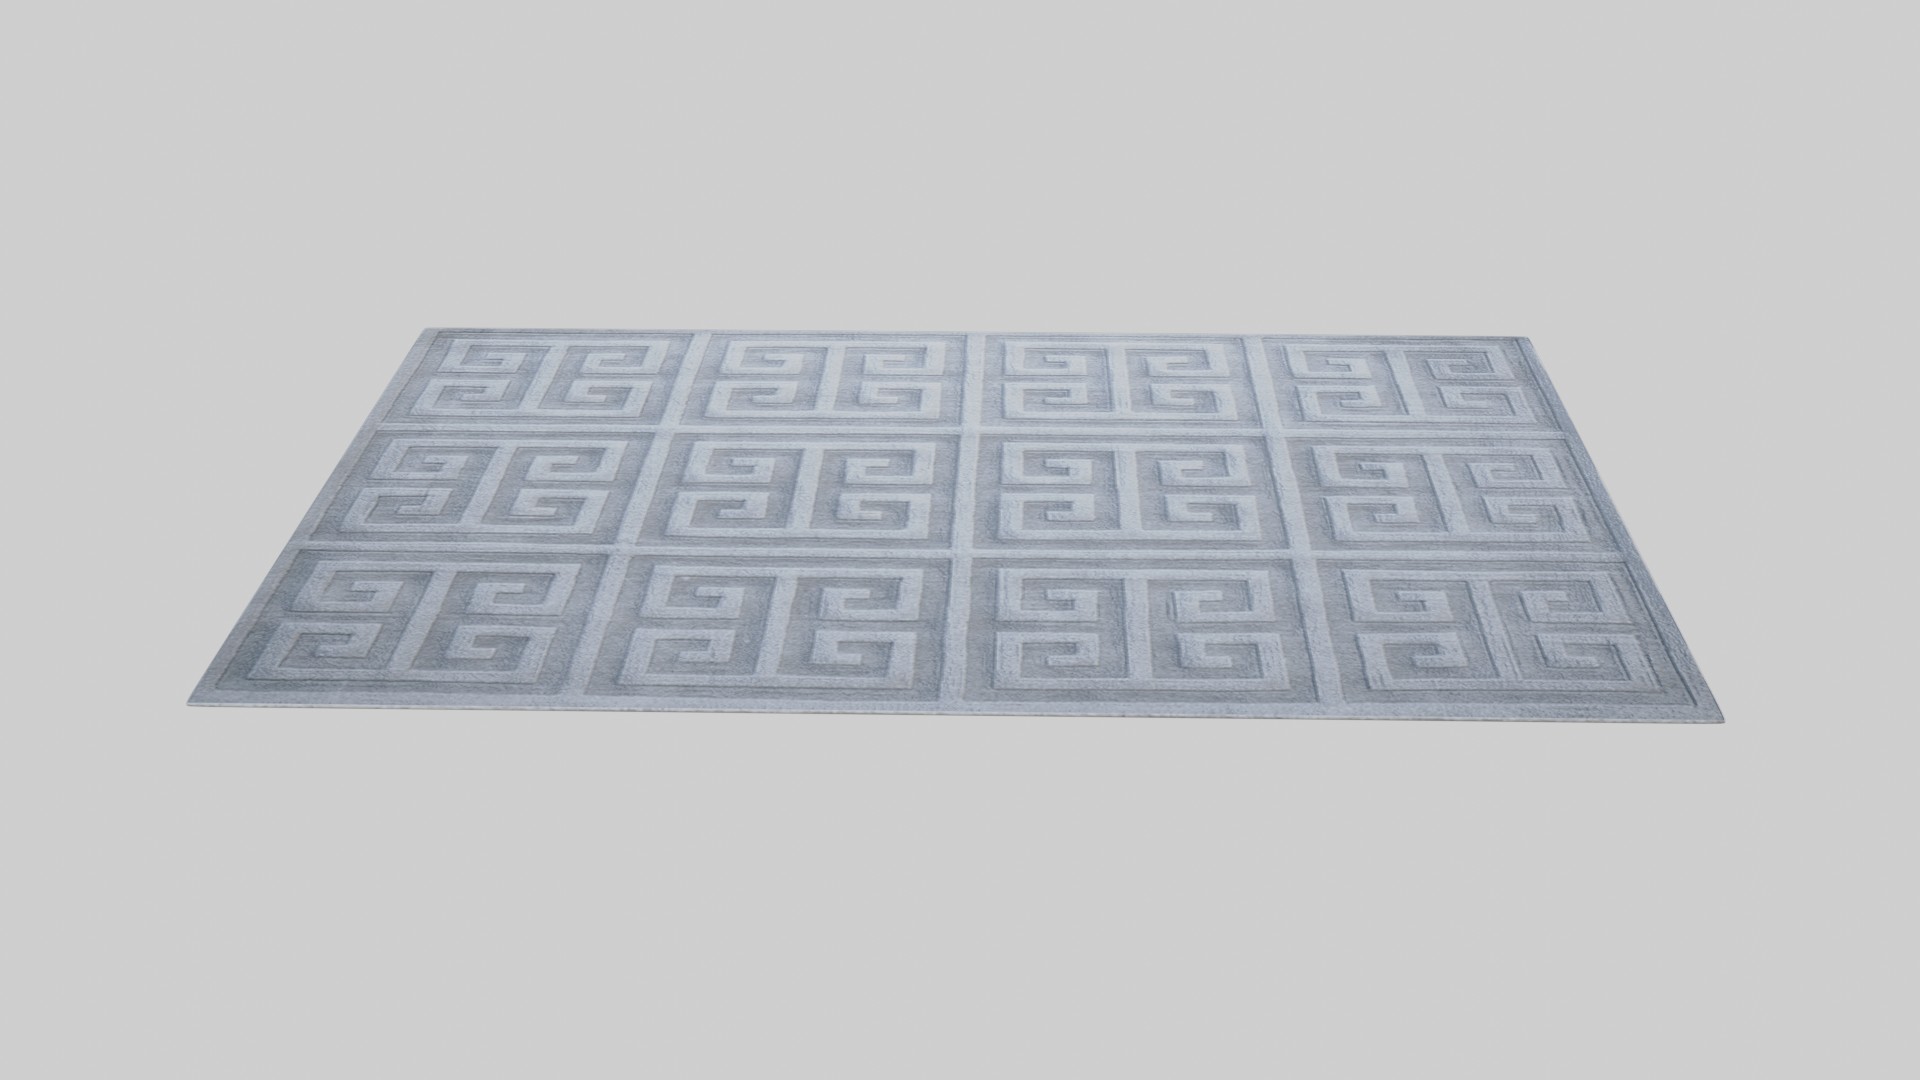
Stage 3: Making Textures and Materials
The creation of custom textures and materials for 3D models was also a vital part of our work process. First of all, let’s define those two terms.
- A material is a set of parameters that determines the properties of a substance a 3D object is made of: whether it’s rough or smooth, shiny or dull, its color, etc.
- A texture is a high-resolution image applied to a material to give it complex colors and patterns.
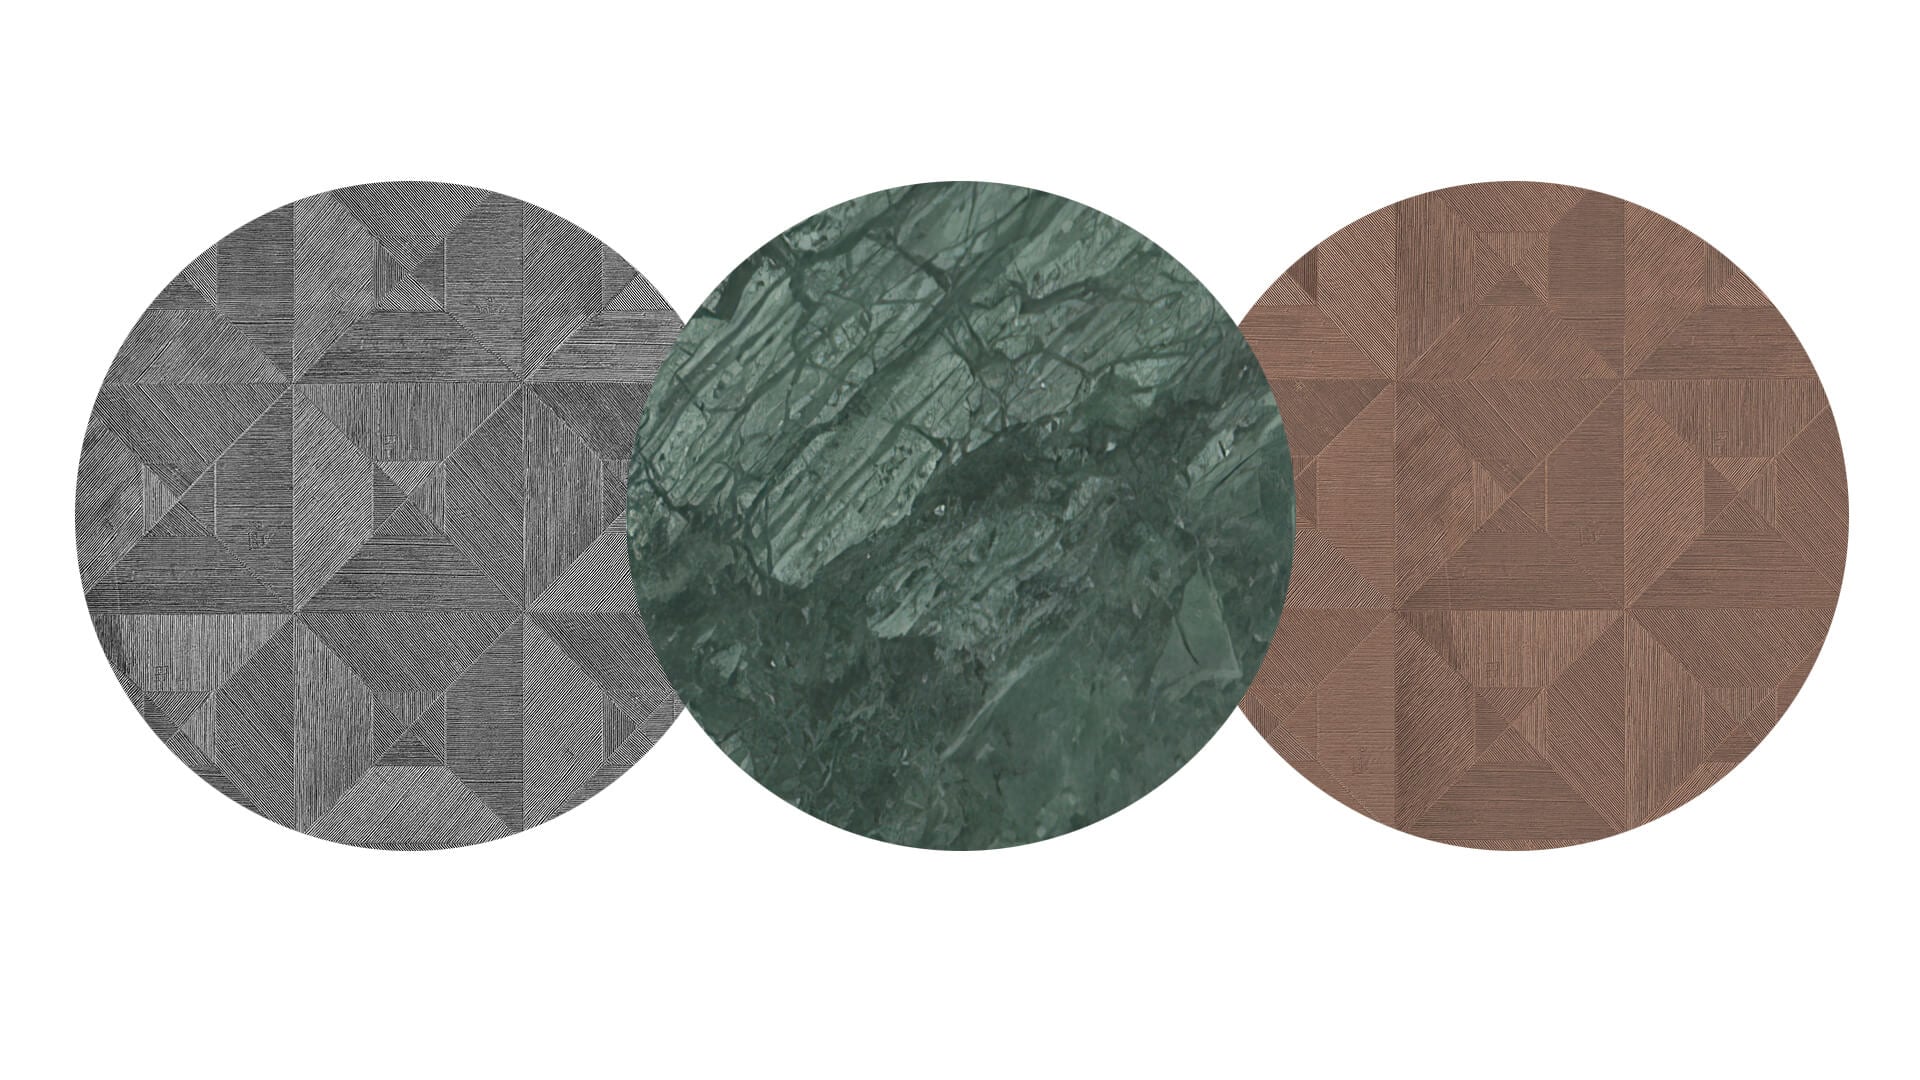
Our modeling process in this project included making textures of tiles, marbles, wood, and some other finishes. For those, the client provided us with reference images and links to the websites of manufacturers producing select materials. There, we could get high-quality pictures of them. We edited every image in Photoshop: cut out the texture section that we needed, cleaned it up, made it seamless, and enhanced the unevenness of its surface. After that, we imported the final textures to Blender and created materials based on them.
Stage 4: Correcting and Finalizing Intermediate Results
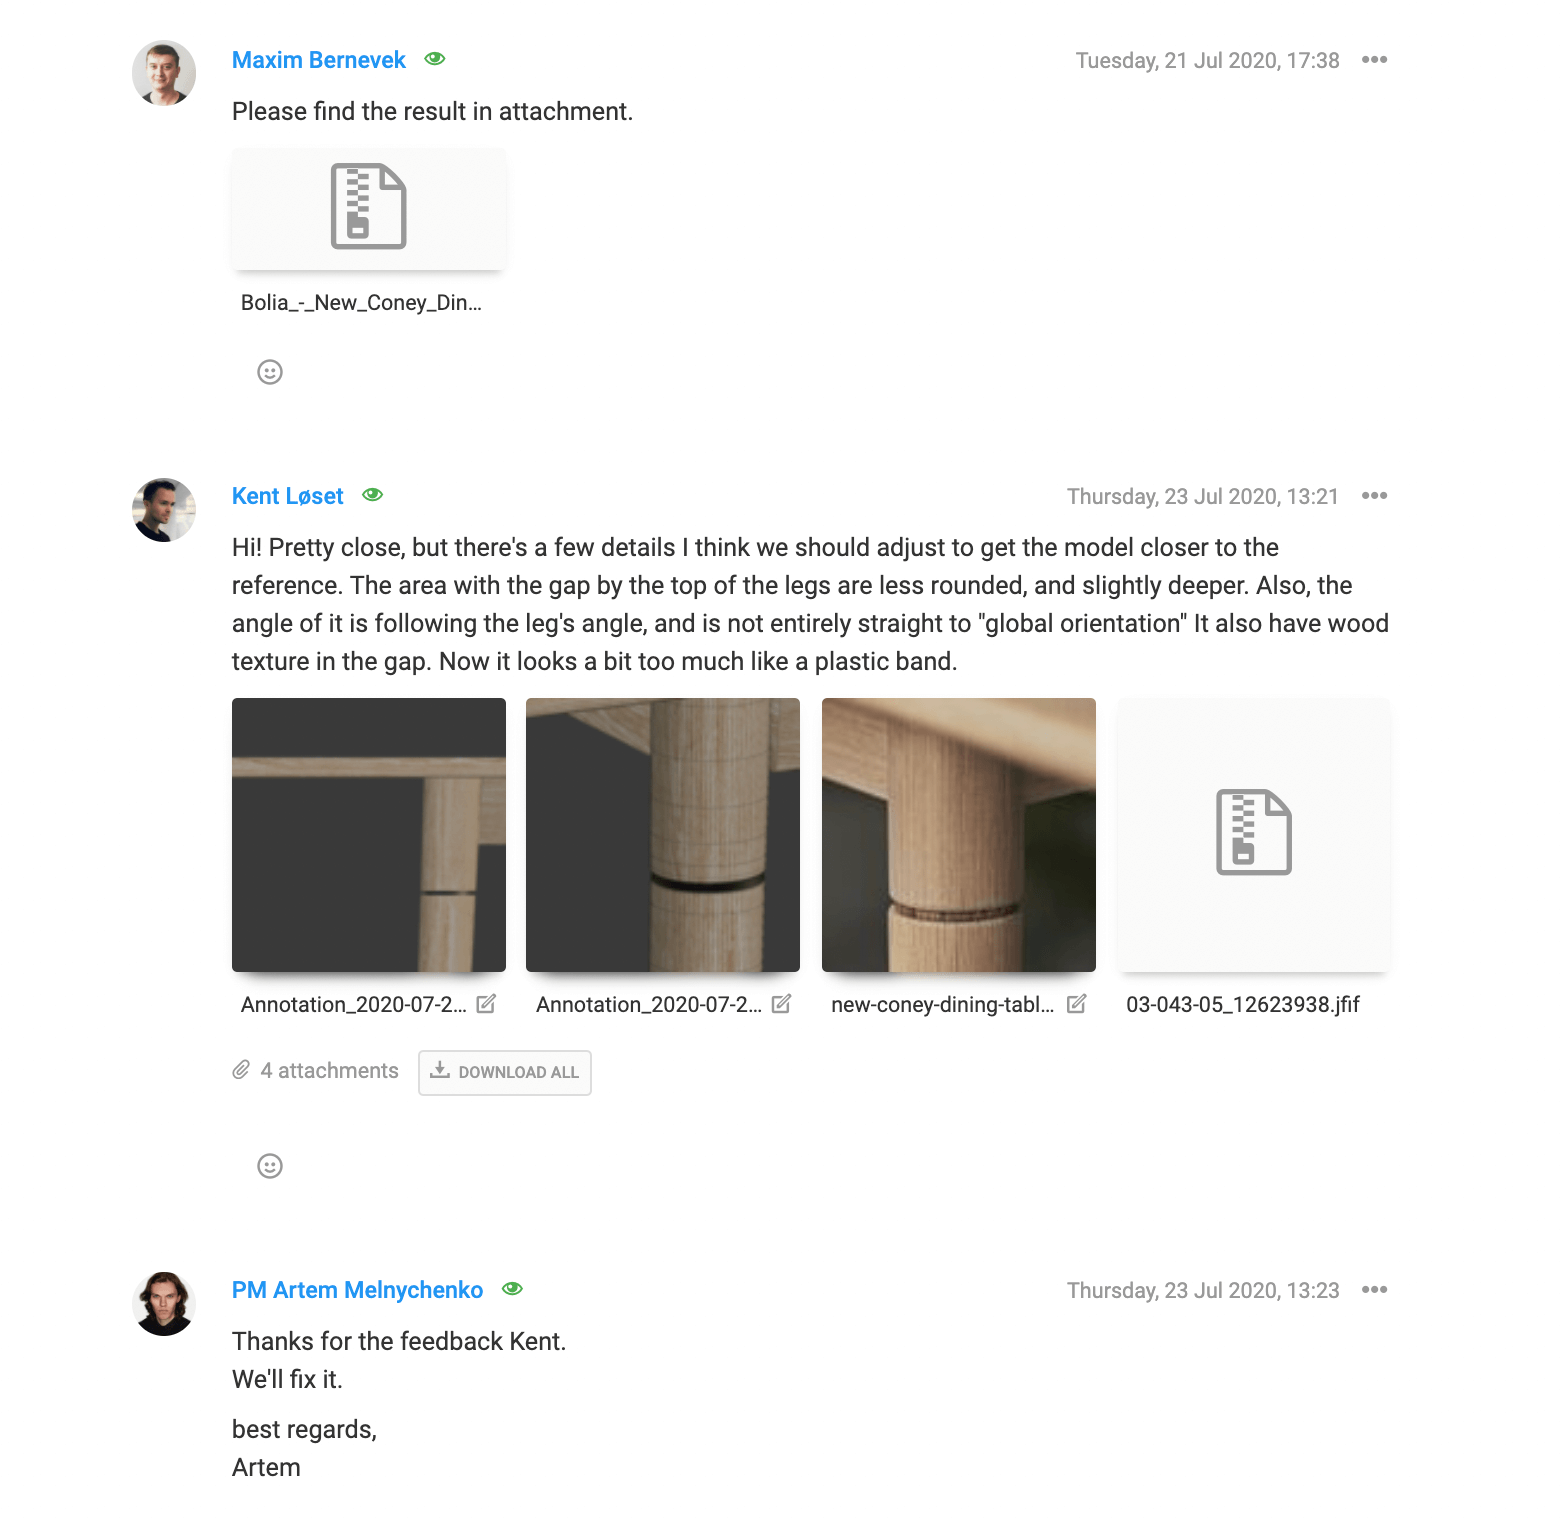
To review and comment on the intermediate results of the 3D modeling process, Kent used our CRM system. It’s a custom-built online platform where we communicate with our clients and allow them to track our progress on every assignment.
To have a smooth workflow throughout the entire Qispace project, we created separate tasks for each Archetype in our CRM system. Each task also had subtasks dedicated to particular items. In those task tabs, we communicated with Kent: submitted intermediate results, received his comments on them, uploaded the final results, and got the approval. Overall, the process was highly organized and very convenient for both Kent and our team of 3D modeling specialists.
To get the client’s approval on the assets, we submitted draft versions of Blender files to review. If Kent had any comments regarding the polygon count, dimensions, colors, or any other aspects, we made the necessary corrections until the results were approved. Below, you can see an example of our workflow.
After introducing the requested corrections, we prepared the models for the final submission. Mainly, we finalized various minor technical aspects. But there was one particularly important thing that we did — texture baking. Let us tell you about it.
The process of texture baking is all about the optimization of 3D files. The thing is that many textures are created by blending patterns with dissimilar colors, with a ton of different interconnected settings on top of that. The more elements are involved here, the bigger the file size will be. Plus, this way of texture organization is not supported by real-time rendering engines, such as the one that Qispace uses.
So, we did the baking, where we took all those separate elements and settings and embedded all that data in a single texture image on the model. This process was necessary to make the files compatible with the client’s requirements, as well as more lightweight so that the engine could load them faster.
After that, we created archive packages with Blender files and textures and sent them to Kent.
This way, we soon completed all the Archetype collections. Above, you can see an example of a furniture and decor collection for a living room in Classic style.
The Results
Now, we conclude the guide through our 3D modeling process in the QiSpace project. And what better way to do that than by showing the final application of the assets we created?
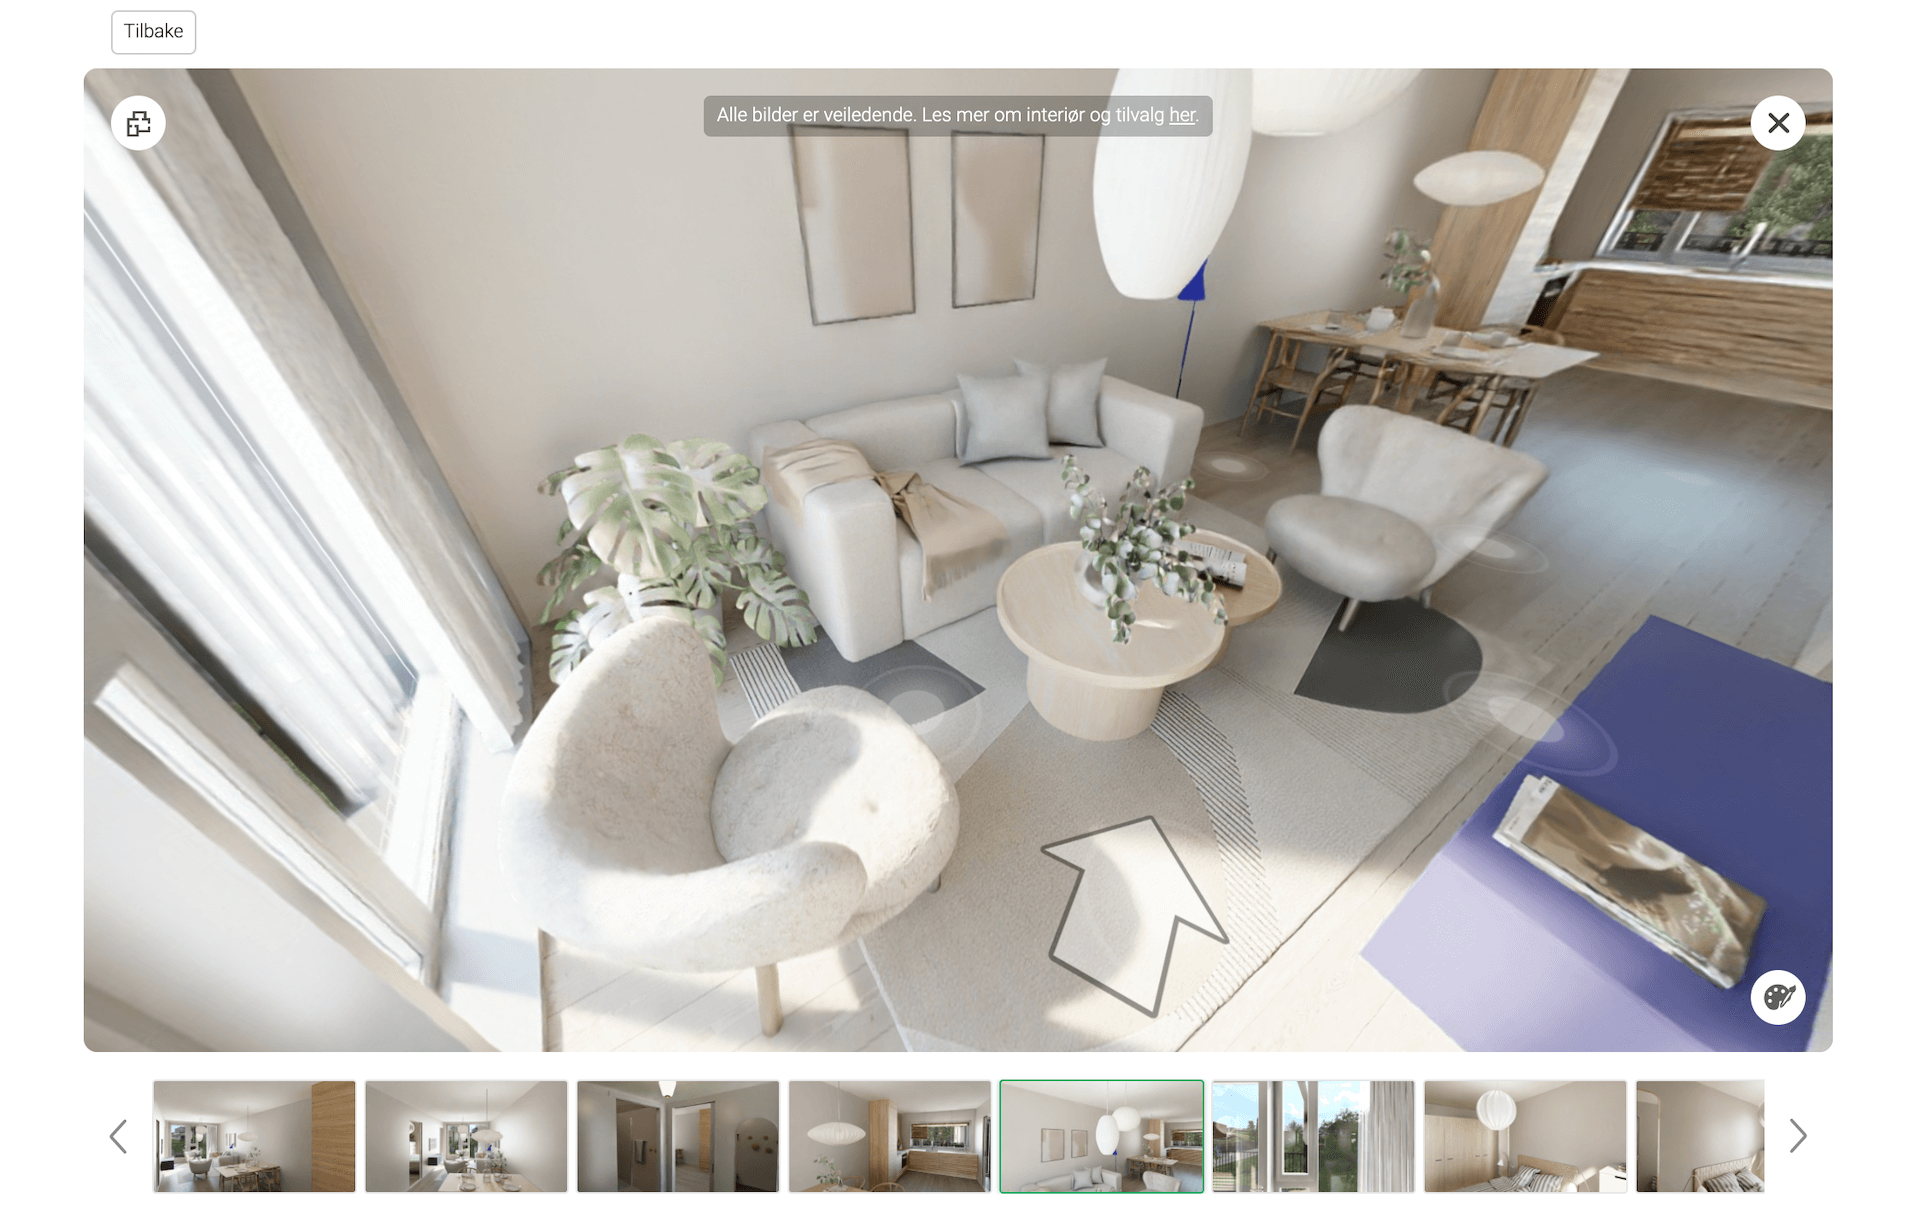
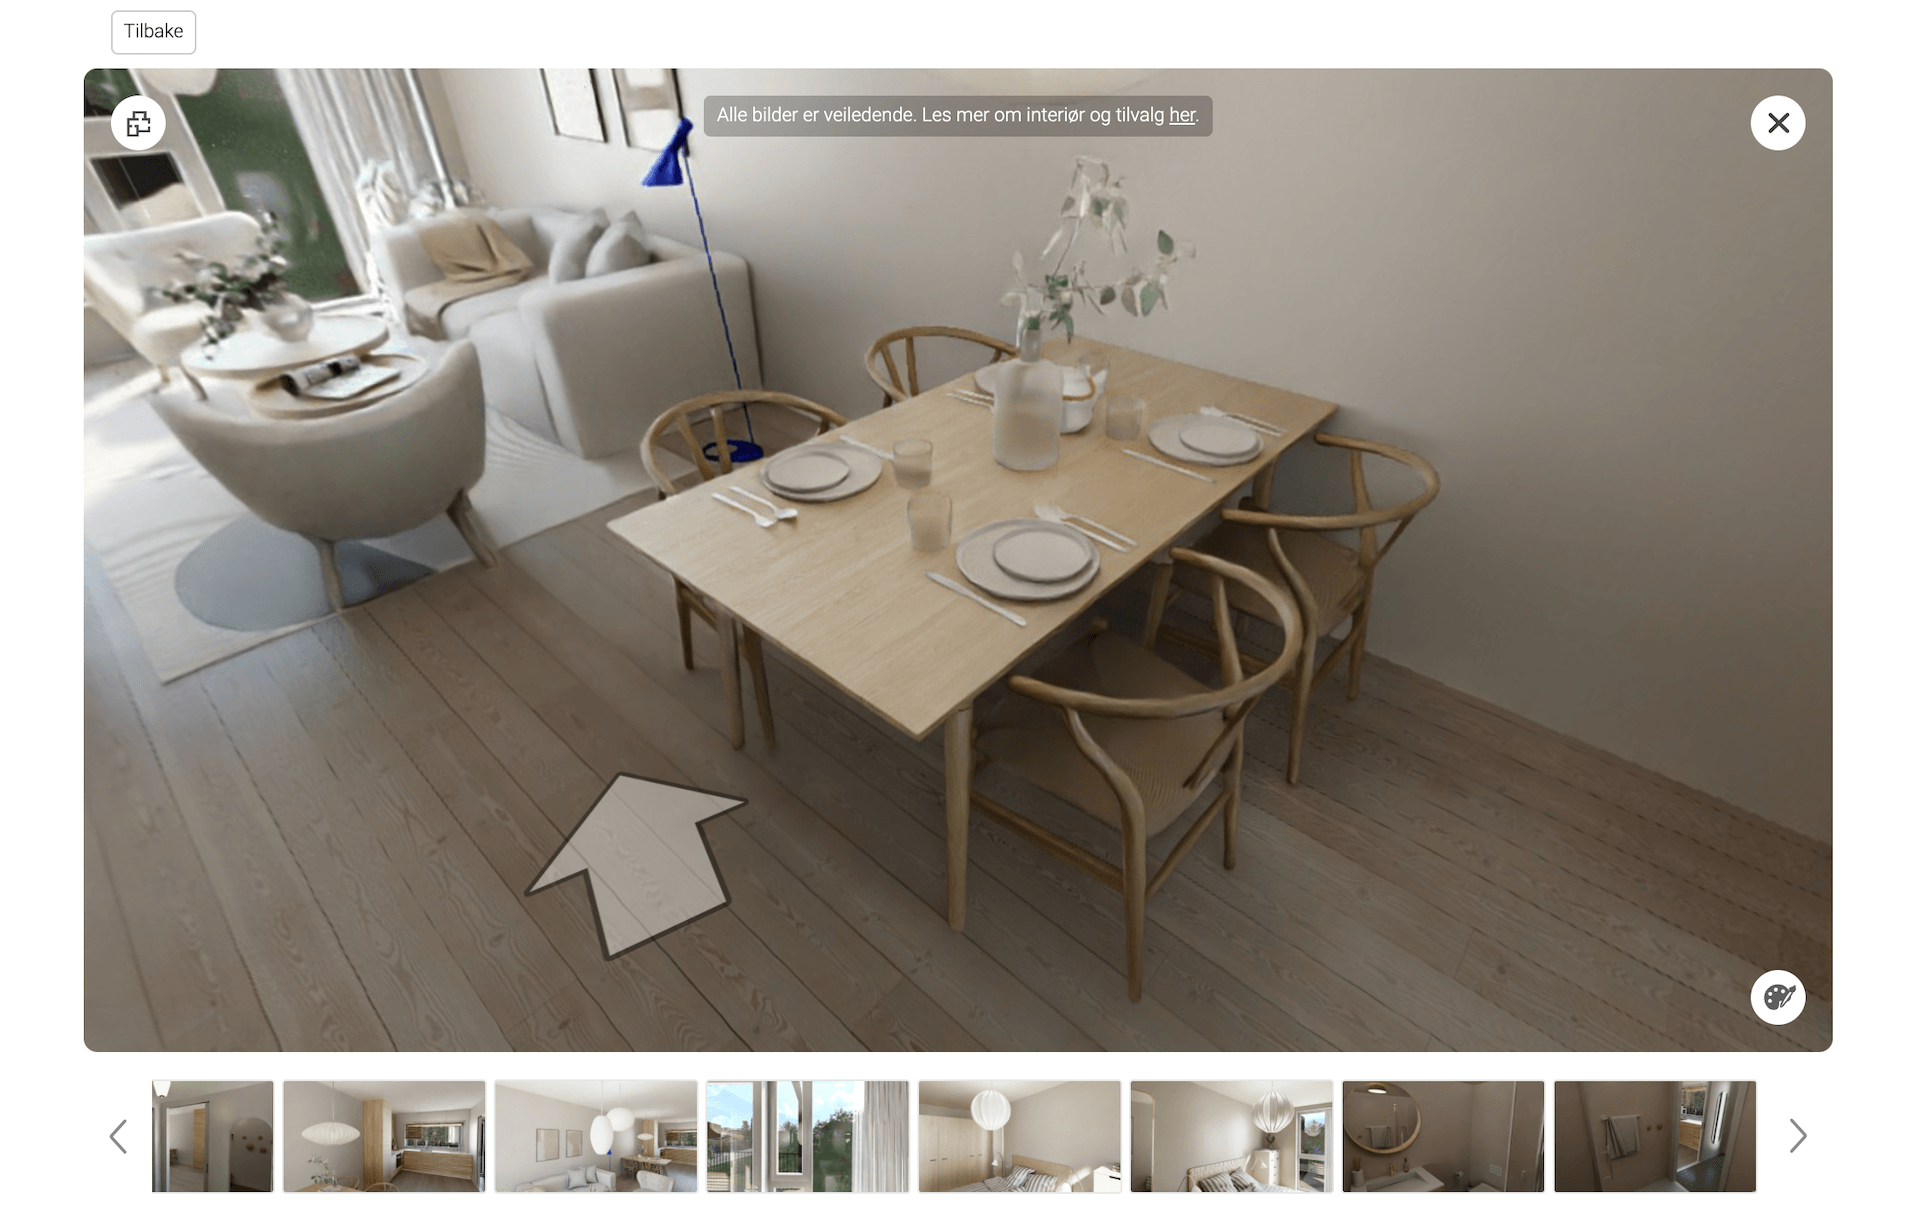
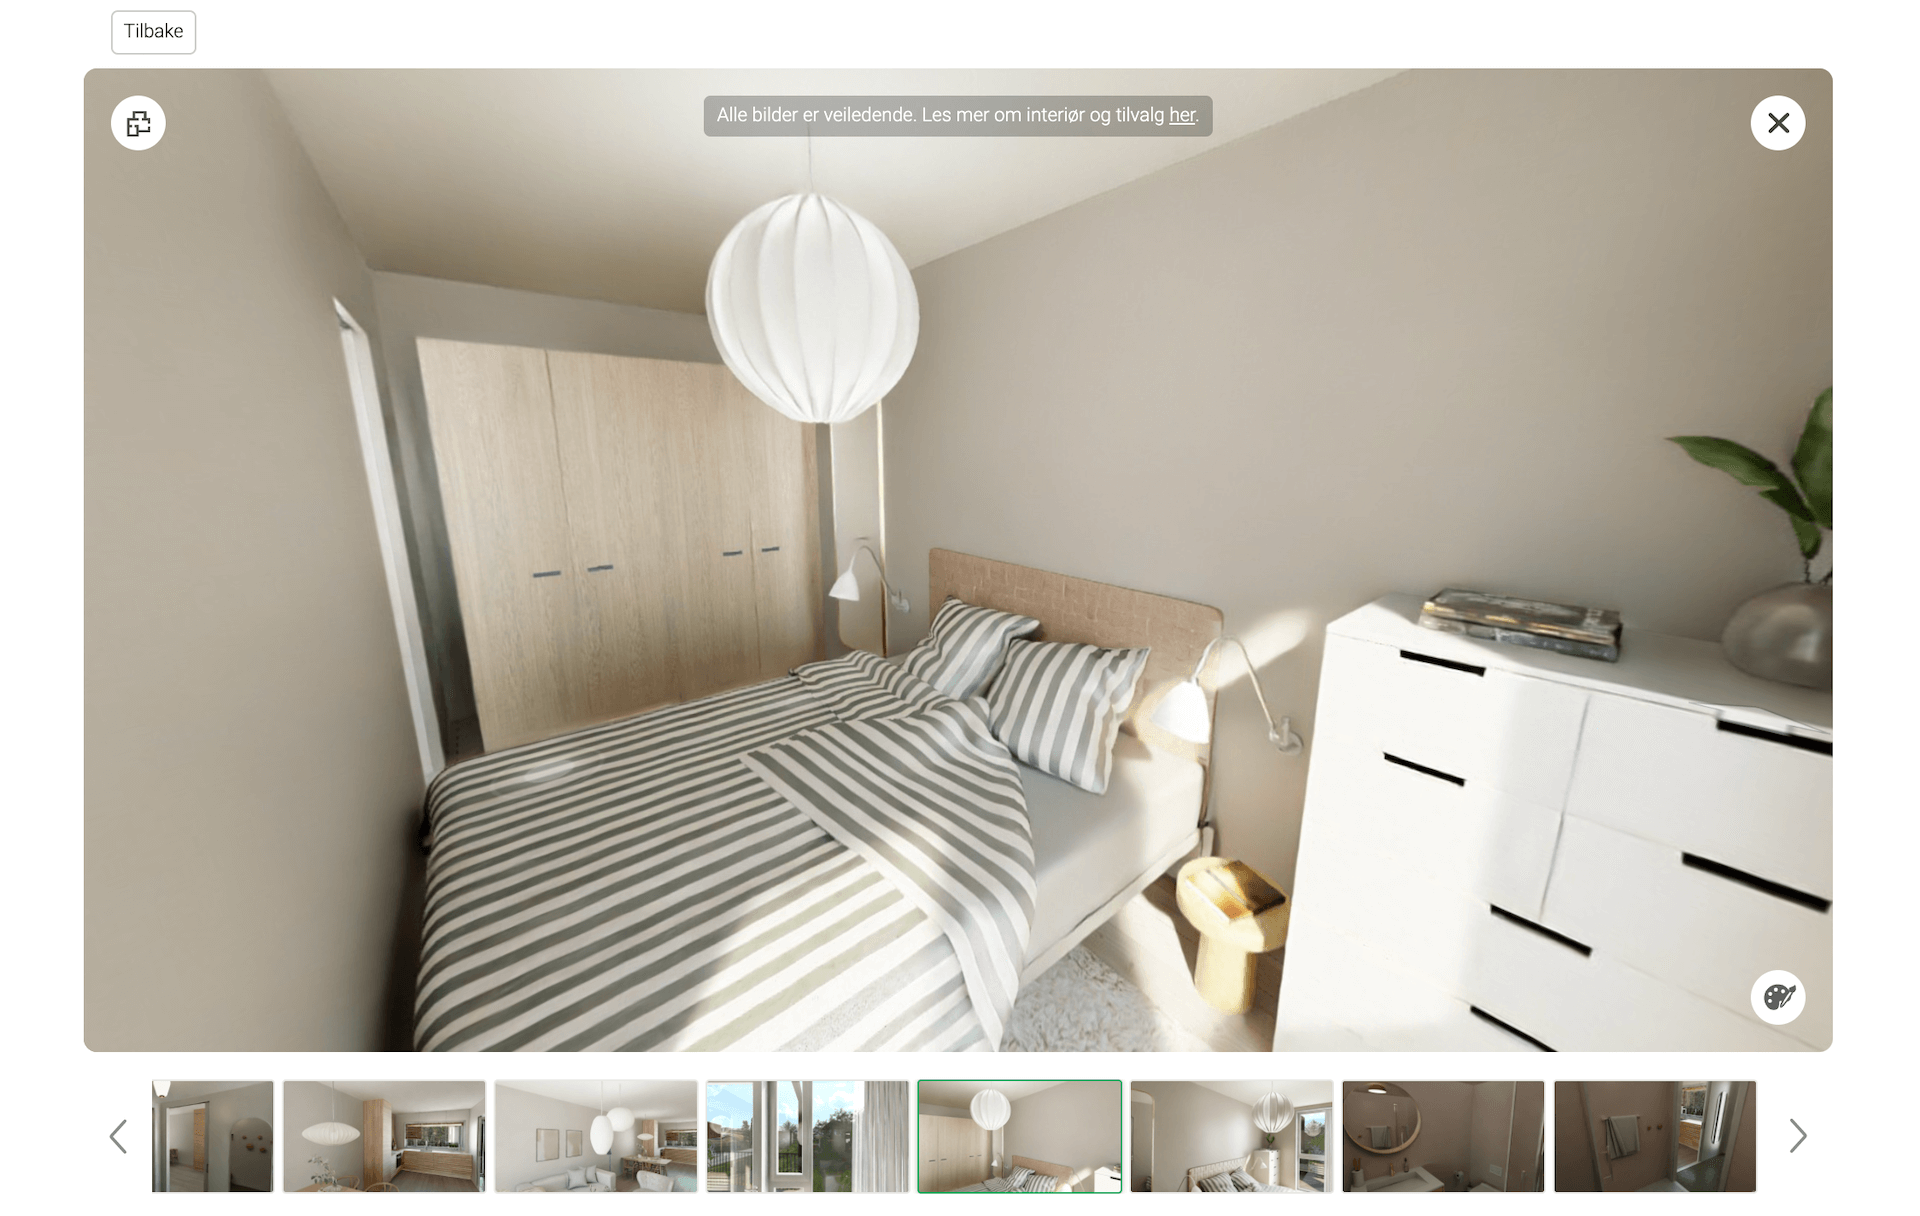
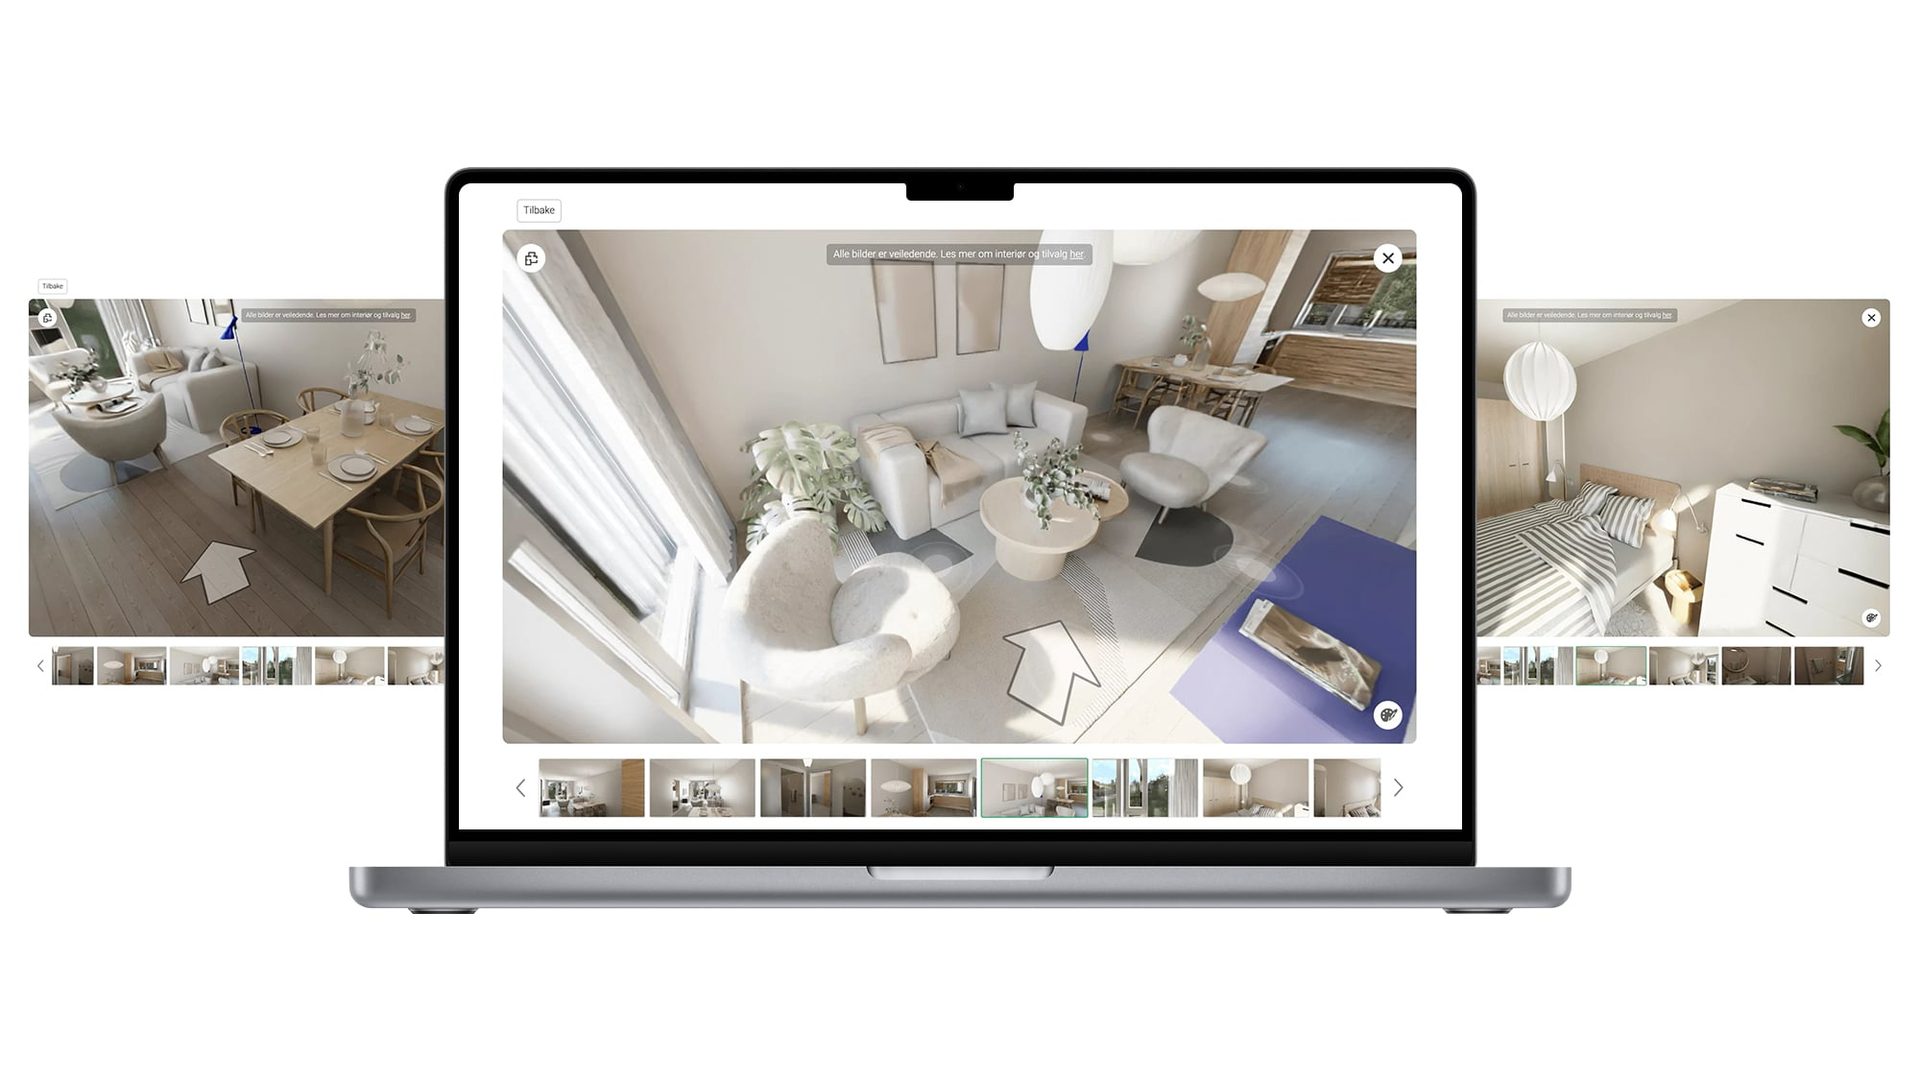
These are CG images of virtually furnished apartments, and it’s also possible to view them as 3D tours. Isn’t it exciting for potential buyers to see their dream home like that? We’re absolutely sure it will help many developers and realtors, and that QiSpace is bound for success.
Kent appreciated our work and also loved the fact that he could loop in our team of 3D artists at virtually any moment. And we, in our turn, are happy to have been part of such an extraordinary venture. We wish enormous success to the guys at QiSpace and hope that they grow from a startup into a new world-famous tech giant. Waiting for updates and new projects together!
Looking for professional CGI services? Contact us at ArchiCGI and get top-quality 3D assets of any complexity for your project!

Ana Wayne
Content Writer, Copywriter
Ana is a content writer for ArchiCGI. She has a passion for design and architecture - and for talking about it. Outside of work, she is a fan of sci-fi movies and a street food connoisseur.
Like this project? We’ve got plenty more! Check out these CGI beauties.

Comments
Anthony