


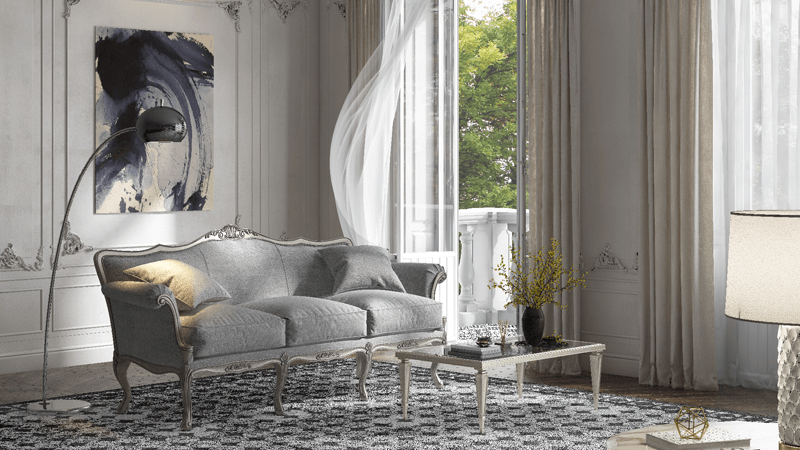
Furniture visualization lifestyles made by professional 3D artists is a perfect way to get atmospheric, photorealistic and accurate materials for presentations and advertising. Even the most difficult concepts and minute details are brought to life exactly the way the author wanted them to look. Every piece of furniture, important decor element, stunning visual trick and designer’s touch is replicated to the tee. How are these masterpieces created? Today our 3D visualization company lifts the curtain from roomset 3D render creation process, using our recent CGI lifestyle project as an example. Join us as we showcase 10 stages of every 3D furniture rendering project in detail!
#1. Collecting References
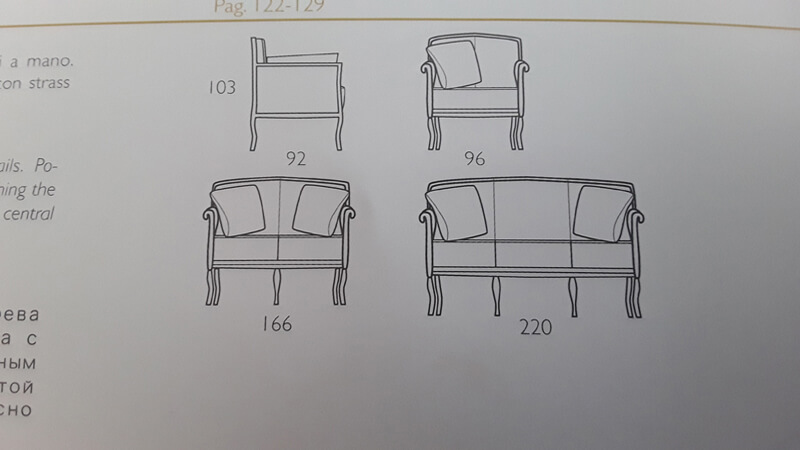
Every 3D furniture visualization project starts with gathering physical references: blueprints, sketches, props or photographs. Verbal explanations should be avoided, since it’s much more difficult to transfer words into 3D models. Thus lifestyle project speed and number of corrections depends a lot upon the materials 3D artists get.
#2. Architectural Modeling
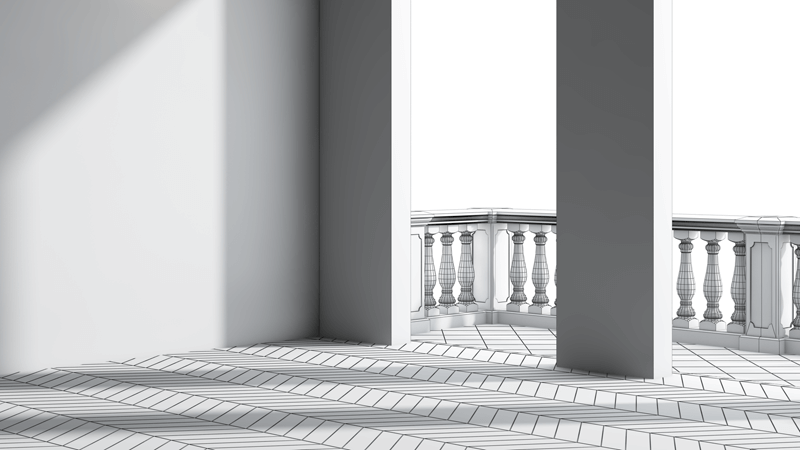
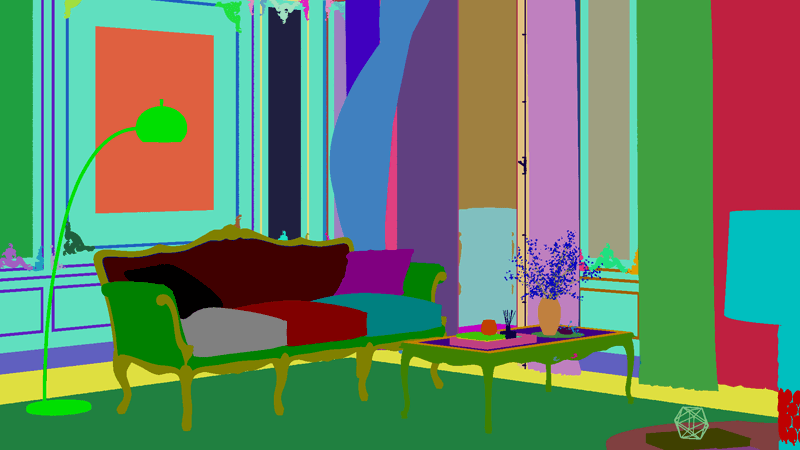
After the references are passed to 3D artists, they begin their work by creating the room from basic shapes: blank walls, floor and ceiling as well as guidelines for further object placement and textures. The scene is set.
#3. Adding Premade 3D Furniture Models Or Creating Custom Ones
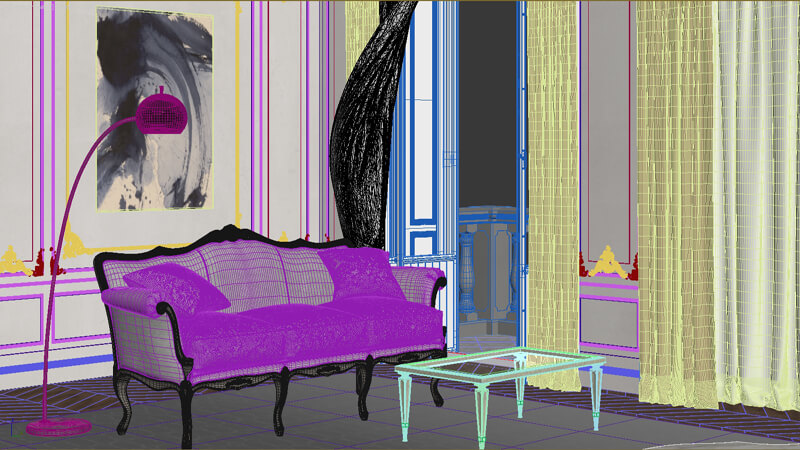

A furniture lifestyle image is not about the space, but the contents. Thus, next step involves 3D artists placing premade 3D models of intended product in the room. If the order demands custom furniture models, then they are first made from scratch using respective software, like 3DS Max or ZBrush and then put in the interior.
#4. Setting Lights
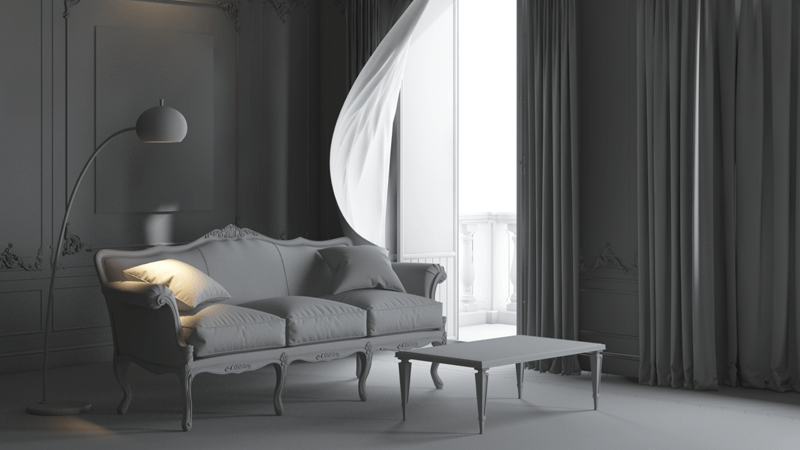
When the basic shapes are laid out and furniture pieces are placed, it’s time for establishing lighting. A single base light source is created, usually the “sun”. Realistic lighting is the thing that makes or breaks a staged product image, so it’s vital to do it right. In real world there is never one source of light, unless we’re talking about some concrete box with one hole in it. Lamps, light fixtures, chandeliers – the list can go on, and all of them produce different types of lighting, and they all have to be accounted for. Finally, a 3D artist has to meticulously edit shadows and reflections to avoid unrealistic effect and risk of ruining a perfect furniture visualization.
#5. Texturing And Material Tuning
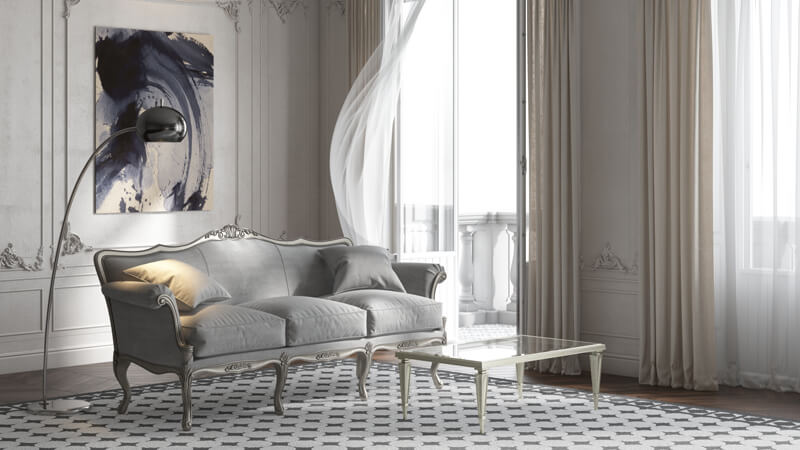
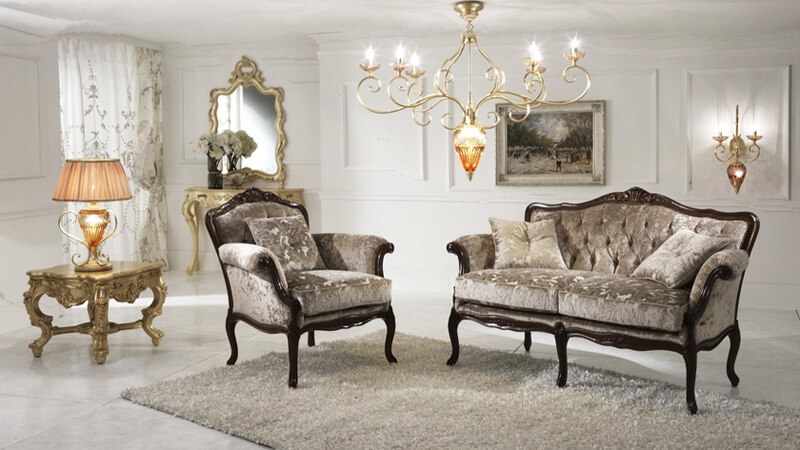
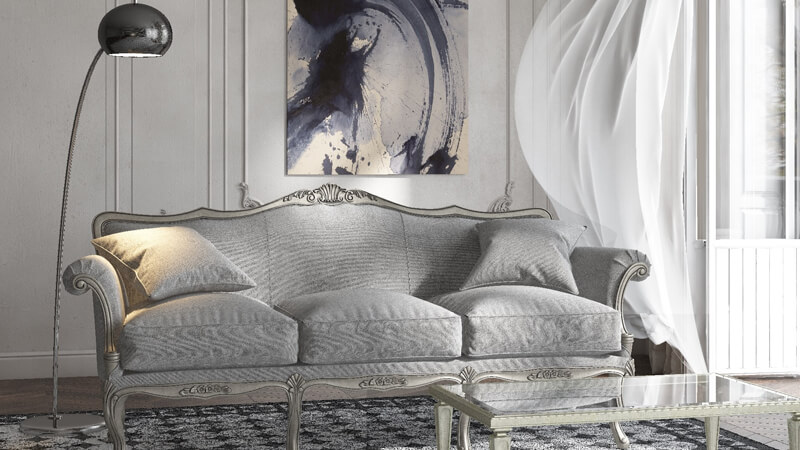
But what good can furniture visualization do if the centrepiece doesn’t look enticing on its own? Replicating material quality of the items realistically is a vital to any CGI lifestyle. Cloth, leather, wood, metal – all have very specific textures that have to be carefully recreated on polygonal models. After placing a texture, material properties, such as reflectivity, are also replicated to the tee. As a result, the objects look photorealistic, as if you can really touch them!
Take your design presentation to a new level with interior rendering
#6. Setting Furniture Visualization Camera Angles
One of the best things about furniture CGI, whether it be staged or silo product renderings, is the ability to pick any camera angle for the 3D visualization, and not be limited just to one or two. Remember, lifestyle furniture visualizations are whole spaces, not just separate shots, so it’s technically possible to show their every nook and cranny. But there is no need to do that for design presentations and promotional materials, 3-5 good POVs are more than enough.
#7. Adding Decor
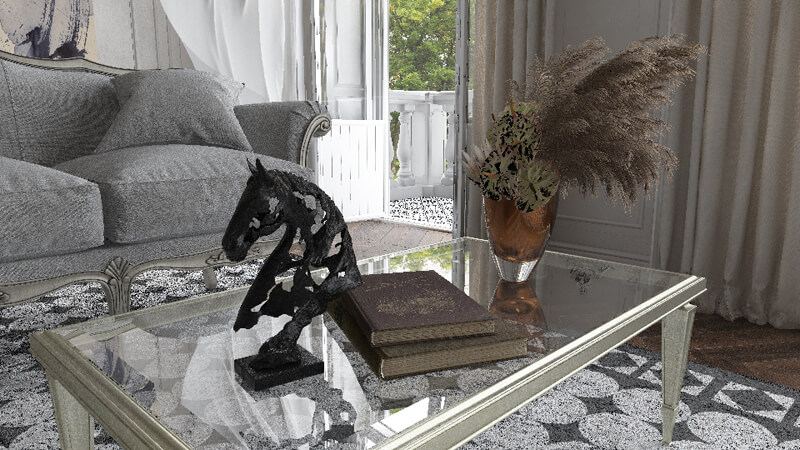
Decorations are crucial element of any interior, since they create atmosphere and enhance visual storytelling. Contextual decor is not always chosen by clients, sometimes 3D artists choose it themselves, making sure that it matches the furniture and organically fits the composition. As a result, the roomset gets another layer of believability and a unique “lived-in” look.
#8. Draft Version Of Rendering
After main stages of furniture visualization are done, the render needs testing. For that interior rendering software like 3DS Max runs various checks and specialists review the results. If glitches, clipping or lighting errors are detected, they are immediately fixed. This is by far the most important and time-consuming part of the process.
#9. Corrections And Final Rendering

If during previous stage some errors have been detected or client asks for some changes, the project team applies the necessary corrections to the furniture visualization. After it’s finished, then final rendering is processed by software and the resulting images just need some polishing.
#10. Post-Production
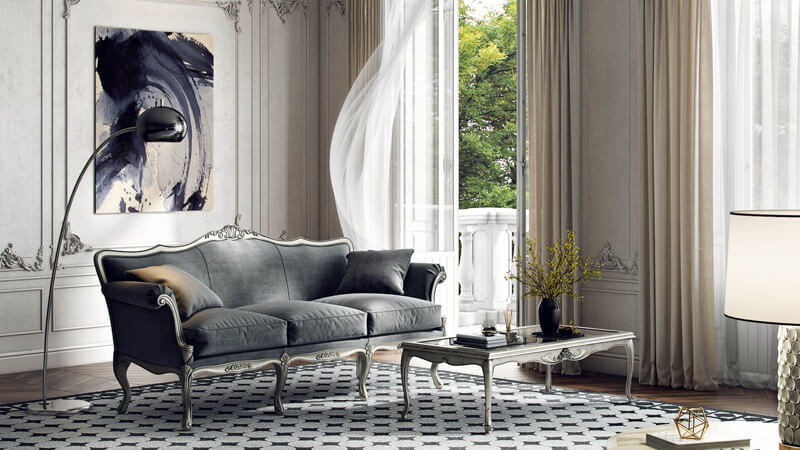
Finally, furniture visualization is finished, everything is checked and there is nothing that can go wrong – which means it’s time for post-production and rasterization. Using graphical editors like Photoshop specialists retouch the image and add subtle effects like bloom and chromatic aberration. Voila – the set of gorgeous pictures is done and sent to the customer, all within 24 hours!
And there you have it – this is how every lifestyle furniture visualization is done. There is no magic behind this process but tremendous skills of 3D artists and hours of relentless hard work. Put together, these ingredients ensure the impeccable quality of the imagery so you get perfect marketing materials to present your design to customers. Wonder how much professional lifestyle rendering of your furniture can cost? Contact ArchiCGI 3D visualization company. You can phone us, or contact our Client Managers via email.

Irma Prus
Content Writer, Copywriter
Irma writes articles and marketing copy for ArchiCGI. Her dream is that more people discover the power of CGI for architecture. Irma is into neuromarketing, ruby chocolate and Doctor Who series.