3D Photorealistic Visualization: A Ukrainian Bridge Under Construction
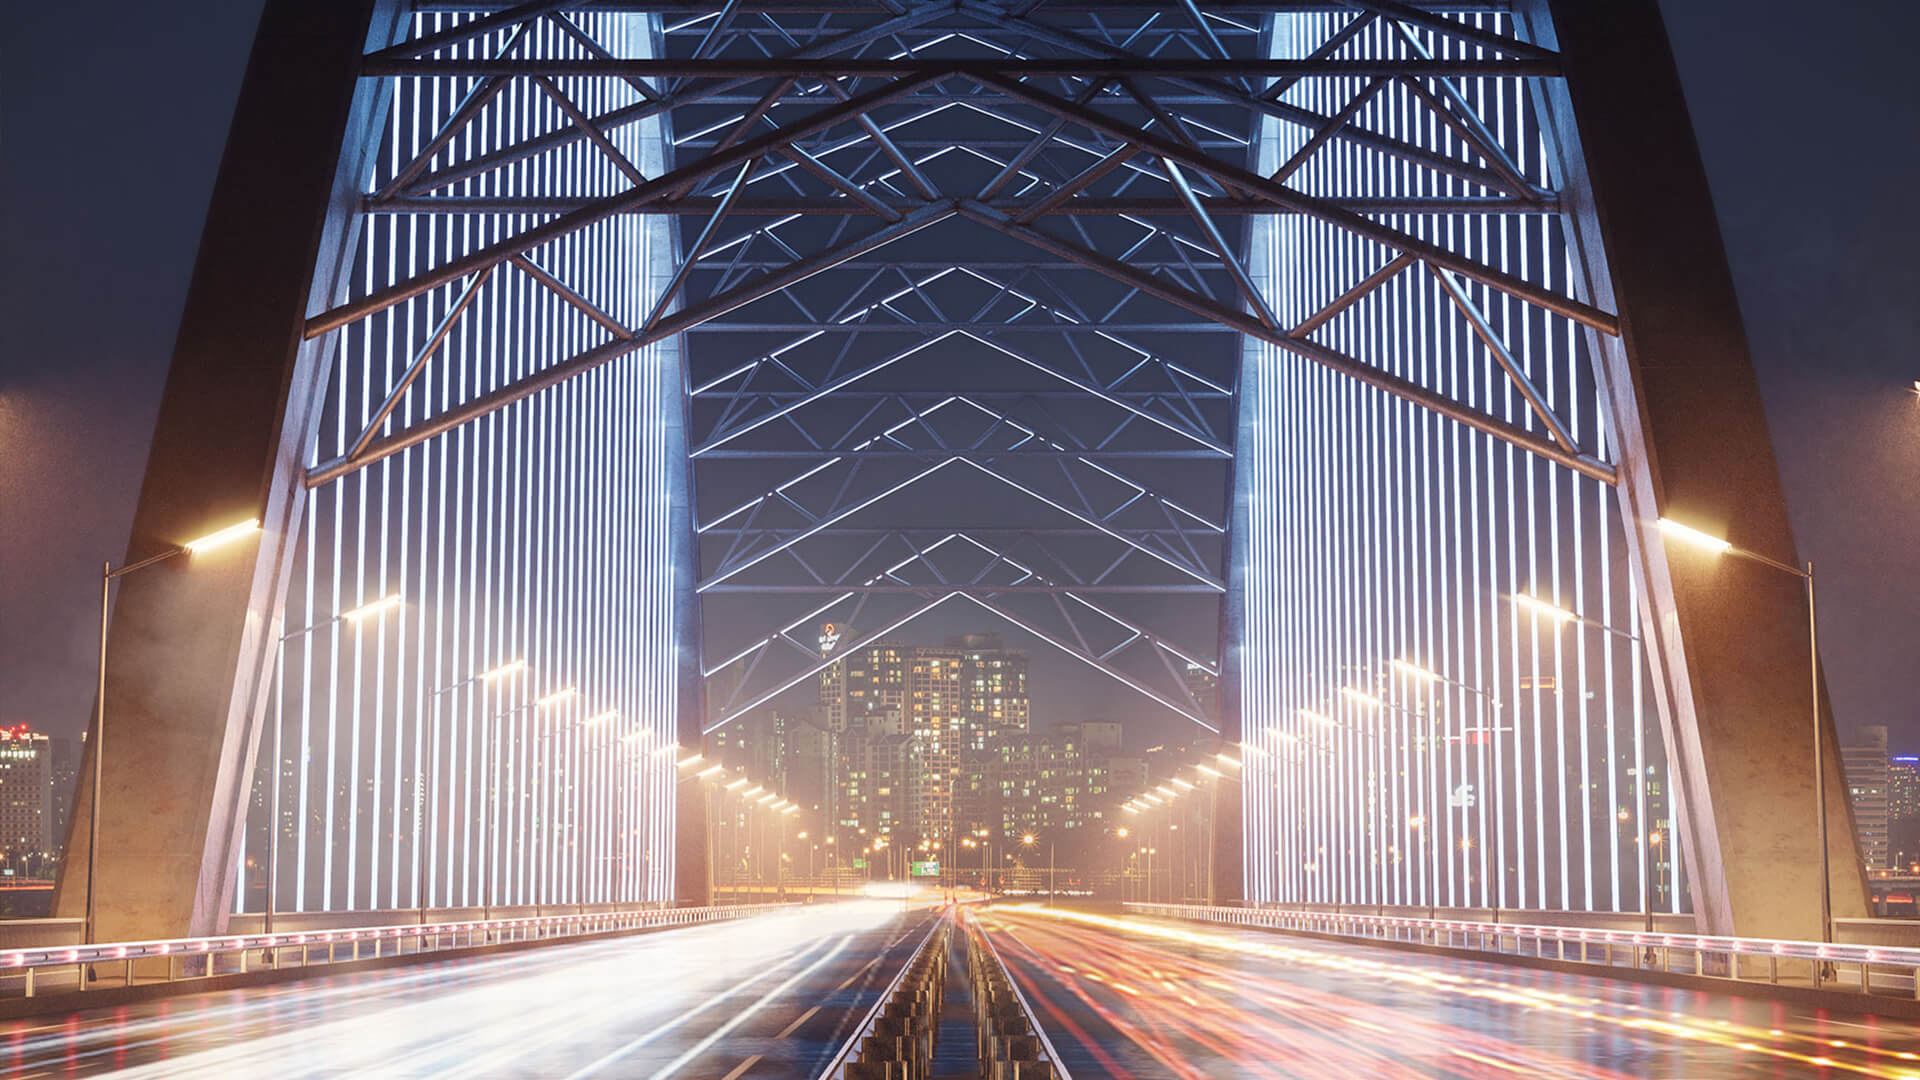
A busy city bridge in the center of Kyiv nightlife inspired a senior 3D artist of ArchiCGI 3D rendering studio Violeta to experiment with photorealistic rendering. She wanted to explore the architectural structure as well as convey the special ambiance of the lively Ukrainian capital under the night sky.
So how it’s all started?
The Key Stages of a 3D Photorealistic Visualization Project
This rendering project has a real-life inspiration but with a creative twist of the 3D artist who set up a very specific mood for the images. Let’s take a look at the 3D visualization process from A to Z.
Stage 1: selecting references
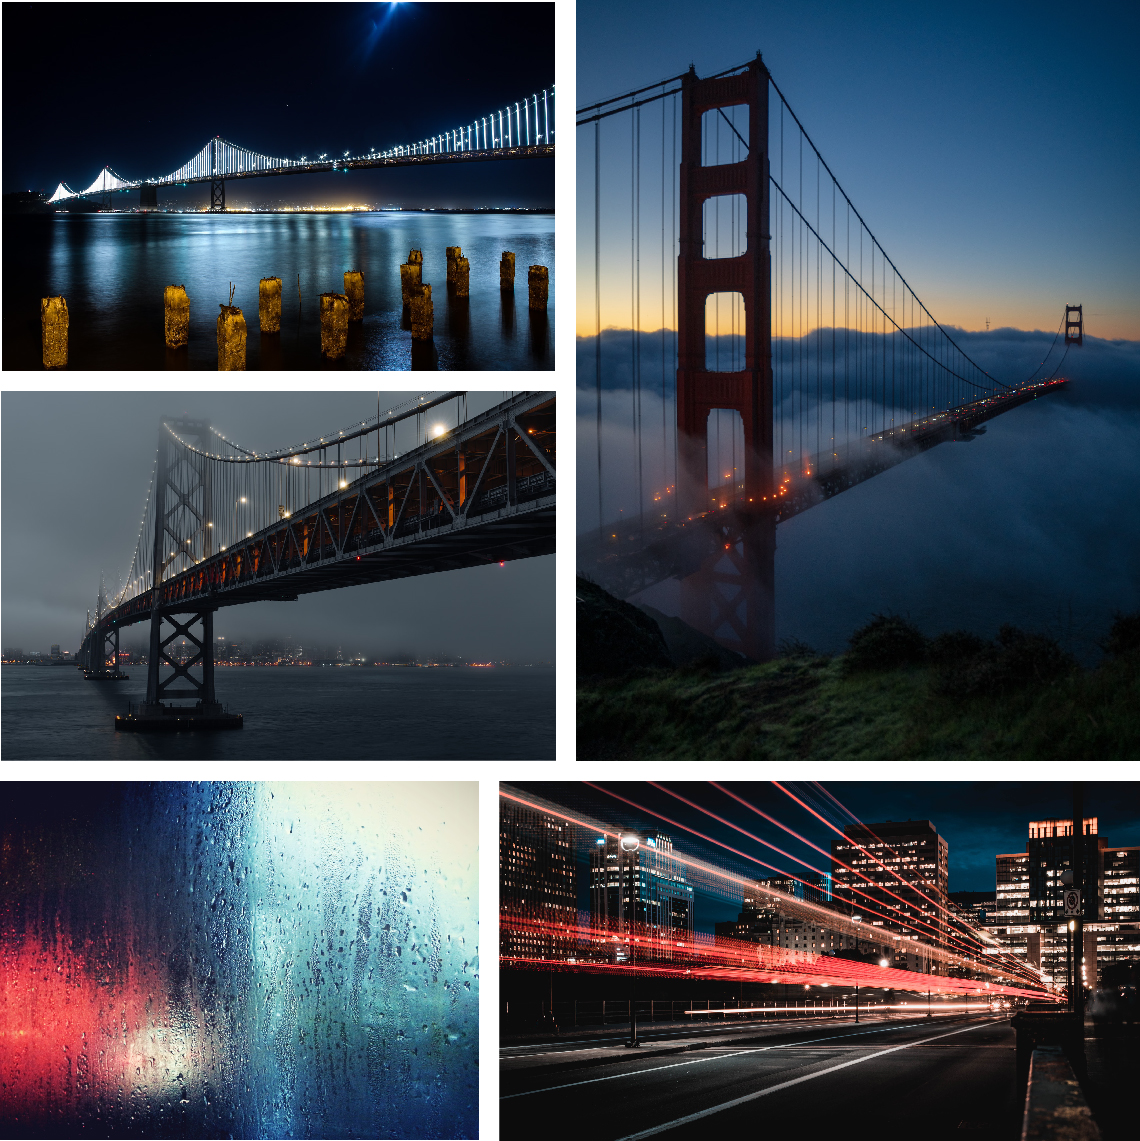
Every rendering project starts with looking for inspirational materials and coming up with the concept of future images. In this case, the main reference is a real architectural object – a bridge in Kyiv, Ukraine that is about to be finished in a couple of years. The Podilsko-Voskresenskyi Bridge or Podilskyi Metro Bridge is a combined road-rail bridge over the Dnipro River. It has been under construction since 1993, but the opening date has been repeatedly delayed. So Violeta decided to finish it herself… digitally.
Stage 2: modeling an architectural 3D object
The bridge was designed by a Ukrainian architect George Fuchs. Basically, it is a two-tier structure consisting of three levels and overpasses that connect them. On the upper tier, 6 lanes are planned for traffic (3 each one way), on the lower tier – the future Podolsko-Voskresenskaya metro line. Violeta focused on modeling the upper-tier part of the bridge, which was meticulously constructed in 3ds Max.
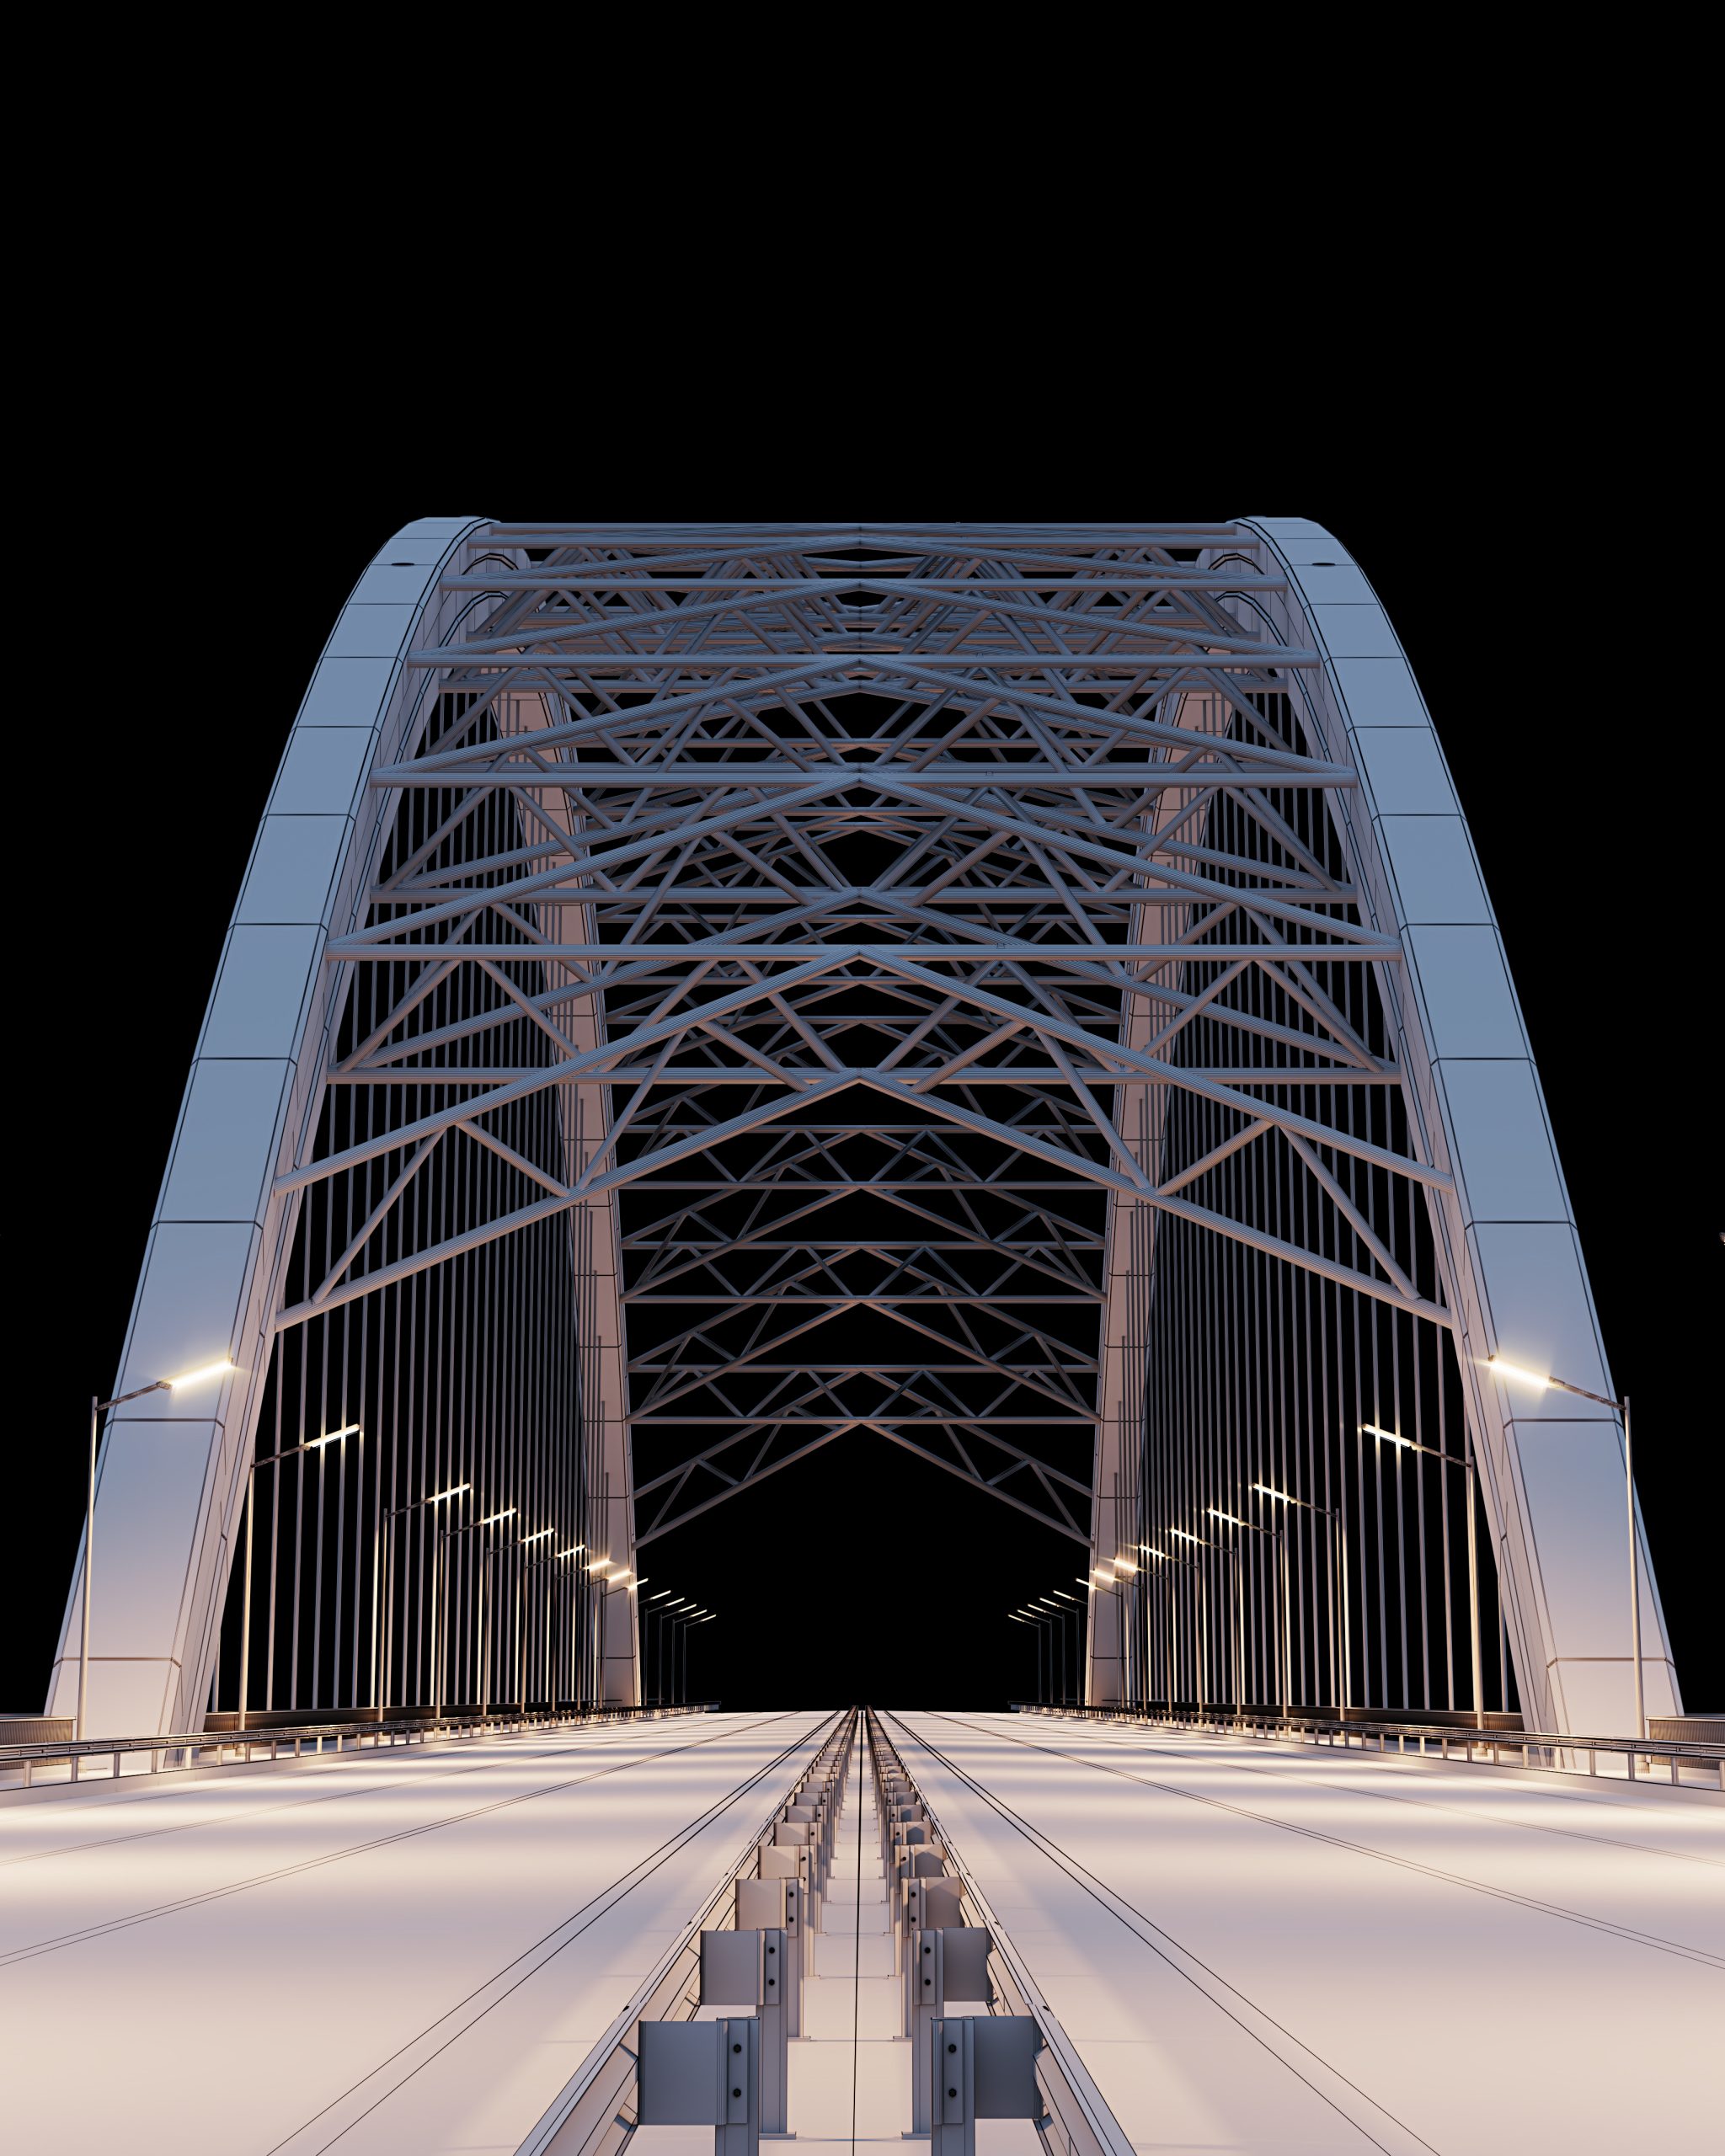
Stage 3: setting up a 3D scene
The bridge is complemented by other 3D models in the scene. The main ones are moving cars that create busy traffic. Violeta built each car based on real automobile brands and model designs that are wide-spread in Ukraine for more authenticity. On top of that, the city background completed the composition of the 3D photorealistic visualization as a stunning urban picture.
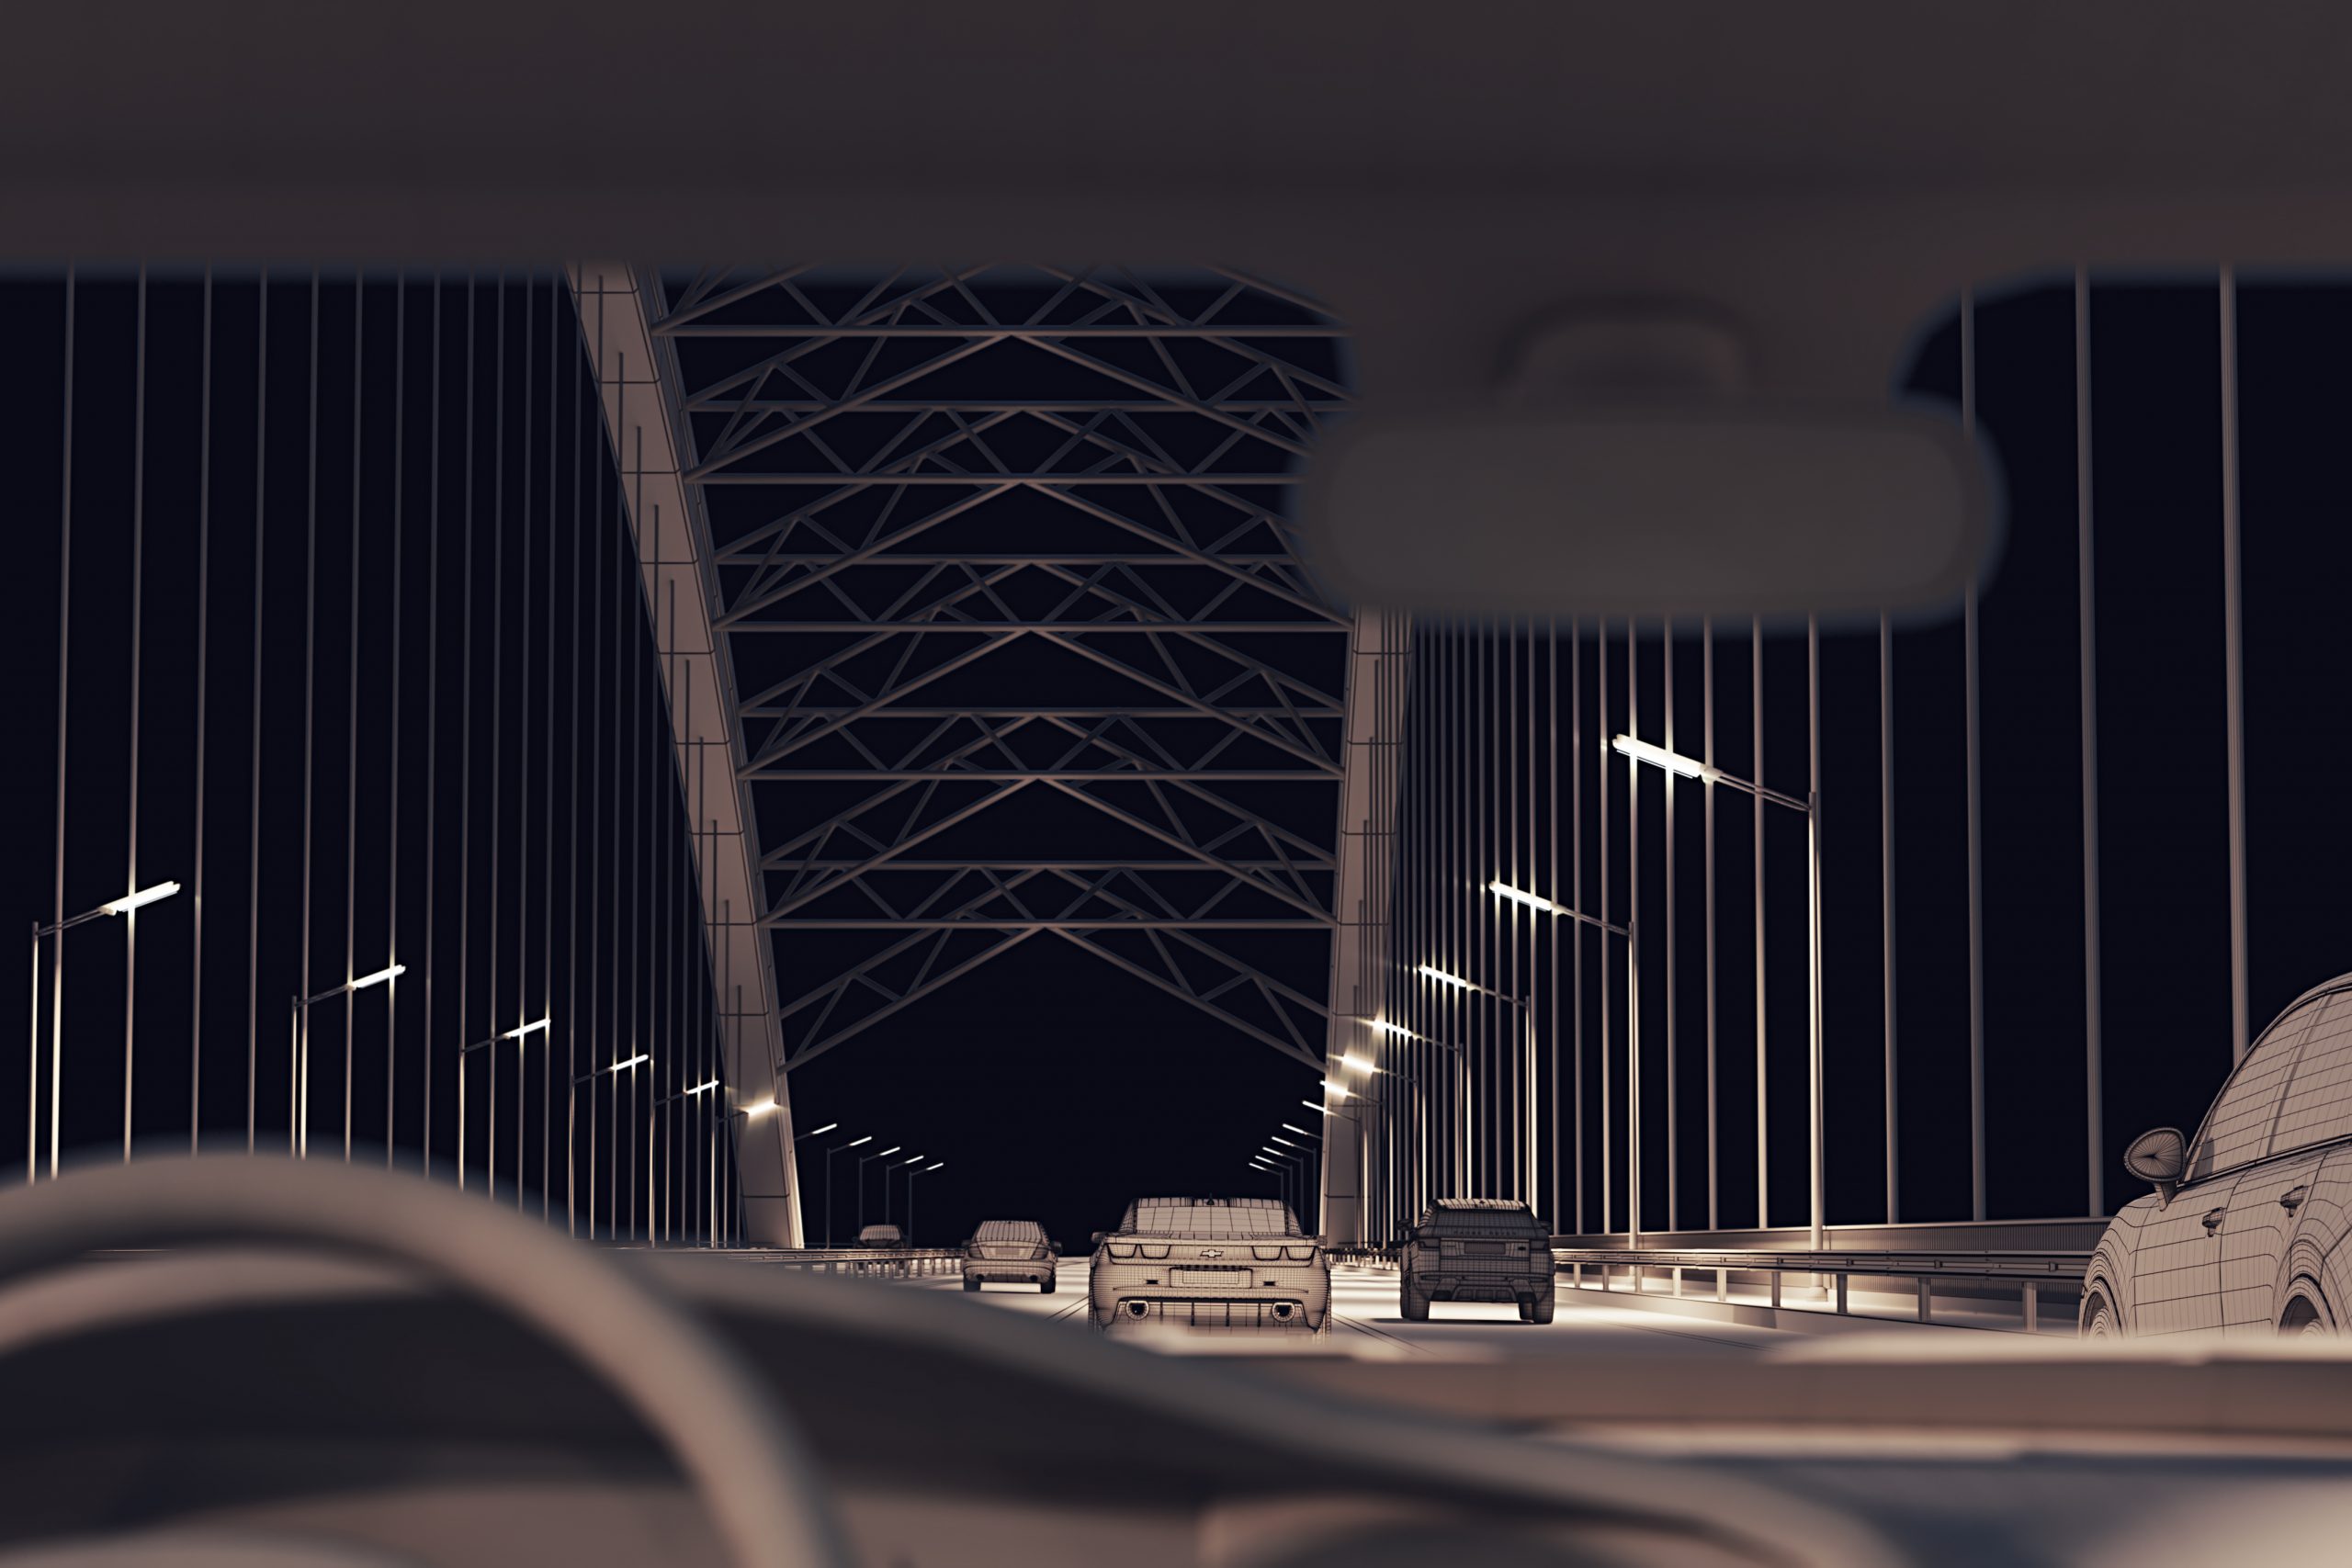
Stage 4: installing lighting and camera views
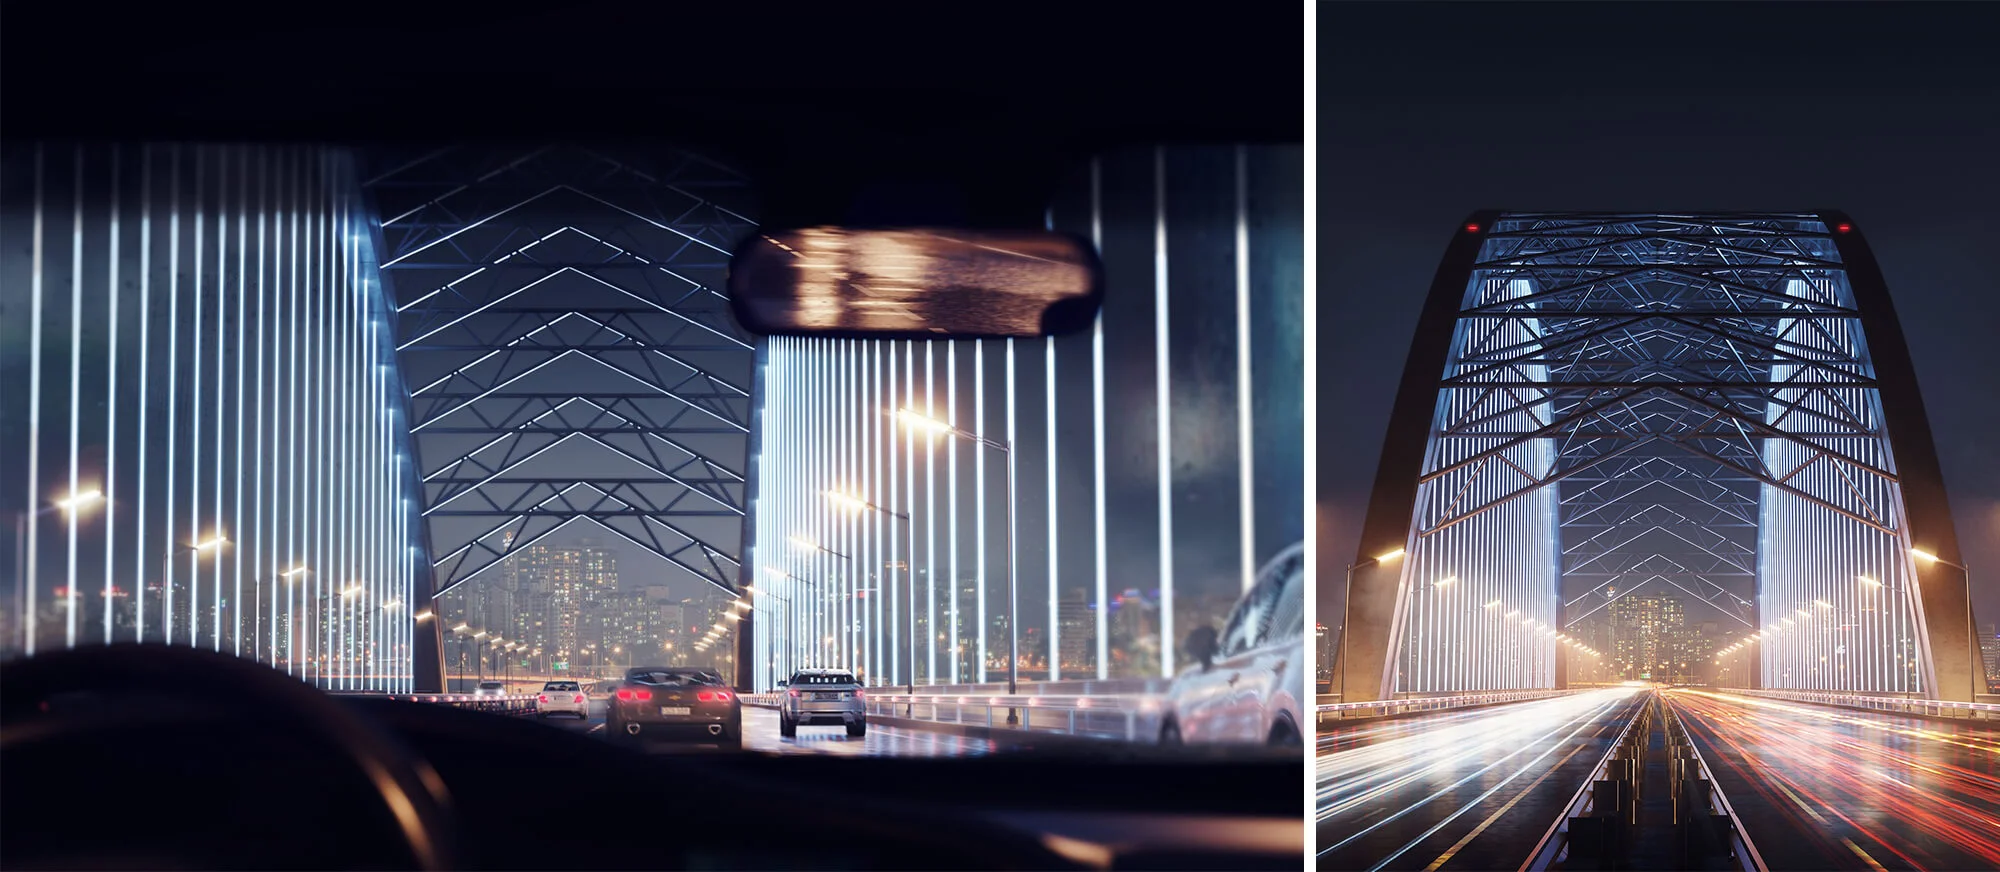
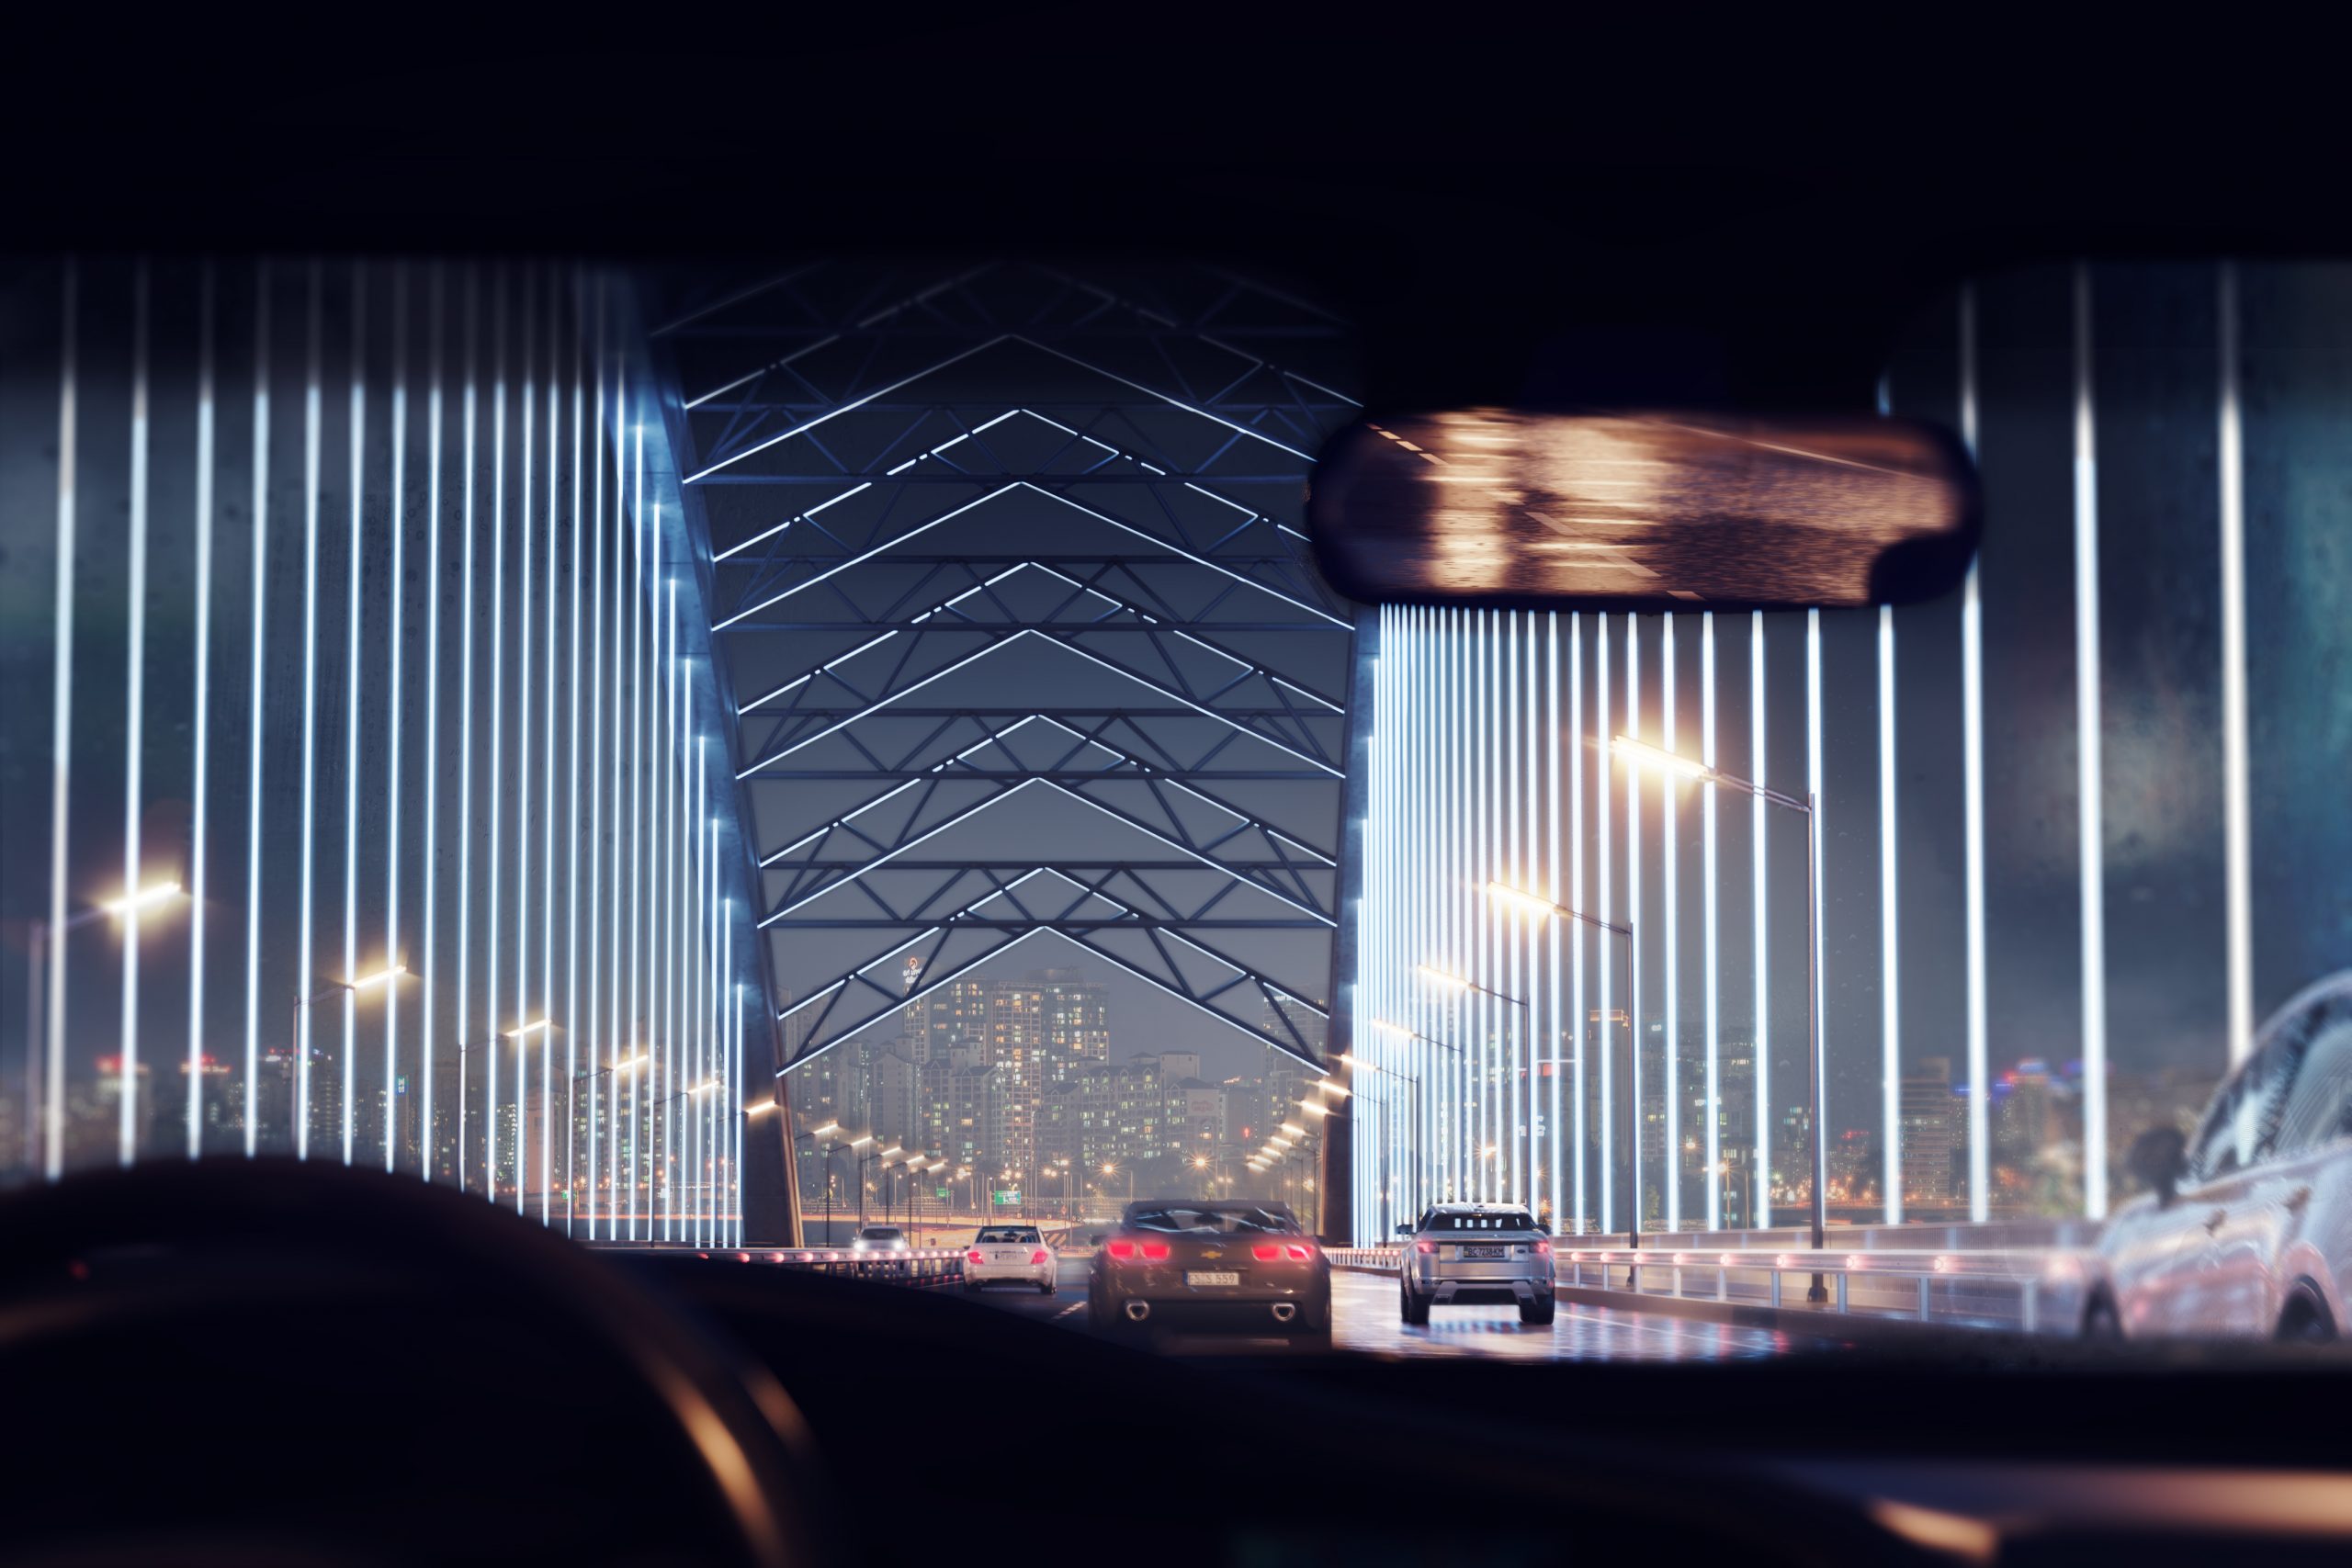
The 3D visualization artist opted for two camera angles – a bridge in the center of the composition and the view from the car. The first one allows us to appreciate the beauty of the bridge in the urban scene, while the second one creates an immersive effect of being present right there in the car amid traffic.
Both views are complemented by the mesmerizing city scenery with skyscrapers on the background. The 3D artist tuned night city light settings for gaining a more photorealistic result as well as intensify the mood of the images.
Stage 5: retouching and animation after rendering
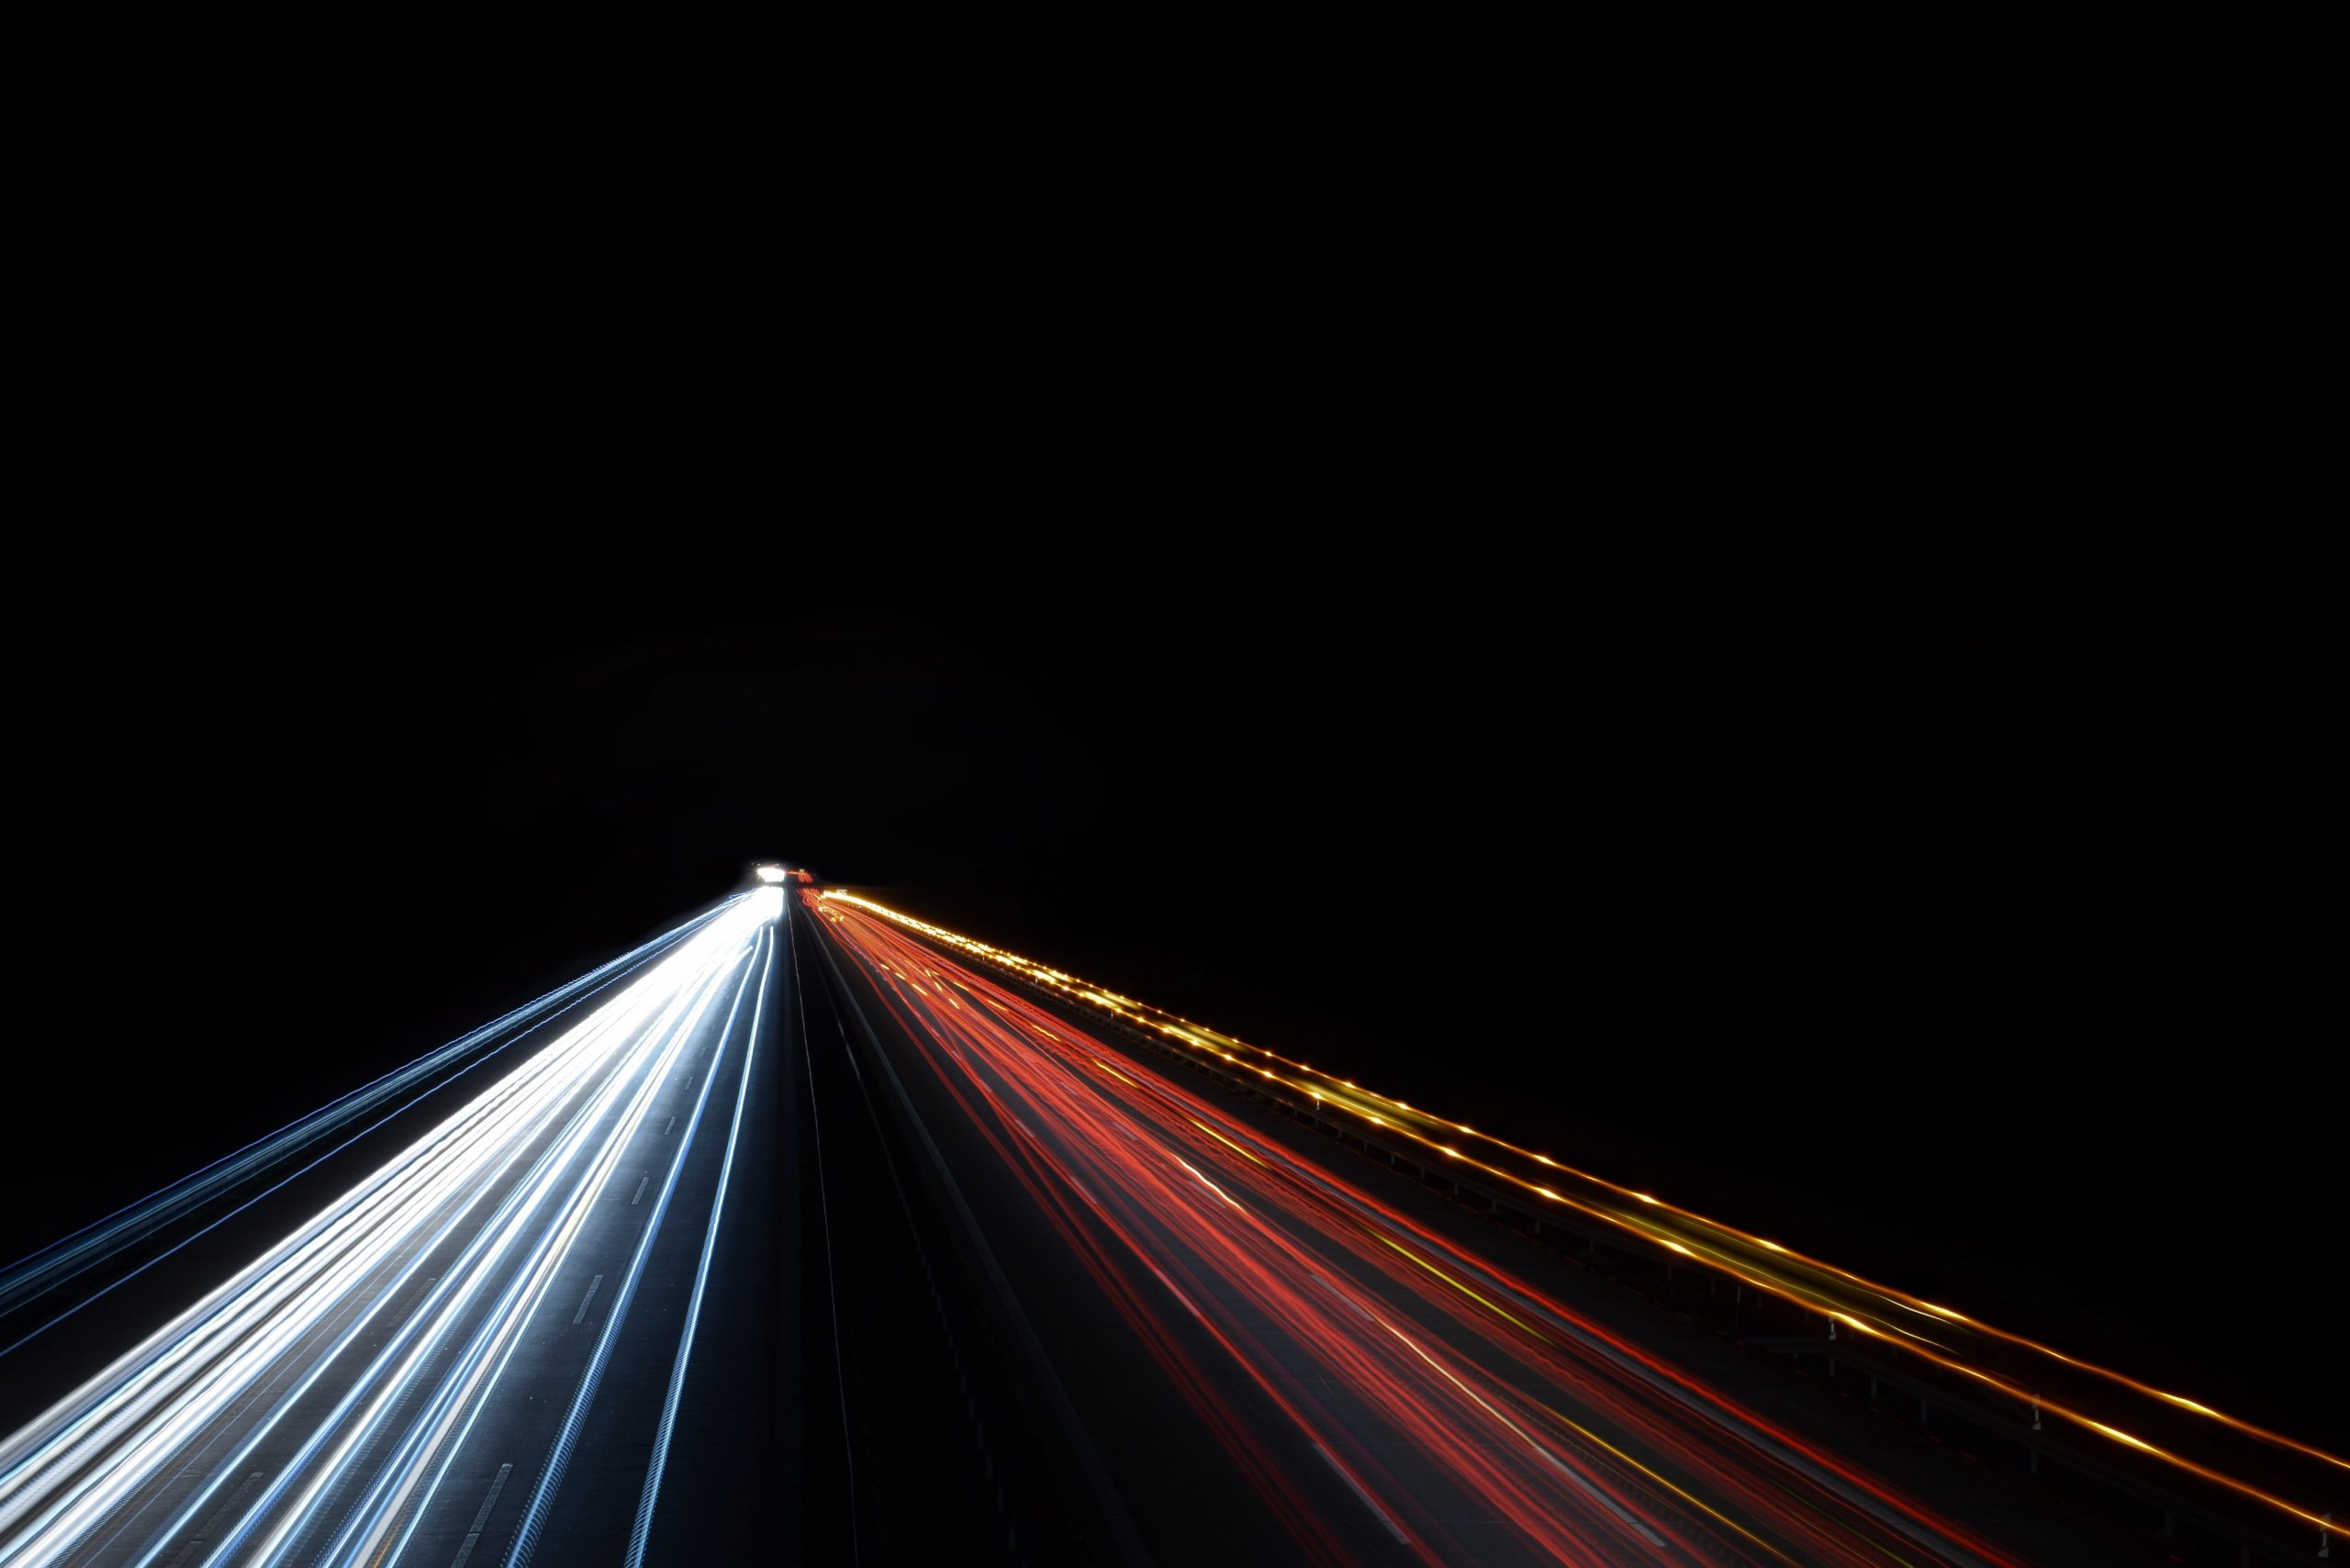
The two renders are not the final product of the photorealistic visualization project. Violeta made some retouching in Photoshop after. Mainly, she added blurry light lines from car headlights captured in fast movement. Other than that, there were some contrasting and defusing effects on lampposts lighting and city lights on the background.
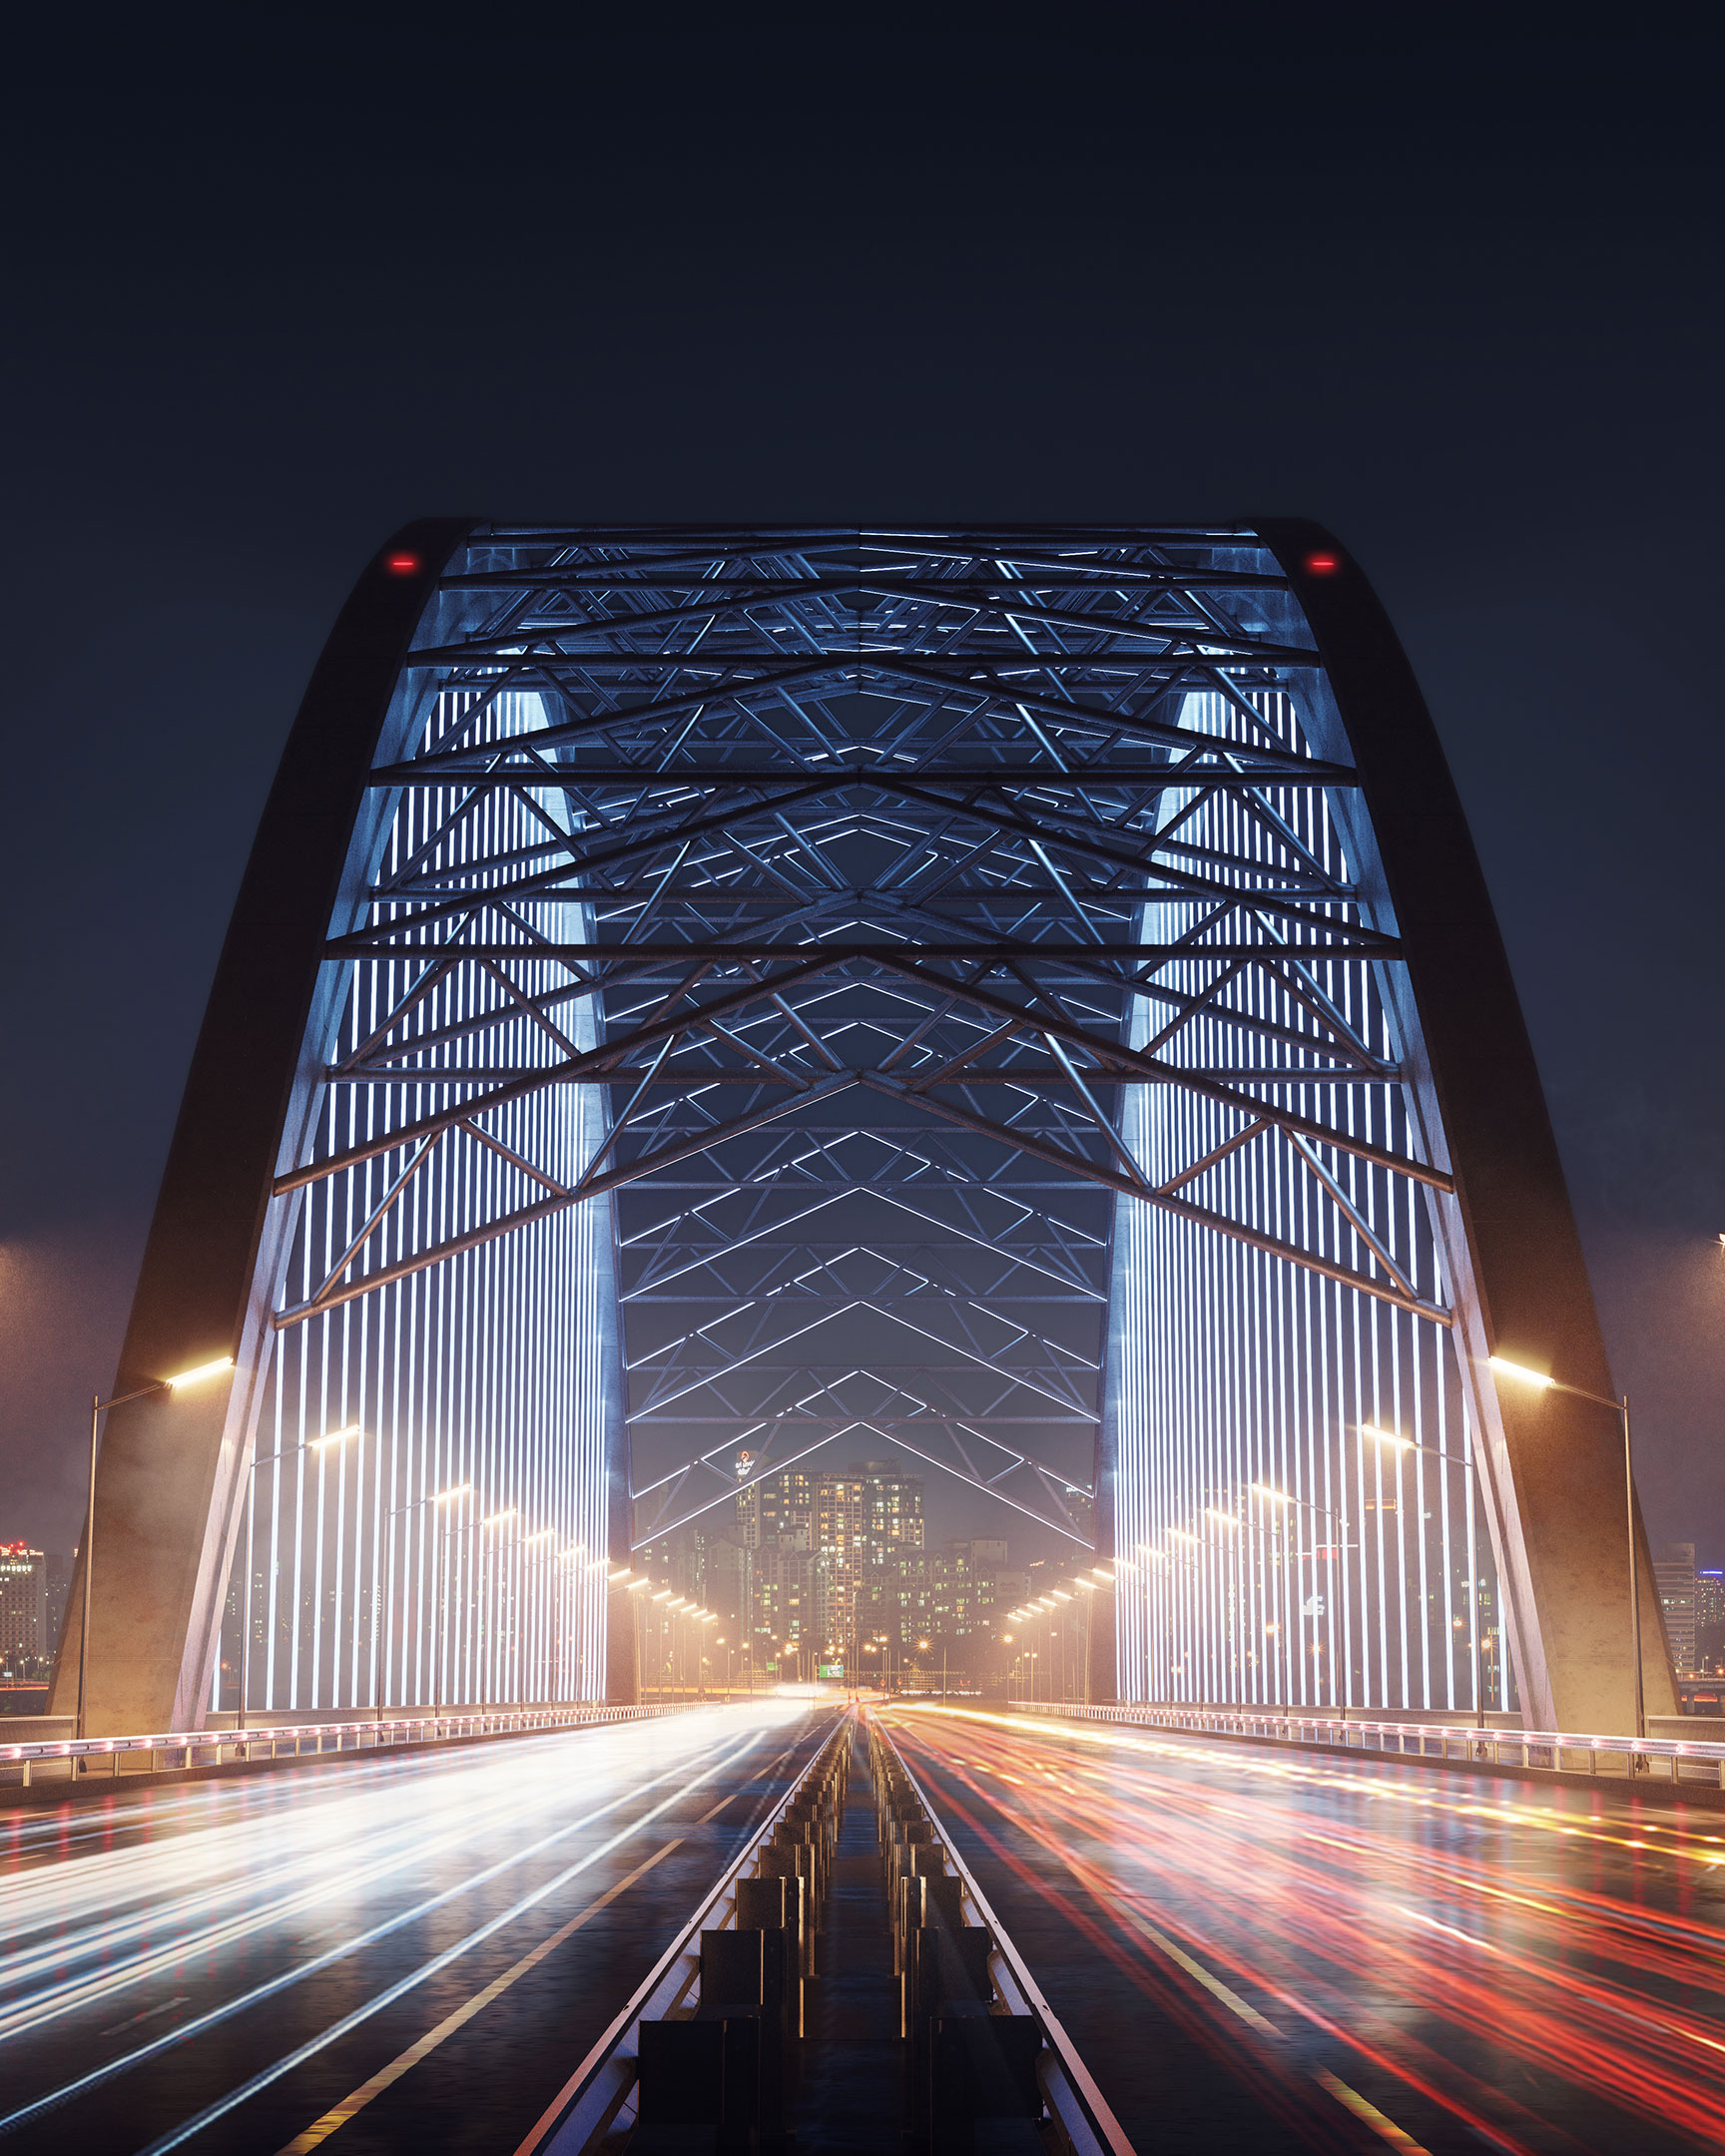
After that, our video editing specialist Max turned one of the renders into an animated visual with a time-lapse effect of moving traffic and stars in the night sky. Now, the photorealistic visualization of the bridge truly came to life right in front of our eyes.
Stunned by this jaw-dropping architectural 3D imagery? Contact us for CGI services and architectural 3D animation services. We can make photorealistic visualizations of your project and turn your most unique ideas to reality.
Want to learn how much your project costs? See how we evaluate 3D rendering projects

Catherine Paul
Content Writer, Editor at ArchiCGI
Catherine is a content writer and editor. In her articles, she explains how CGI is transforming the world of architecture and design. Outside of office, she enjoys yoga, travelling, and watching horrors.


