3D Animation for Real Estate Redevelopment in Pennsylvania
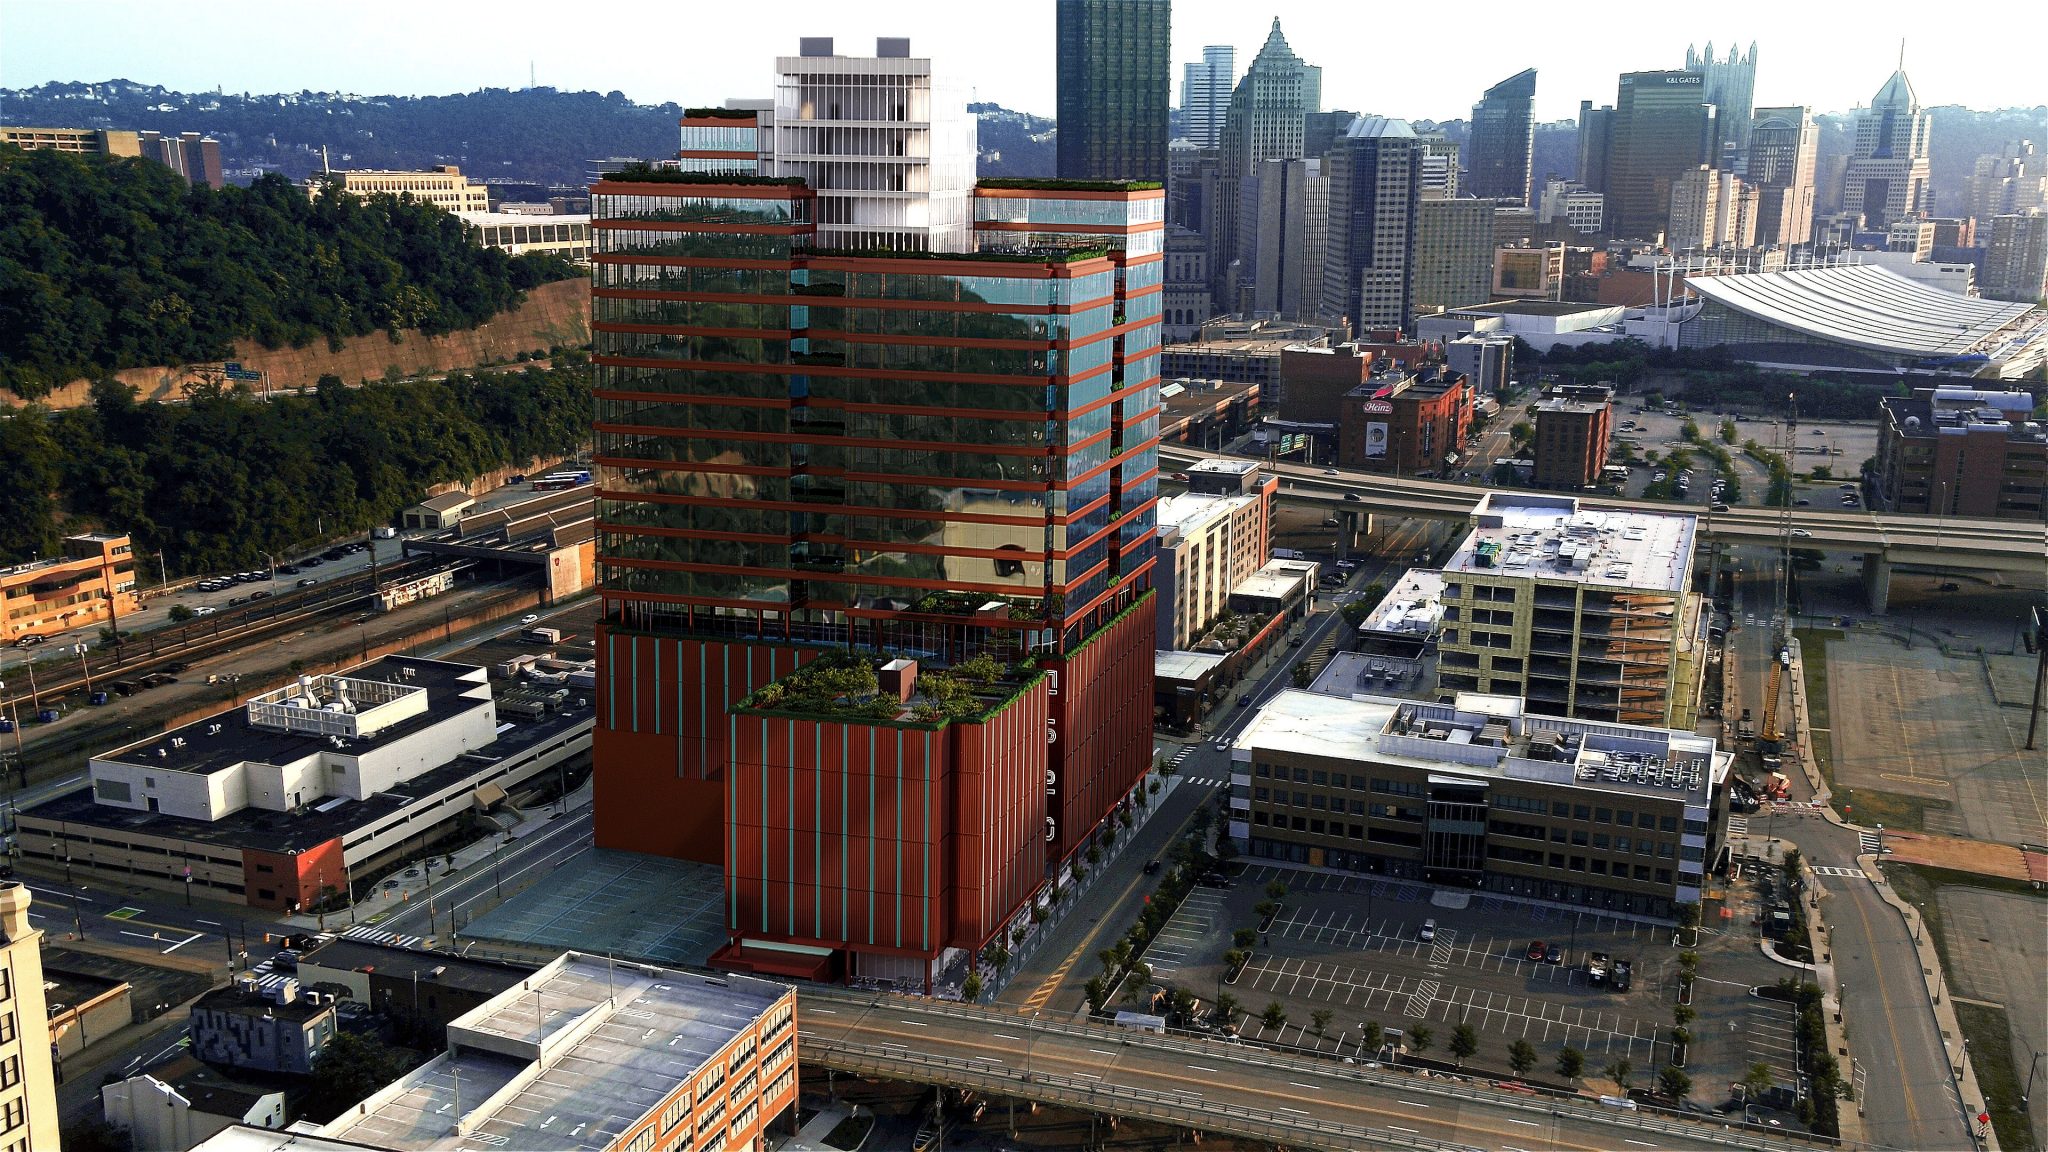
This 3D animation for real estate property was commissioned by our highly esteemed partners and friends from Neymarc Visuals, US-based video production and VFX studio. The showreel features the future result of a large-scale renovation project — a beautiful office building in Pittsburgh. Our clients needed a 3D architectural animation to give viewers a glimpse of the interior and exterior design of the future real estate jewel.
It was our second project with Neymarc Visuals, and at the moment of writing of this making-of, we are working on the fourth. We create photorealistic 3D animation that the studio uses for advertising videos. Each of their ads is a masterpiece, a captivating mini-movie that glues viewers to the screens. That’s why works by Neymarc Visuals have been distinguished by Cannes Lion, Webby, and numerous Telly Awards. And that is also why the video production studio worked with American Red Cross, Google, Forbes, Cadillac, Chevrolet, and other high-profile organizations.
Below you can see the result of our this project.
The animation was incorporated into the video ad shot by Neymarc Visuals. Wonder what it looked like and what was the pipeline? Find out everything in the article below.
Technical Assignment for 3D Animation
The assignment was provided by the Head of Production, Sarah Verstraete, and Michael Tan, the Head of VFX. As usual, the brief was very detailed and clearly formulated. The studio sent us:
- the address of the real estate object to be renovated
- the link to the render with the interior concept to reproduce
- later in the process — VFX backplates with HDRI for every view
- recommendations on the workflow
- requirements to the camera movements. In particular, the first shot was to start 10 feet away from the starting point on the reference rendering. As for the camera moves, we needed to make a 3 feet push-in. It was also noted that when
- the animation for real estate would be integrated into the final video, the shot would show a man standing in the middle of it, holding an iPad
- the FStorm model of the office building
- video specifications: Pro-res 4444, resolution 2048×1080, 30 fps
When the assignment was checked by the project manager and 3D artists of our 3D exterior rendering company, we asked a couple of clarifying questions. As a result, we learned that:
- the 3D animation for real estate should be 3-5 seconds long, to be determined later
- the office to be shown in the 3D animation could be located on any floor of the north-west of the real estate property
- we needed to offer a short scenario
- the building should be shown basked in nice sunset light, with sun and clouds in the sky
- there may be a need for close-ups within the scope of 3D visualization interior design services, so we should prepare the 3D model accordingly.
The 3D animations we were to create would be integrated into the real estate advertising video that Neymarc Visuals were already shooting.
Workflow for 3D Animation Production
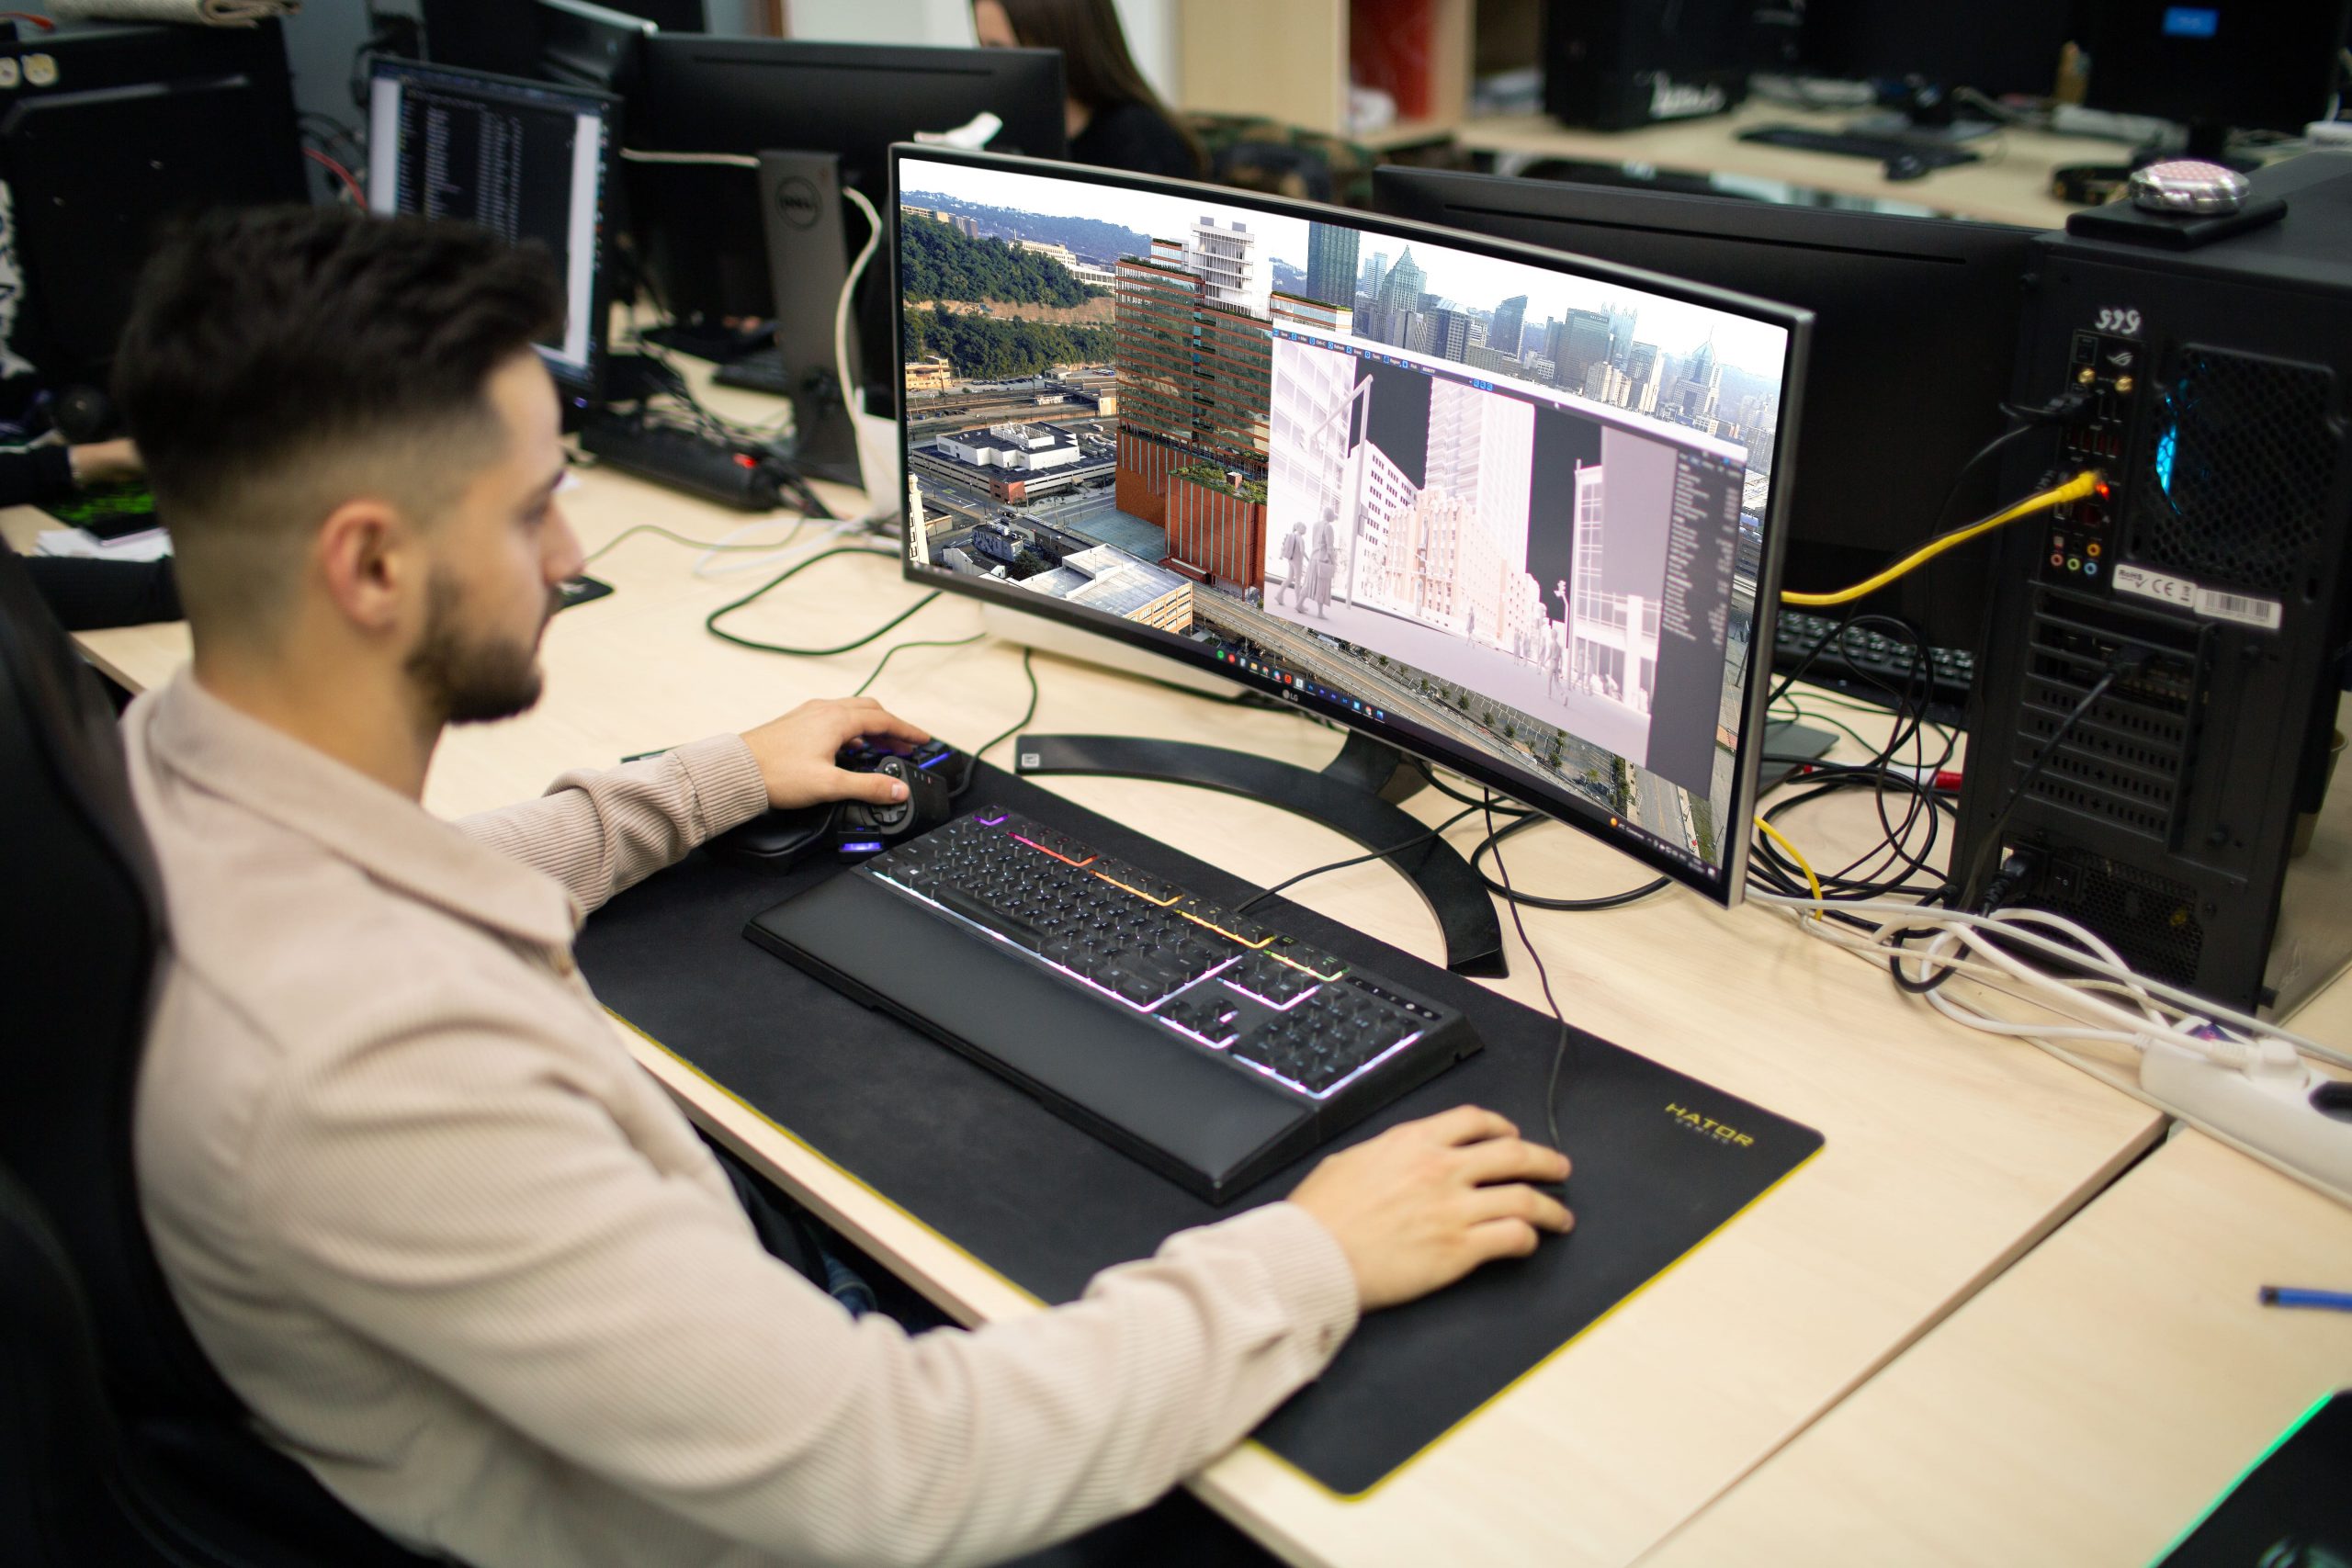
Our task was to create two camera shots of the interior, a shot of the terrace, and two shots of the exterior design. Before proceeding, our project manager drew a work plan and had it approved by Sarah. Here is what it looked like:
- Work on geometry, interior design and exterior surroundings
- Submitting for approval gray scales and still images
- Working on corrections
- Submitting the updated version and receiving the final feedback
- Working on 3D animations.
Also, the project cost included 2 rounds of corrections with the volume up to 60% of the entire project.
Software
To create a photorealistic 3D animation for real estate redevelopment, our 3D artists used:
- Autodesk 3ds Max
- Chaos Corona
- Adobe After Effects
- Anima.
3D Animation for Real Estate Advertising: Exterior Design
We were working on multiple tasks in parallel. However, in this making-of article, we will talk about each task separately. This way, it will be easy to understand how the project unfolded and what each stage involved.
Ready? Let’s see how we created 3D animations for this state-of-the-art piece of real estate and showed its amenities.
Pullout Shot
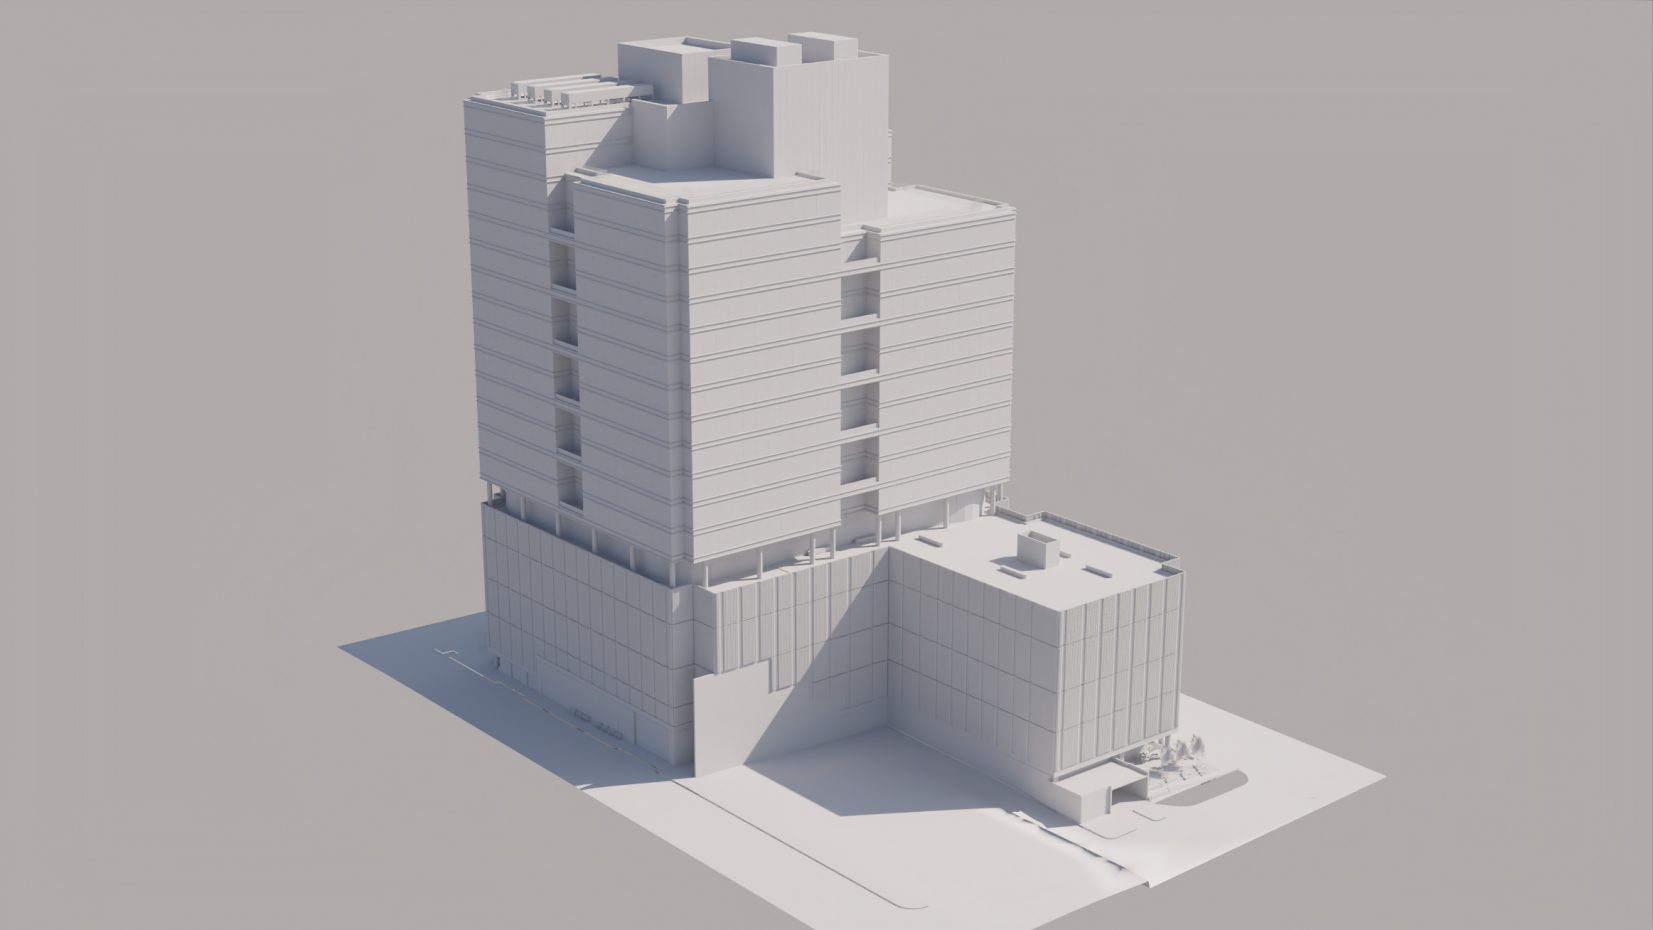
To help us show the exterior design in the office 3D visualization, Sarah and Michael sent us the 3D model of the building. We converted it from FStorm to 3ds Max and optimized for the 3D animation. The optimization process included improving the geometry and minimizing weight. Owing to this, the 3D model would look realistic and render fast.
Below, you can see the architectural 3D model in grayscale.
 |
Lifehack from Tina, a Client Manager at ArchiCGI It’s always a great idea to add 3D models to the brief, as they increase the project speed and often decrease the 3D animation price. If the 3D model is lightweight and has impeccable geometry, the 3D artists will make minor adjustments and put it into the scene. If the 3D model needs improvement, the 3D artists will work on its weight and geometry first. Finally, if the 3D model can’t be used for the scene, it will serve as a reference. |
The next step was to build the surroundings, put the 3D model in this scene, set the light and apply textures. For that purpose, we were sent the VFX backplates and references for the exterior design and landscape.
The challenge in this task was to render the exact camera view of the real estate property as the backplate requires, put the 3D model in it, and make it all look organic. There should be no visible transitions between the building and the background. This way, the viewers of the 3D animation for real estate would believe that the image was a single piece.
The first thing to take care of was the window reflections. The glass needed to reflect the objects that would surround the office center in the 3D animation — the buildings, trees and sky. Moreover, the light source location should be the same as in the VFX backplate. To achieve this, the 3D artist first rendered the 3D model in a special scene.
In this rendering scene, the 3D visualizer surrounded the office center with boxes of the same height as objects around. Next, the CGI specialist “pinned” the images of the corresponding objects to the gray boxes, set the light just like in the HDRI, and pressed “render”.
As a result, the building windows had the right reflections. The 3D model of the real estate object was ready! When the real 3D animation scene was constructed, the model was put in there. The 3D artist pressed “render” again and waited.
And then, the first 3D animation scene was completely ready. The CGI specialist sent the client a still pre-visualization of it and a grab viewport, or GVP. The image served to show the accuracy, light, and realism of textures and colors, while GVP demonstrated the geometry and movement direction.
Then, the 3D artist made the adjustments to the lighting that the client had requested and delivered the final version.
Just look at this pre-rendering below. Don’t you like the real estate jewel it features? It’s bound to be a market hit.
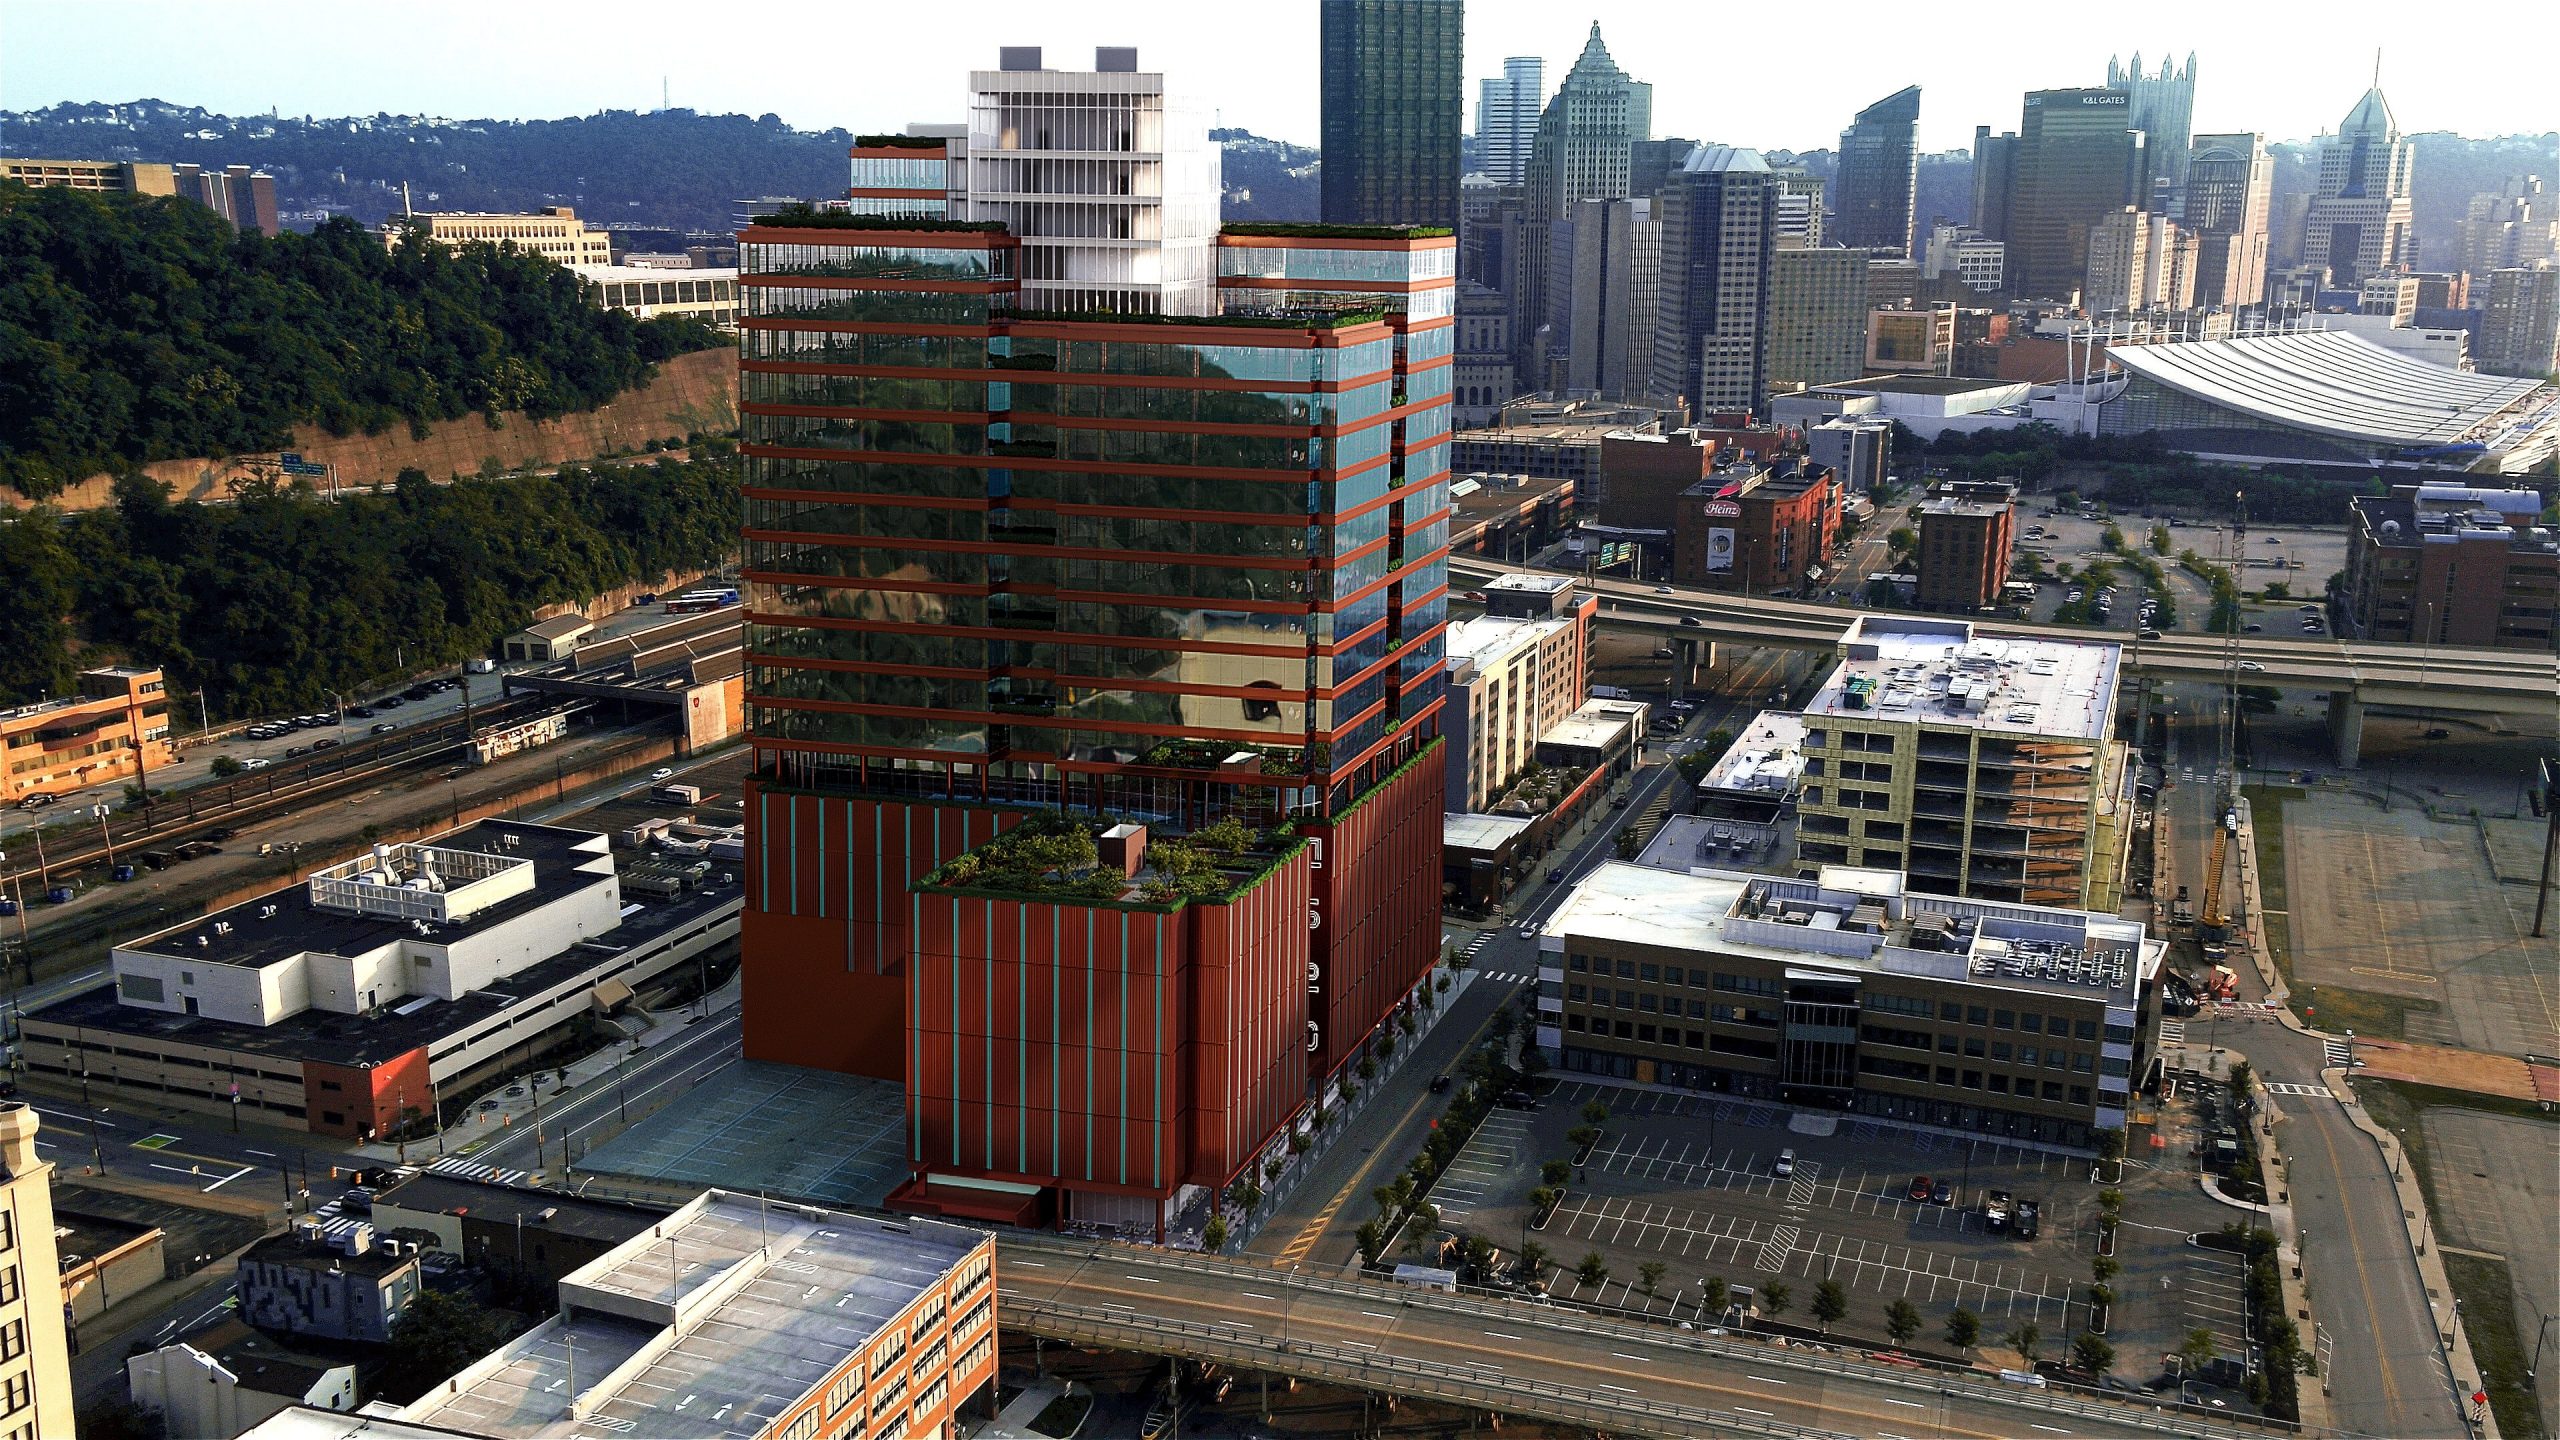
With the scene approved, we were ready to render the first 3D animation offering the general view of the office center. Here is what the result looked like.
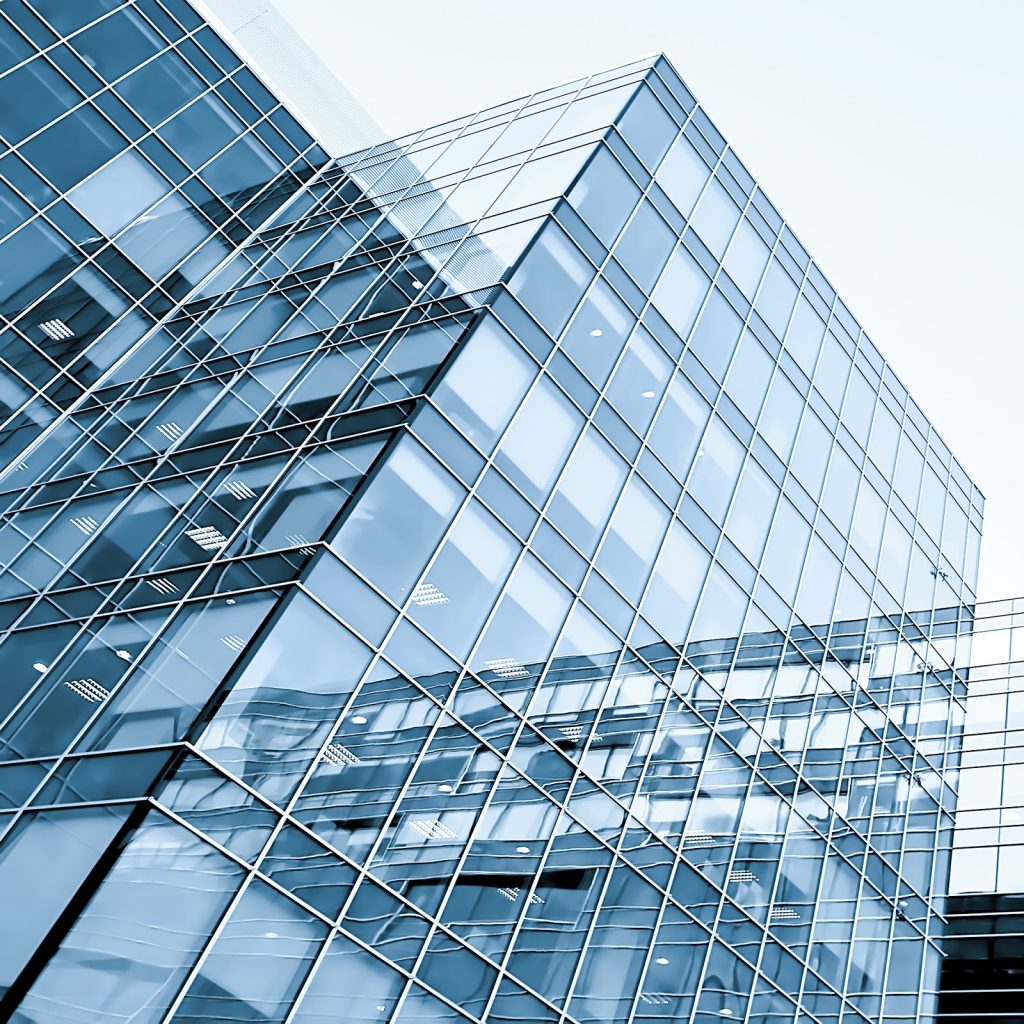
There is one curious thing about this camera view that shows just how nuanced the art of 3D animation for real estate is. Look at the windows. Can you see the slight irregularity of their shape? They appear a bit convex. That’s because the windows in high-rise real estate are usually a bit wavy. Like in the picture below, where this effect is more obvious. And for 100% photorealism, the 3D animation for real estate needs to show such aspects too.
Now let’s see how we delivered the second animated camera shot for the exterior design and what it looked like.
Tilt-up Shot of the Facade
At the same time, our team was working on the tilt-up shot of the facade. It had to show off the beautiful materials, glass, elegant shapes, and the sheer volume of the real estate object. For that purpose, the client sent us the frame reference, an HDRI map, and reference images for the sky.
First, the 3D visualizer worked on the geometry of the 3D model. They improved the part that would be featured in this 3D animation view, then set and animated the camera. Then, they textured everything and sent the clients a grab viewport and two pre-rendered CG video frames. After 2 review rounds, the 3D artist delivered the final result.
CG Animation of the Terrace
Also, we needed to show the beautiful terrace of the future office center. A terrace is a great amenity for commercial real estate. The reason is that it leverages important benefits of the building — a spectacular view of Pittsburgh, its spaciousness and its abundance of greenery. Workers can go out, relax with a cup of coffee, and talk to one another.
The technical assignment for the terrace animation contained an HDRI map, a camera movement preview, a framing example, and references.
First, the 3D artist modeled the terrace. They started with the space where the walking area and the garden would be. Next, they built the fences and big elements and proceeded to fill the terrace with details, furniture and plants in particular.
When the scene was ready, the 3D visualizer populated it with 3D people purchased on the Anima platform. The idea was that people working at the office gathered on the terrace to drink some coffee and enjoy the sunset. To fill the 3D animation for real estate with life, the CGI specialist made people move, interact and form groups.
Next, the 3D visualizer set the camera, animated it and proceeded to UV unwrapping, texturing of the scene, creating materials and setting light.
Then, it was time to submit the results for approval. The 3D visualizer sent the client a low-resolution rendering of the scene and a preview animation. After one review round, the animated terrace shot was ready.
A charming place, don’t you think? And that while being perfectly modern and minimal. A great view for a real estate video ad!
3D Animated Tilt-down Shot
Over the course of the project, the Neymarc Visuals’ client wanted to add one more mini-animation to the future real estate ad. They requested a tilt-down camera shot showing the building number and giving a detailed view of the cladding material. The brief for the task contained an animatic showing the camera movement and reference 3D renders.
First, the 3D animation specialist built and textured the part of the office that was to be featured. They then set the light, camera, and animated the latter. Ready! The 3D visualizer pre-rendered a 3D animation frame and sent it to the clients along with the GVP to show the geometry.
After two review rounds, when all the materials were perfect, the 3D artist offered Michael 3 variants of camera.
Out of these 3 options, Michael chose the third. He also asked us to make the 3D animation for real estate a bit longer so that the viewers could make out all the numbers. In addition, Michael wanted the movement of clouds to look more organic. The 3D animation artist made the necessary changes and delivered the final animated camera shot.
Don’t you like the way the exterior looks? The materials certainly make an impact. What a show-stopping object for 3D animation for real estate! The walls are clad with glass covered with perforated copper, and the digits on the building are backlit for more effect.
3D Animation for Real Estate Advertising: Interior Design
The CG video project also included the creation of two animated camera shots of the office interior. Let’s take a look at the workflow and results of this part of the production process.
Part 1: Animated Camera Shot for the General View of the Interior
Our clients wanted their marketing video to also showcase the interior of the future office. And the first shot we set out to create was the general view.
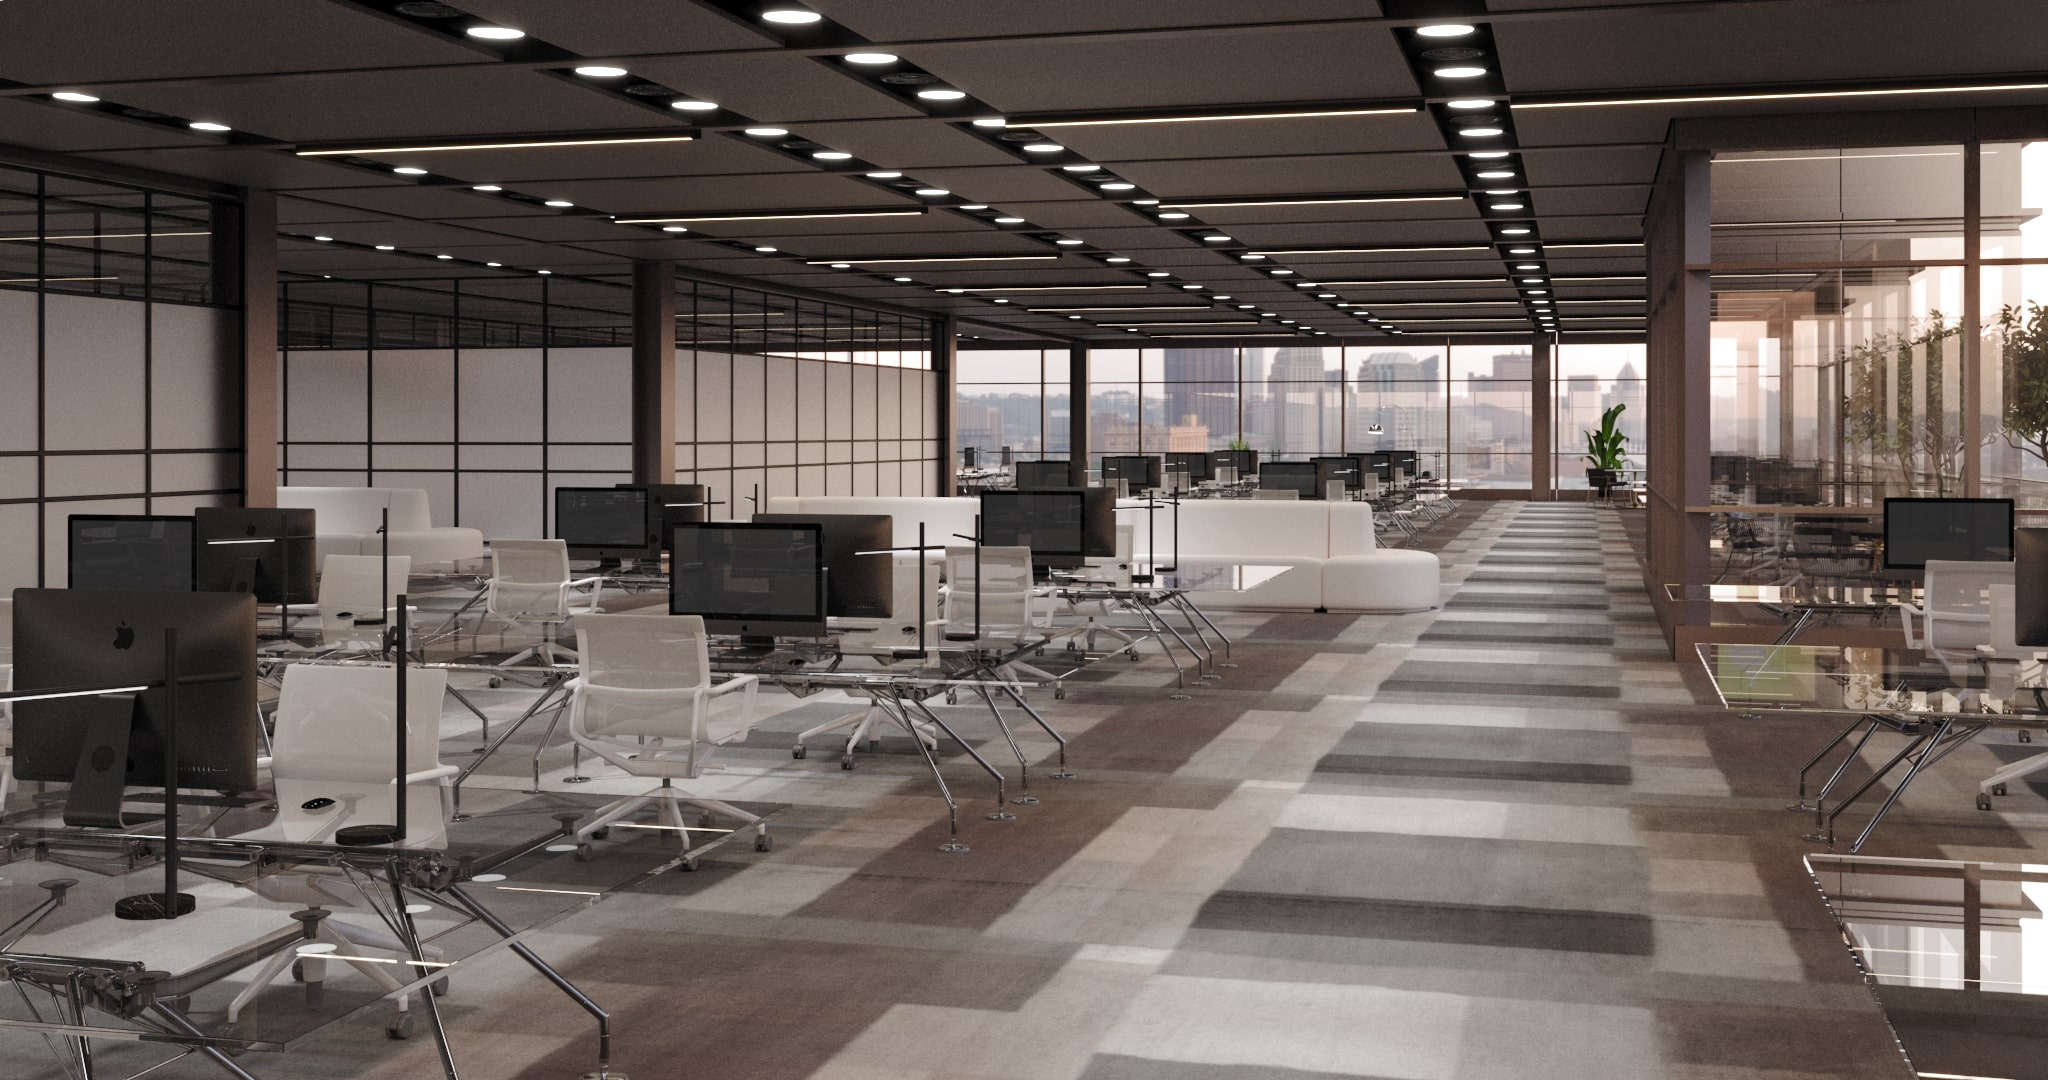
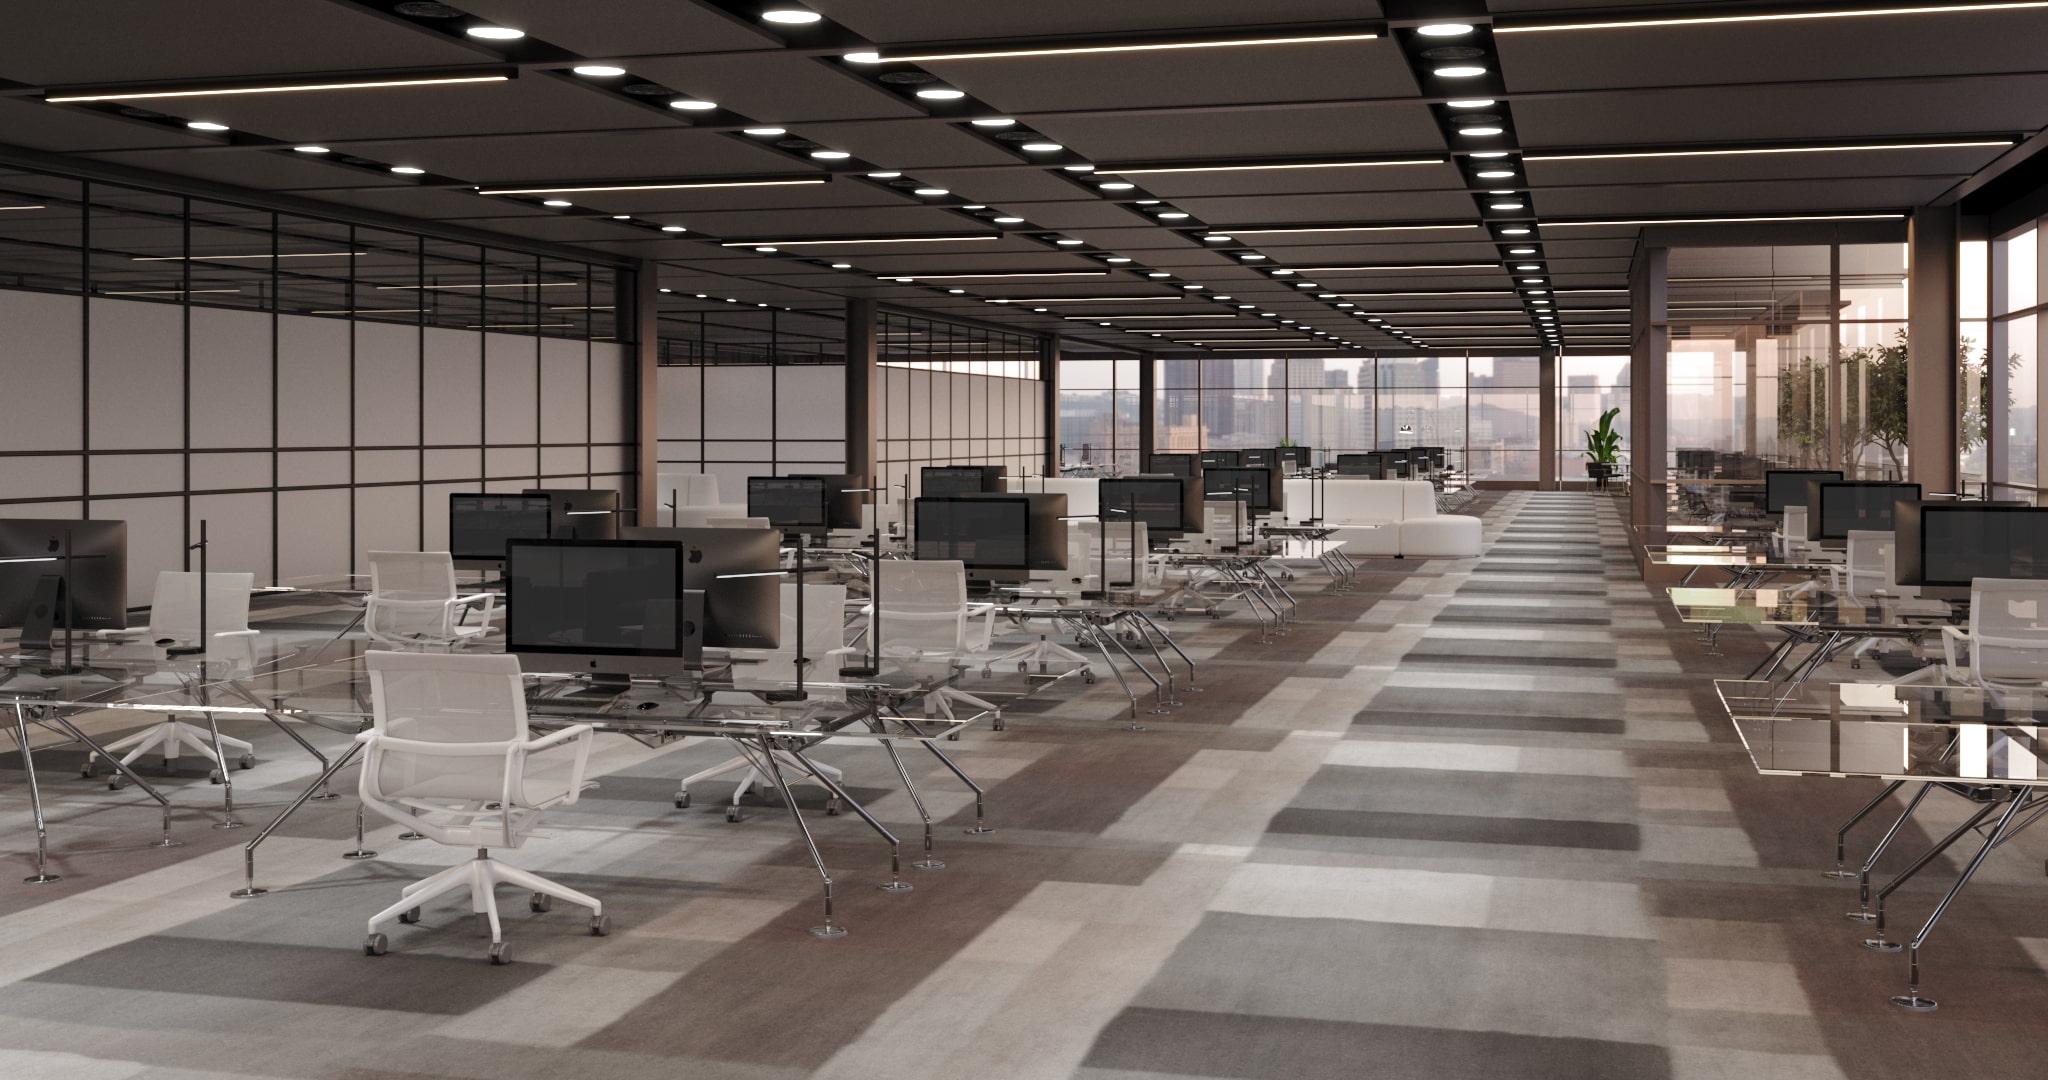
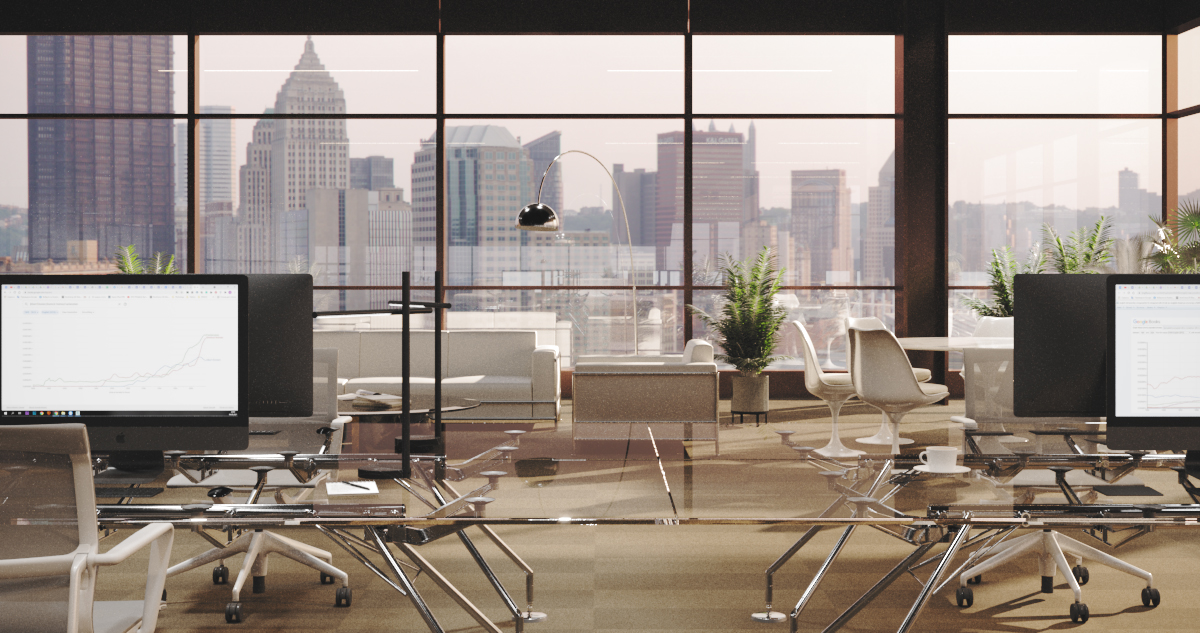
We showed the space empty. Everyone has left: the computer screens are off, and everything is washed in beautiful sunset light. Tomorrow, the room will be filled with life again. There would be meetings, discussions, and brainstormings. But in the evening, the office is peaceful, full of serenity and silence. What a picture! And here’s how our CGI professionals brought it to life.
The technical assignment contained a reference 3D rendering for interior design and lighting, a reference photo for the carpet texture, an HDRI map, and a framing example.
The 3D visualizer modeled the interior space and furnished it according to the reference render. They chose similar 3D objects in our 3D product library. Then, they set and animated the camera, textured the scene and set the light.
 |
Lifehack from Tina, a Client Manager at ArchiCGI When commissioning a 3D animation for a real estate interior, it’s wise to ask the CGI studio if they have a base of ready 3D models. This can save a lot of time and money. For instance, ArchiCGI has cloud-based storage with 90 195 CG models for furniture, furnishings, decor, textiles, plants, architectural elements, etc. Clients can select the 3D objects themselves, or delegate the search to the 3D artists. Access to the CG assets is free. |
Natural light dominates the scene. The light beams can be seen on the floor, tables, metal, and even computer displays. The spotlights are on, but they play a secondary role.
The lighting in the interior animations should match the HDRIs of the exterior camera views. For that purpose, the 3D artist checked the future office location on Google maps, saw what view the windows would give, and compared the information to the drone footage. They saw where the sun would be and set it in the scene accordingly.
Once the scene was ready, the 3D artist sent the low-resolution pre-renders and a few versions of preview animation for approval.
Sarah wrote that they chose the first option and left some feedback on the preliminary renderings. The 3D artists made the required updates and submitted new results.
Close-up View of the Interior
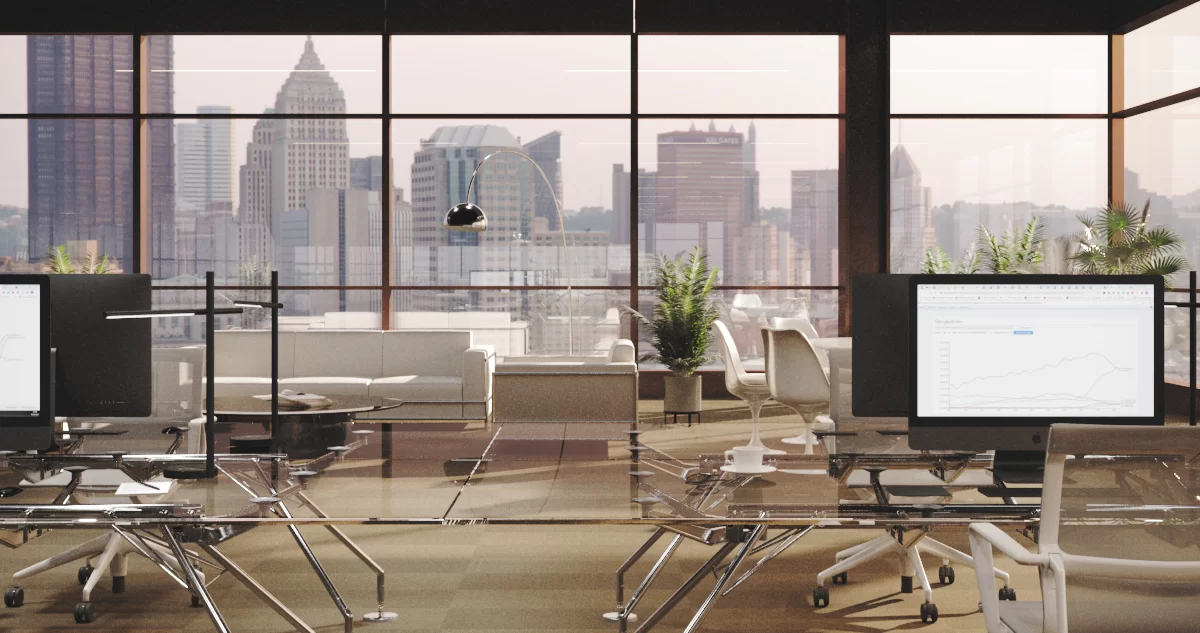
The previous mini-animation showed the layout of the office. So our next goal was to present the real estate interior in more detail. In particular, the new camera shot was to highlight working places and the lounge zone.
The 3D visualizer modeled the required part of the office, textured it and set the light and camera movement. When everything was ready, they sent the client the preview animation and stills for greenlighting.
Michael viewed the intermediate results and approved them. So the 3D artist rendered the scene and delivered the final version of the camera.
And that was it! All the camera shots were ready to be integrated into the real estate advertising video.
Resulting 3D Animation
We compiled all the camera shots into one 3D animation so that you could appreciate the overall impact. What do you think?
Neymarc Visuals took the 3D animations and integrated them into the real estate video advertising. We were privileged to get their permission to show the final result. Warning: it’s an absolute masterpiece!
We are so happy to have worked on this 3D animation for a real estate project! First, we loved the experience. Sarah and Michael sent us a comprehensive brief with lots of files, including references, the 3D model, and even the drone footage. Second, the communication was on a stellar level, too. Whenever we needed to clarify something, they always answered on CGI CRM or agreed to meet up at a Zoom conference. Finally, we enjoyed the creativity of the task and the end product. The quality of the video produced by Neymarc Visuals is out of this world!
This 3D animation for real estate is an example of how CGI can elevate your advertising video materials. You can get a full-CGI showreel of a property, or incorporate 3D animated camera angles into your video. The 3D artists will make sure that the result is photorealistic, accurate and full of atmosphere!
Need a 3D real estate animation for attention-grabbing marketing videos? Contact ArchiCGI architectural rendering company via chat or the contact page. Our managers will answer all your questions and give you the estimated time and cost for your project!

Irma Prus
Content Writer, Copywriter
Irma writes articles and marketing copy for ArchiCGI. Her dream is that more people discover the power of CGI for architecture. Irma is into neuromarketing, ruby chocolate and Doctor Who series.
Like this project? We’ve got plenty more! Check out these CGI beauties.


