


3D House Visualization for a North Carolina Project: Case Study
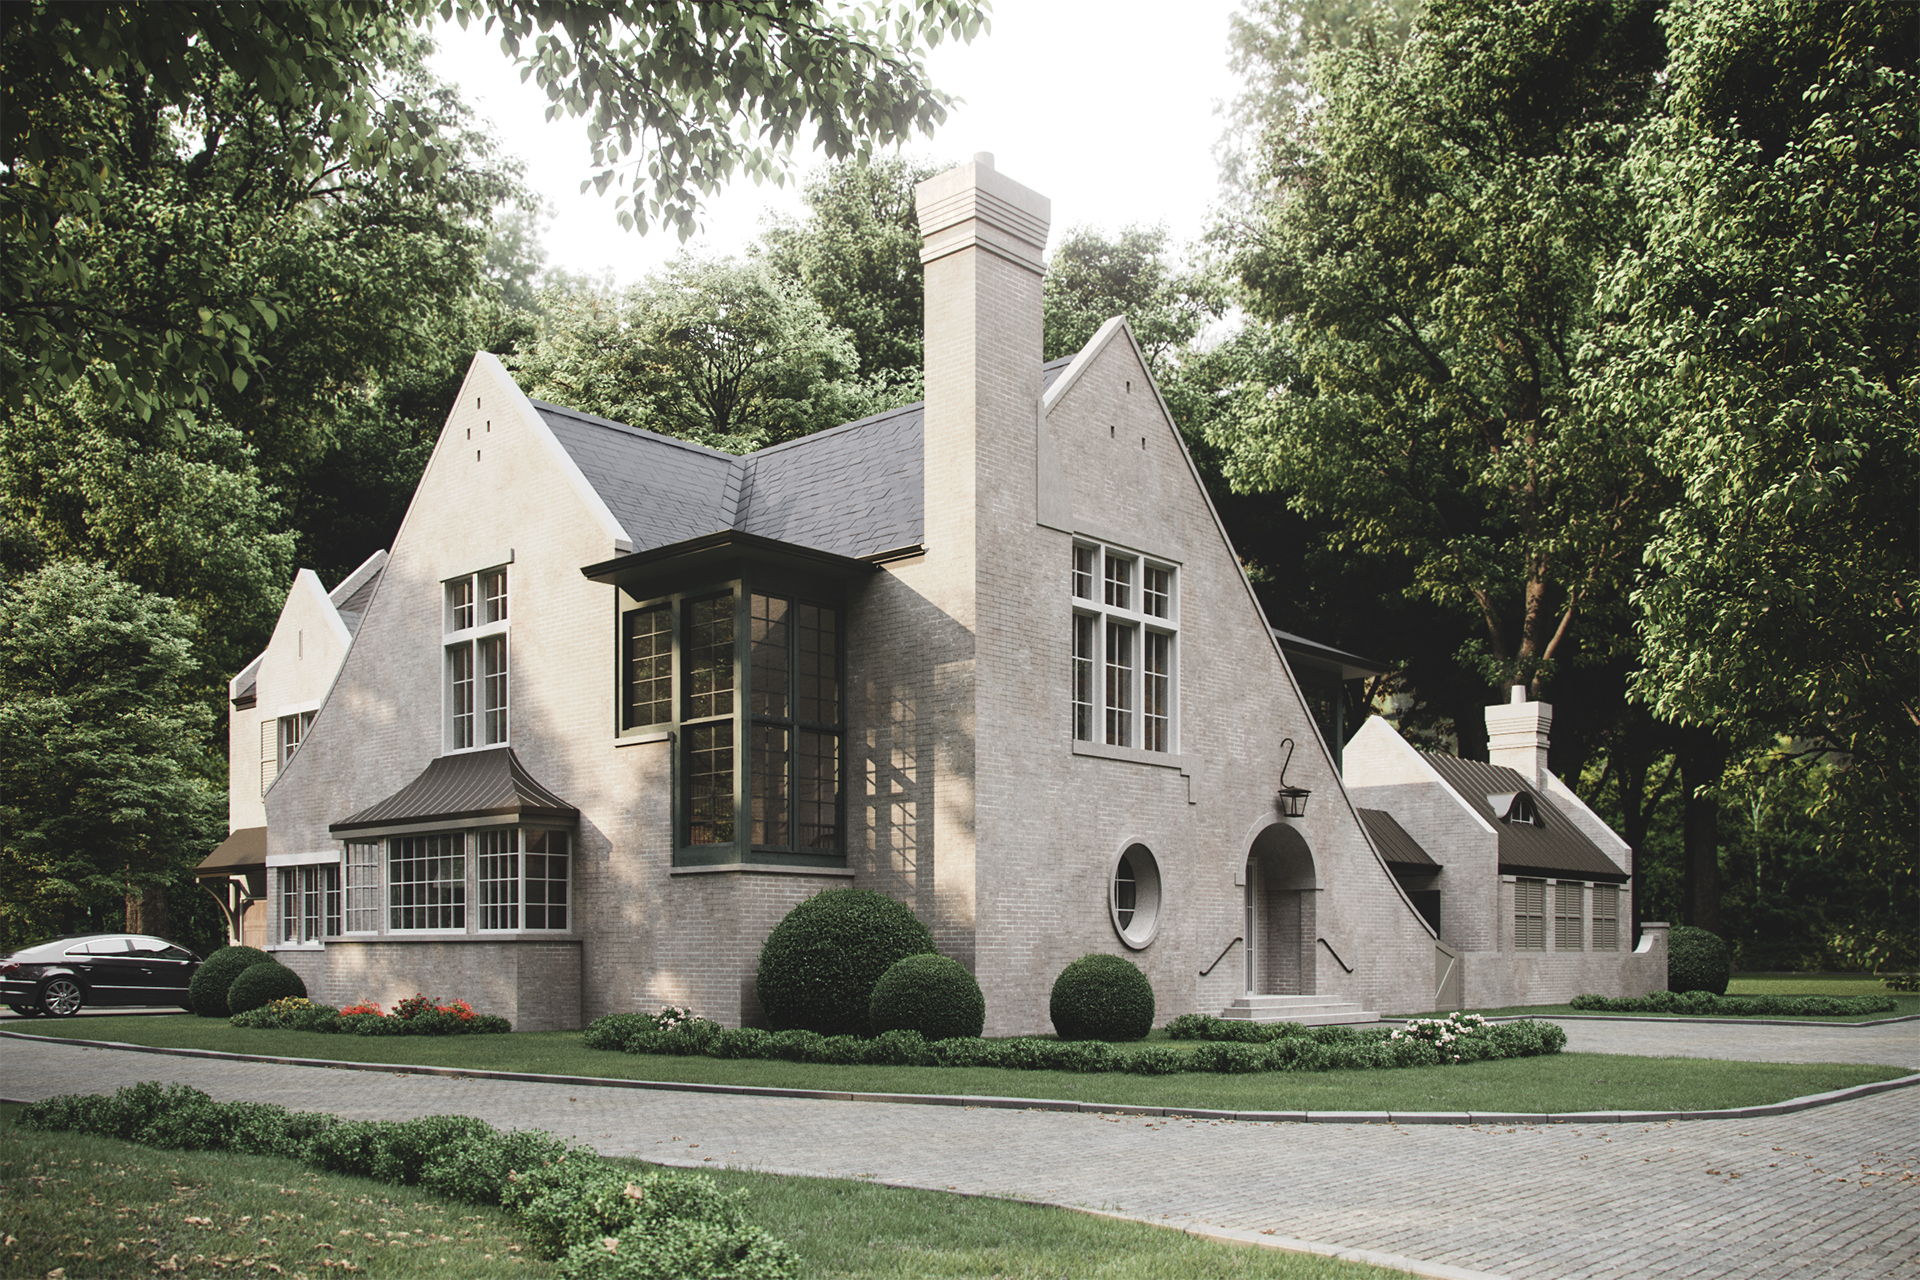
In this case study, we’d like to share with you the process of creating atmospheric 3D house visualization for ArchiCGI’s long-term client — Elliott Becher. He’s an architectural designer based in North Carolina and the author of the beautiful design above.
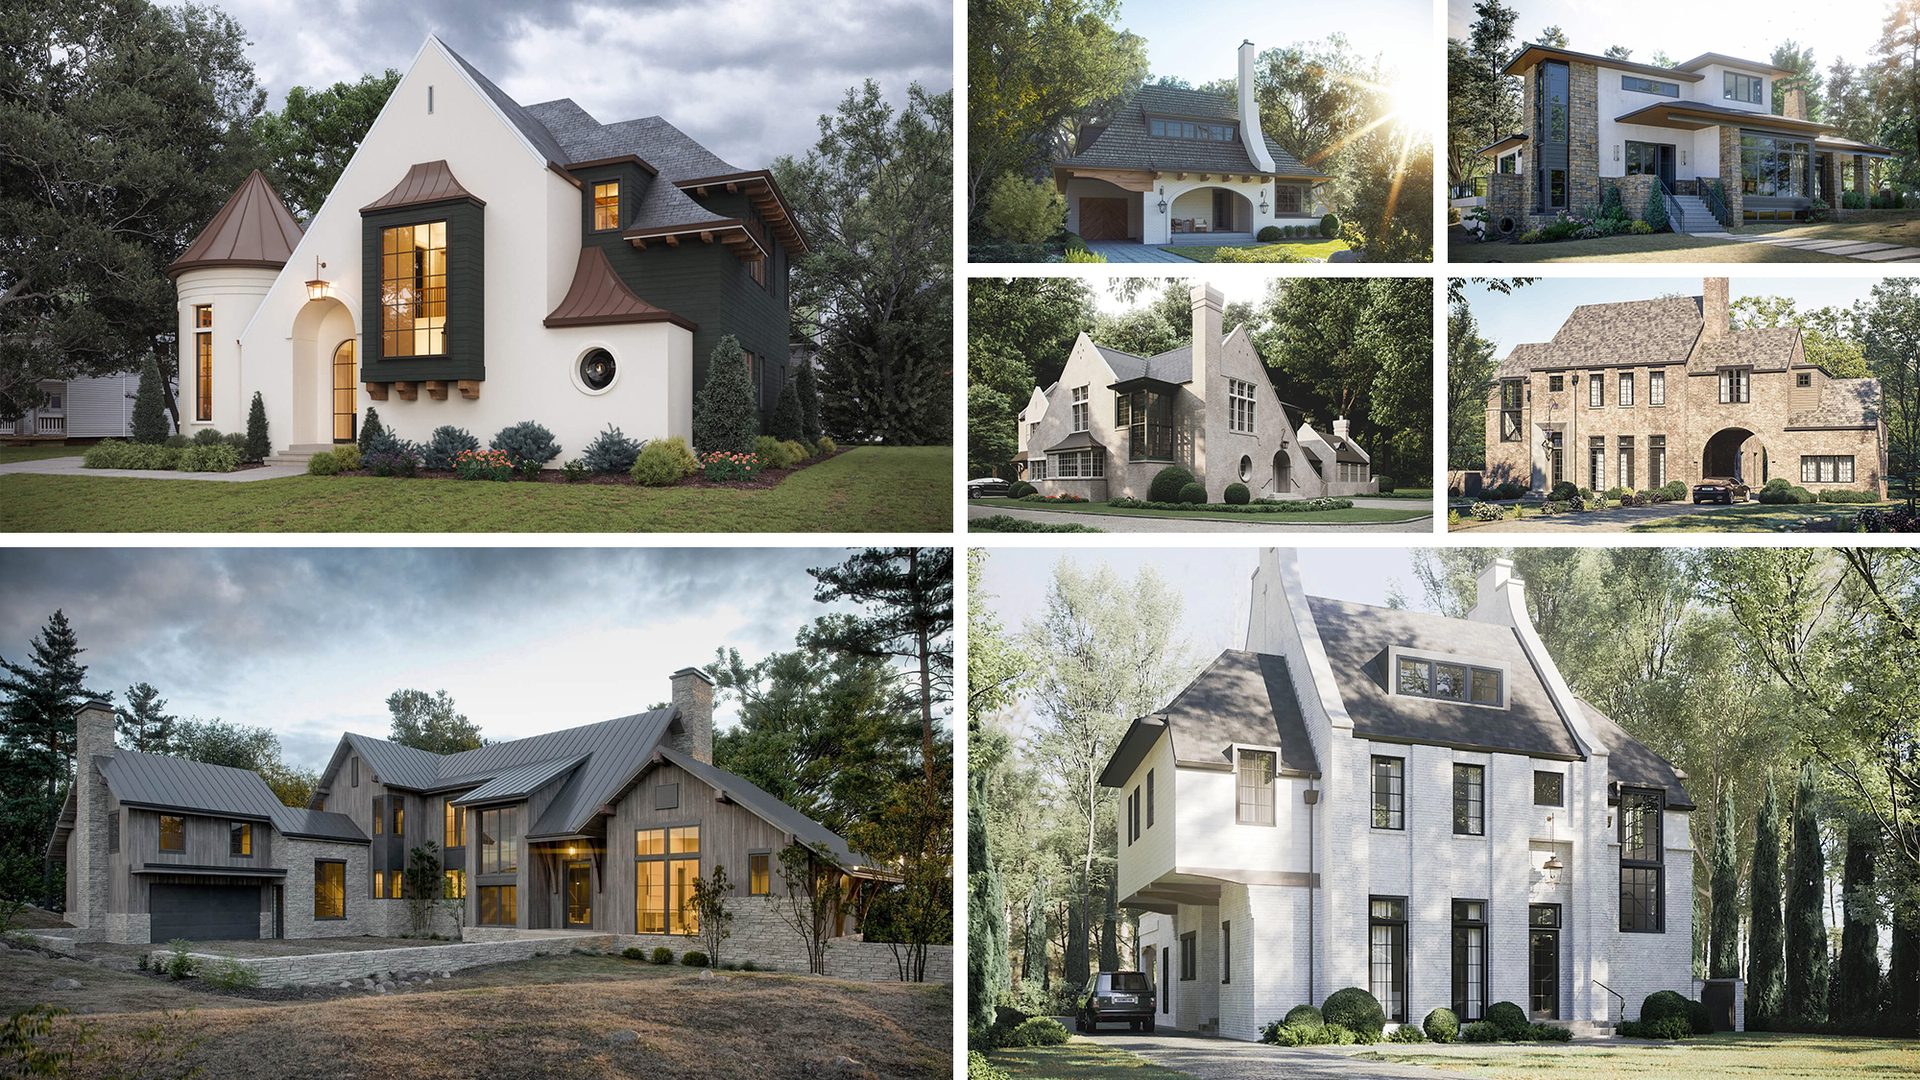
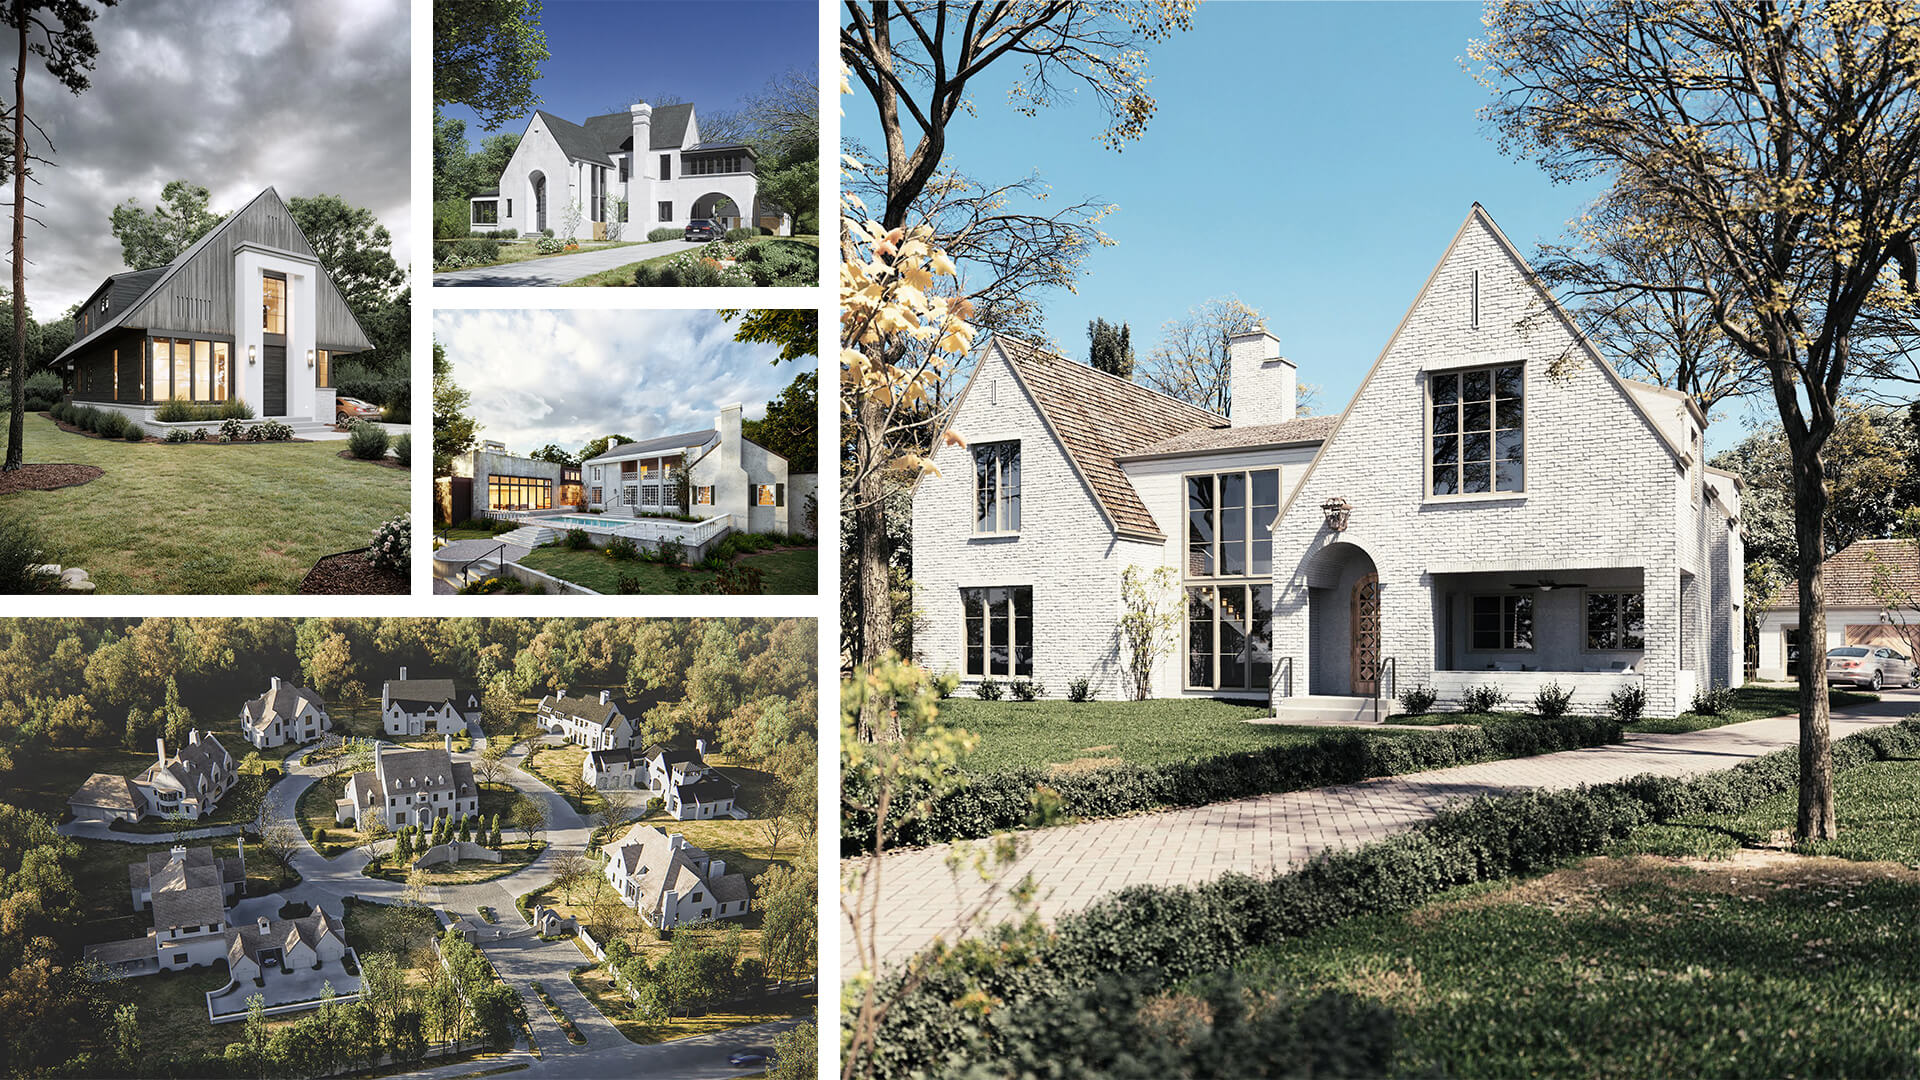
Elliott first started working with ArchiCGI as a provider of 3D architectural visualization services in August 2017. Since then, we’ve provided him with 3D rendering services for interior design and exterior design within over 60 projects. And for this case study, we picked one from January 2021. That’s when we visualized this almost magical-looking house with a calm and cozy feel. As a bonus, we’ll show you some of the other renderings we created for Elliott throughout the years of working together. You can see the preview of these renders below.
Wonder how we create such 3D beauties? Let’s see!
#1. Scope of Work
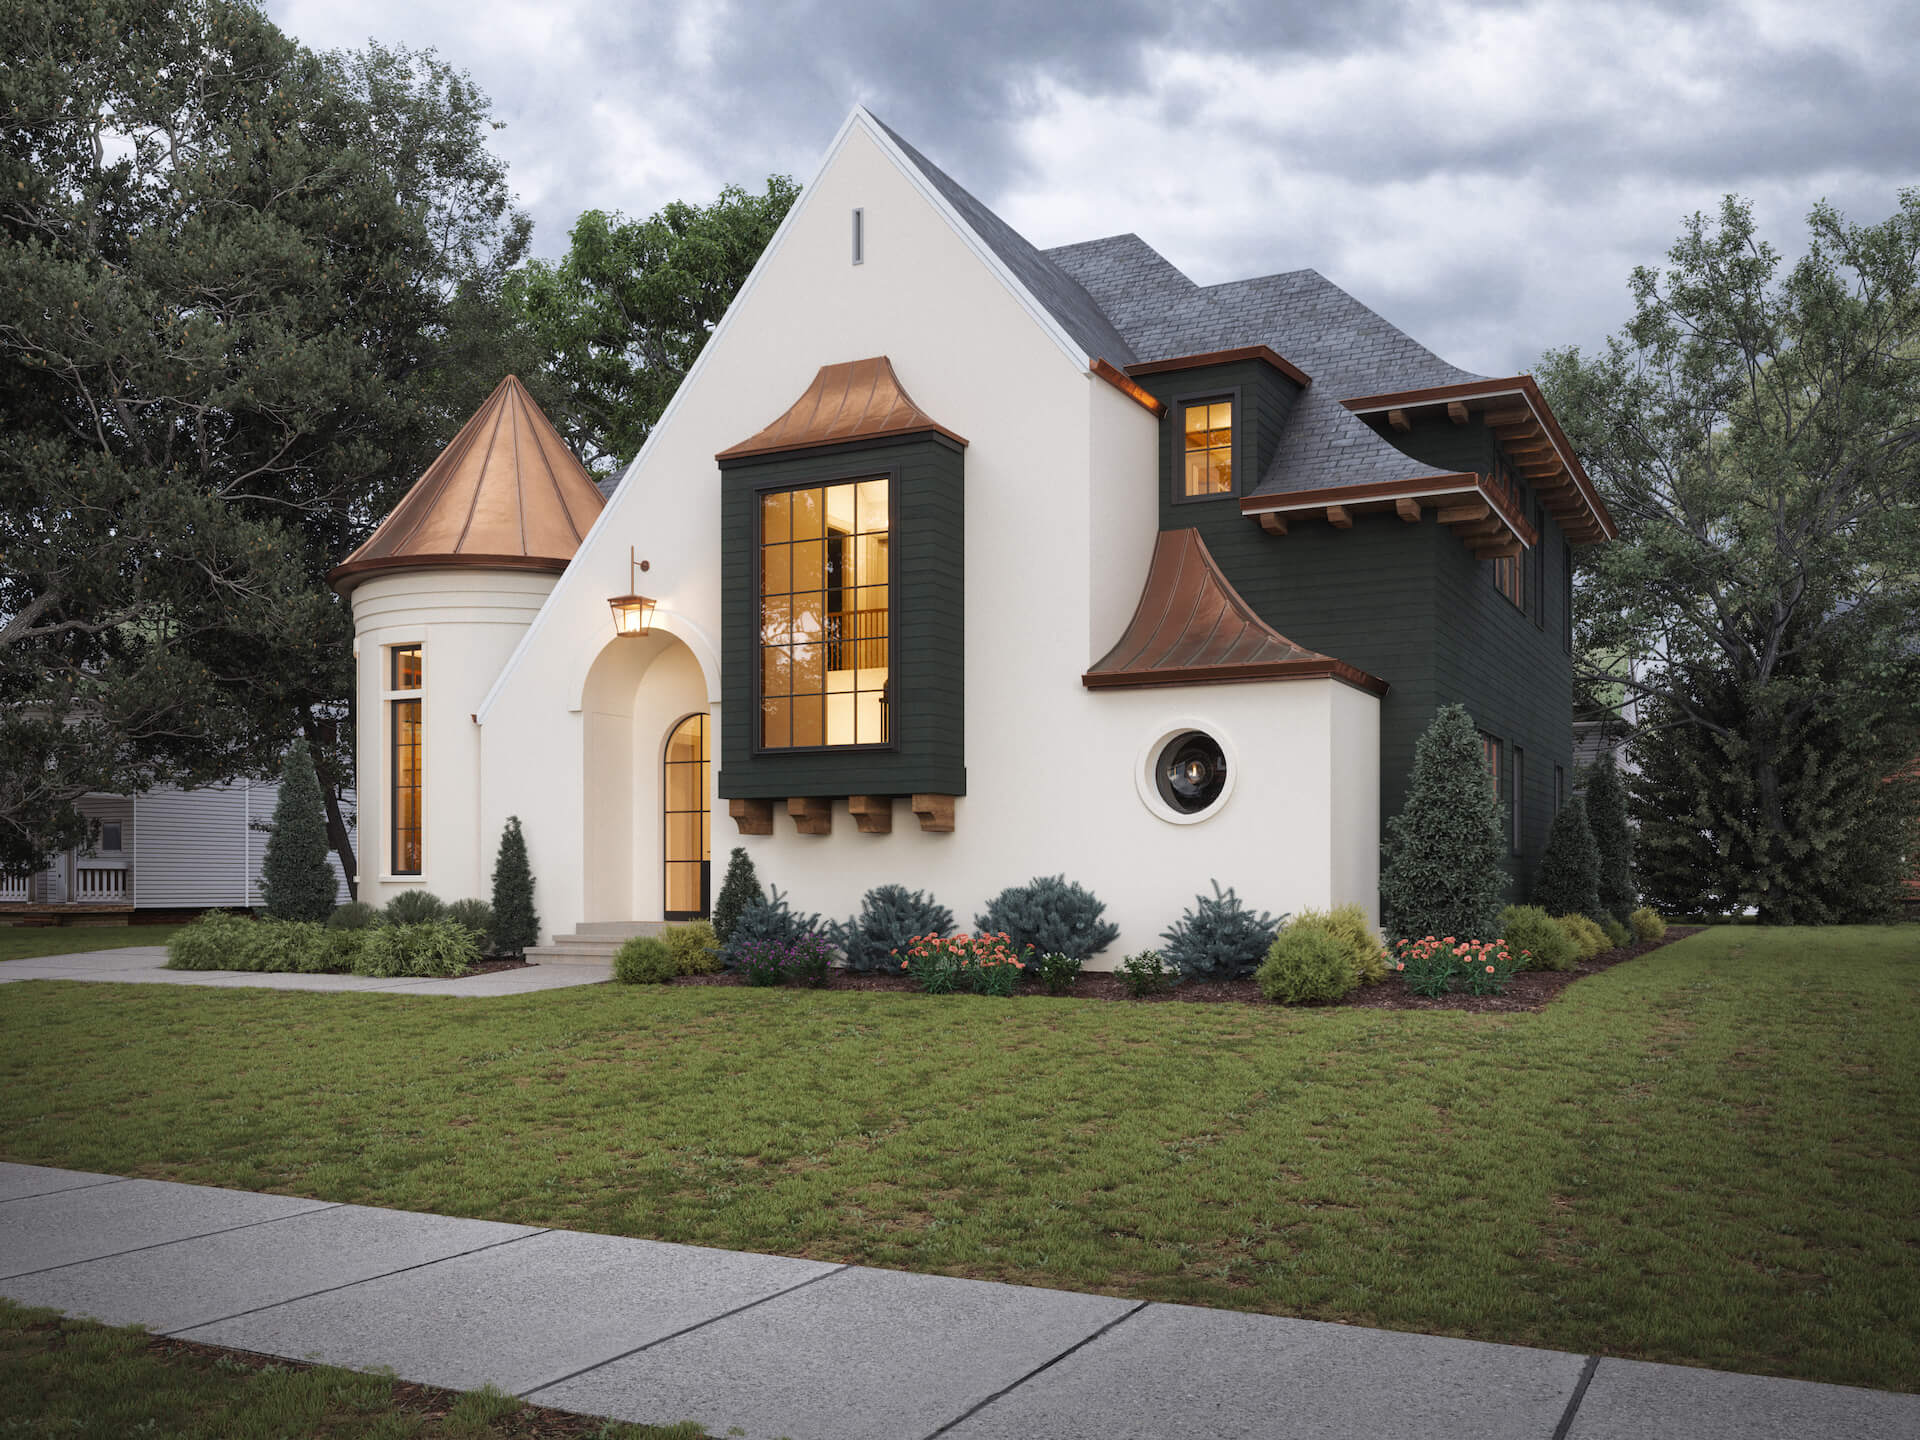
Our task was to create two exterior 3D renders in “sunny day” and “cloudy dusk” settings. They were meant to show what the house would look like at different times of the day and in different lighting.
At first, the client requested one view of the house facade in a sunny day setting. The image resolution had to be 3k, 300dpi.
For this 3D house visualization assignment, we received the following references:
- a Revit file with a 3D model, as well as detailed drawings and project specifications;
- a sketch showing the desired angle and material specifications;
- a moodboard with five exterior renders we did for the client earlier;
- the location of the future house in Charlotte, North Carolina.
The project included three revision rounds, during which the designer requested a second visual of the house in a dusk setting.
And now, let’s move on to the workflow process itself.
#2. Making the First Version of the Render
Our 3D artist had quite a comprehensive set of references from the start, so he created a fully colored 3D house visualization at once. It took him 5h to complete the render below in 3ds Max. The process included:
- modeling and texturing the building with all its elements;
- creating surroundings for the house according to the references;
- adding the lighting in the 3D scene;
- setting the camera at the required angle;
- adjusting the settings for rendering.
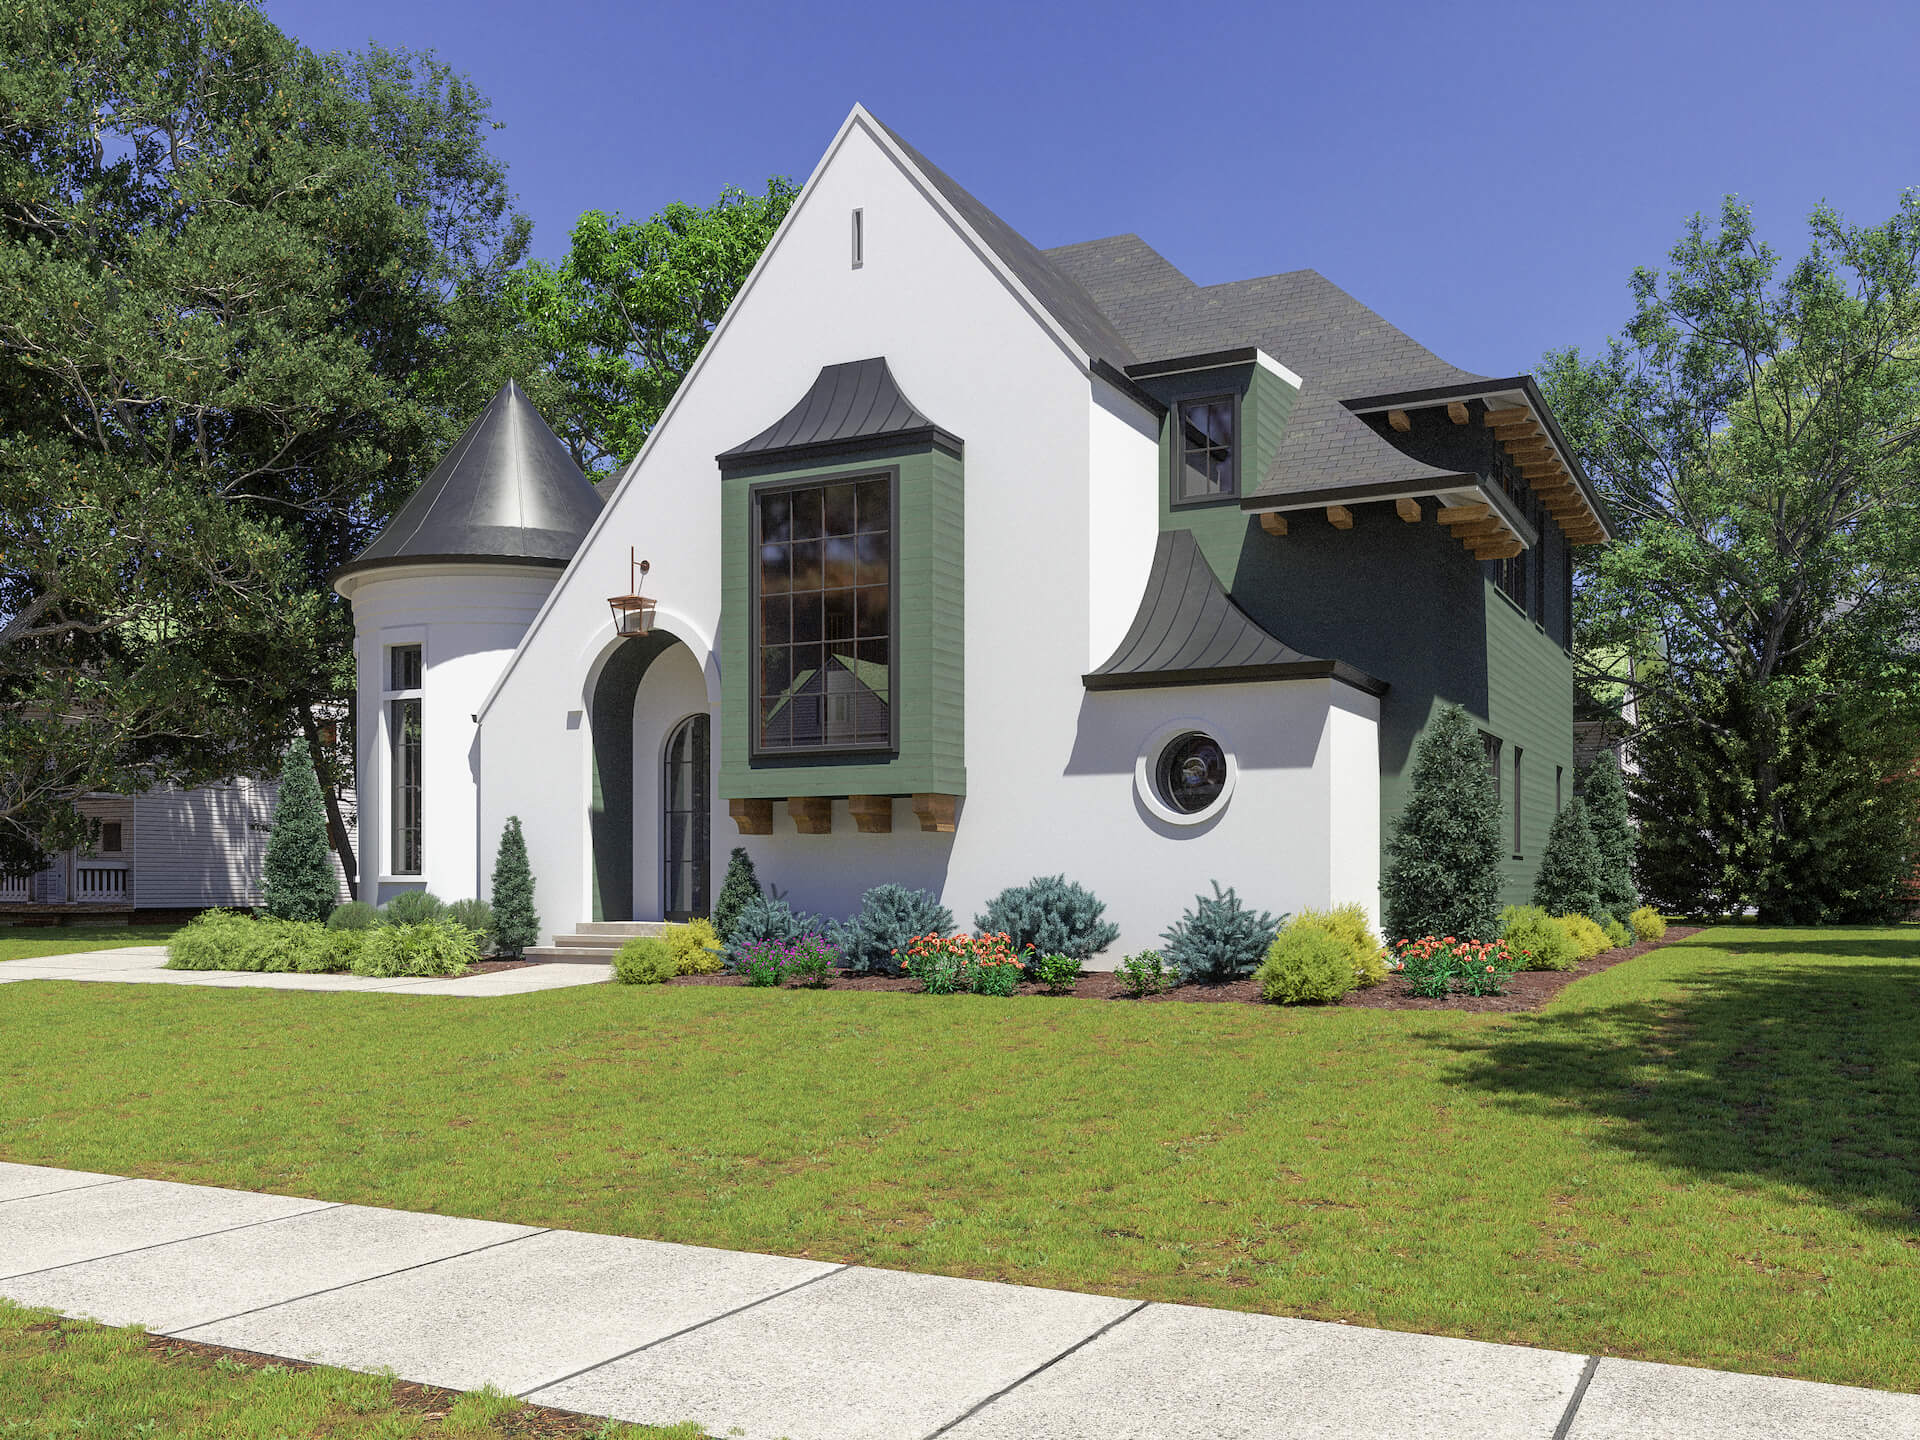
As soon as the render was ready, we submitted it for the first revision round. Let’s see how it went.
#3. The First Revision Round
After reviewing the first intermediate result, the client gave us some notes. You can see them in the image below.
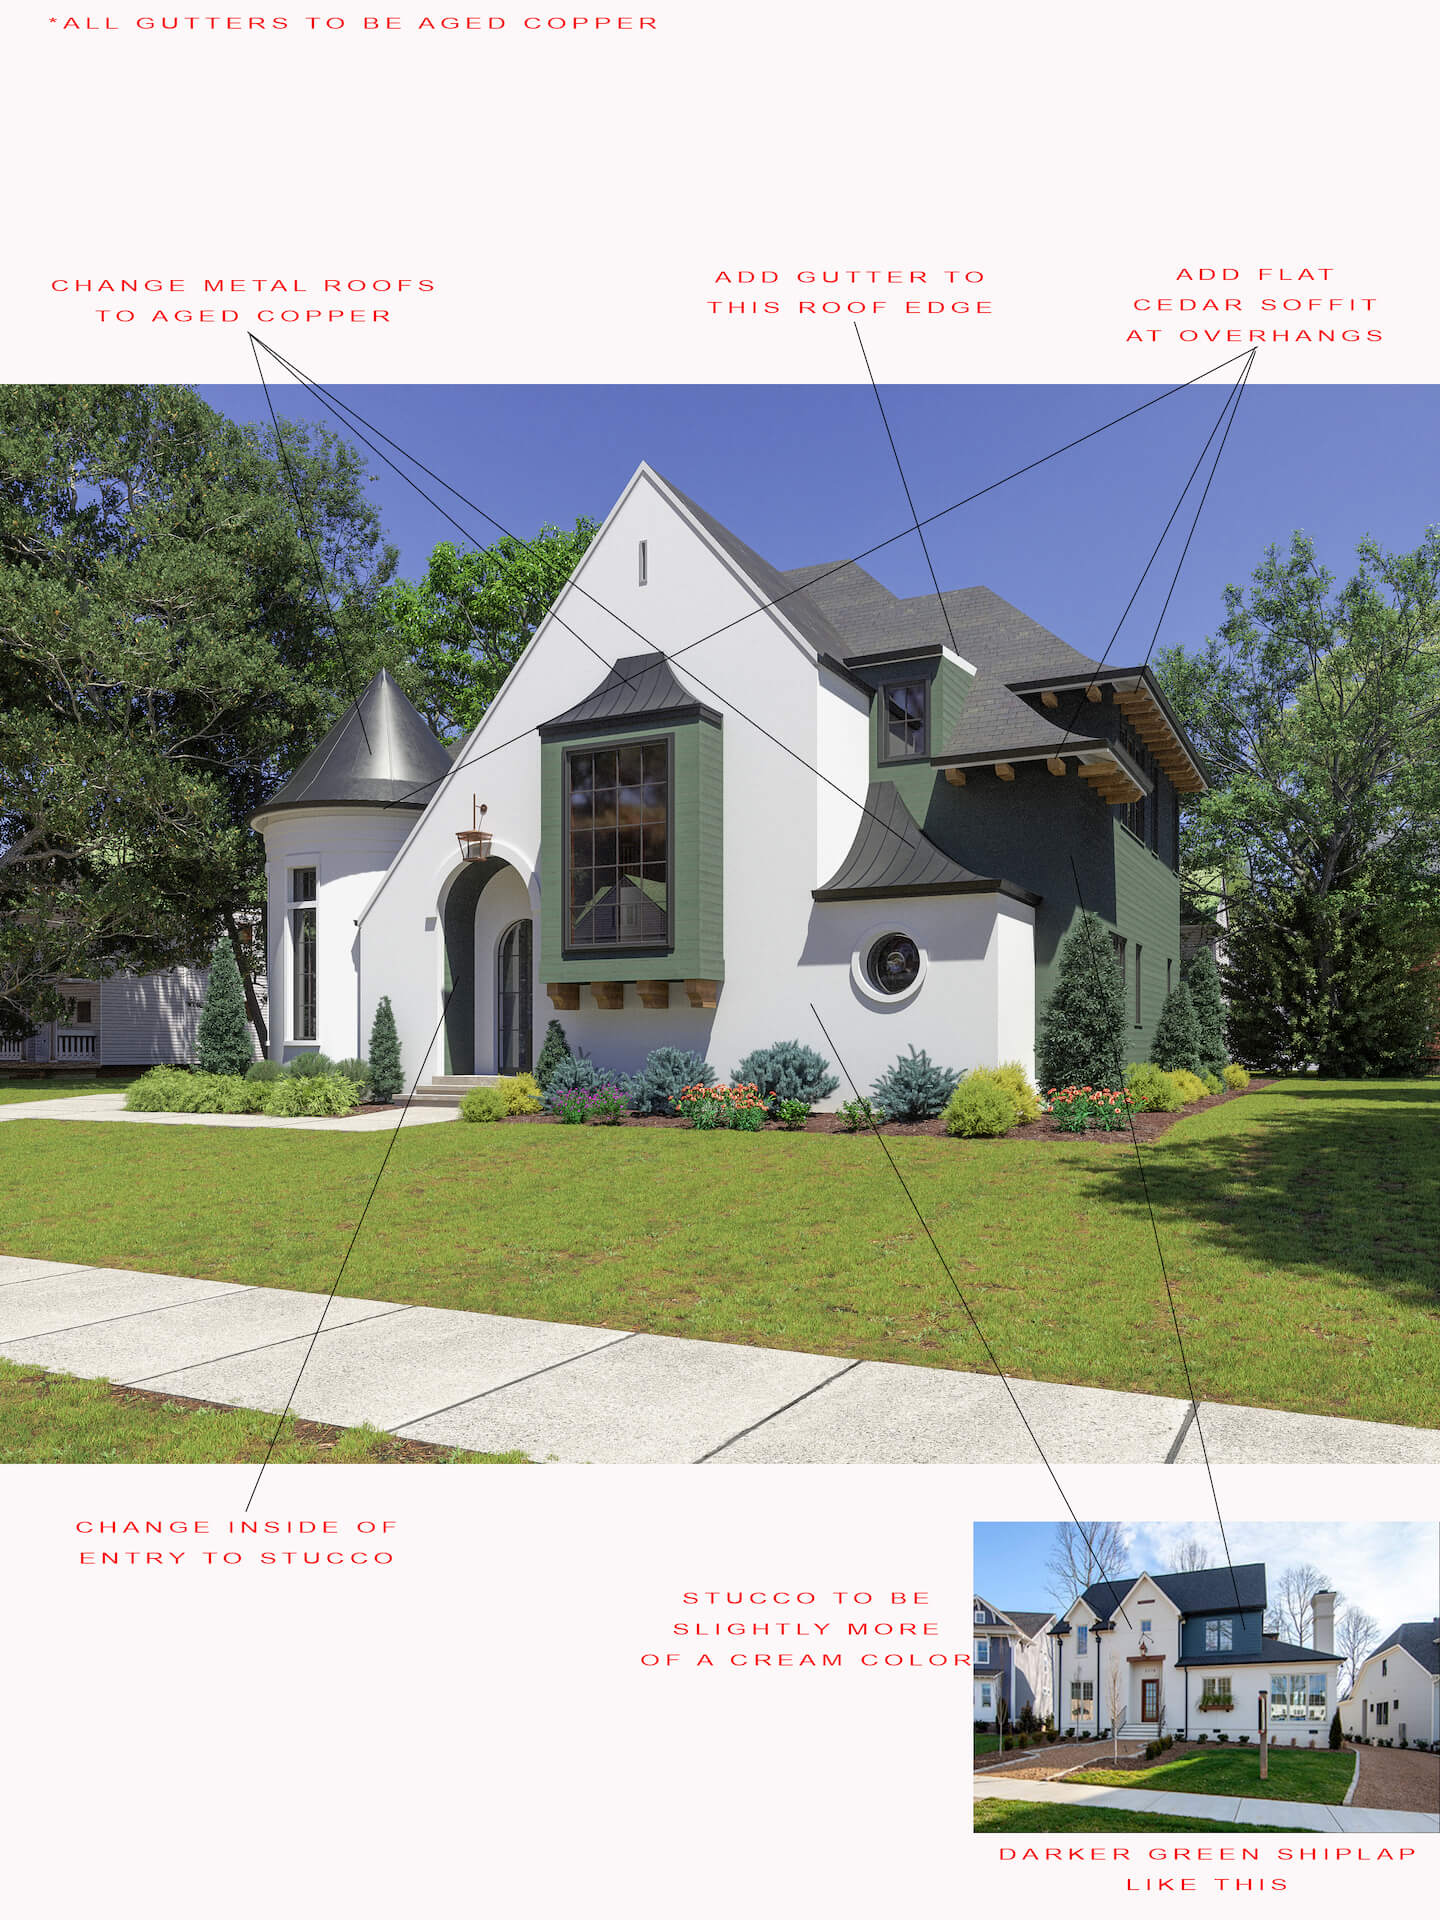
It didn’t take our architectural visualization specialist long to make the necessary corrections. He quickly changed the colors and materials, as well as added a couple of elements as per the request. And here’s the updated CG image he sent to Elliott.
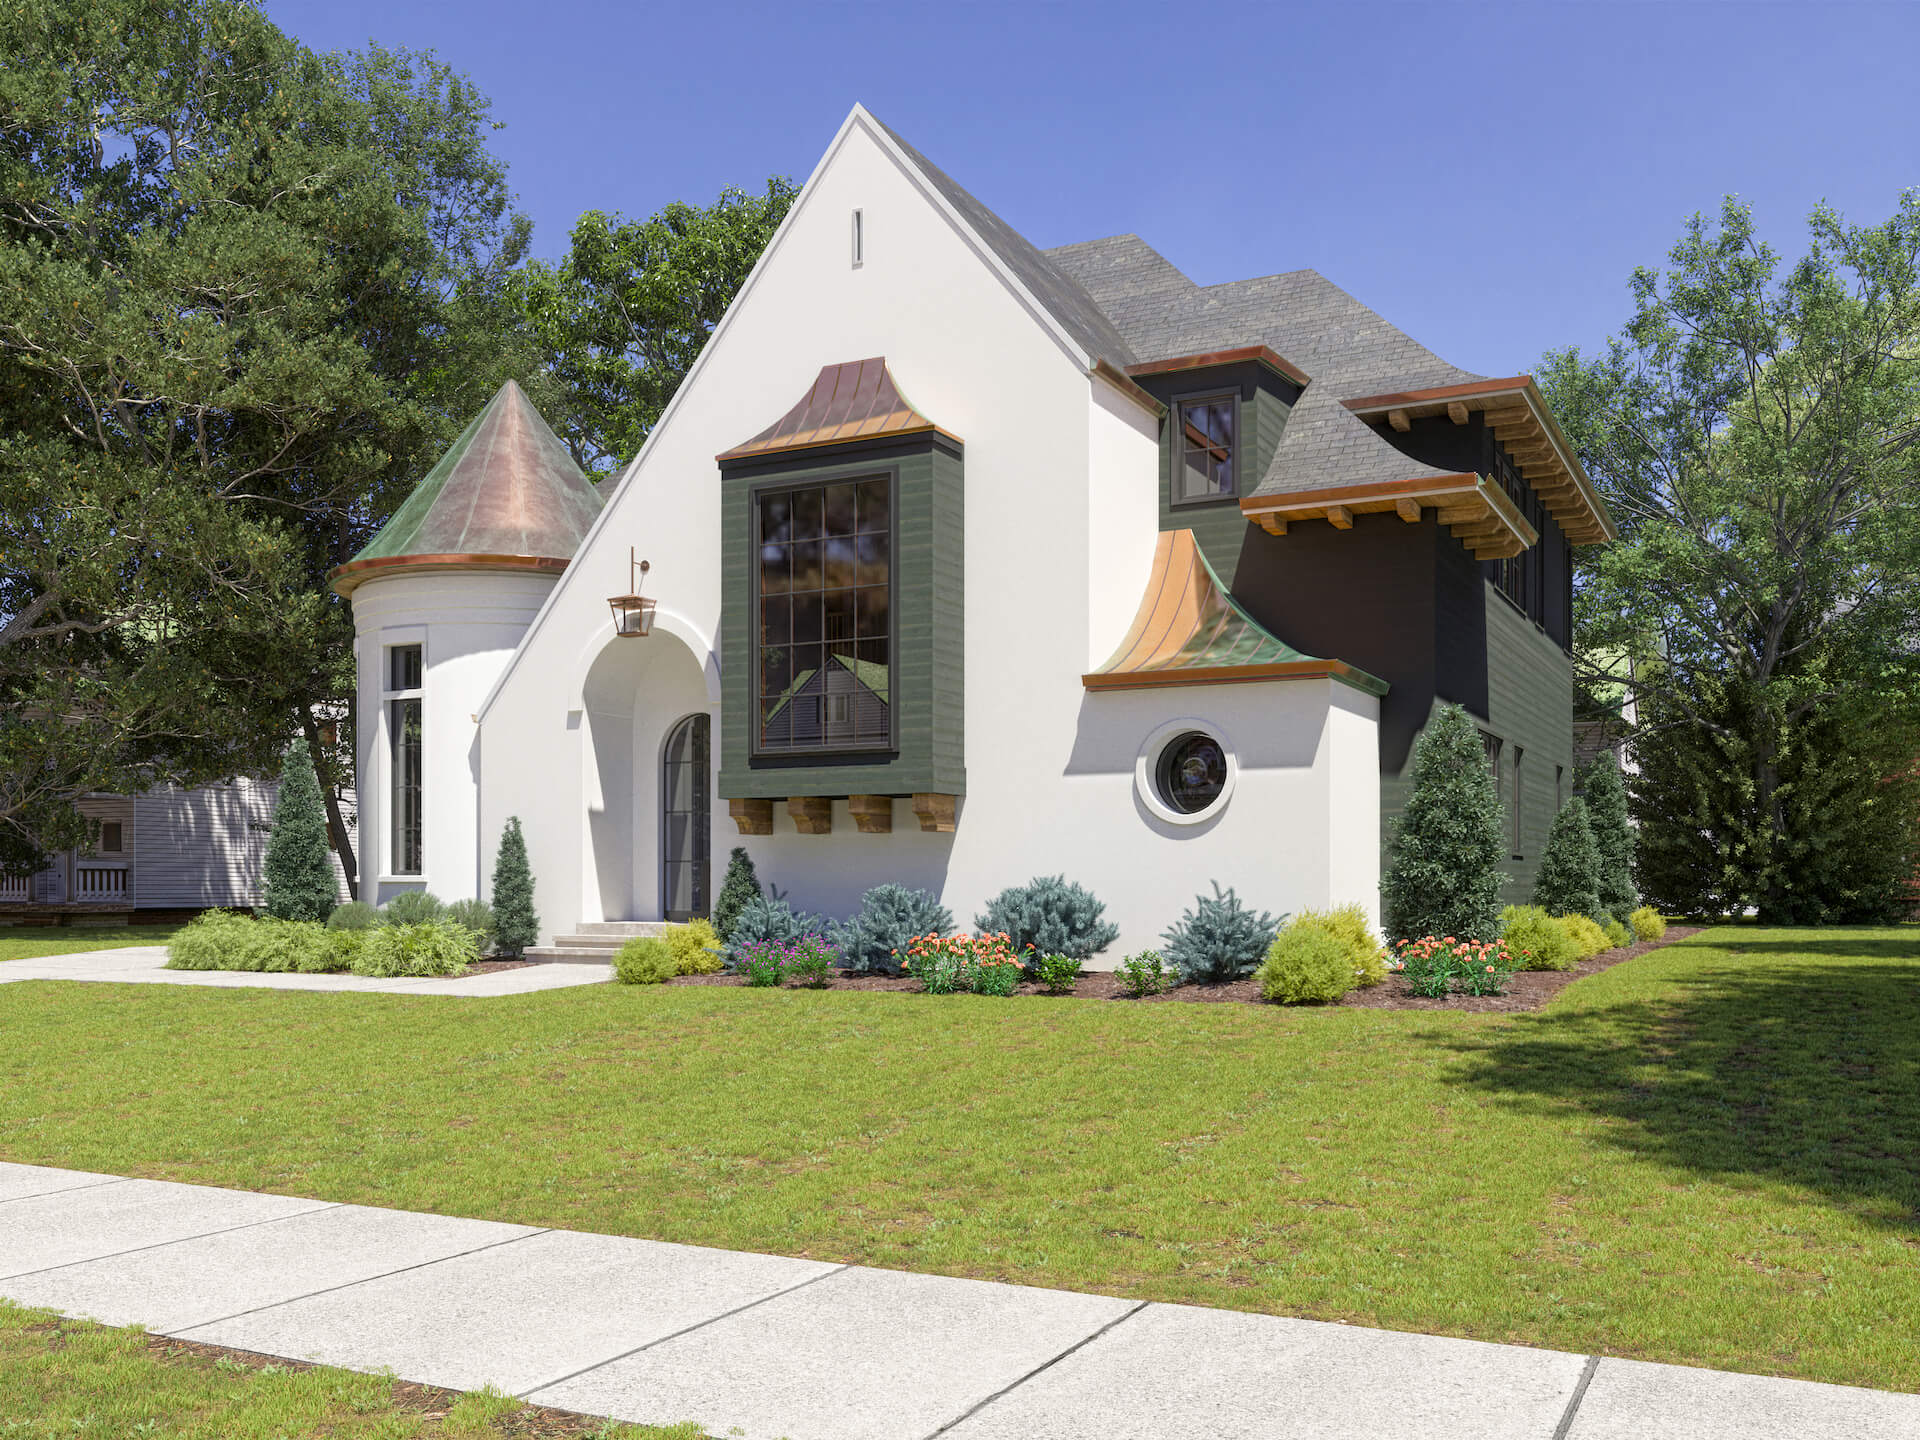
The designer was pleased with how things were going and gave us just a few notes.
#4. The Second Revision Round
After taking a look at the updated 3D house visualization, the client asked us to do the following:
- make the copper roofs a little less reflective and add standing seams;
- make the stucco more of a beige color;
- remove the reflection of another house in the front window;
- do a second rendering — with a dusk setting.
Elevate your exterior design project with photorealistic 3D visuals that help clients confidently approve your proposals.
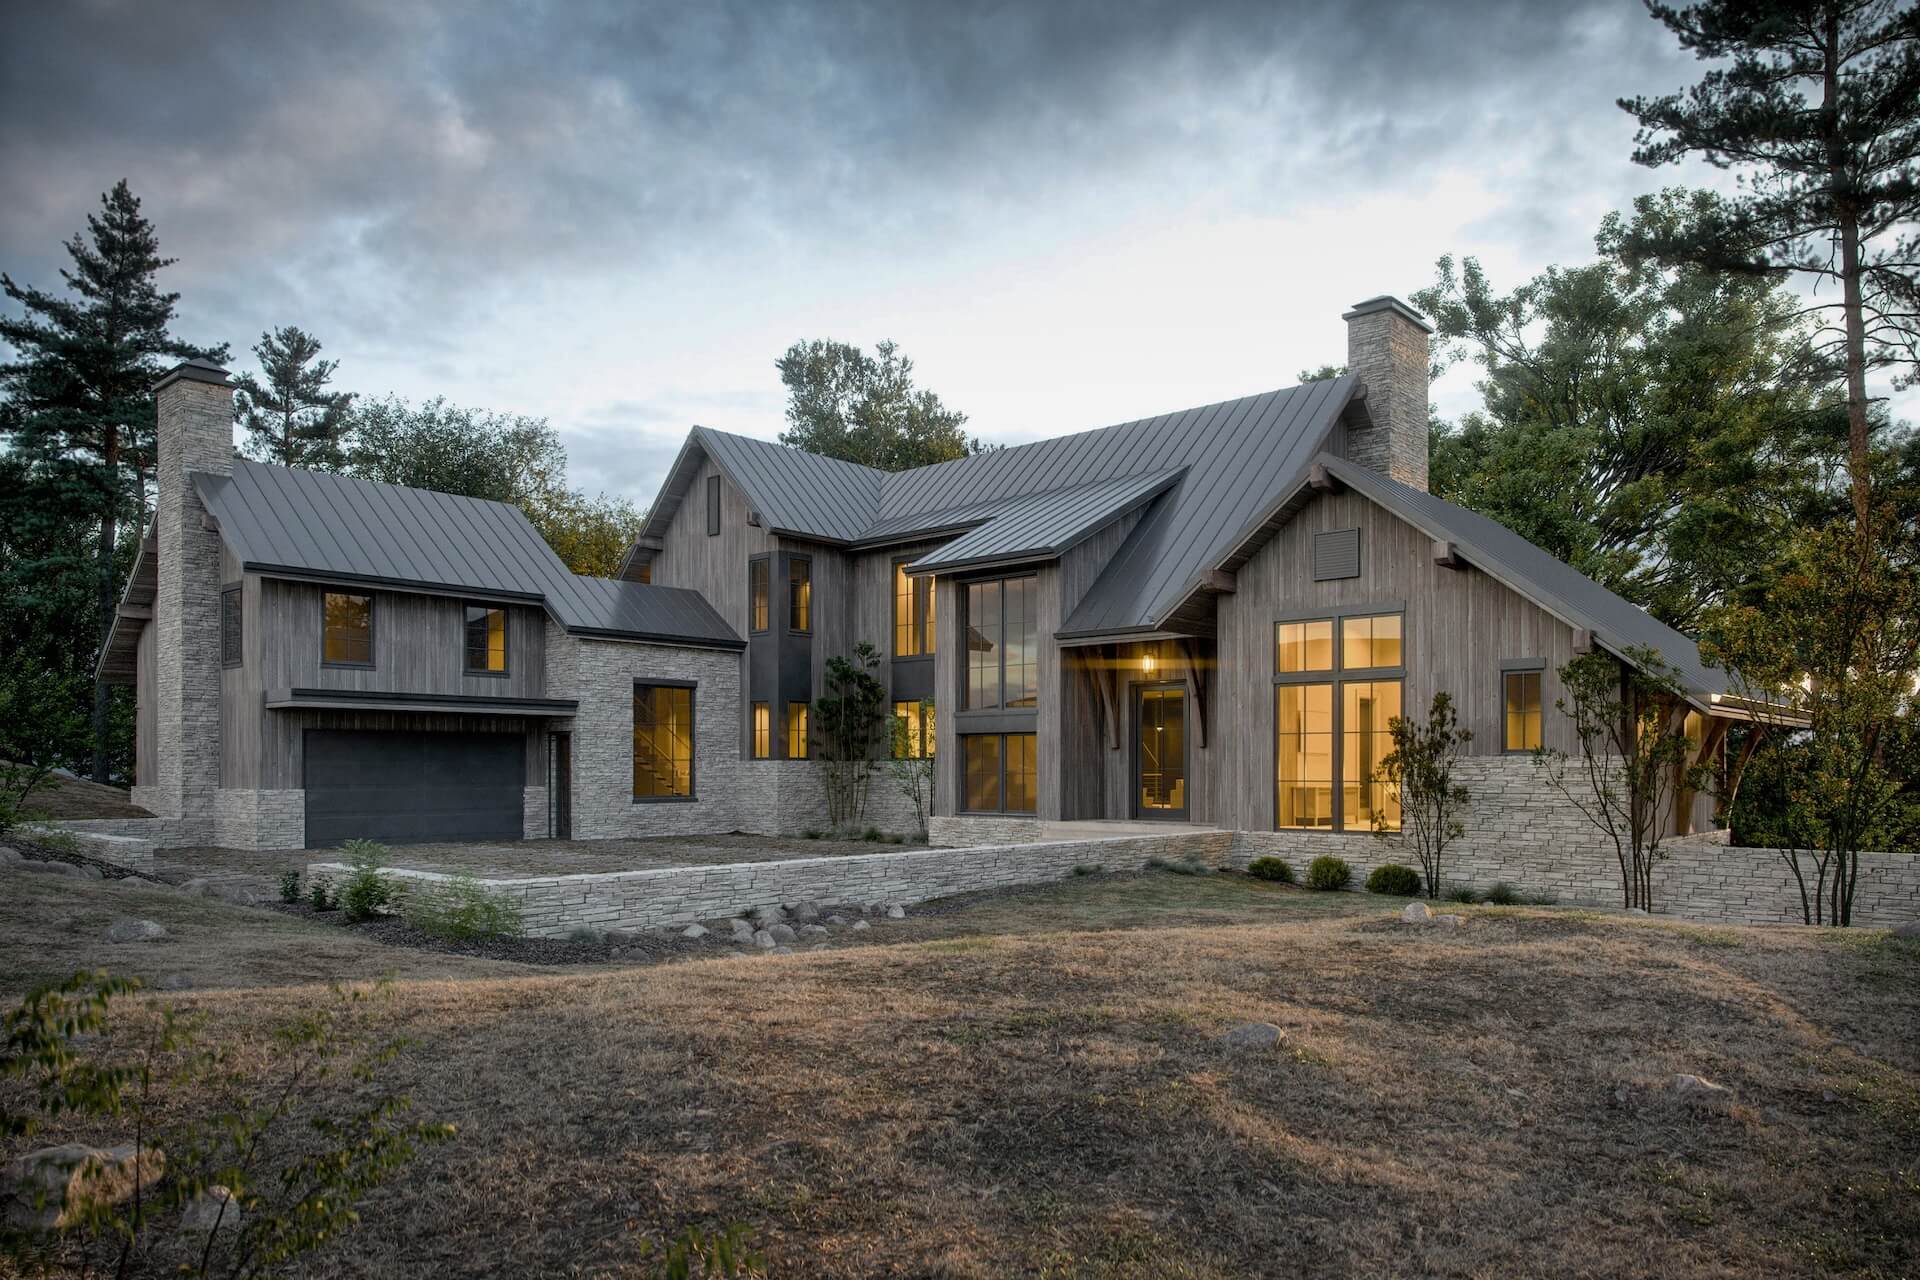
Below, you can see the updated initial 3D exterior render and the new one in a cloudy setting, with interior and exterior lights on. You may also notice that these images have been through post-production. Namely, they have more balanced lighting, photorealistic shadows, and clouds in the sky that make the renderings more lively.


Then, for the final stage of the 3D house visualization project, there was only one little tweak left.
#5. The Third Revision Round and Final Results
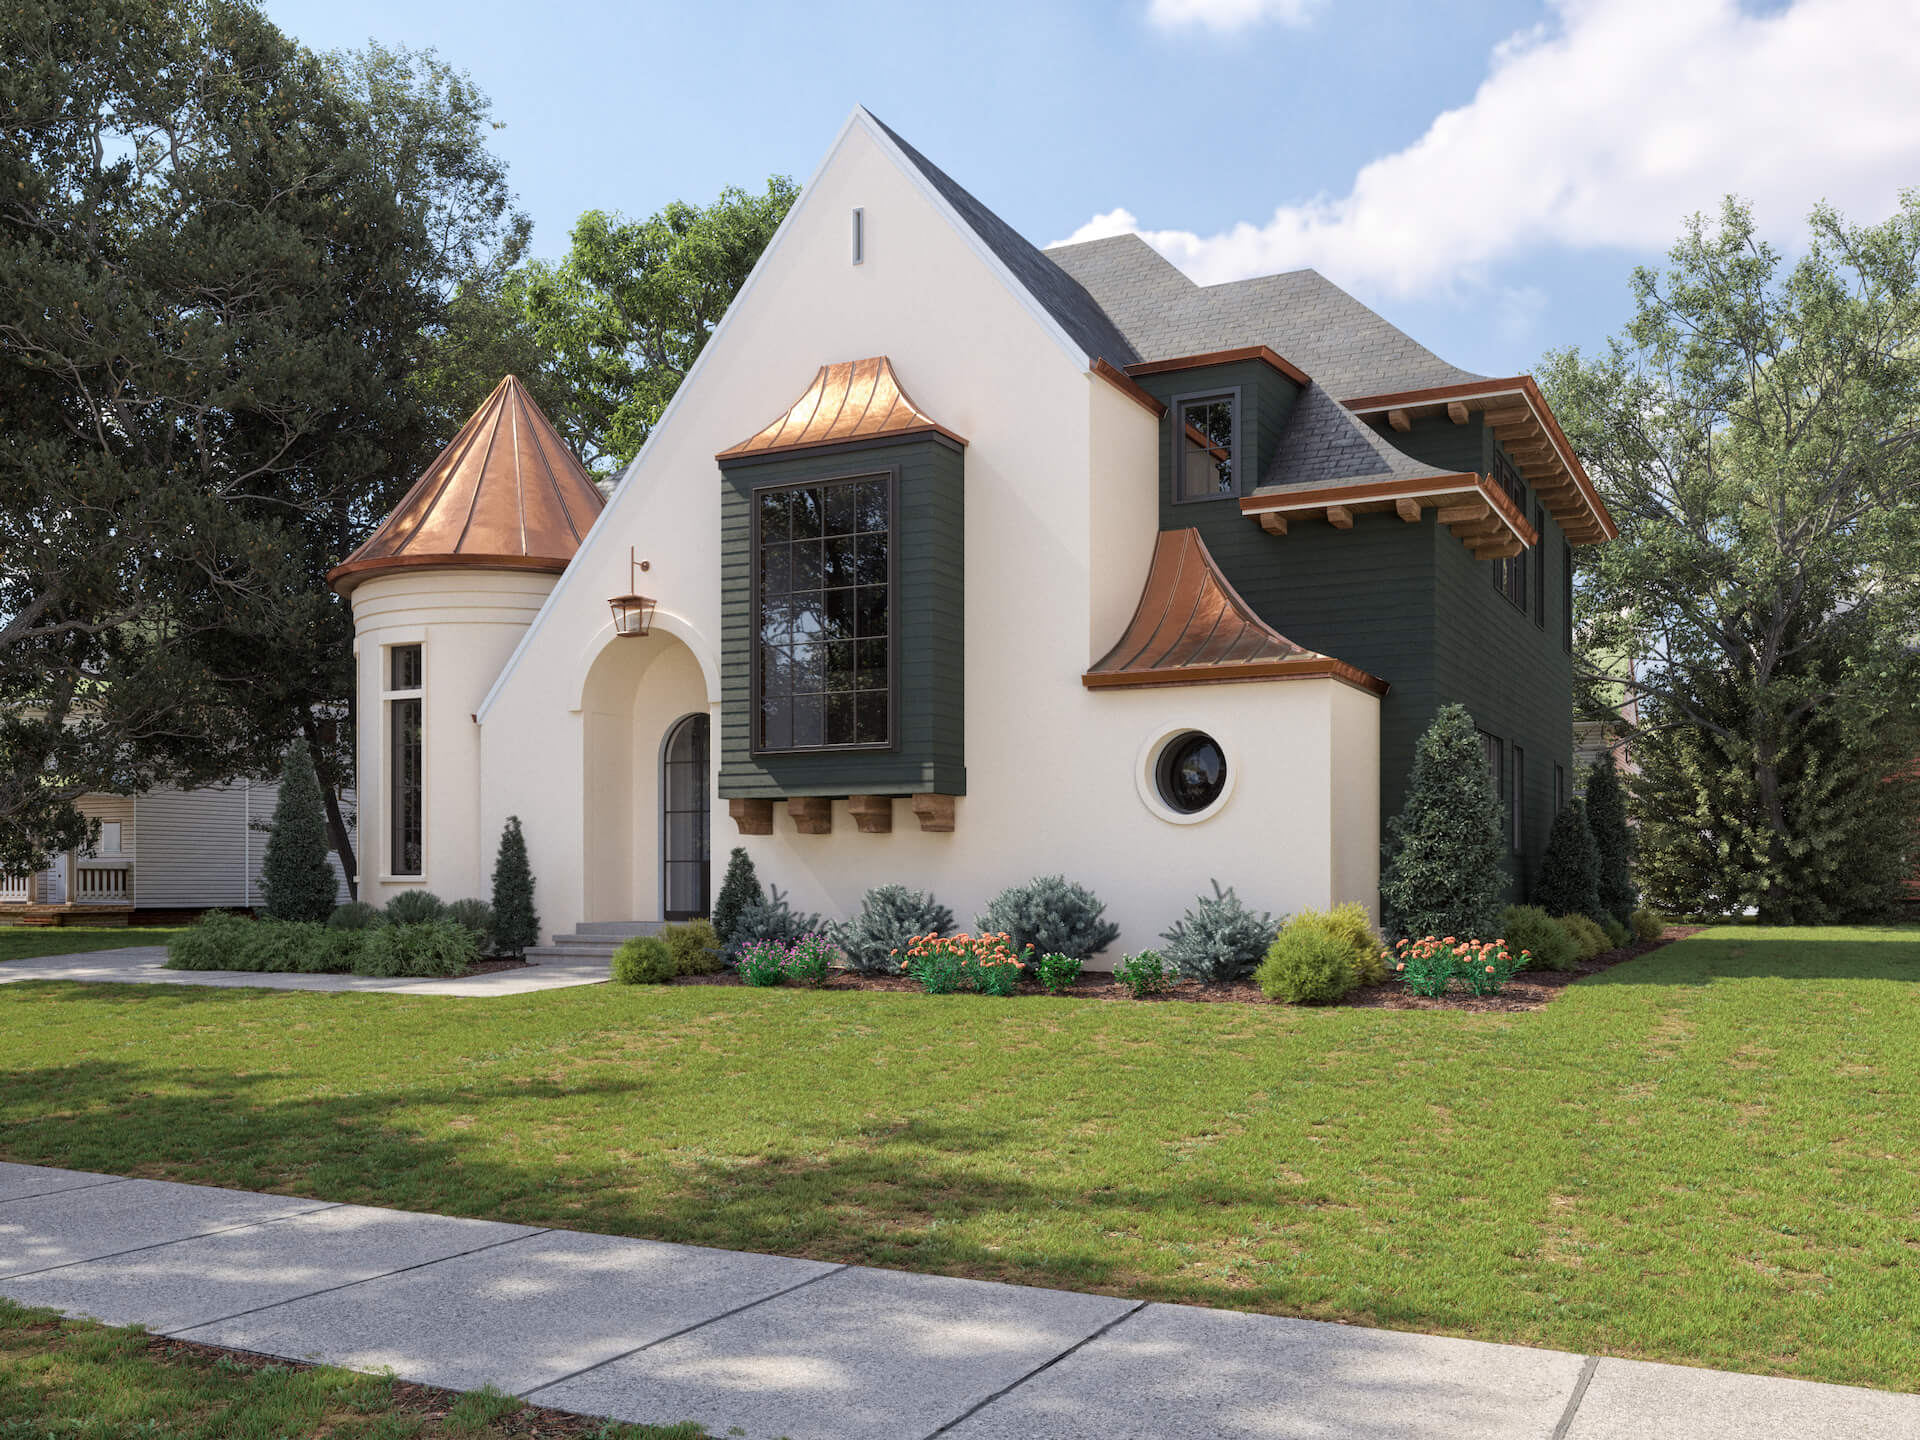
Shortly after we submitted the new versions of the renderings, Elliott messaged us with an additional request. He said that his clients wanted to see the copper roofs and gutters changed to bronze.
Those were the very last corrections for us to make. And here, you can see the final result of this 3D visualization task.
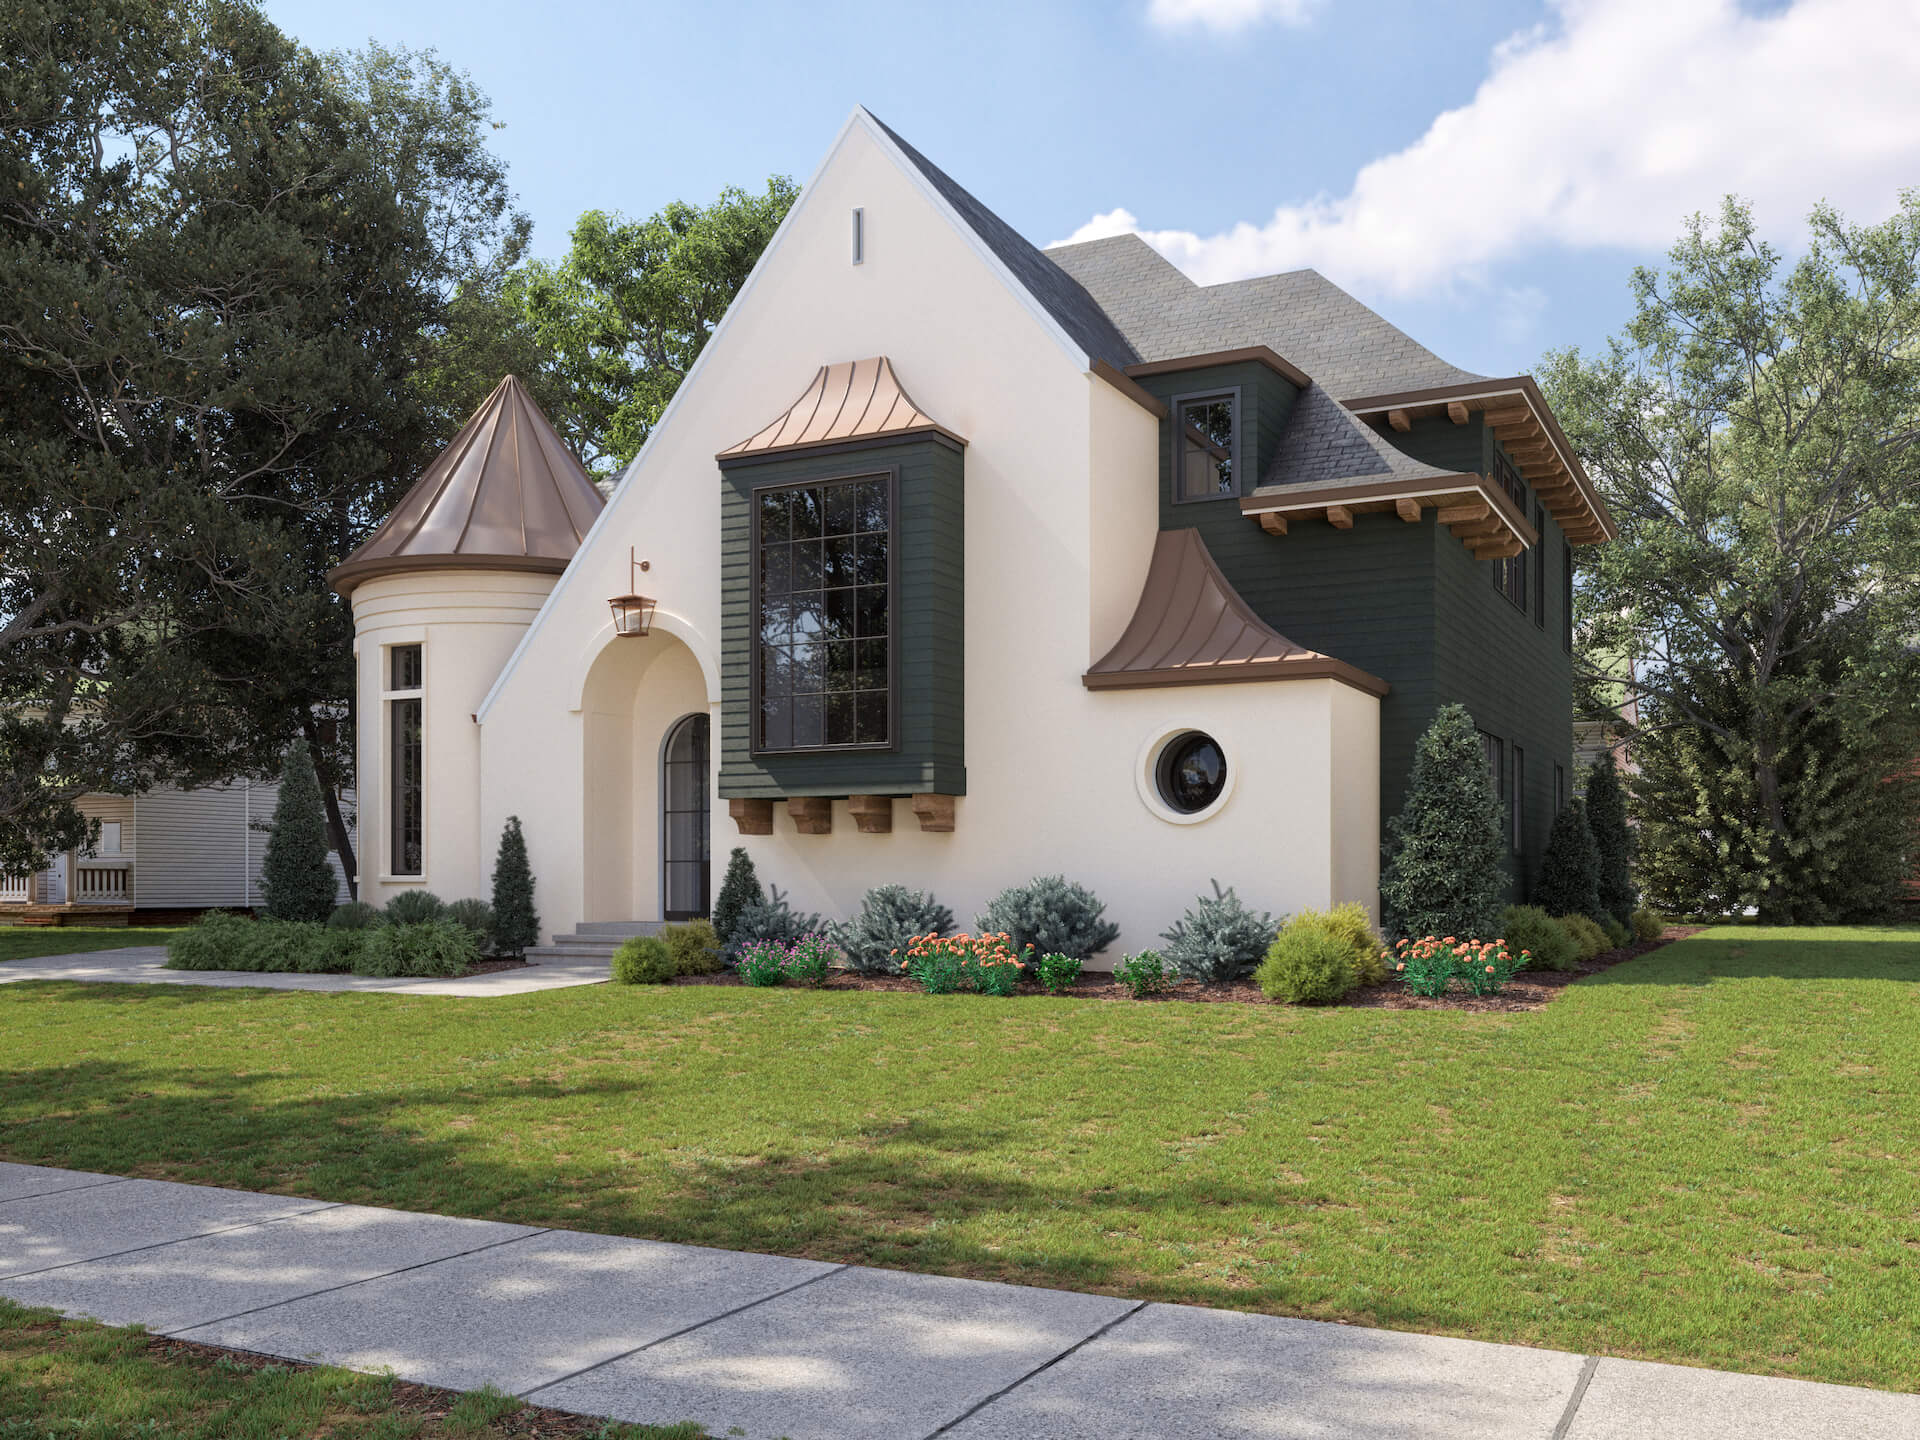

Each of these renderings highlights the warm and inviting atmosphere of the house. The designer loved the way the visuals turned out, and we did too.
It took our 3D artist 20h to complete this 3D house visualization assignment.
We’re grateful to Elliot for the opportunity to write this case study and for the pleasure of working together — in this and every other project we’ve done and will do in the future.
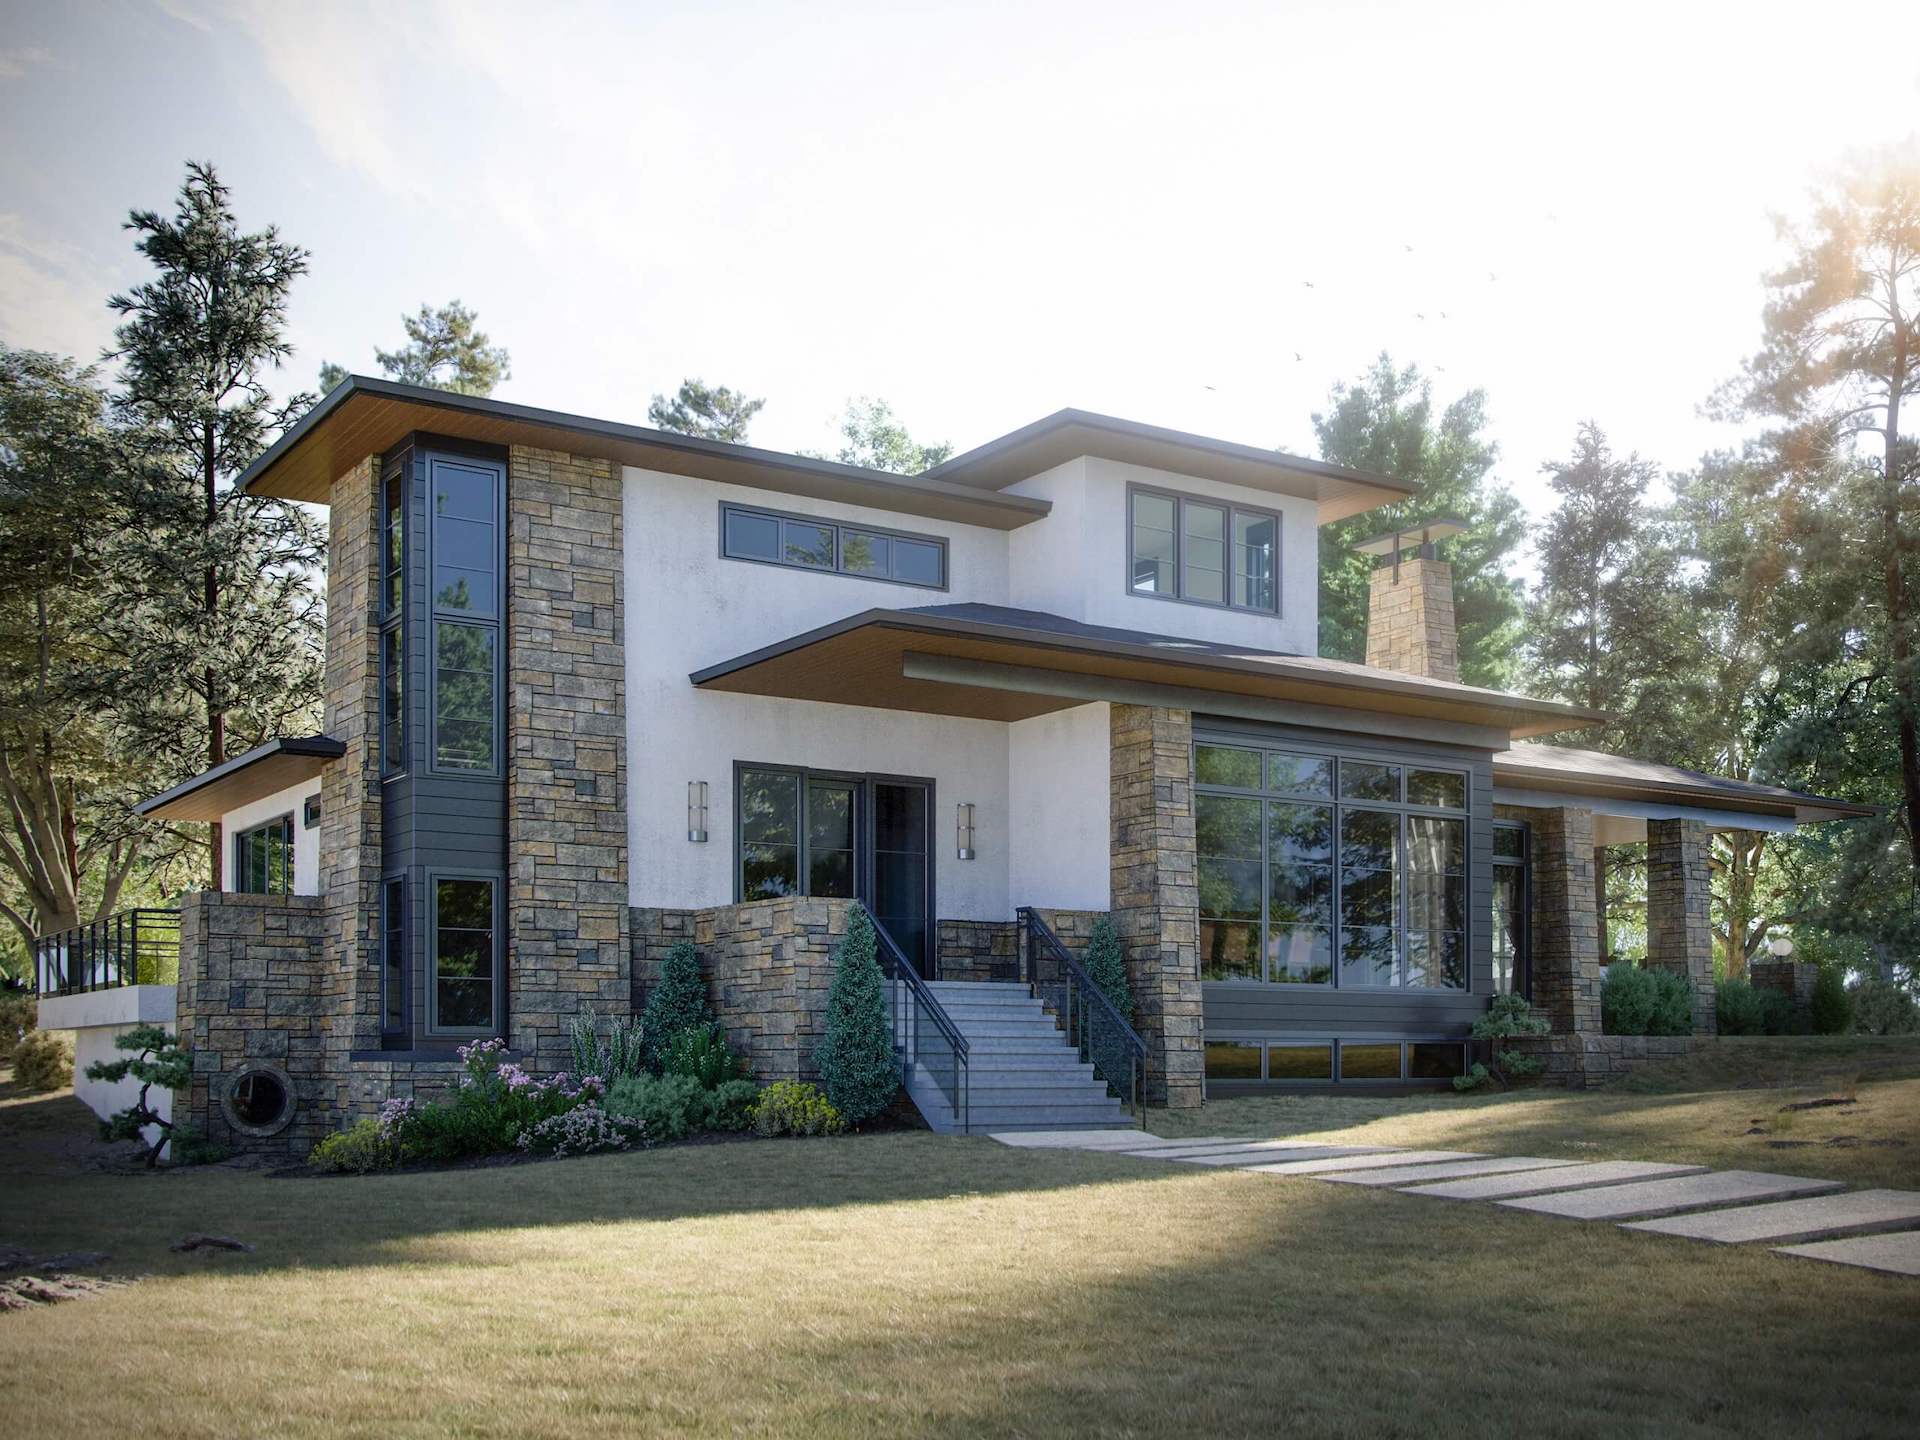
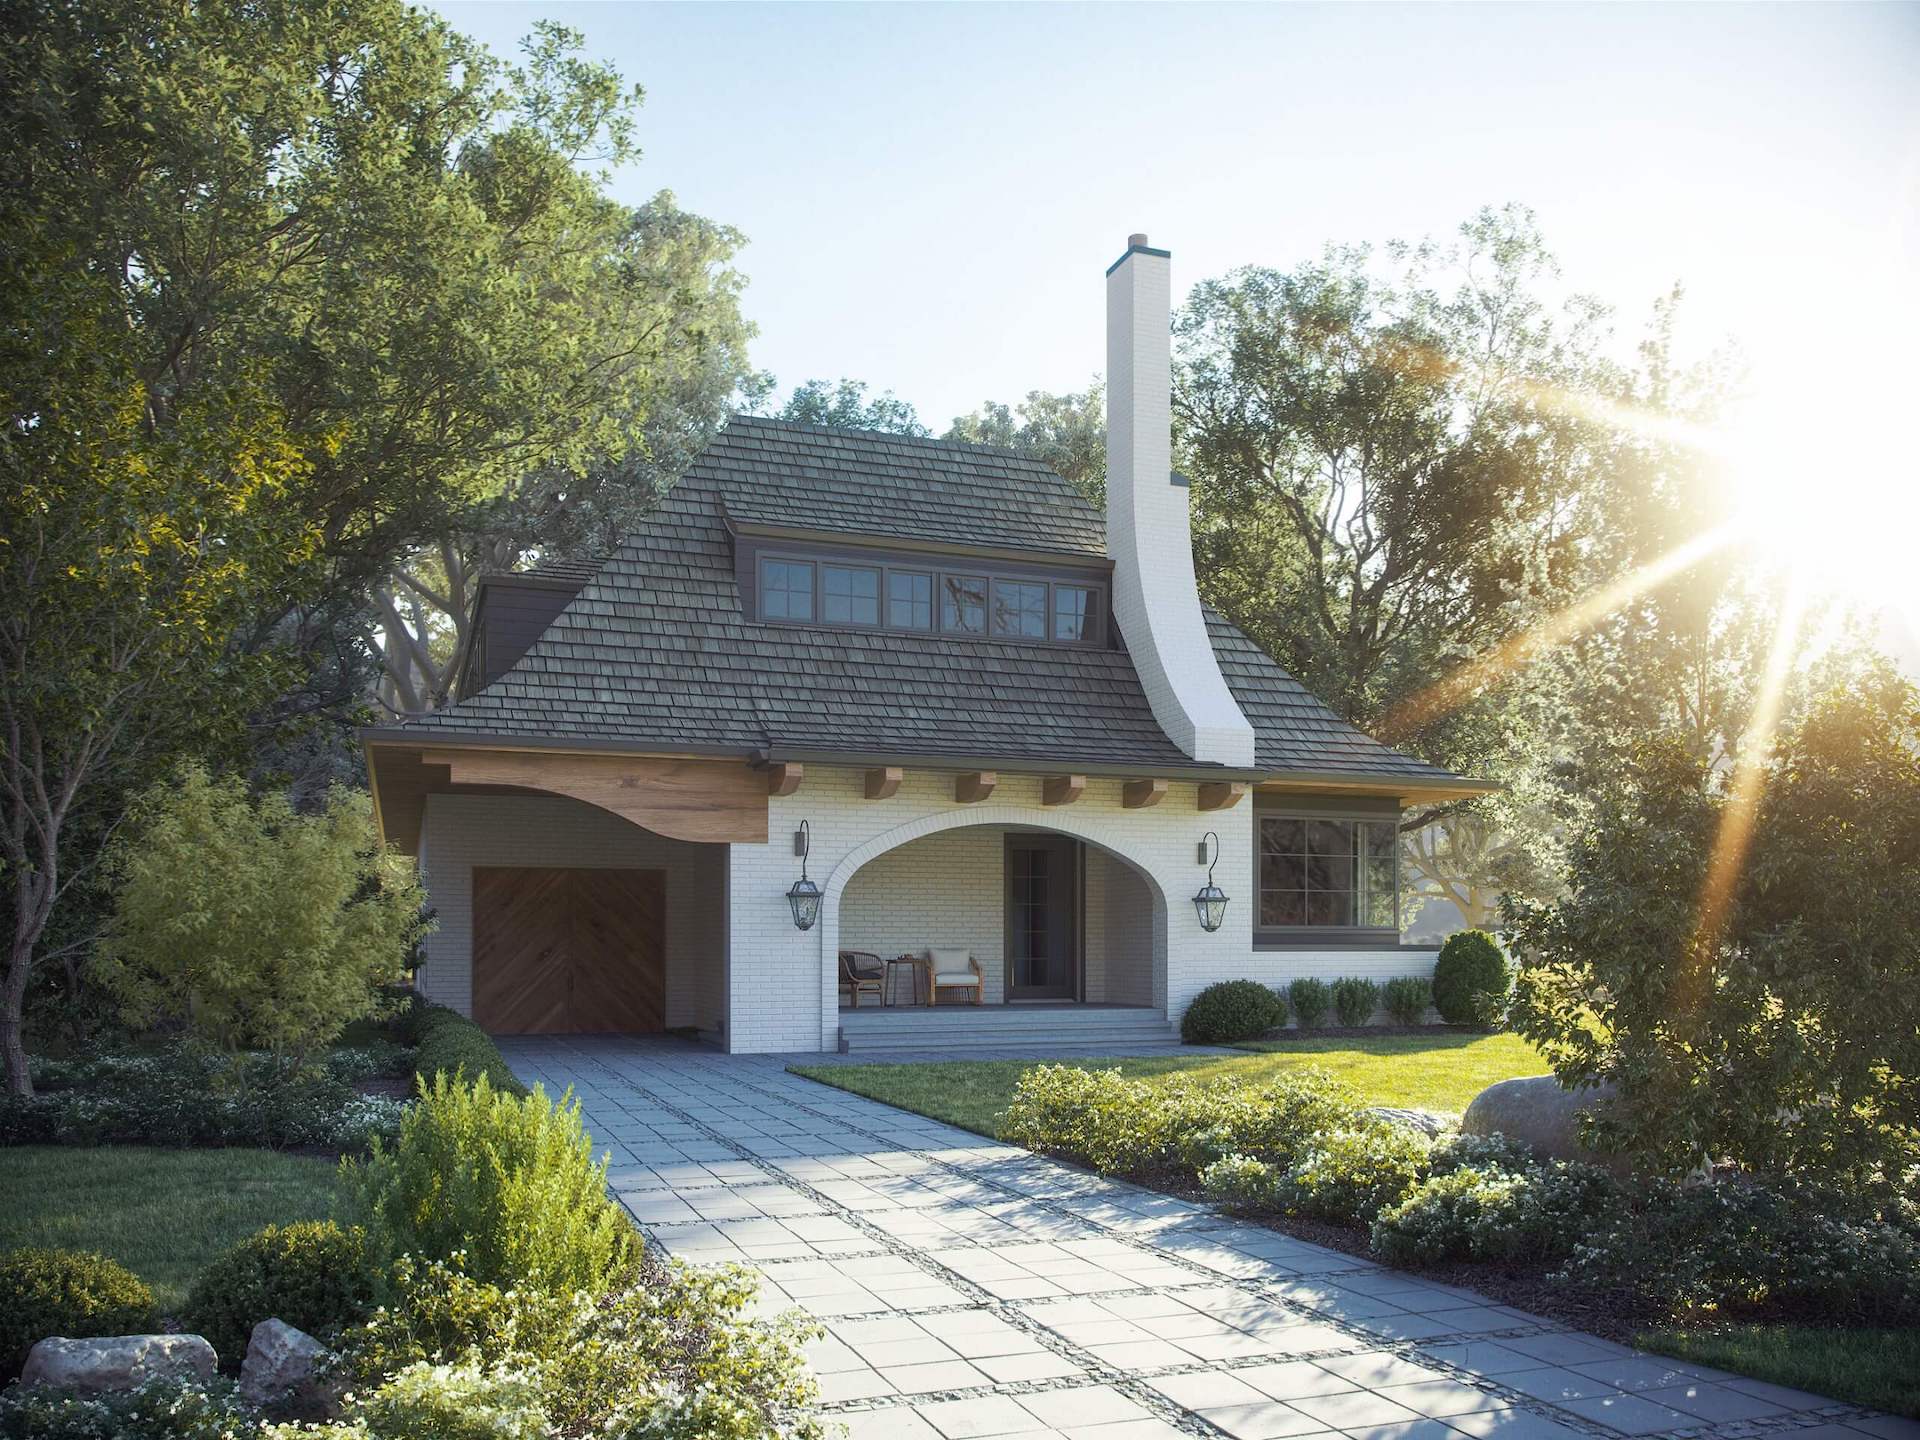
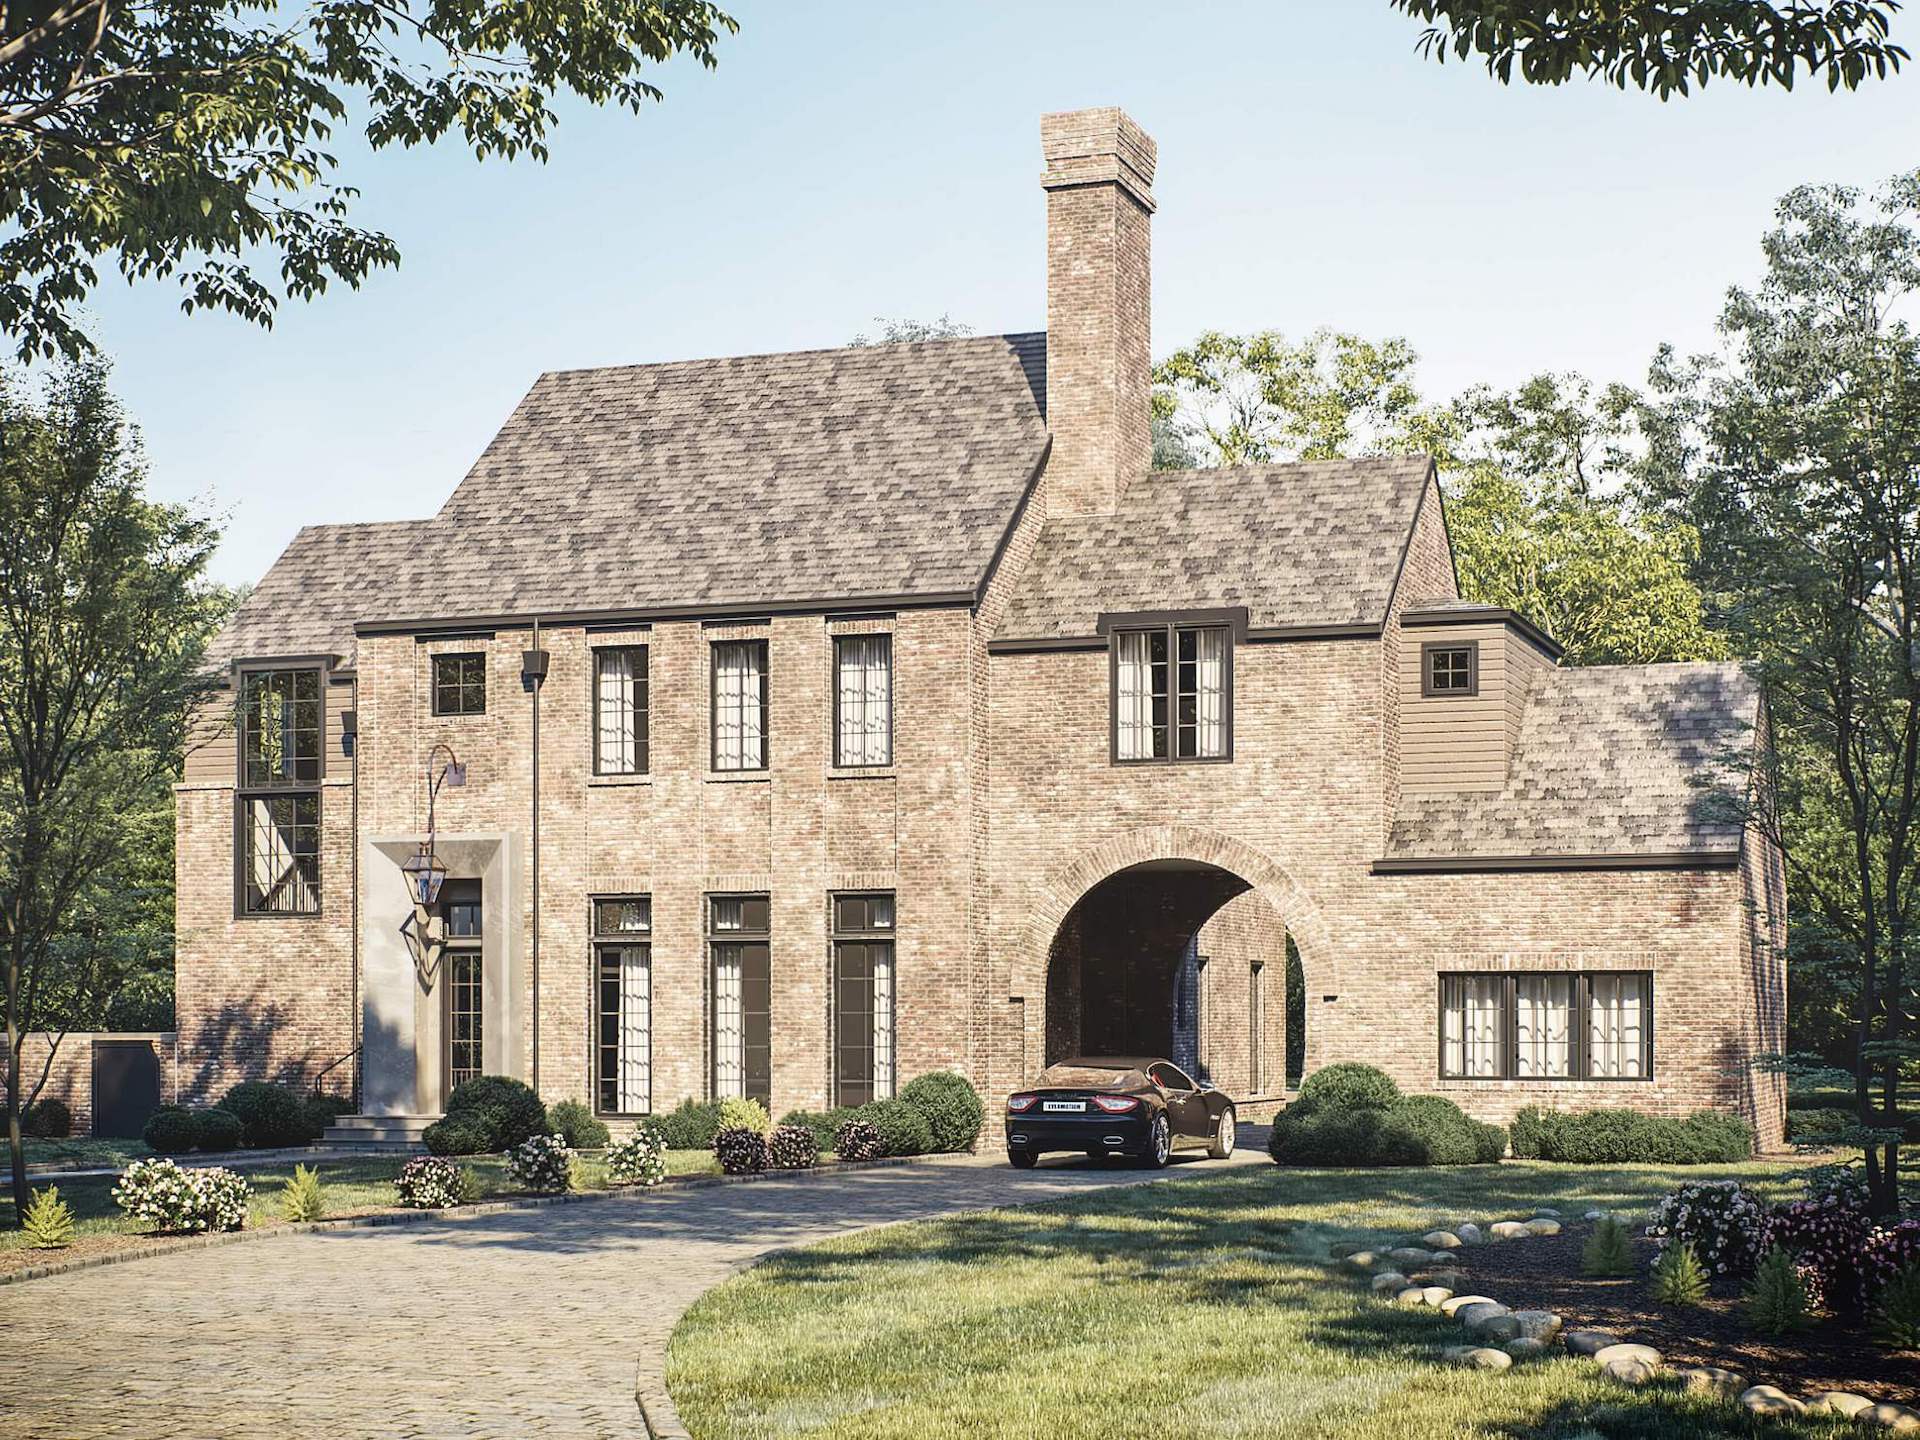
Now, as we promised at the beginning, we’re showing you some of the other renders we did for Elliott during our collaboration.
Looking for professional CGI services? Contact us at ArchiCGI and get photorealistic 3D rendering for North Carolina projects to impress your clients at the next presentation!

Ana Wayne
Content Writer, Copywriter
Ana is a content writer for ArchiCGI. She has a passion for design and architecture - and for talking about it. Outside of work, she is a fan of sci-fi movies and a street food connoisseur.
Like this project? We’ve got plenty more! Check out these CGI beauties.
