


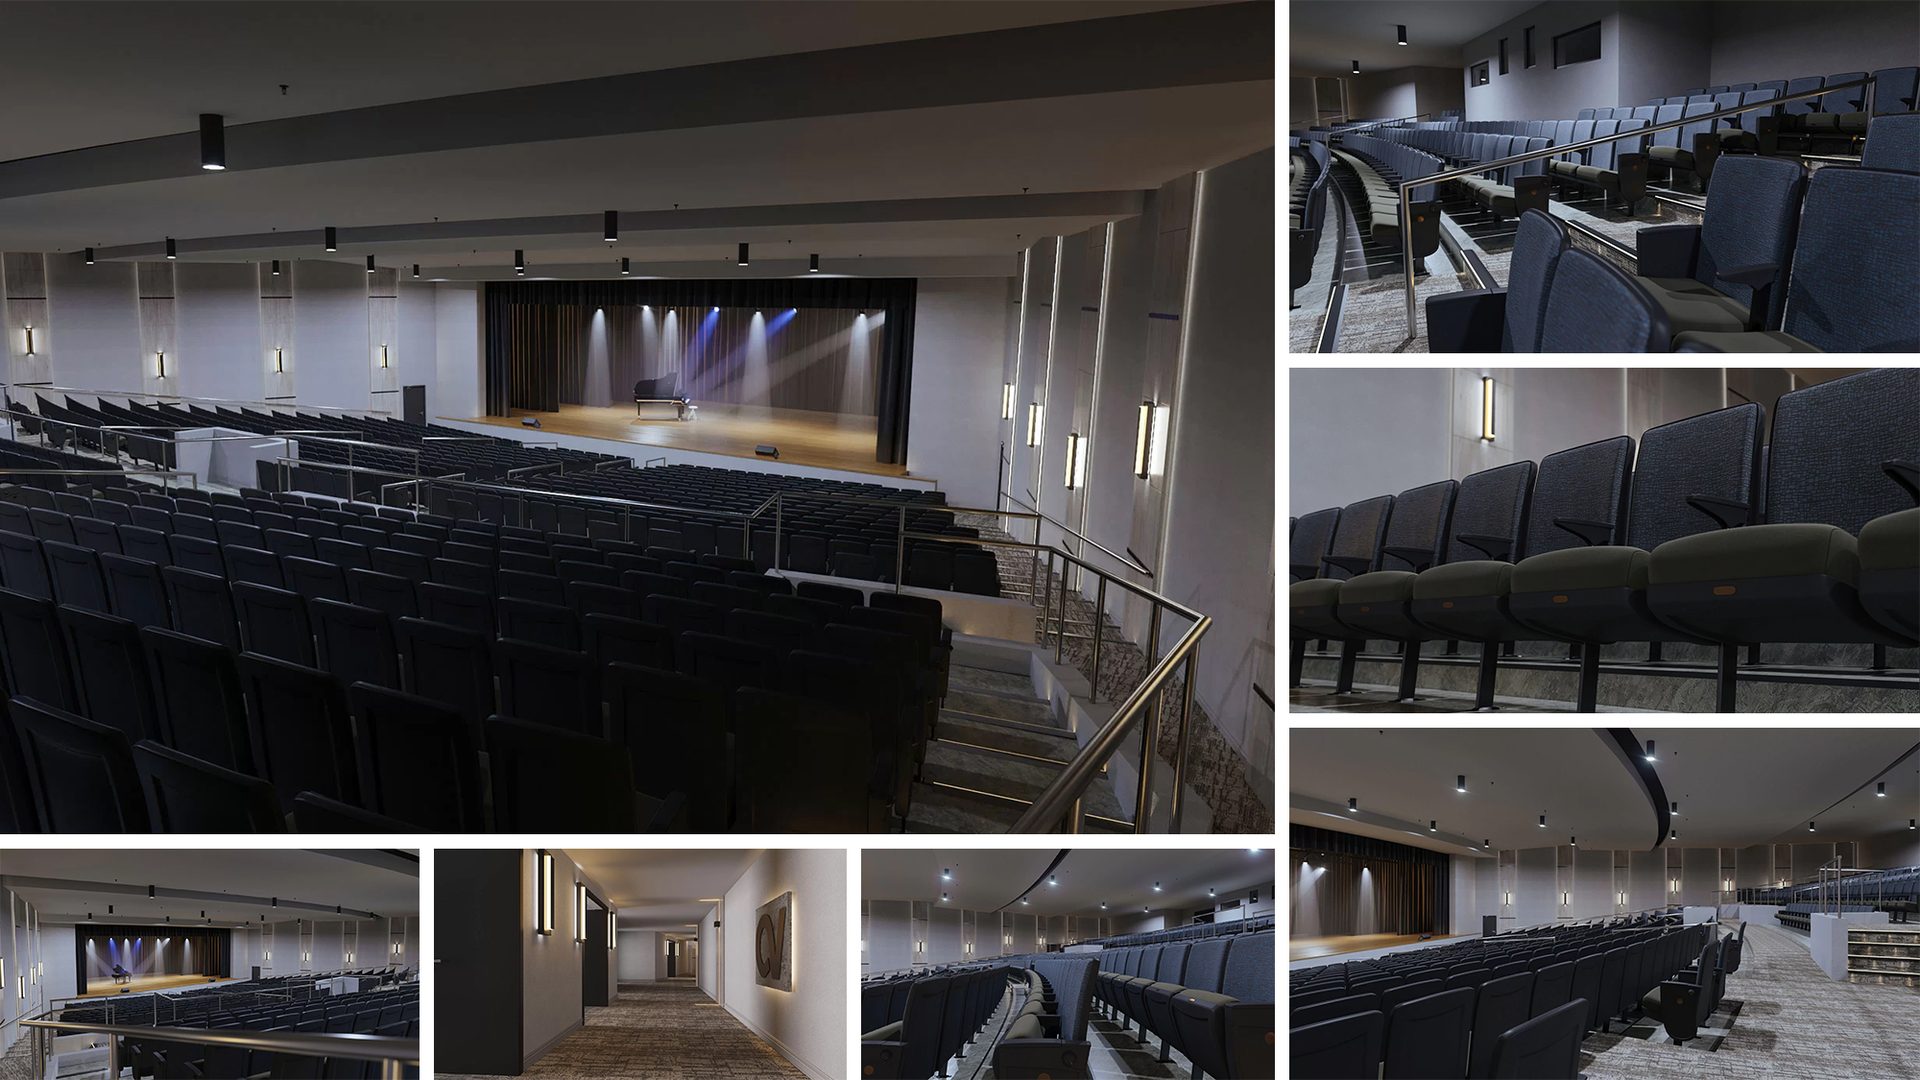
Photorealistic 3D Animation for a Theater in Florida
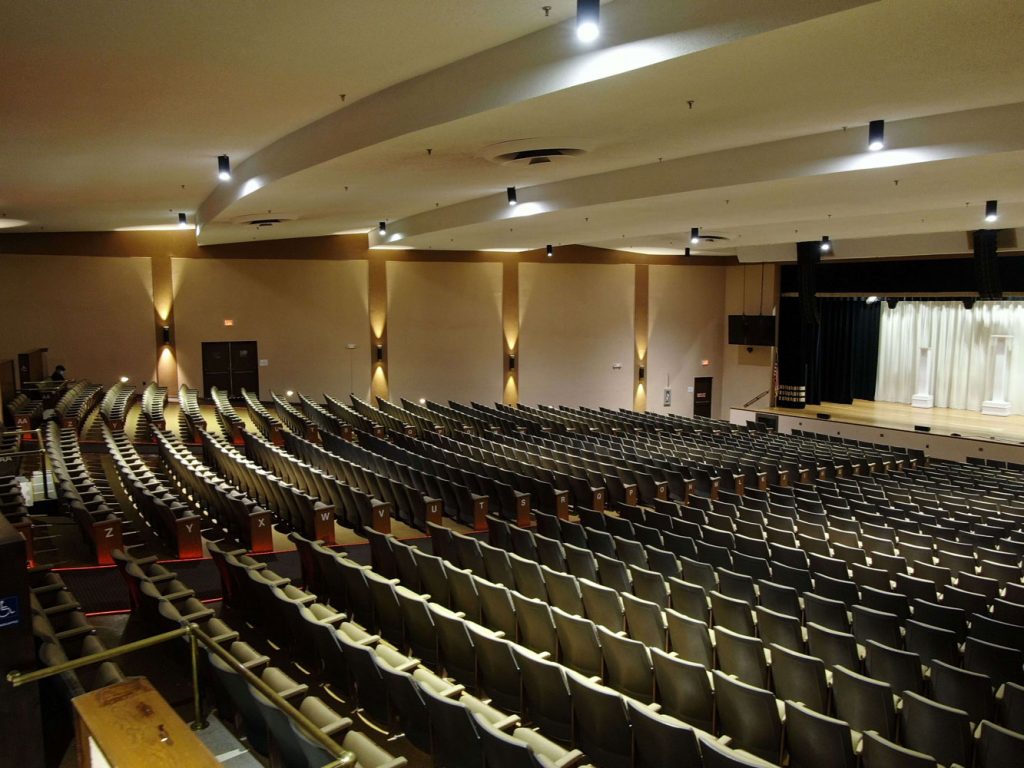
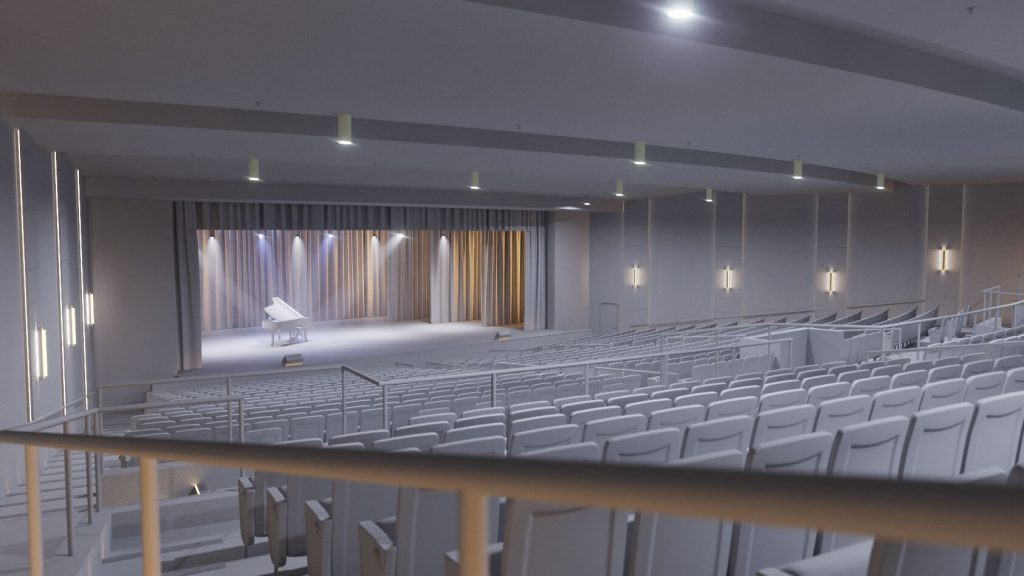
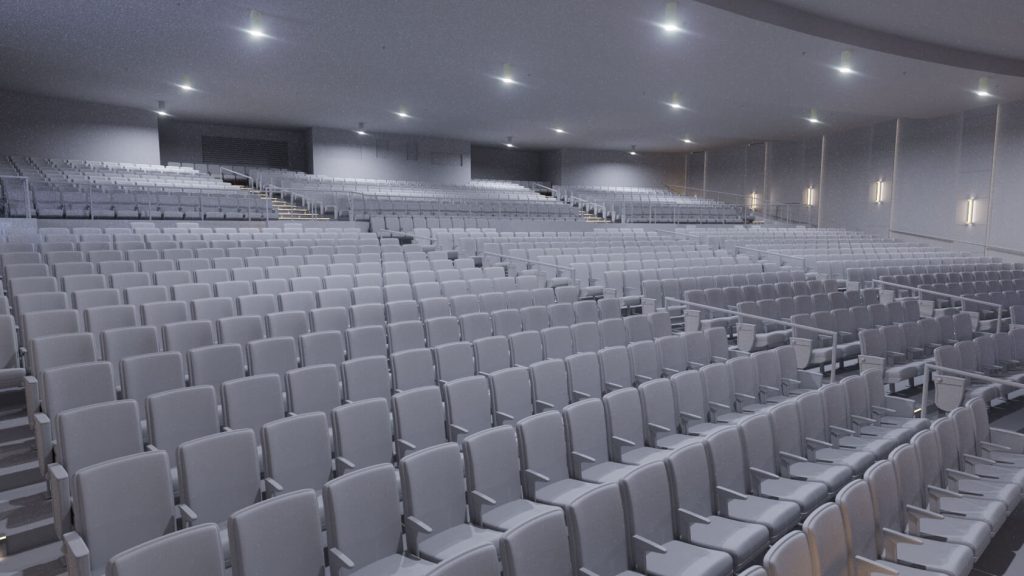
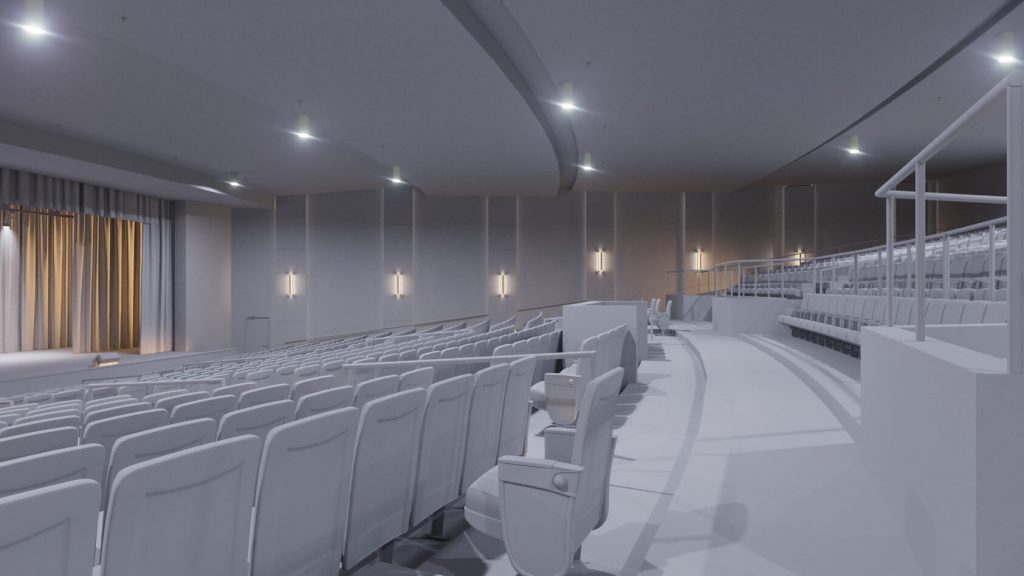
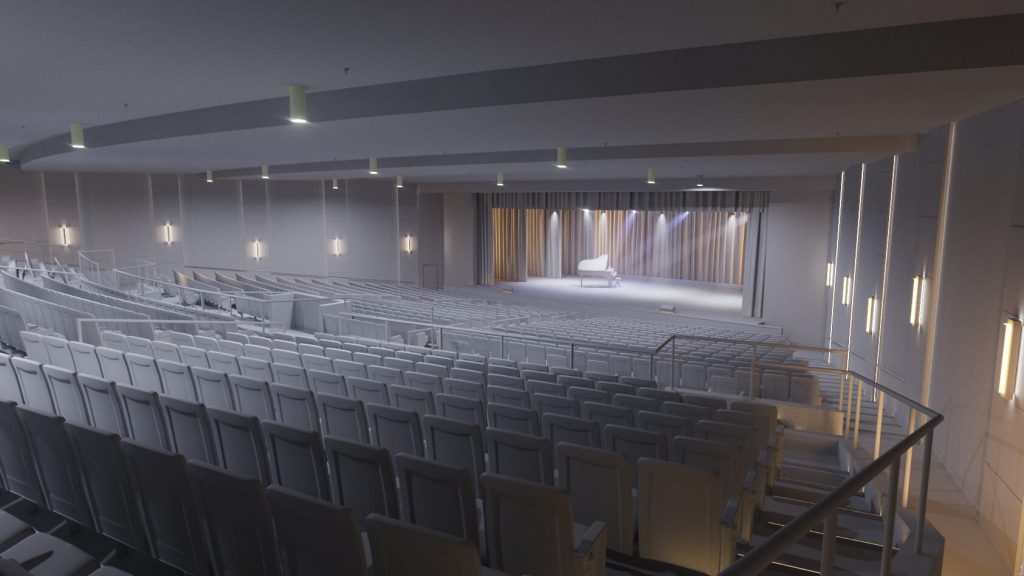
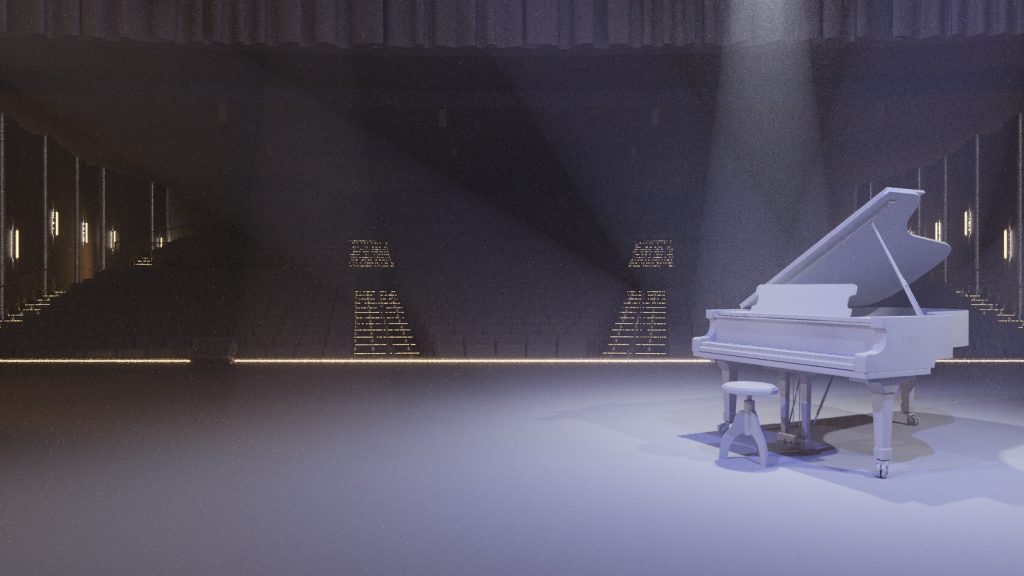
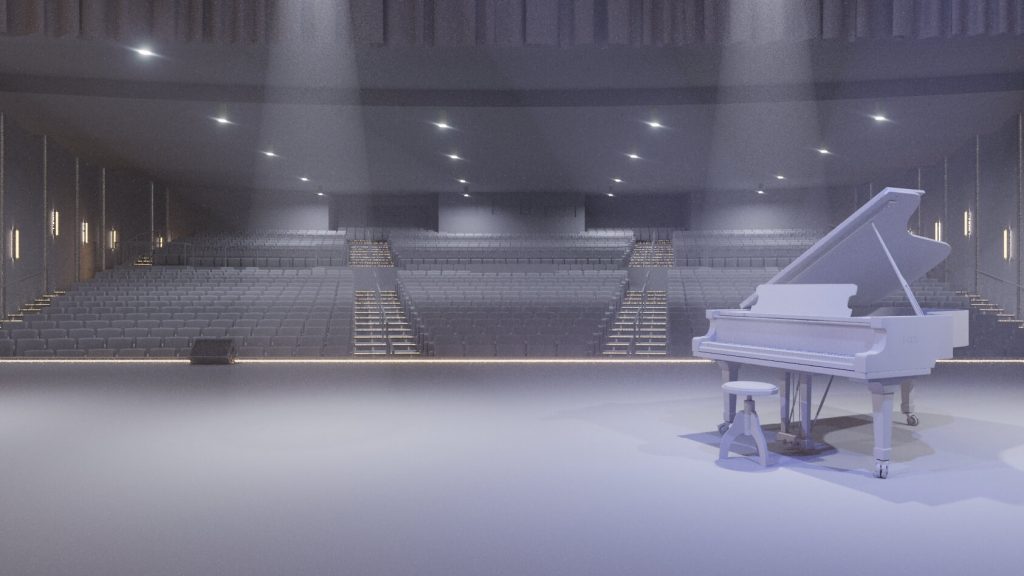
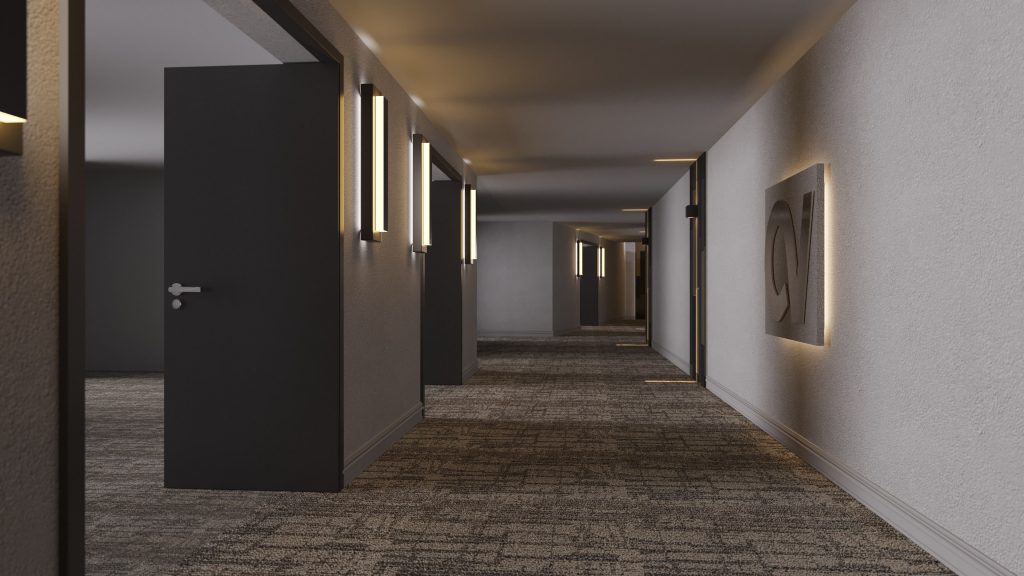
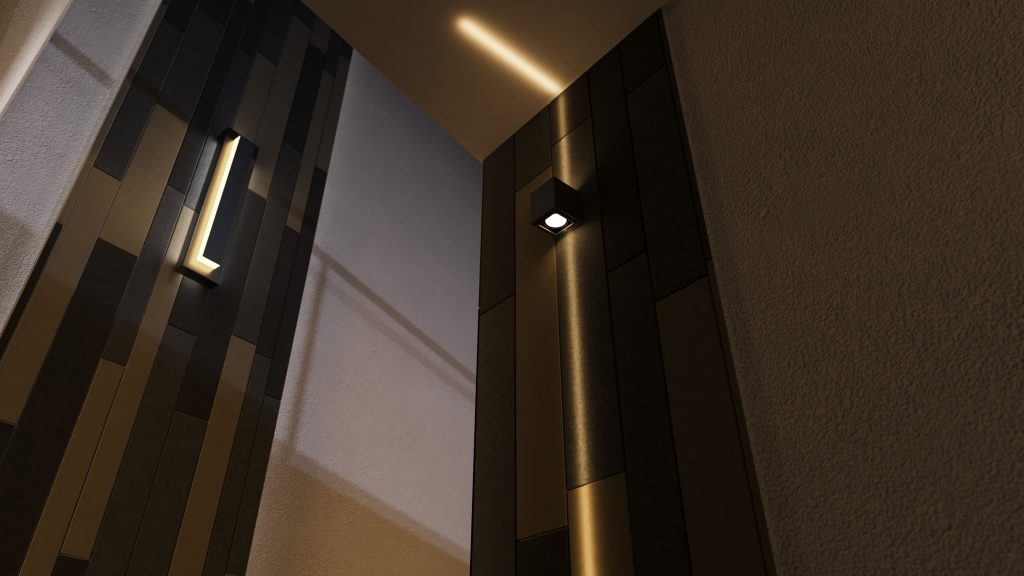
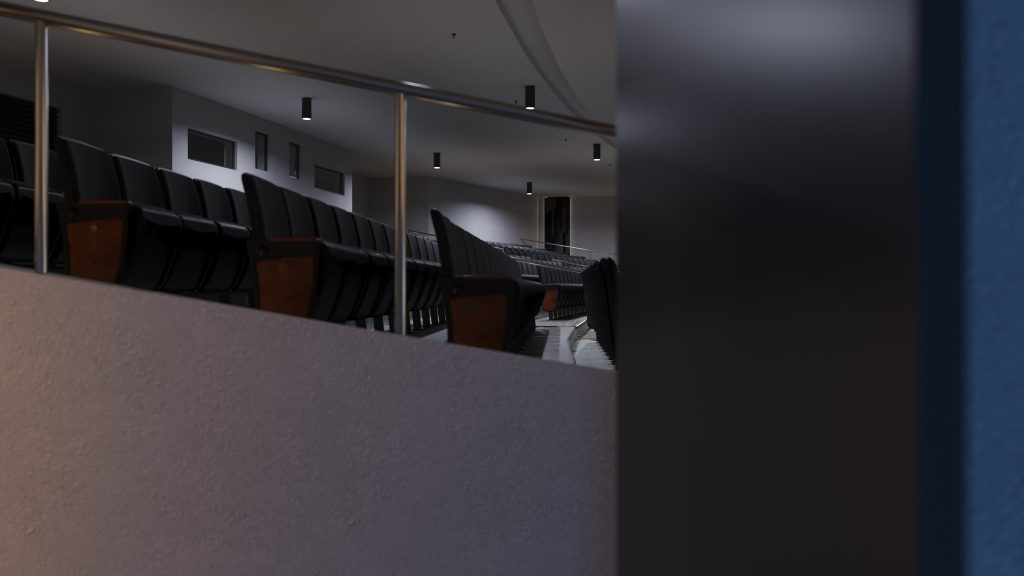
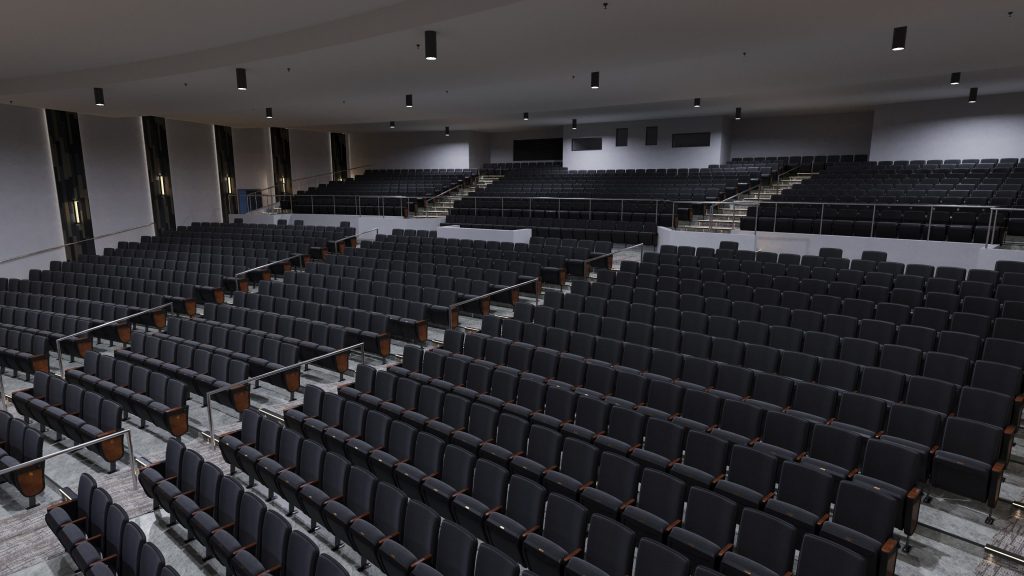
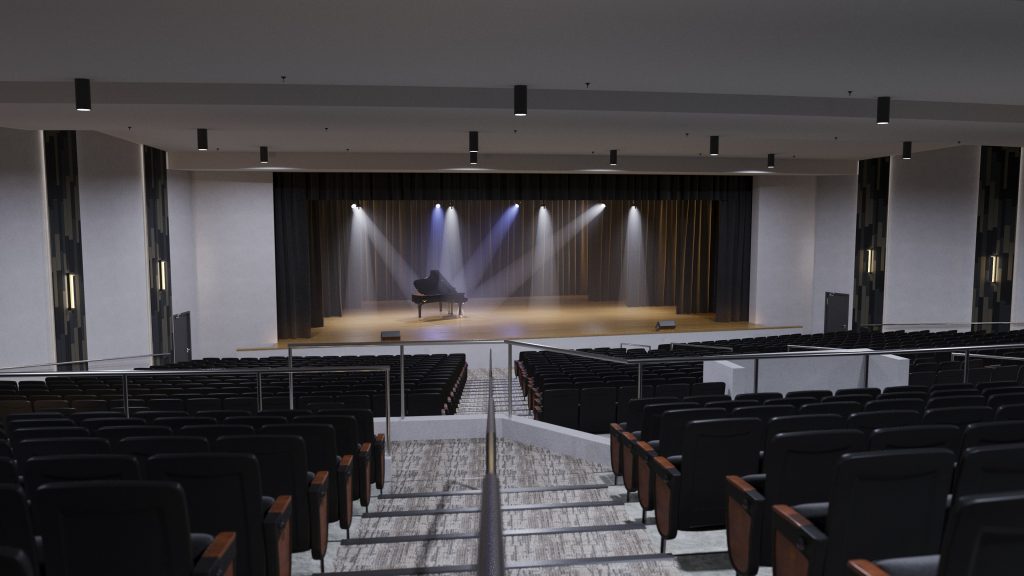
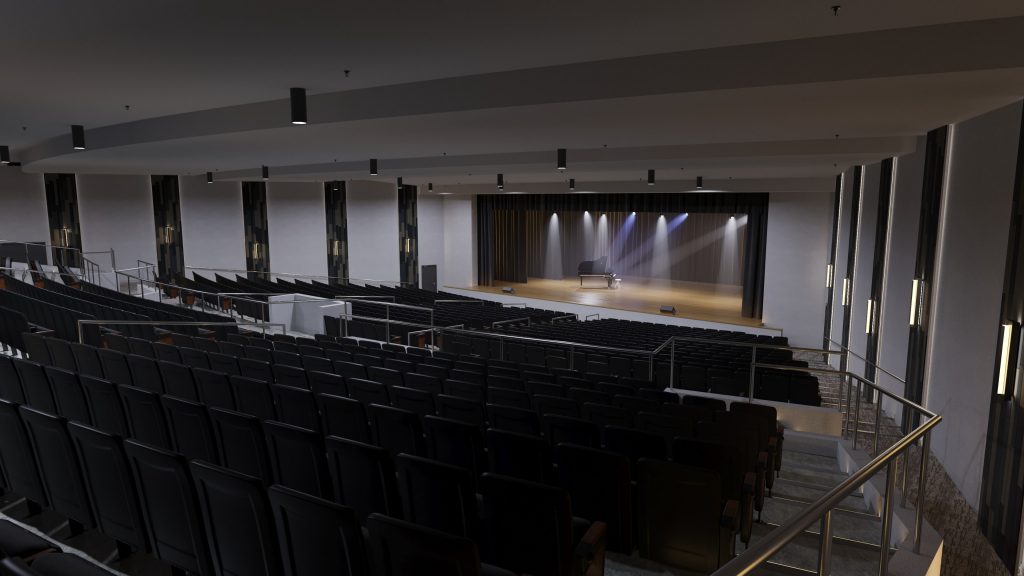
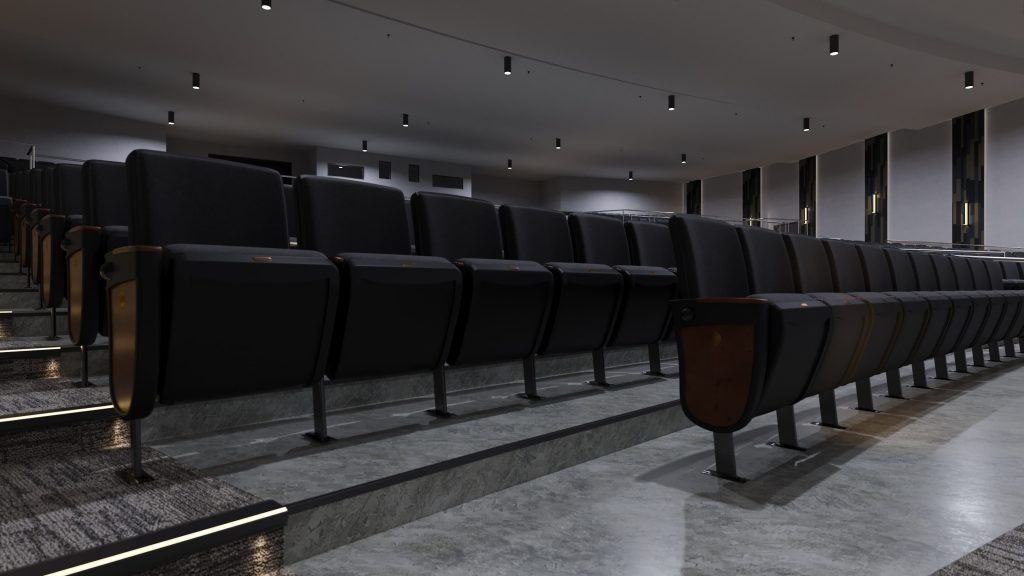
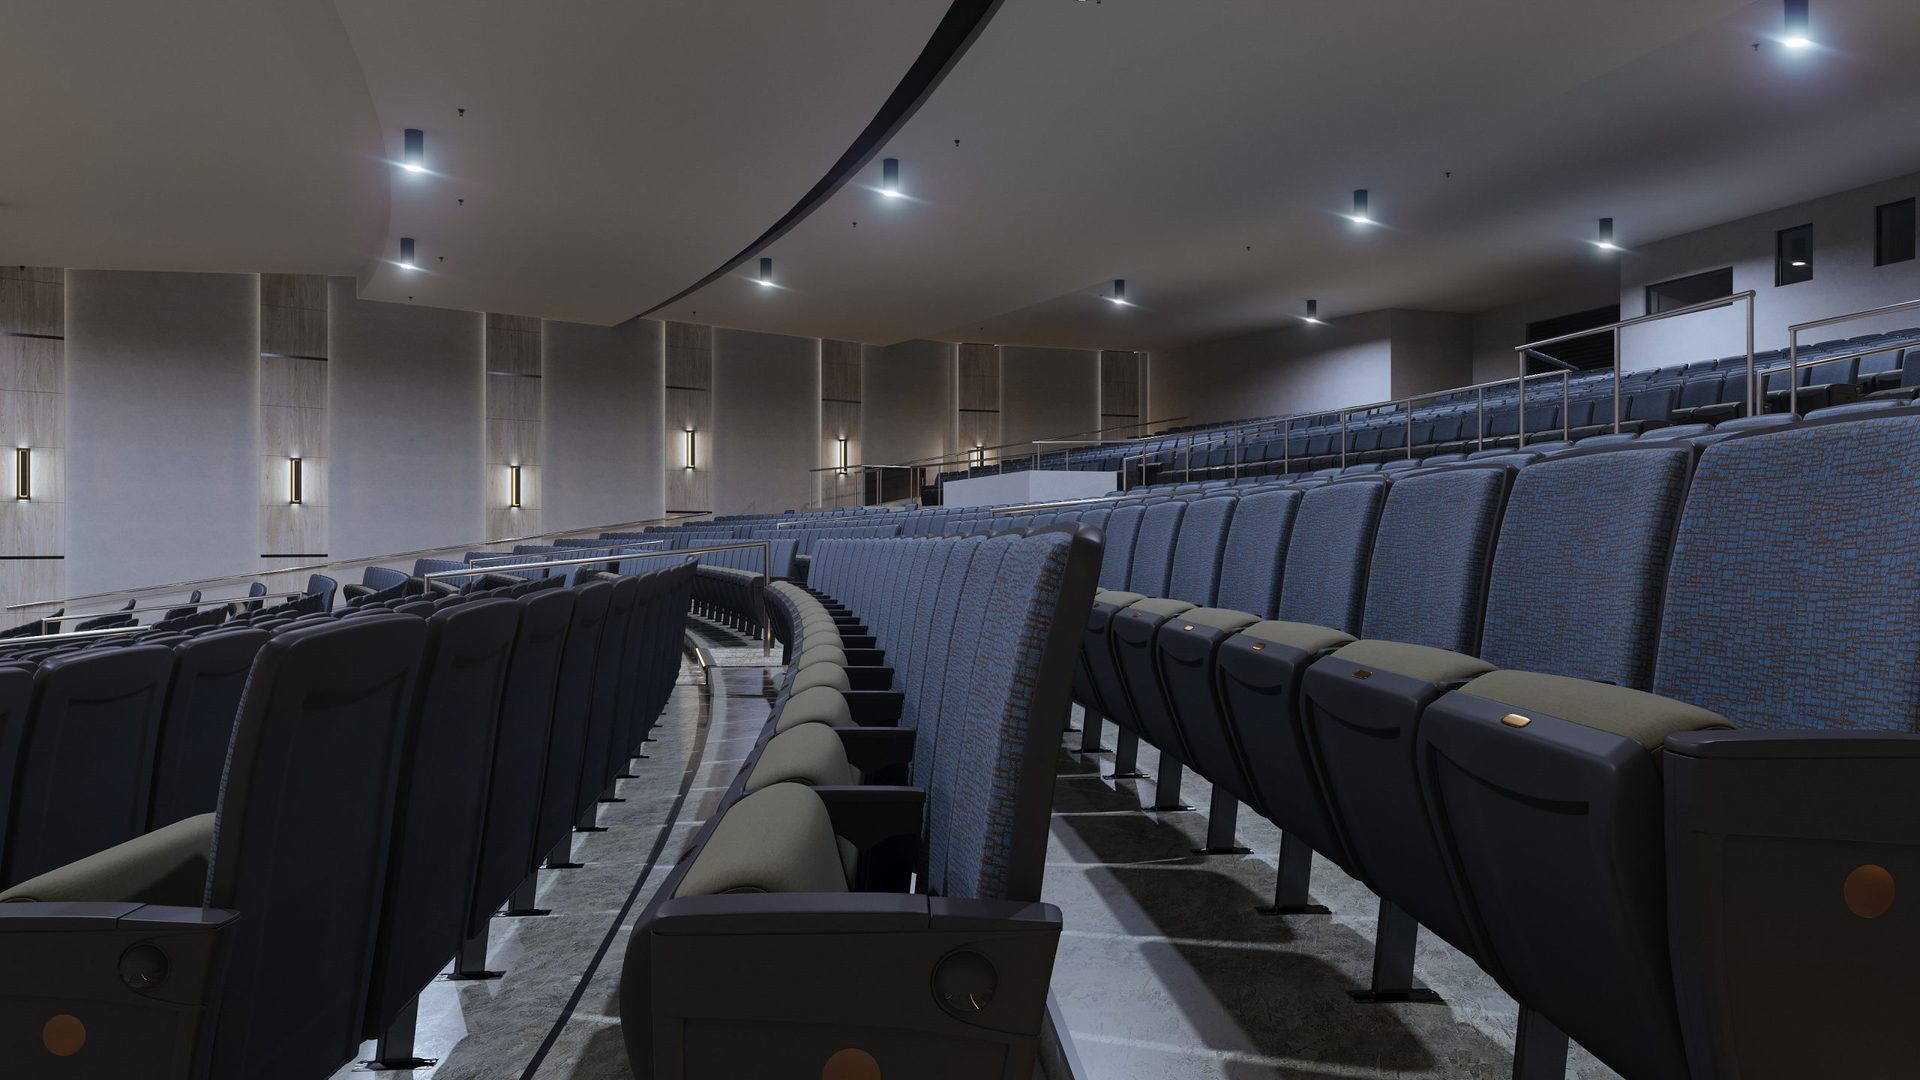
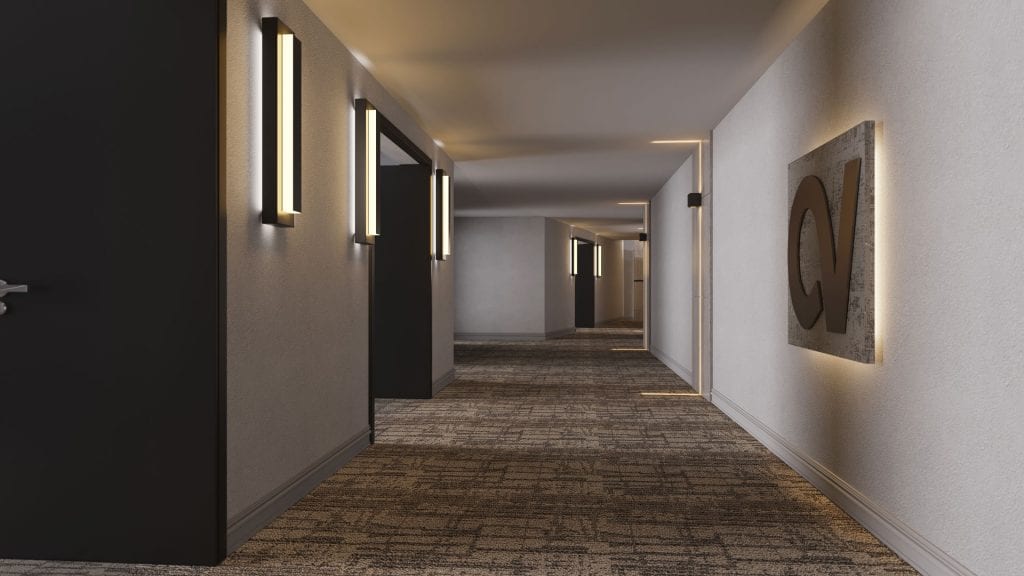
This photorealistic 3D animation is an absolute show-stopper. It represents a virtual tour around the renovation project of the Century Village Theater in Boca Raton City, Florida. The camera takes you through a corridor, then upstairs, into a majestic auditorium. You take in the atmosphere, look at the infinite rows of seats, brightly illuminated stage, jet black piano. The dimly lit space has a relaxing effect on you. You continue down the stairs as if looking for your seat. Then, the animation focuses on details that set the ambiance. You see the sheening piano, sleek lighting fixtures, soft seat upholstery, floor finishes. You definitely want to assist at a performance here! And the tickets to the first row will be a great investment. To make this effect even stronger, you can use 3D interior rendering to demonstrate every festive detail of the auditorium — from the elegant seats to the shimmering décor — in a way that feels truly lifelike.
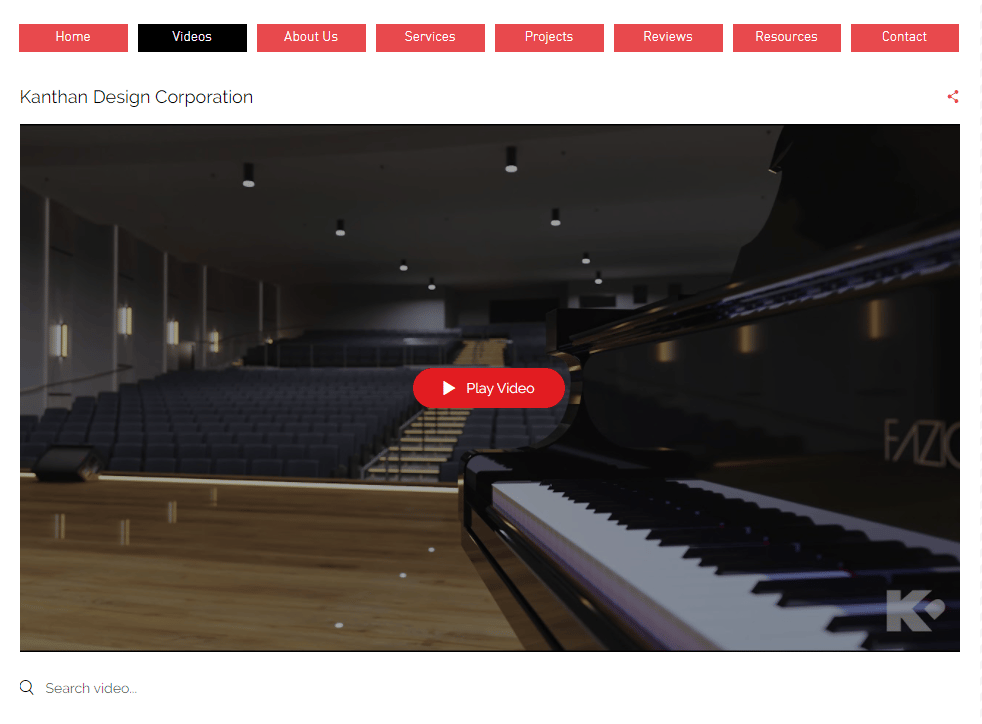
The project was developed by Kanthan Design Corporation. To show it in photorealistic quality, the architects contacted ArchiCGI architectural rendering company for a digital flythrough.
CG Animation Project Workflow
We were tasked with creating a 100-second photorealistic 3D flythrough in 4K resolution. During the work, we also made 3D models of the chairs according to the specification sheet and created 7 still 3D renderings for the mock board. You can see their previews below. At the same time, we used floor plan rendering services to present the theater’s layout in a clear and visually engaging way. This allowed the architects to show seating arrangements and circulation paths with festive details, helping the client better understand how the renovated space would look and feel.
The 3D visualizers used Autodesk 3ds Max, Adobe Photoshop, and Adobe After Effects.
Want to see the final animation in Full HD quality? Keep reading to explore the step-by-step process behind this project and discover how our 3D rendering services in Florida support interior video production for architects, developers, and real estate marketers.
Technical Assignment
We needed to create a photorealistic 3D animation that would show viewers the renovated theater interior. The CG video had to feature the corridor, the up and downstairs areas, the main theater area, and highlight fixtures, wall features, the stage, and the suspended ceiling.
As for the files attached, the assignment included the following:
- Photos of the materials to use;
- Theater and Kanthan Design Corporation’s logo;
- Color schemes for the theater interior;
- Floor plan with required camera views;
- CAD and Sketchup 3D renders for the existing theater design.
A Few Assignment Clarifications
Our project manager reviewed the scope of work for the 3D animation with the CGI team. Together, they outlined the workflow and asked the architects some additional questions:
- Were there any reference 3D flythroughs to draw inspiration from?
- Were there any requirements for the lighting fixtures, or we should just select the ones we like?
- Was there a soundtrack for the 3D animation?
We got full answers to all of these plus some materials to illustrate the crucial moments. In particular, we have got the audio track, ceiling and elevation CAD drawings, specifications for the chairs’ design, the types and locations of the lighting fixtures.
At the same time, we were also asked to deliver a progress 3D animation for the forthcoming meeting with the Owner and Project Representatives. It would be a grayscale CG video, with all camera paths and the soundtrack. This goal shaped the first part of the photoreal animation production.
Grayscale 3D Renders
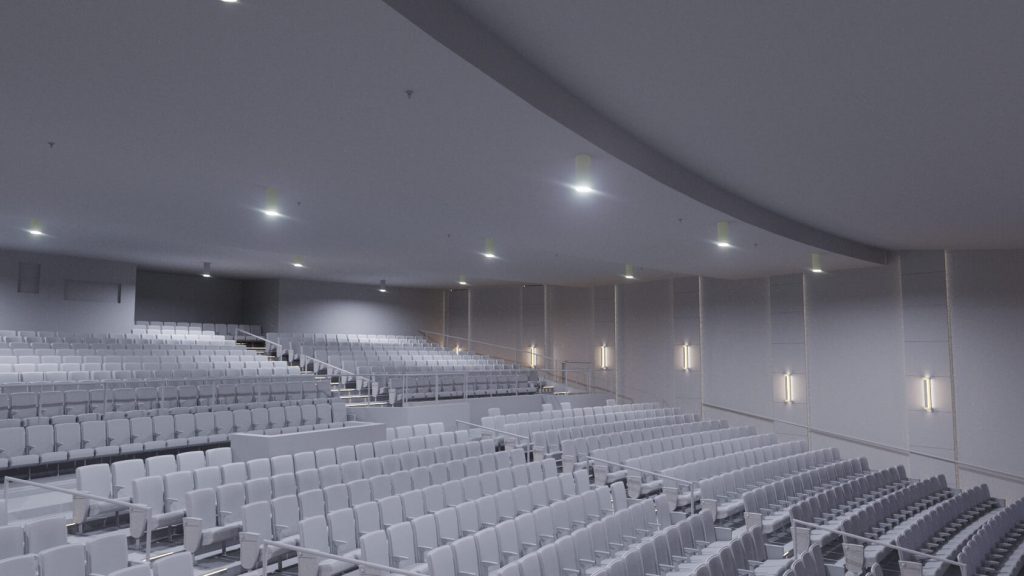
Based on the drawings, the 3D artist made a grayscale 3D model of the future theater. When the model was ready, we made a series of screenshots and submitted them for approval. The views showed the geometry of the ceiling, wall panels with lighting fixtures, corridor, chairs, stage, as well as the lighting and volumes. At this point, we were just checking the general direction, so the model didn’t have much detailing.
The architects viewed the 3D renderings and gave the following feedback:
- the geometry was great;
- the lighting needed to be softer;
- the photorealistic 3D animation should show the chairs open and close;
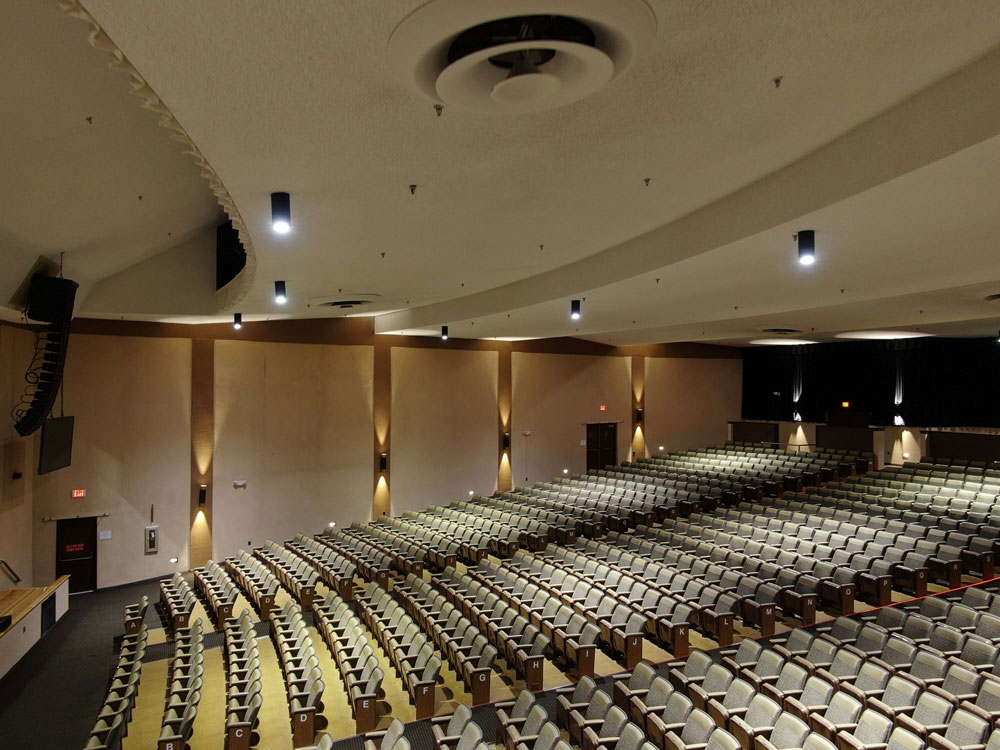
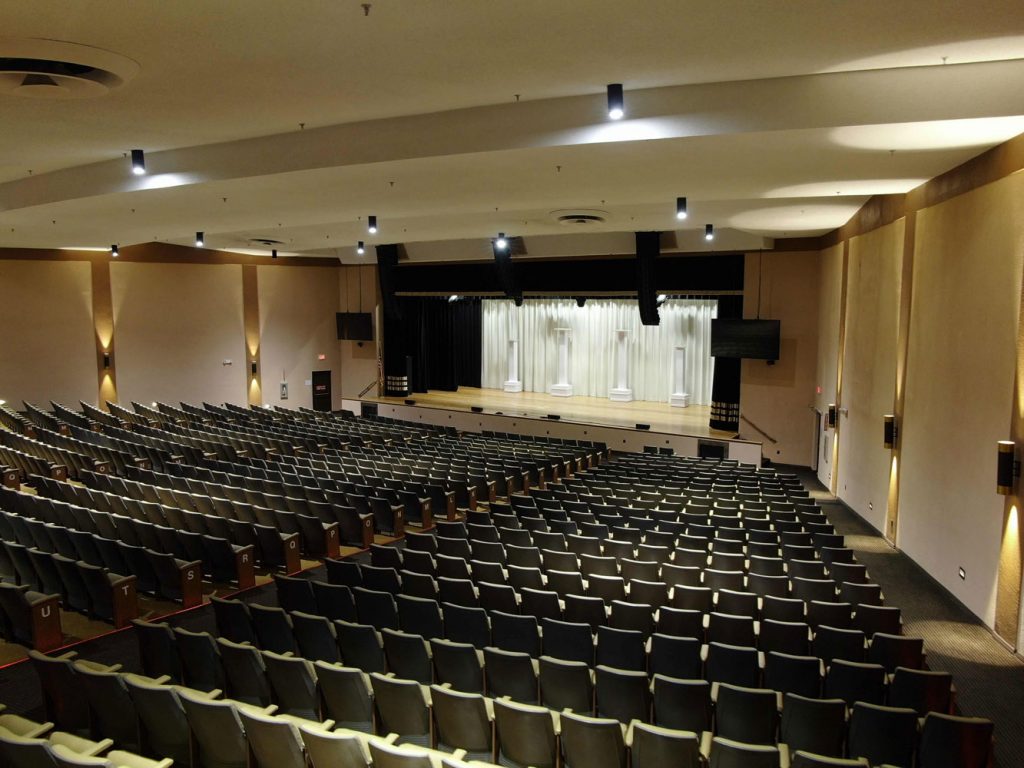
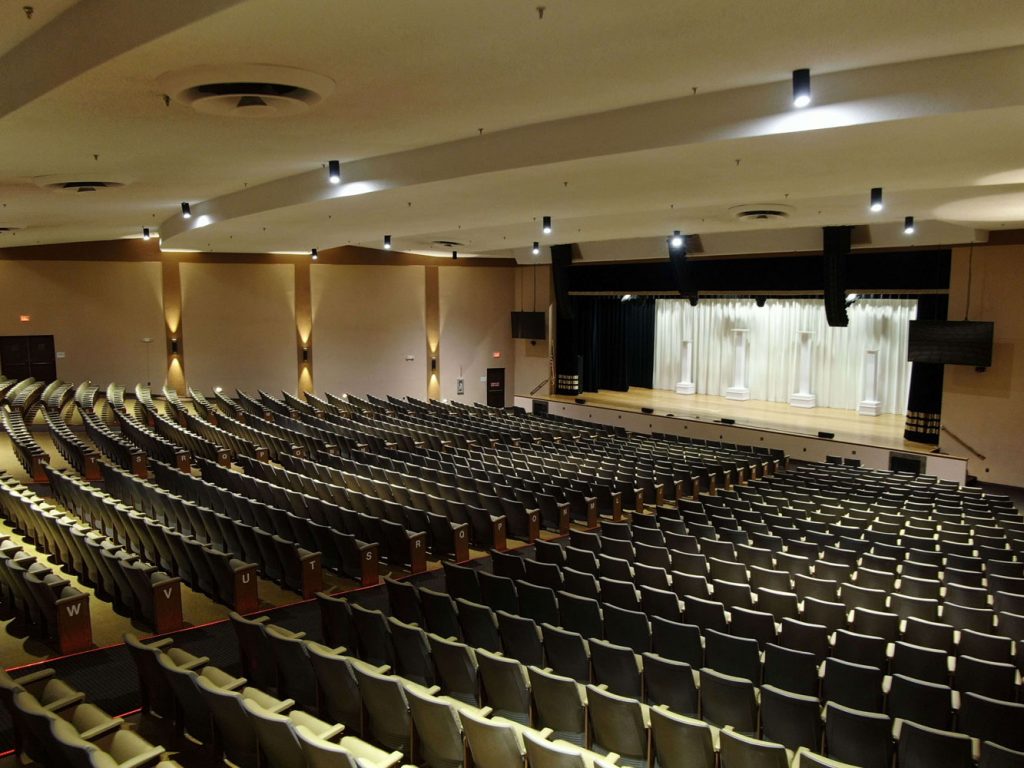
- the ceiling lights had to be replaced with new ones and placed like they originally were. To help us with that, architects provided us with real photos of the theater auditorium.
New Scenario
While building the 3D model, the CGI team were starting work on the scenario of the photorealistic 3D animation. According to the Scope of Work, there should have been 4 horizontal camera paths:
- from the hall to the stage;
- from the stage to the hall;
- 2 paths along the walkways.
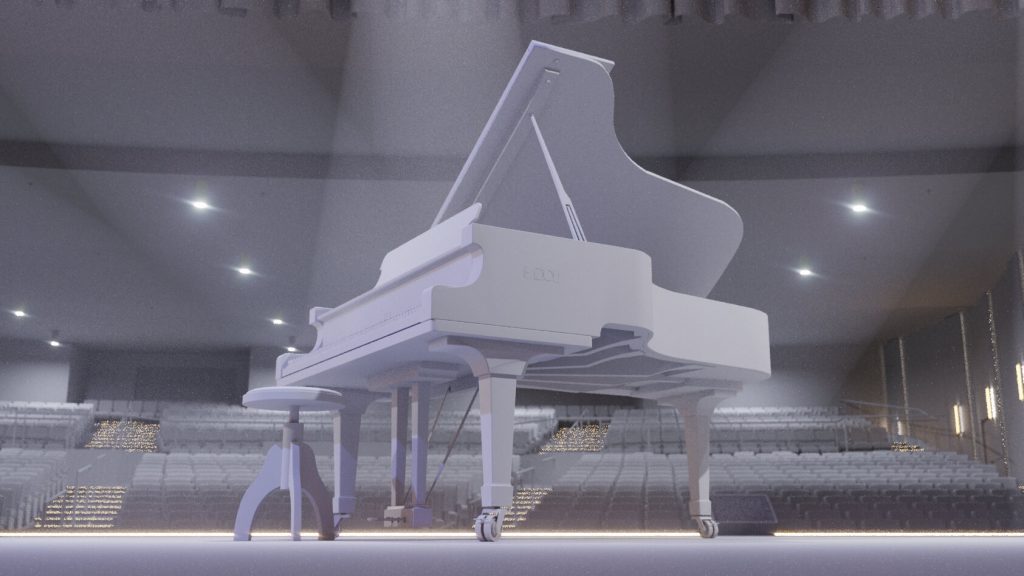
The audio track, however, turned out to be very dynamic and therefore required a lot of action. So the 3D visualizers developed a new scenario, with more various views of the auditorium and close-up views of the details such as piano, floor finishes, doors, and lights.
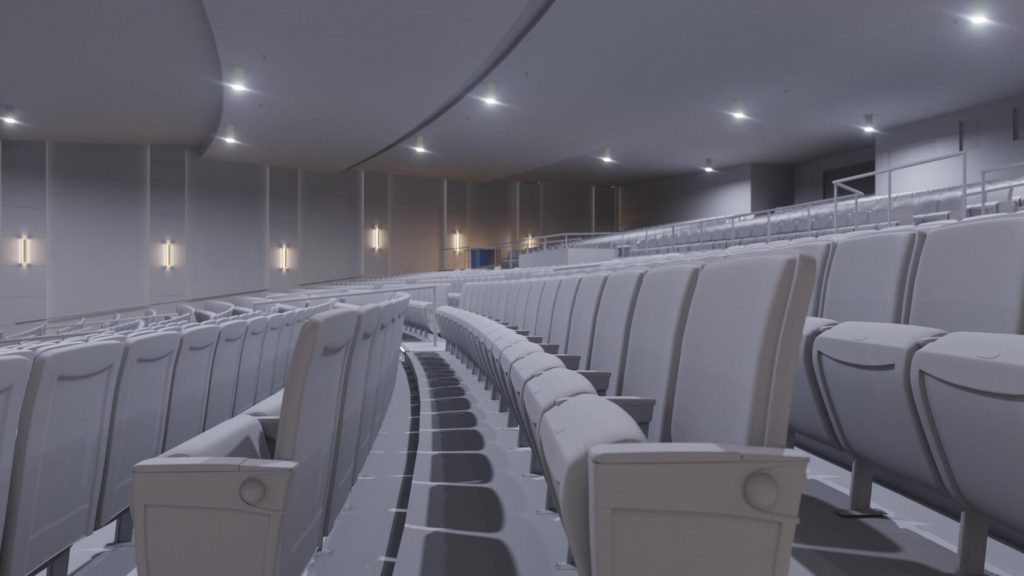
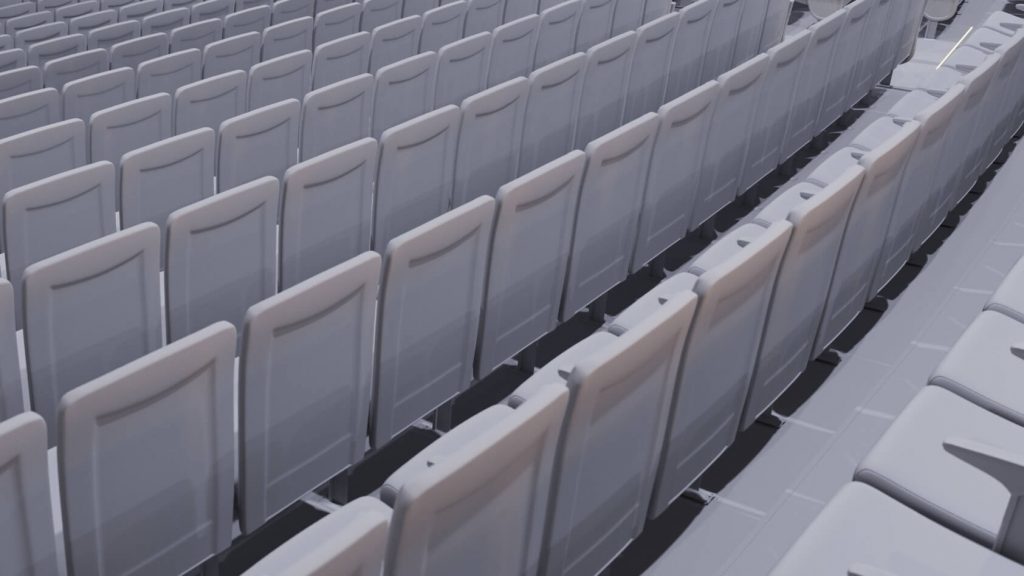
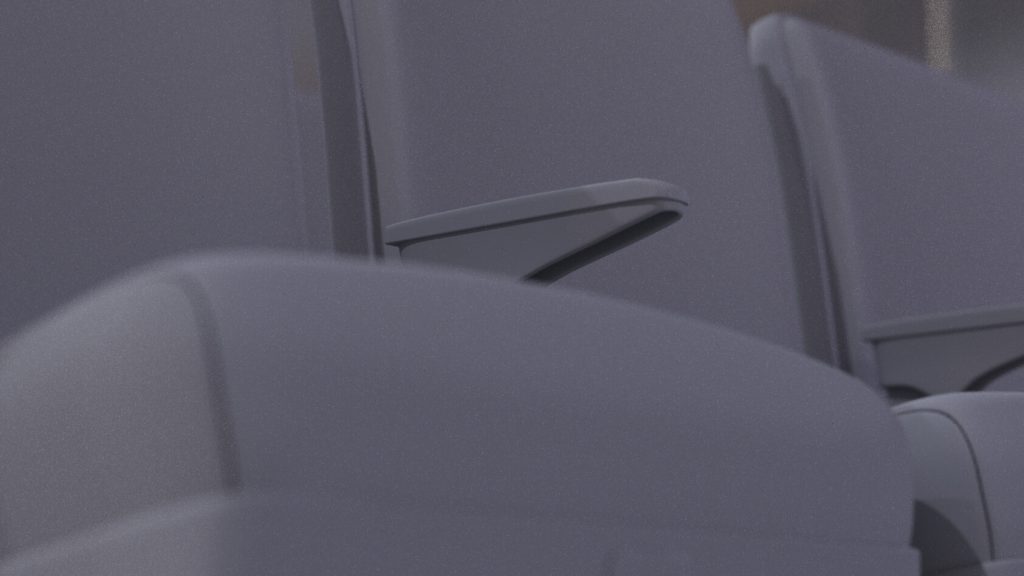
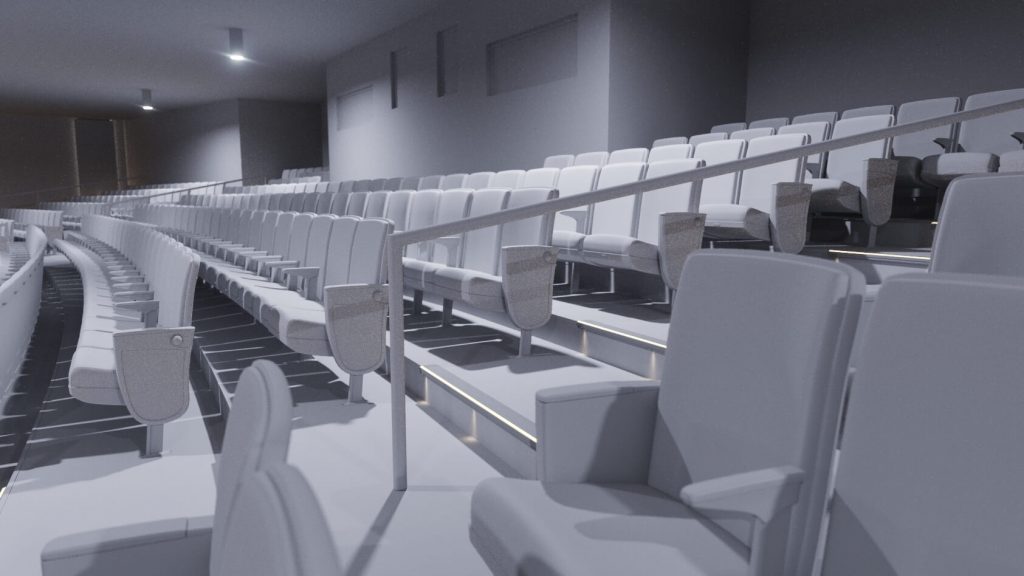
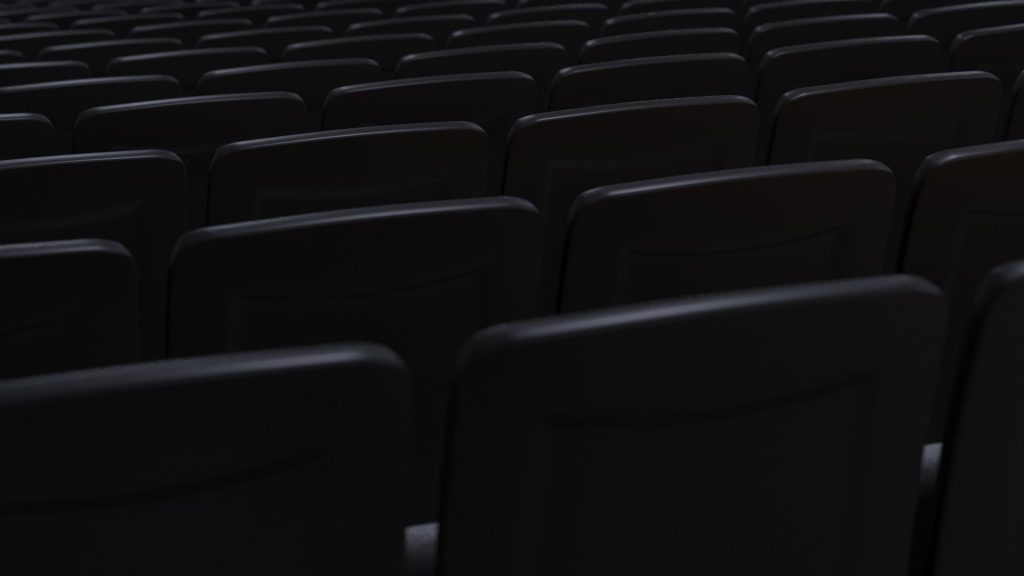
Moreover, the 3D animation would feature the chairs heavily. They would be shown in general and detail views, from the front and the side, at different angles, open and close, bathed in light and plunged in the semidarkness. So the 3D models had to be of photorealistic quality.
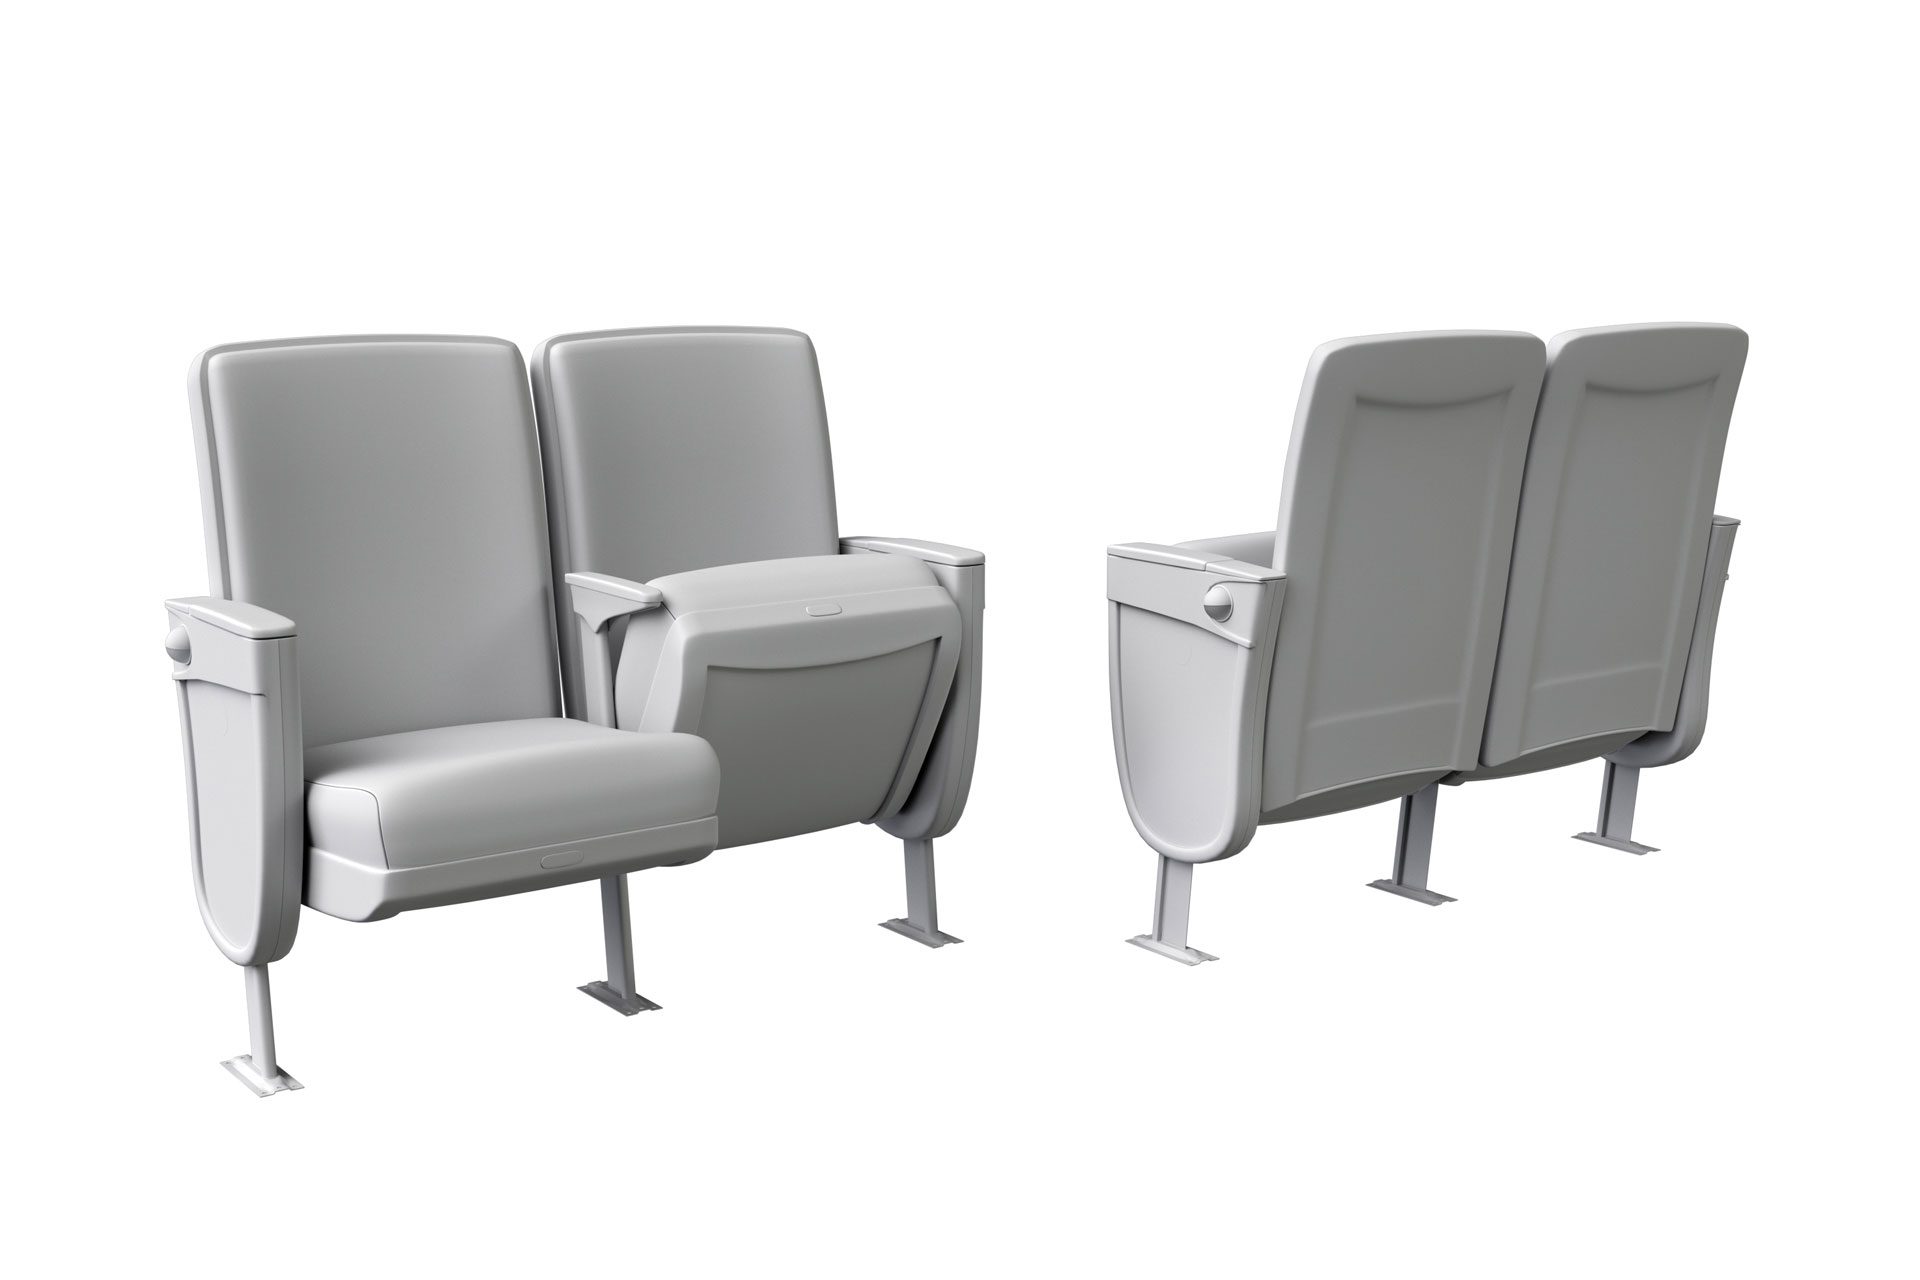
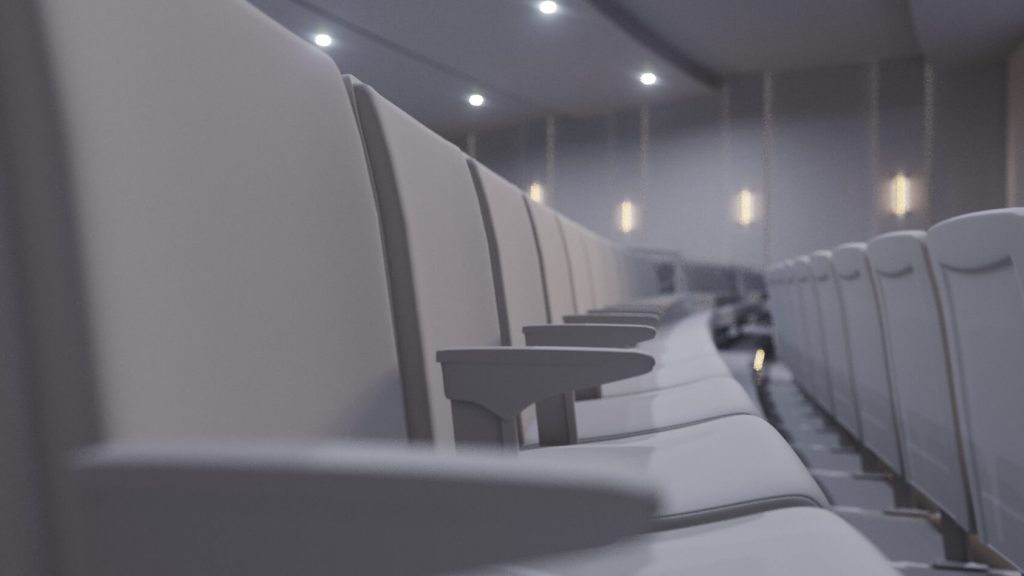
That meant we needed to make new 3D models instead of those provided in the assignment. When we did it, we submitted the grayscale 3D renders with them for approval. The new 3D models had high-quality geometry, so the textures would look flawless on them. Moreover, the models had all the necessary details, like armrests and coasters. Architects loved the results, and the CGI team proceeded to develop the scenario of the photorealistic 3D animation.
Our 3D artist made 50 camera movements amounting to 5 minutes. They then reviewed them and made a sequence out of 28 best-looking and most informative ones.
Next, the 3D artist adjusted the selected videos’ tempo and length and combined them into one single 3D flythrough draft. The latter was sent for reviewing the scenario and cameras. The seats were to be adjusted later.
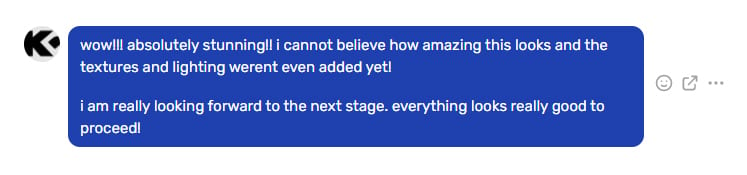
In response, we got amazing feedback.
In terms of corrections, we needed to:
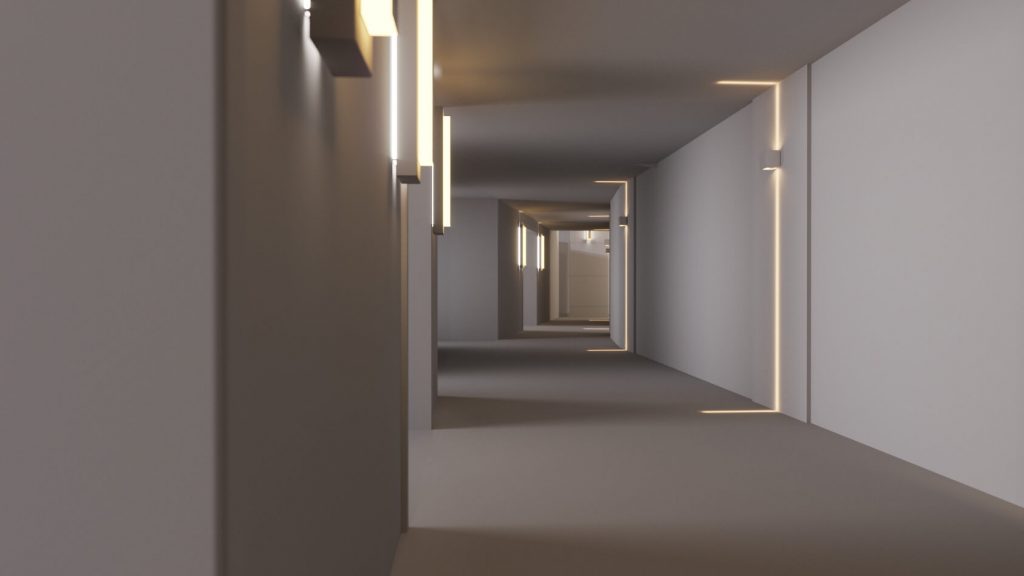
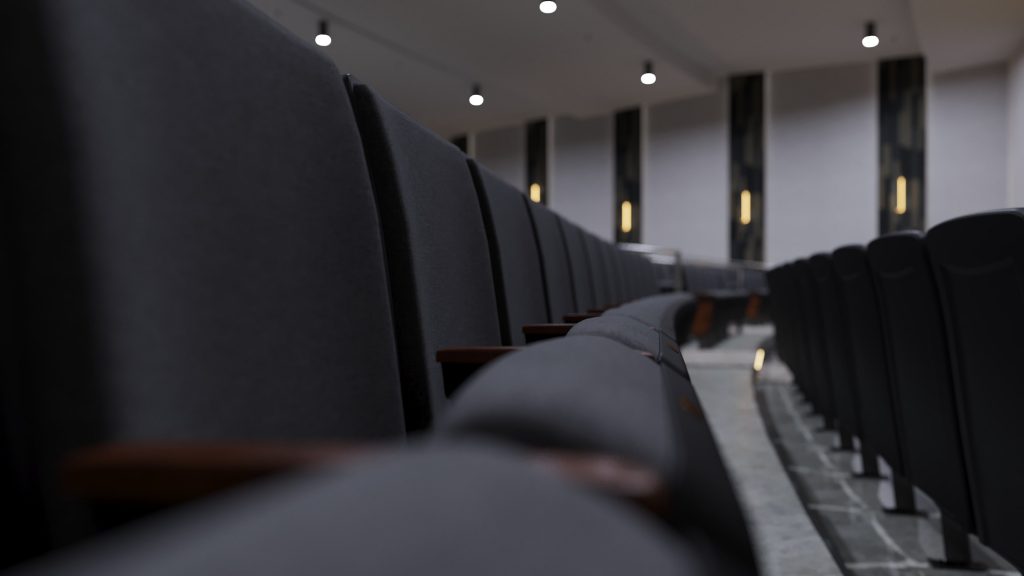
- Show more of the hallway at the beginning of the photorealistic 3D animation, and focus on the wall sconces beaming light above and below. This should be a dramatic moment.
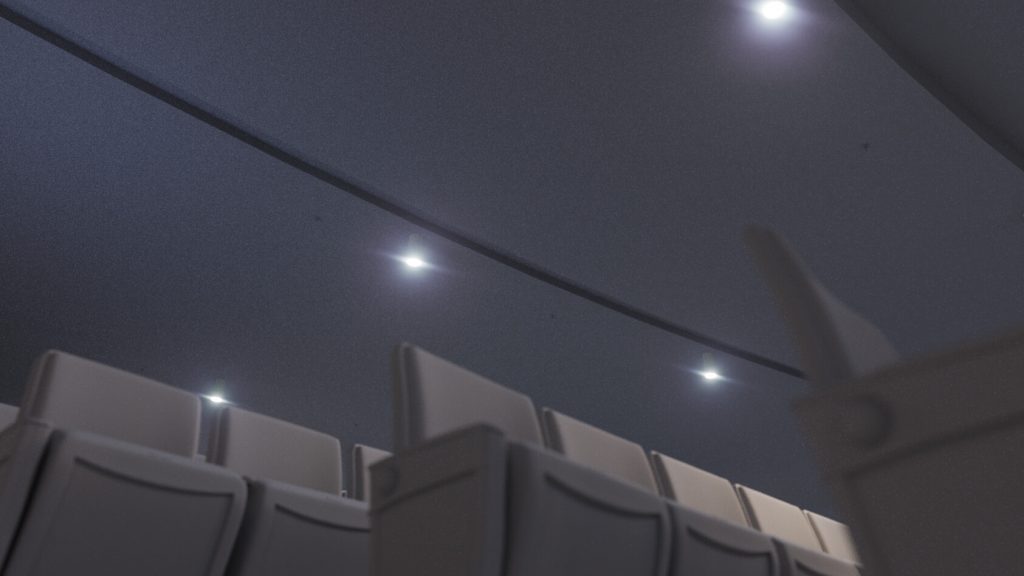
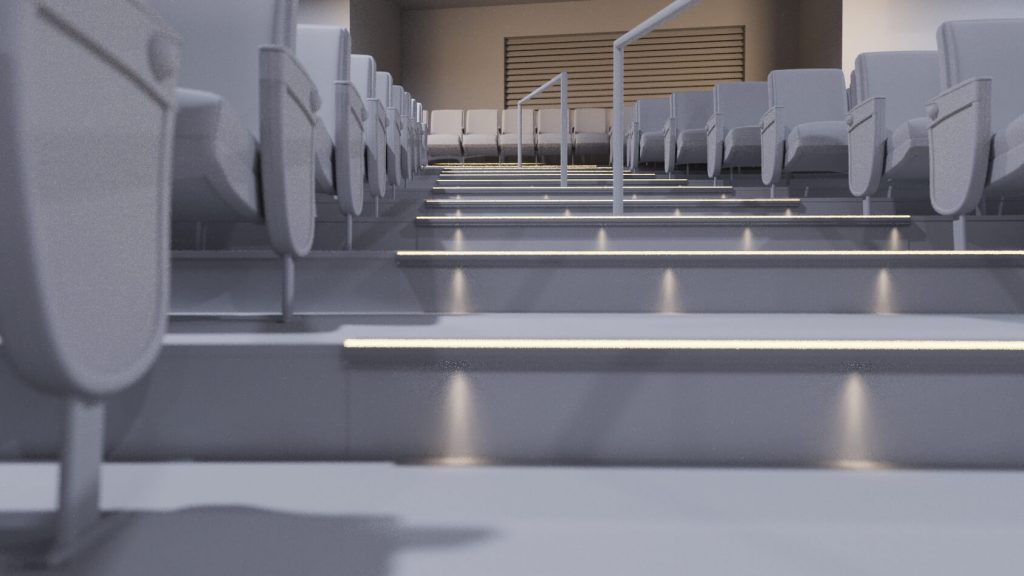
- Show the ceiling and steps in the balcony a little more, to focus on the lighting at the steps and chairs.
- Adjust the ceiling height.
Second Version of the 3D Flythrough Scenario
We made the updates and prepared the draft for rendering: eliminated the frames that would not be in the video, checked up the timing, worked on the focus. These actions prevented us from rendering unnecessary scenes and thus saved time. Then, we sent the updated 3D animation preview.
The architects liked the entry and ceiling shots and asked if we would use the new chair 3D model in the next version. Also, they provided us specifications for materials and new finish textures for the flooring carpet and vinyl sheet under seating selected at their last meeting with project owners.
Volumes and Light
We changed the seatings, set the light, and submitted low-resolution 3D renders with 29 camera angles and no textures yet.


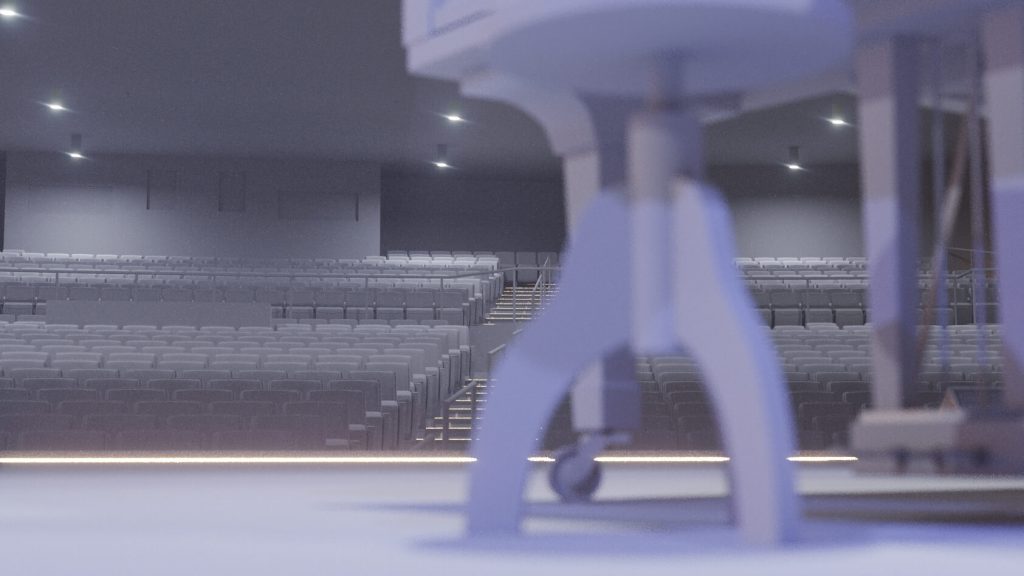

Here is the feedback we got.


Materials and Updated Lighting
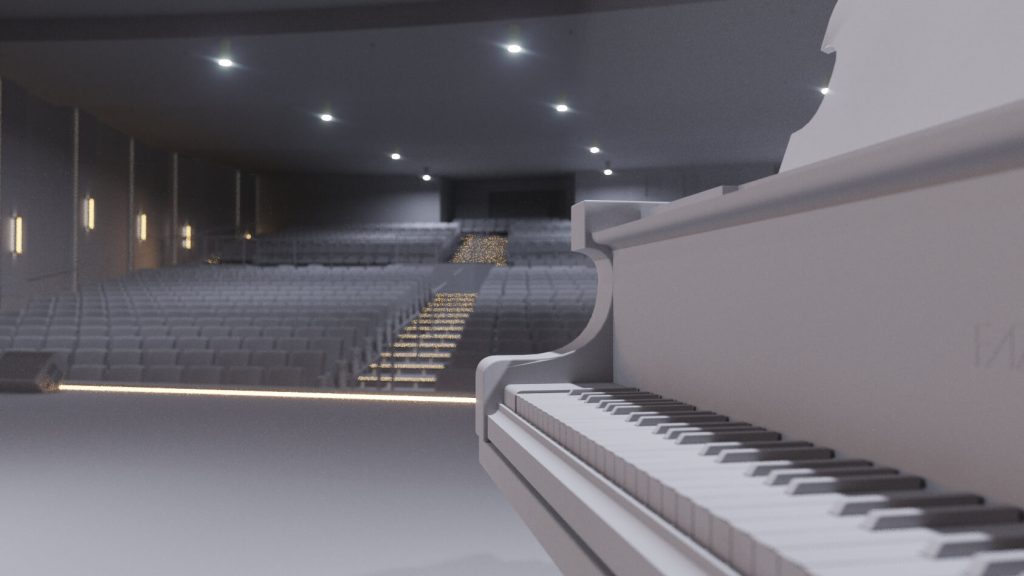
We textured the scene and made 12 low-resolution renders with all the materials and lighting. This would be the last milestone before rendering the photorealistic 3D animation.


The architects approved the overall look and asked for a couple of changes. They wished that we:
- made the areas between each ceiling section black;
- changed the textures of acoustic columns, seats, and back finishes;
- put their logo on the entrance wall texture;
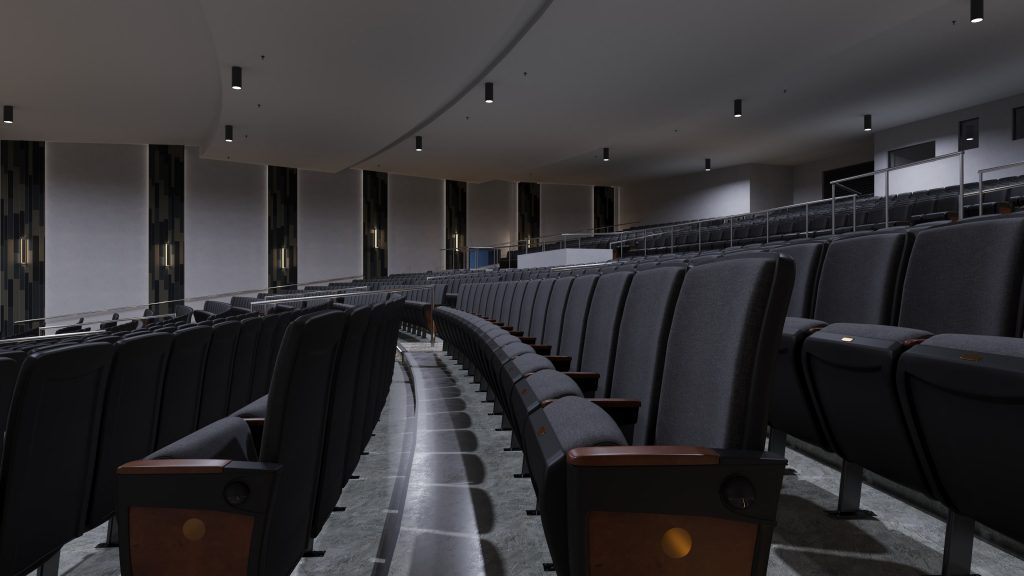
- changed the hue of the chairs’ material from green to smoke gray.
Below, you can see the textures they sent us as replacements.
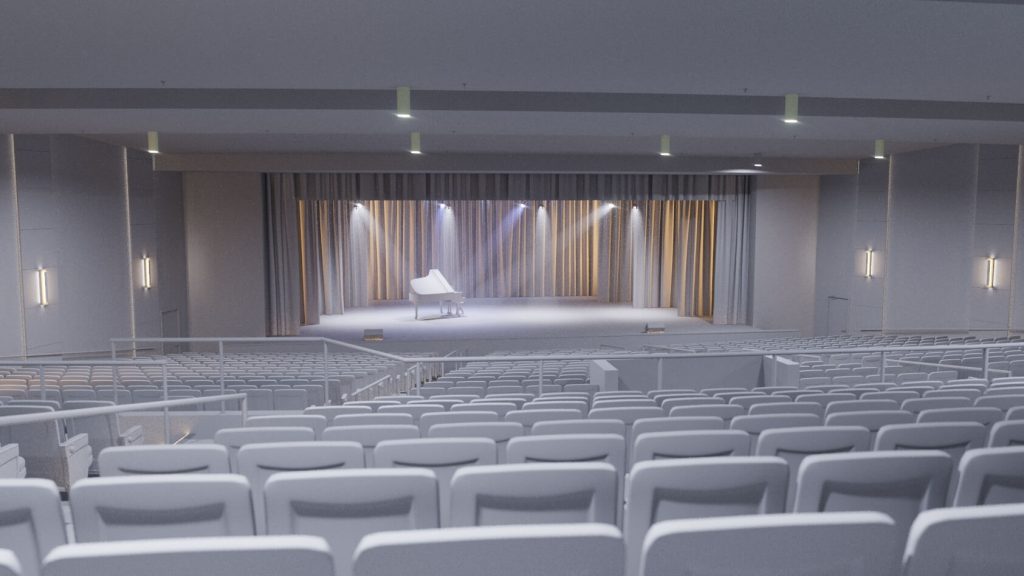
After a few clarifications, we set to work and sent a preliminary render to show edits.
The architects liked both the color and angle, so we started rendering the photorealistic 3D animation.
CG Video Rendering Plus Stills
At the beginning of the process, we agreed that we would also send some still renders along with the result. The images would serve as visuals for a mock board.
First, we submitted the still renderings.
And then, we have sent the first version of the photorealistic 3D animation.
Final 3D Animation
The architects approved the result and asked us to put the Kanthan Design logo above the Architectural Design studio logo at the end of the video. Which we did, and then sent the updated version.
The architects viewed the video and left glowing feedback!
The photorealistic 3D animation was used for the design presentation to clients and on the company’s website as an advertisement.
Working on this 3D flythrough has been a real pleasure for our team. The task was challenging, allowed room for creativity, and the emotional feedback encouraged us at every step. We are looking forward to creating CGI for more of Kanthan Design Corporation’s amazing projects!
This project perfectly illustrates how 3D rendering for architects helps communicate not only the technical precision of a space but also its emotional atmosphere — a crucial factor in presenting cultural venues during the holiday season. Would you like your presentation to make your clients’ jaws drop? Then contact ArchiCGI and get breathtaking architectural 3D animation services. We’ll make sure that your 3D flythrough or walkthrough captivates viewers and immerses them into the future they dreamt of!

Irma Prus
Content Writer, Copywriter
Irma writes articles and marketing copy for ArchiCGI. Her dream is that more people discover the power of CGI for architecture. Irma is into neuromarketing, ruby chocolate and Doctor Who series.
Like this project? We’ve got plenty more! Check out these CGI beauties.

Comments
Gean