3D Real Estate Renderings for a House in Chicago Designed by Pero Hess Custom Homes
3D real estate renderings streamline property pre-sales. That is why CGI is used extensively by developers all around the world. One of them is Pero Hess Custom Homes, a Chicago-based real estate development company. Its owner, Arthur Pero, contacted us for 3D rendering services in March 2023.
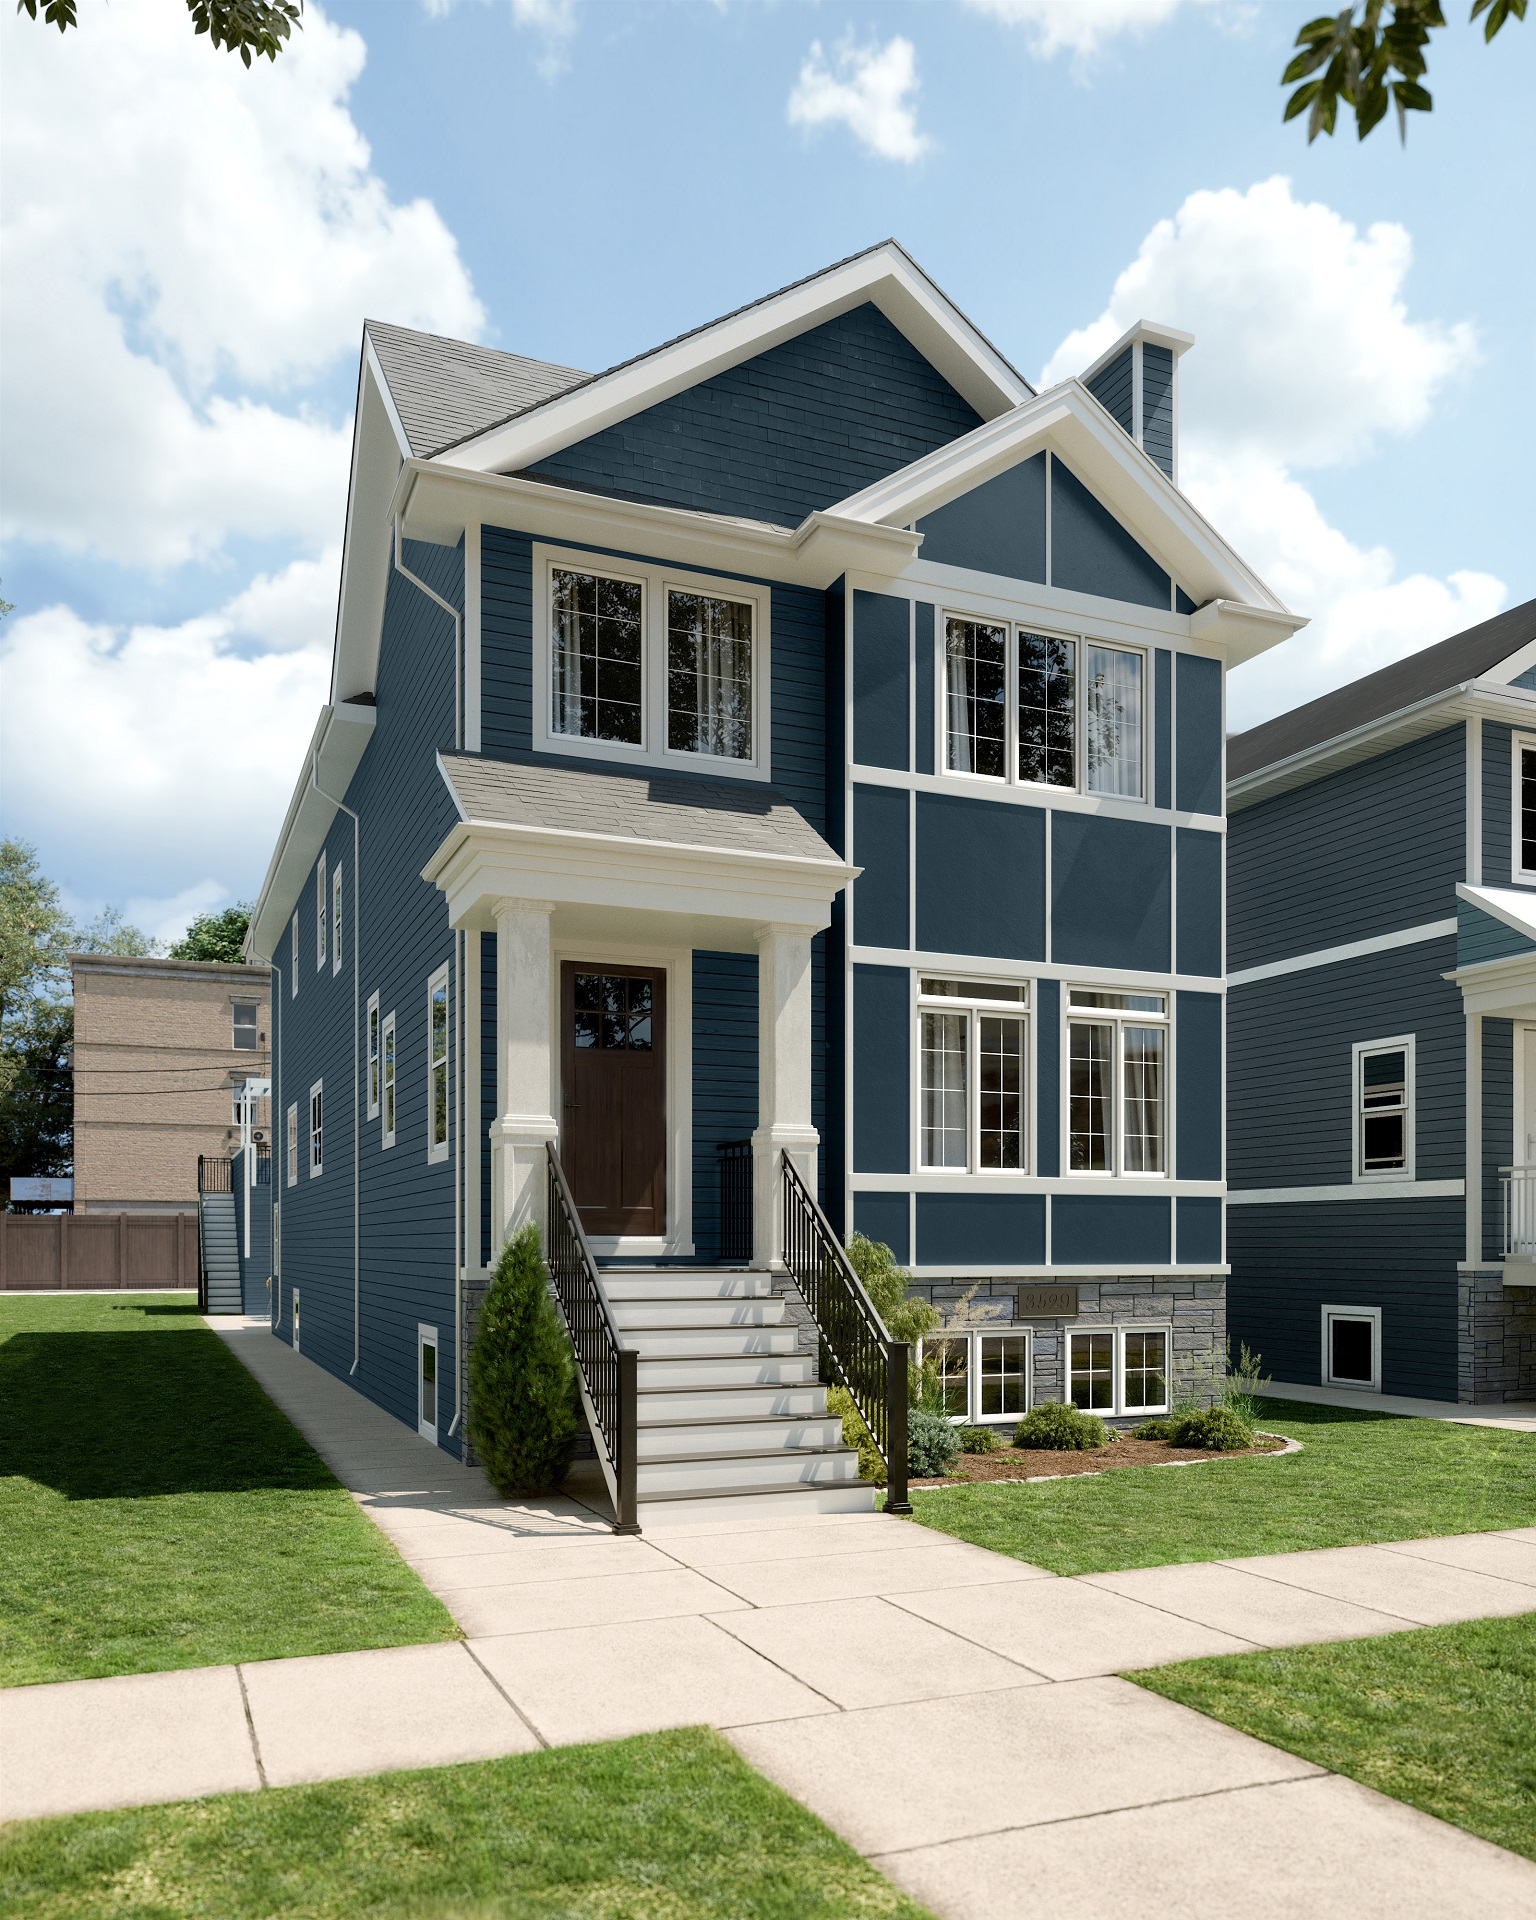
Arthur needed renders that would present the future look of a two-story single-family home in Chicago, the construction of which had not yet begun at that point. The team of our 3D architectural visualization company was tasked with bringing the house to life in photoreal CGI. This imagery allowed Arthur to start a marketing campaign, attracting potential buyers early on.
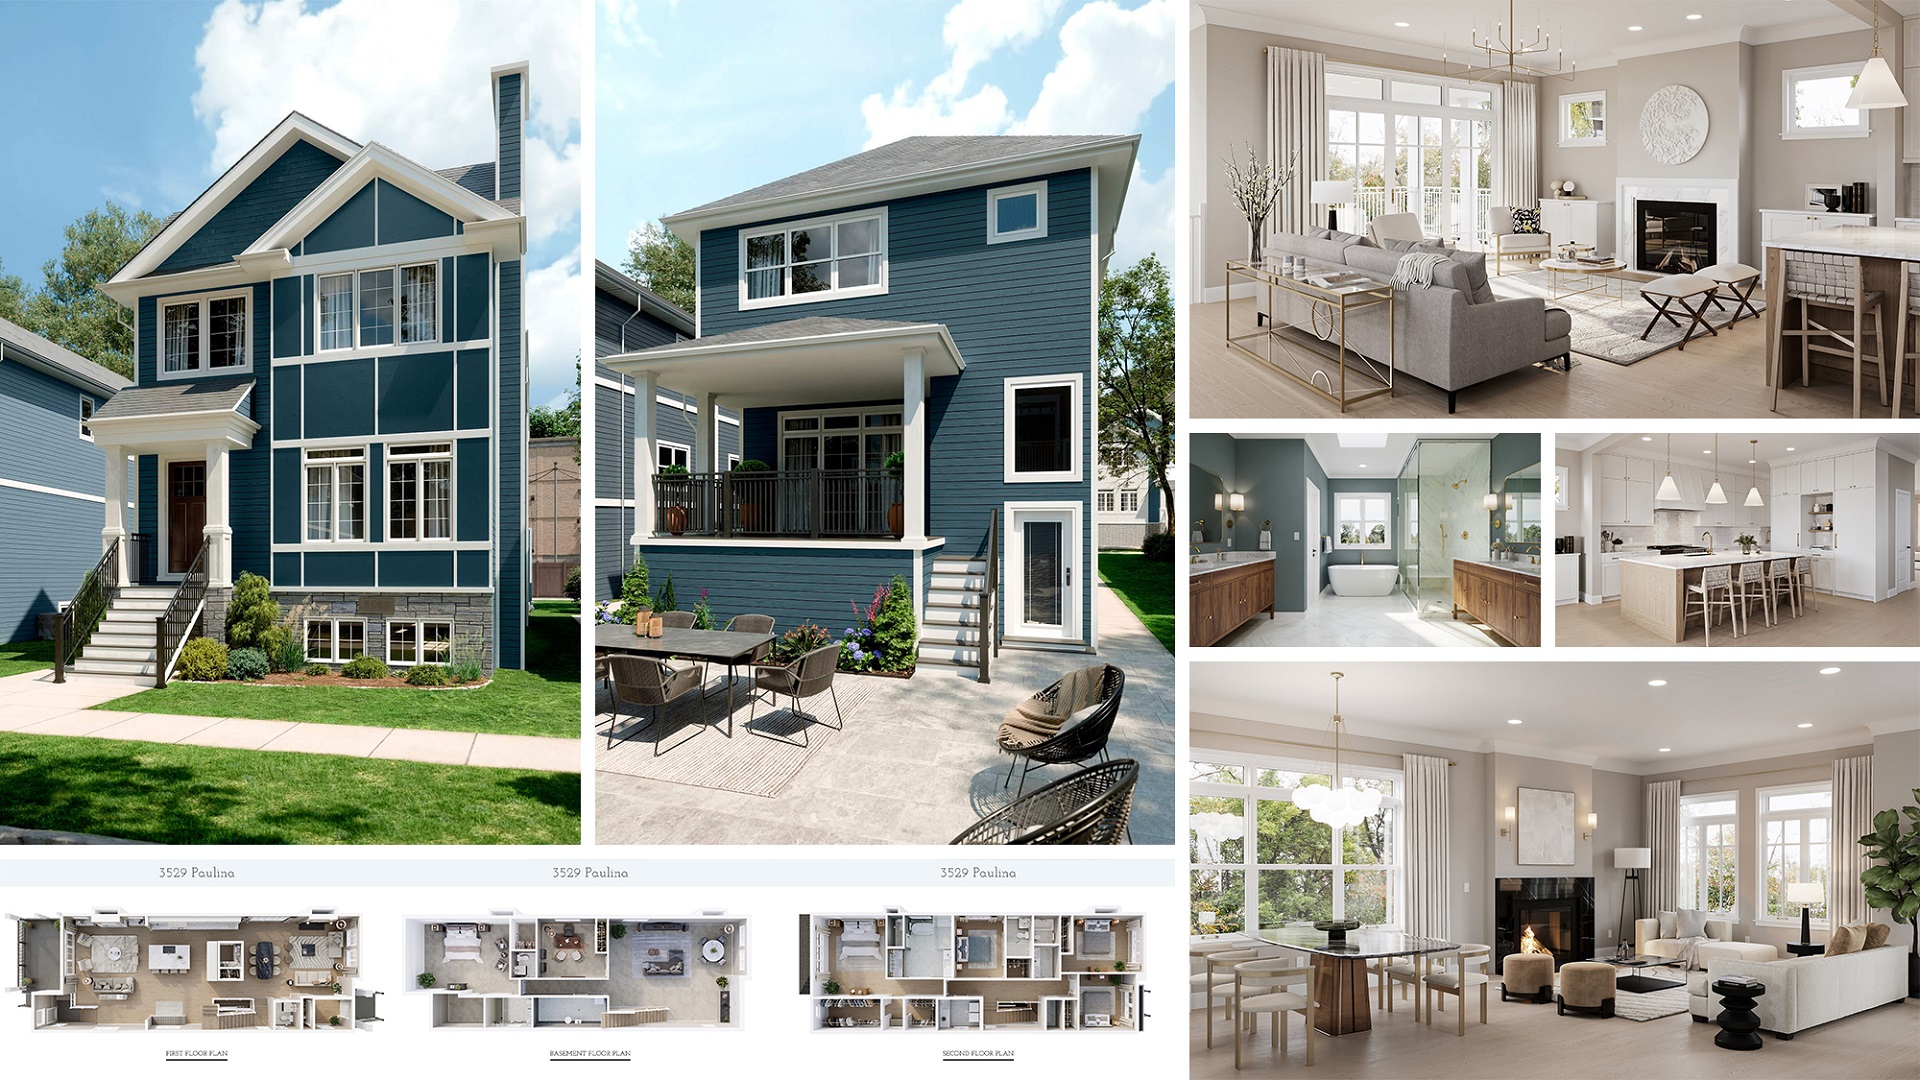
Curious about how our collaboration with Arthur unfolded and what all the final 3D real estate renderings looked like? Continue reading!
#1. The Scope of Work
The client wanted a comprehensive set of 3D real estate renderings to showcase every aspect of the home to potential buyers. He asked us to create:
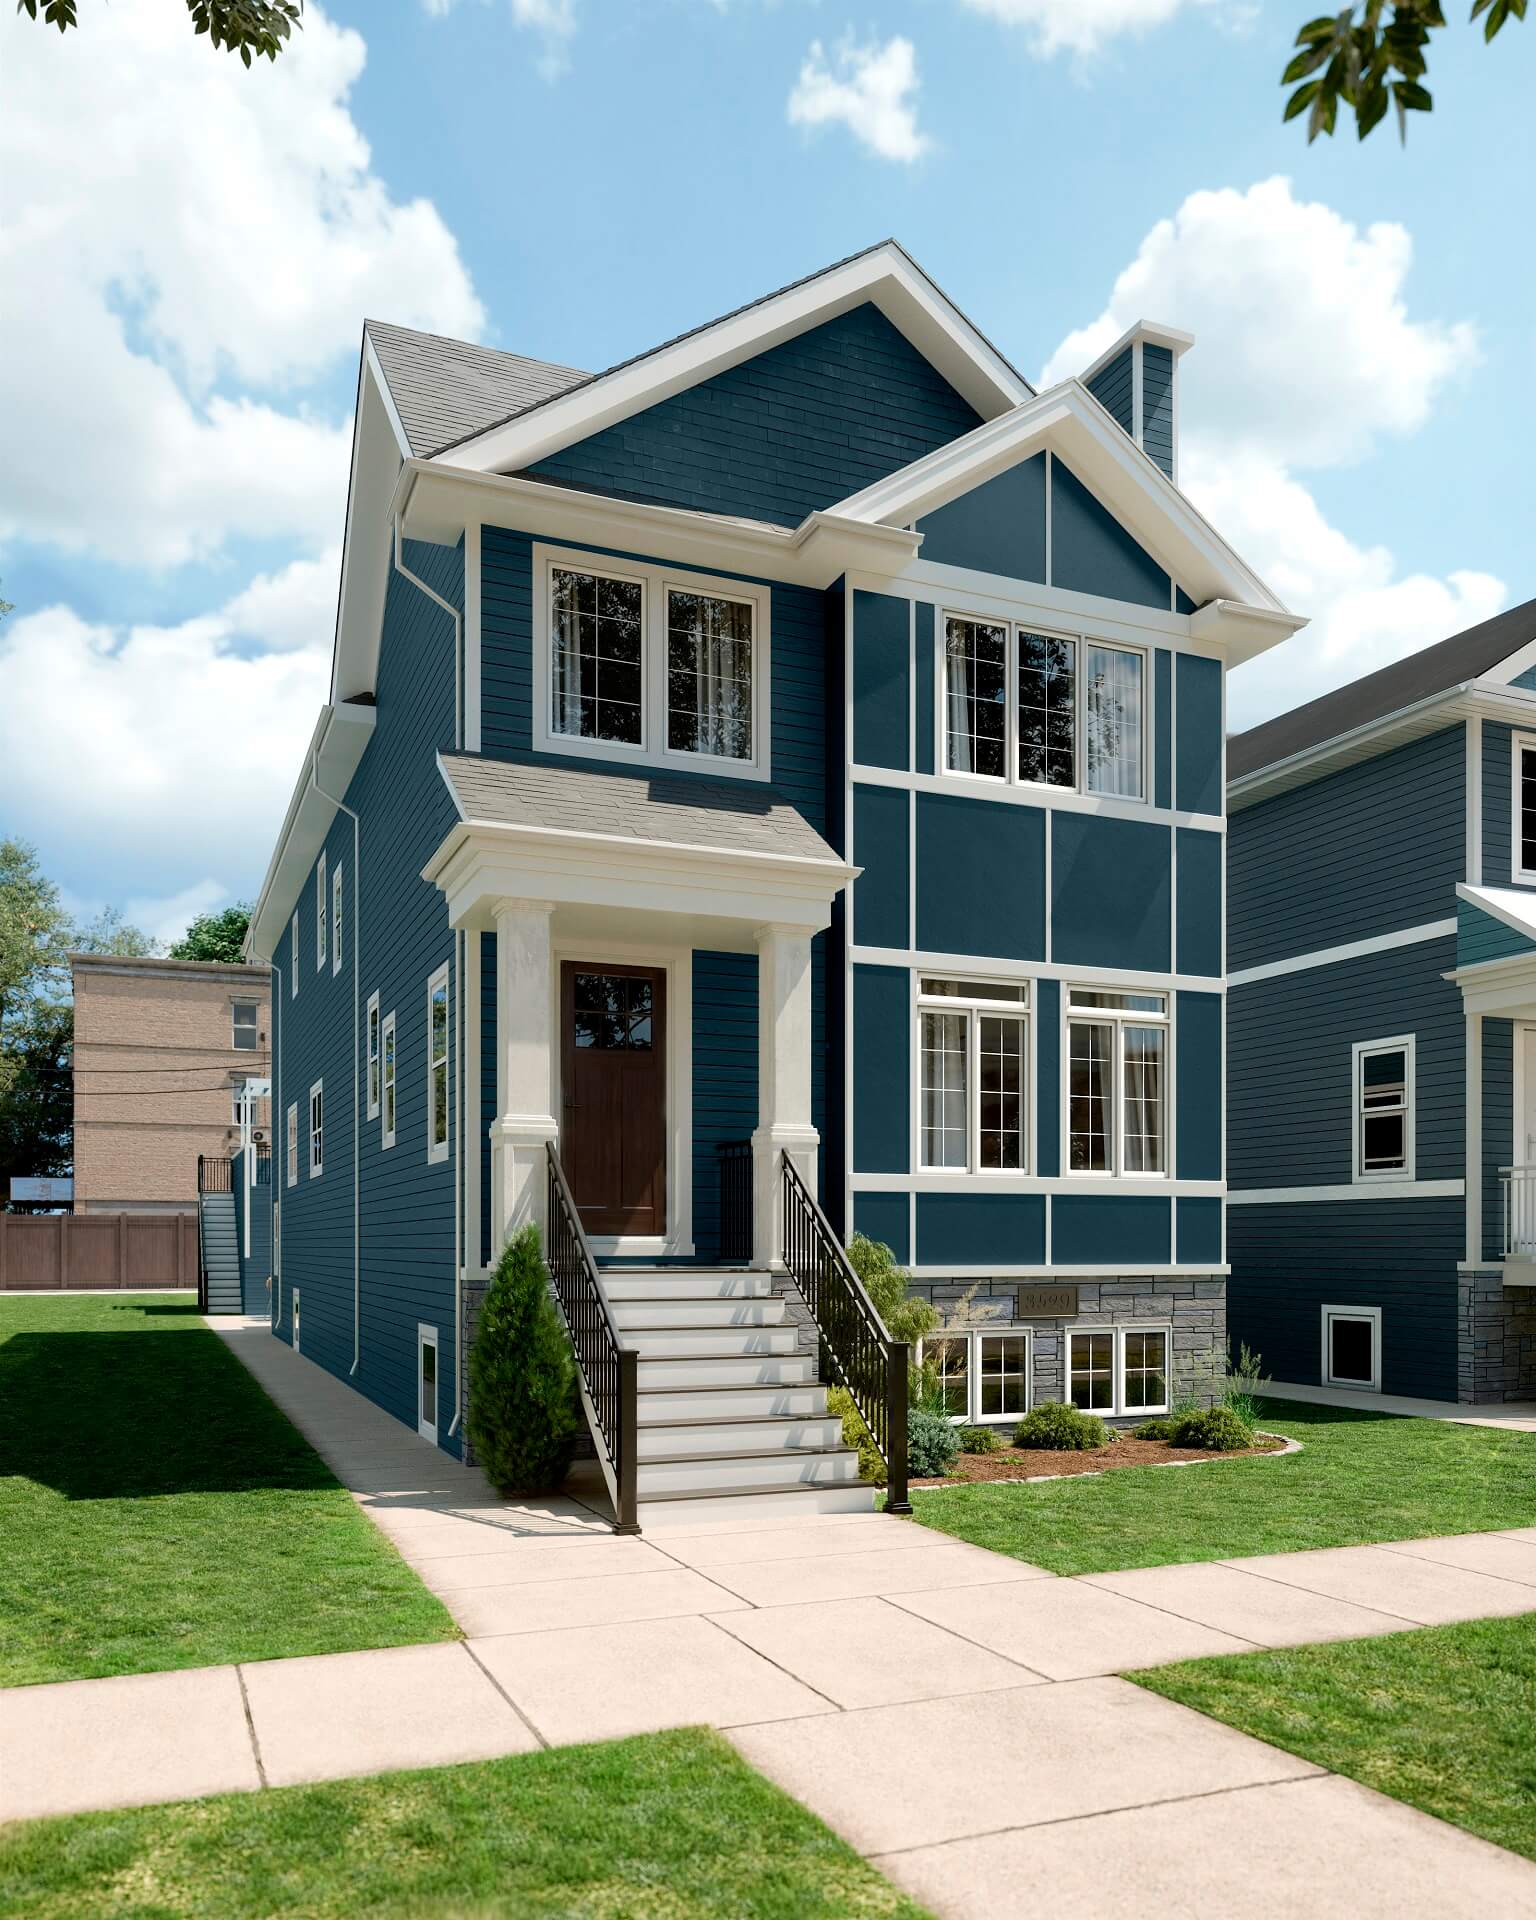
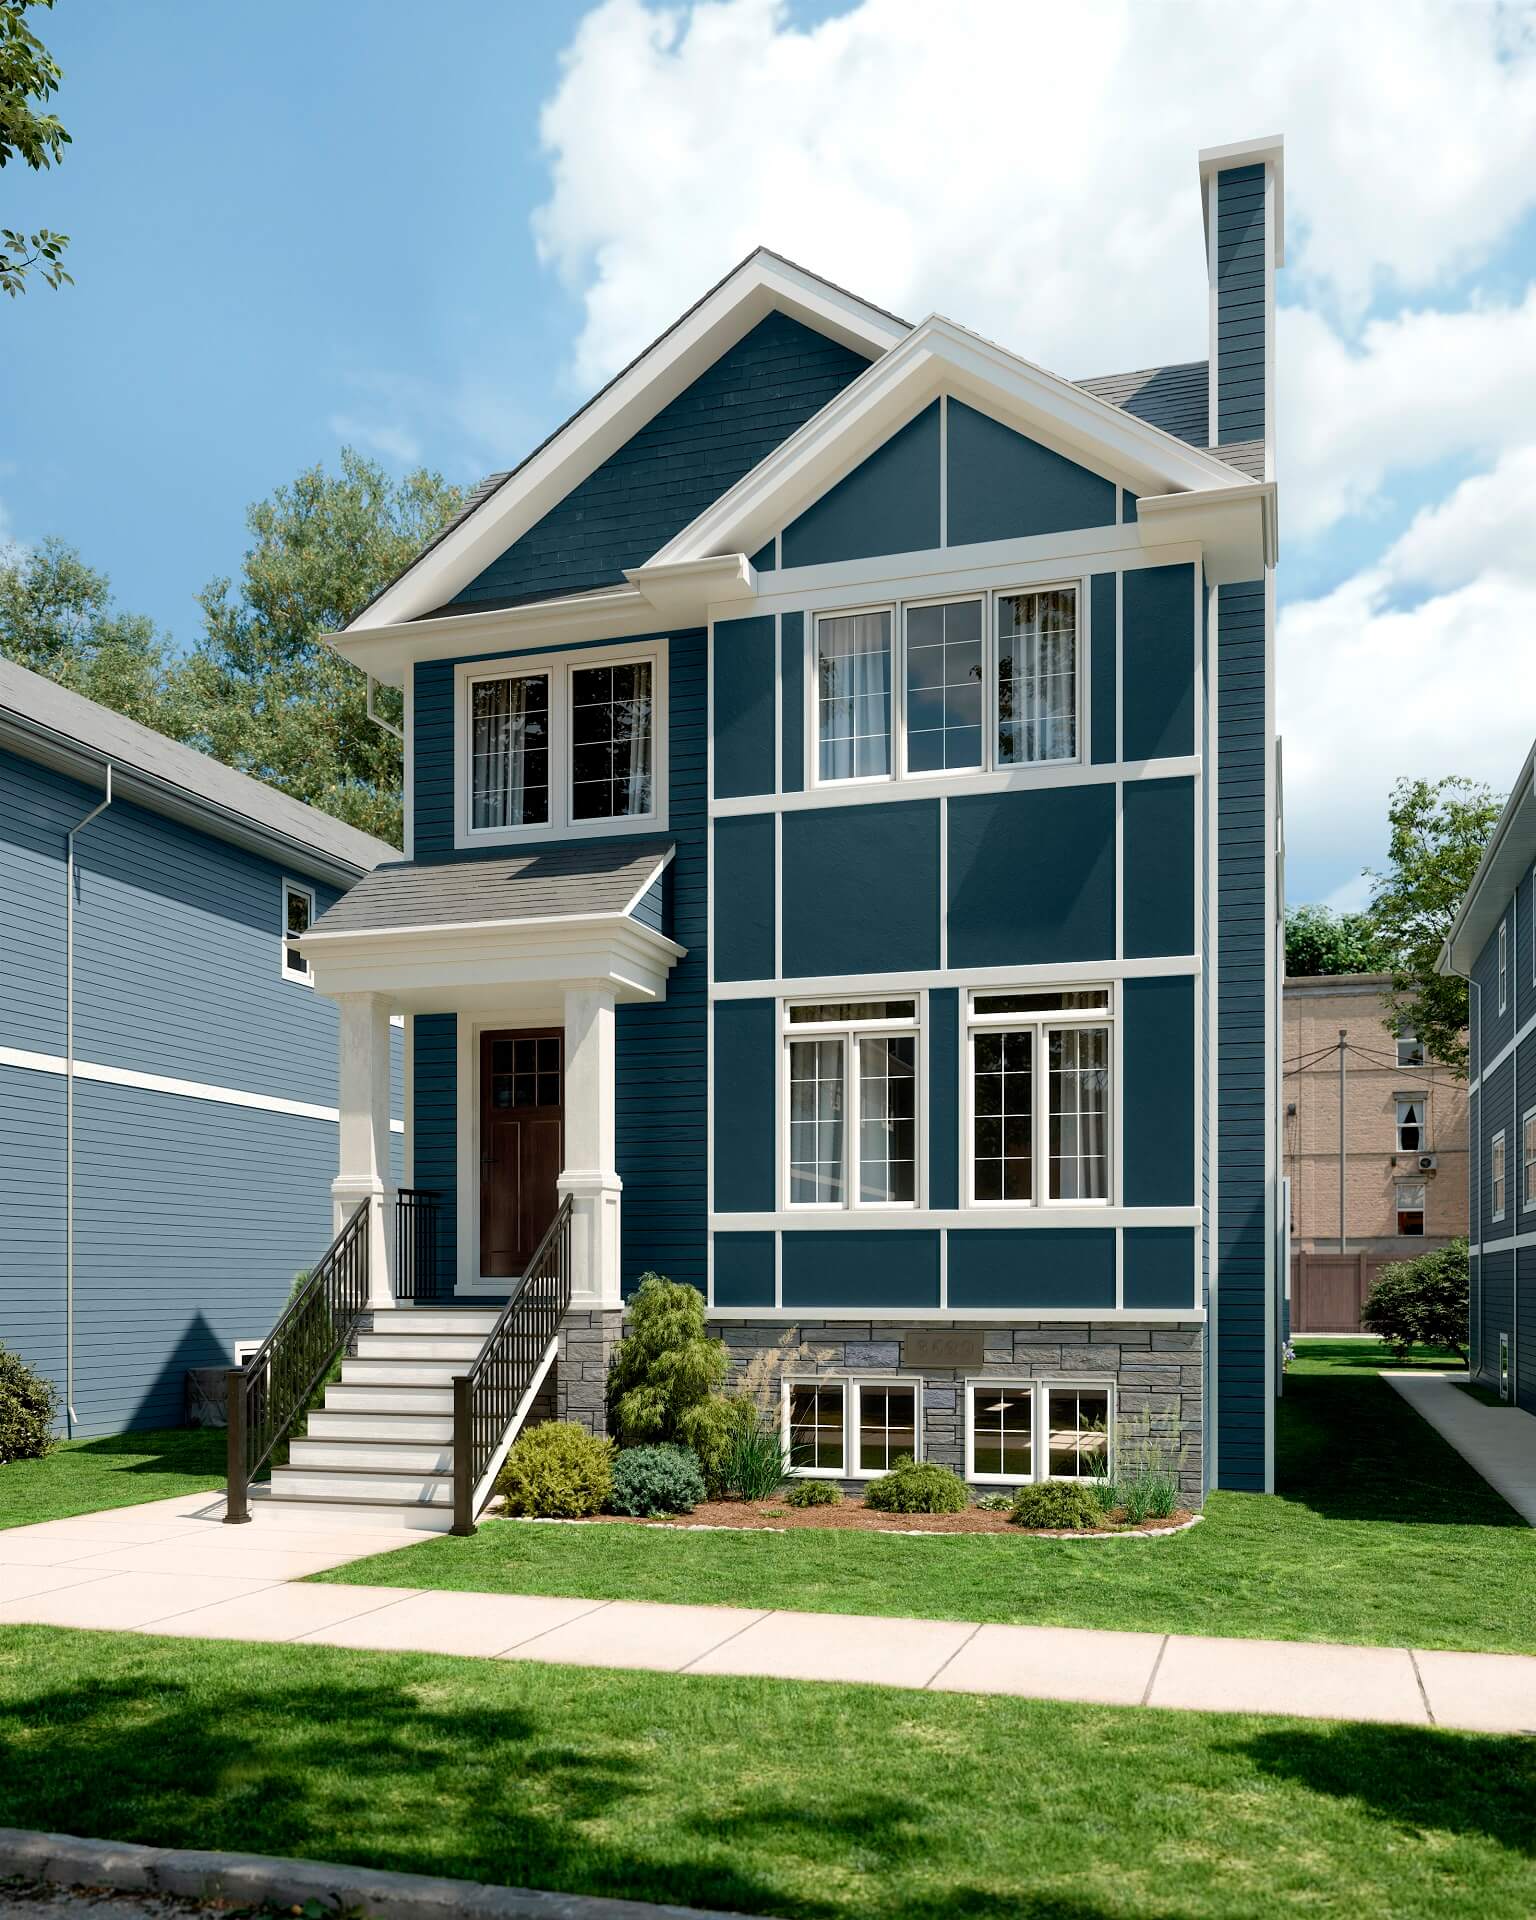
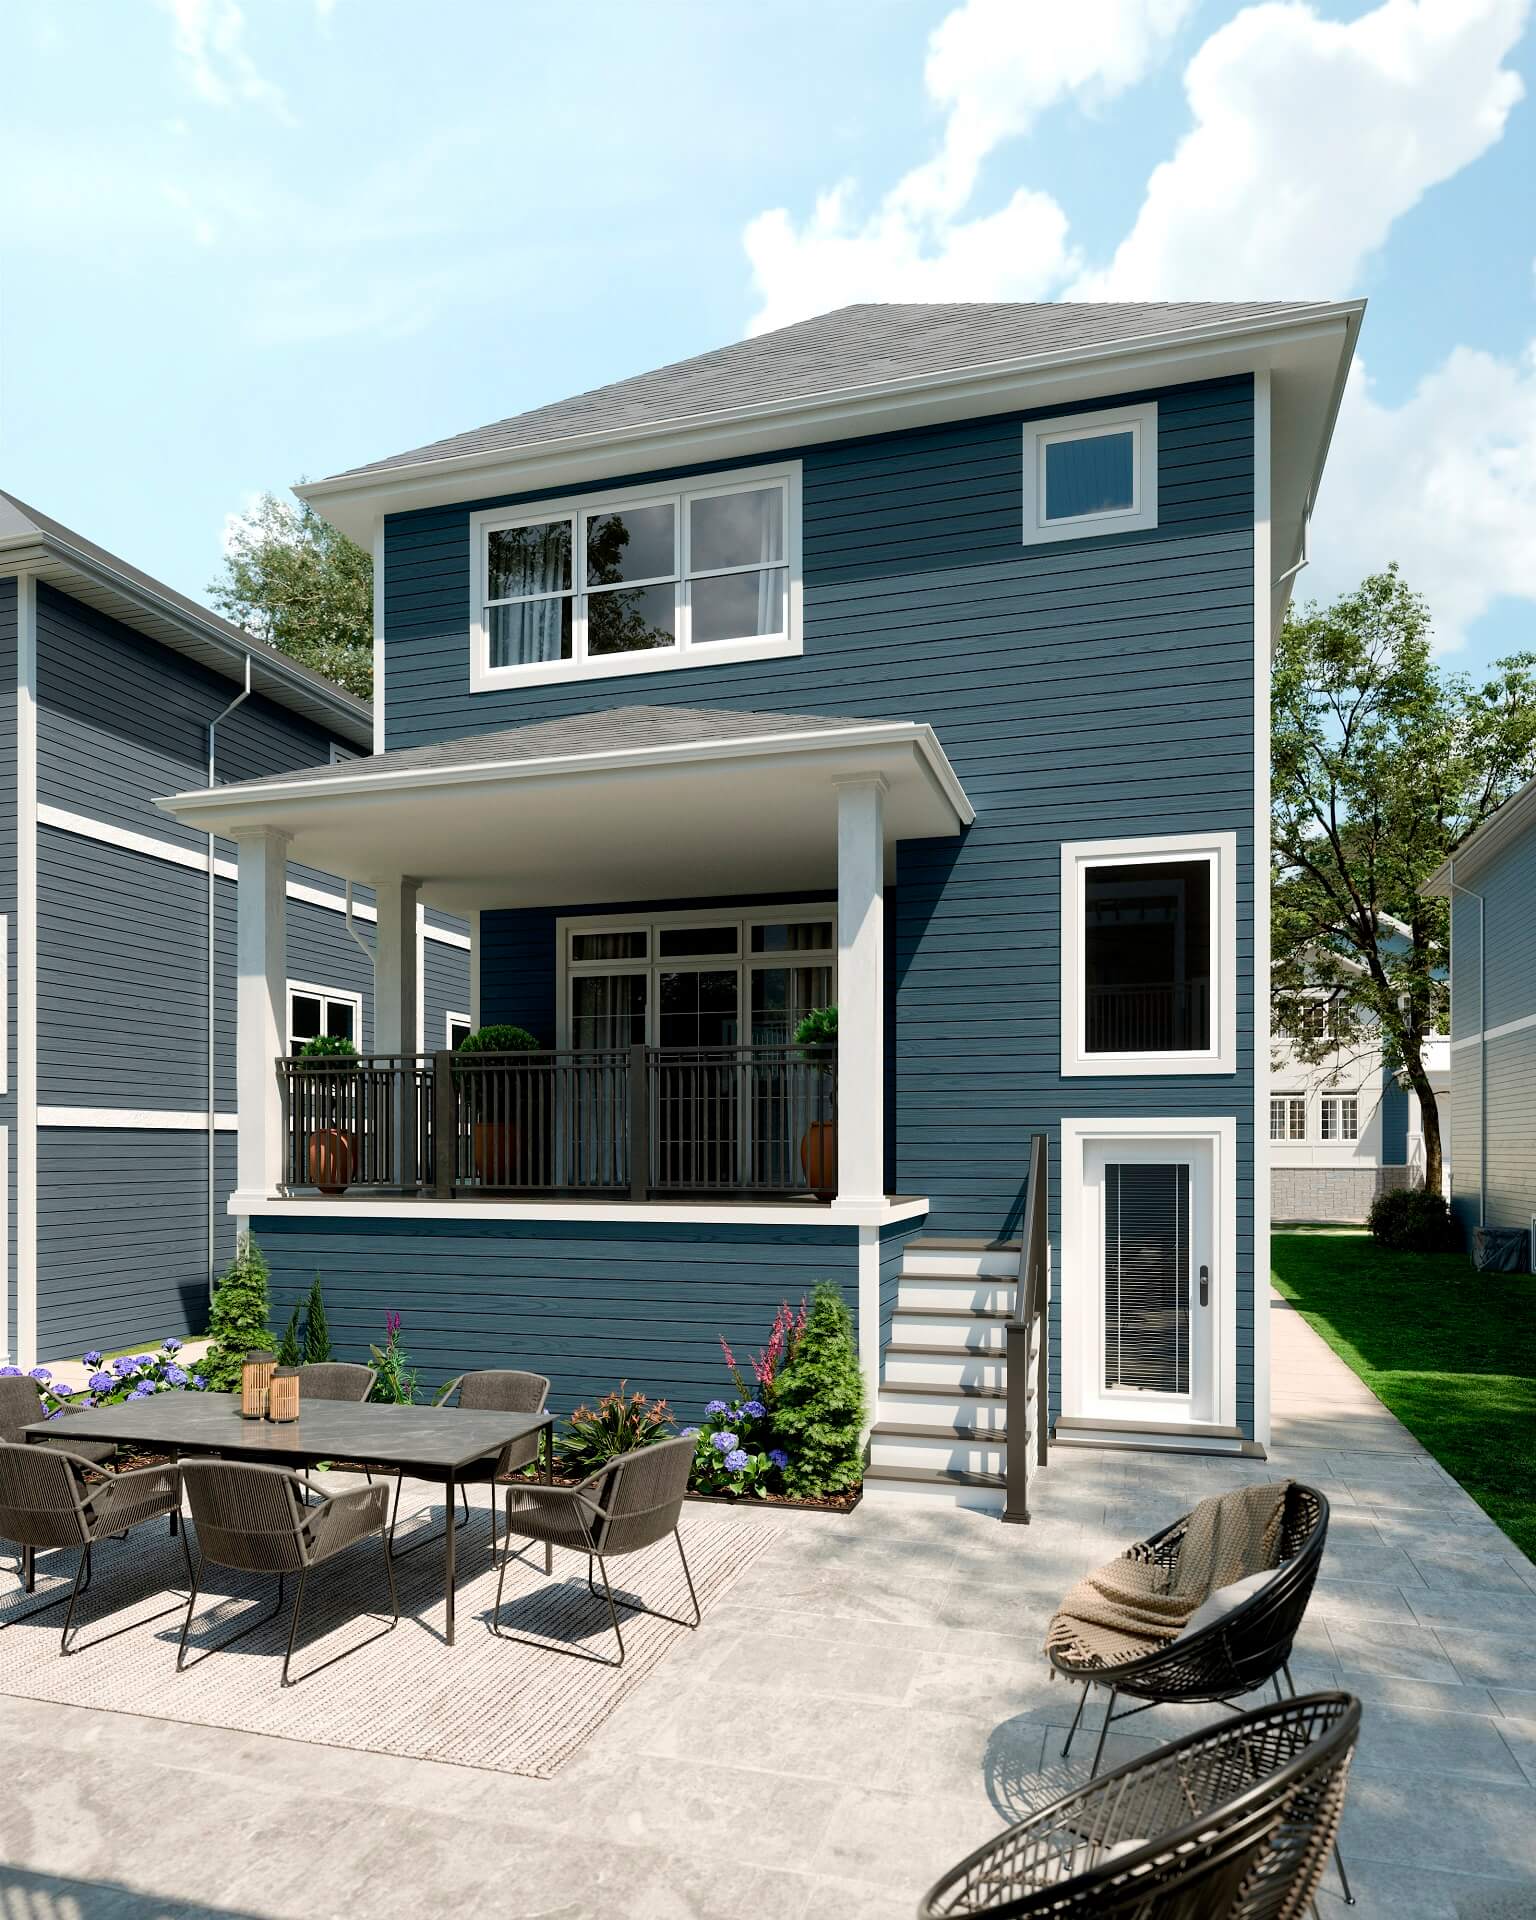
- three exterior renders: two showcasing the front of the house and one demonstrating the rear side with a backyard;
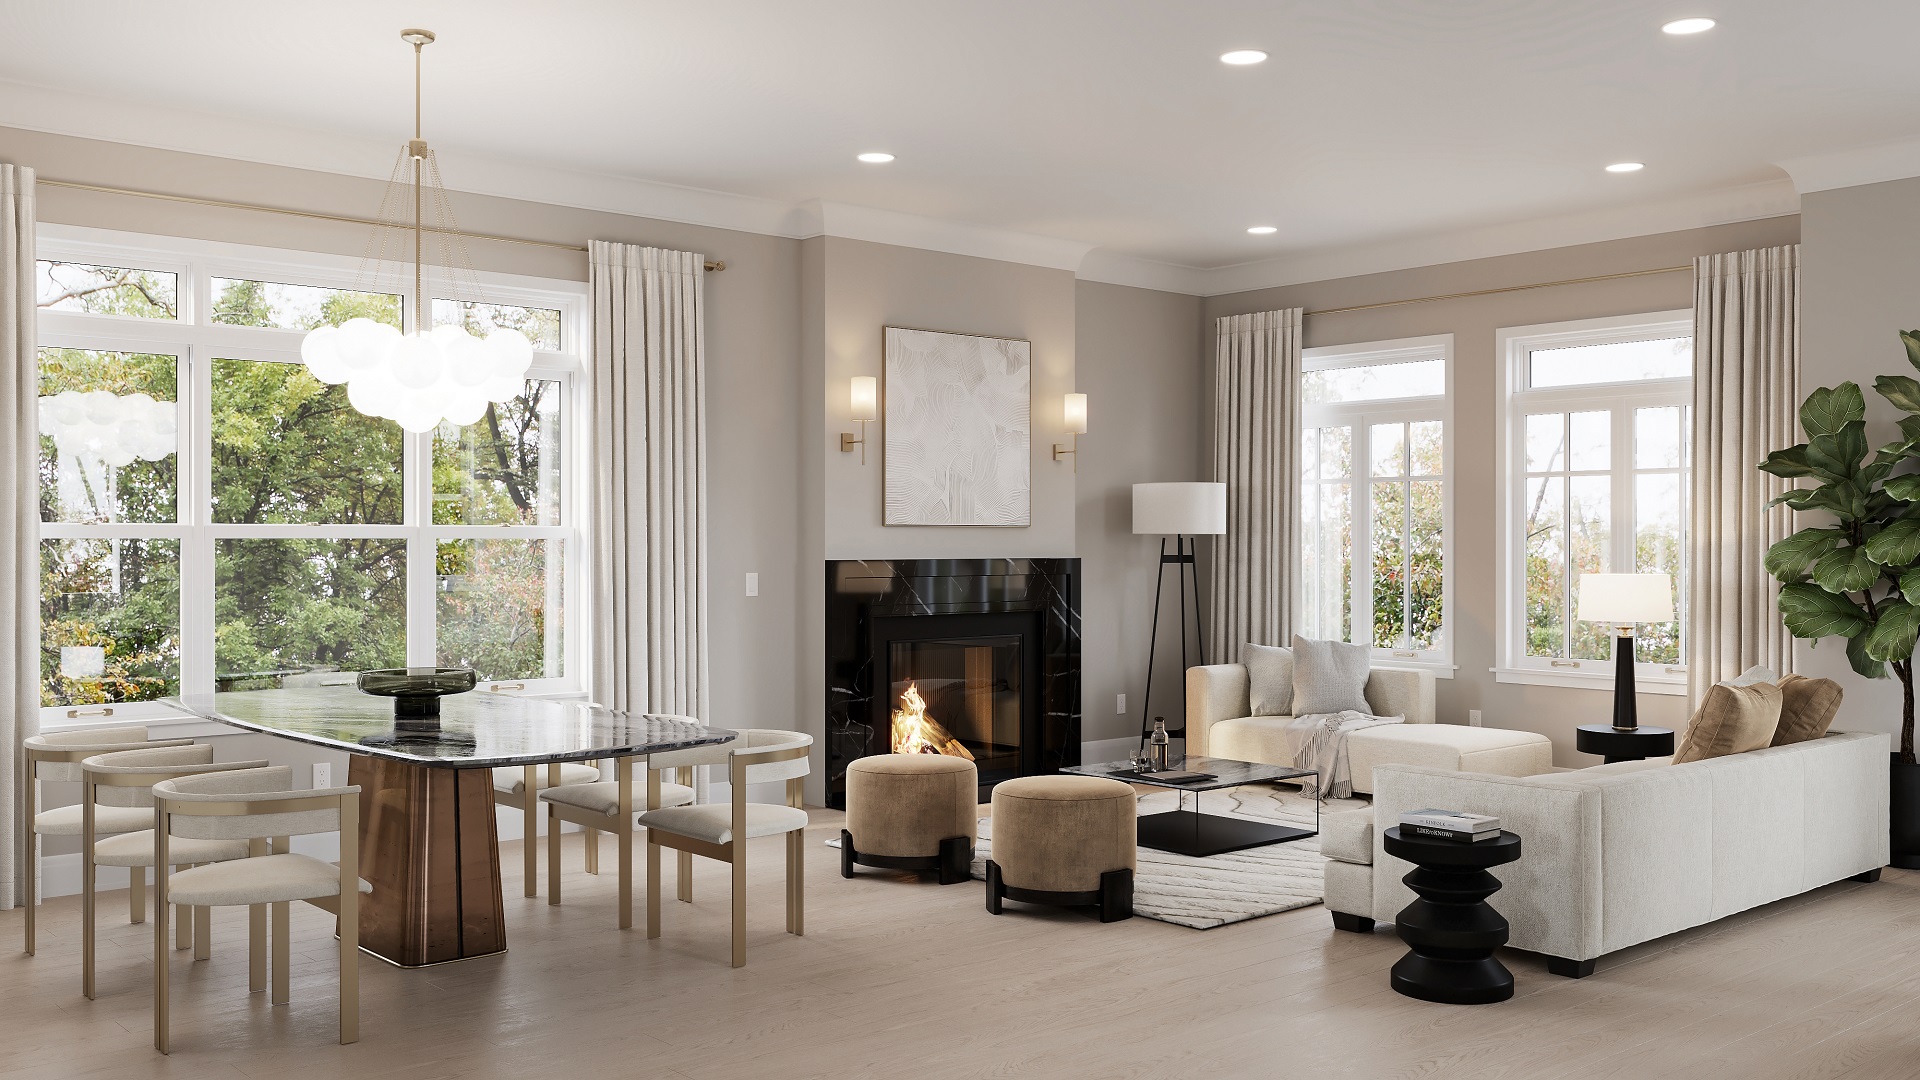
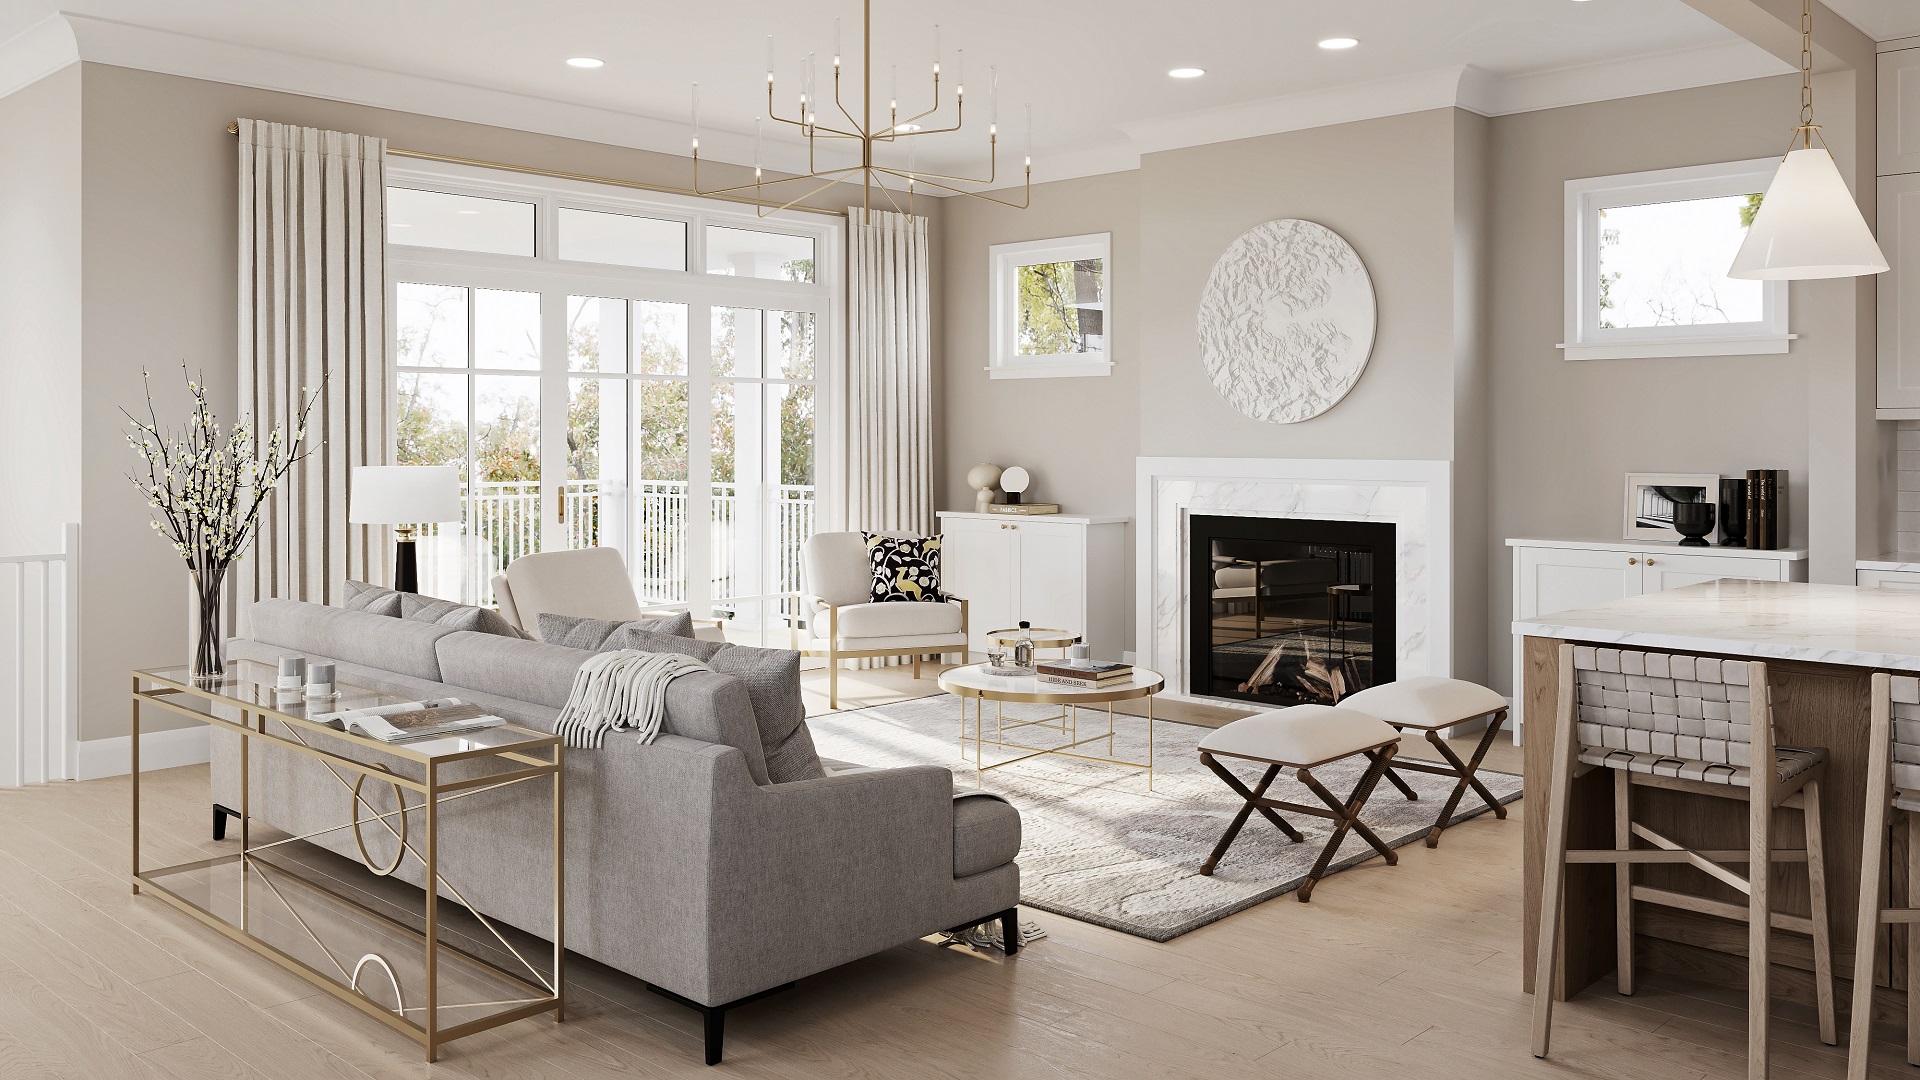
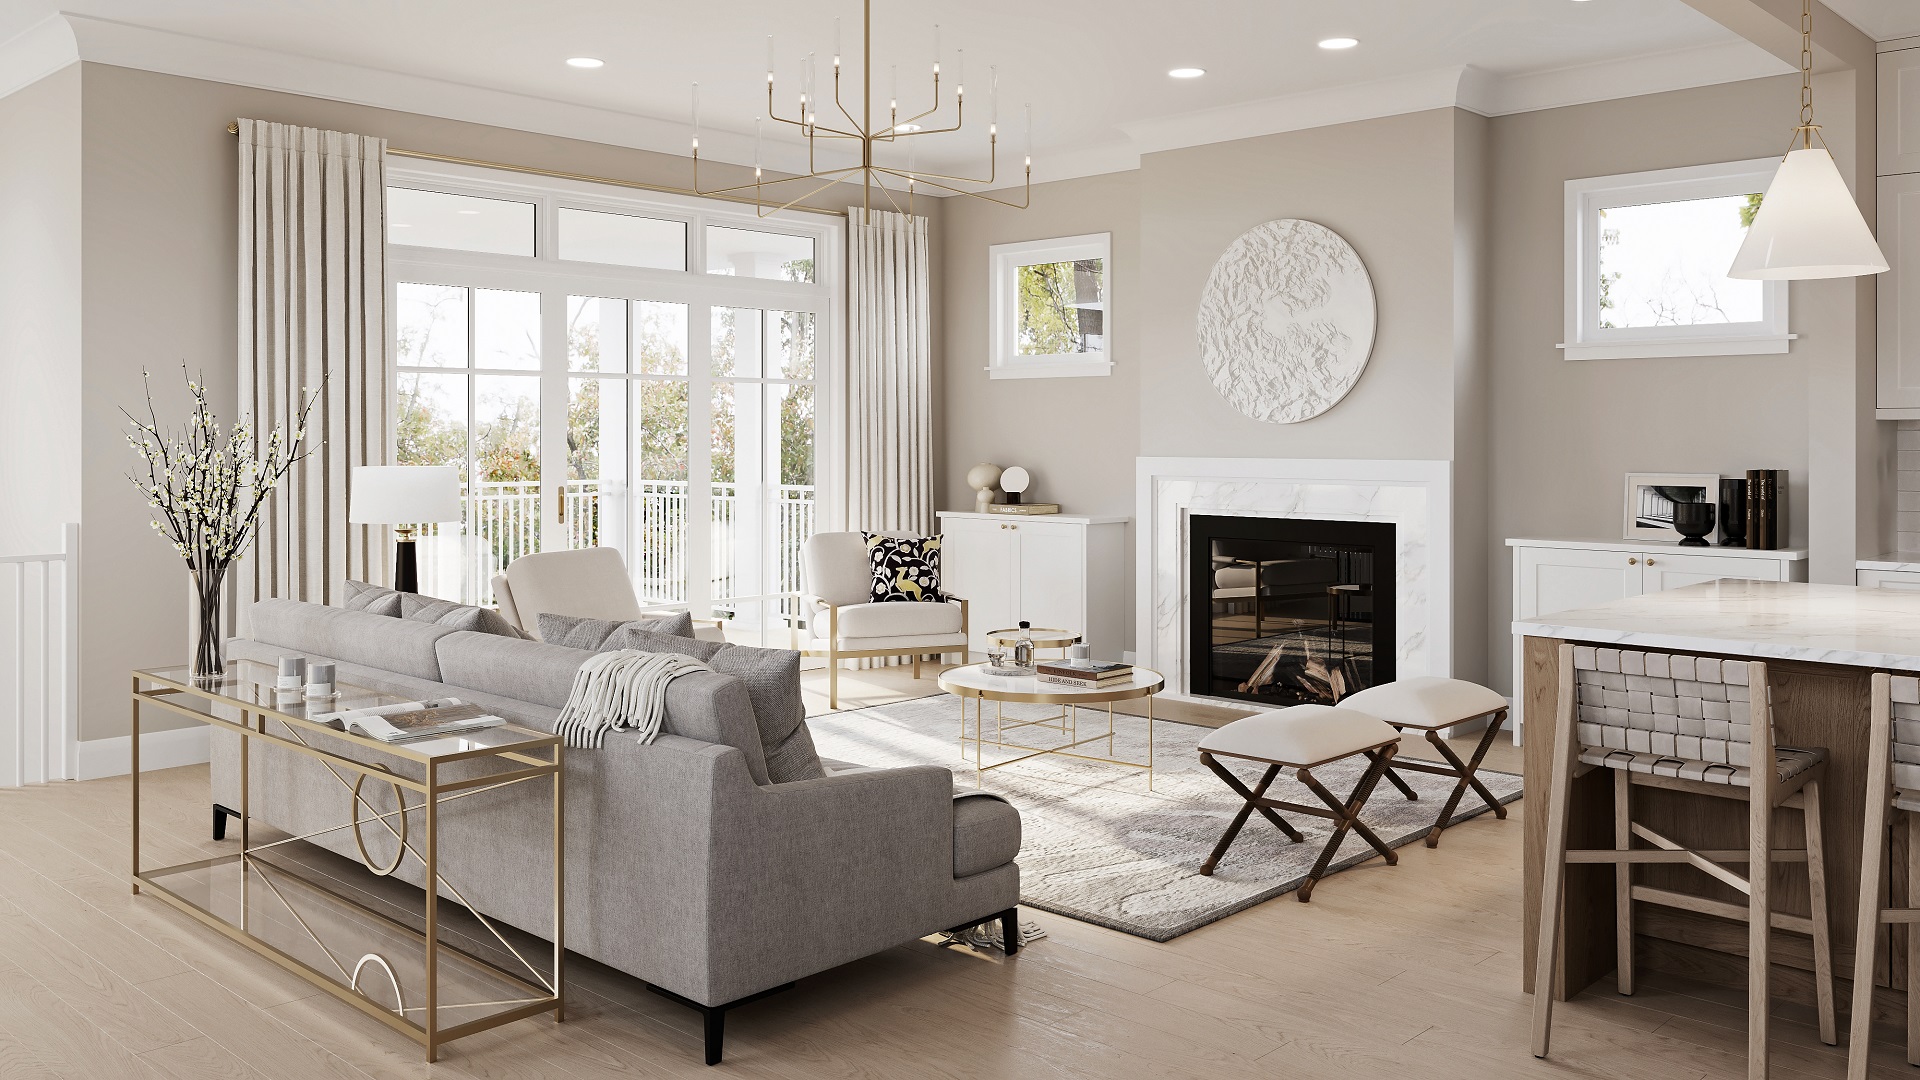
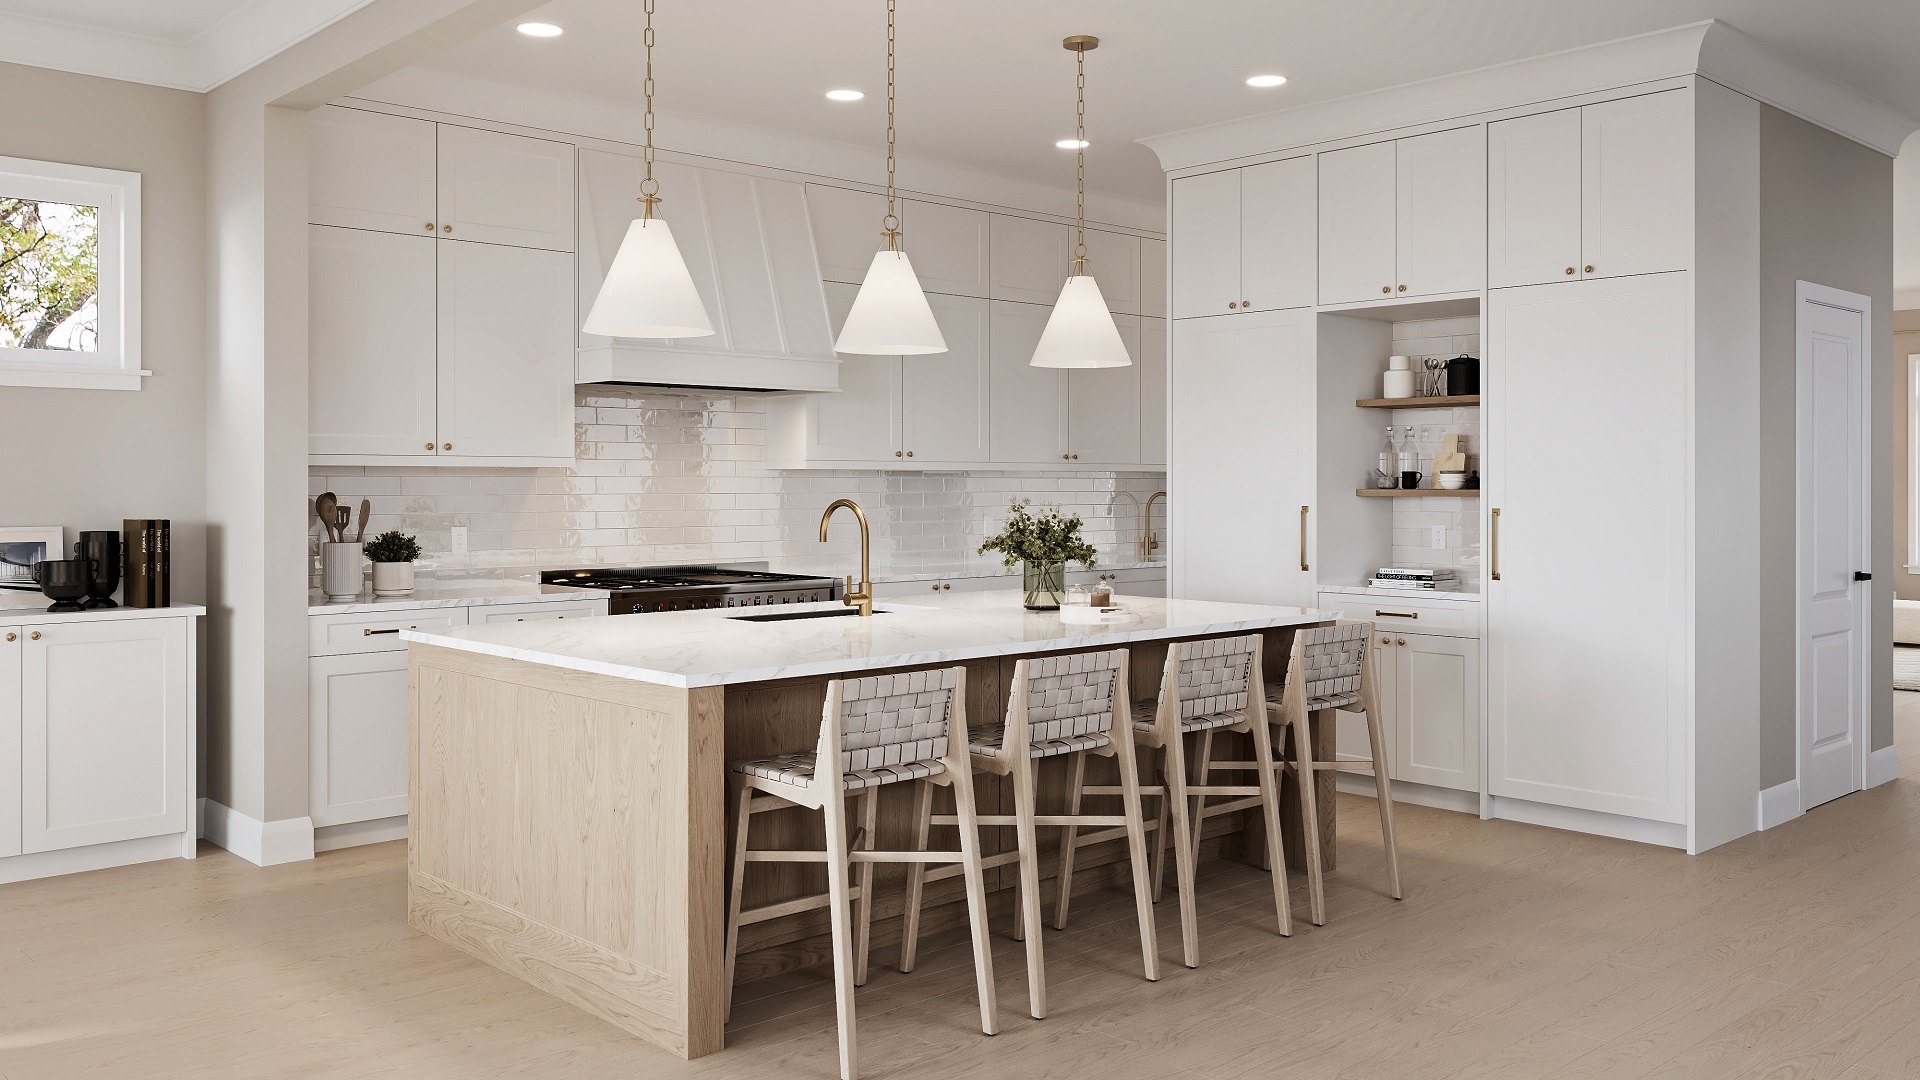
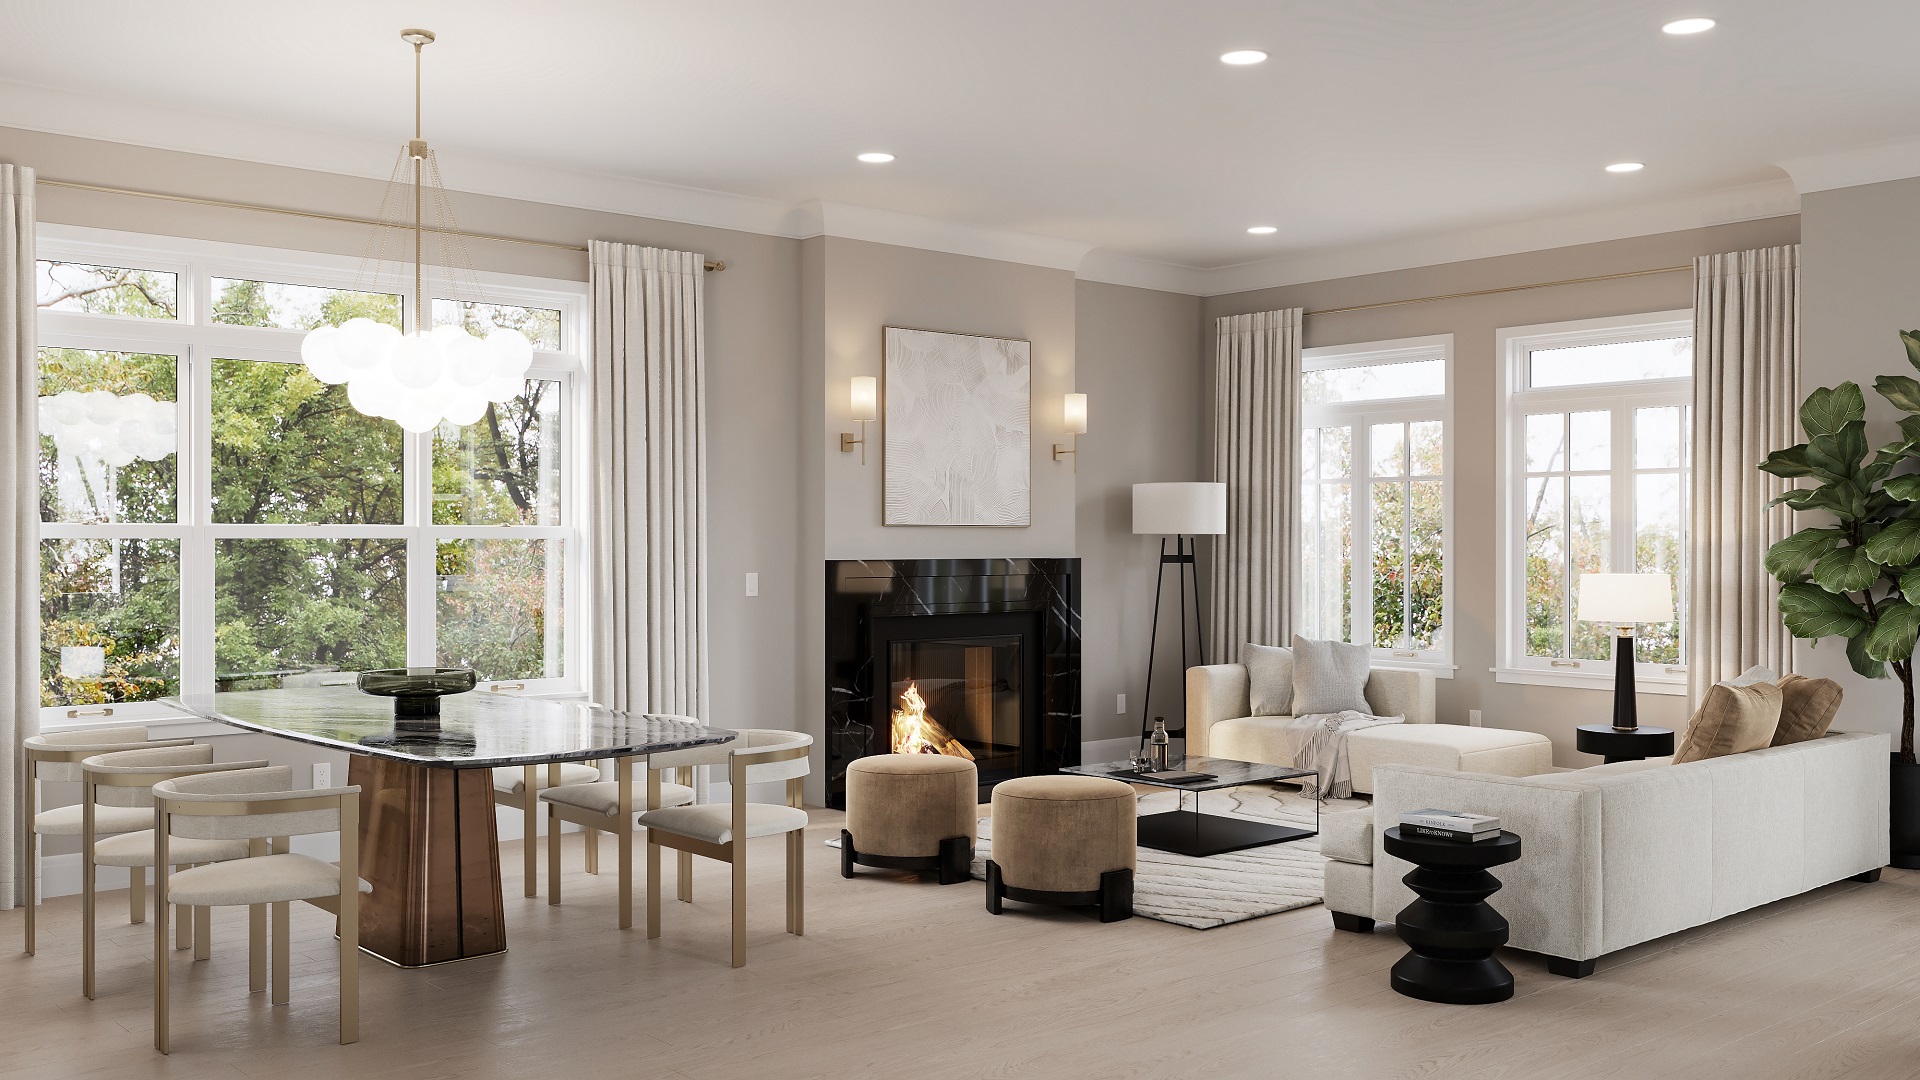
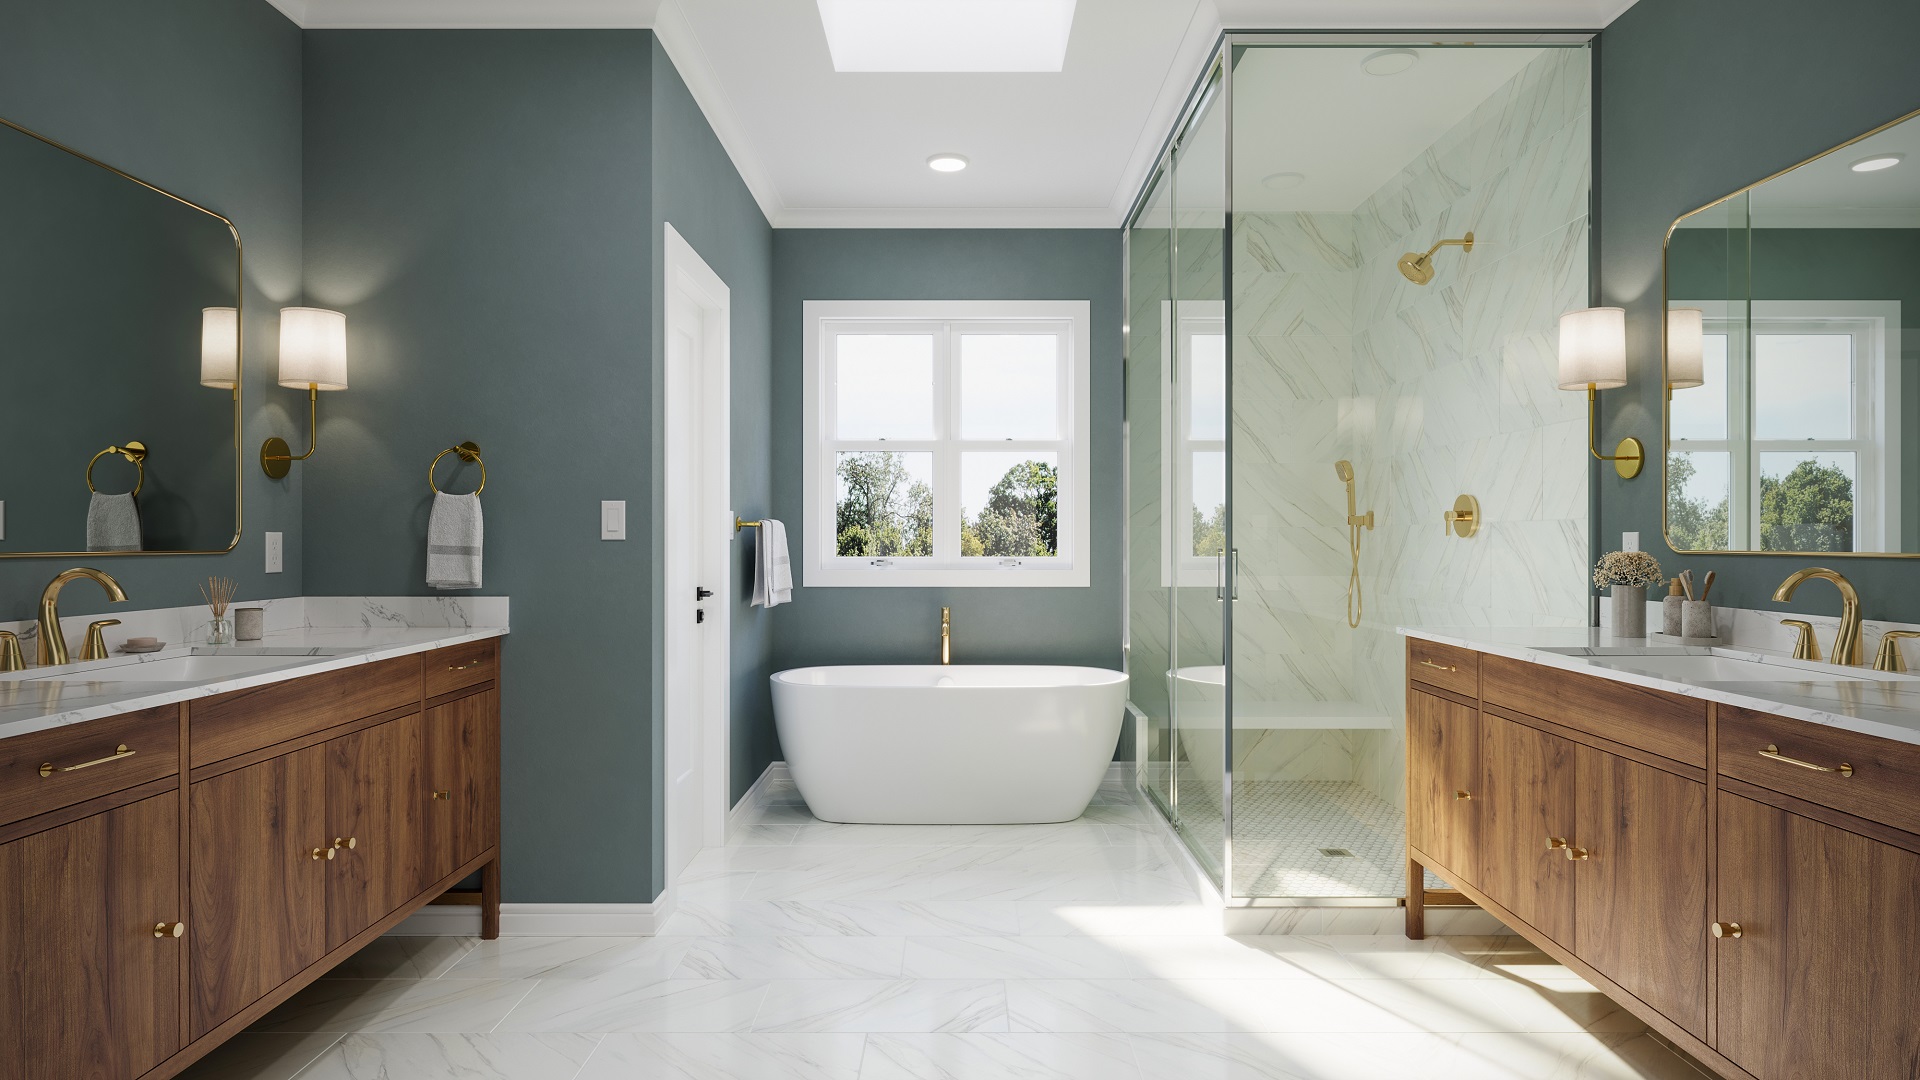
- four interior renderings showing the planned design of different spaces in the house;
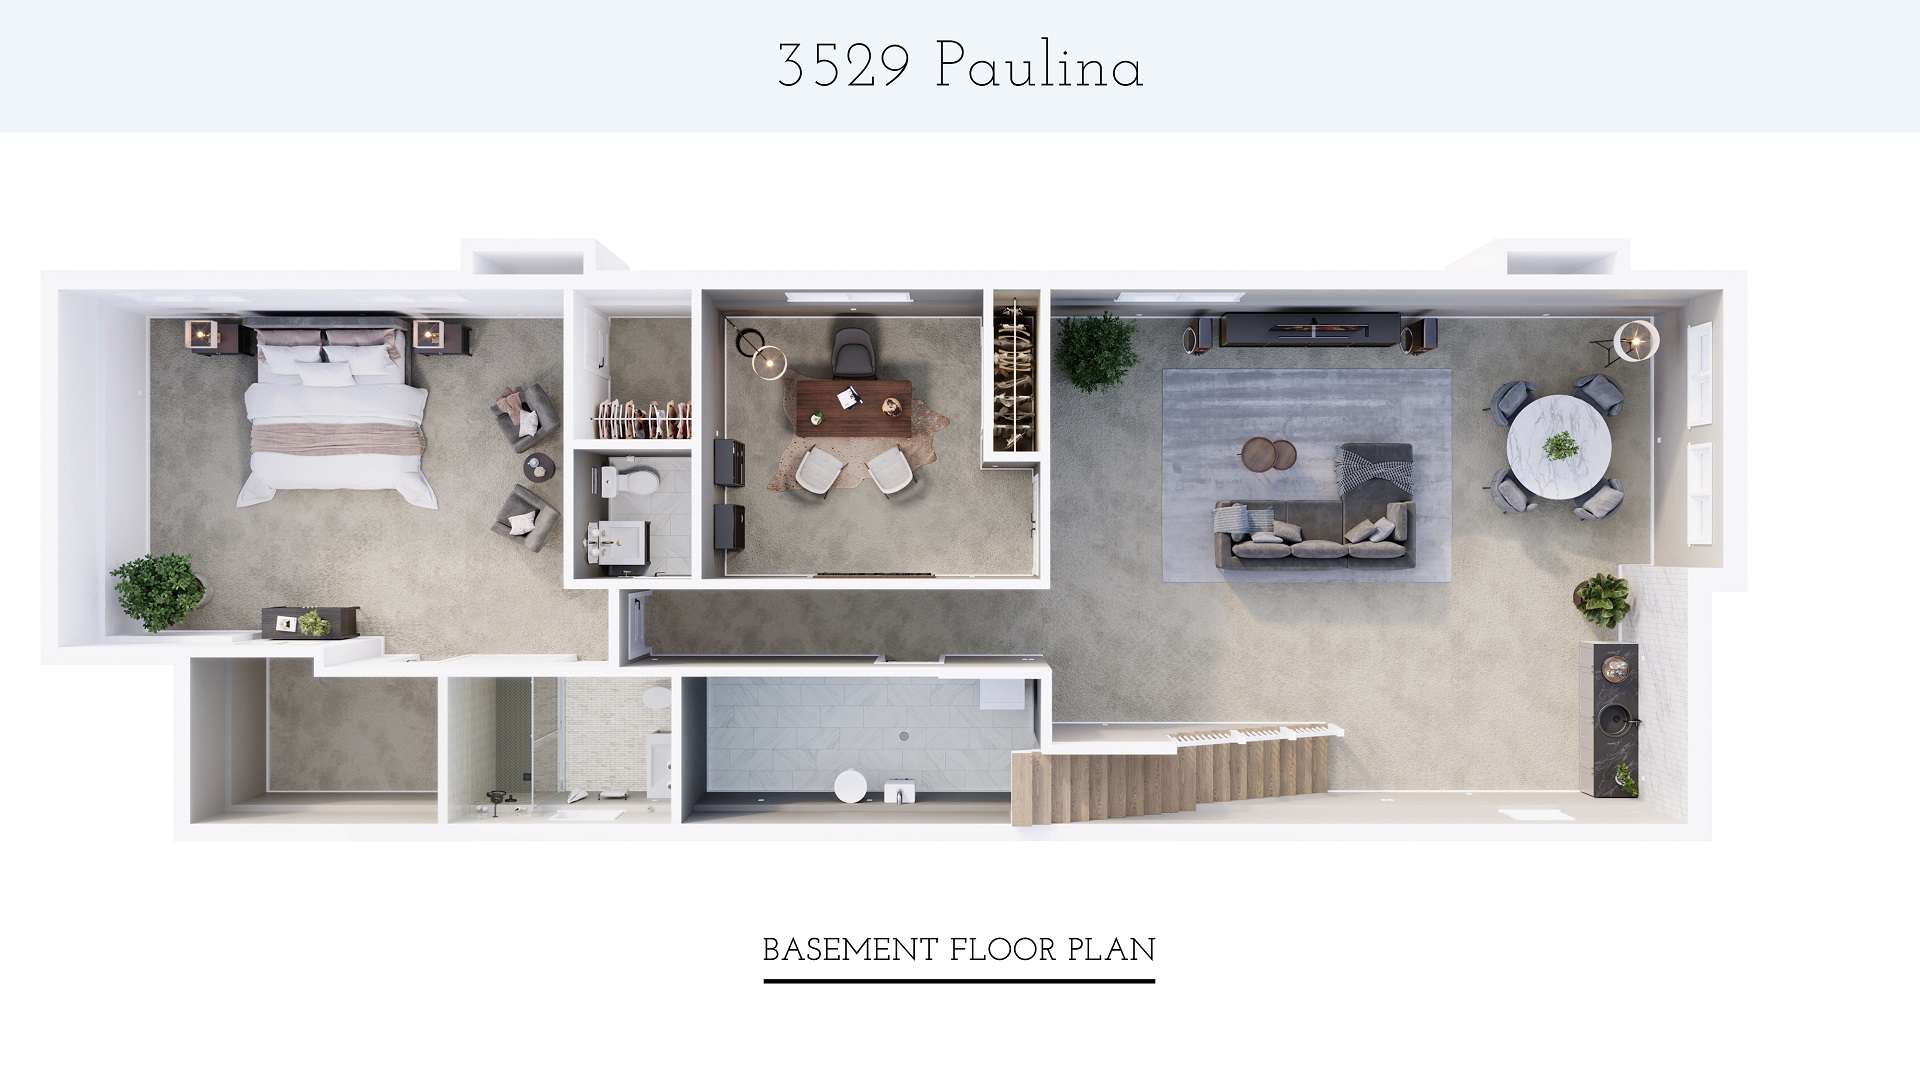
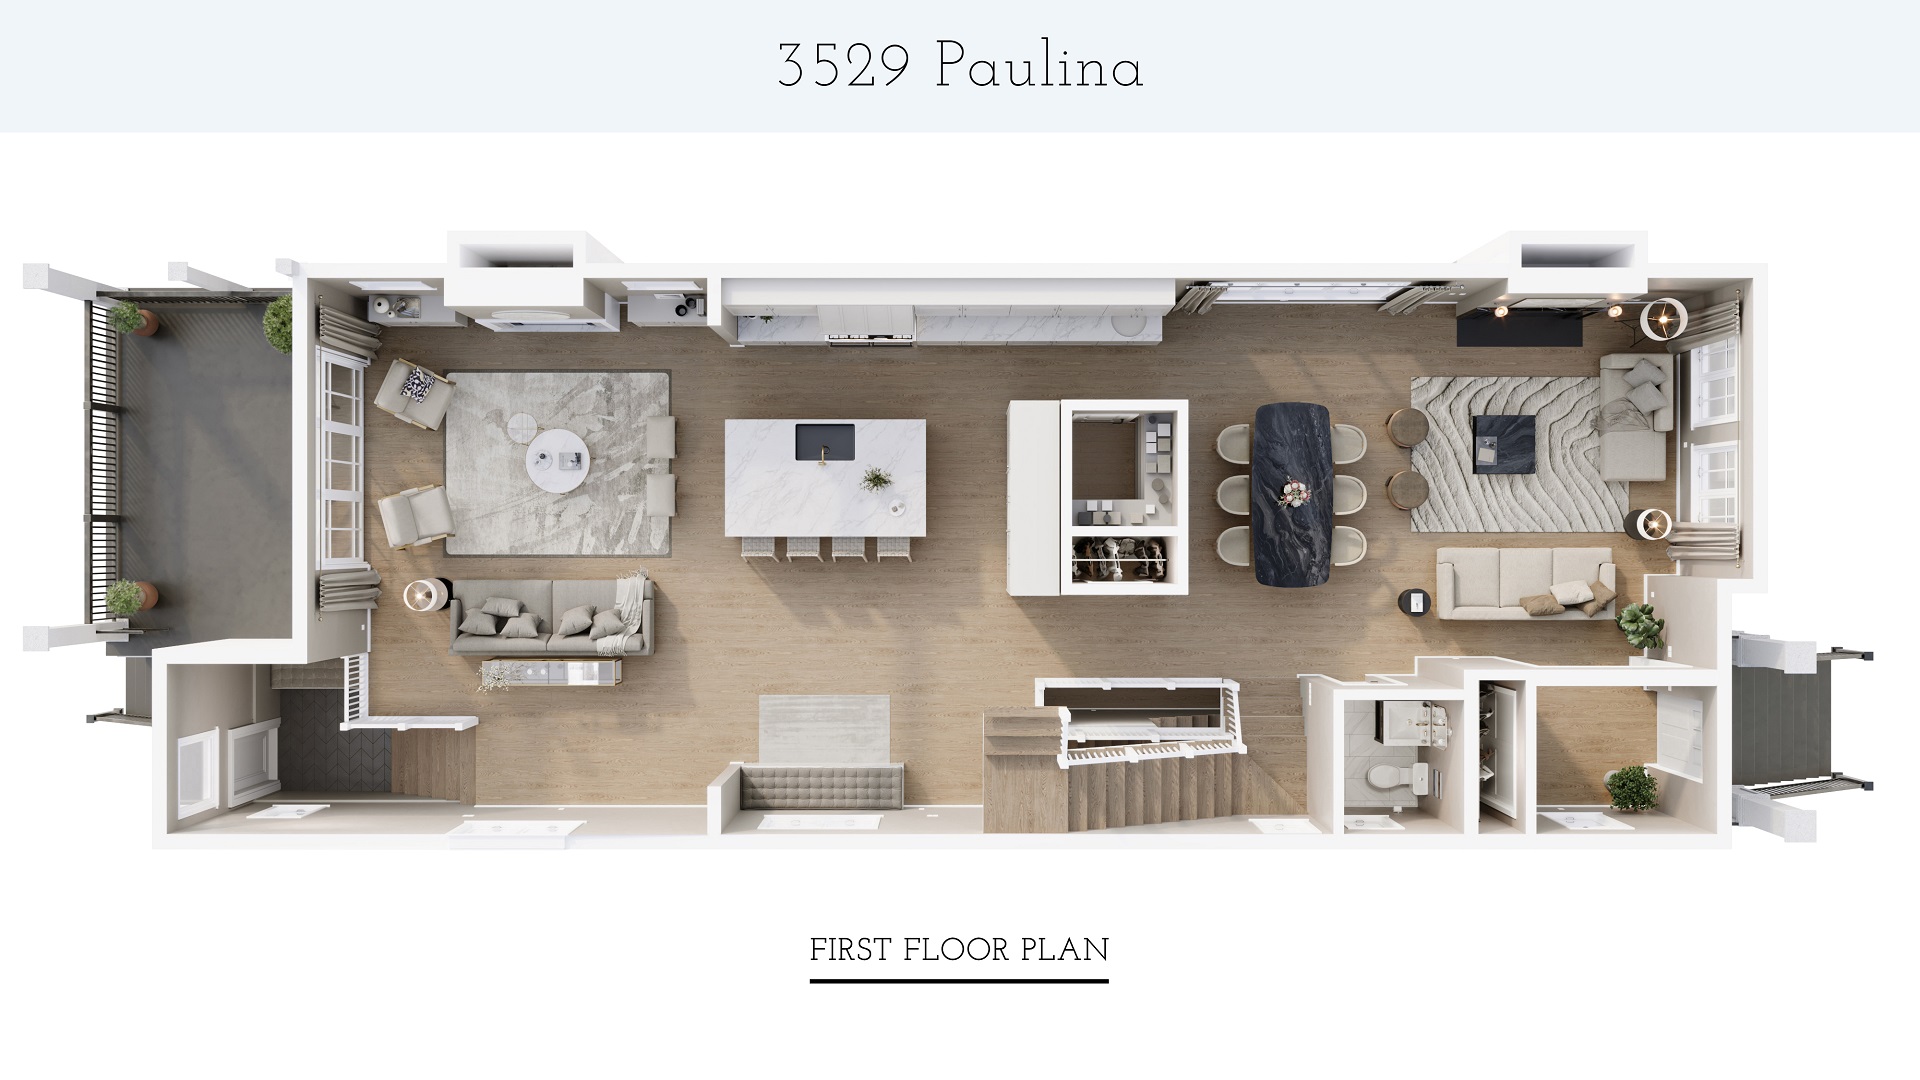
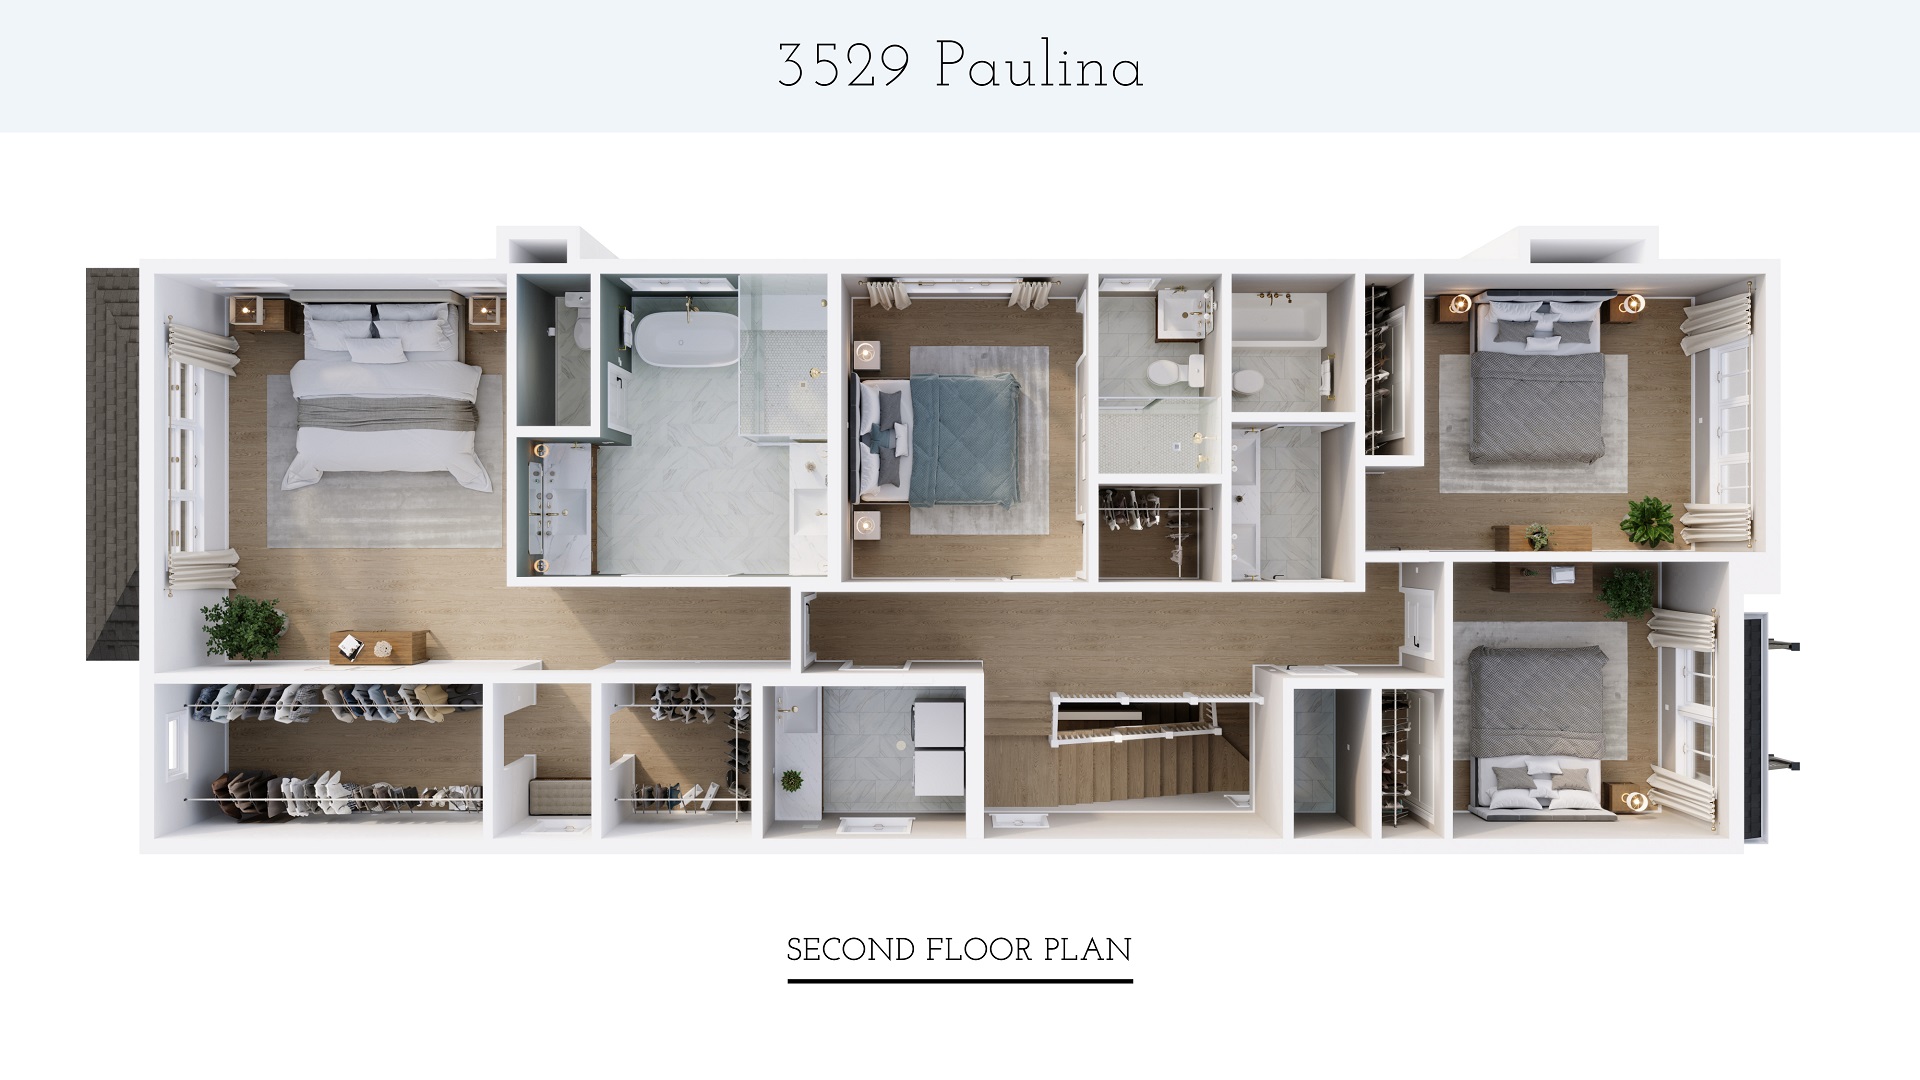
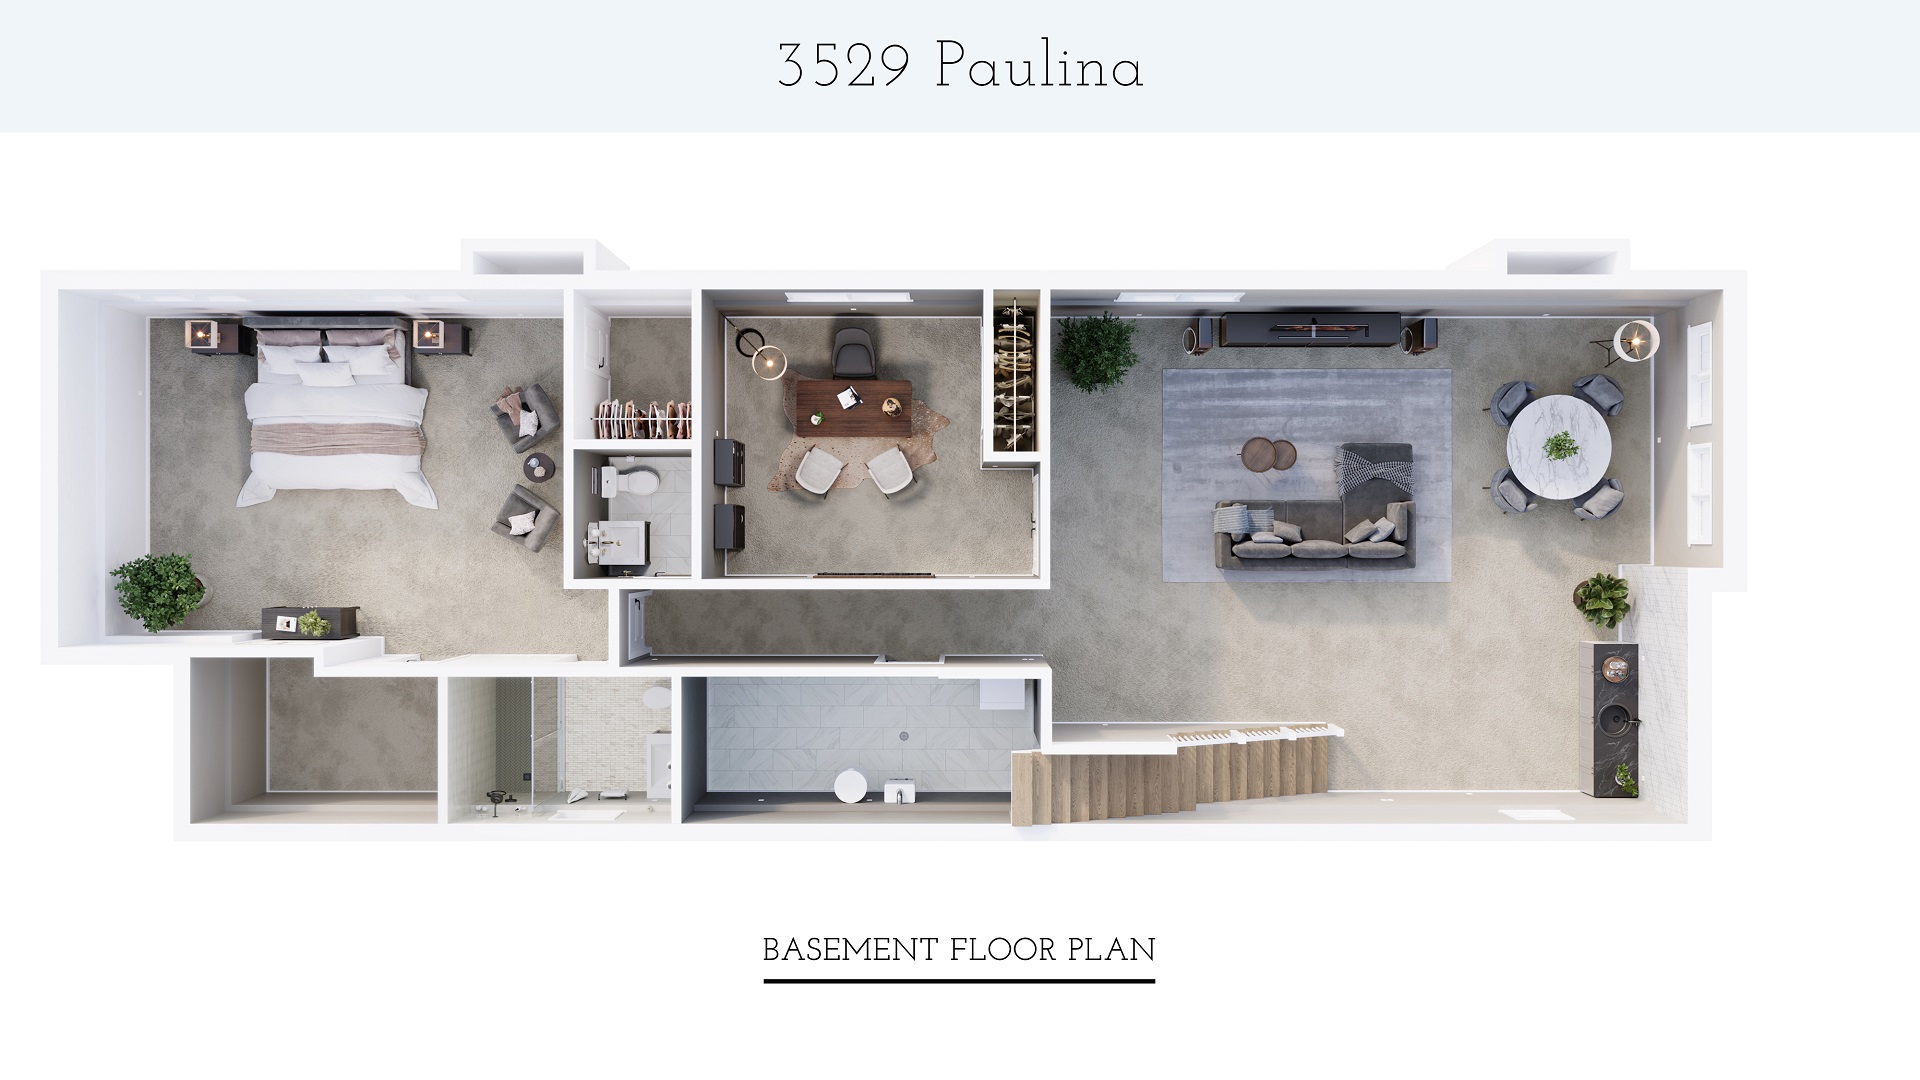
- three 3D floor plans presenting the layouts of two floors and the basement of the house.
All the results had to be in 4K resolution.
Our project manager distributed the project tasks among 4 CG artists so that they would work in parallel and deliver the results faster. One artist was working on the real estate exterior images, two were creating the interior renders, and the fourth one was doing the 3D floor plans. Let’s see how we created the exterior renderings first.
#2. The Making of Exterior Real Estate CGI
Our team agreed with Arthur upon using our standard exterior 3D rendering project workflow, which begins with a client providing us with a detailed brief. Let’s take a look at it below.
#2.1 The References for Exterior Renderings
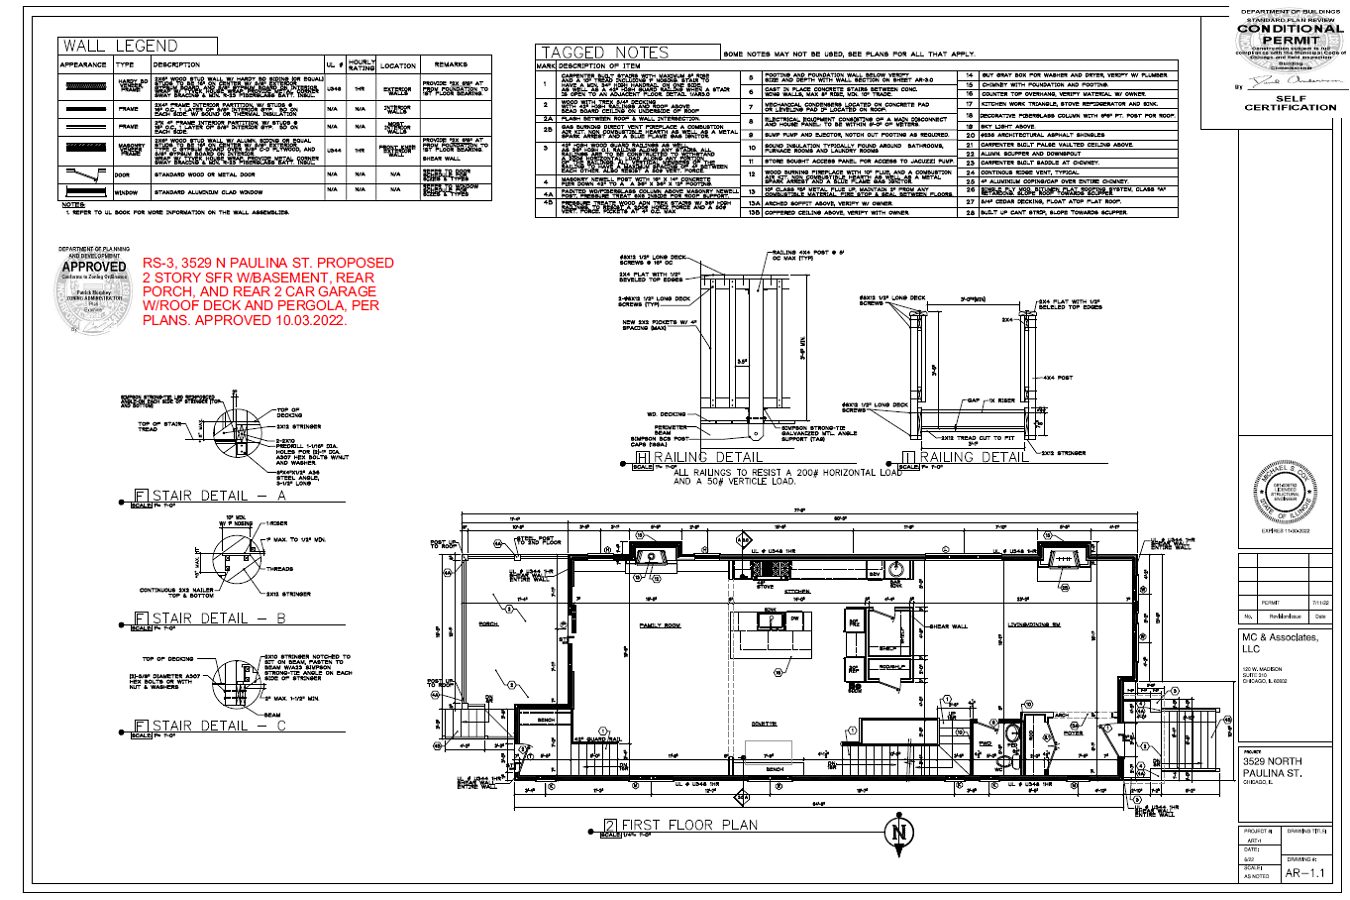
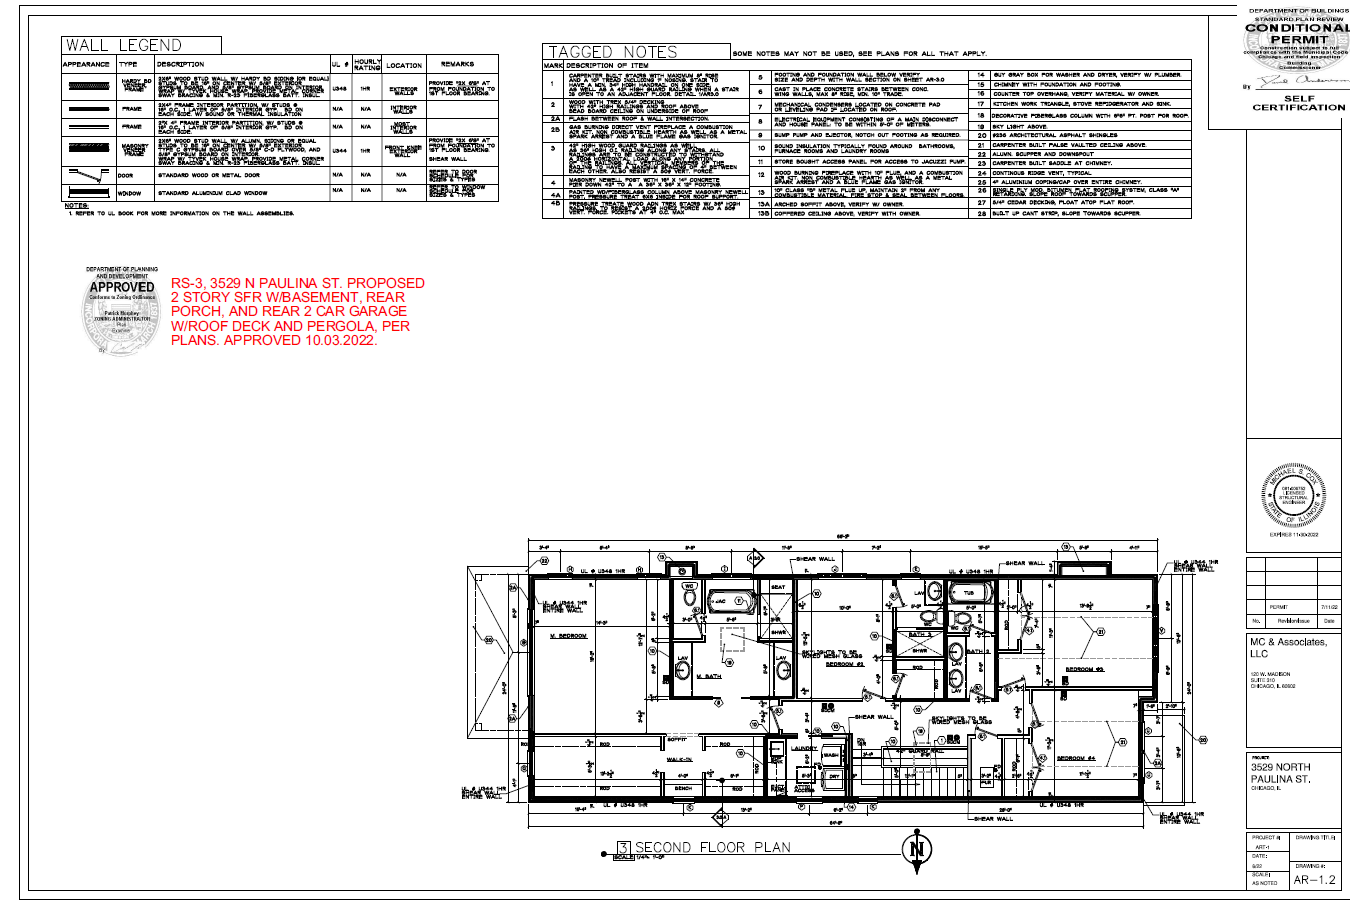
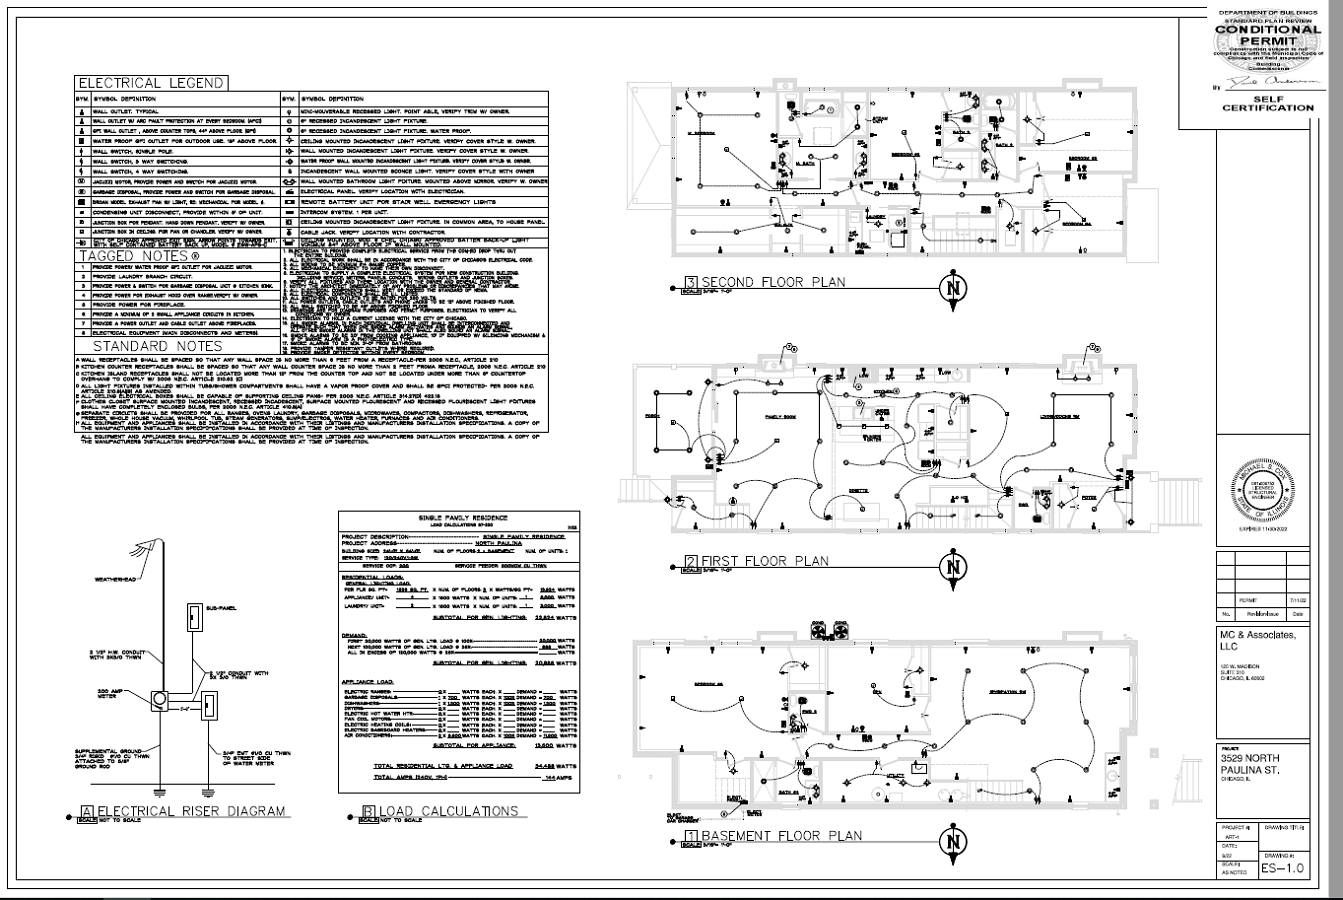
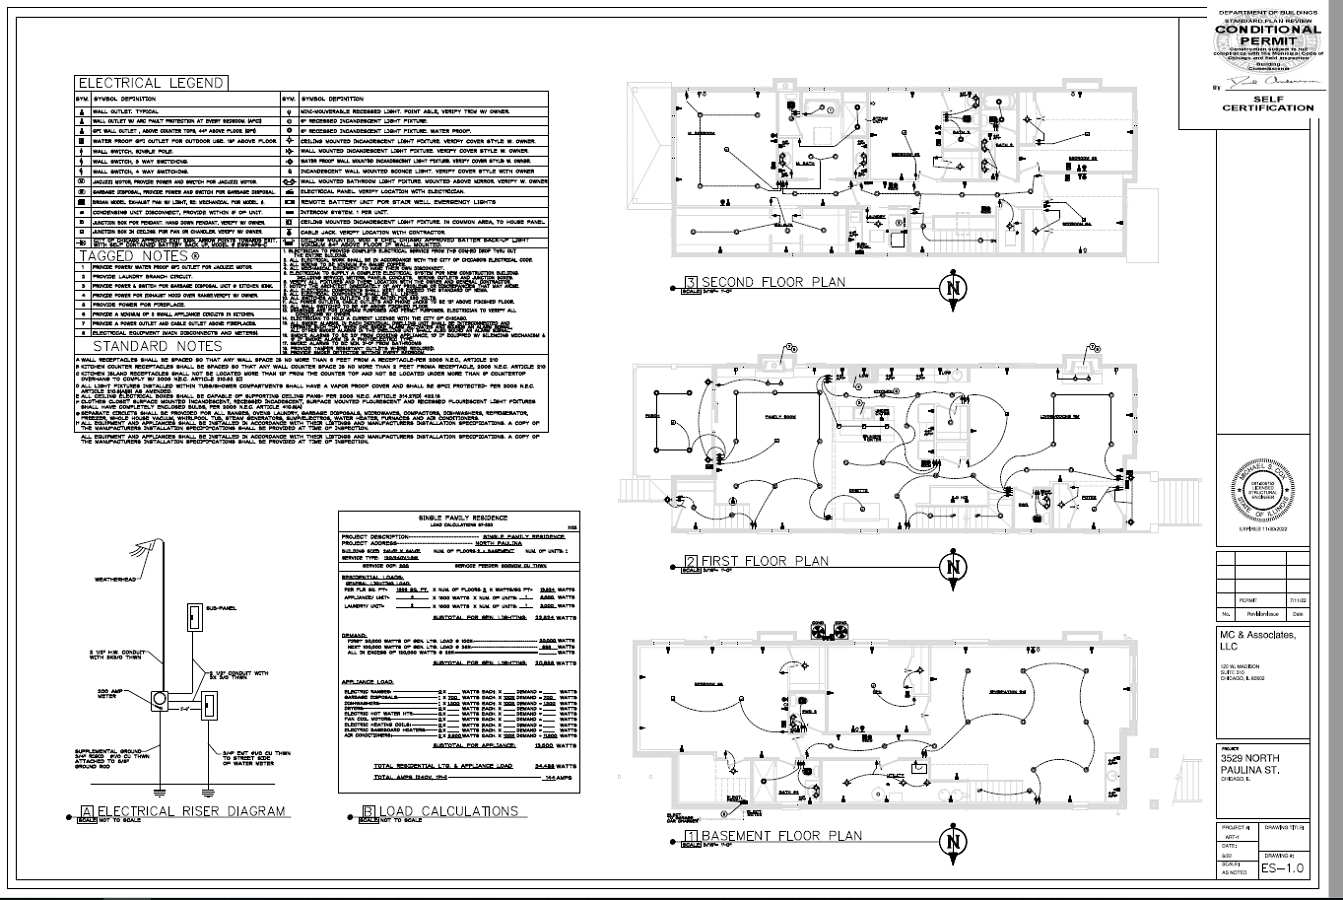
For this task, Arthur provided us with an extensive pack of references. It included:
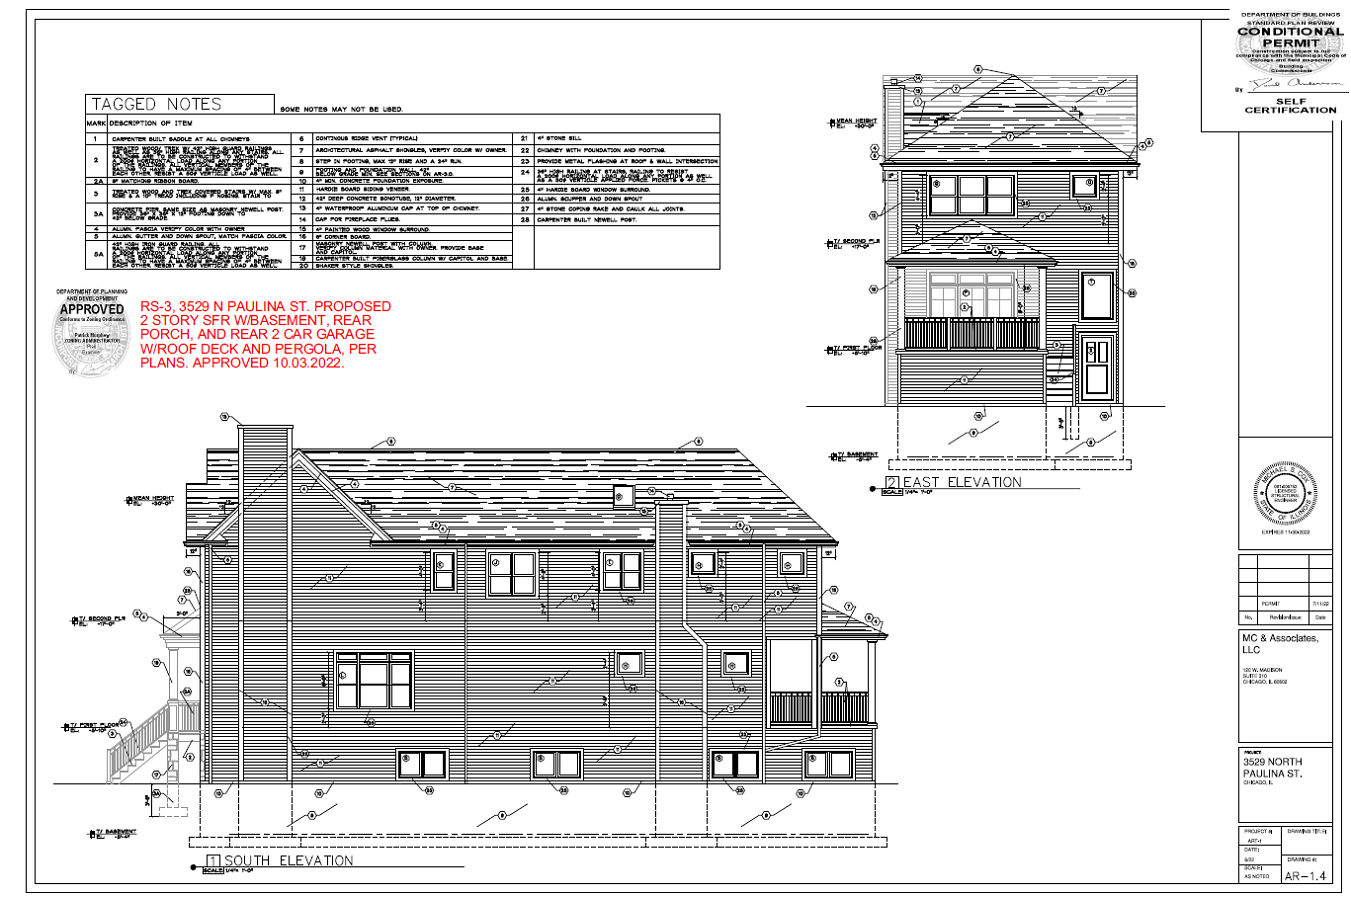
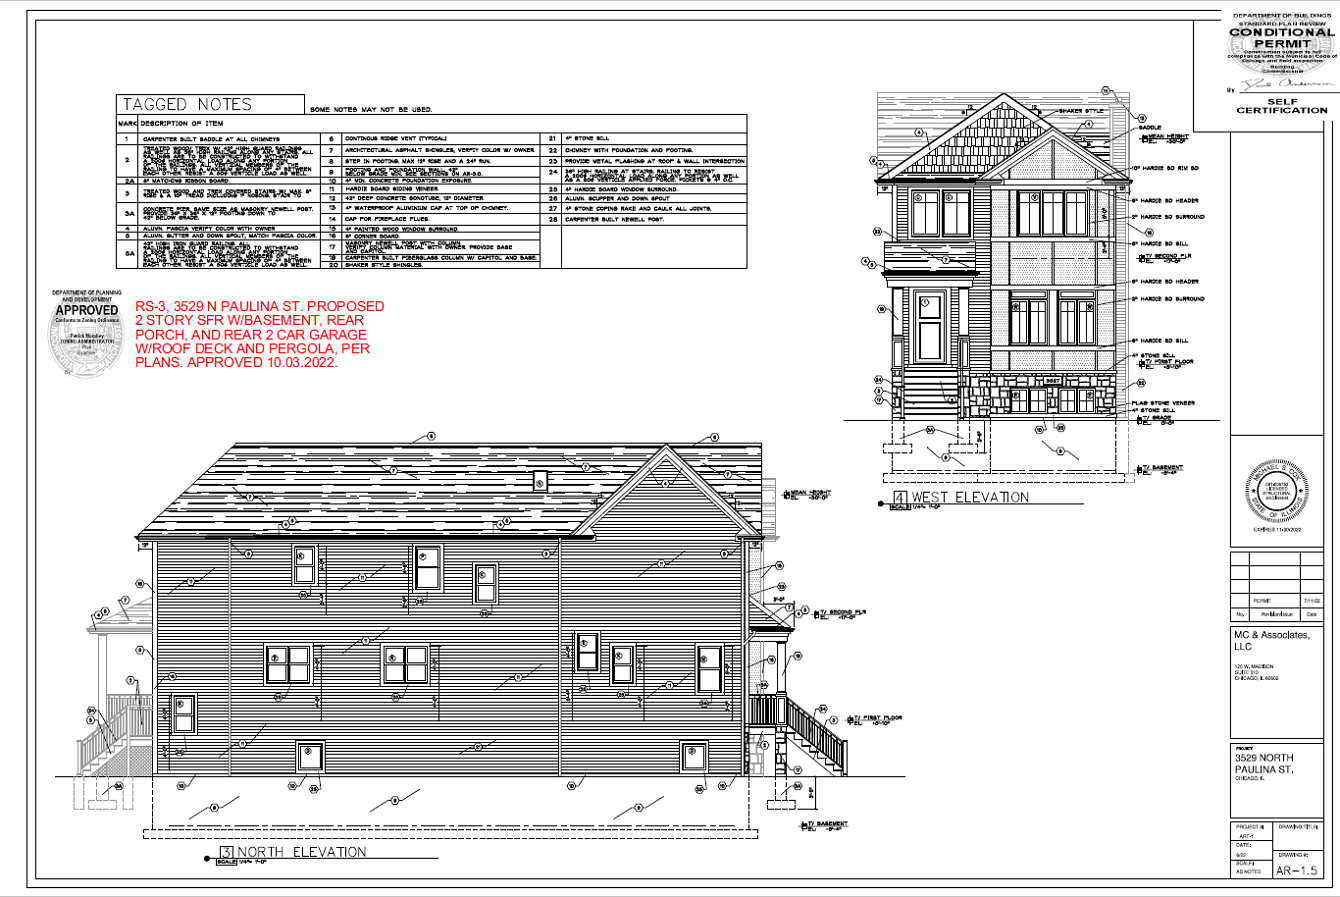
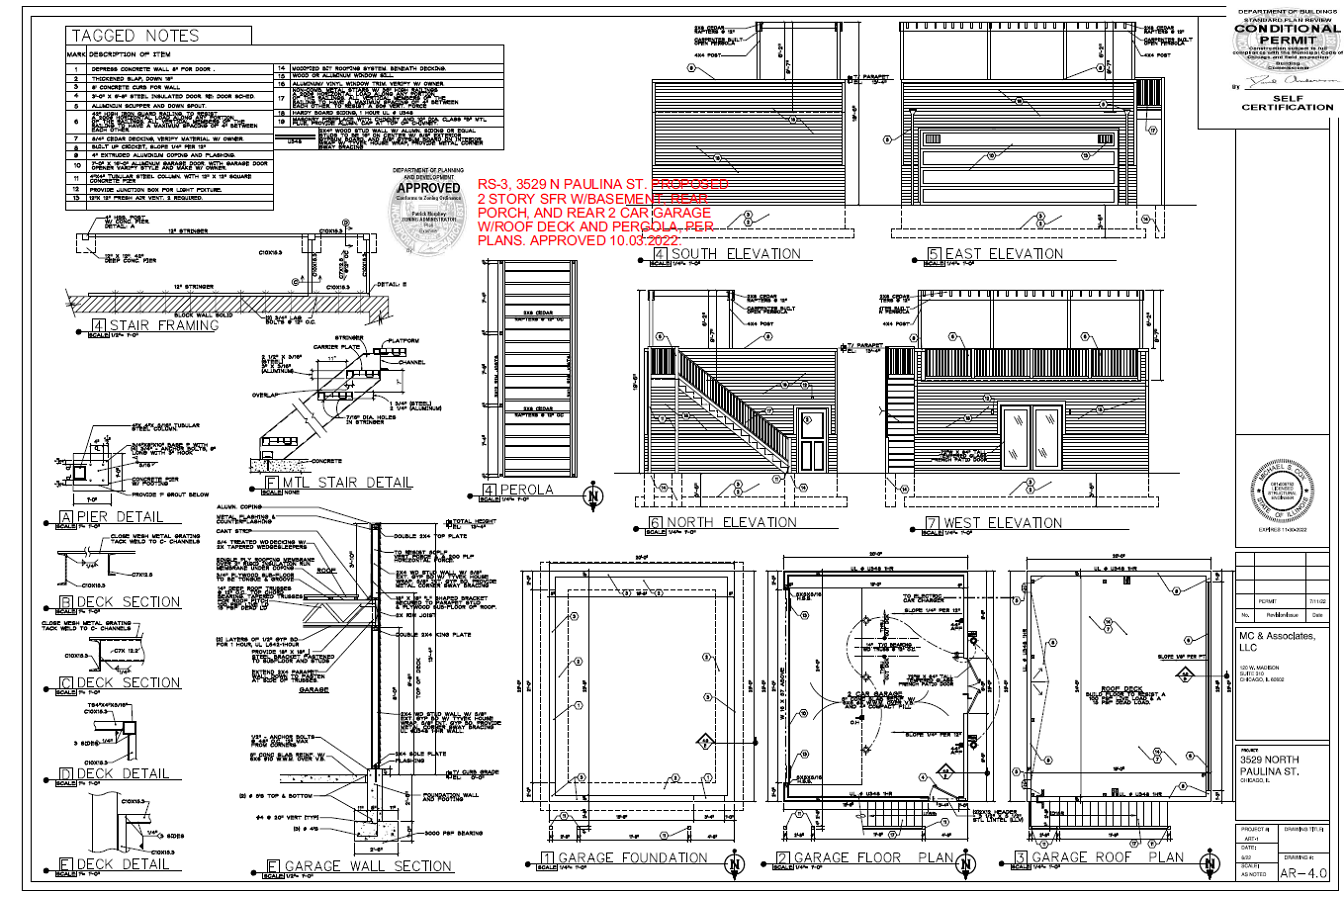
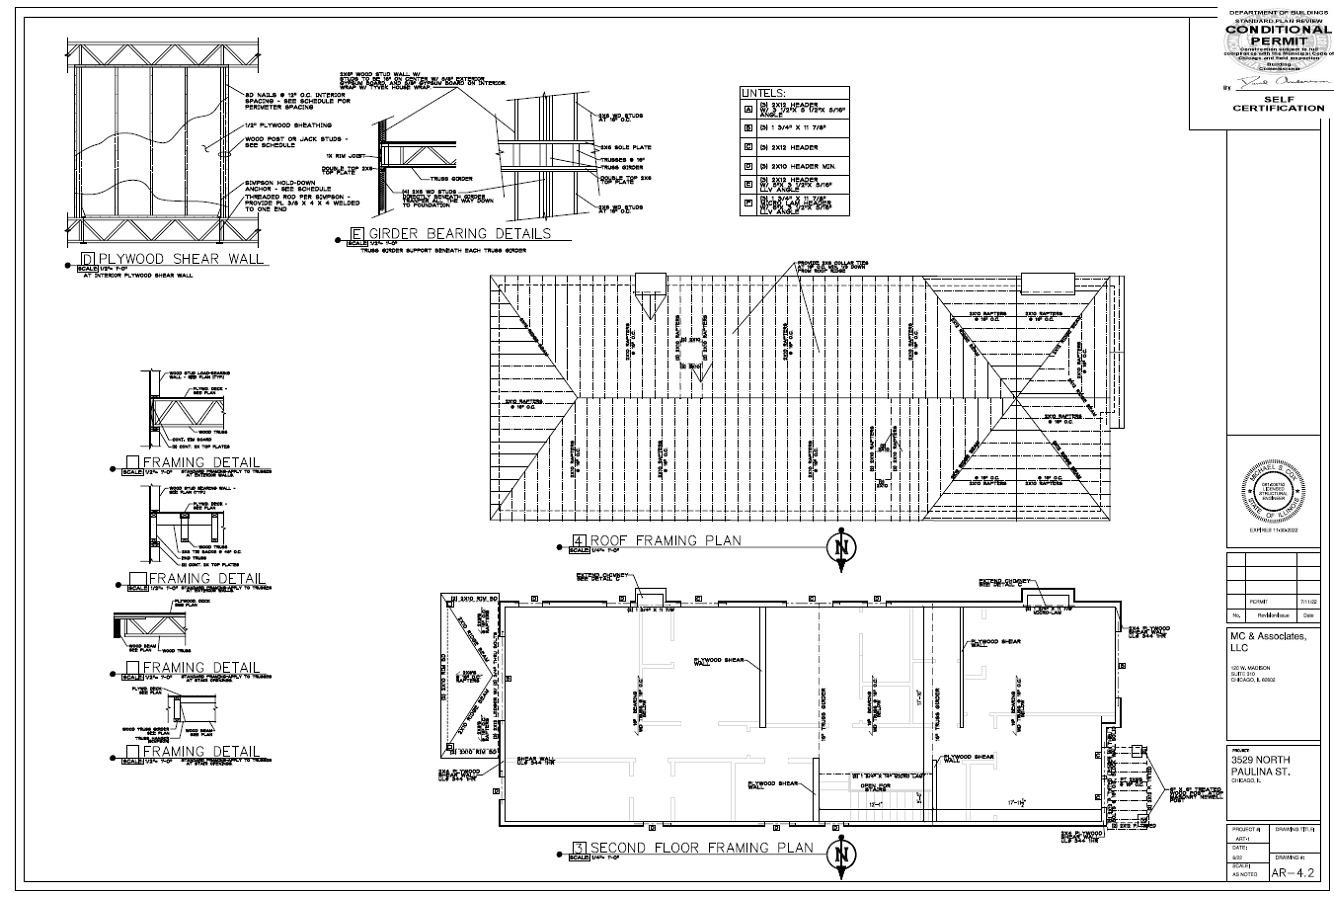
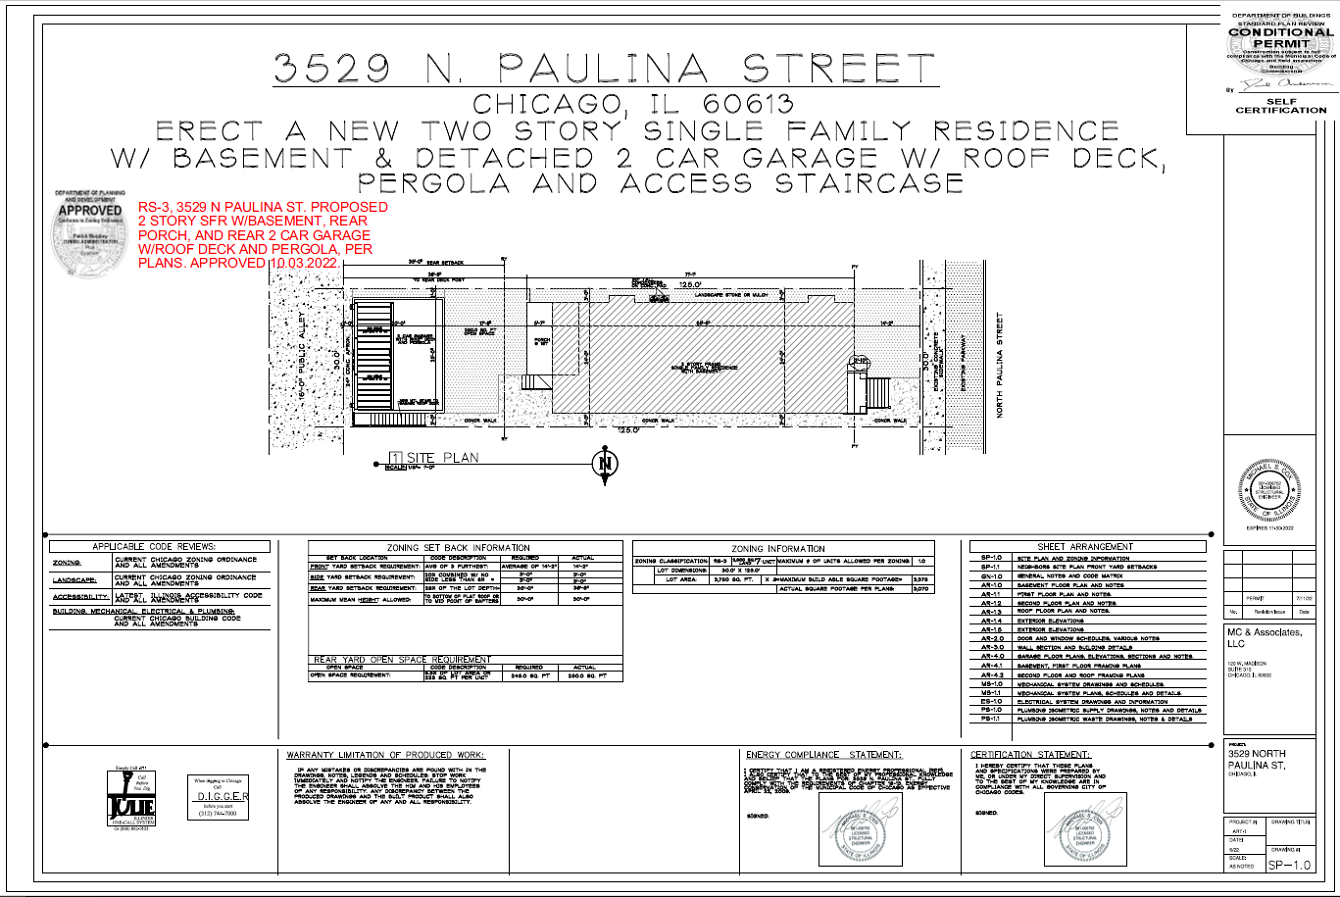
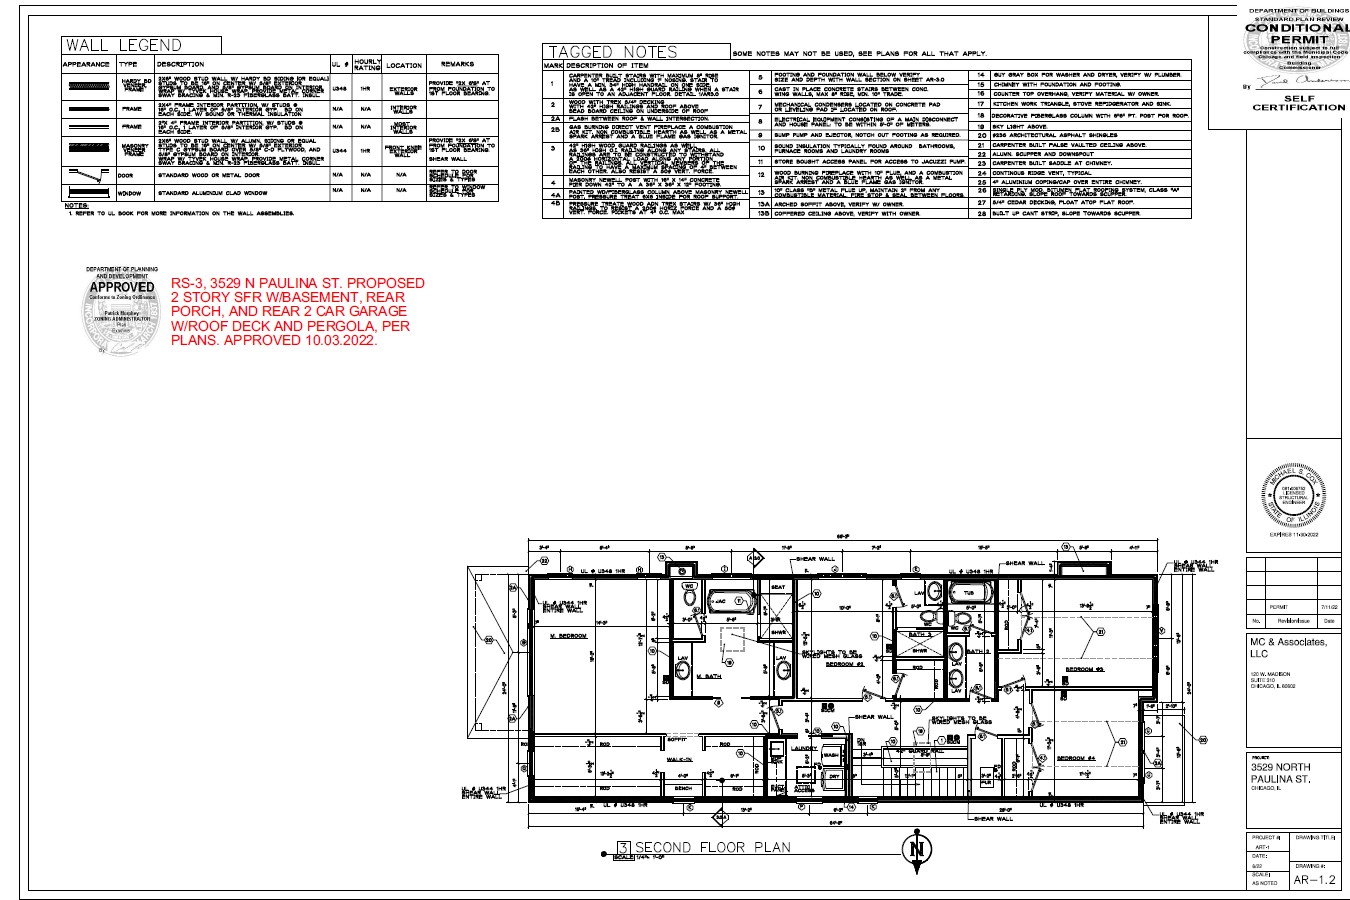
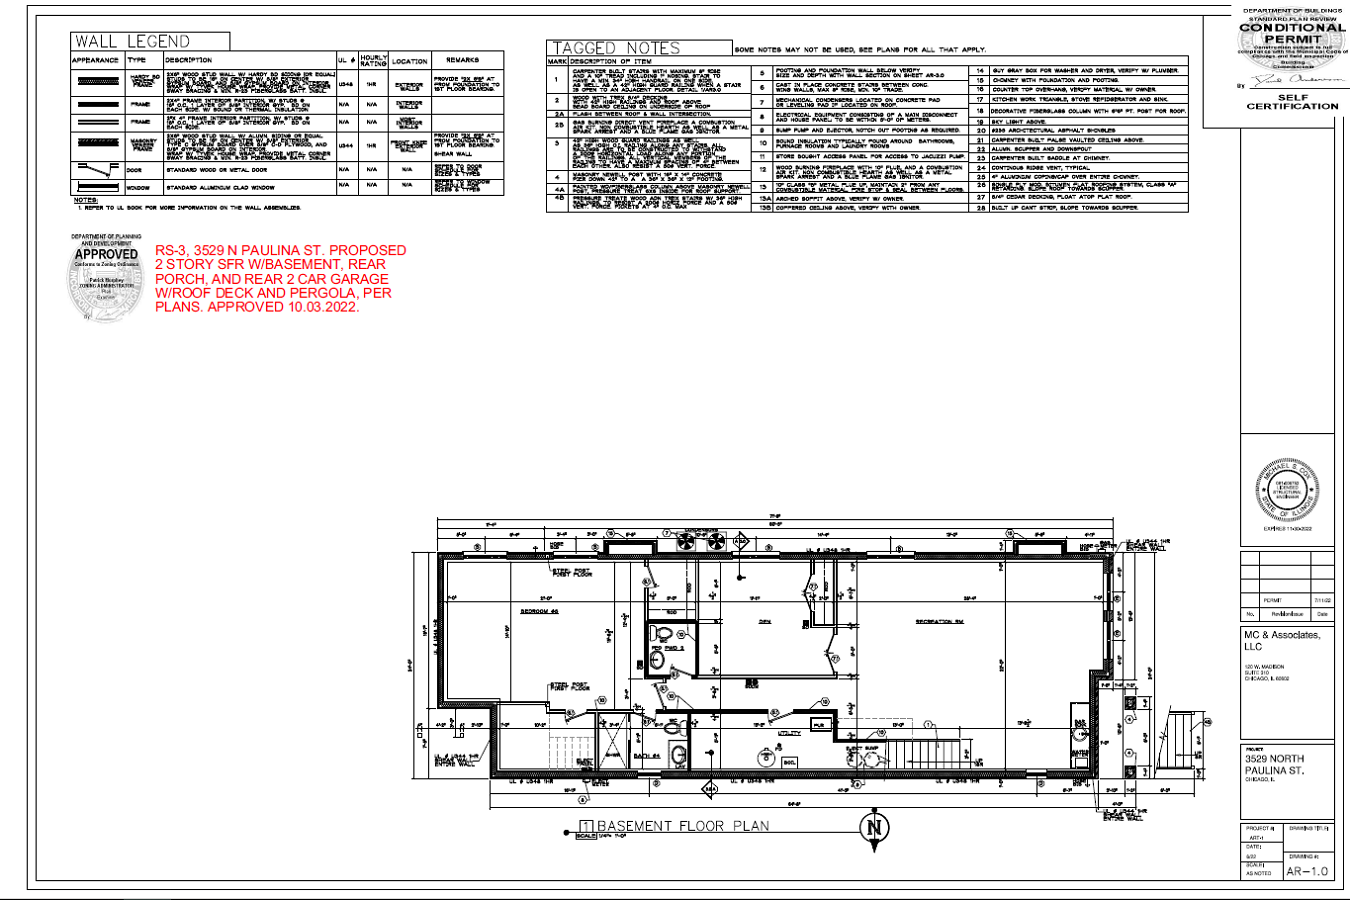
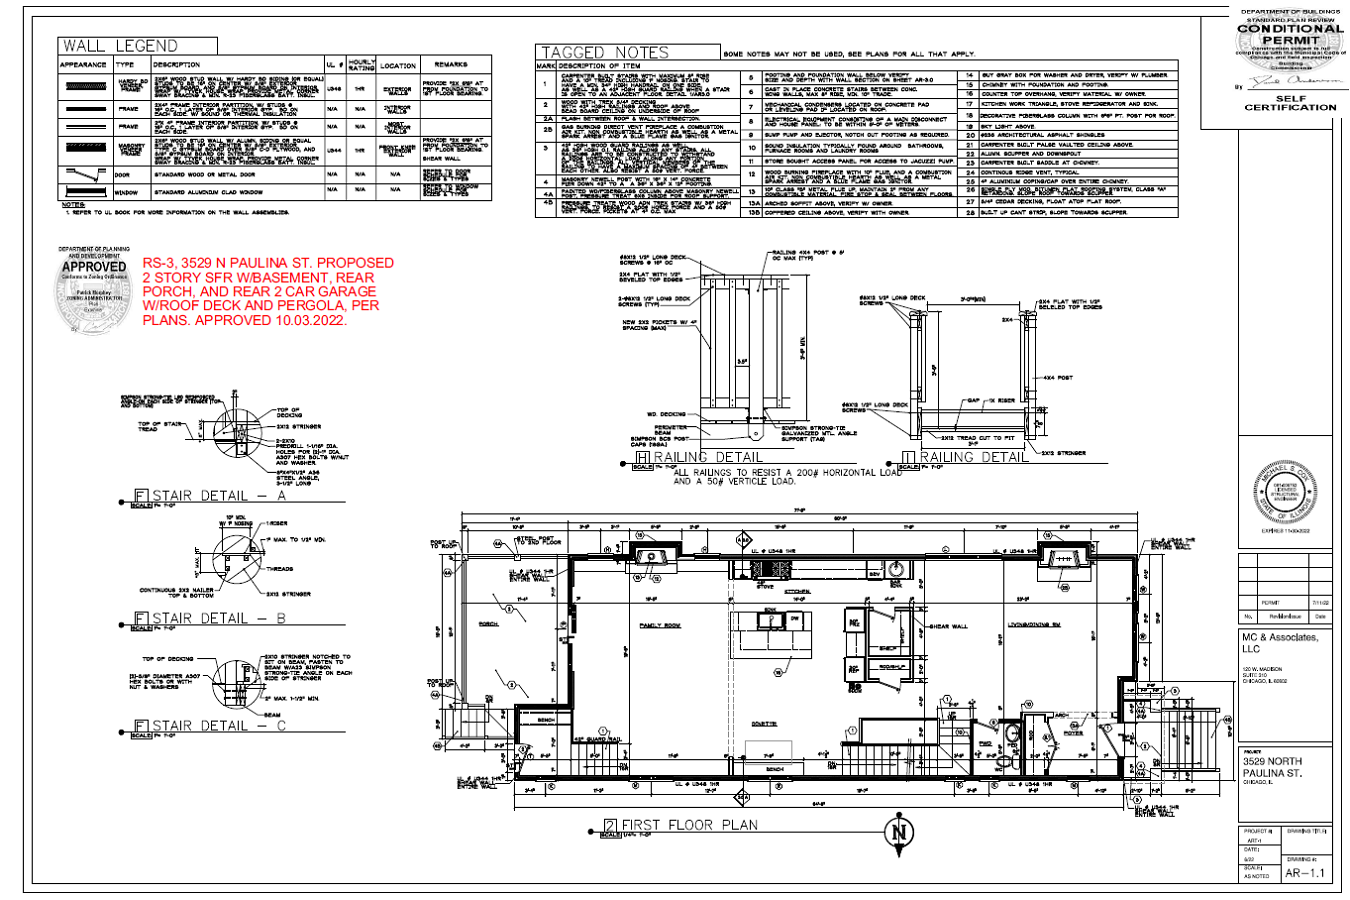
- drawings of the real estate;
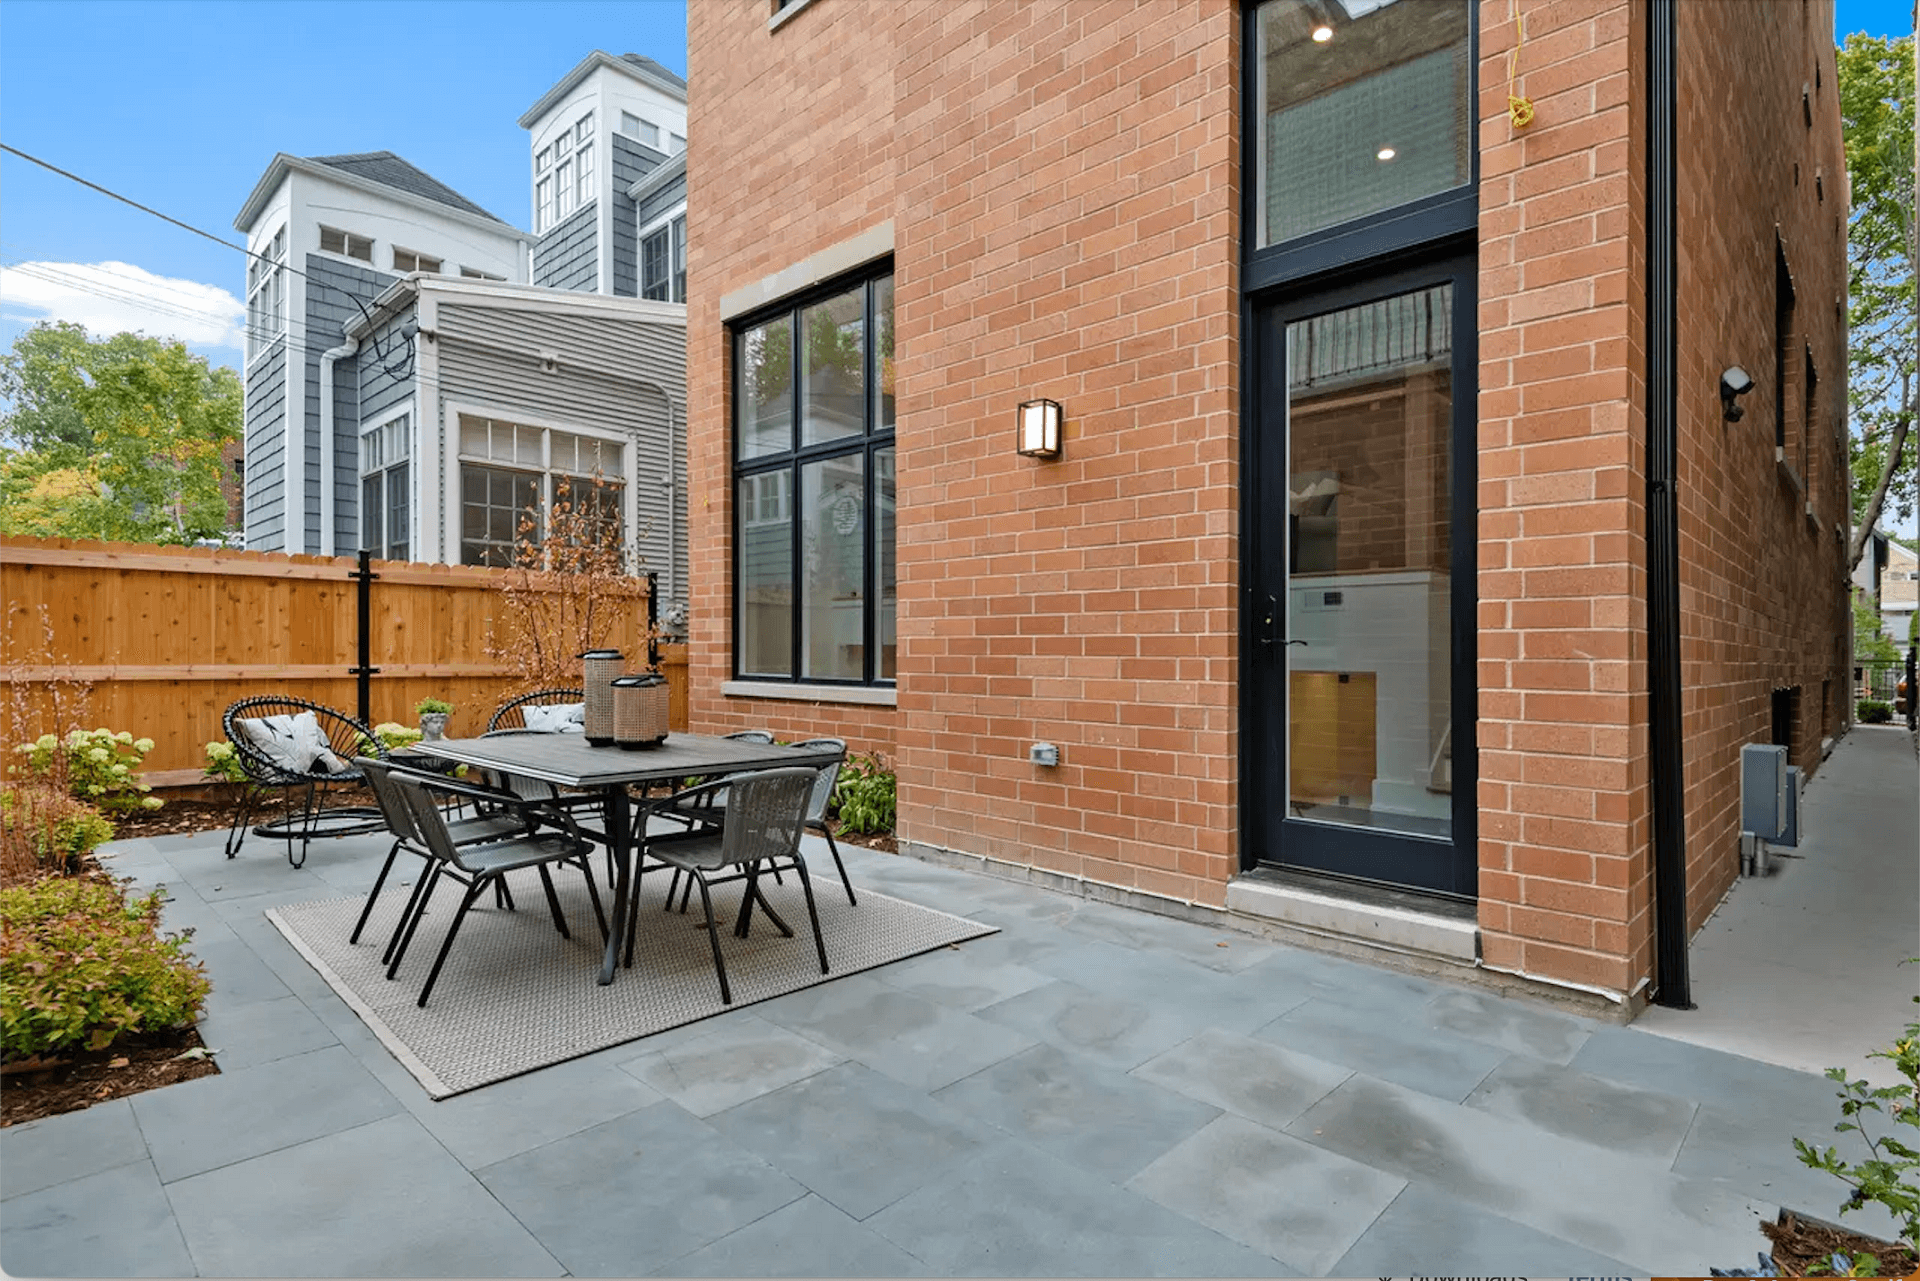
- photos of exterior finishes;
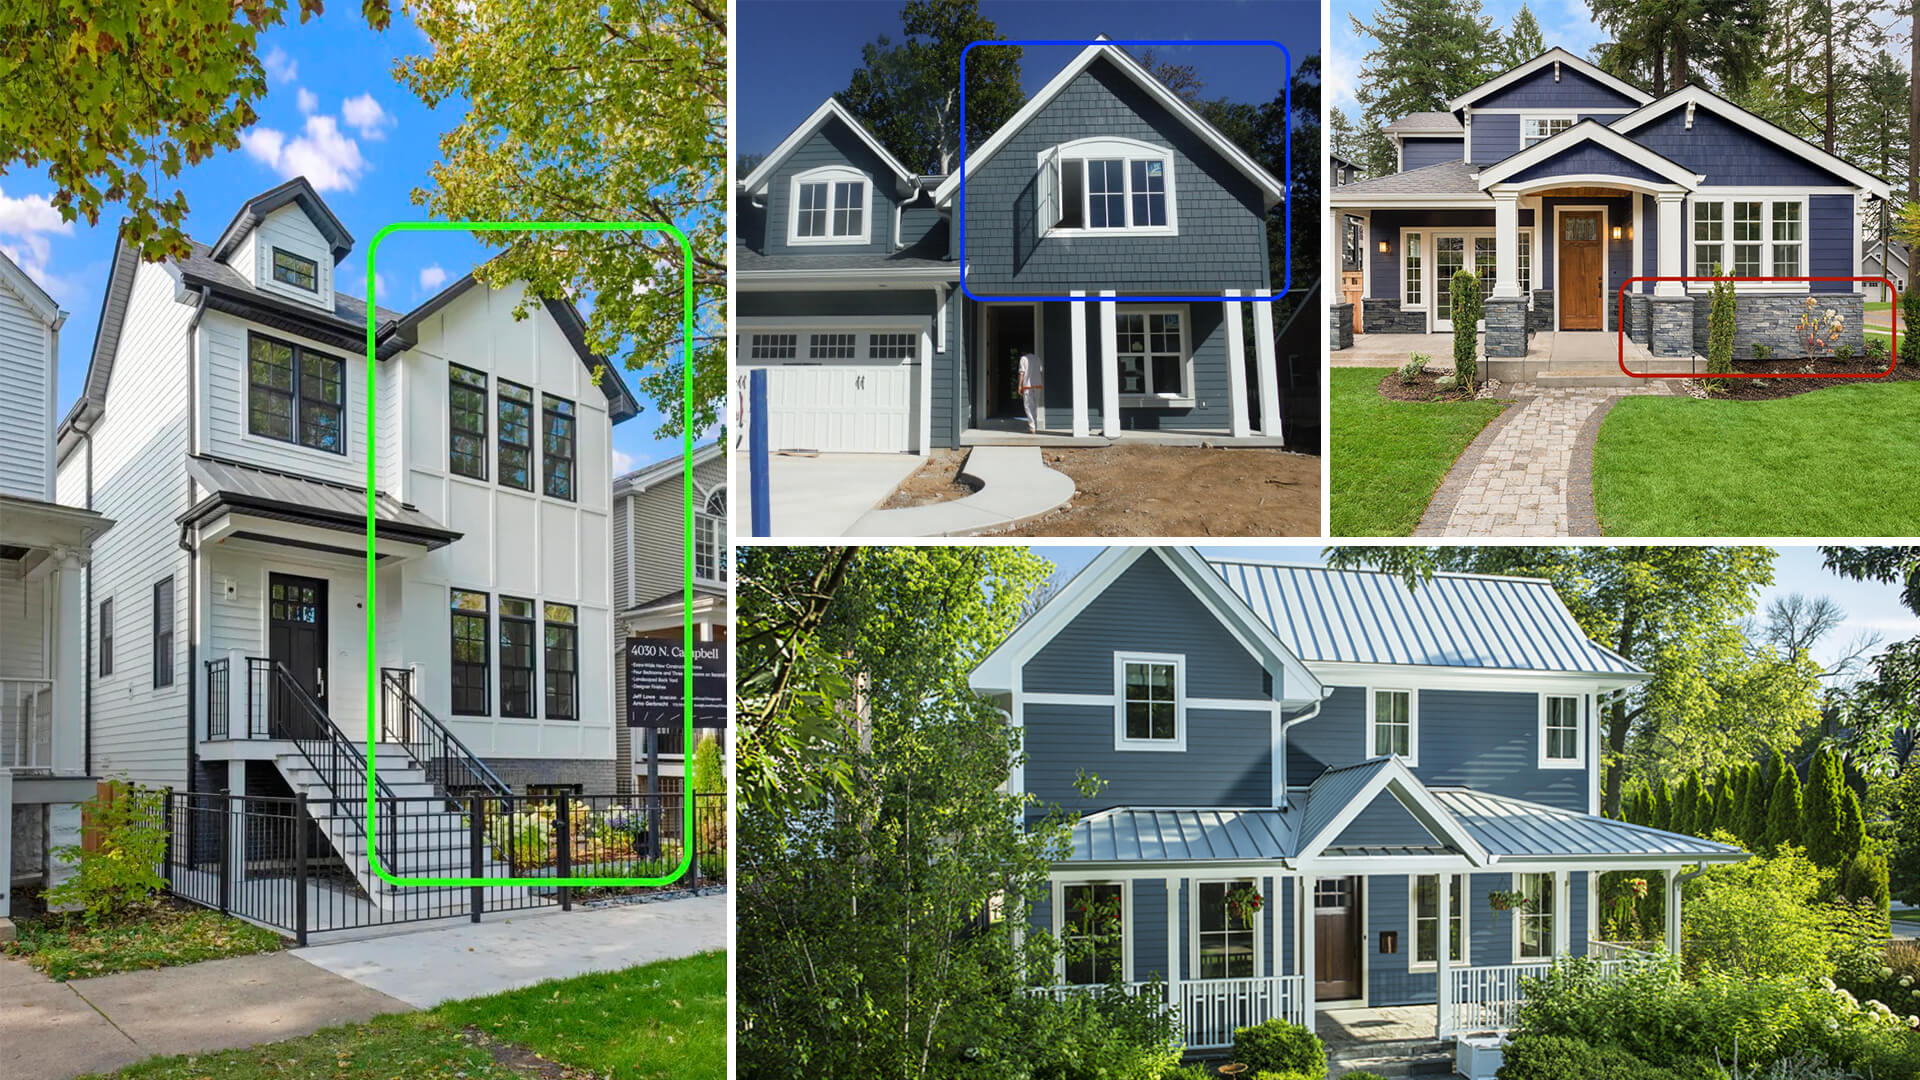
- backyard furniture and layout reference pictures;
- location of the future house on Google Maps.
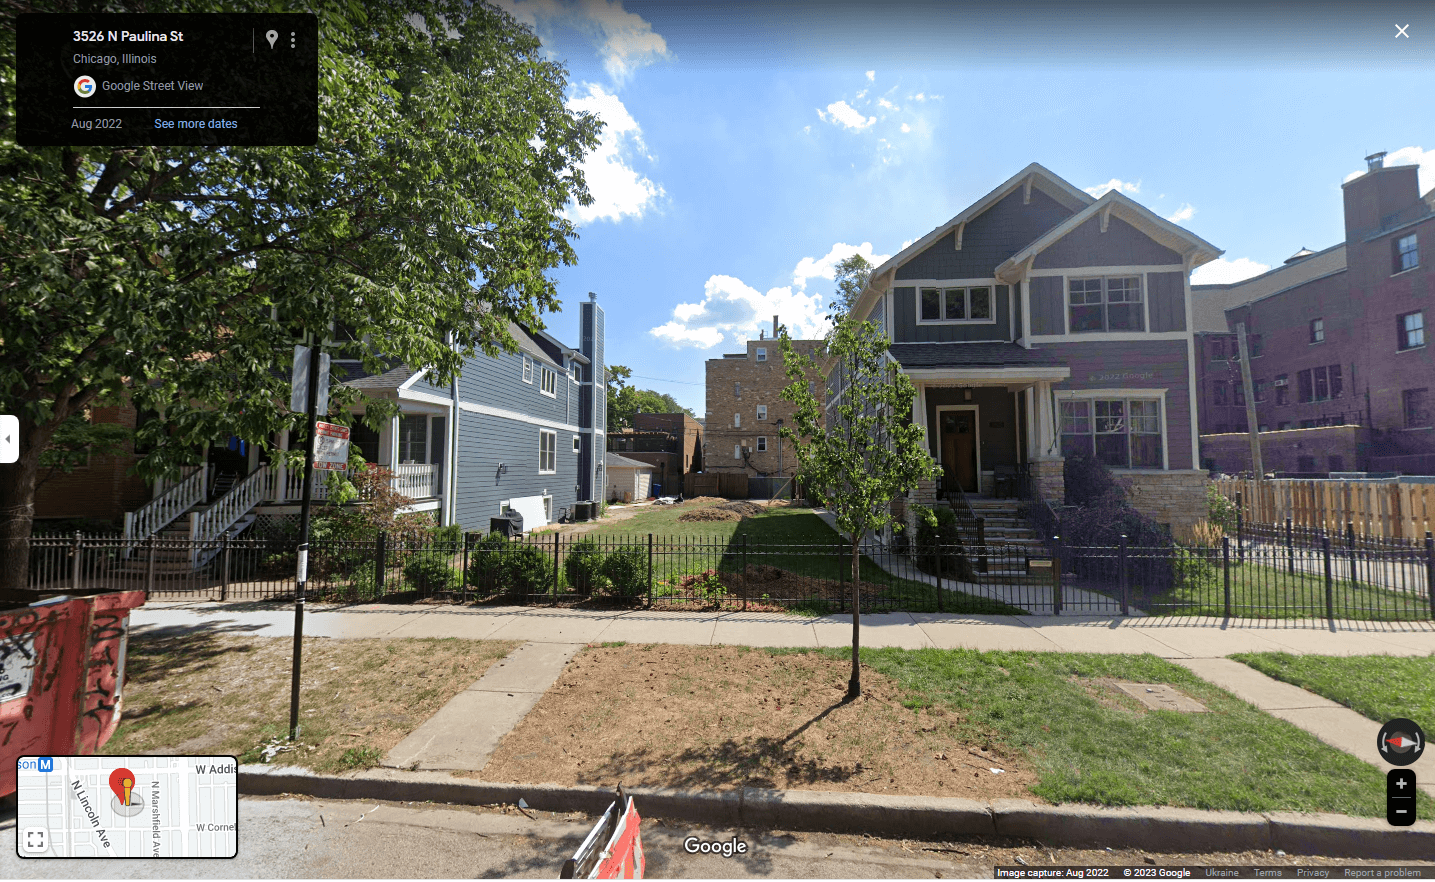
Having studied all the references thoroughly, we started the making of 3D real estate renderings.
#2.2 The Exterior CGI Creation Workflow
First, our artist built the exterior 3D rendering scene in 3ds Max. He depicted the house according to the drawings. Next, he recreated the surrounding buildings and plants based on Google location data as a reference. Then, he set the lighting and shadows in the scene. After that, the artist rendered the three required views.
Ensure your exterior design project leaves a lasting impression and takes your clients’ breath away with stunning visuals.
The next step was presenting these images to the client so that he could review the overall geometry, camera angles, and lighting.
Arthur said that everything was all right at this point. So our artist proceeded to make colored renderings. He applied all the textures and materials, rendered the images, and presented the result to Arthur.
The client asked us to make some corrections regarding the colors of architectural elements, the placement of plants, doors design, and the size of the area covered with patio pavers.
Our artist made all the necessary adjustments and showed the updated real estate renderings to Arthur. He was now absolutely happy with them. Here is one of the finalized images. Read to the end to see the rest!
And now, we’ll show you how we made interior 3D real estate renderings for this project.
#3. The Making of Interior CGI
We needed to create real estate renderings for four spaces: kitchen, living room, family room, and bathroom. Let’s take a look at the references we received for the task.
#3.1 The References for Interior CGI
The provided assignment included everything we needed. It consisted of:
- real estate floor plans;
- pictures from the developer’s past projects to show us the preferred interior style, color palette, lighting, and overall atmosphere;
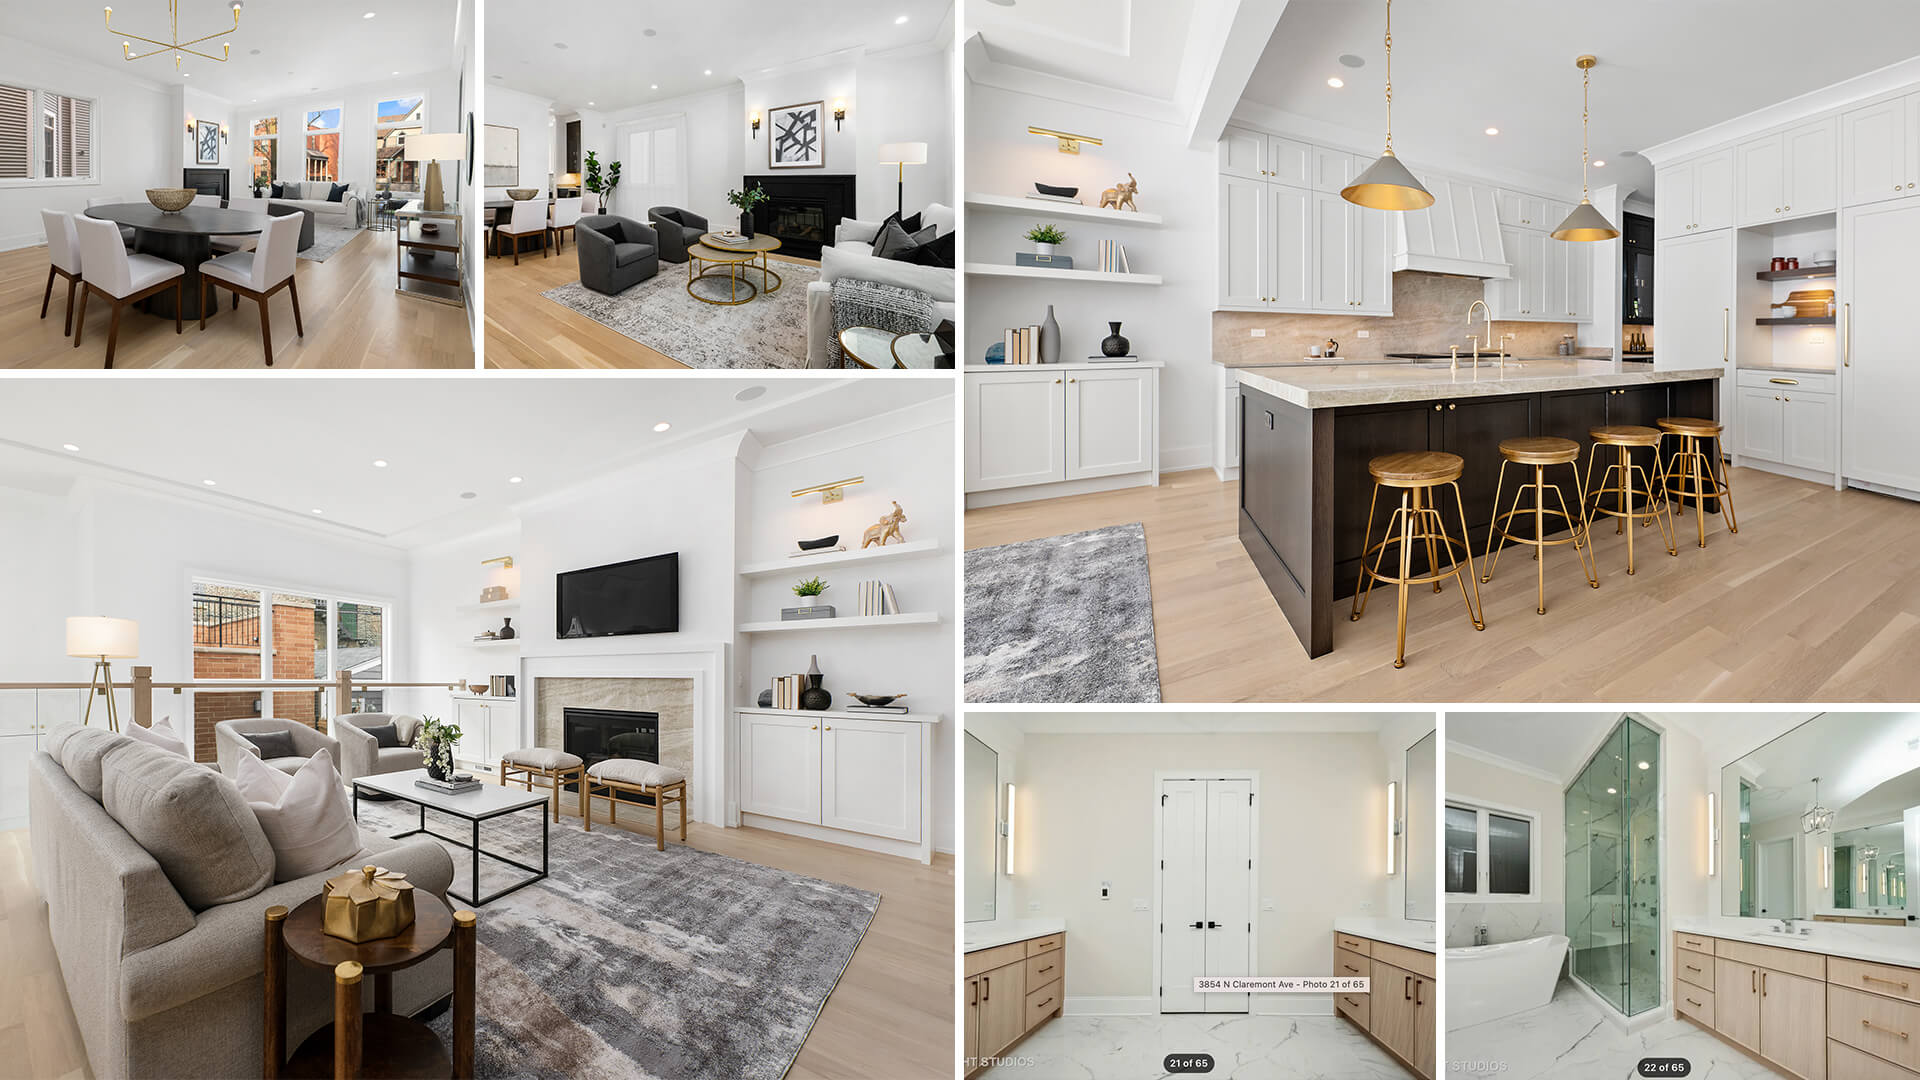
- design boards;
- separate references for the bathtub and shower head;

- separate references for bathroom materials.
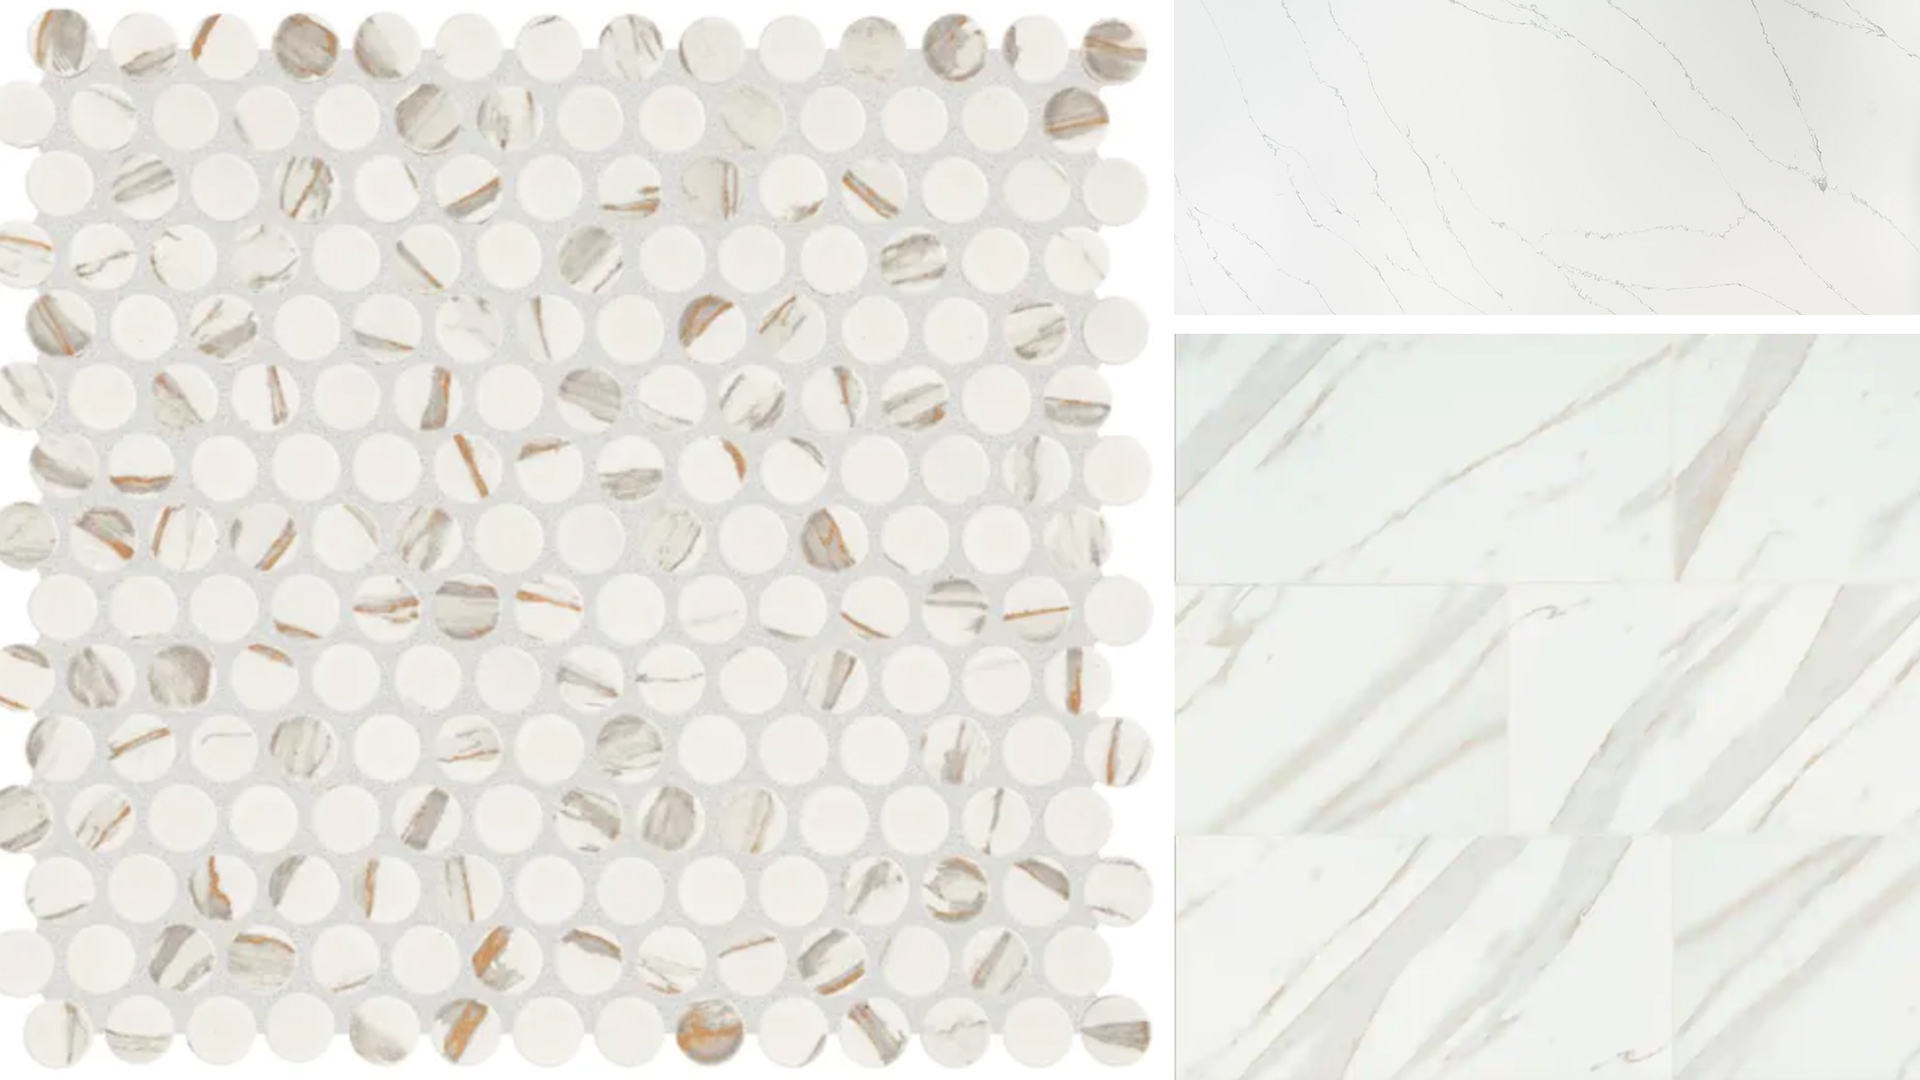
Our 3D artists reviewed all the files and got down to work.
#3.2 The Interior CGI Creation Workflow
First, the artists built the interior scenes in 3ds Max according to the floor plans. While doing that, they ensured that the views in the windows corresponded to the exterior images of the house. Then, the artists set the lighting, chose the camera angles (as the client left this aspect to their discretion), and rendered the grayscale images. Here they are.
Having checked the renderings, Arthur said that they were almost perfectly aligned with his vision. He only asked for a few minor tweaks on the placement of equipment in the kitchen as well as the number and type of light fixtures in the living room. We did that and proceeded straight to create colored renderings.
Next, the 3D artists applied the textures and did the rendering. Then, the results of real estate 3D interior design services were ready for revision.
Arthur had several comments on the renderings. He asked us to add a wall-mounted shower in the bathroom, tweak the colors and materials of some design elements in the kitchen and bathroom, and replace the dining chairs and bar stools with the ones he suggested.
Take your design presentation to a new level with interior rendering
Our artists introduced all the requested adjustments and presented the results to Arthur. This time, he approved the images without any further comments.
Here is one of the finalized real estate interior 3D renderings.
Keep on reading to view all the results!
Now, we’ll tell you about the last stage of this project, which was creating 3D floor plans.
#4. The Making of 3D Real Estate Floor Plans
Arthur didn’t initially plan to order 3D floor plan visualization. But when our client manager introduced this service to him, our client was impressed and decided to get this type of realistic CGI for all three floors of the property. Here’s how we made them.
#4.1 The References for Real Estate Floor Plans
For this task, we had:
- 2D floor plans of every floor of the house;
- interior scenes made by us in the previous stage (the artist used 3D models from them for the corresponding spaces in the floor plans);
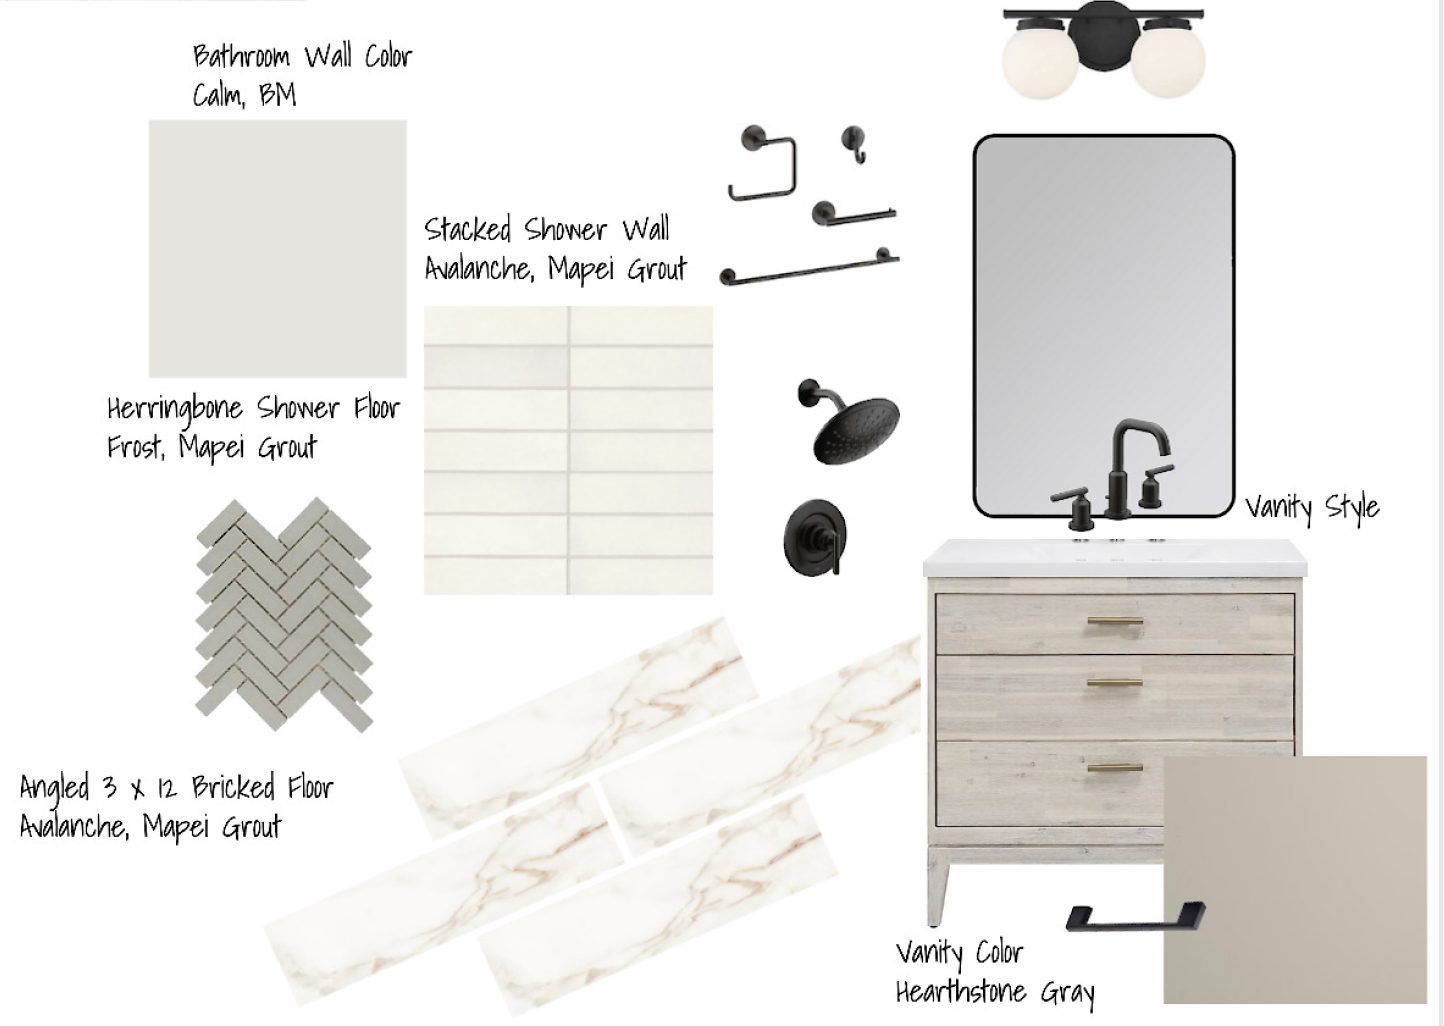
- design board for the basement bathroom interior;
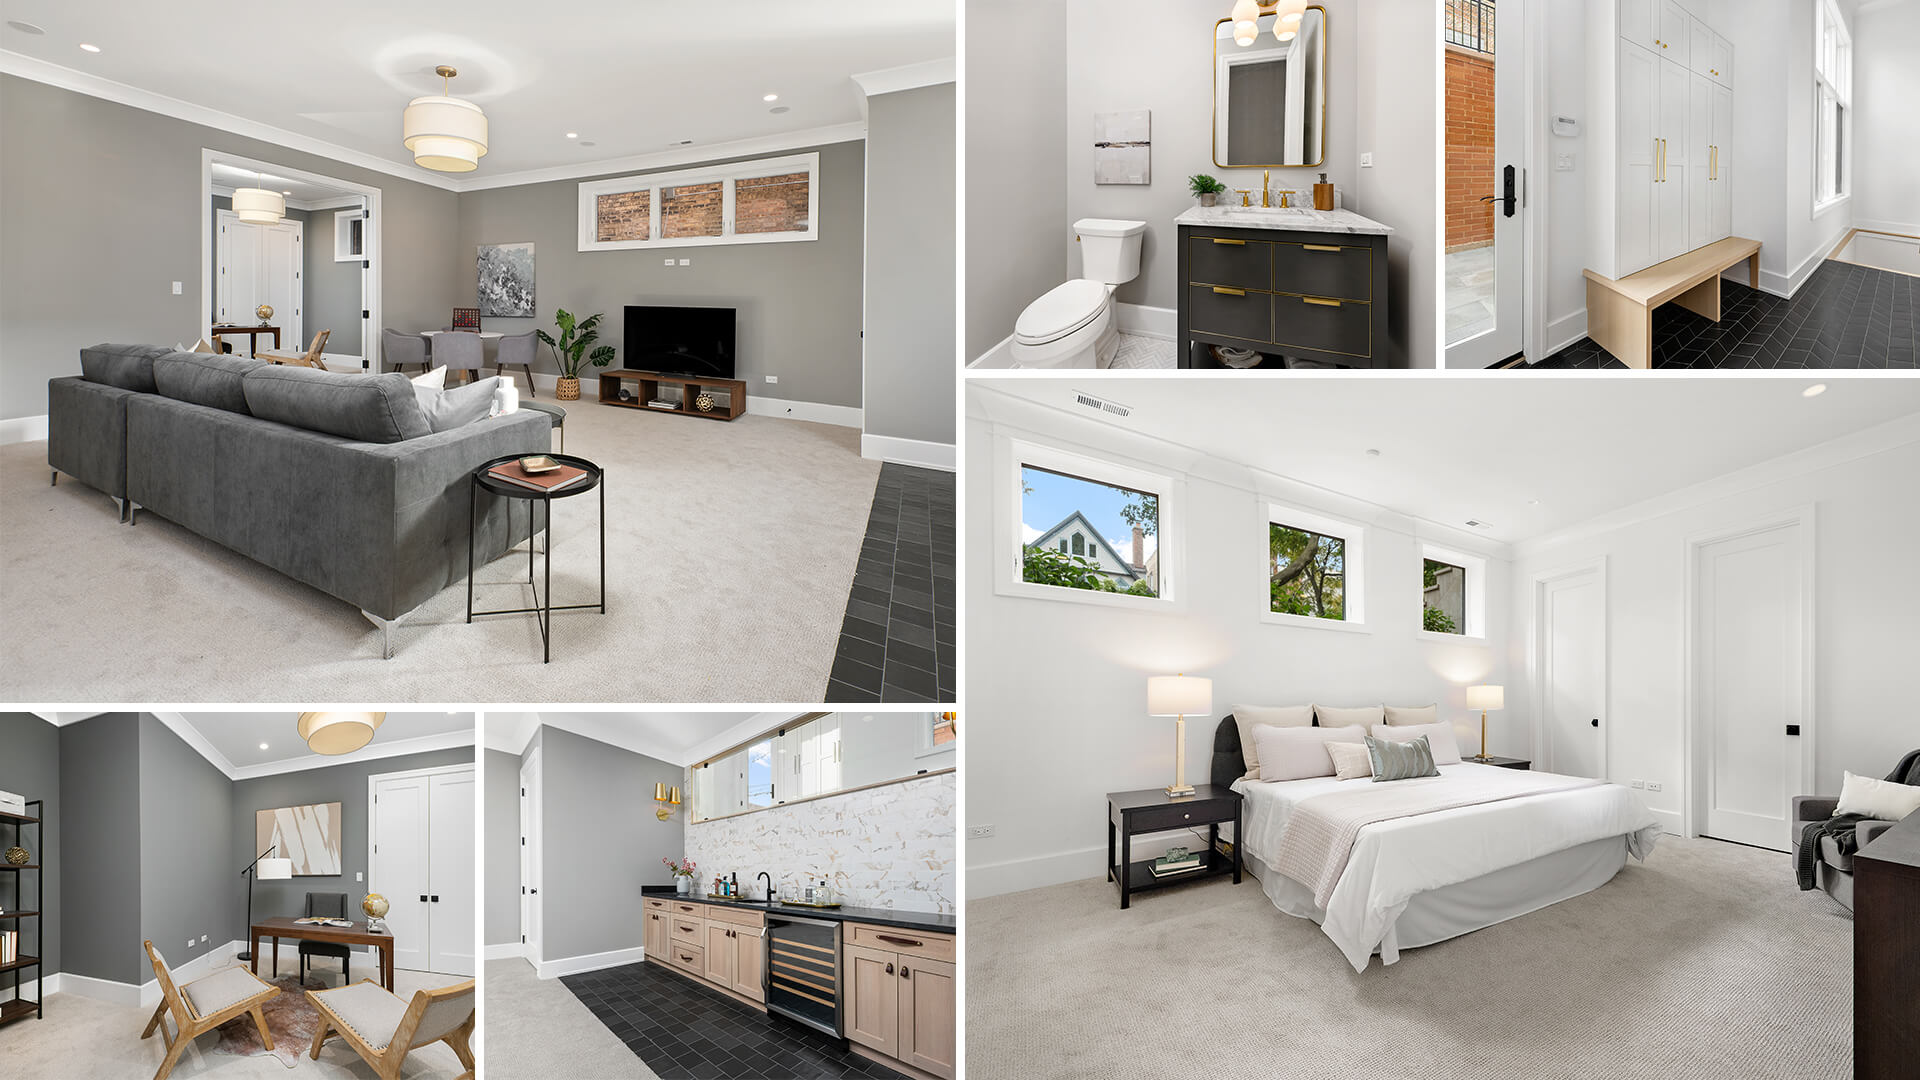
- photo references for the design of the basement-level spaces.
#4.2 The 3D Floor Plans Creation Workflow
First, our 3D artist built the scenes in 3ds Max and filled them with 3D models of furniture and decor. Then, she rendered 6 grayscale images, which included each floor’s top and 3/4 angle view. We decided to provide Arthur with these two popular options so that he could choose the one that suited him best.
Having reviewed the result, our client said that he liked top-view real estate renderings more and that we should proceed with them. Also, he had some minor comments on the positioning of dining furniture and handrails of the stairs on the first floor.
Our artist took into account all the feedback and soon delivered the updated 3D real estate renderings. Here they are.
Arthur reviewed the renderings and asked us to make a few adjustments regarding the position of certain architectural elements, the type of floor coverings, and the interior design of the bathroom in the basement. Our artist introduced all the requested adjustments. After that, she added the names of the floor and the project on each rendering to make them more effective as real estate marketing materials.
The next step was showing the result to Arthur. He approved all the plans right away. Here is one of them.
Now, you’re only a few sentences away from seeing all the renderings we made within this project!
#5. The Finalized 3D Real Estate CGI and Its Marketing Usage
Let’s take a look at all the renders we created to showcase this beautiful house in Chicago most impressively. Here are the exterior images.
And below, you can see interior 3D renderings for the real estate.
Finally, here are three captioned 3D floor plans we made.
How do you like these 3D real estate renderings? Our client appreciated the results. Now, this CGI is used on the Pero Hess Custom Homes website to captivate potential buyers.
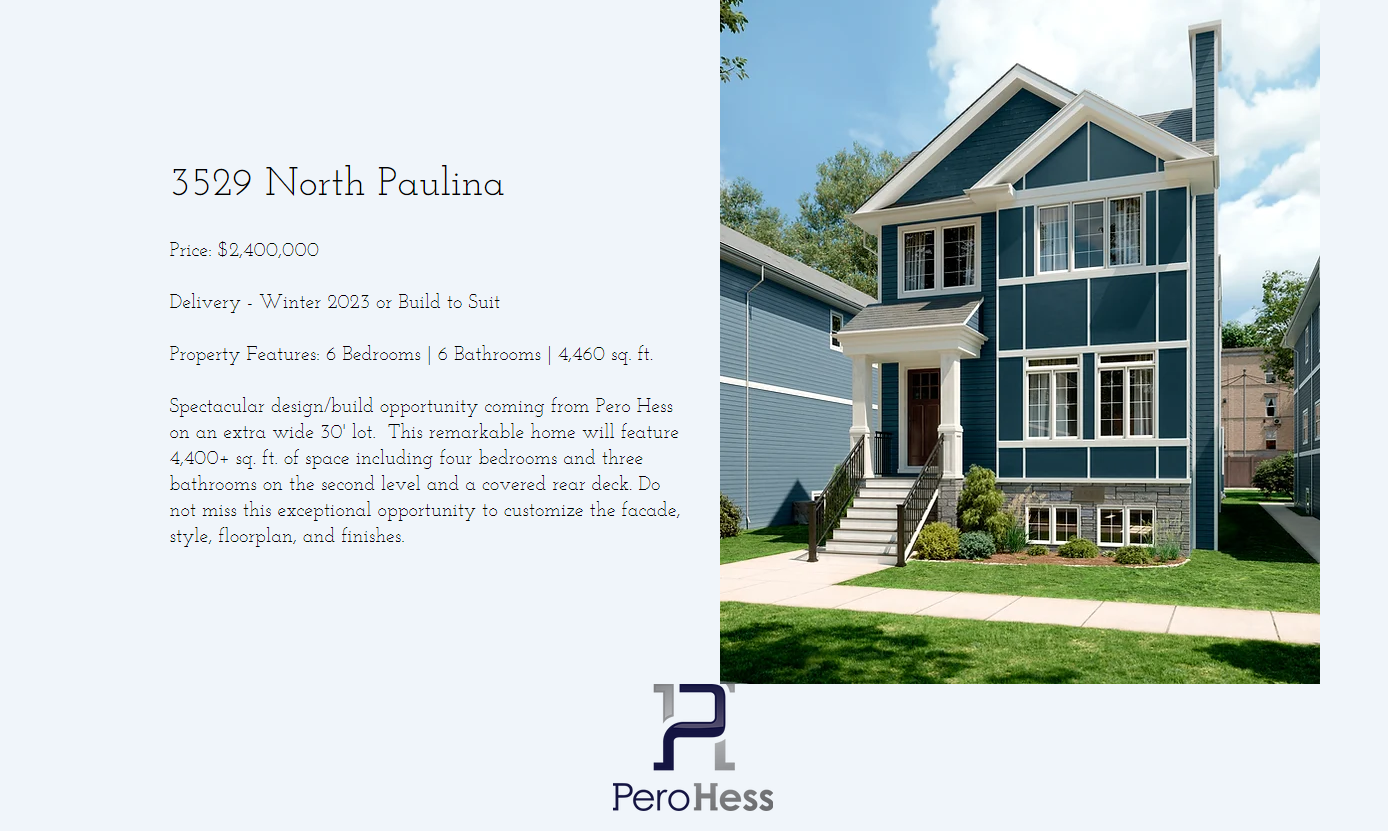
You can also find the CG images in the listing on Compass real estate agency’s website.
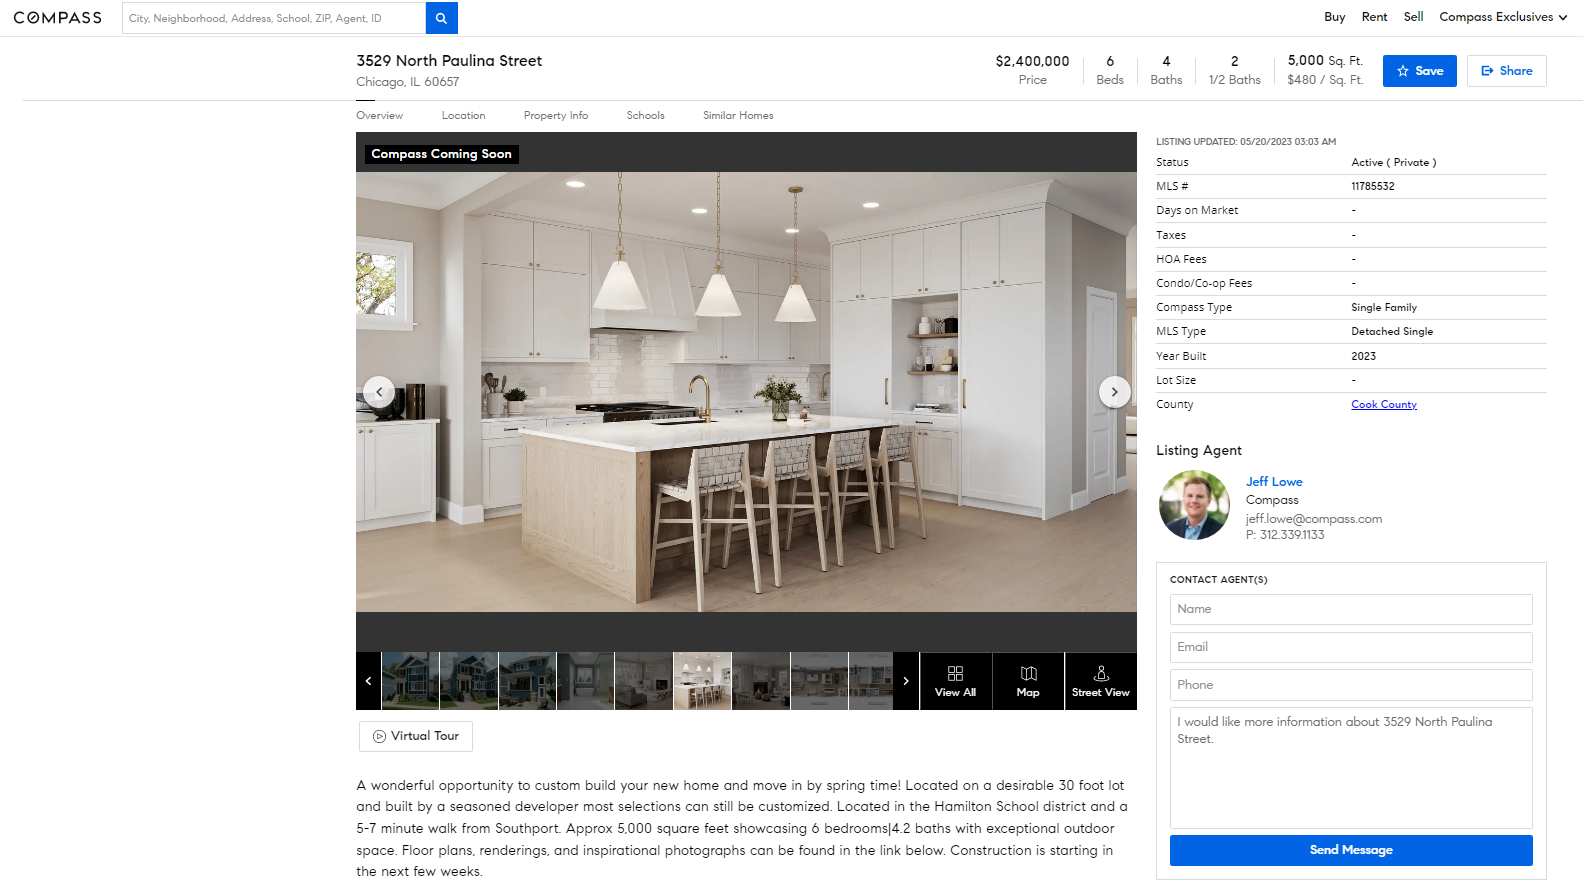
As you can see, the renderings serve as a perfect addition to the text description, elevating the overall appeal and informativity of the listing. And all that — before the house is even built!
#6. The Making of Exterior 3D Renderings with an Alternative Color Option for a Potential Buyer
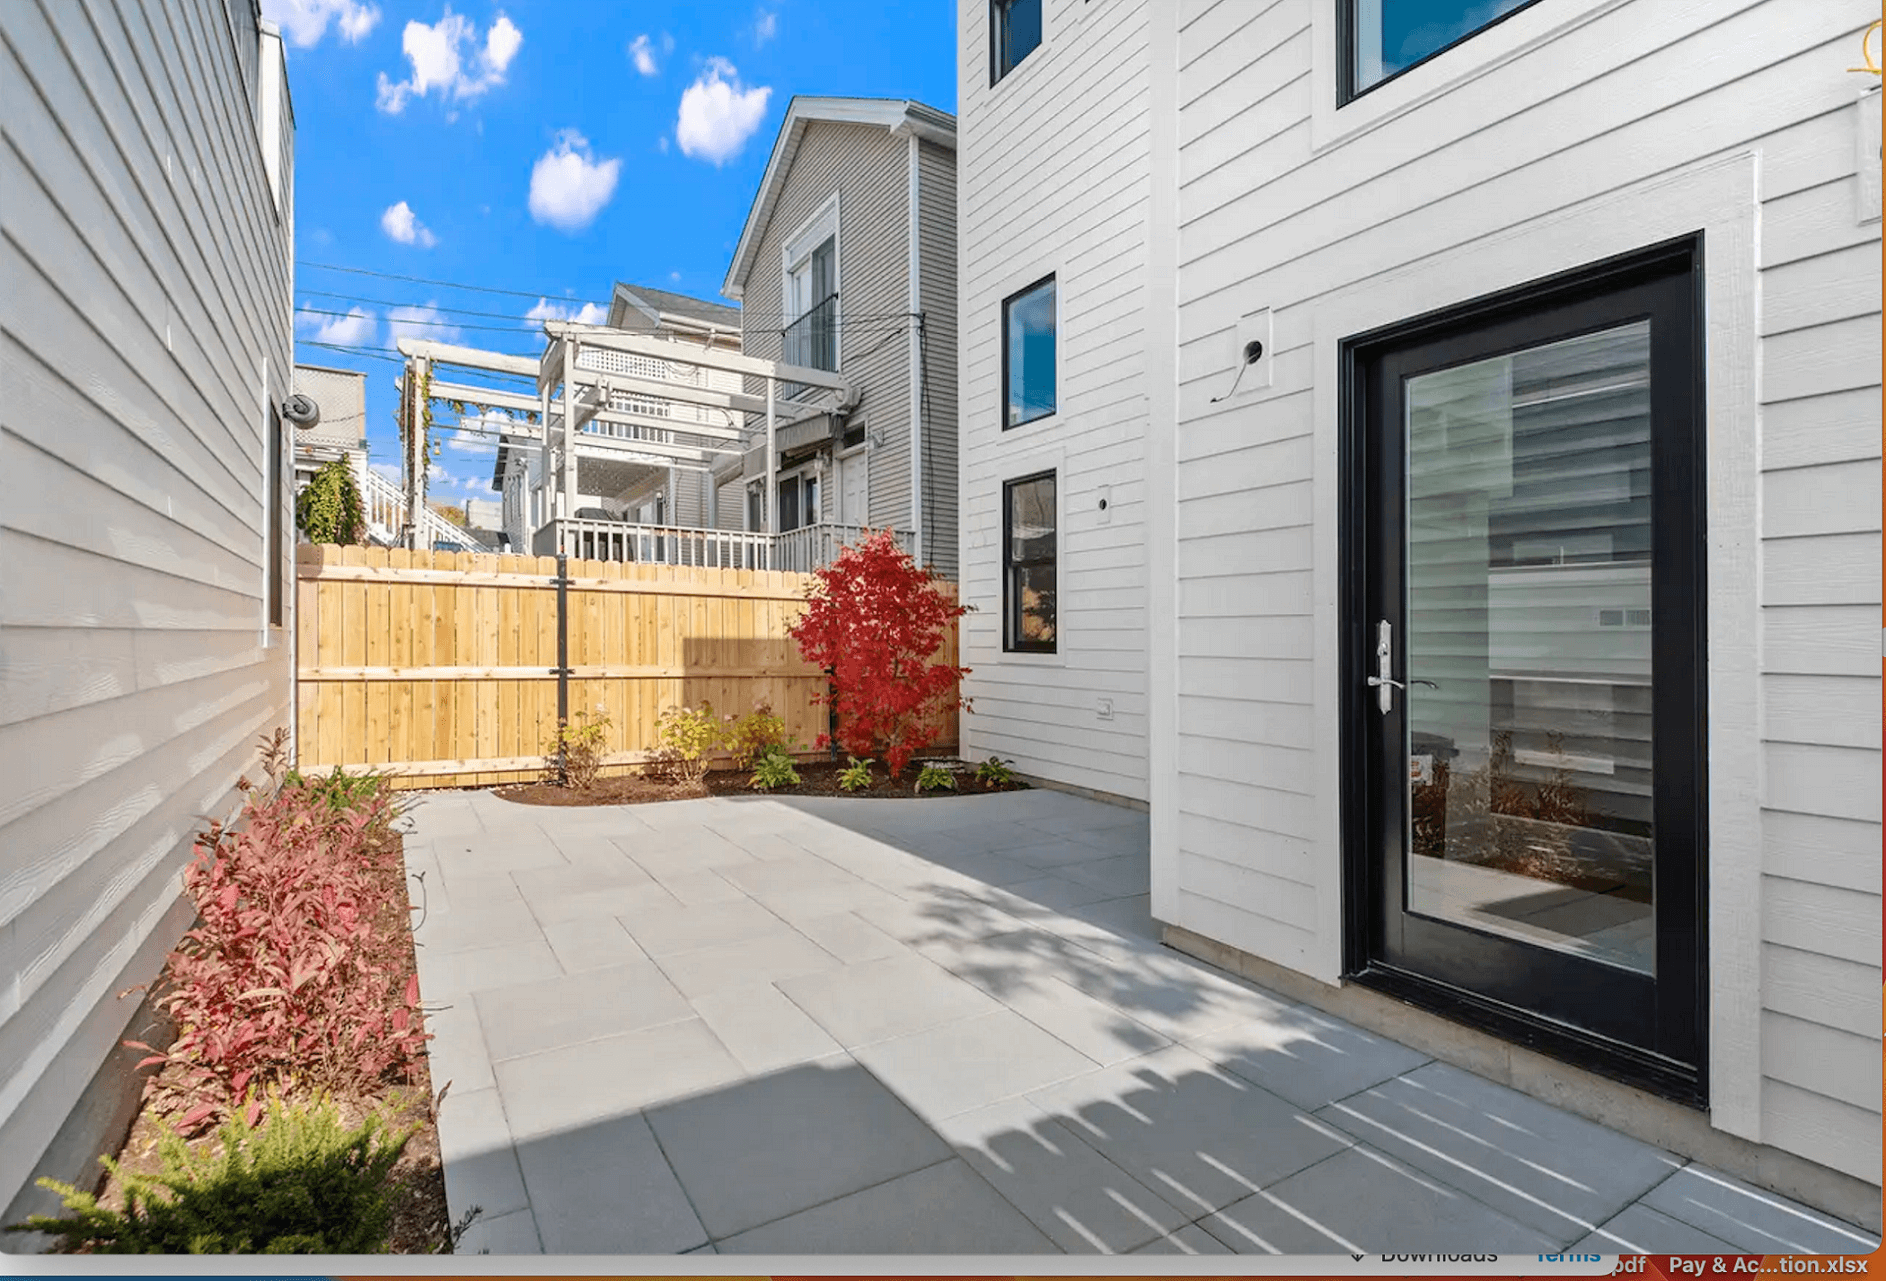
The results of a marketing campaign with photorealistic CGI were not long in coming. Only a few weeks after Arthur shared the renderings online, he got a query from a potential buyer. They liked the design but wanted to see how it would look with different exterior colors. Specifically, they wished to see the house with white siding, gray trim, and black windows and doors. Arthtur asked us to make 3D real estate renderings with this new color scheme. Of course, we were happy to help.
Arthur sent us visual references for each material, and our 3D artist immediately got to work. The next day, he presented the results you see below.
Our client approved the 3D renderings right away without any further comments. We hope they will help him sell this beautiful property.
The ArchiCGI team is grateful to Arthur Pero for entrusting this project to us and for the chance to write this case study. We are looking forward to further fruitful collaborations with Pero Hess Custom Homes!
Want to learn how much your project costs? See how we evaluate 3D rendering projects
Looking for bespoke real estate promotional visuals that align with your ideal client’s taste? Reach out to ArchiCGI for expert CGI services. We’ll carefully analyze your brief and target audience to provide CGI that best suits your goals!

Catherine Paul
Content Writer, Editor at ArchiCGI
Catherine is a content writer and editor. In her articles, she explains how CGI is transforming the world of architecture and design. Outside of office, she enjoys yoga, travelling, and watching horrors.


