

Exterior House Rendering for a Chalet in Switzerland
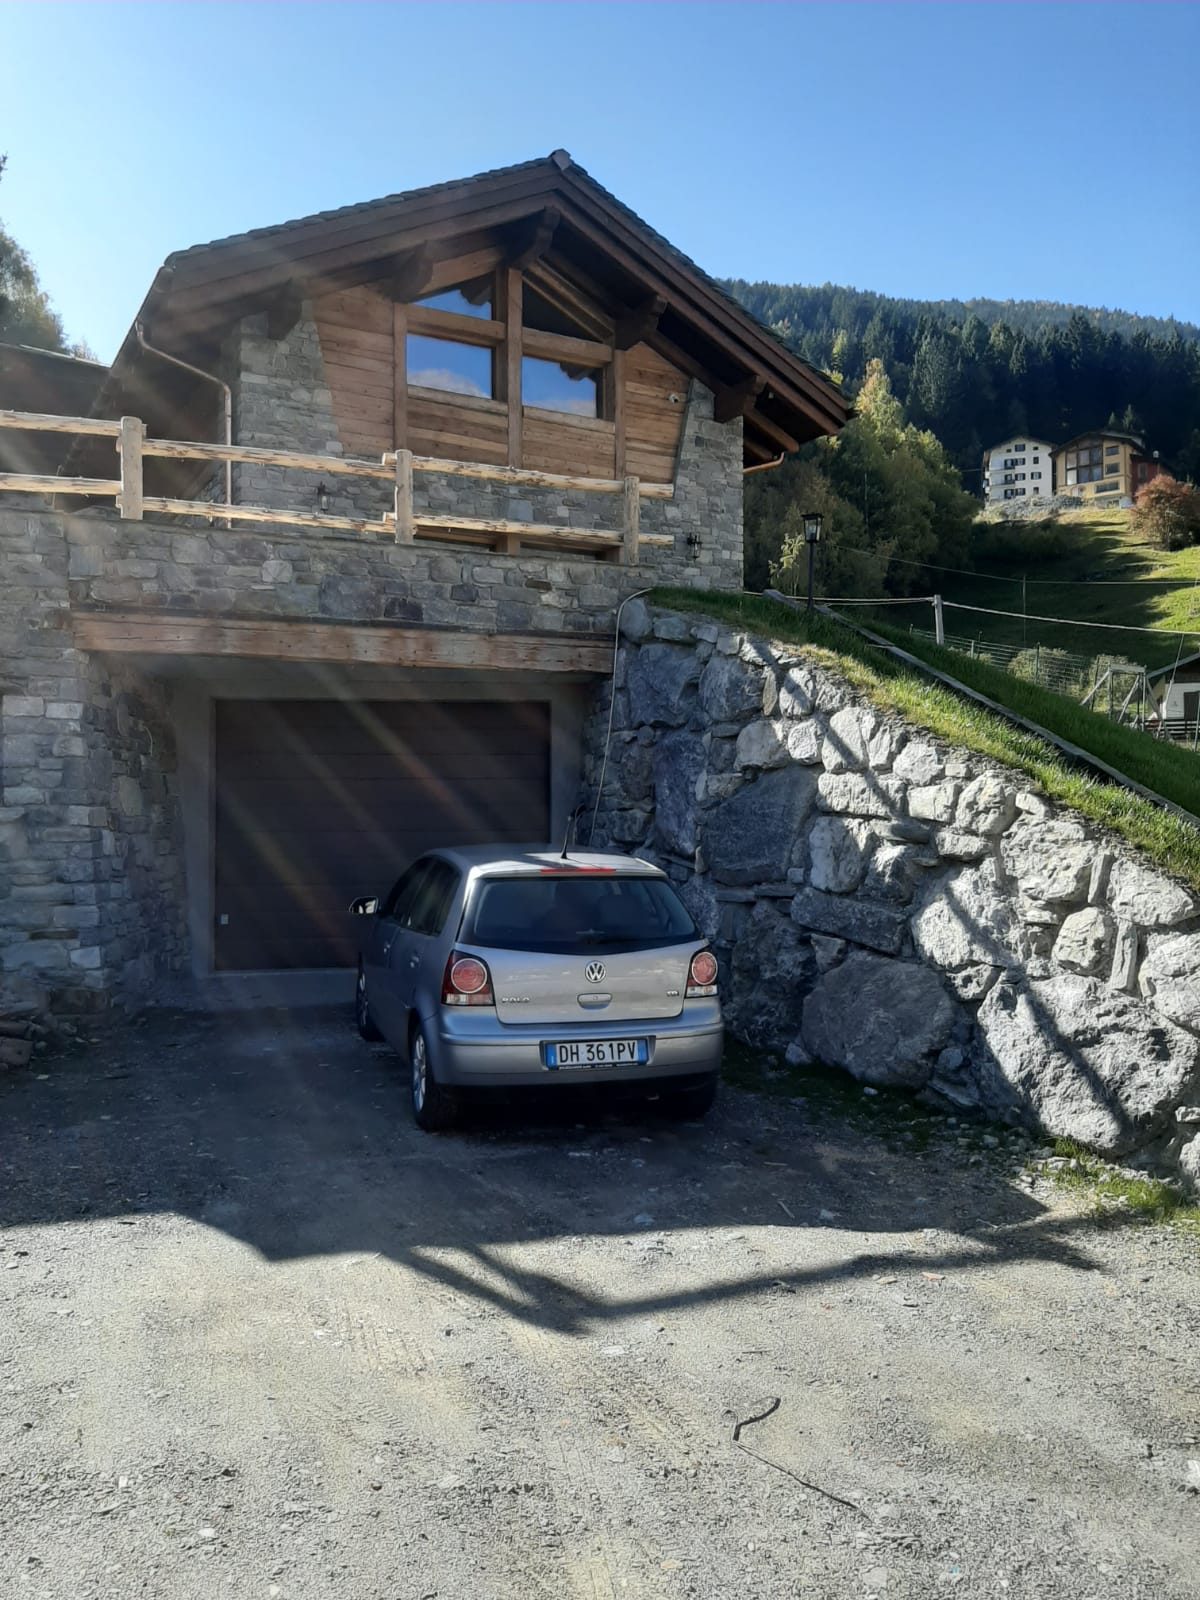
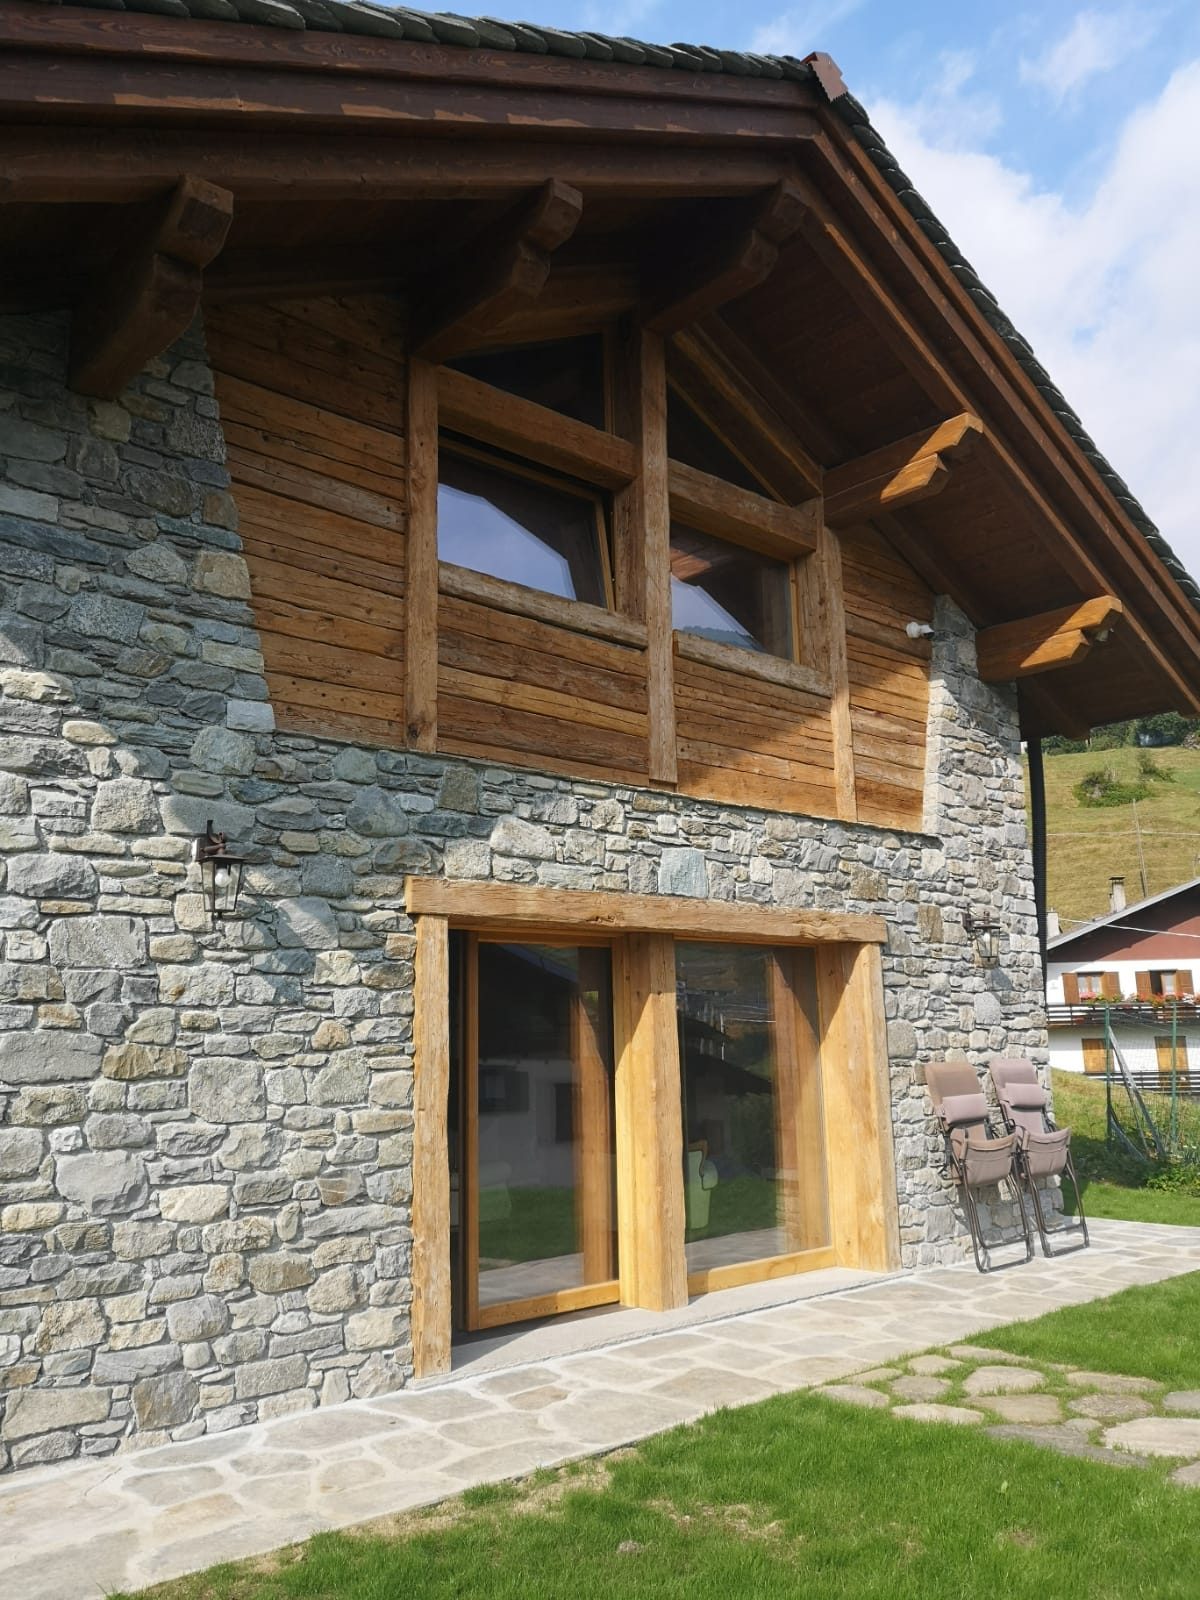
This exterior house rendering is quite special for us. The project was designed by a fantastic architect Lara Cadringher, and we created CGI for it in 2016. And in 2020, Lara emailed us that the chalet was ready! She even included a few photos, in which we recognized the cozy residence.
We are very grateful that the architect thought about us and let us know about the project update. It’s always a pleasure to hear from friends, and the 3D artist who worked on this chalet exterior was simply overjoyed. Below you see pics of the charming chalet that Lara sent us.
The Task
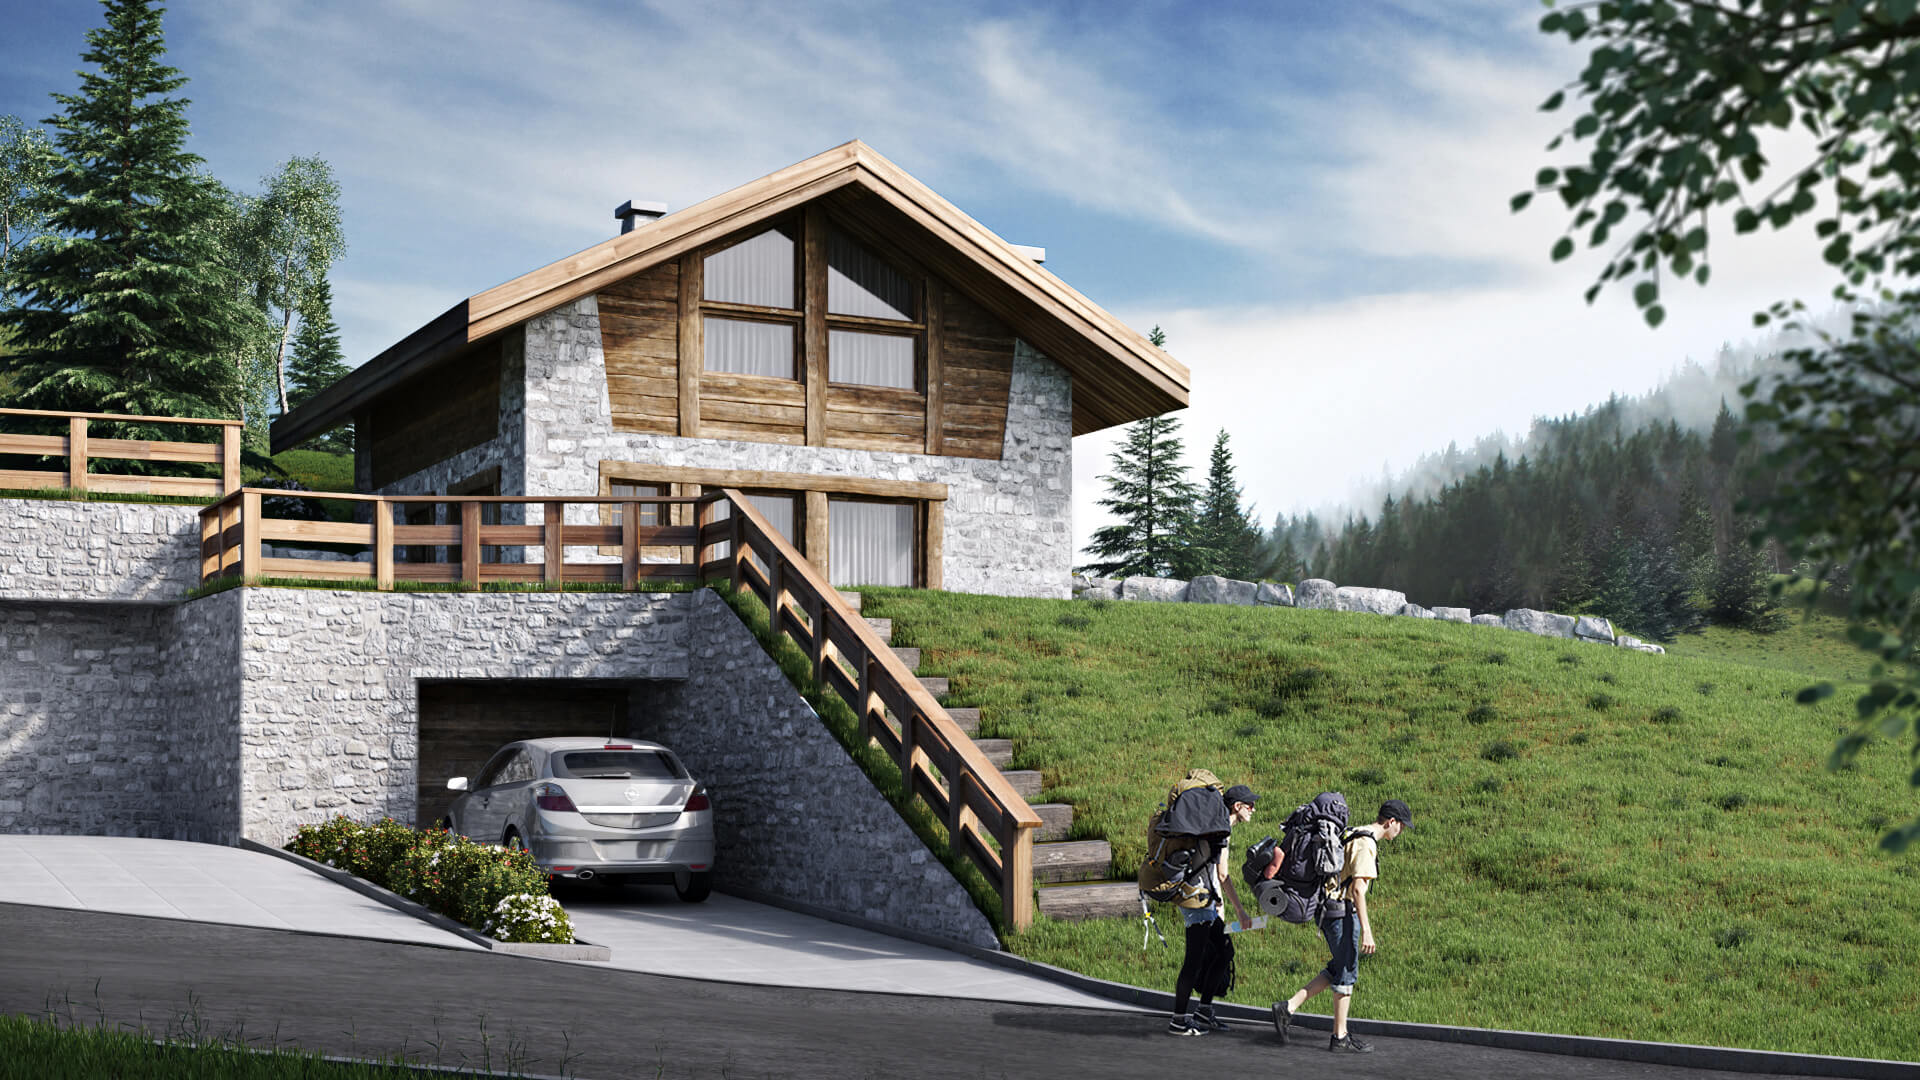
The architect ordered exterior rendering to help her client choose between 2 design variations. So we were to create 2 versions of the general view of a chalet in the Swiss Alps. The versions differed in cladding material usage and windows size.
Another important goal was to showcase how beautifully the house would look in the mountains. Specifically, the 3D exterior rendering needed to show the semi-underground garage and highlight the benefits of the high-end materials.
Technical Assignment
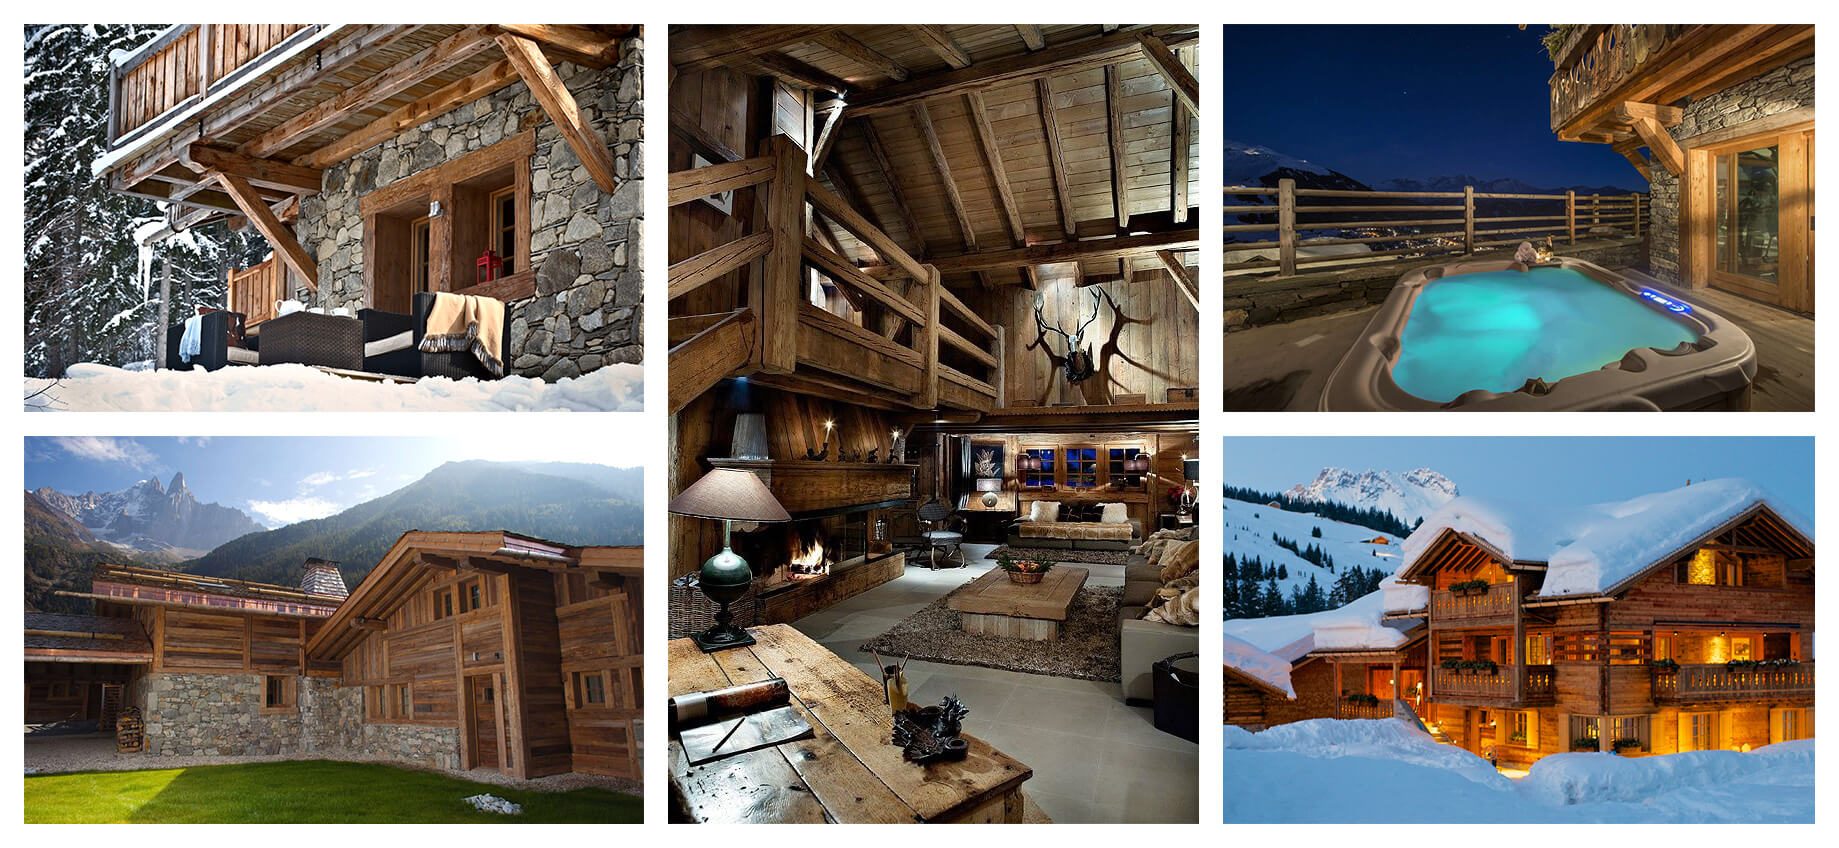
As part of the brief for exterior house creation, Lara Cadringher sent us the following materials:
- hand-drawn plans;
- reference pics for architectural elements;
- reference pics for wood and stone;
- reference pics for the style;
- construction location pics.
The challenge
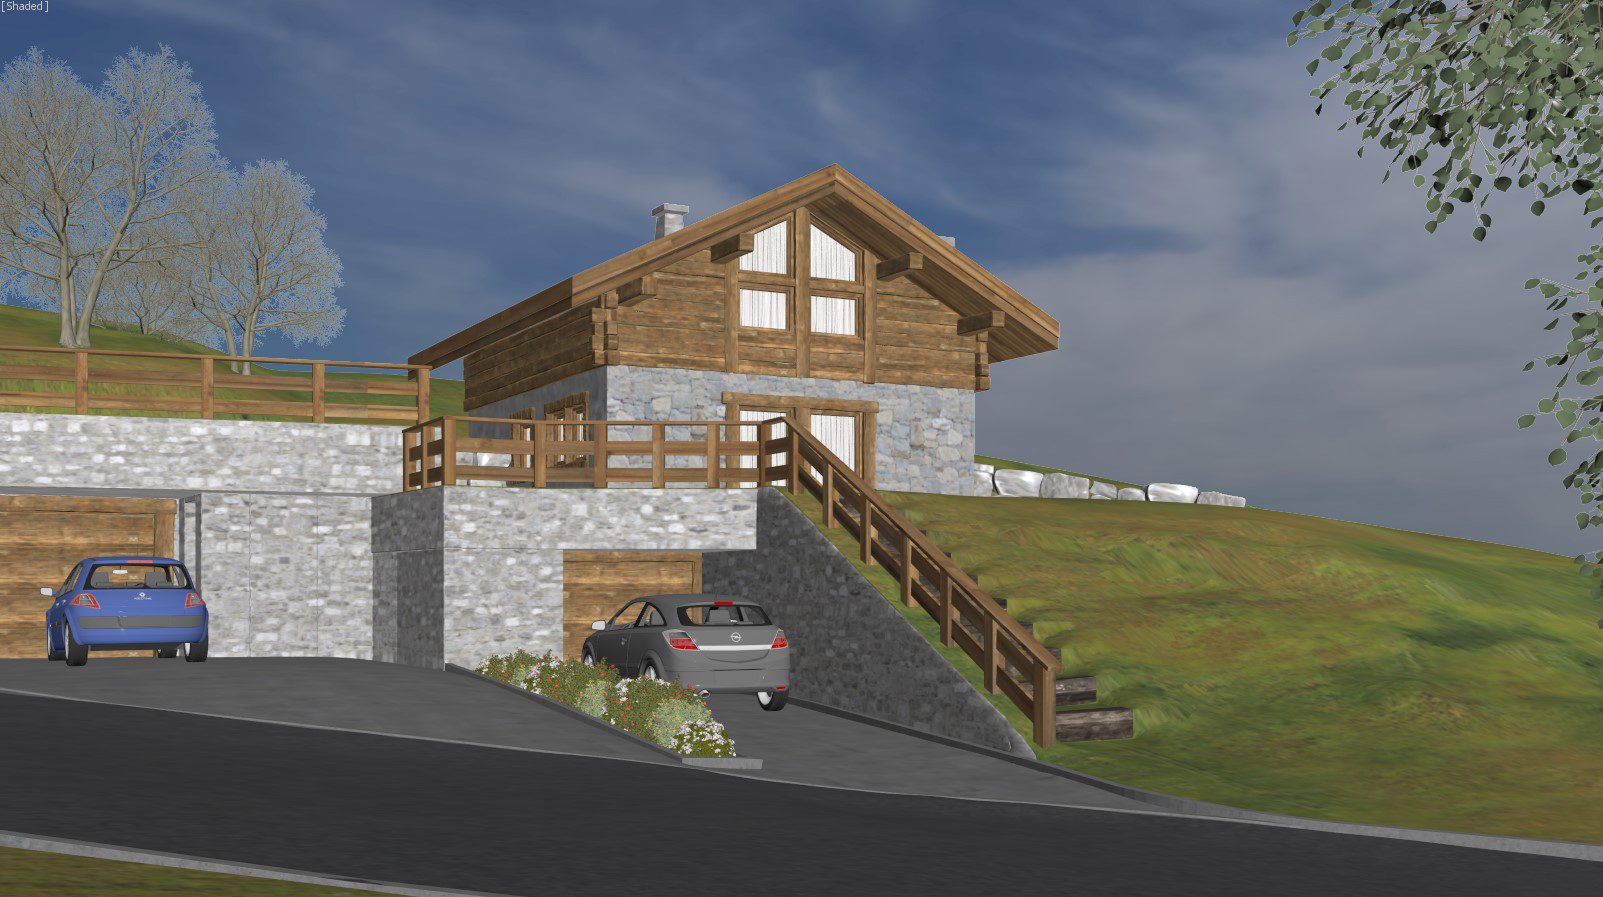
Which our 3D visualizer just loved! The chalet was to be situated in mountains, on a slope. So it was necessary to recreate highly complex surface shapes in CGI. Unlike a flat surface, it requires a lot of work, and some advanced 3D modeling skills. The house, the garage, the stairs — everything needed to be adjusted to the relief.
CG Rendering Workflow
This was no ordinary CGI project. It sure required supreme 3D modeling skills, but most importantly, it needed the eye of an artist. Without it, such photorealism and a seamless union between 3D rendering and photography would be impossible. Only an artist would feel what ambiance the render calls for, find the right ingredients, and bring the vision to life. Want to see how a true CGI ninja works on a project? Then read on to find out about the architectural rendering process behind the images.
CG Modeling
First, the 3D visualizer created grayscale 3D models of the surroundings and façade. Then, based on the general and situational plan, he placed the house model in the CGI scene as it would be in real life. At this point, the 3D artist could determine the approximate angle of the shot which is crucial for further work on this exterior house rendering.
How can 3D rendering bring a public building concept to life?
Landscape Geometry and Texture
The main task was to accurately recreate the surface relief and main objects of the environment. So based on the situational and general plan, the 3D rendering artist modeled the curves of the ground and the following elements:
- semi-underground garage
- retaining wall to protect it
- retaining wall for the house
- outdoor stairs
- road.
When all the objects were in place, the 3D artist proceeded to work on details and textures.
Façade Geometry and Texture
Based on drawings from the technical assignment, the 3D artist built the house exterior. To save the time, he concentrated mainly on the parts that’d be seen in the shot. When the house geometry was ready, the 3D visualizer textured the 3D model. Since there were 2 versions of the exterior cladding, it was necessary to clone the model, make a few modifications to the new one, and texture it differently.
For the client to see the effect of each cladding version, the materials needed to look as true-to-life as possible. To create a digital replica of wood and stone, the 3D artist first found textures similar to those in the reference photos. Then, he adjusted colors and contrast to make them look exactly like the stone and wood in the photos.
Setting Light
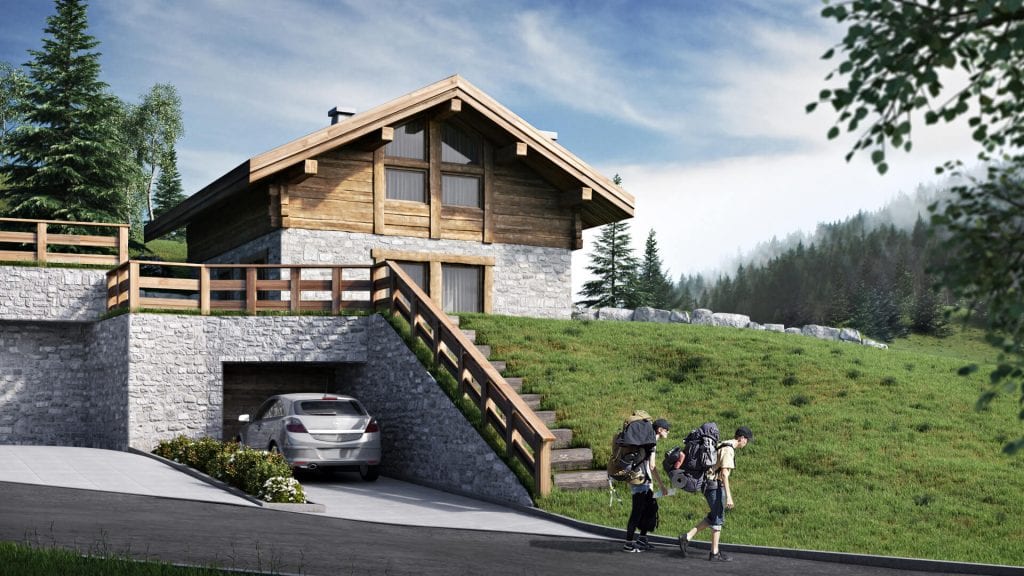
The goal was to make the renders so similar to the photo of the premises that together they’d look like “Before/After” images. This would make for a better viewing experience and give the exterior house rendering even more realism.
To achieve this effect, the photo was used for a part of the background. The 3D visualizer planned it from the very beginning, and therefore opted for the same perspective.
And naturally, the lighting in the exterior rendering needed to be indistinguishable from the one in the photo. That sun was in the zenith there, and the sky — cloudless blue, fading to white in the horizon. That was achieved in the rendering using Vray sky and Vray sun.
Once the lighting was set, the rendering stage began. And when the exterior renders were ready, came the post-production stage.
Post-production. Final Result

What matters at this stage is that the 3D visualizer be not only a CGI ninja, but a true artist. This involves examining and analyzing loads of photos and inspiring renderings on a daily basis. Perspective, color scheme, the play of light, shadows, greenery — these are only some of the aspects to take into account. Over years of hard work, a 3D visualizer develops an eye for a million things. And this would show in their every rendering.
These preparations never figure in makings-off, yet it’s so unfair! For this work is hard and vital. One cannot just acquire that kind of knowledge in a day or with a few books — it’s a lifetime journey. So the things we’re going to talk about are a tip of the iceberg, and a direct consequence of this everyday viewing.
Get your project estimated in just 1 hour - fill out this brief!
Based on his experience, the 3D visualizer looked at the exterior house rendering and made the following tweaks:
- adjusted the materials. The light has slightly altered their coloring, so the 3D artist fine-tuned the textures again till they were indistinguishable from the ones in the reference photos.
- tweaked the colors and contrast. To add depth to the exterior rendering, he lightened shadows for the objects in the forefront and darkened highlights for those in the background.
- populated the rendering. That is, the 3D visualizer added tourists that were passing by the house, and that was it! The renders of the chalet were ready.
We’re incredibly proud of the way this exterior house rendering turned out. And how cozy this chalet must be on the inside! A real dream come true, and a perfect place to spend some quality time with the family and one’s own thoughts.
Need top-notch imagery for your presentation and marketing? Contact ArchiCGI for professional 3D rendering services. We’ll deliver high-impact visuals that show your project with accuracy and style.

Irma Prus
Content Writer, Copywriter
Irma writes articles and marketing copy for ArchiCGI. Her dream is that more people discover the power of CGI for architecture. Irma is into neuromarketing, ruby chocolate and Doctor Who series.
Like this project? We’ve got plenty more! Check out these CGI beauties.

Comments
Alison
Steve
Irma Prus
George
Sharon
Robert Taylor
Emma