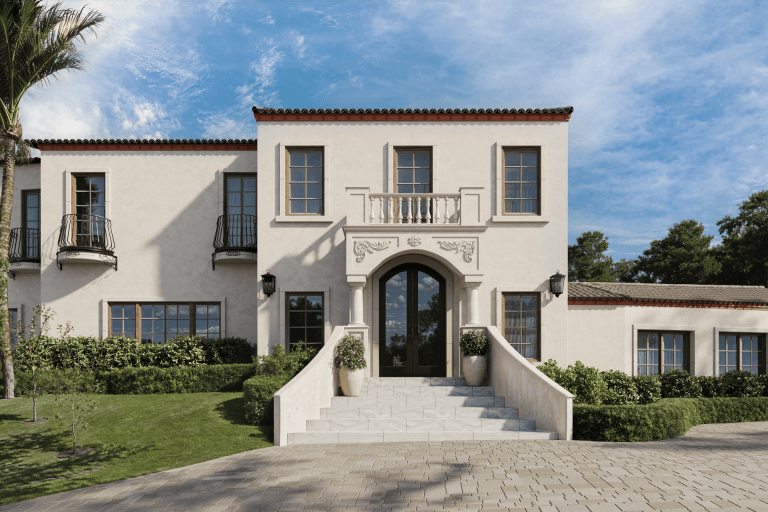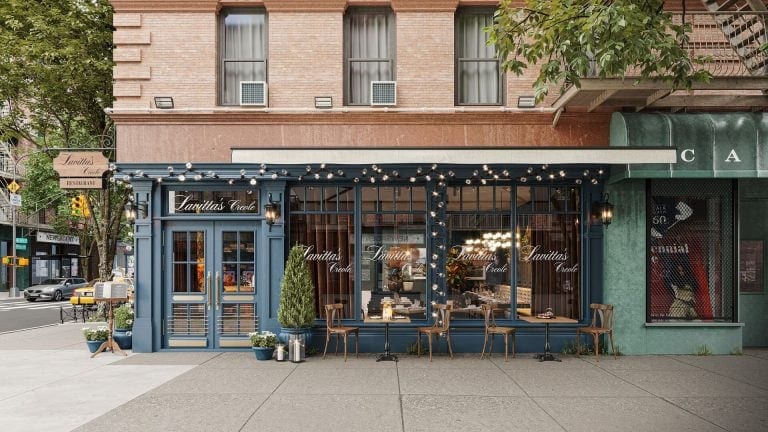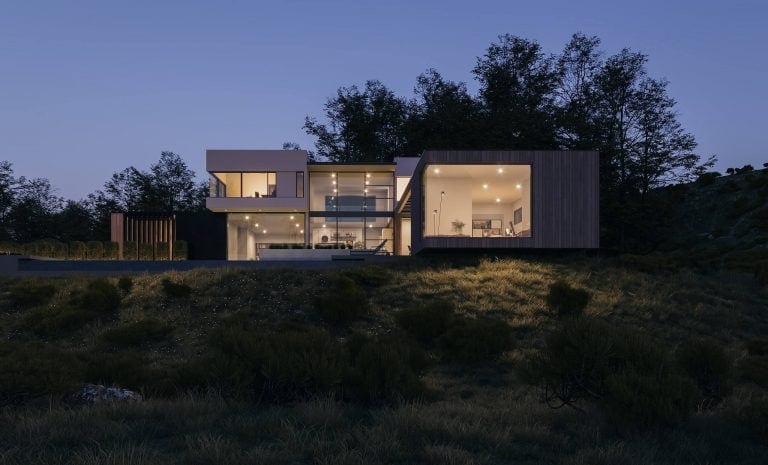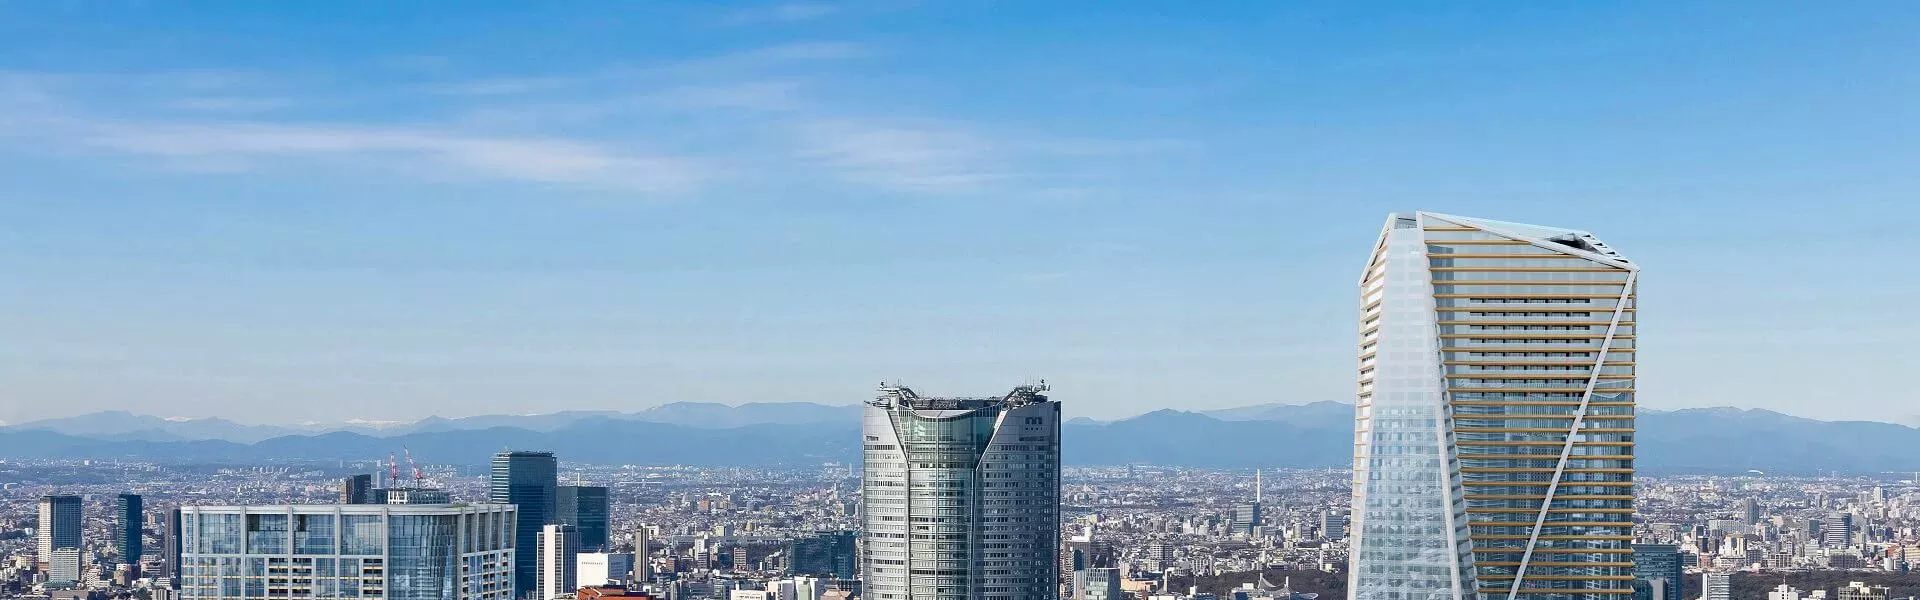

An architectural 3D animation project runs through five approval stages: the brief, grayscale renders, the camera path, textures and lighting, and the final render with post-production. You approve the work at the end of every stage, so nothing expensive gets built on top of a wrong assumption.
The usage of architectural 3D animation is one of the best ways to create an impressive presentation or promo. At ArchiCGI, we strive to provide our clients with 3D videos that meet their professional goals and make their designs shine. To ensure every architectural 3D animation project is carried out quickly and efficiently, we developed a standard workflow. It takes place in our CRM system and is designed to make our communication as smooth as possible.
What stages does a 3D animation project go through? What do you need to send us to start? How long does the whole thing take, and what exactly do you get at the end? If you want to learn about the 3D animation workflow at our architectural visualization company, read on!
#1. Submitting the Brief
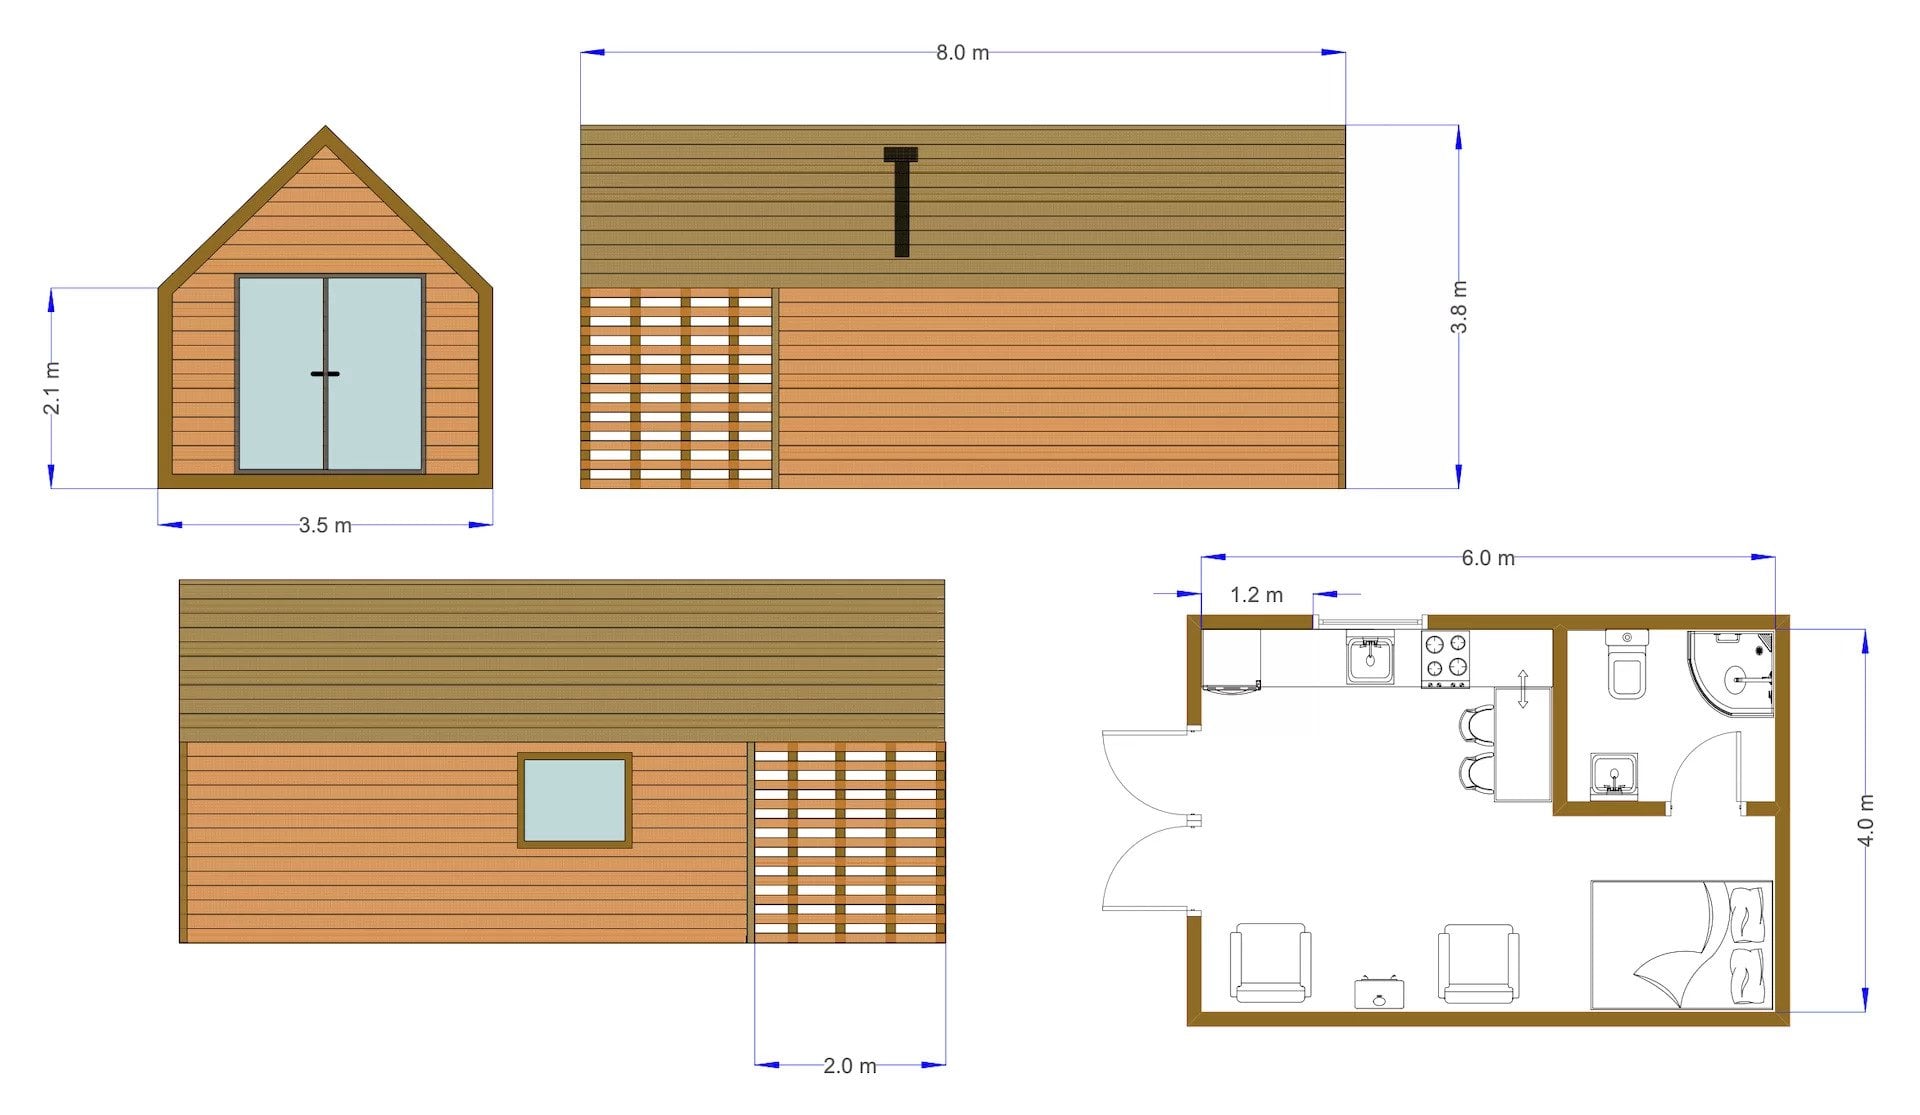
Our work on an architectural 3D animation project starts with a brief, also called scope of work, or simply SoW. To create one, the client will need to fill out a planning form we send them.
The form includes general information, such as animation purpose, target audience, and project location. If it’s an exterior animation, we will need to know the specific parts of the building we should focus on. In the case of an interior project, one will be asked to specify the floor number and rooms. We’ll also need to know the weather and lighting conditions that are supposed to be featured.
The materials our customer should submit include architectural drawings or 3D models, lighting and atmosphere references, as well as references for the textures and materials, if possible. Video length, music, voiceovers, resolution, and any other additional features are also to be decided at this point. The client uploads their files to our online platform and our project manager checks whether all necessary materials are in place. After that, 3D artists get to work.
What to Send Us for the Brief
- Architectural drawings, a CAD file or an existing 3D model
- References for lighting, mood and atmosphere
- Texture and material references, if you have them
- Video length, resolution, and whether you need music or a voiceover
- For an exterior: the parts of the building to focus on, plus season, weather and time of day
- For an interior: the floor and the rooms to cover
- The purpose of the video, who will watch it, and the project location
#2. Reviewing Grayscale Renders
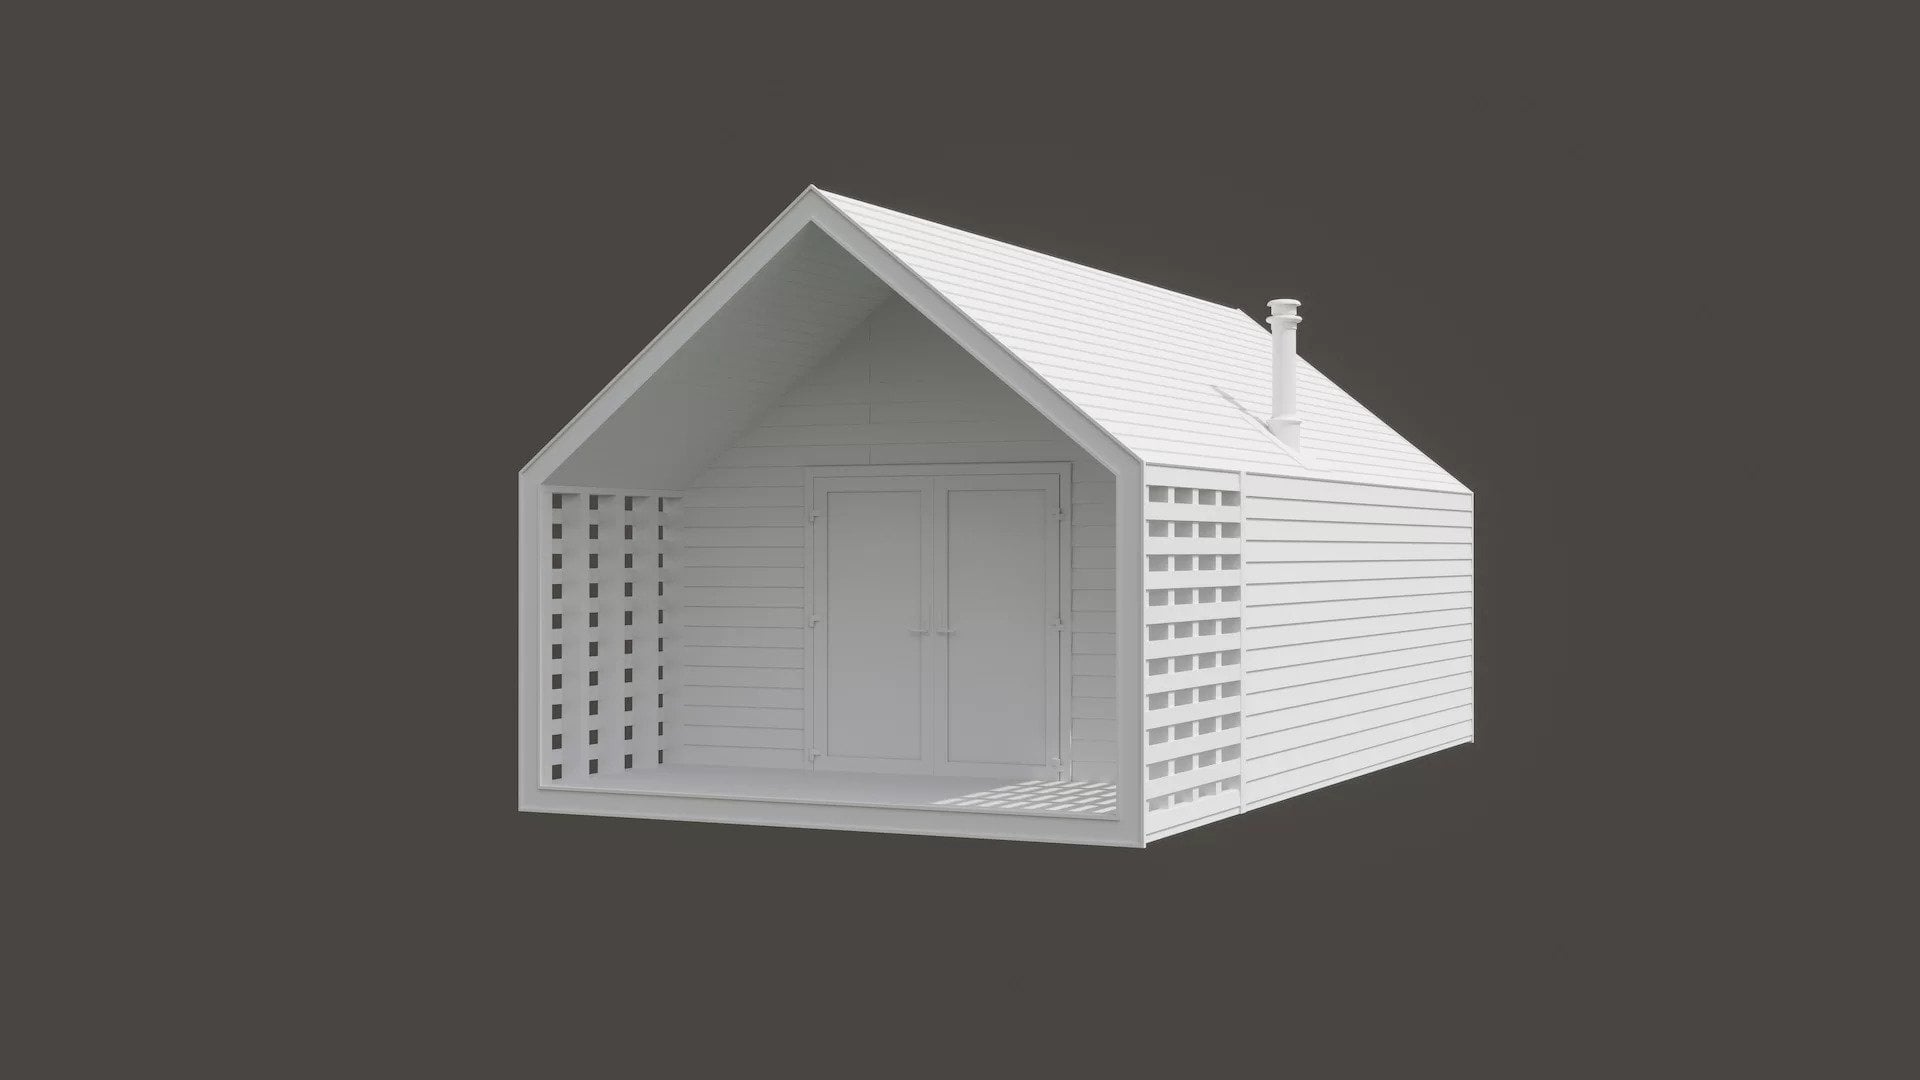
After we receive the brief, our 3D artists create the grayscale, or so-called “clay” renders. These are visuals that don’t have any colors, textures, or materials yet. They showcase the interior, or the building and the environment in case of an exterior project. The purpose of grayscale renders is to show the geometry, the placement of the objects, and proportions. When everything is approved by the client, we proceed to work on camera moves.
What a Clay Render Is
A clay render, also called a grayscale render, is a 3D view with geometry only: no colors, no textures, no materials. It exists to settle one question early. Is everything in the right place? Proportions, the position of objects, the way the building sits in its surroundings. Correcting geometry at the clay stage costs a fraction of what the same correction costs once materials and lighting are already set.
#3. Approving Camera Path
At this point, the customer receives a preview animation – GVP, or Grab Viewport. It shows the camera moves that the viewer will see in specific frames, as well as their sequence. Depending on the type of the project – interior or exterior – one can opt for a 3D architectural flythrough or walkthrough animation. In both cases, at this stage, the client decides whether camera angles and movements are right. And, if they are, we can move on to adding colors, textures, and lighting.
What a GVP Preview Shows
GVP stands for Grab Viewport: a rough preview taken straight from the 3D scene, without final render quality. It shows the route the camera takes, what enters each frame and in what order. This is where you decide whether the story of the video works, and whether the project needs a flythrough that circles the building from outside or a walkthrough that moves through the interiors.
#4. Checking Textures and Lighting
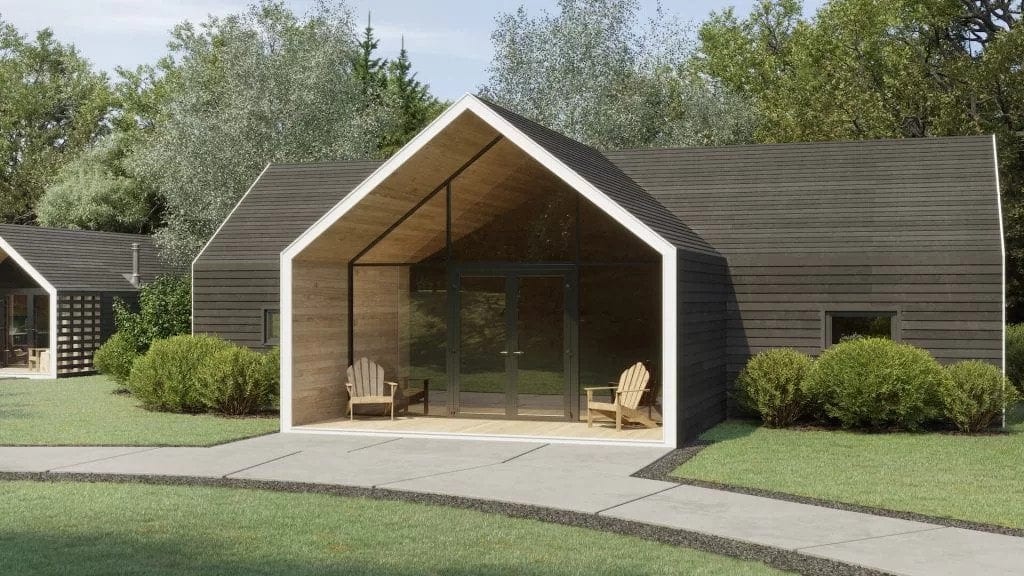
When the camera path for the architectural 3D animation project is approved, we set materials and lighting in the 3D scene. Then, we send the customer every 30th frame from the future CG video. This way, they can check the colors, materials, lighting, elements of the environment, contextual details, general atmosphere, and mood of the animation. Usually, at this stage of the project, there are up to 3 rounds of minor adjustments. The client might want to change some colors or materials to make future visualization more realistic and striking. It is vital to communicate all the notes before we proceed to the final stage of the project.
#5. Having the Final Touches Done and Getting the Result
After we submit the renders and get approval on the previous stage, we move on to the final rendering and post-production. At this stage, music, voiceover, company logo or text titles can be added. The default resolution of the 3D animation is Full HD. It can be higher or lower upon the customer’s request.
The client should note that at this point further free revisions are not available. That’s why it’s vital to make all the necessary corrections during the previous stages.
How Long an Architectural 3D Animation Project Takes
We agree the deadline at the brief stage, because the range is wide. The clearest case is a project we have already worked on: when the scene is built and approved as static renders, adding animation to it takes up to a week from start to delivery, final rendering and revisions included.
A project that starts from drawings takes longer, because the scene has to be modeled before there is anything to animate. Three things move the date:
- Video length and the number of scenes. A 30-second flythrough of one building and a three-minute video covering a whole development are different projects.
- The level of detail. Close-up shots need higher-resolution geometry and materials than distant aerial passes.
- How quickly approvals come back. The project waits at each of the five gates until you sign off, and in practice this is what stretches a schedule most often.
If you need the video by a fixed date, say so in the brief. Send us your project files and you will have an estimate within an hour.
What You Get at the End
- Formats: MP4 and MOV.
- Resolution: Full HD (1920×1080) by default, 4K (3840×2160) on request.
- Versions: a full-resolution master for presentations, a lighter cut for your website, and a vertical version for social media.
- Added in post-production: color grading, sound, titles and your logo.
- Revisions: up to three rounds of minor adjustments at the textures and lighting stage. Once final rendering begins, further free revisions are not available, which is why the earlier approvals matter.
Pricing follows the same logic as the schedule: our architectural animation services start at $30 per second for a simple flythrough and reach $120 per second for a 4K video with real drone footage integrated.
Immerse clients into your projects with realistic 3D animations
From brief submission to the final rendering, our workflow is designed to ensure our communication with the clients is smooth and the execution of every architectural 3D animation project is flawless. We employ senior-level 3D artists and use the most up-to-date technologies to deliver stunning visuals within the shortest possible time frame.
For an industry-wide view of the production stages, key elements, and deliverable formats, see our guide to archviz animation. Looking for top-grade architectural animation services for your project? Contact us at ArchiCGI and get a 3D animation that will make your design shine! Related reading: 3D renders vs animation.
Frequently Asked Questions About the Animation Workflow

Chris Kostanets
Senior Project Manager, Mentor
Chris manages the work of 2 CGI teams and teaches Middle PMs. She loves Scottish landscapes, Ancient Greek culture, and Plein-air painting. At home, Chris is a caring parent for 3 cute chickens and a magnificent rooster.