

3D Real Estate Virtual Tours for a Luxury Condo in Montreal, Quebec
3D Real estate virtual tours are powerful tools for preselling luxury properties. Their visual impact and immersiveness turn visitors into buyers and increase sales considerably. So, from both experience and a business standpoint, 3D tours rock! And our tech-savvy client, George Pamel from Presti, knows that.
That’s why George Pamel contacted our CGI rendering company on Aug 27, 2021. This was our third project already. Initially, George heard about us from John Mongeau, Head of Strategic Accounts at Signifly, our dear friend and partner.
The task for 3D Real Estate Virtual Tours
George needed CGI for preselling luxury apartments in Montreal, Canada. We were to create still imagery and 3D rendering virtual tours for townhomes and condominiums. In this article, we will talk exclusively about 3D virtual tours for apartments of the Robertson condominium.
The building will be constructed on the Golden Square Mile, a cultural center of Montreal. The location is an ultimate luxury. The lucky owners of residences will live next to museums, elegant hotels, restaurants, and McGill University, and see the picturesque Mount Royal from their windows.
 The quality of the housing is amazing, too. To appreciate it, it’s important to know that Presti is a member of the Novoclimat Program and builds energy-efficient real estate properties. The insulation and ventilation are top-notch and certified by the Canadian government. Furthermore, Presti has been the nominee of the DOMUS Award 7 times and won it 6 times! All that innovative experience and high standards will be used for building the condominiums.
An exciting 3D rendering project, isn’t it? Wait till you see the design! Now, let’s examine the details and results of virtual walkthrough creation for every apartment.
3D Real Estate Virtual Tours Production Process
During the project, we created 3D virtual tours and visualizations for 5 luxurious residences in the Robertson building. The tasks ran simultaneously, with one often depending on the other for CGI assets and materials. The briefs were very detailed and well-written, and so was the feedback for results. The common features of the tours were the 8K resolution and 150 height for cameras. Here’s how the pipeline worked.
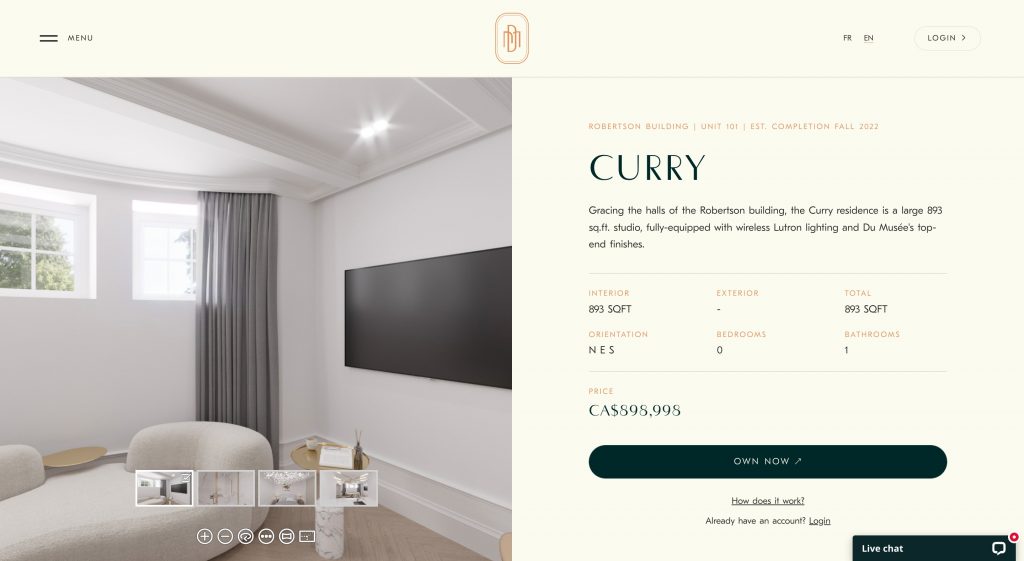
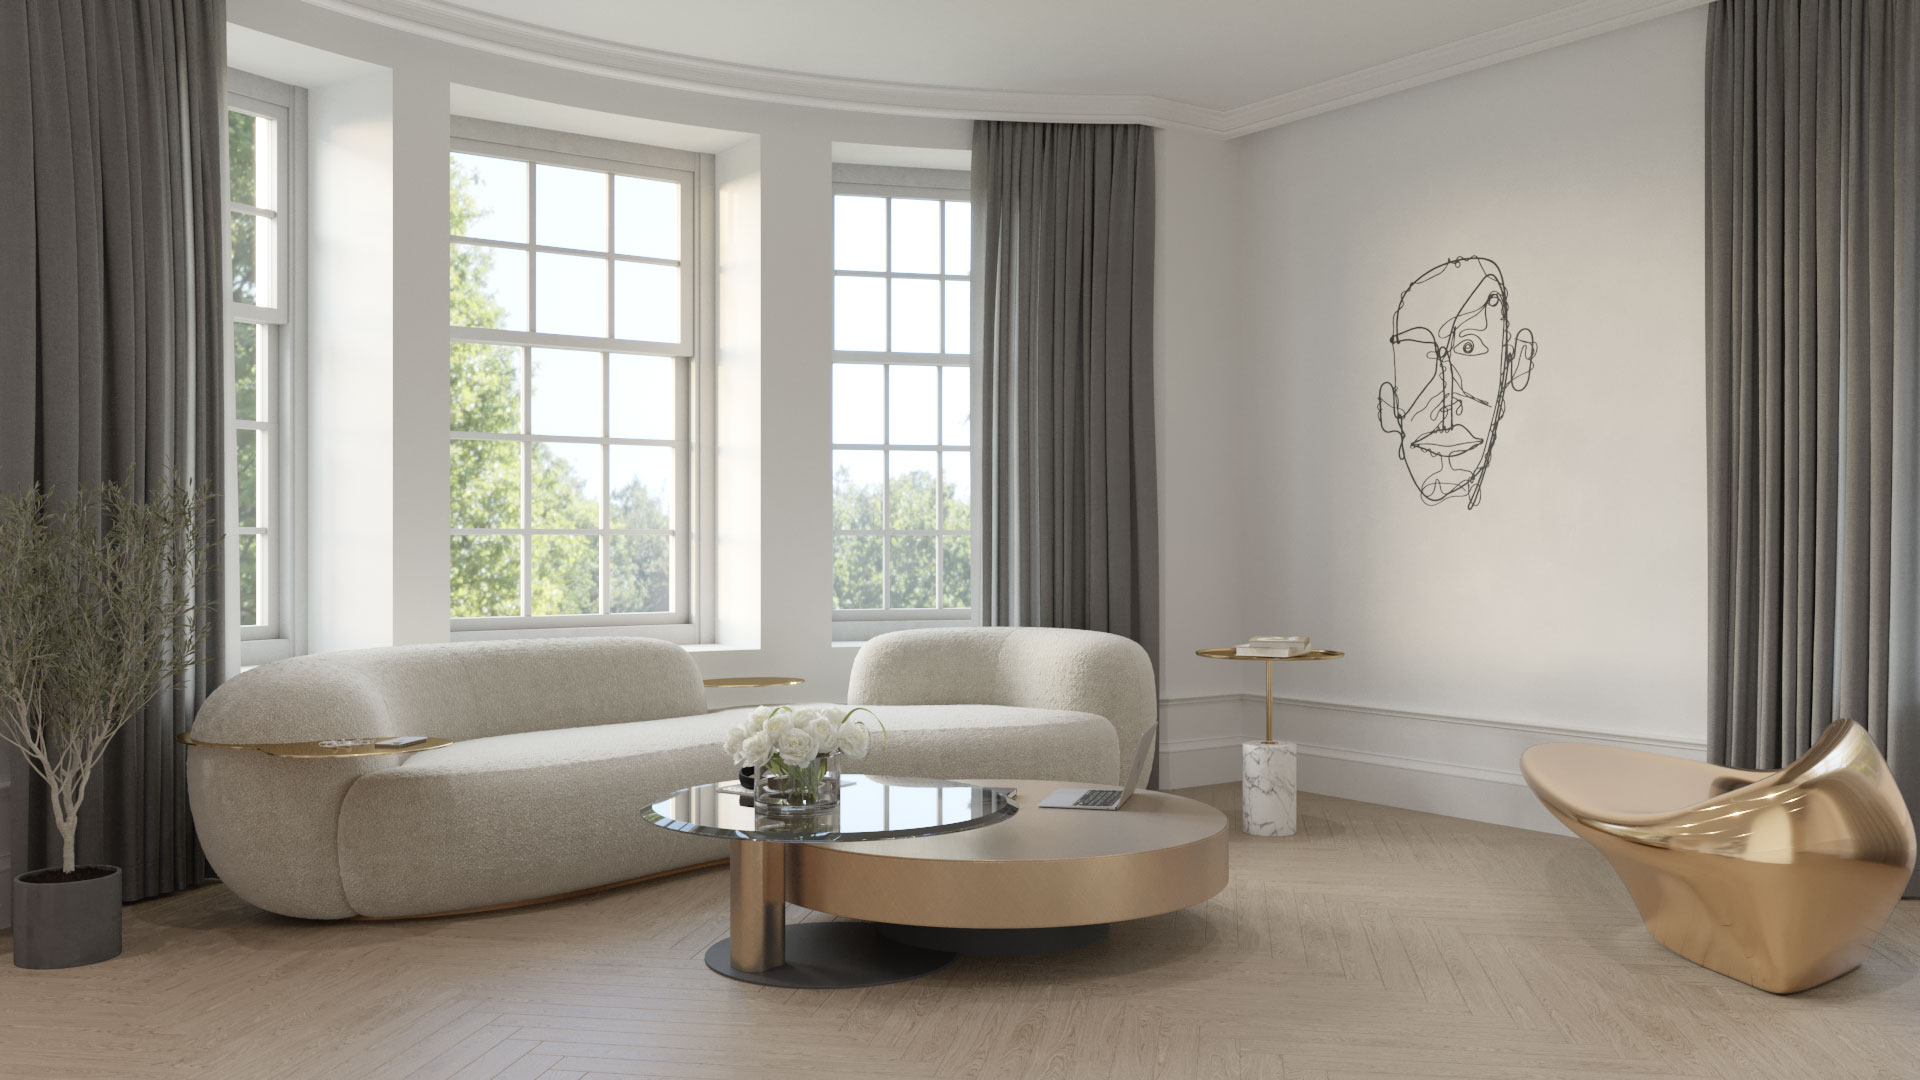
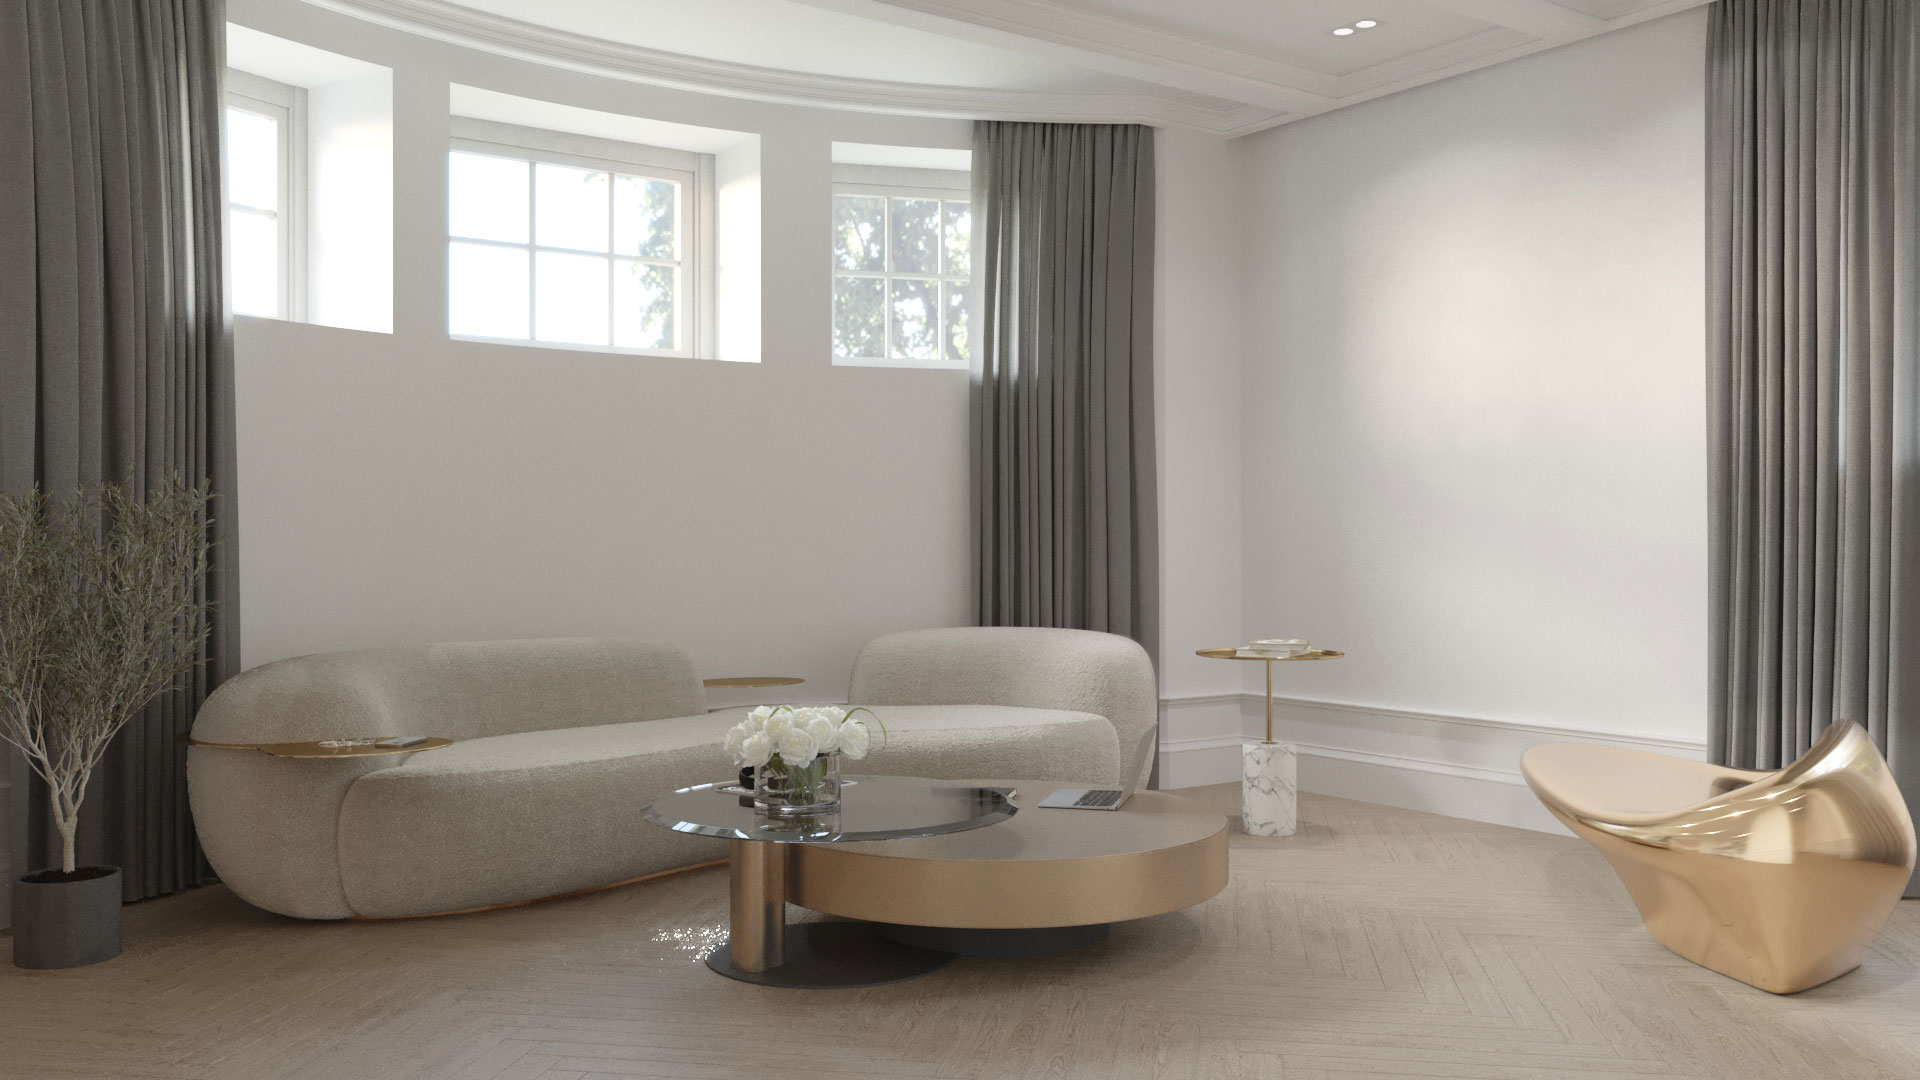
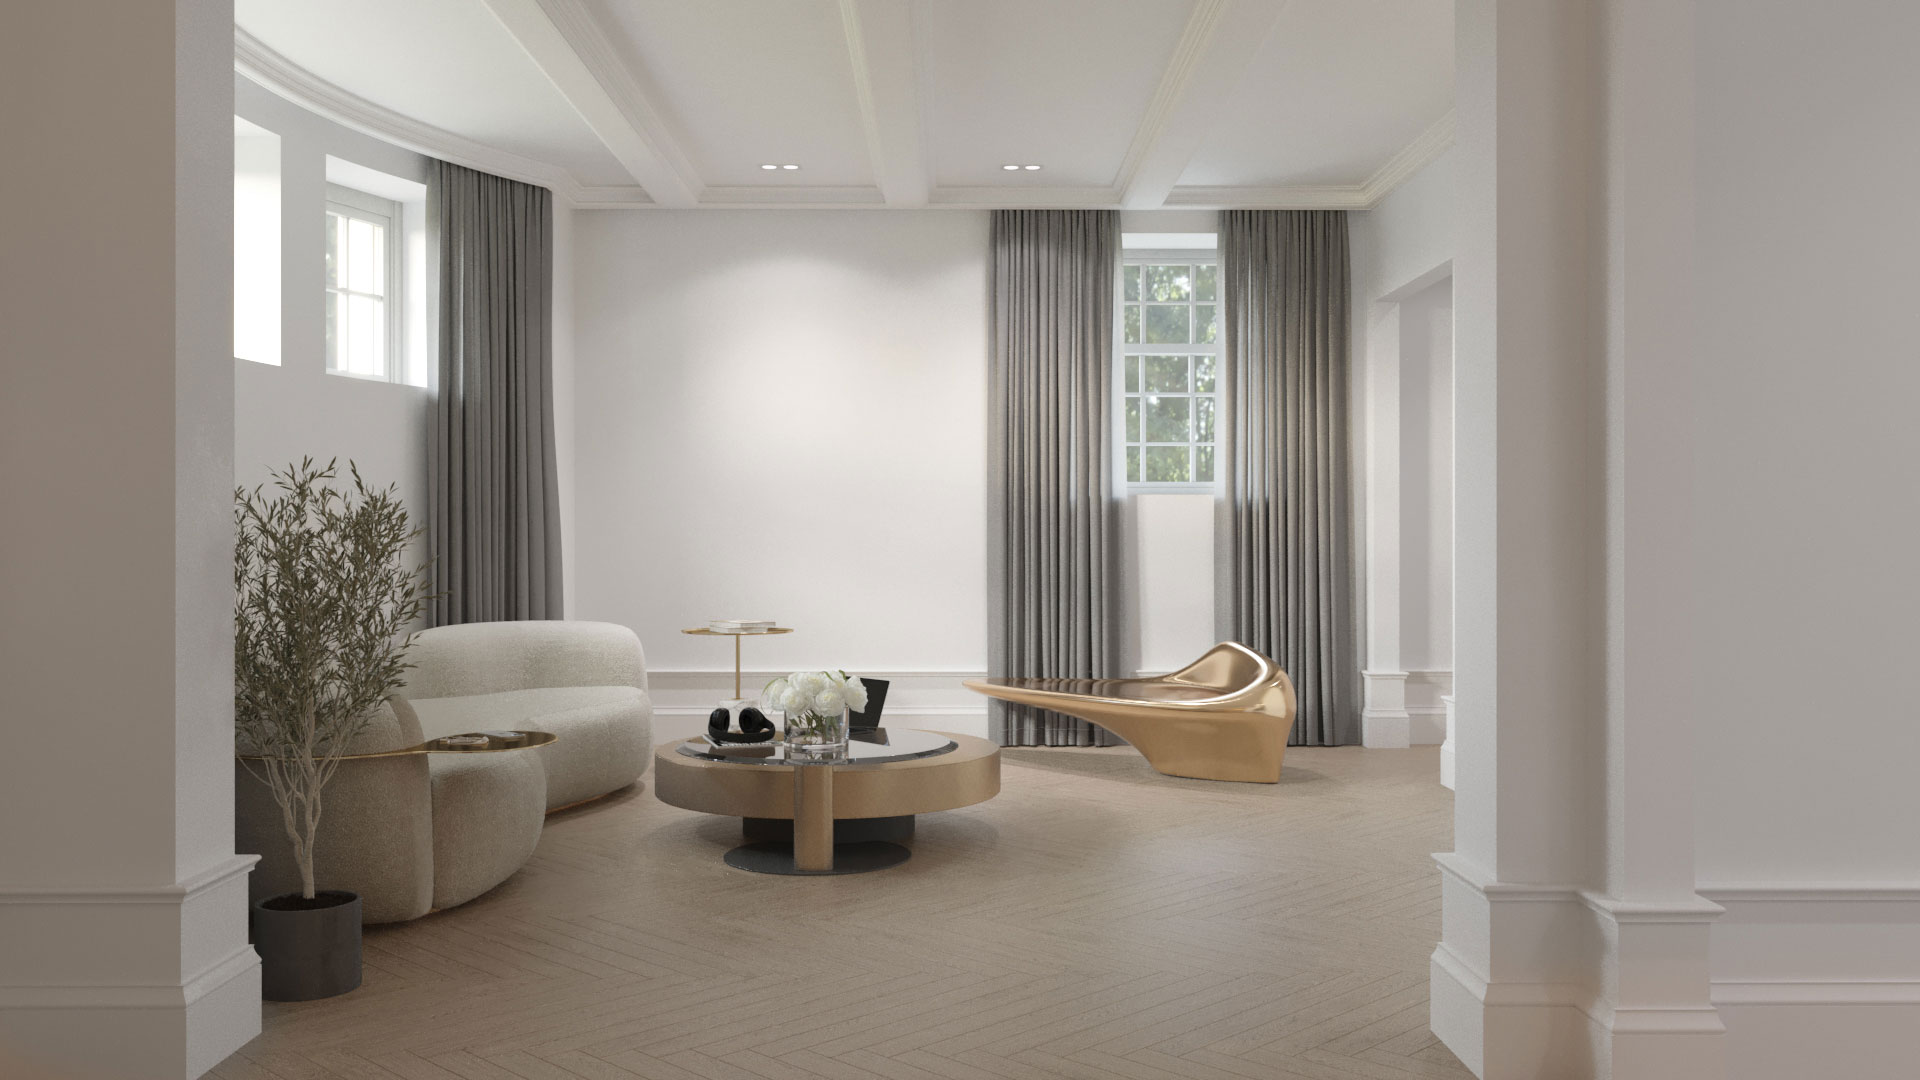
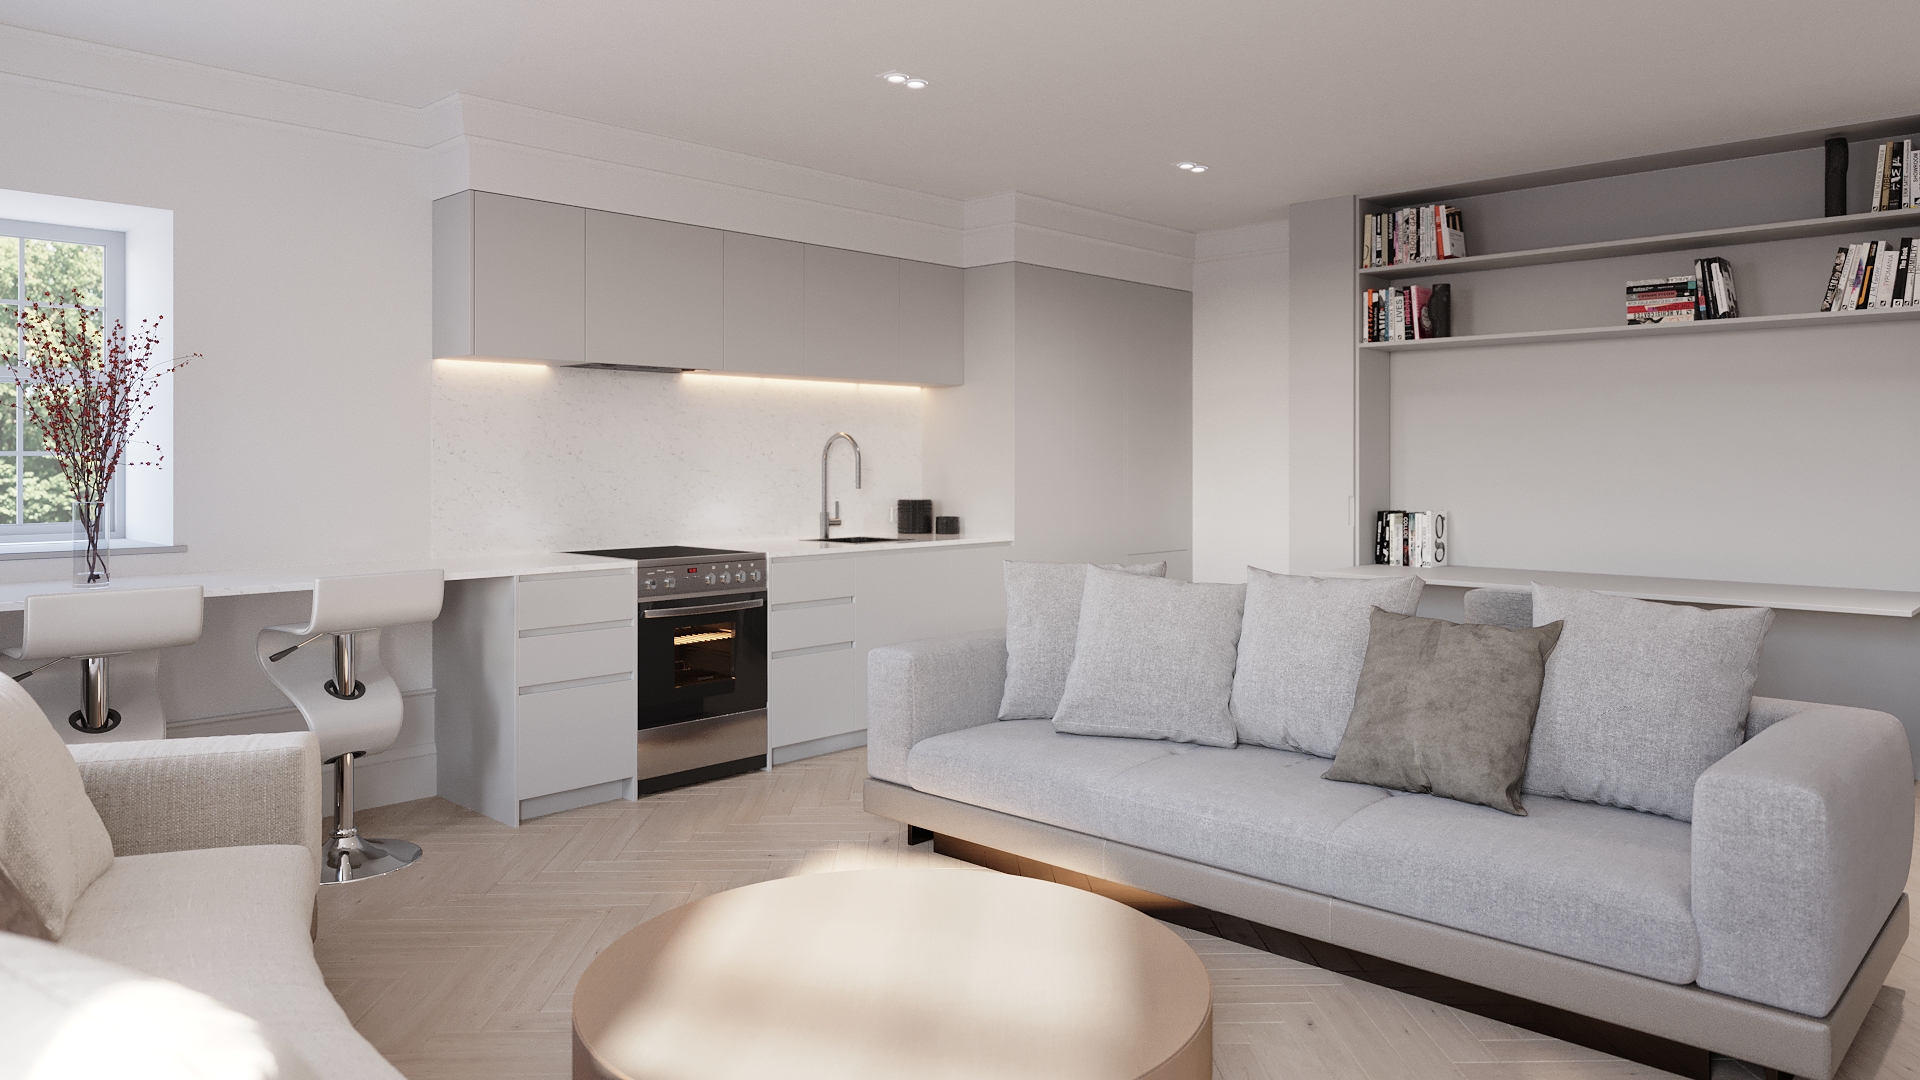
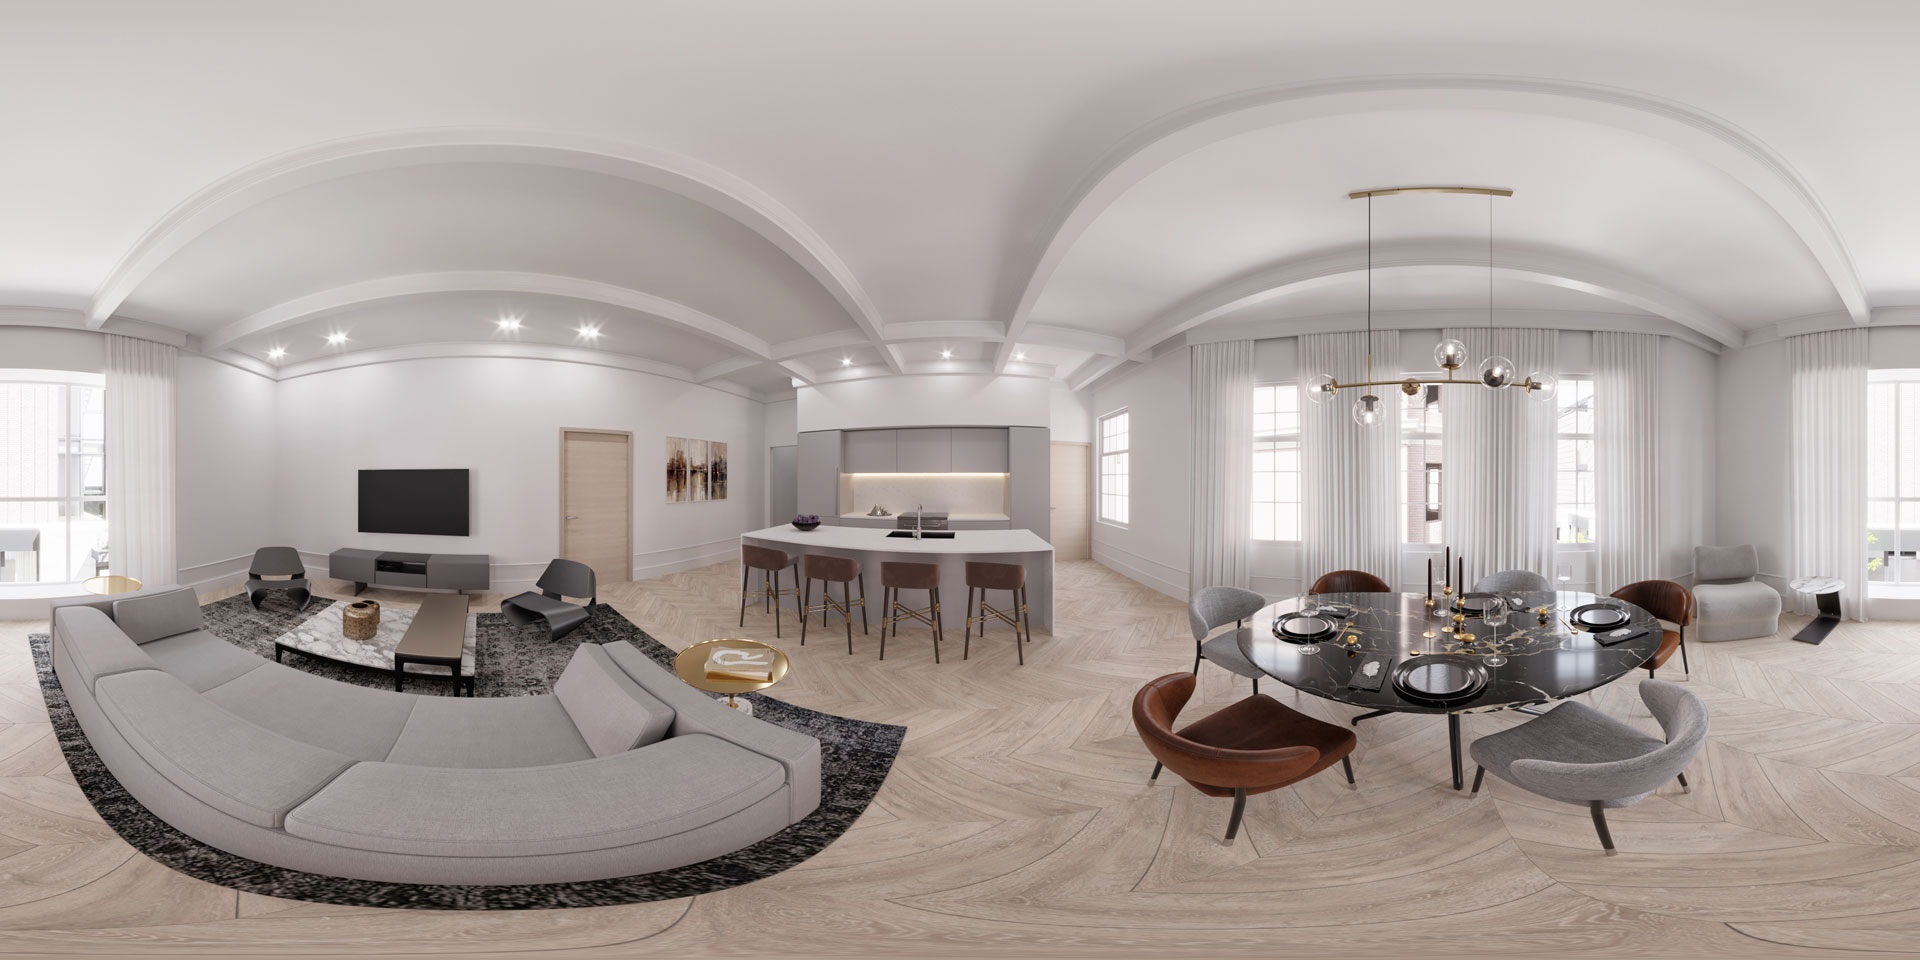
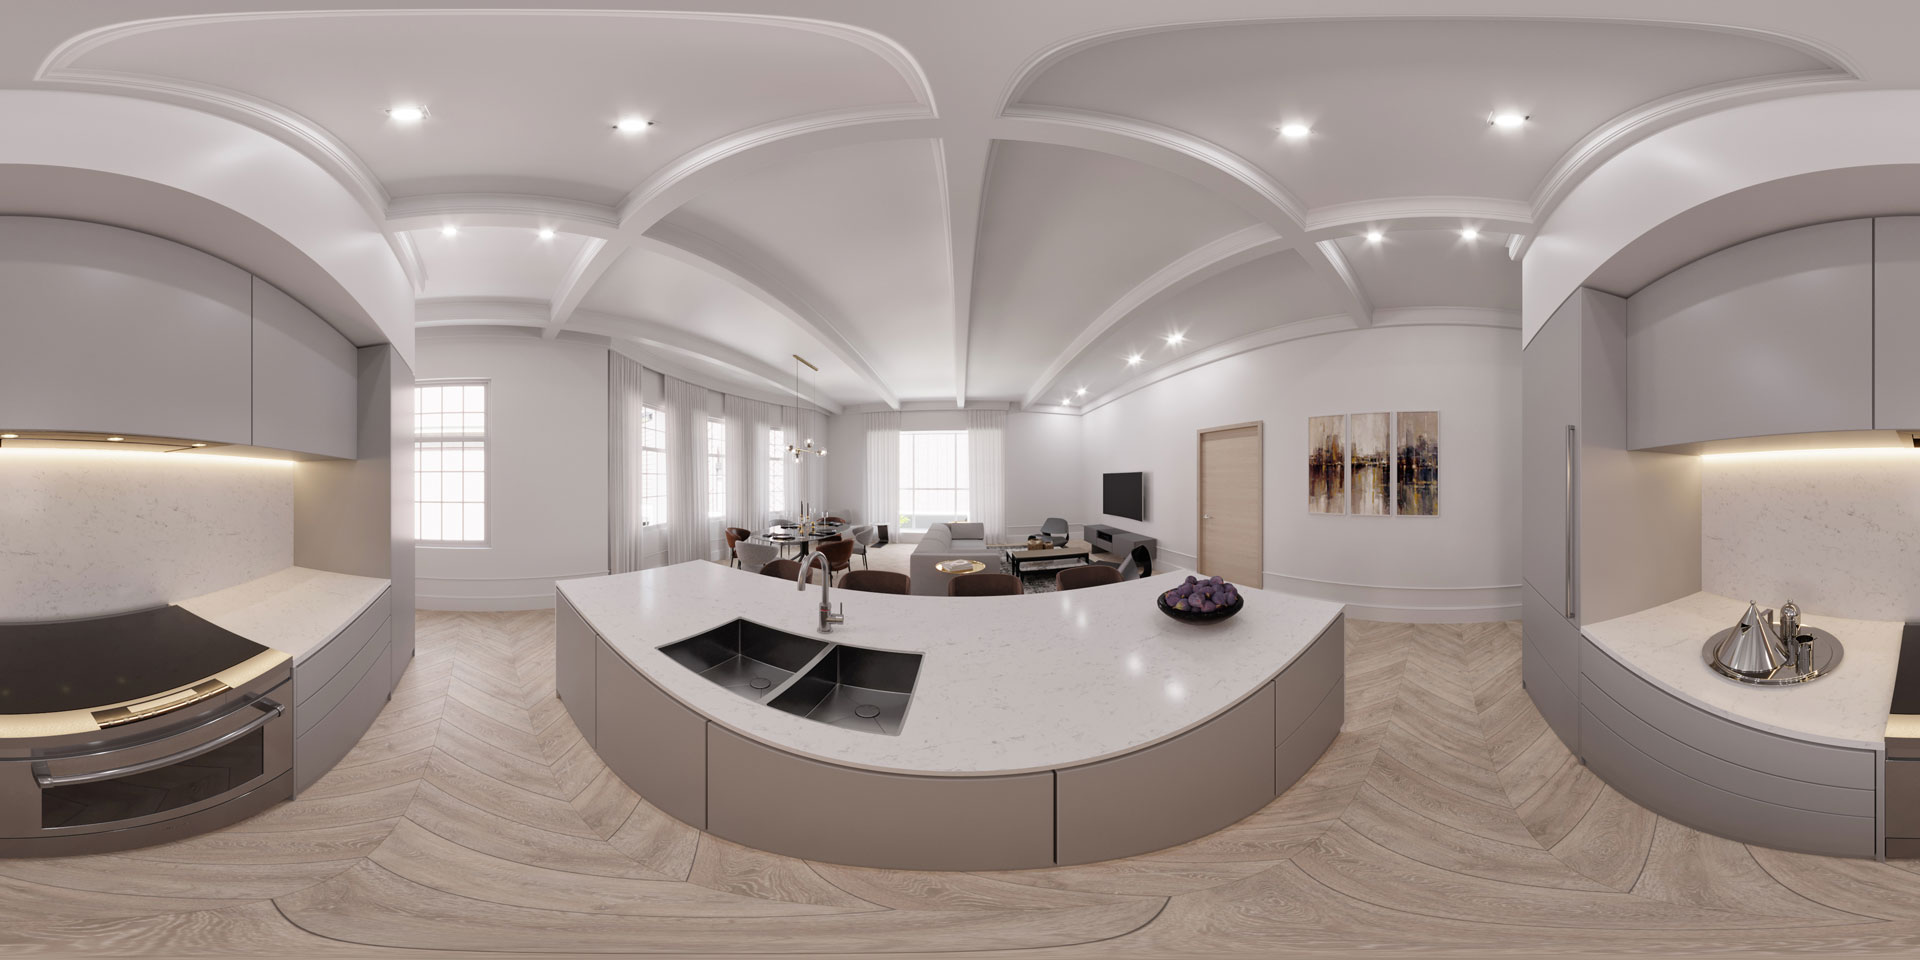
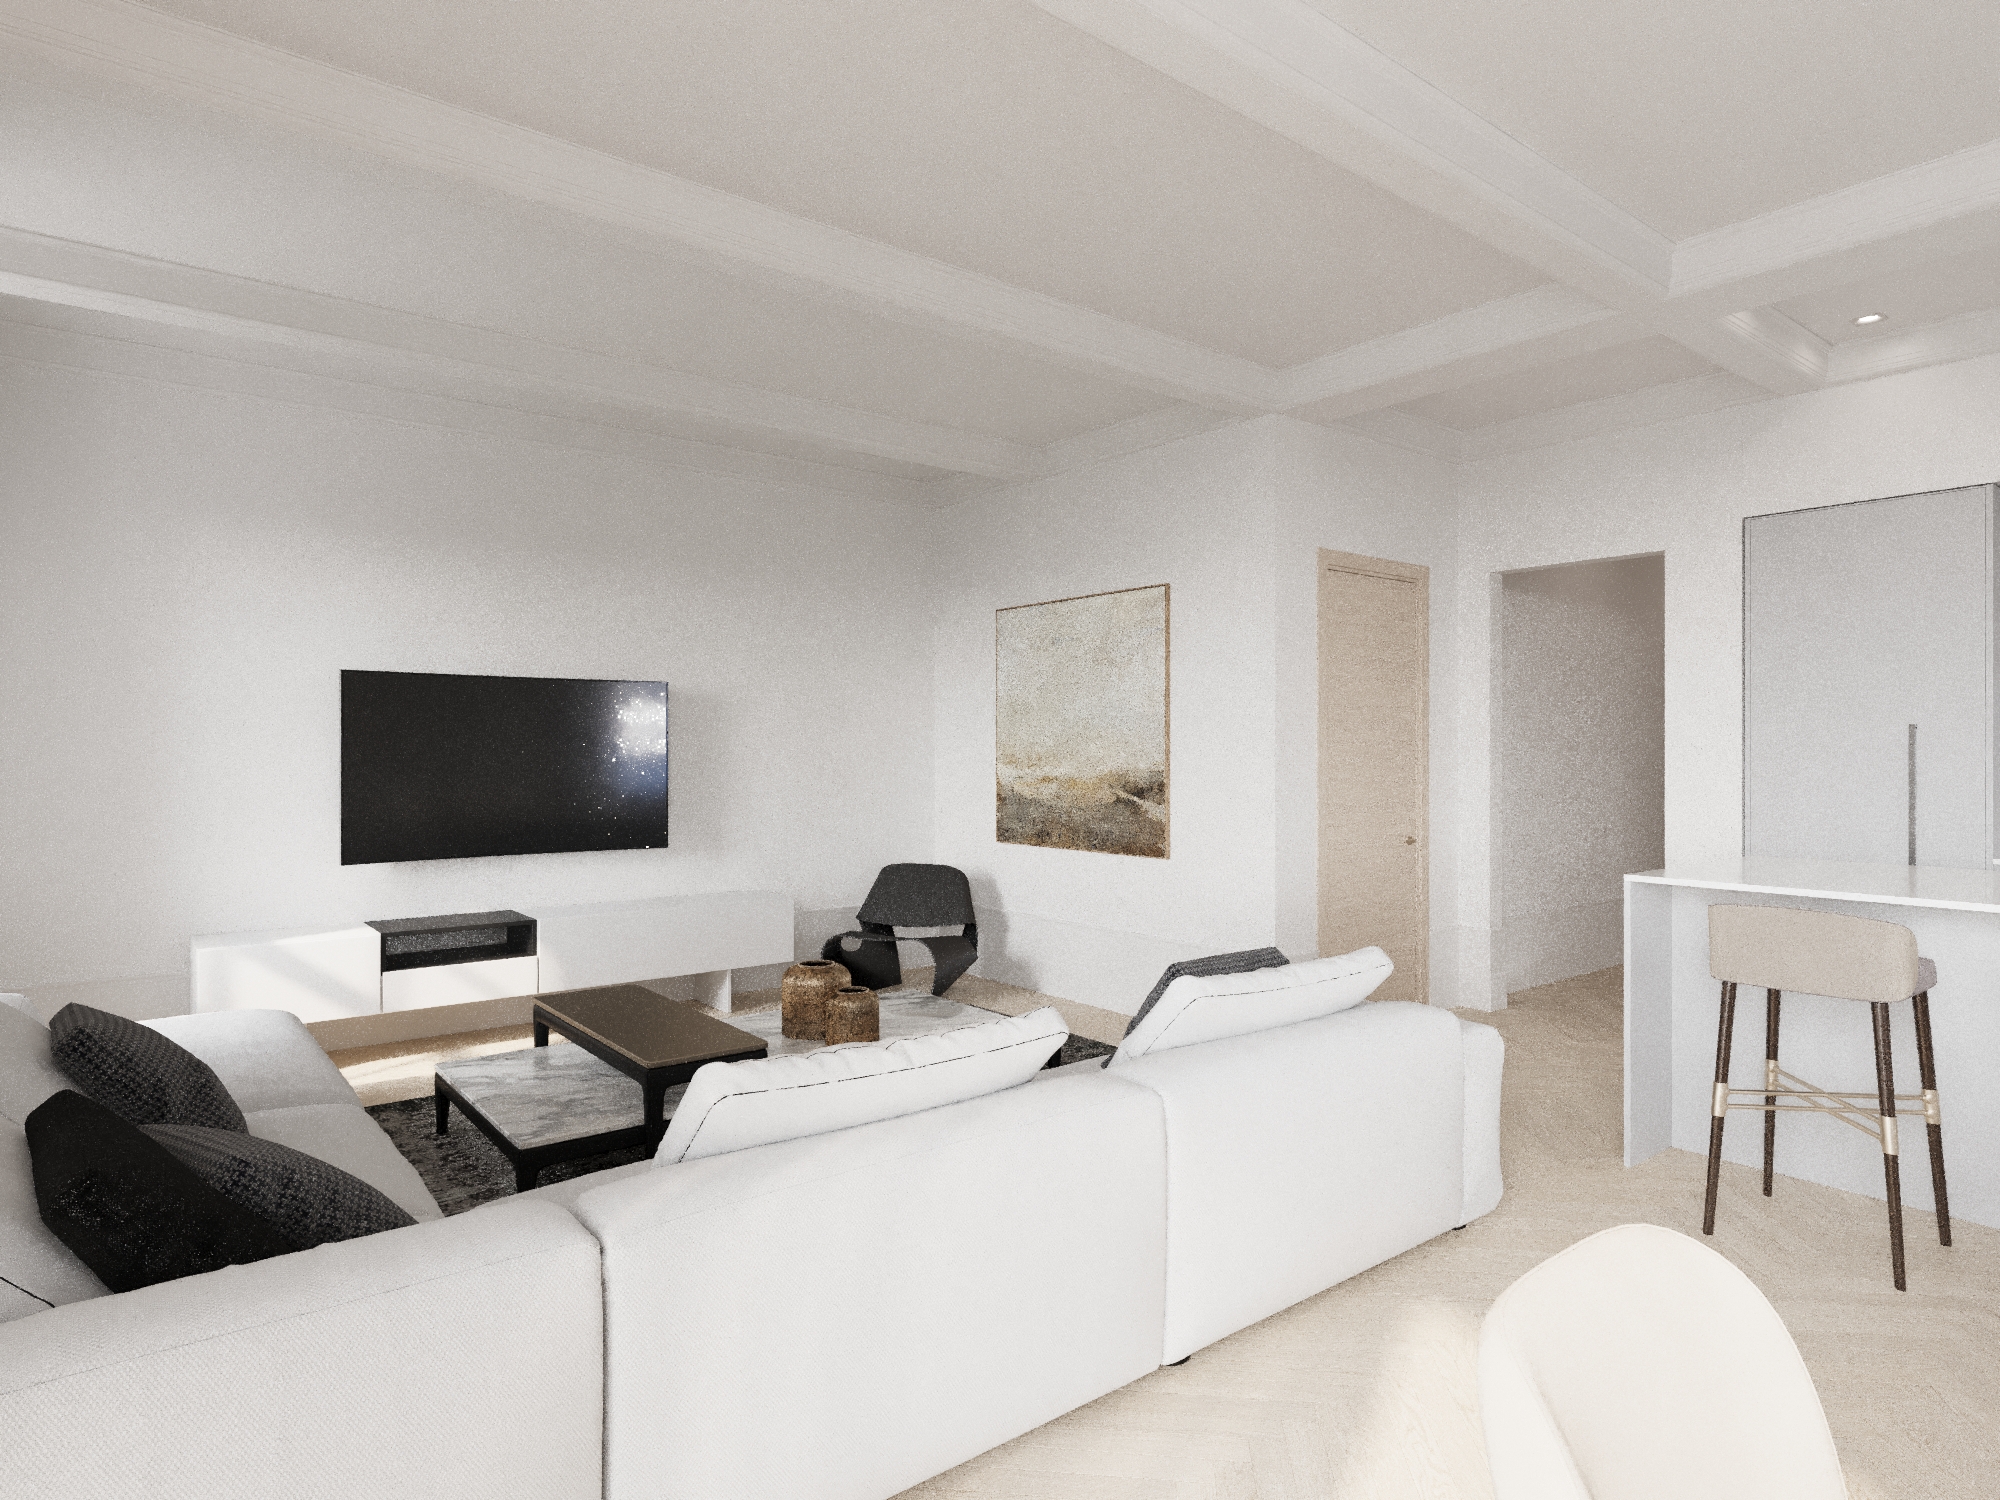
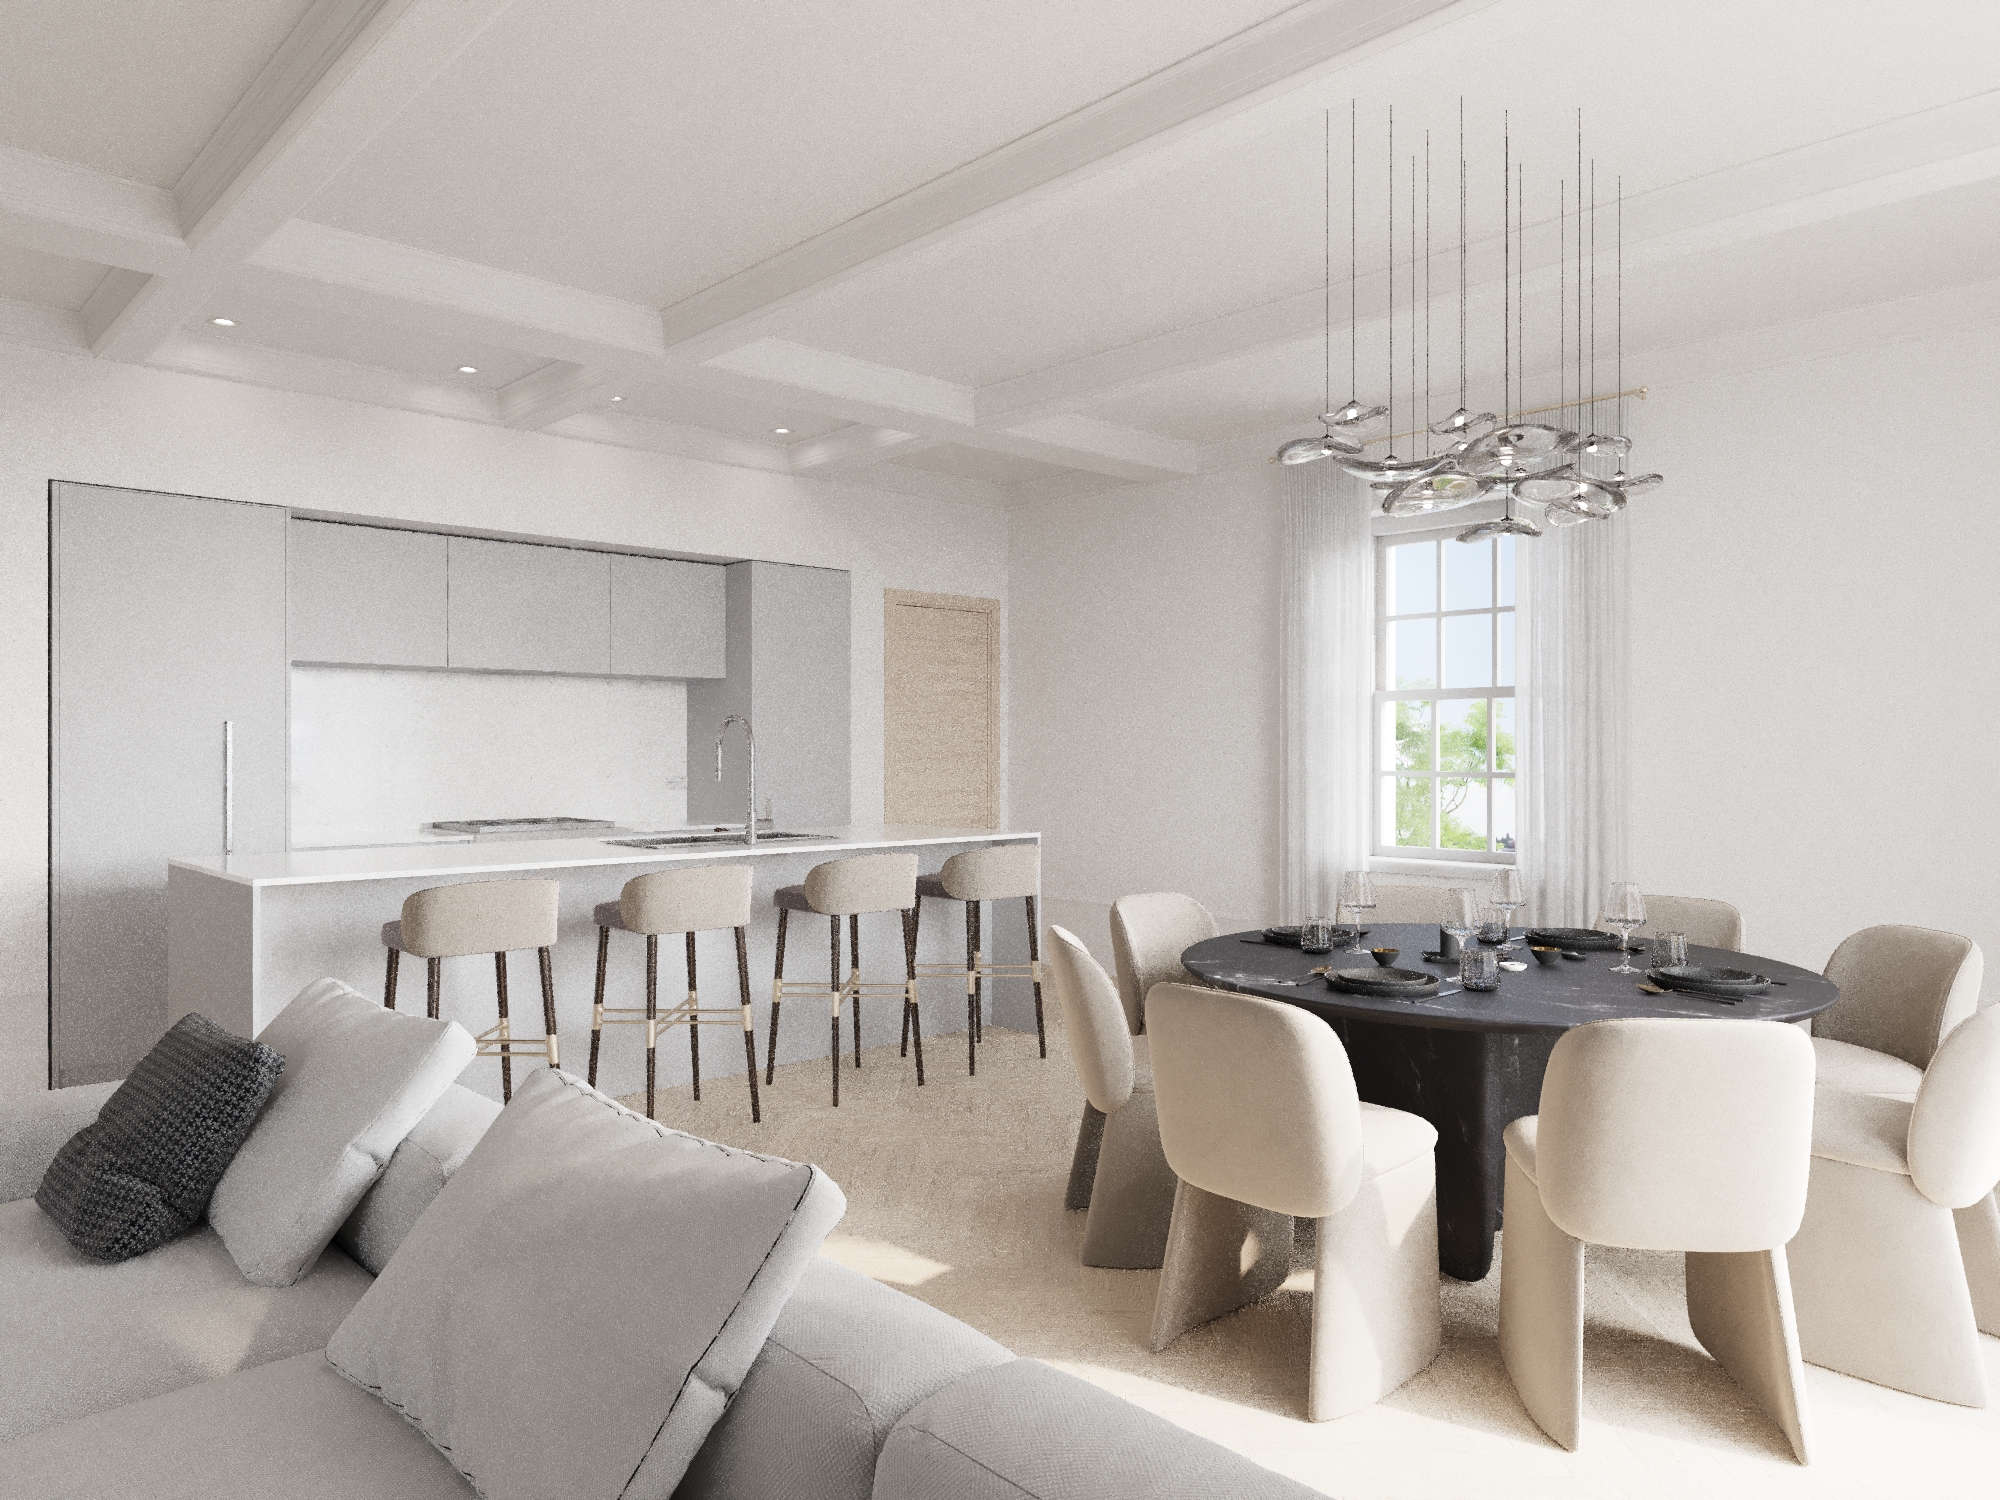
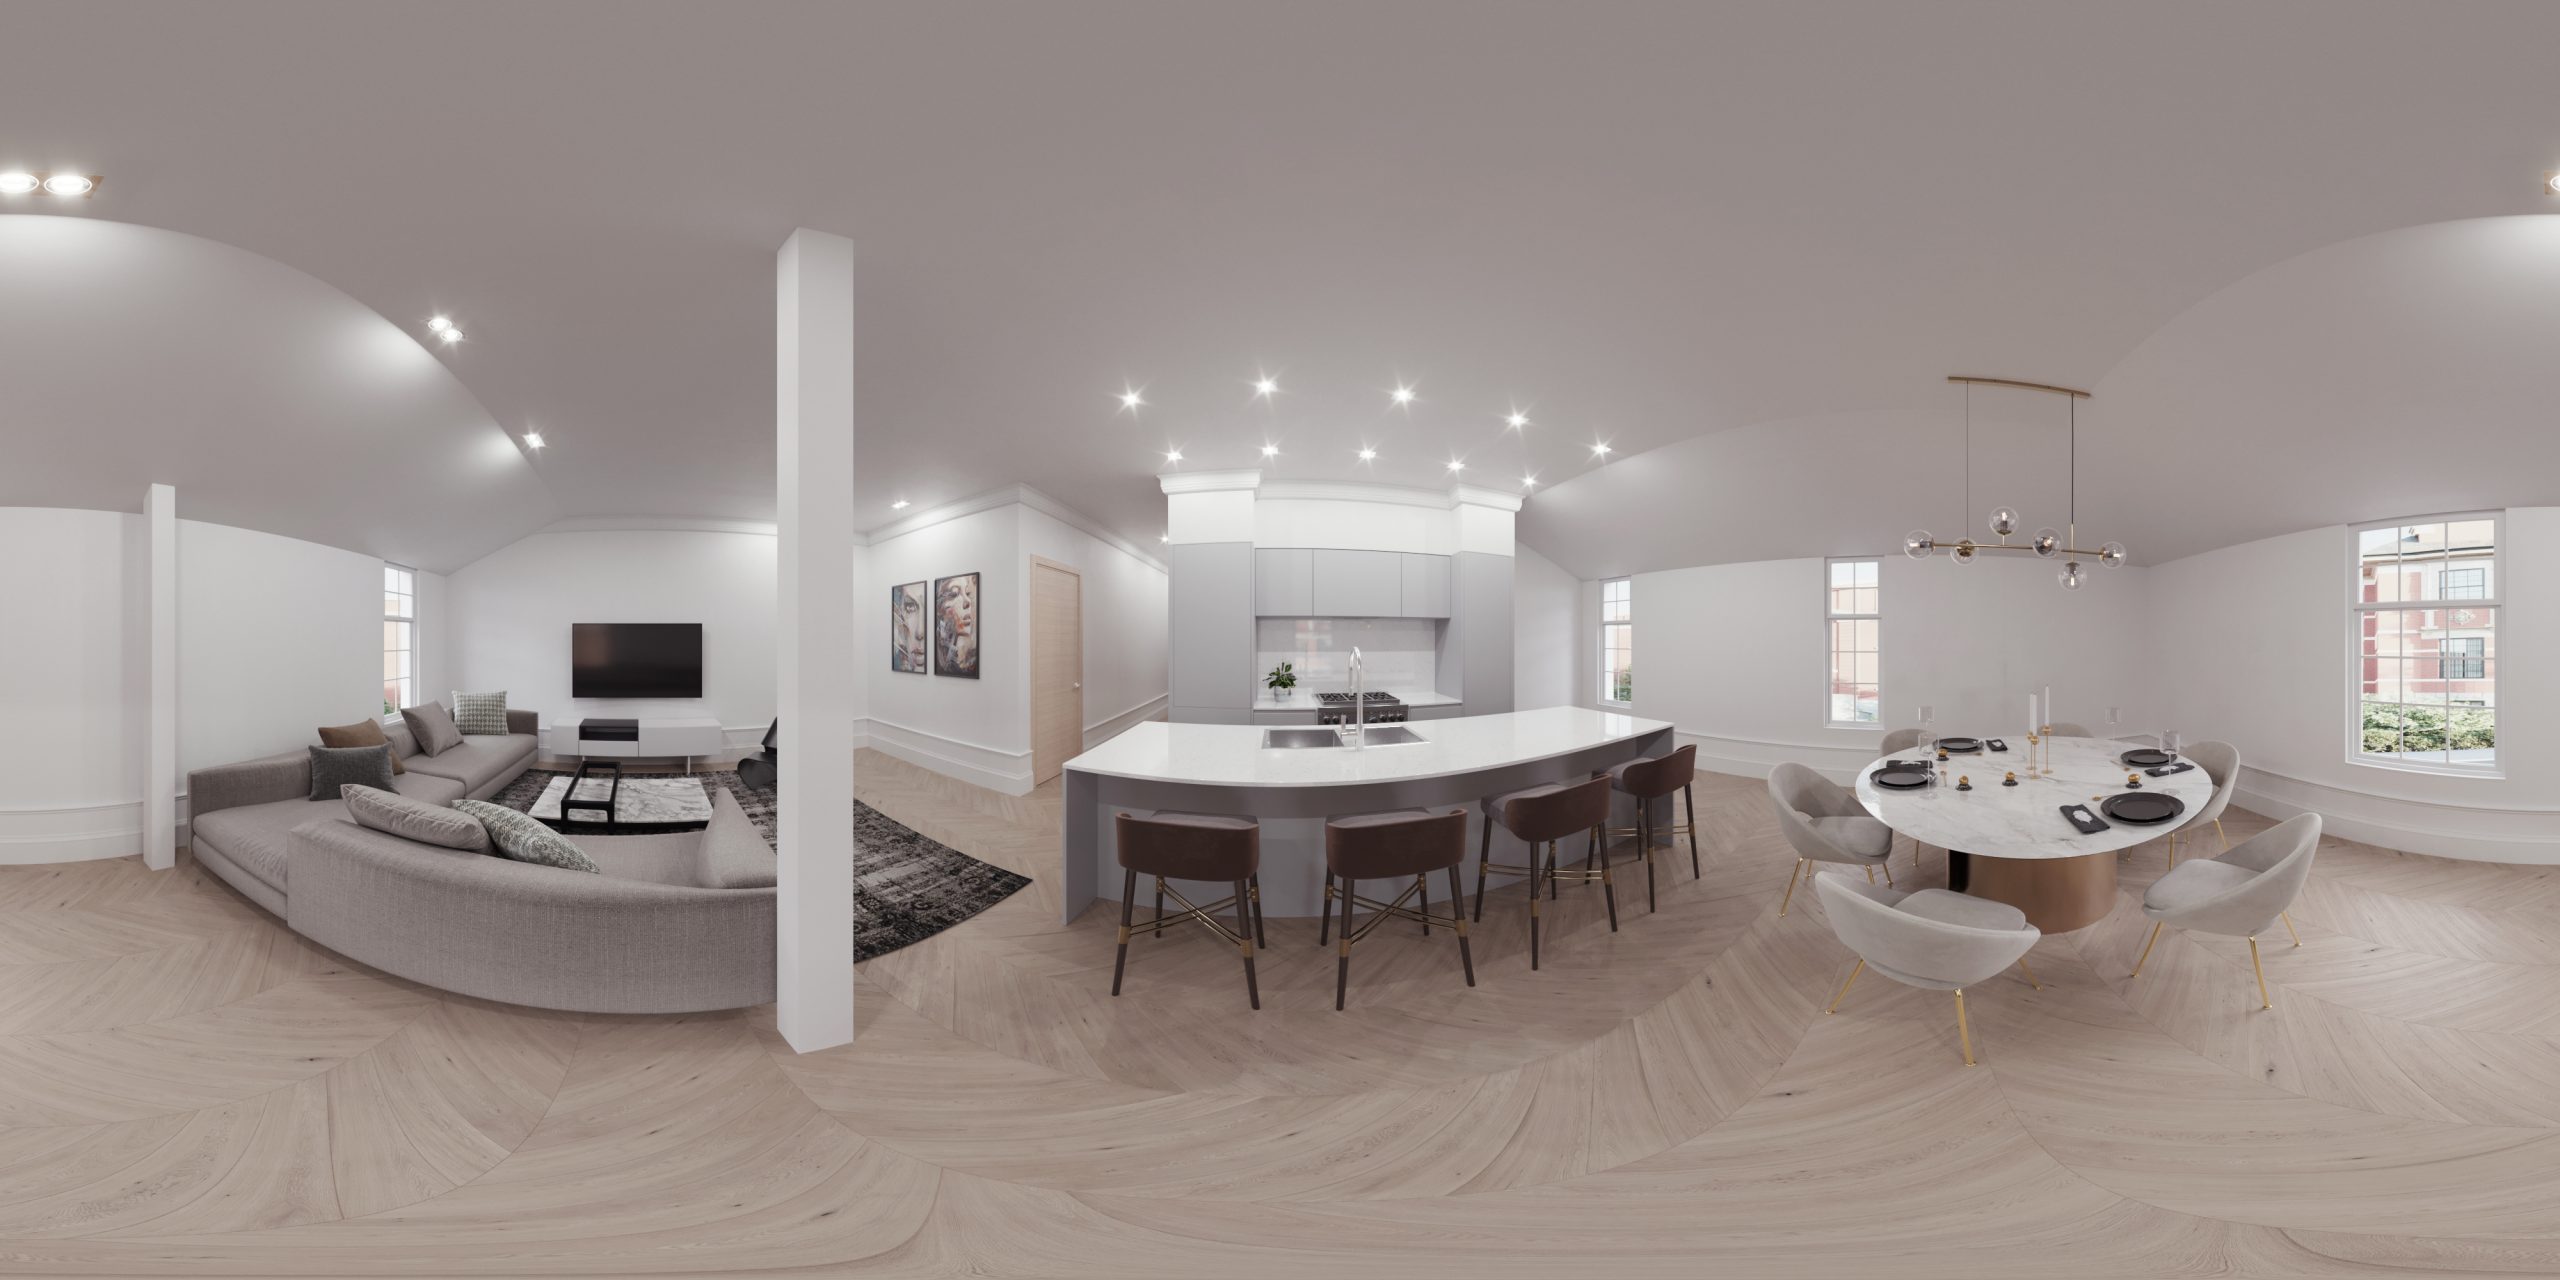
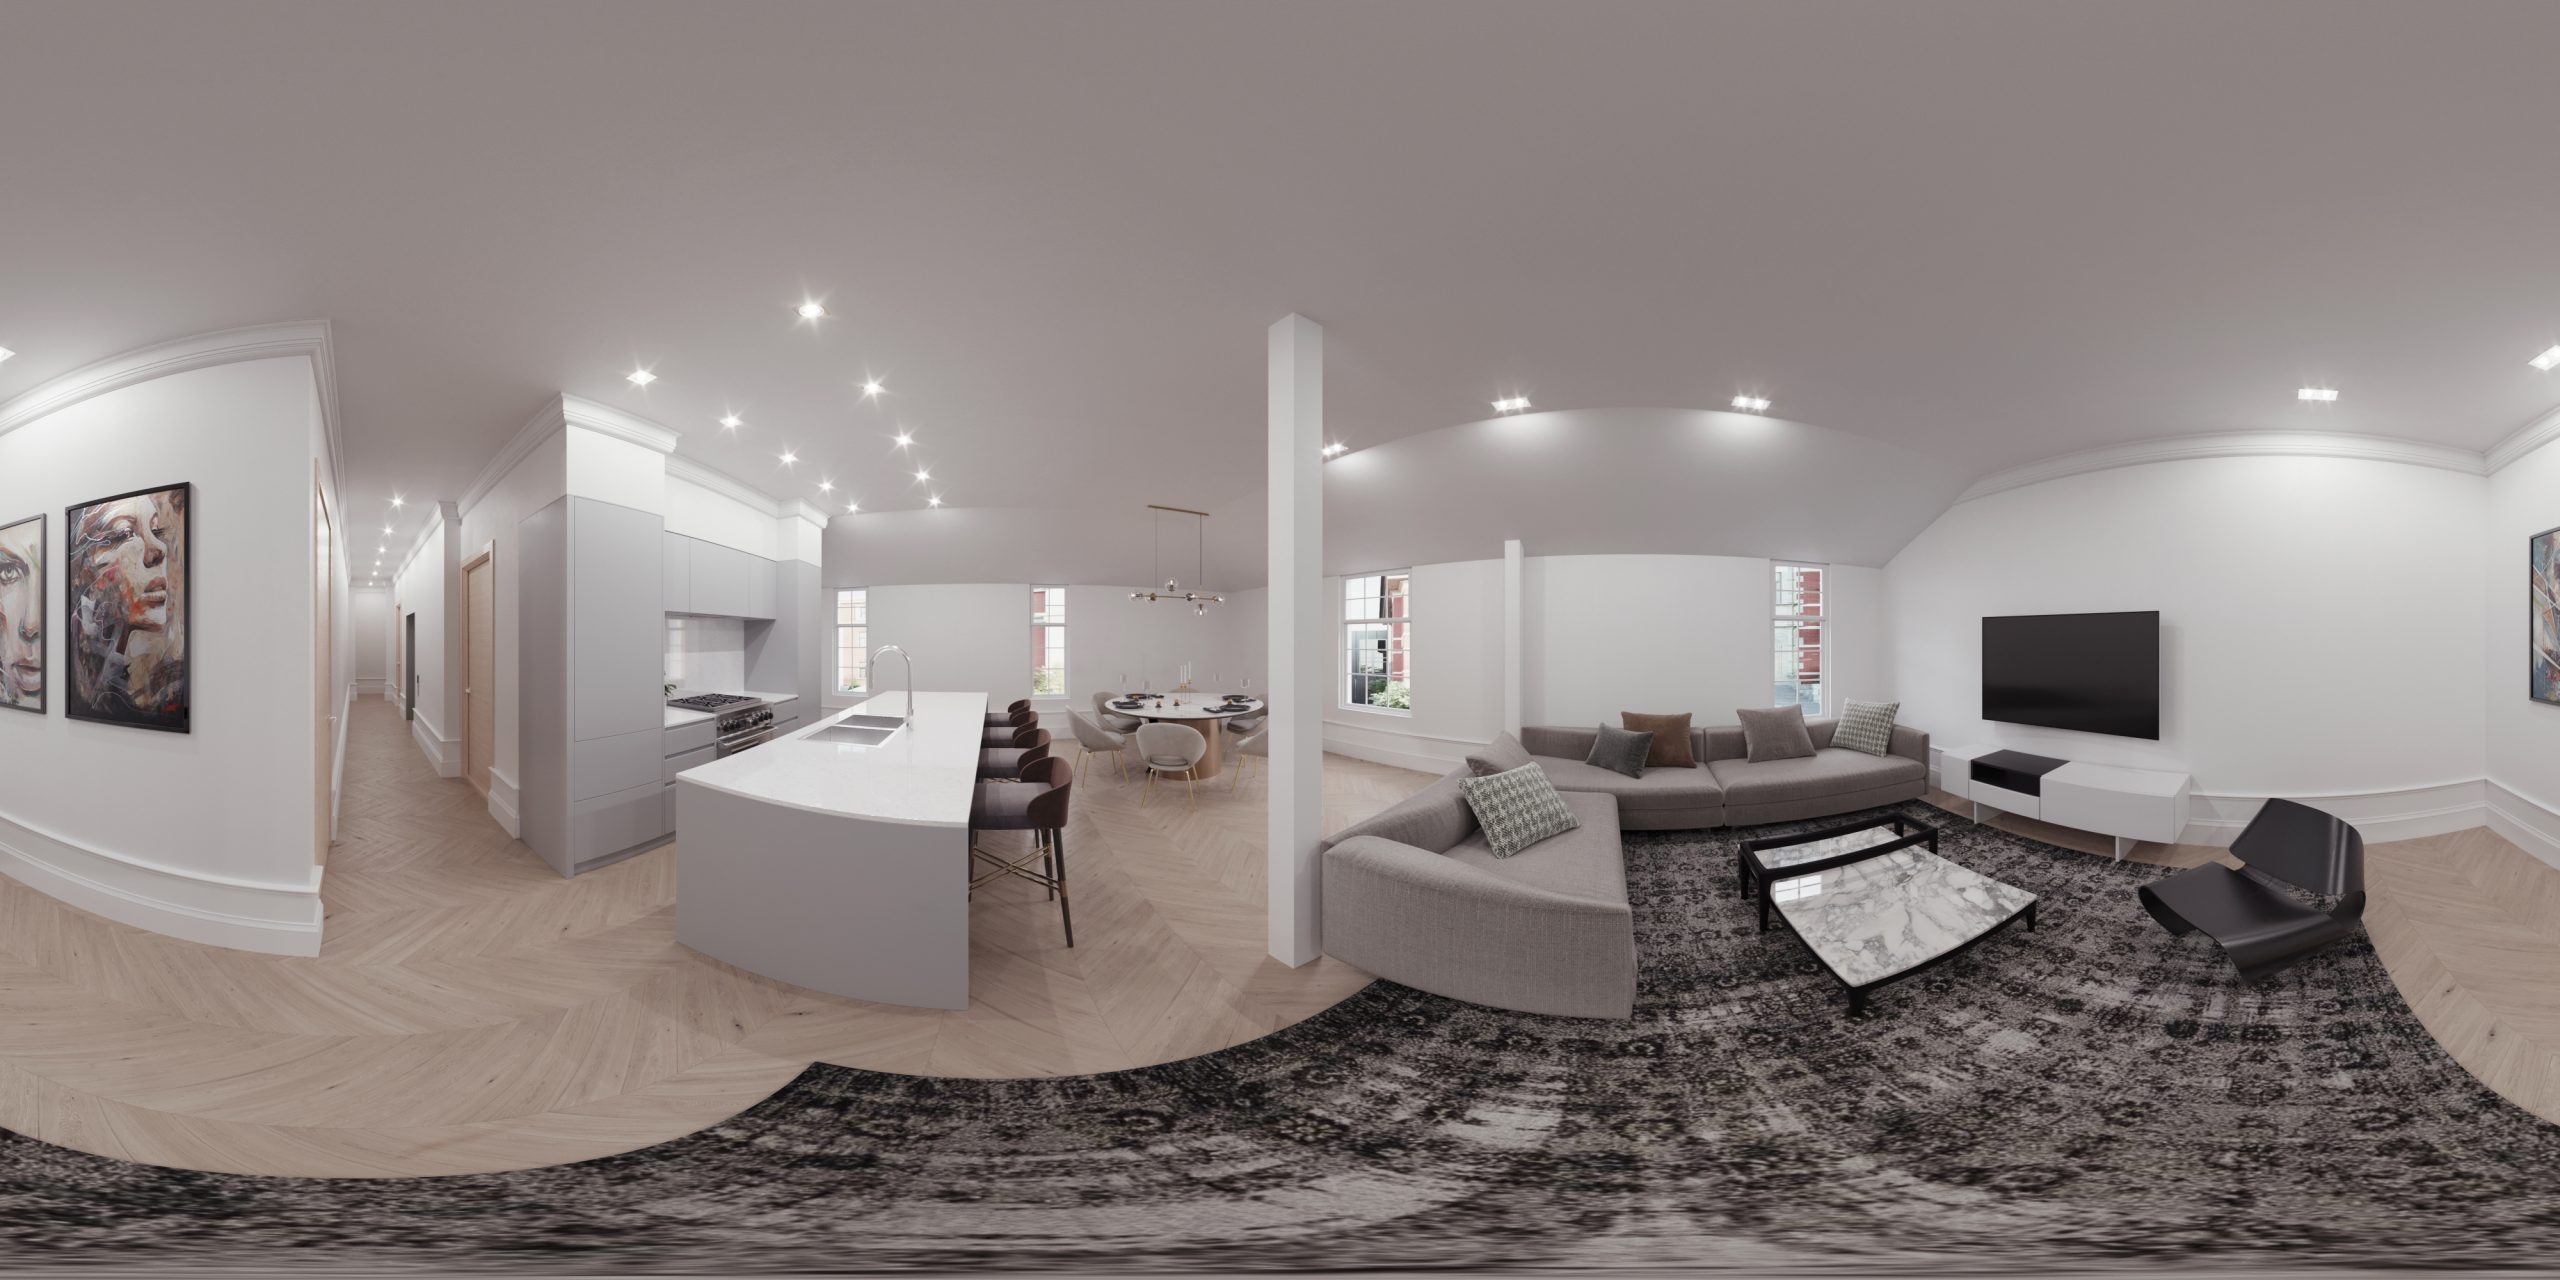
3D Virtual Tour for Unit 101 Called “Curry”
This apartment will be located on the top of the building, on the east side. It will have 893 sq. ft. and boast a wireless Lutron lighting system and top-quality finishes.
Brief
The brief for the task contained the following files:
- a floor plan with hotspots for the camera;
- elevations;
- materials and furniture. Many of these had to be taken from the CGI project for the Percy condo we had previously worked on, so the client sent us our 3D renders of these apartments;
- 3D models of furniture and other interior products selected by the client from our CGI library.
Stage 1: Recreating and Approving the Design
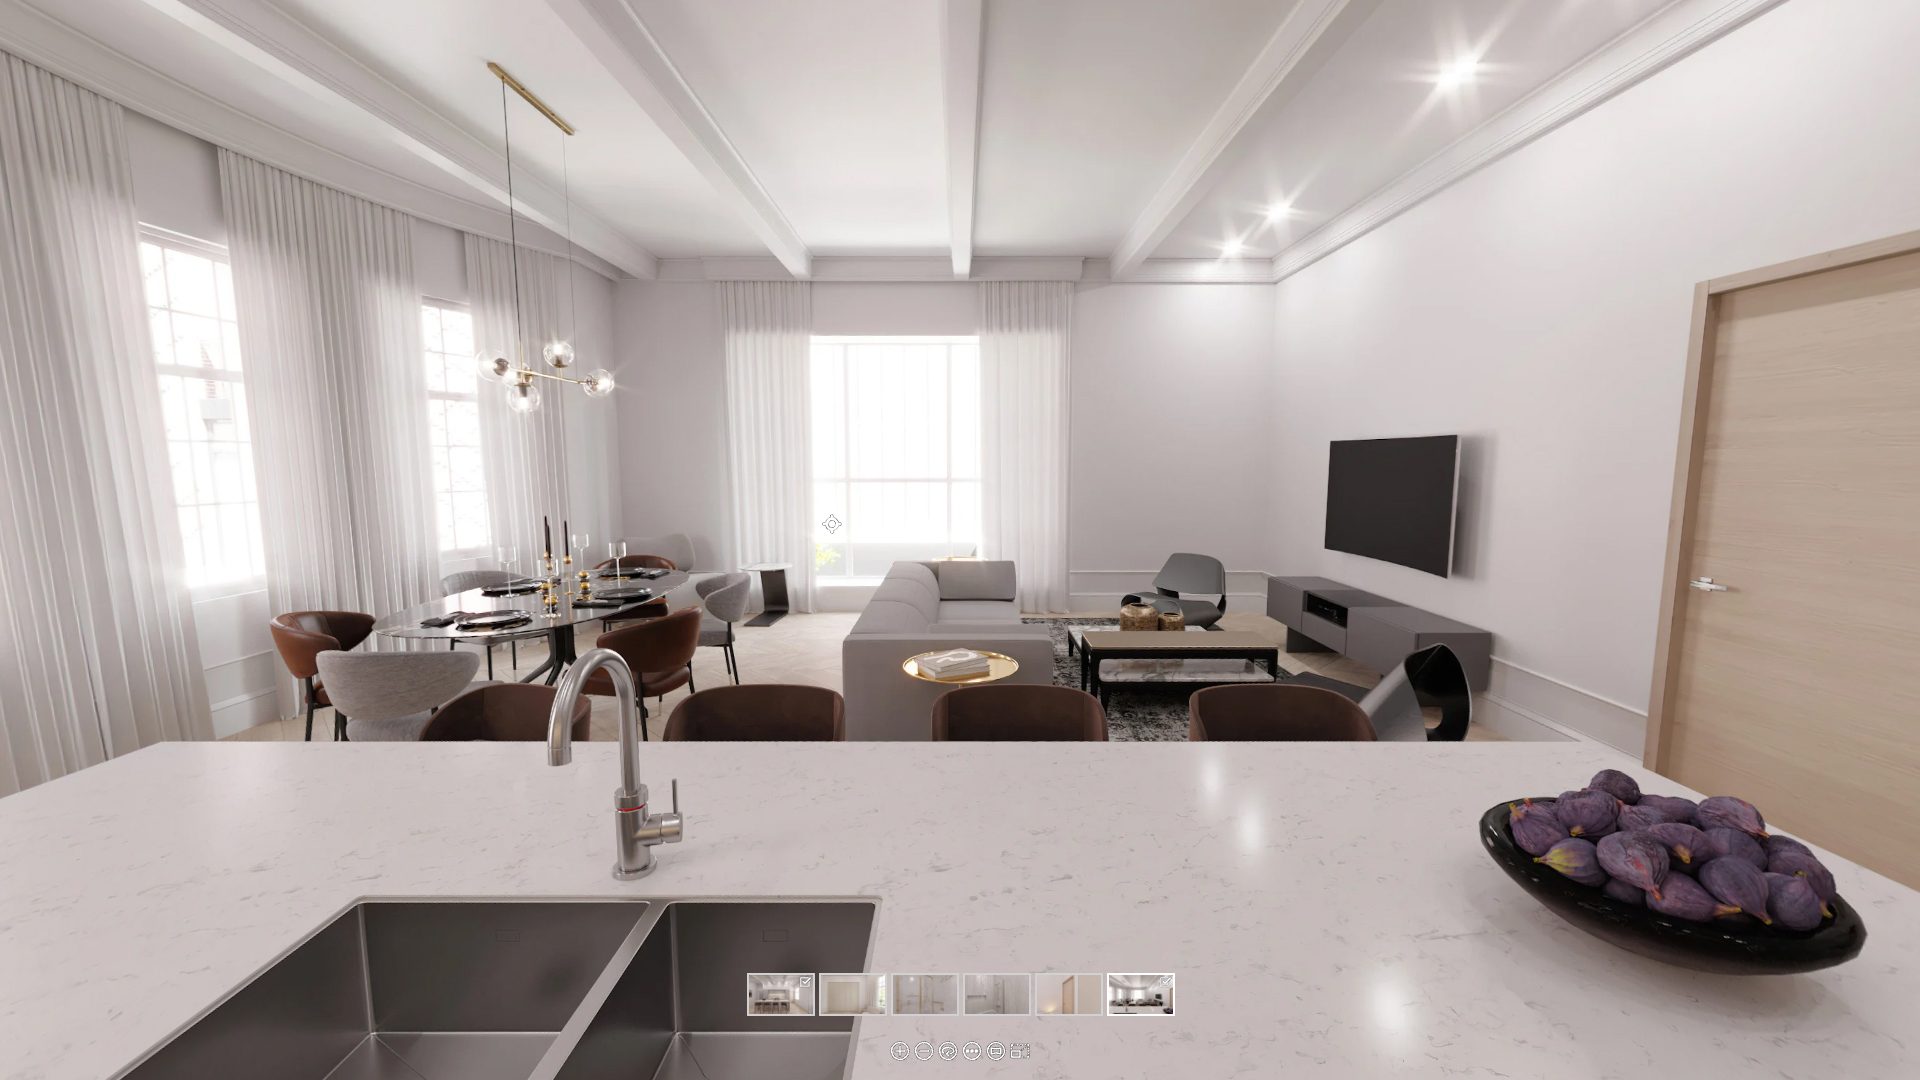
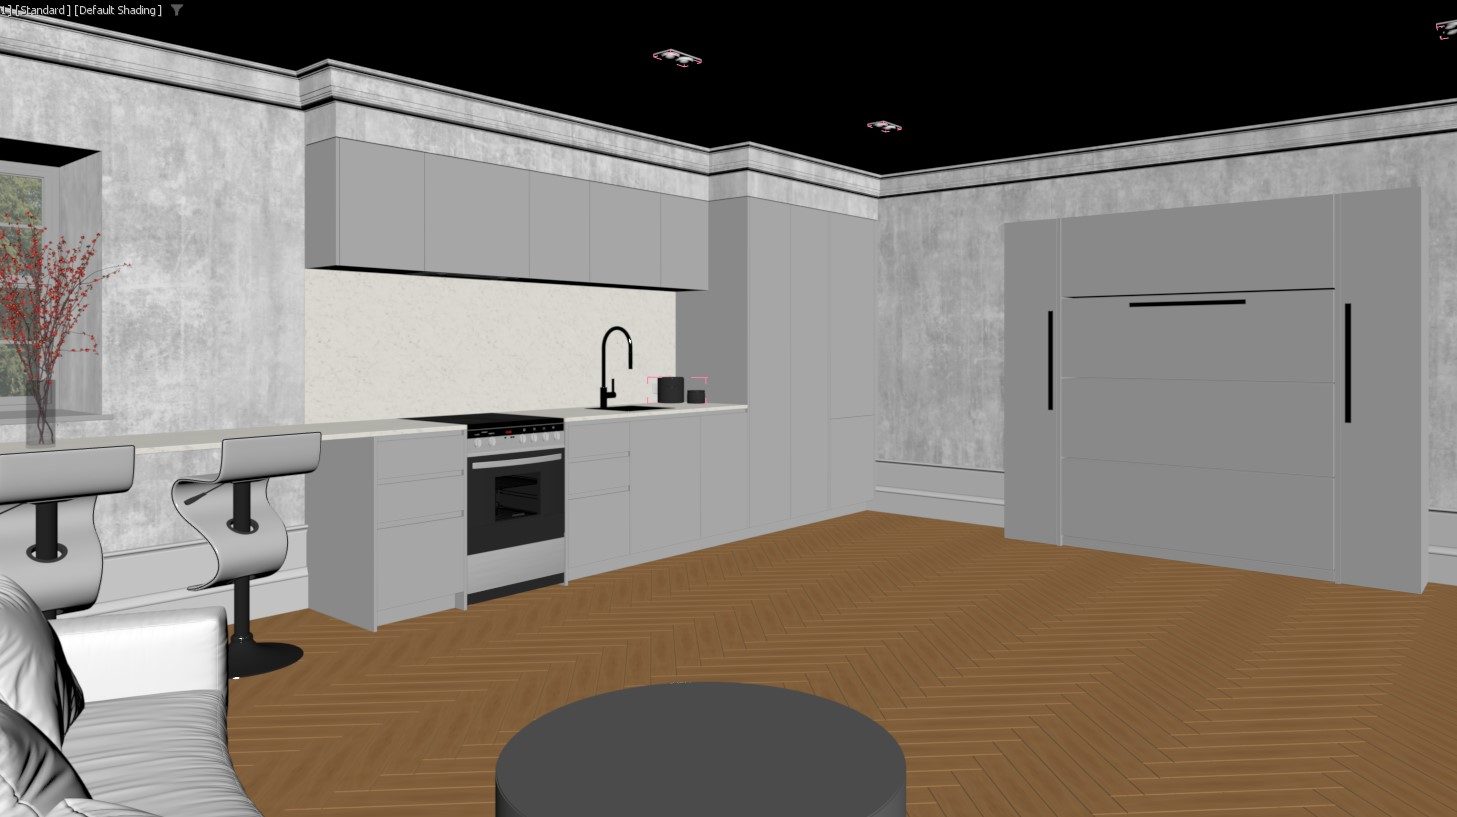
The CGI team reviewed the materials, asked a few questions, and got to work. The 3D artists modeled the interior, filled it with furniture, and then set the lighting in the scene and textured everything. The first intermediate results were in the form of low-resolution 3D visualizations.
Review Round 1
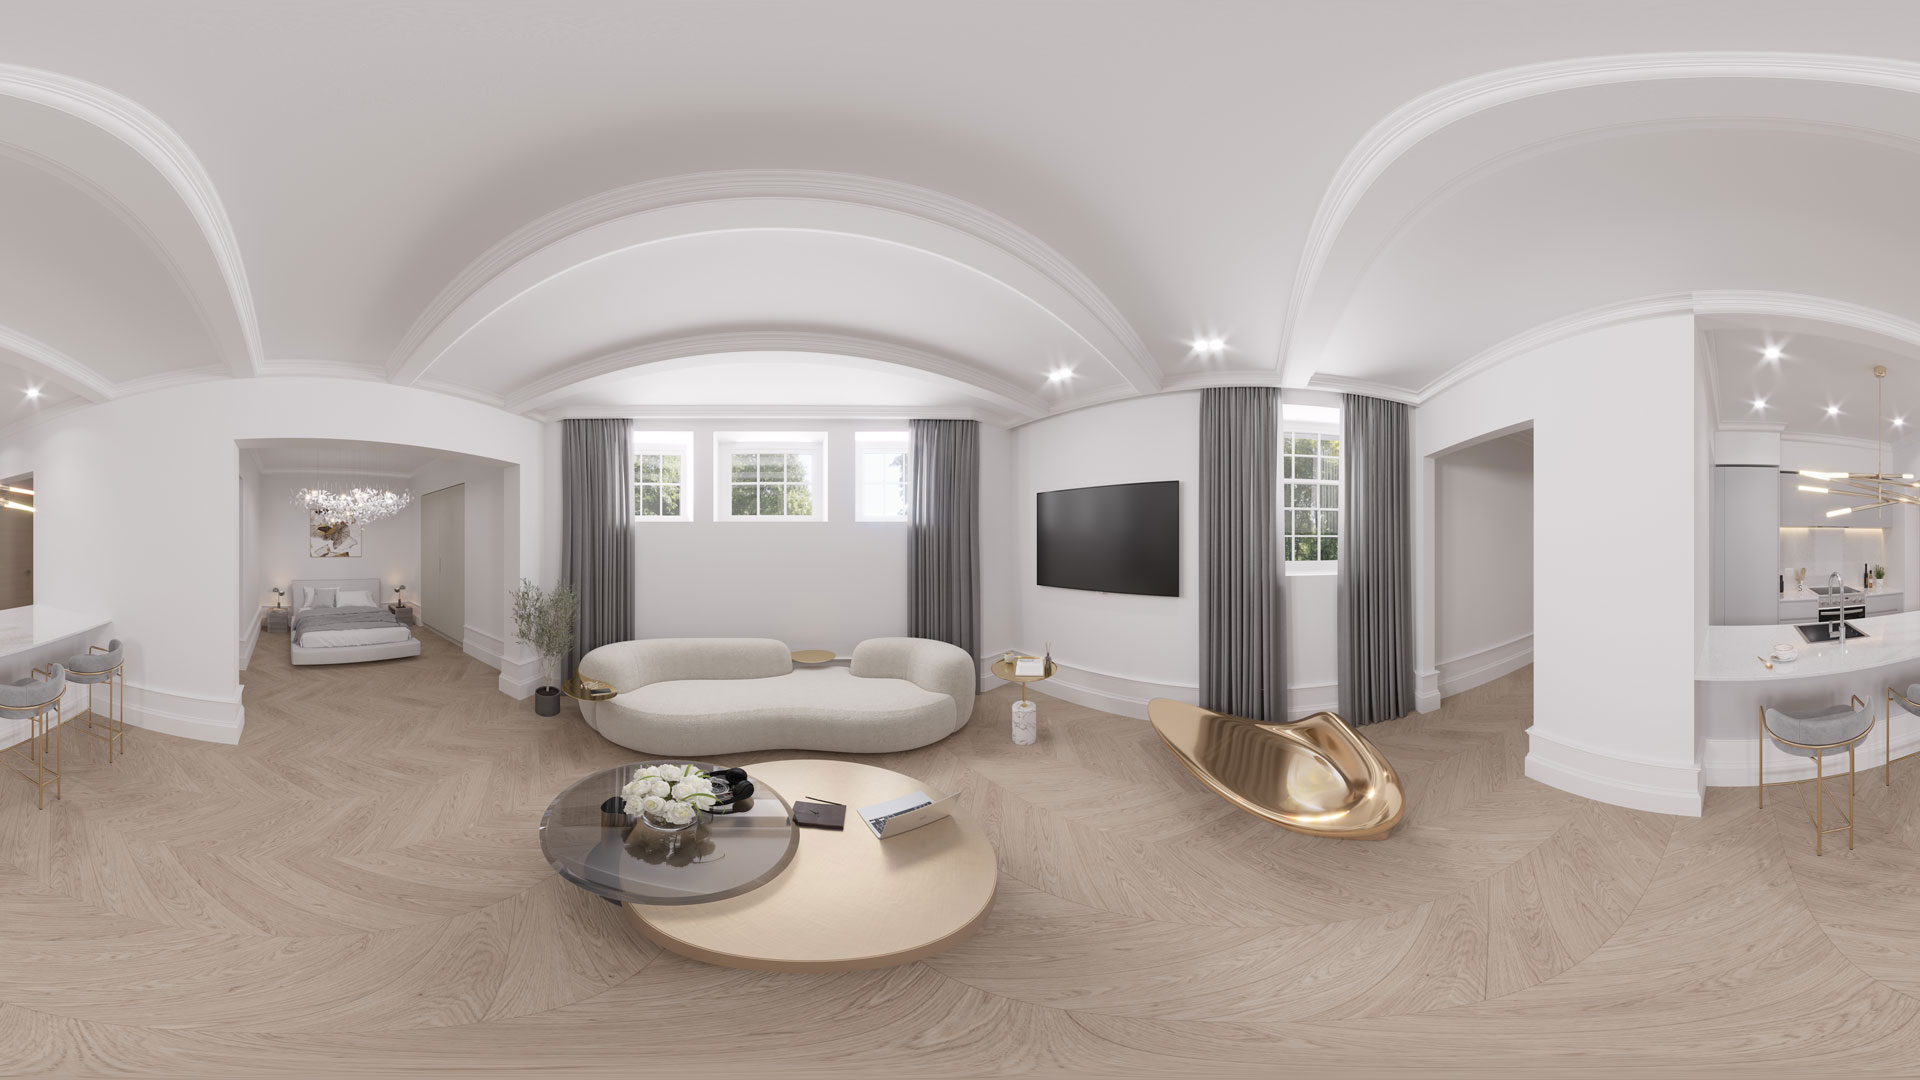
The client viewed the geometry, materials, furniture, lighting, and decorative elements. He asked us to:
- include the coffered ceilings from the updated plans
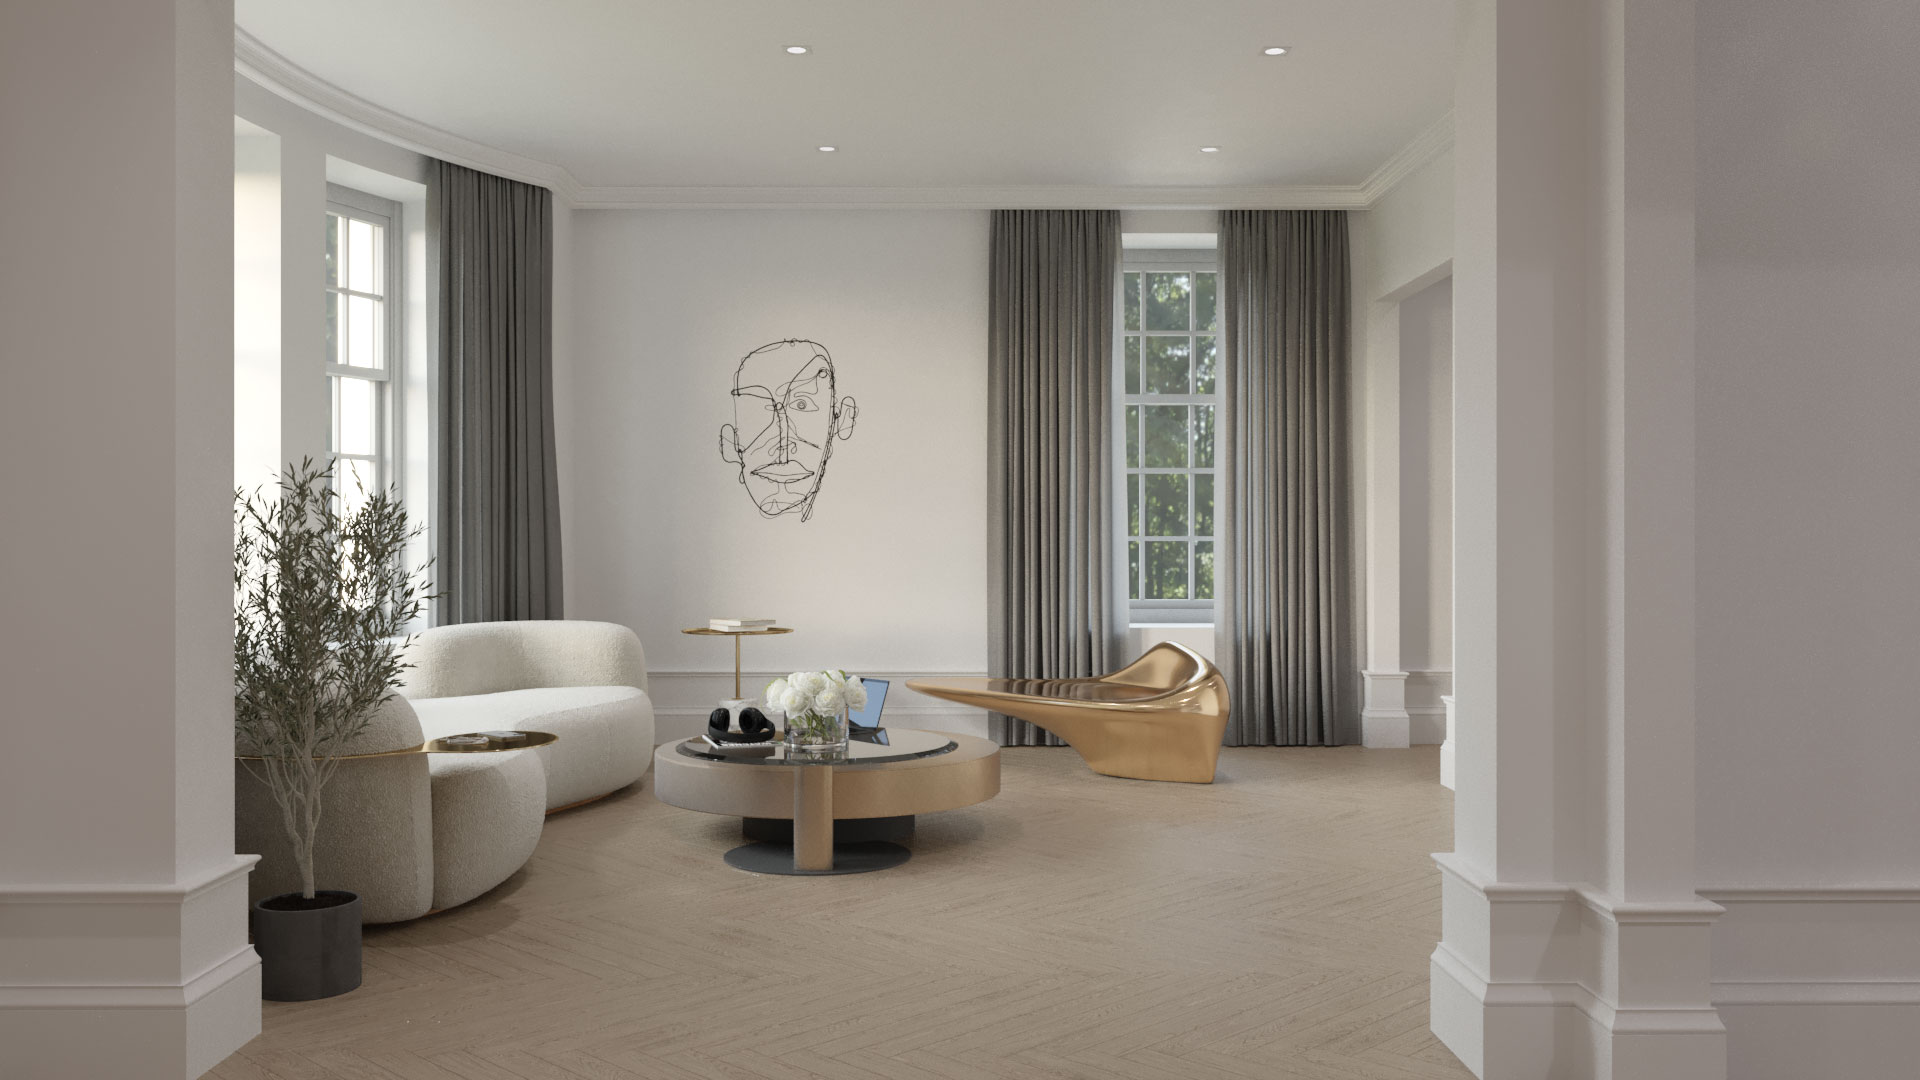
- remove the fruit on the island and the Face artwork on the wall
- adjust the 3 window sizes behind the couch as per the plan
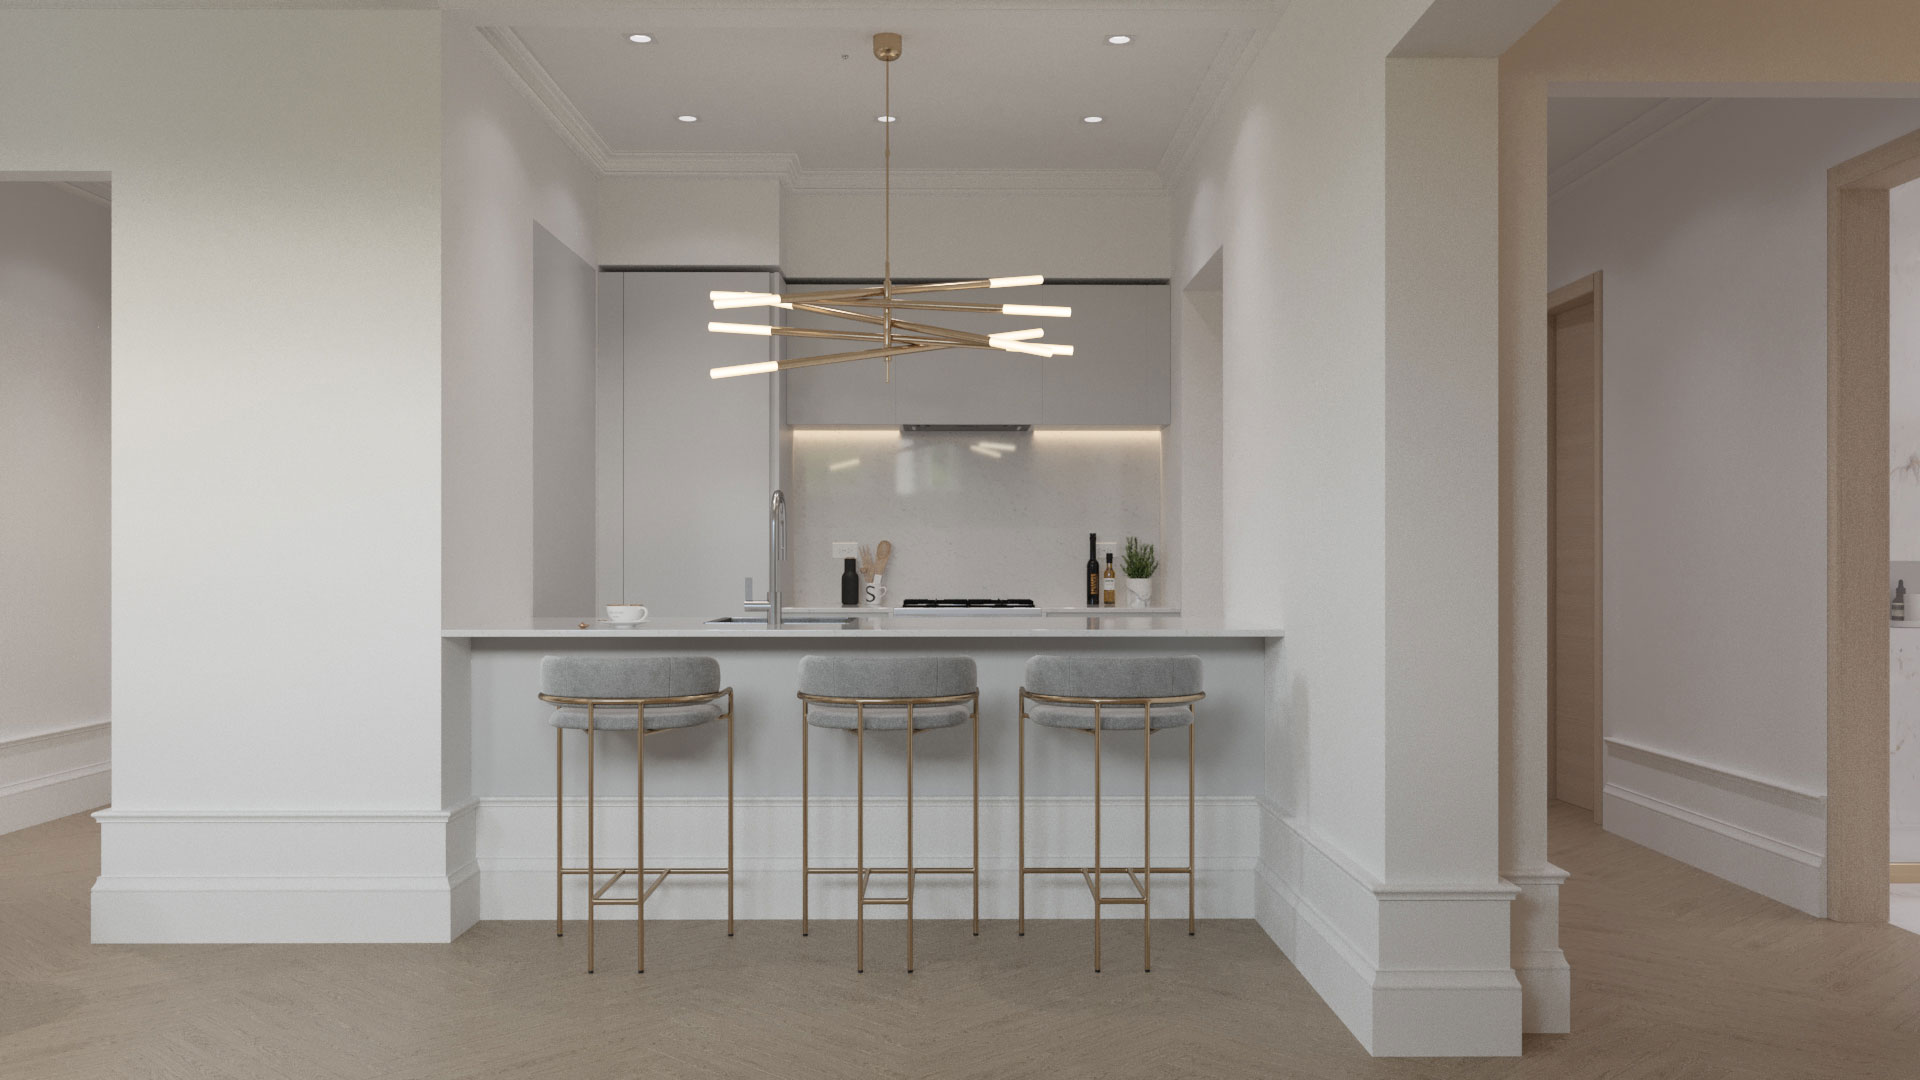
- change the stools at the island to the 3D model attached from our CGI library. The stools need to be light gray or beige
- change the lighting fixtures in the bedroom, over the kitchen bar, and in the entrance hall to the items selected from our CGI Library
Review Round 2
Here is what George wrote upon viewing 3D renderings for the future 3D real estate virtual tour.
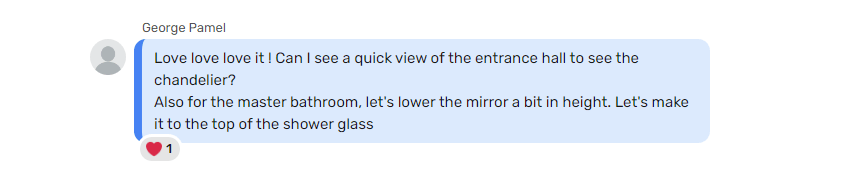
Also, we were to add a TV to the wall in the living room, next to the sofa. The 3D artist swiftly made the required updates and sent the new pre-renders.
George approved the interior design and the 3D apartment scene, too. Then, it was time to pre-render the interior for the first of the 3D real virtual estate tours for the Robertson condo in Montreal. With that task done, the 3D visualizer moved on to the next step — creating high-res panoramas.
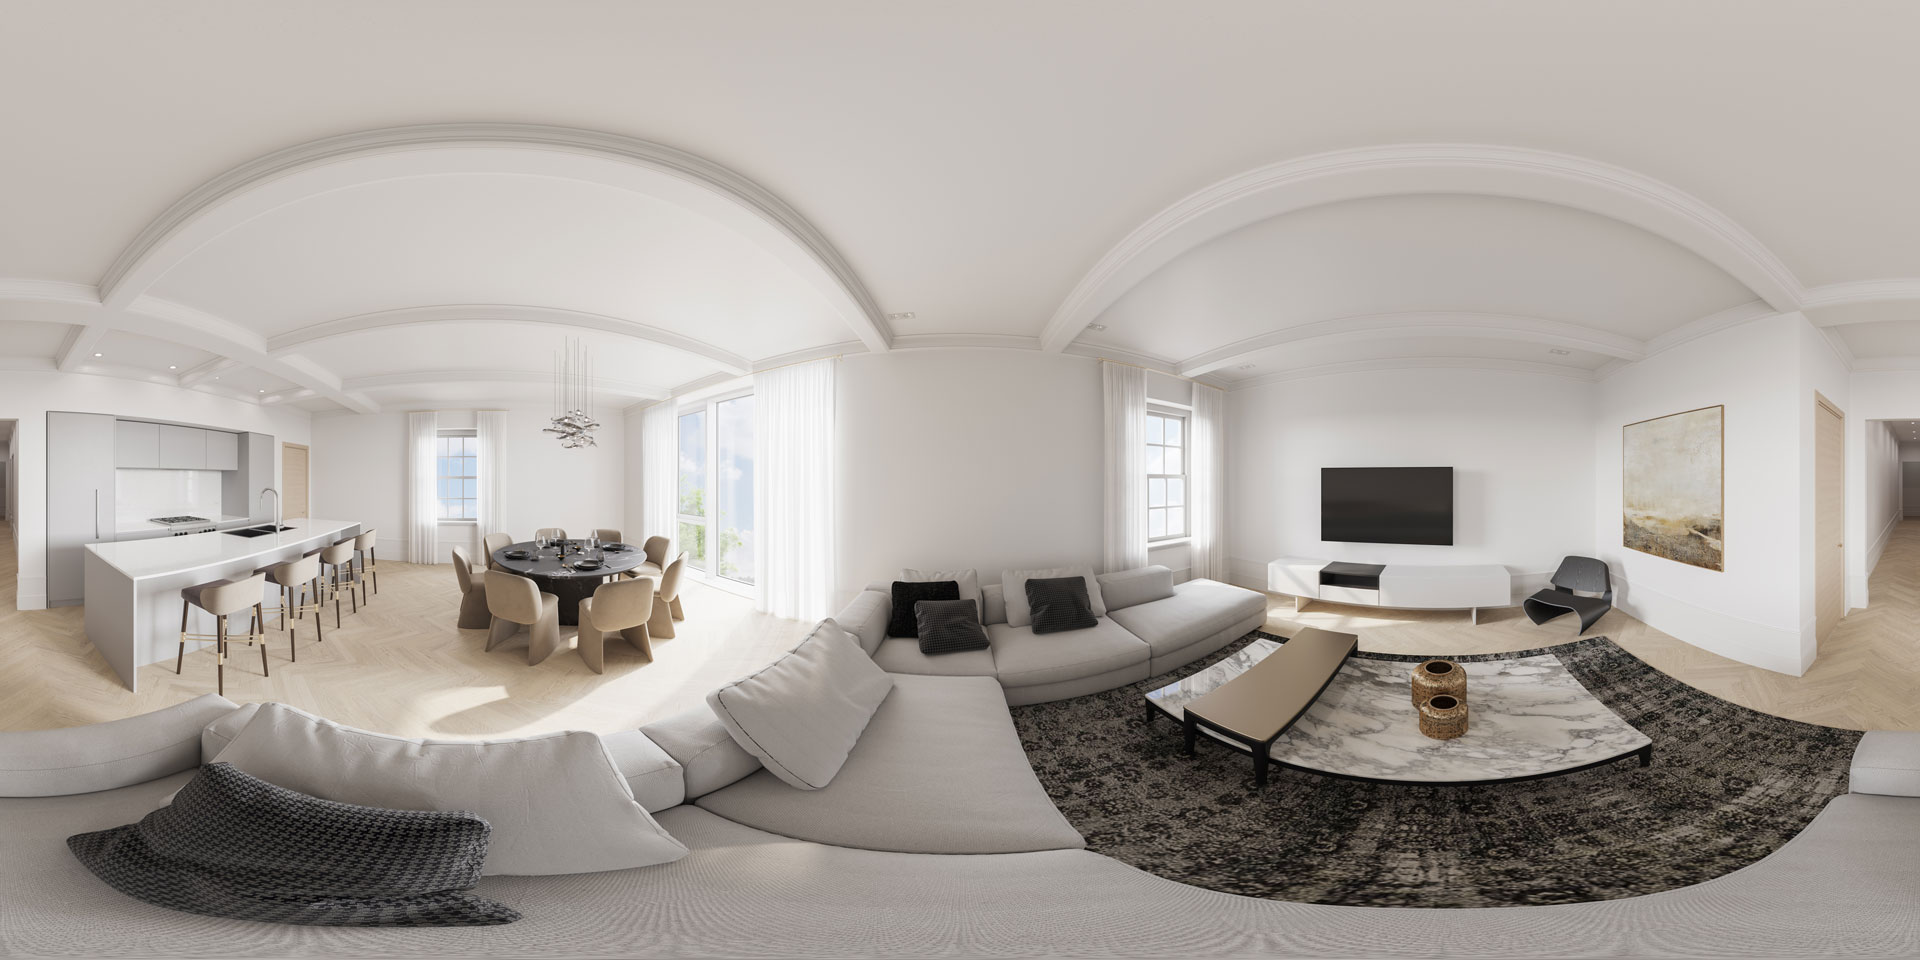
Stage 2: Sending Panoramas for Preview and Assembly
The 3D artist rendered the results in 4K and submitted them for approval. George viewed them on https://renderstuff.com/tools/360-panorama-web-viewer/ to get a taste of what the 3D virtual tour will look like.
Review Round 1
George asked us to replace the flooring with the one he had seen on the stills. Once the 3D visualizer fixed it, she submitted the new panoramas and George approved them.
The virtual tour was then published on the condo’s listing, along with a few stills. And we are happy to say that it looks gorgeous there!
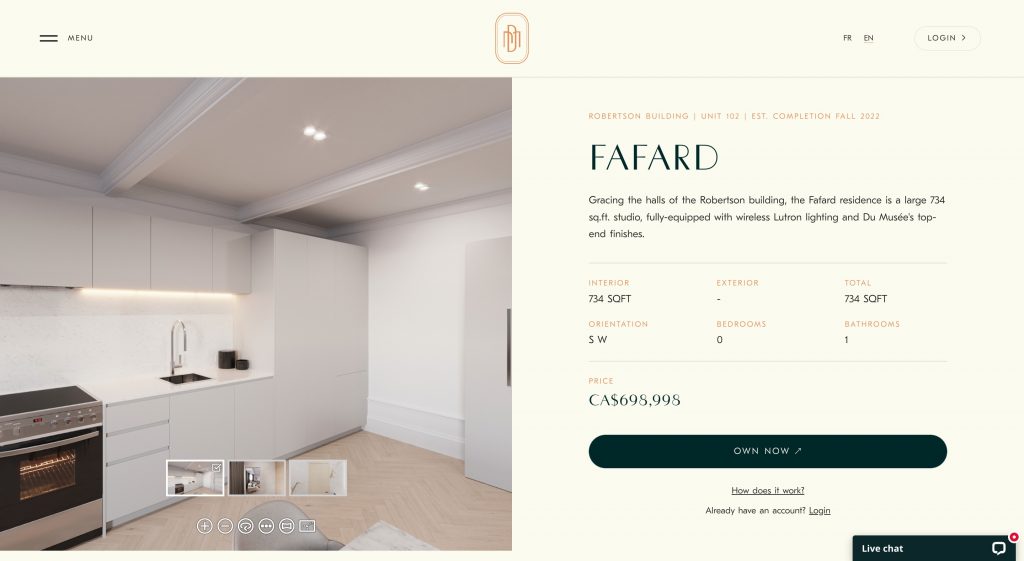
3D Real Estate Tour for Unit 102, Fafard
The Fafard apartment will be 734 sq. ft. large, have 9 feet high ceilings, and a wireless Lutron lighting system. It will be a perfect home for people with high standards for comfort, aesthetics and eco-friendliness.
Brief
The brief for this 3D real estate tour included the following files:
- the space plan;
- kitchen and wardrobe drawings;
- elevation drawings of the windows;
- flooring and materials references.
Review Round 1
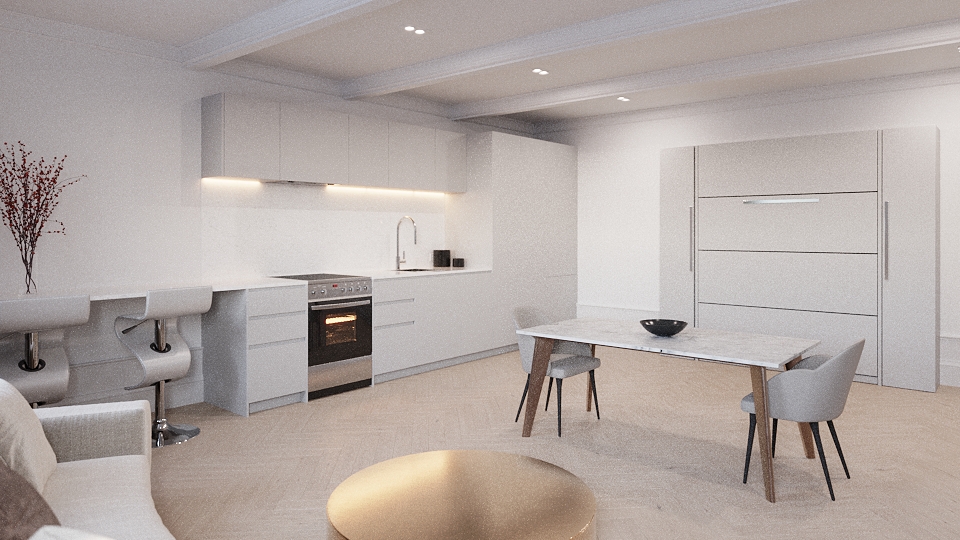
George viewed the preliminary renders and asked us to:
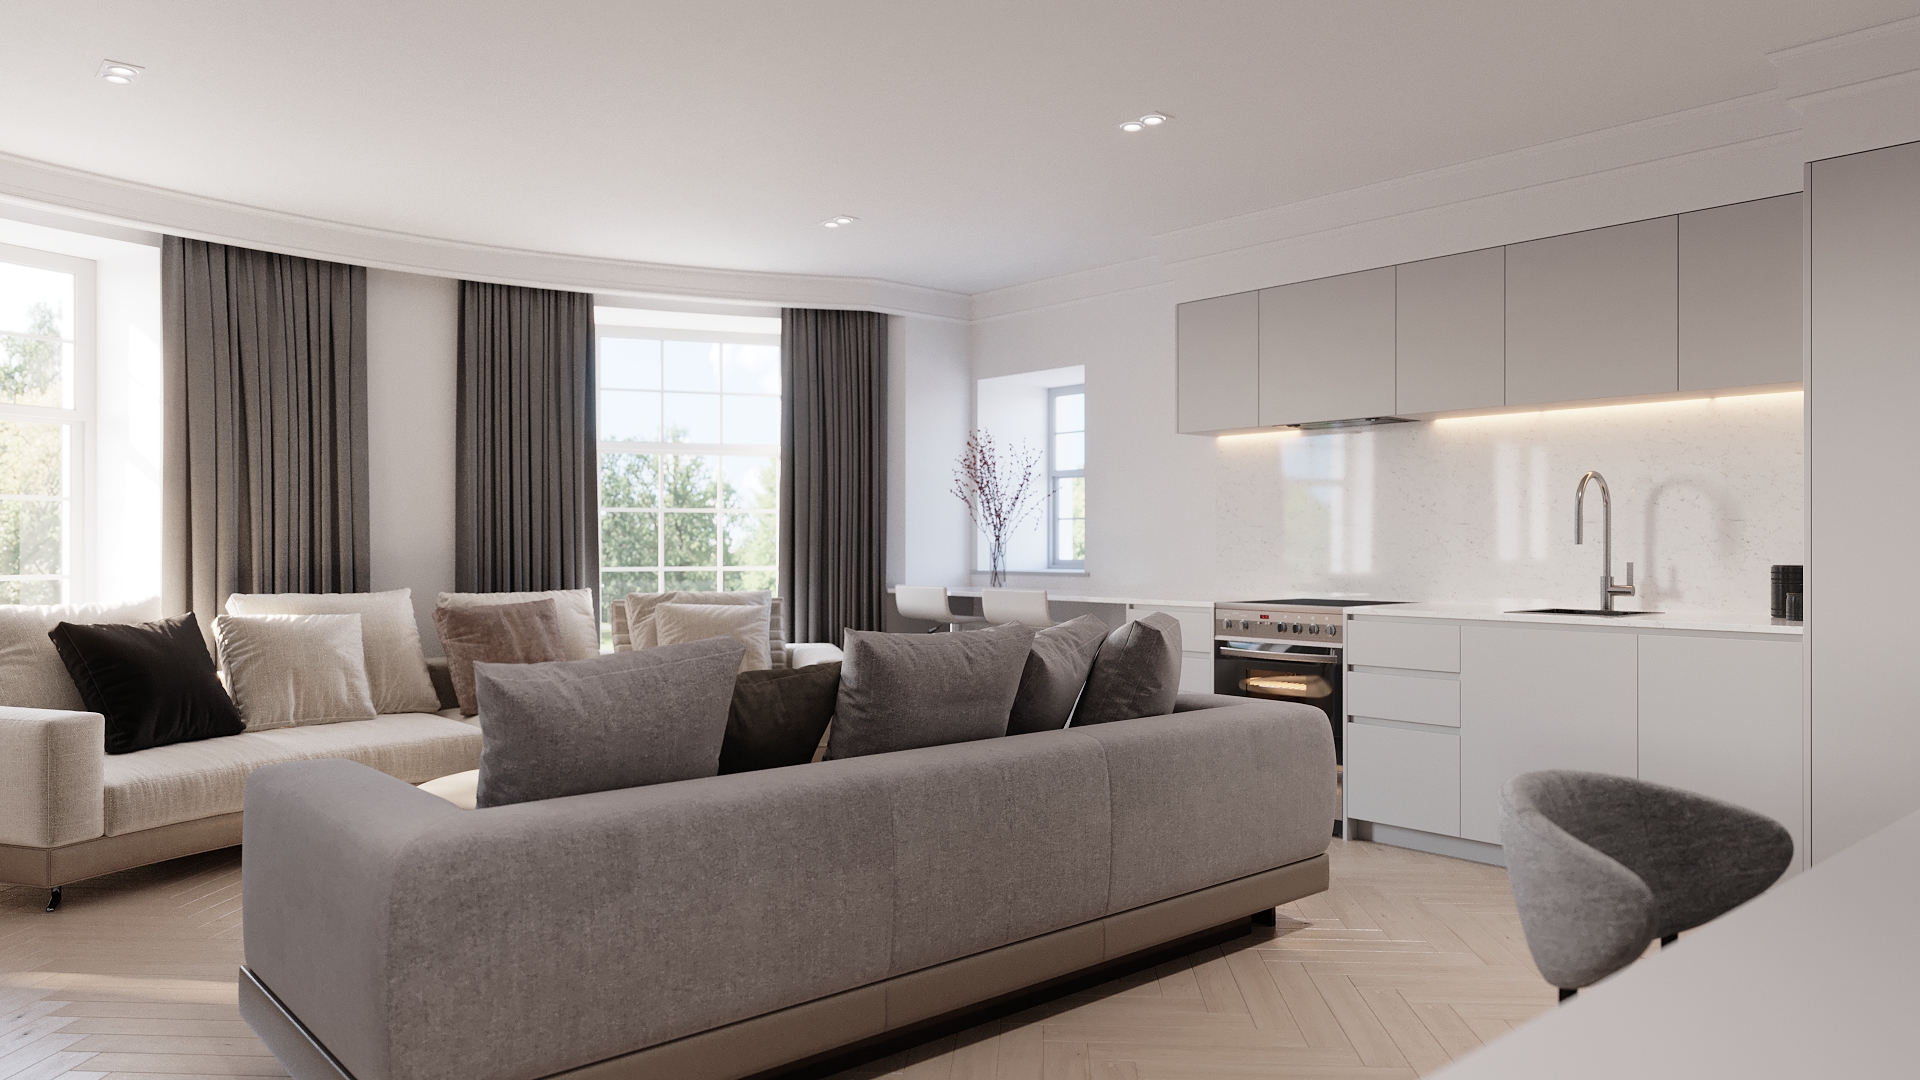
- remove the gray sofa and make the beige one a bit smaller;
- make the coffee table a bit smaller;
- replace the bookshelf with a Murphy bed 3D model;
- make the ceiling coffered;
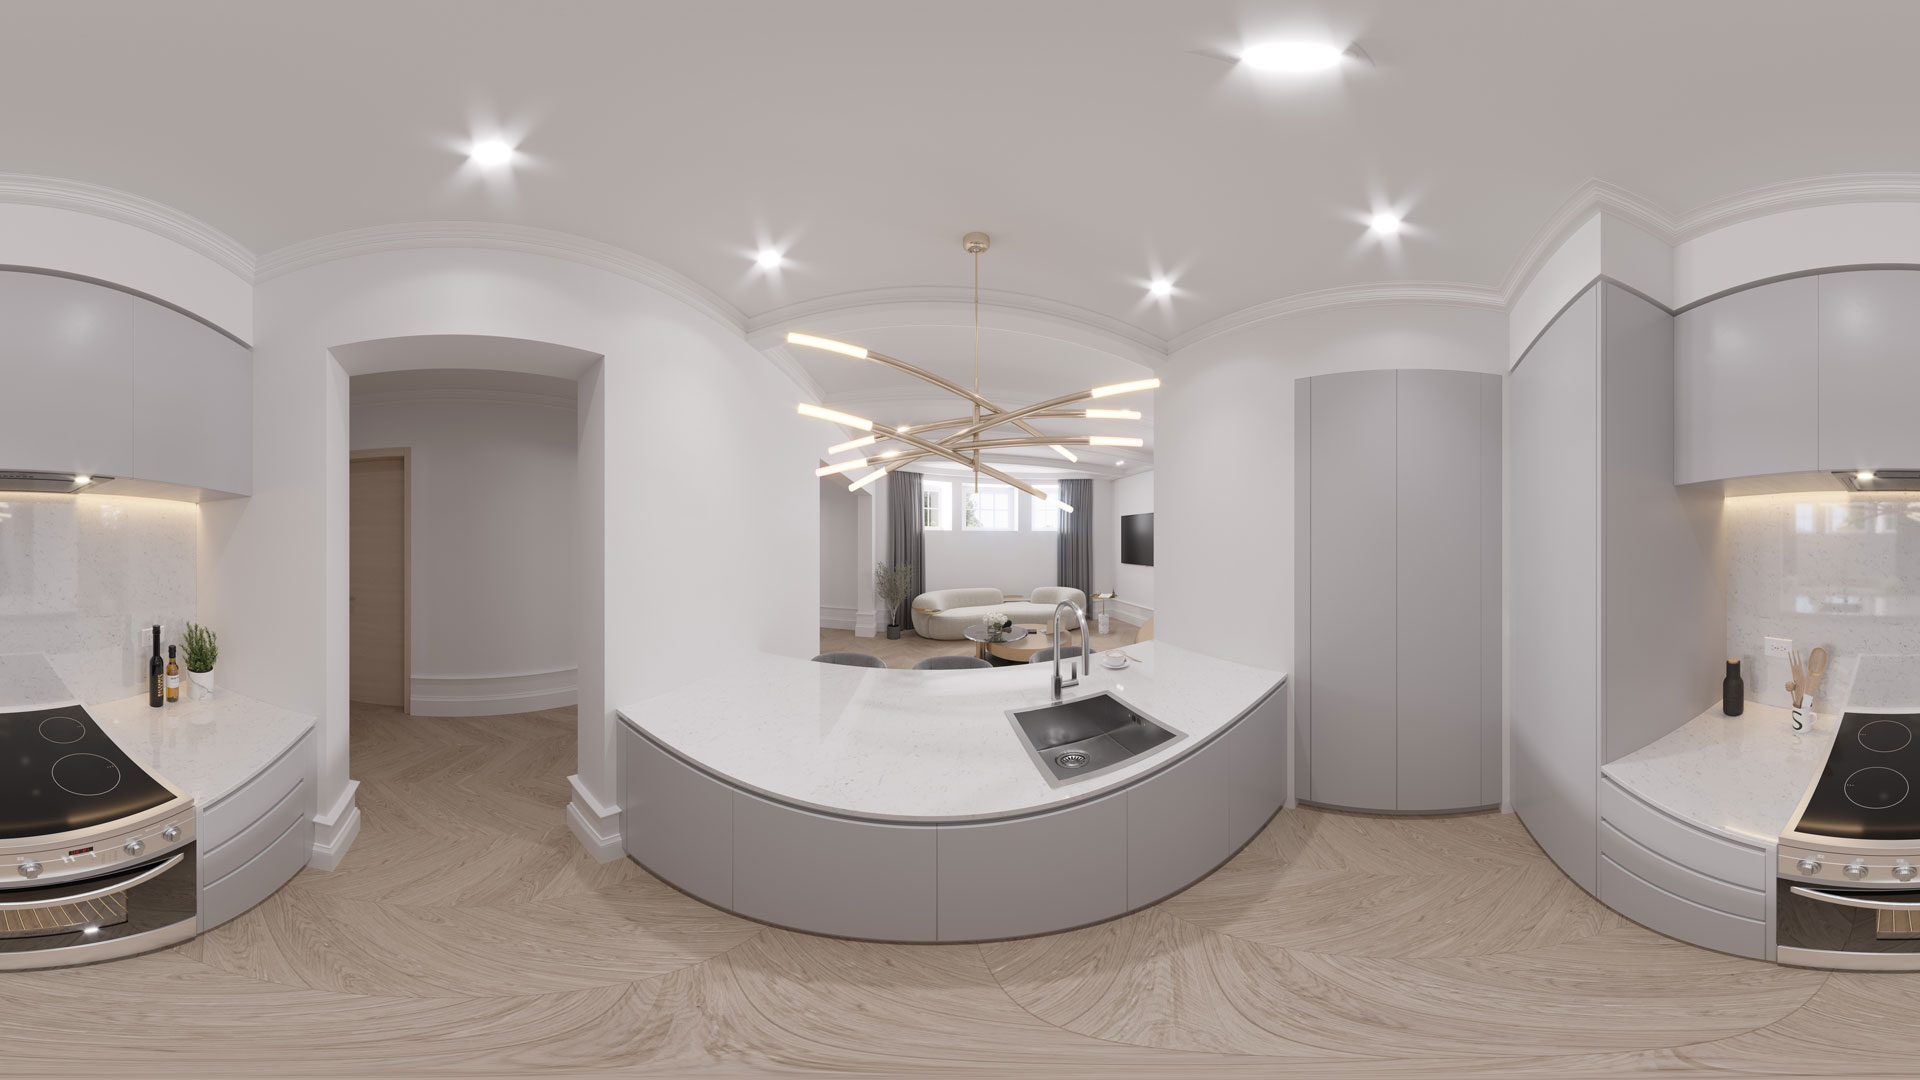
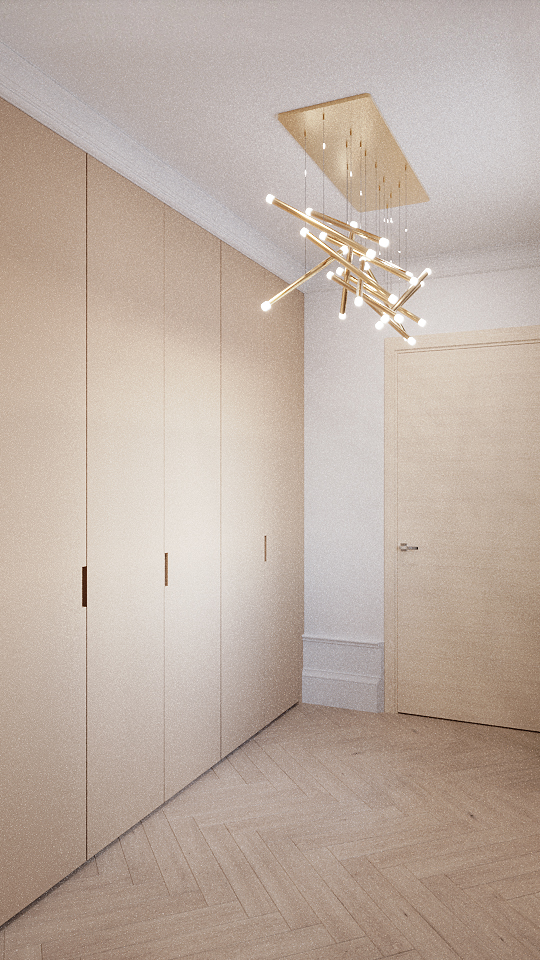
- replace the chandelier at the entrance with a different model;
- remove a window in the kitchen;
- adjust the size of the two big kitchen windows;
- add this small table and put two chairs between the coffee table and the Murphy bed
Before rendering preliminary images for the 3D real estate 3D tour, the CGI specialist needed to clarify if the Murphy bed needs to be folded or unfolded in the frame. So he made two screenshots, and the client chose the first one.
-
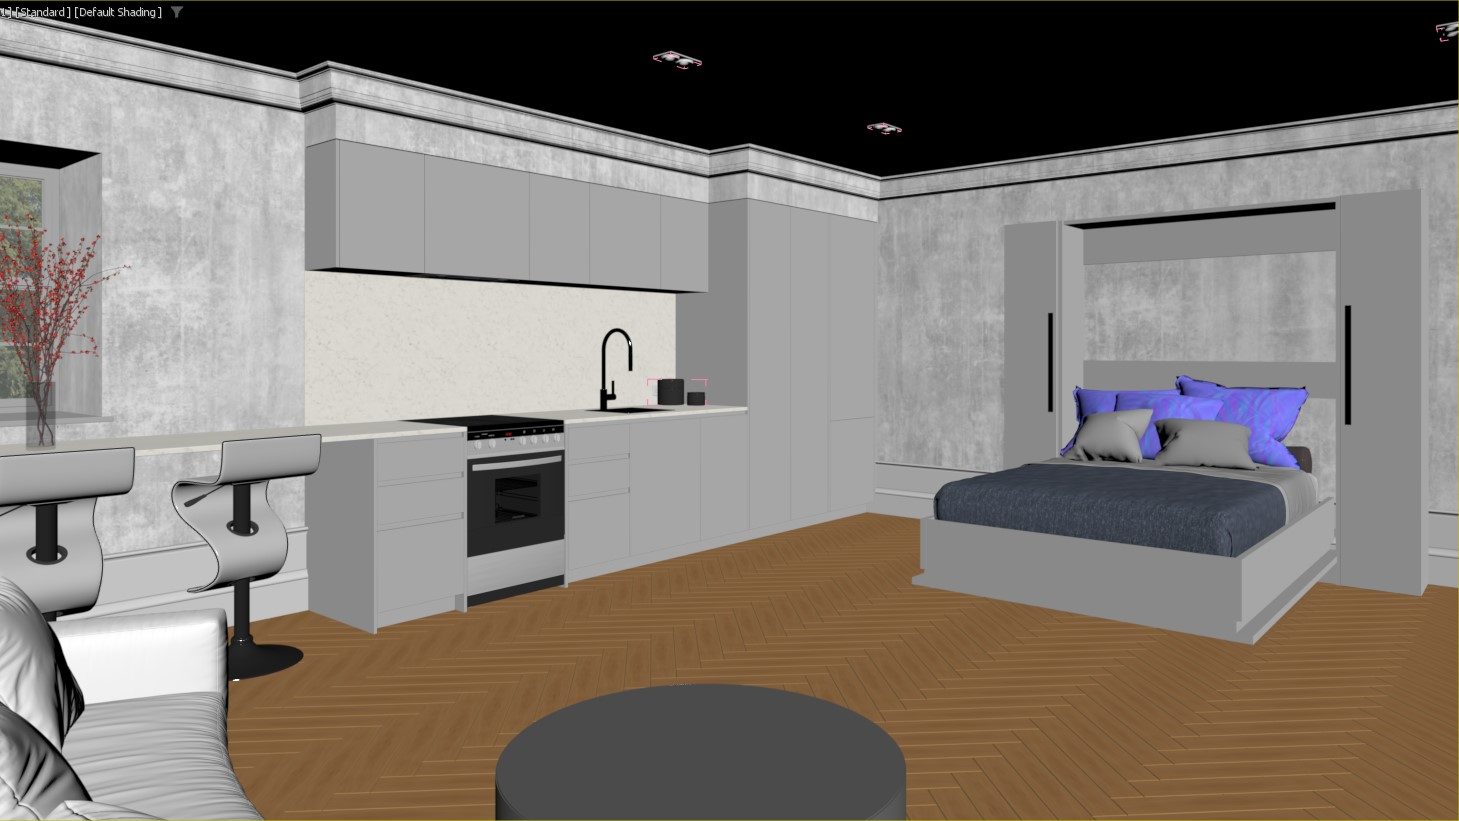
Bed Folded Options Bed Unfolded
Isn’t the apartment a dream come true? It looks sensational on the real estate listing, too.
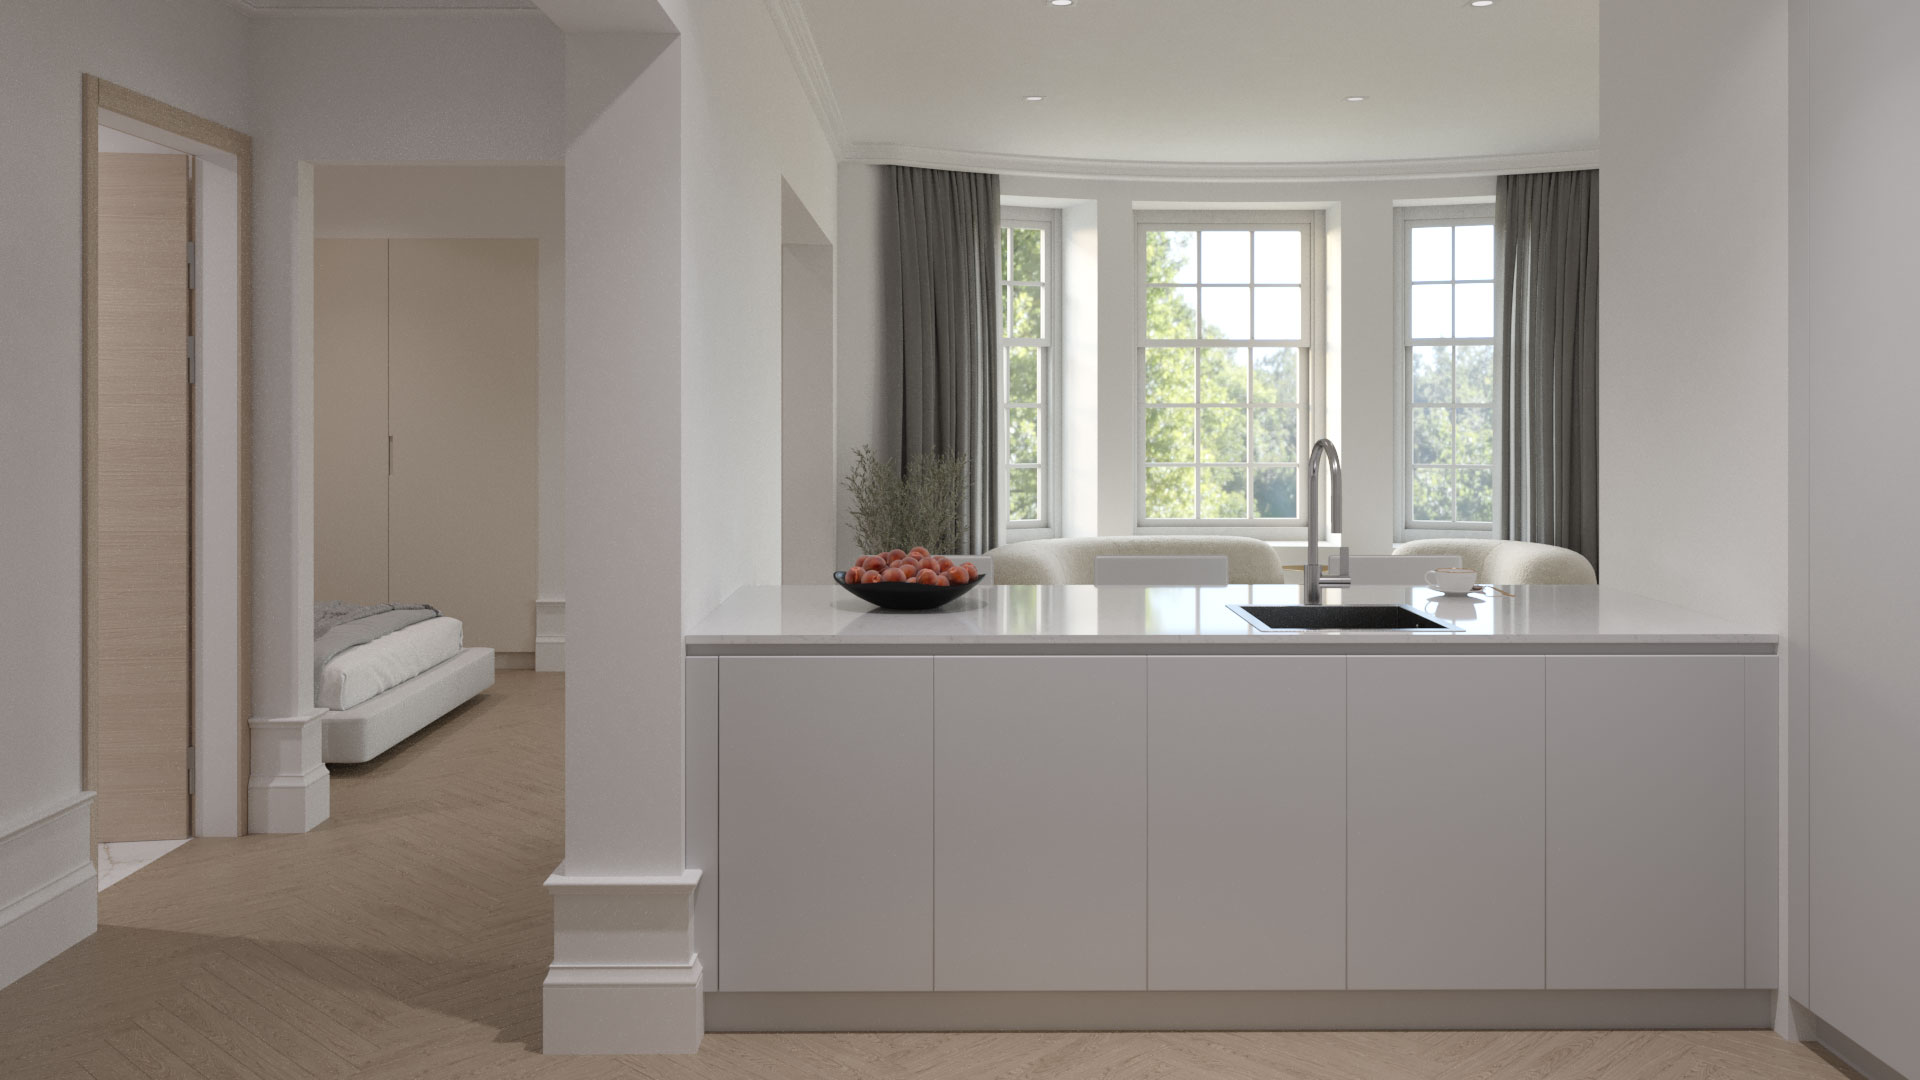
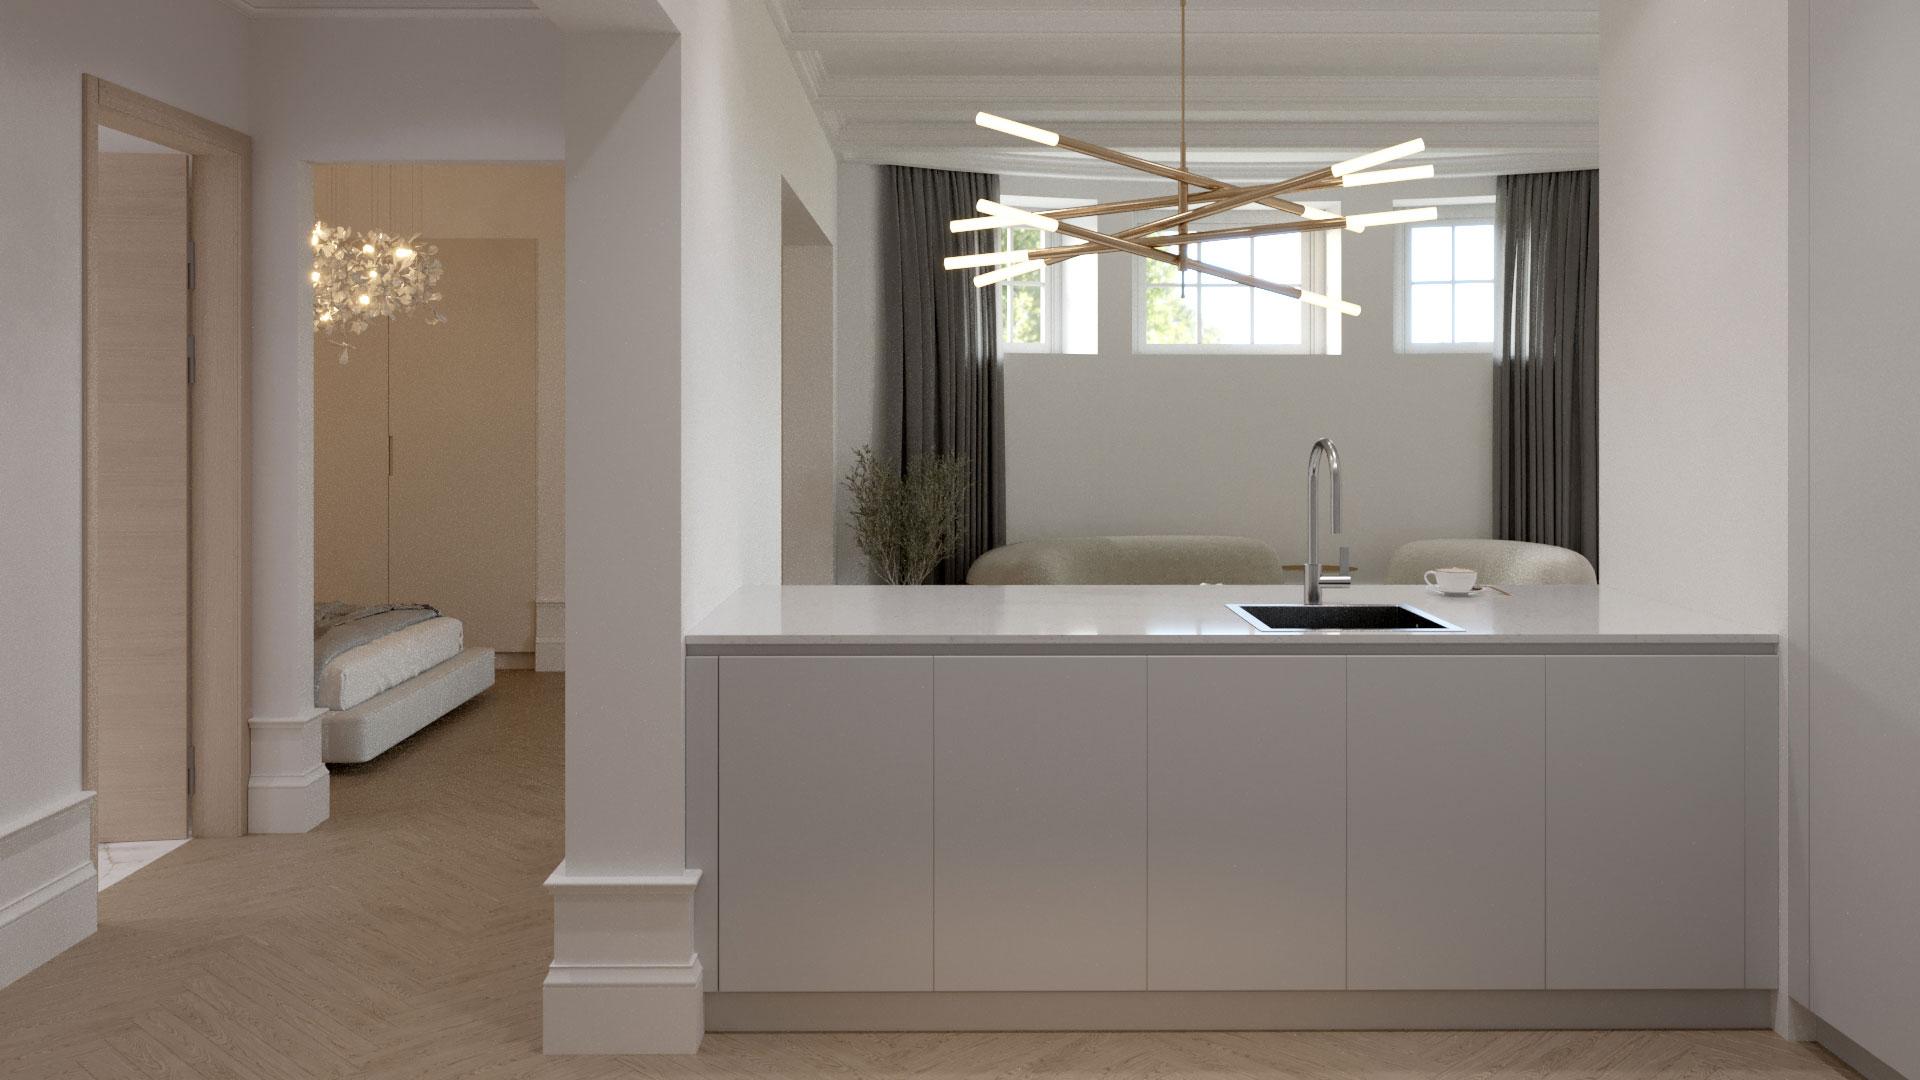
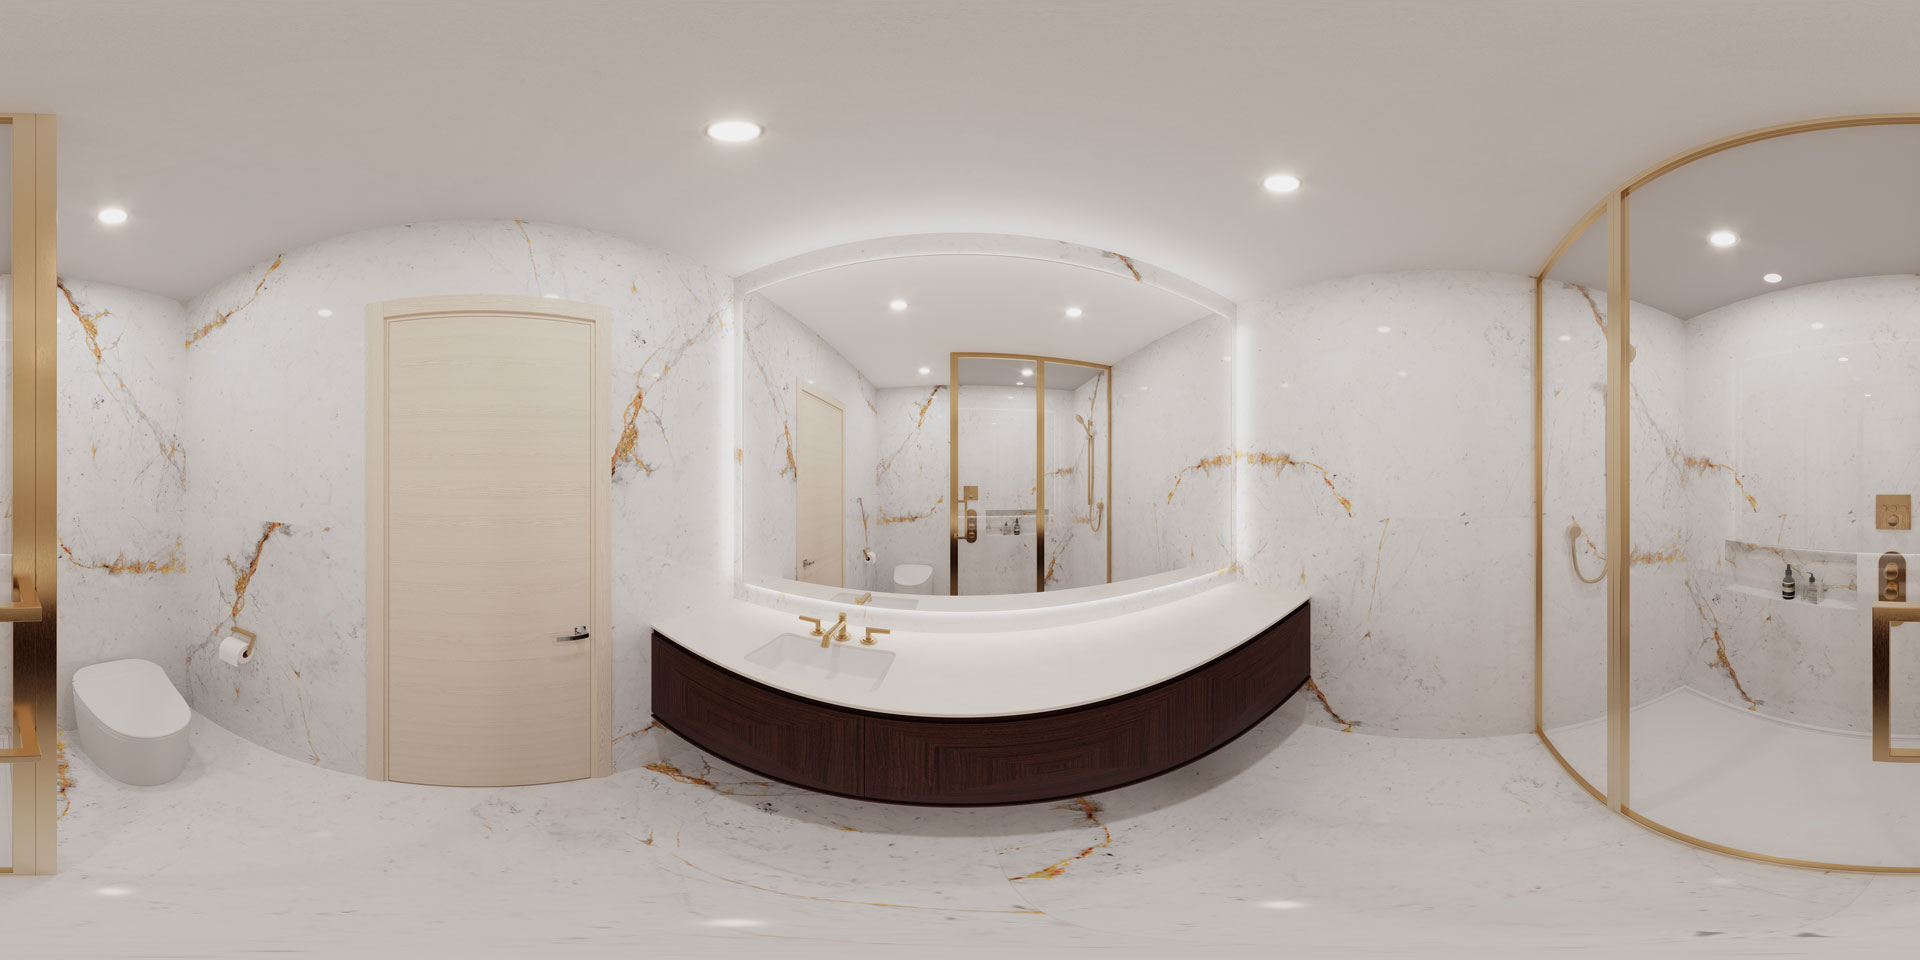
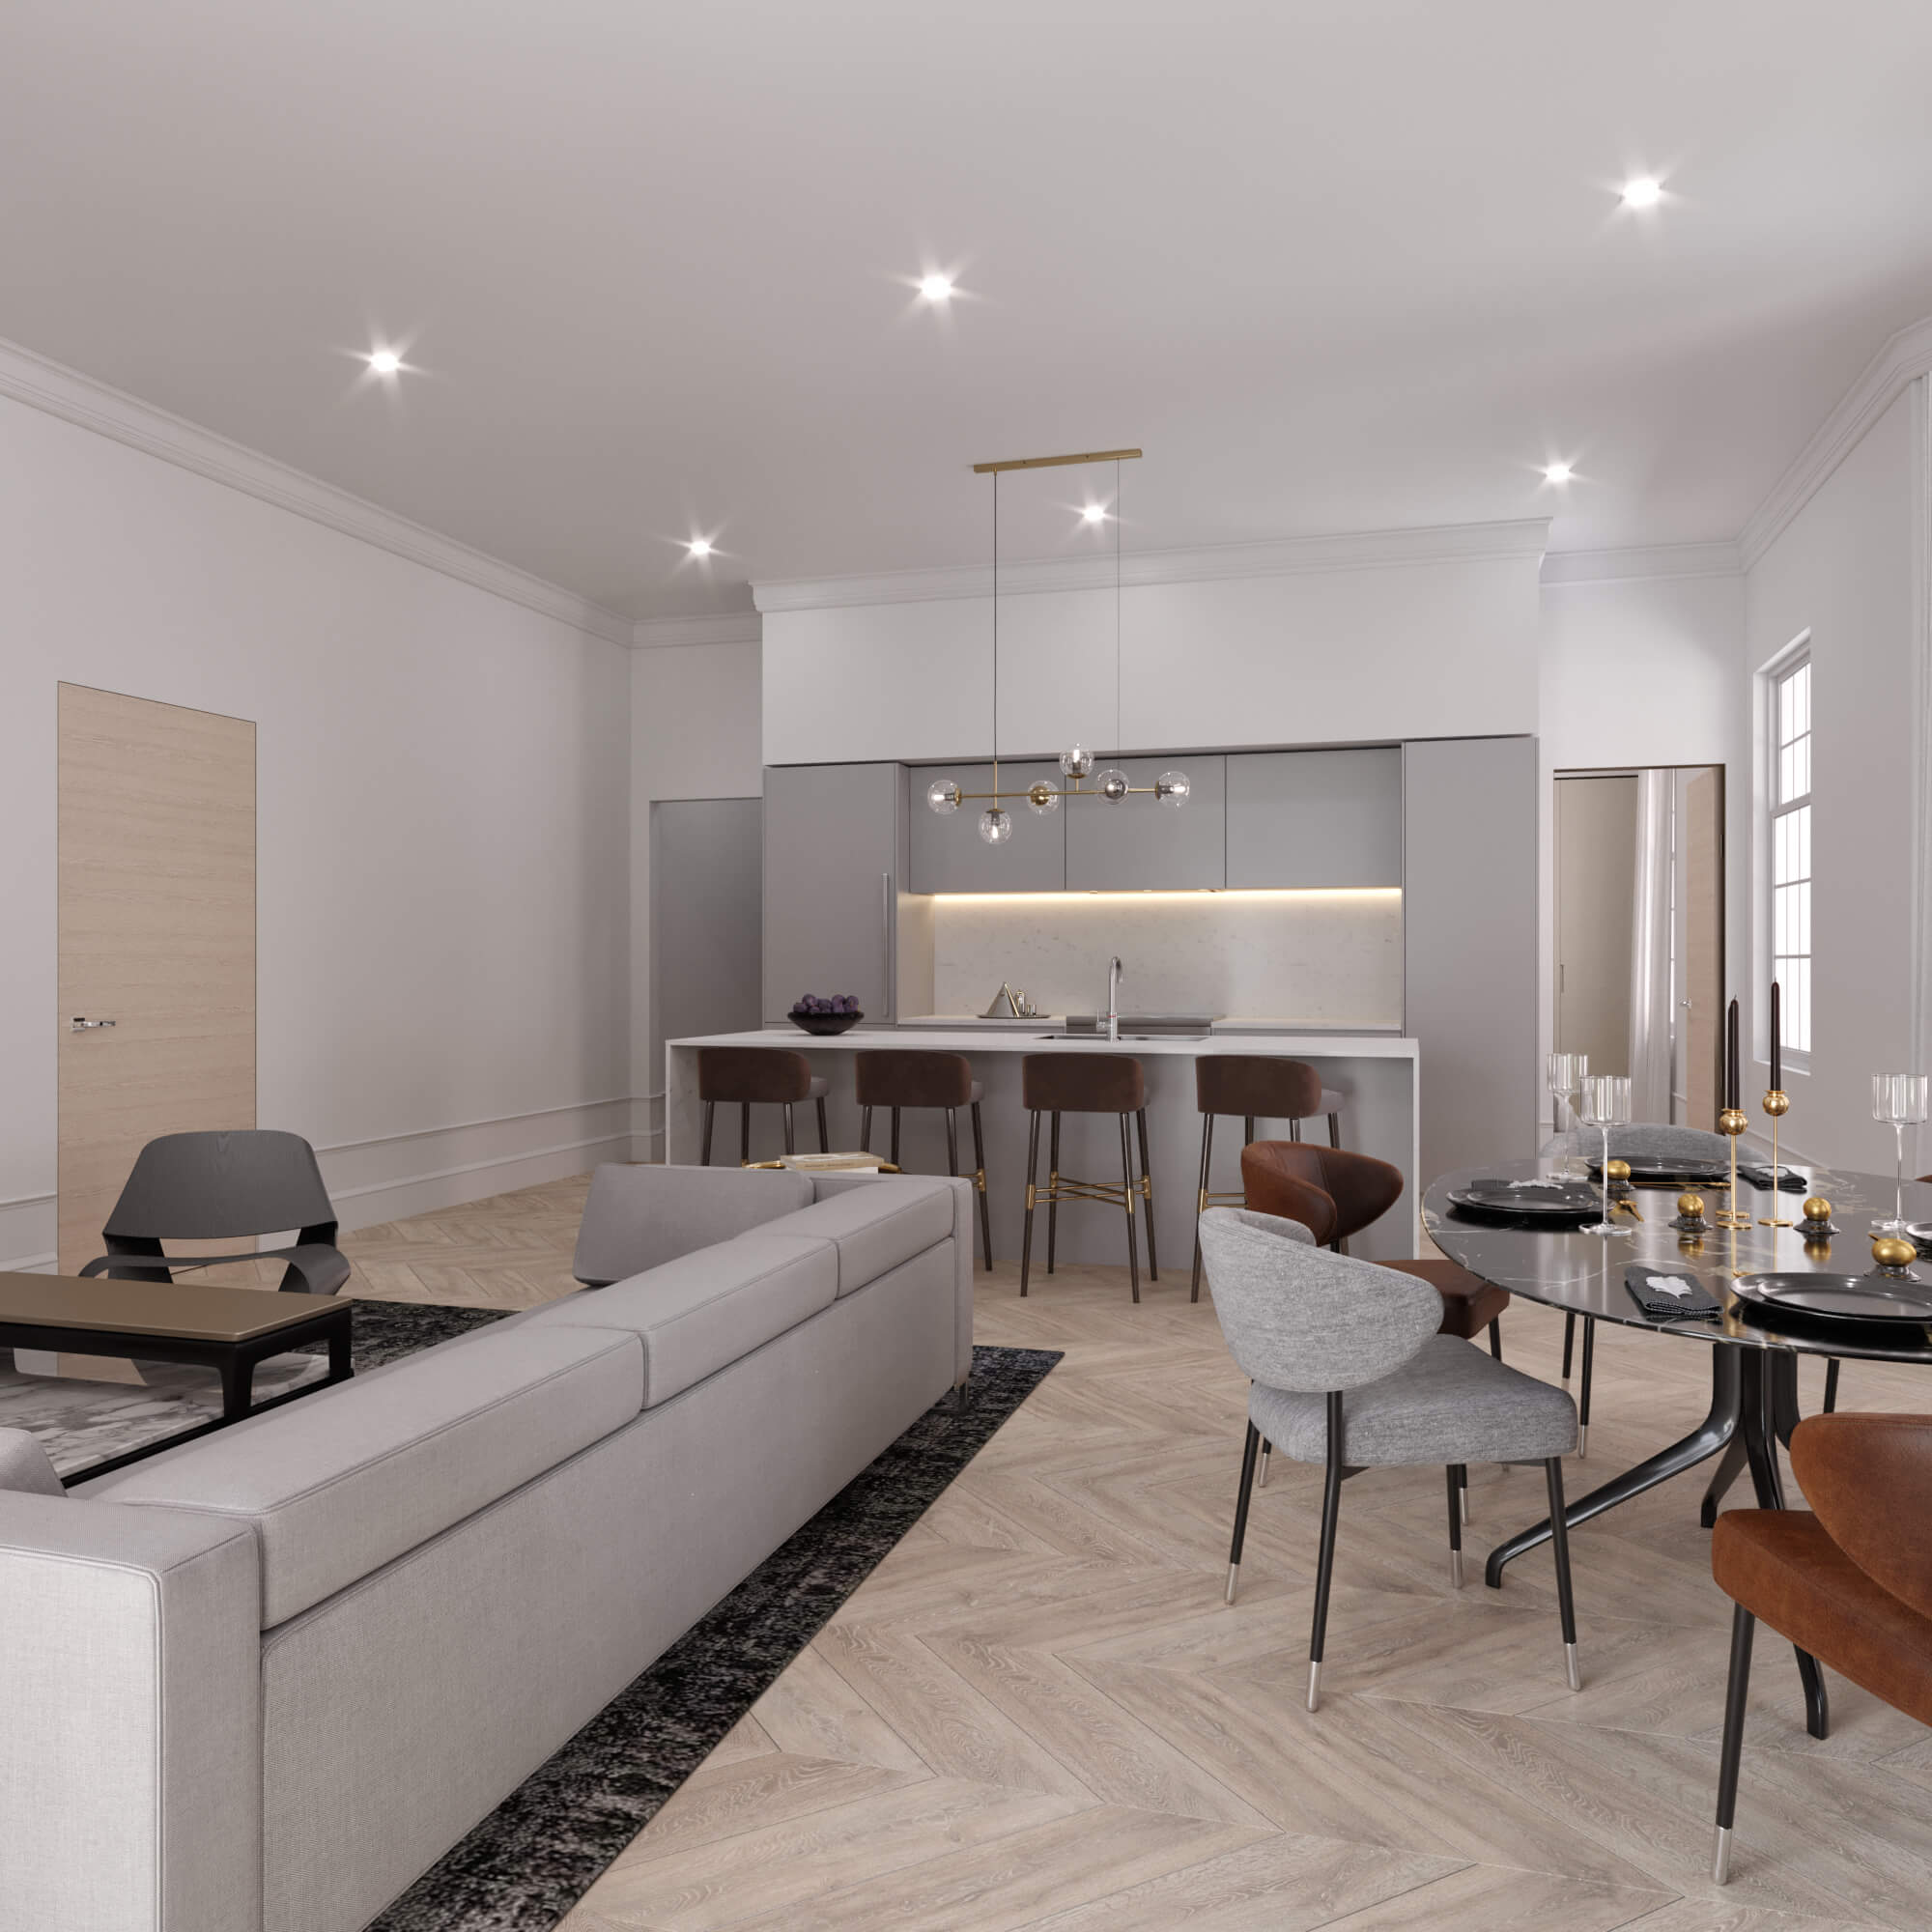
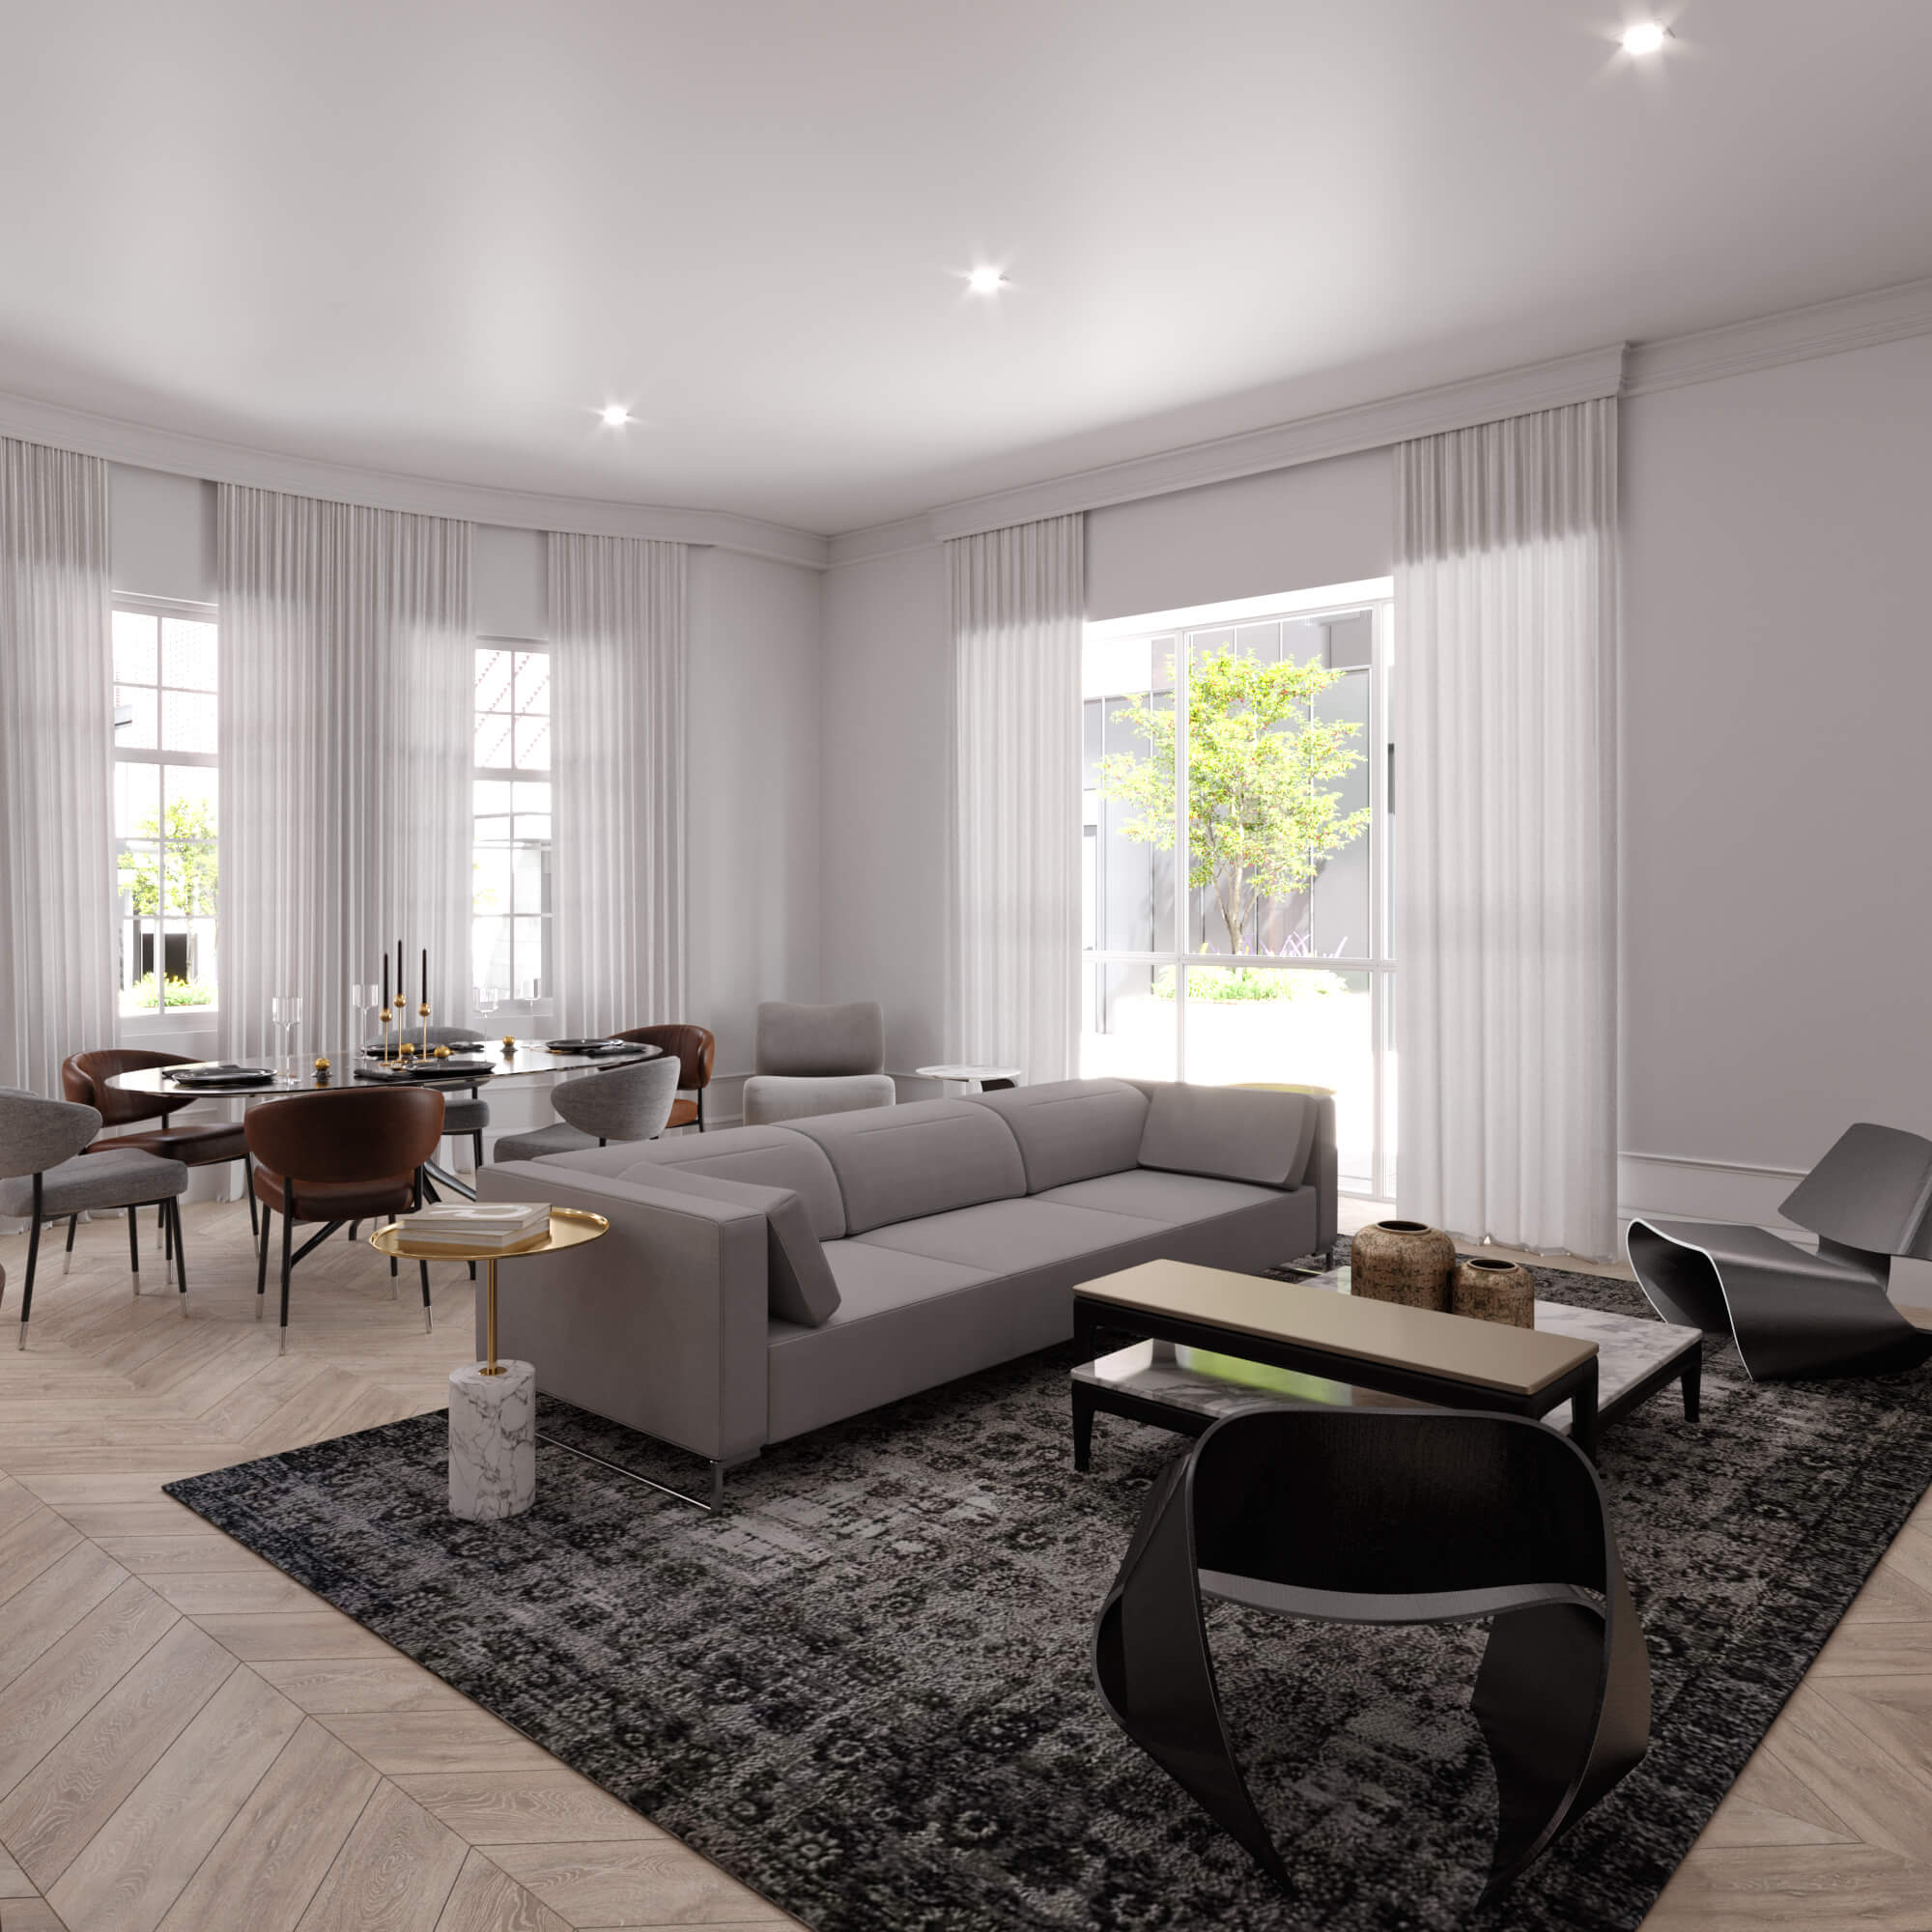
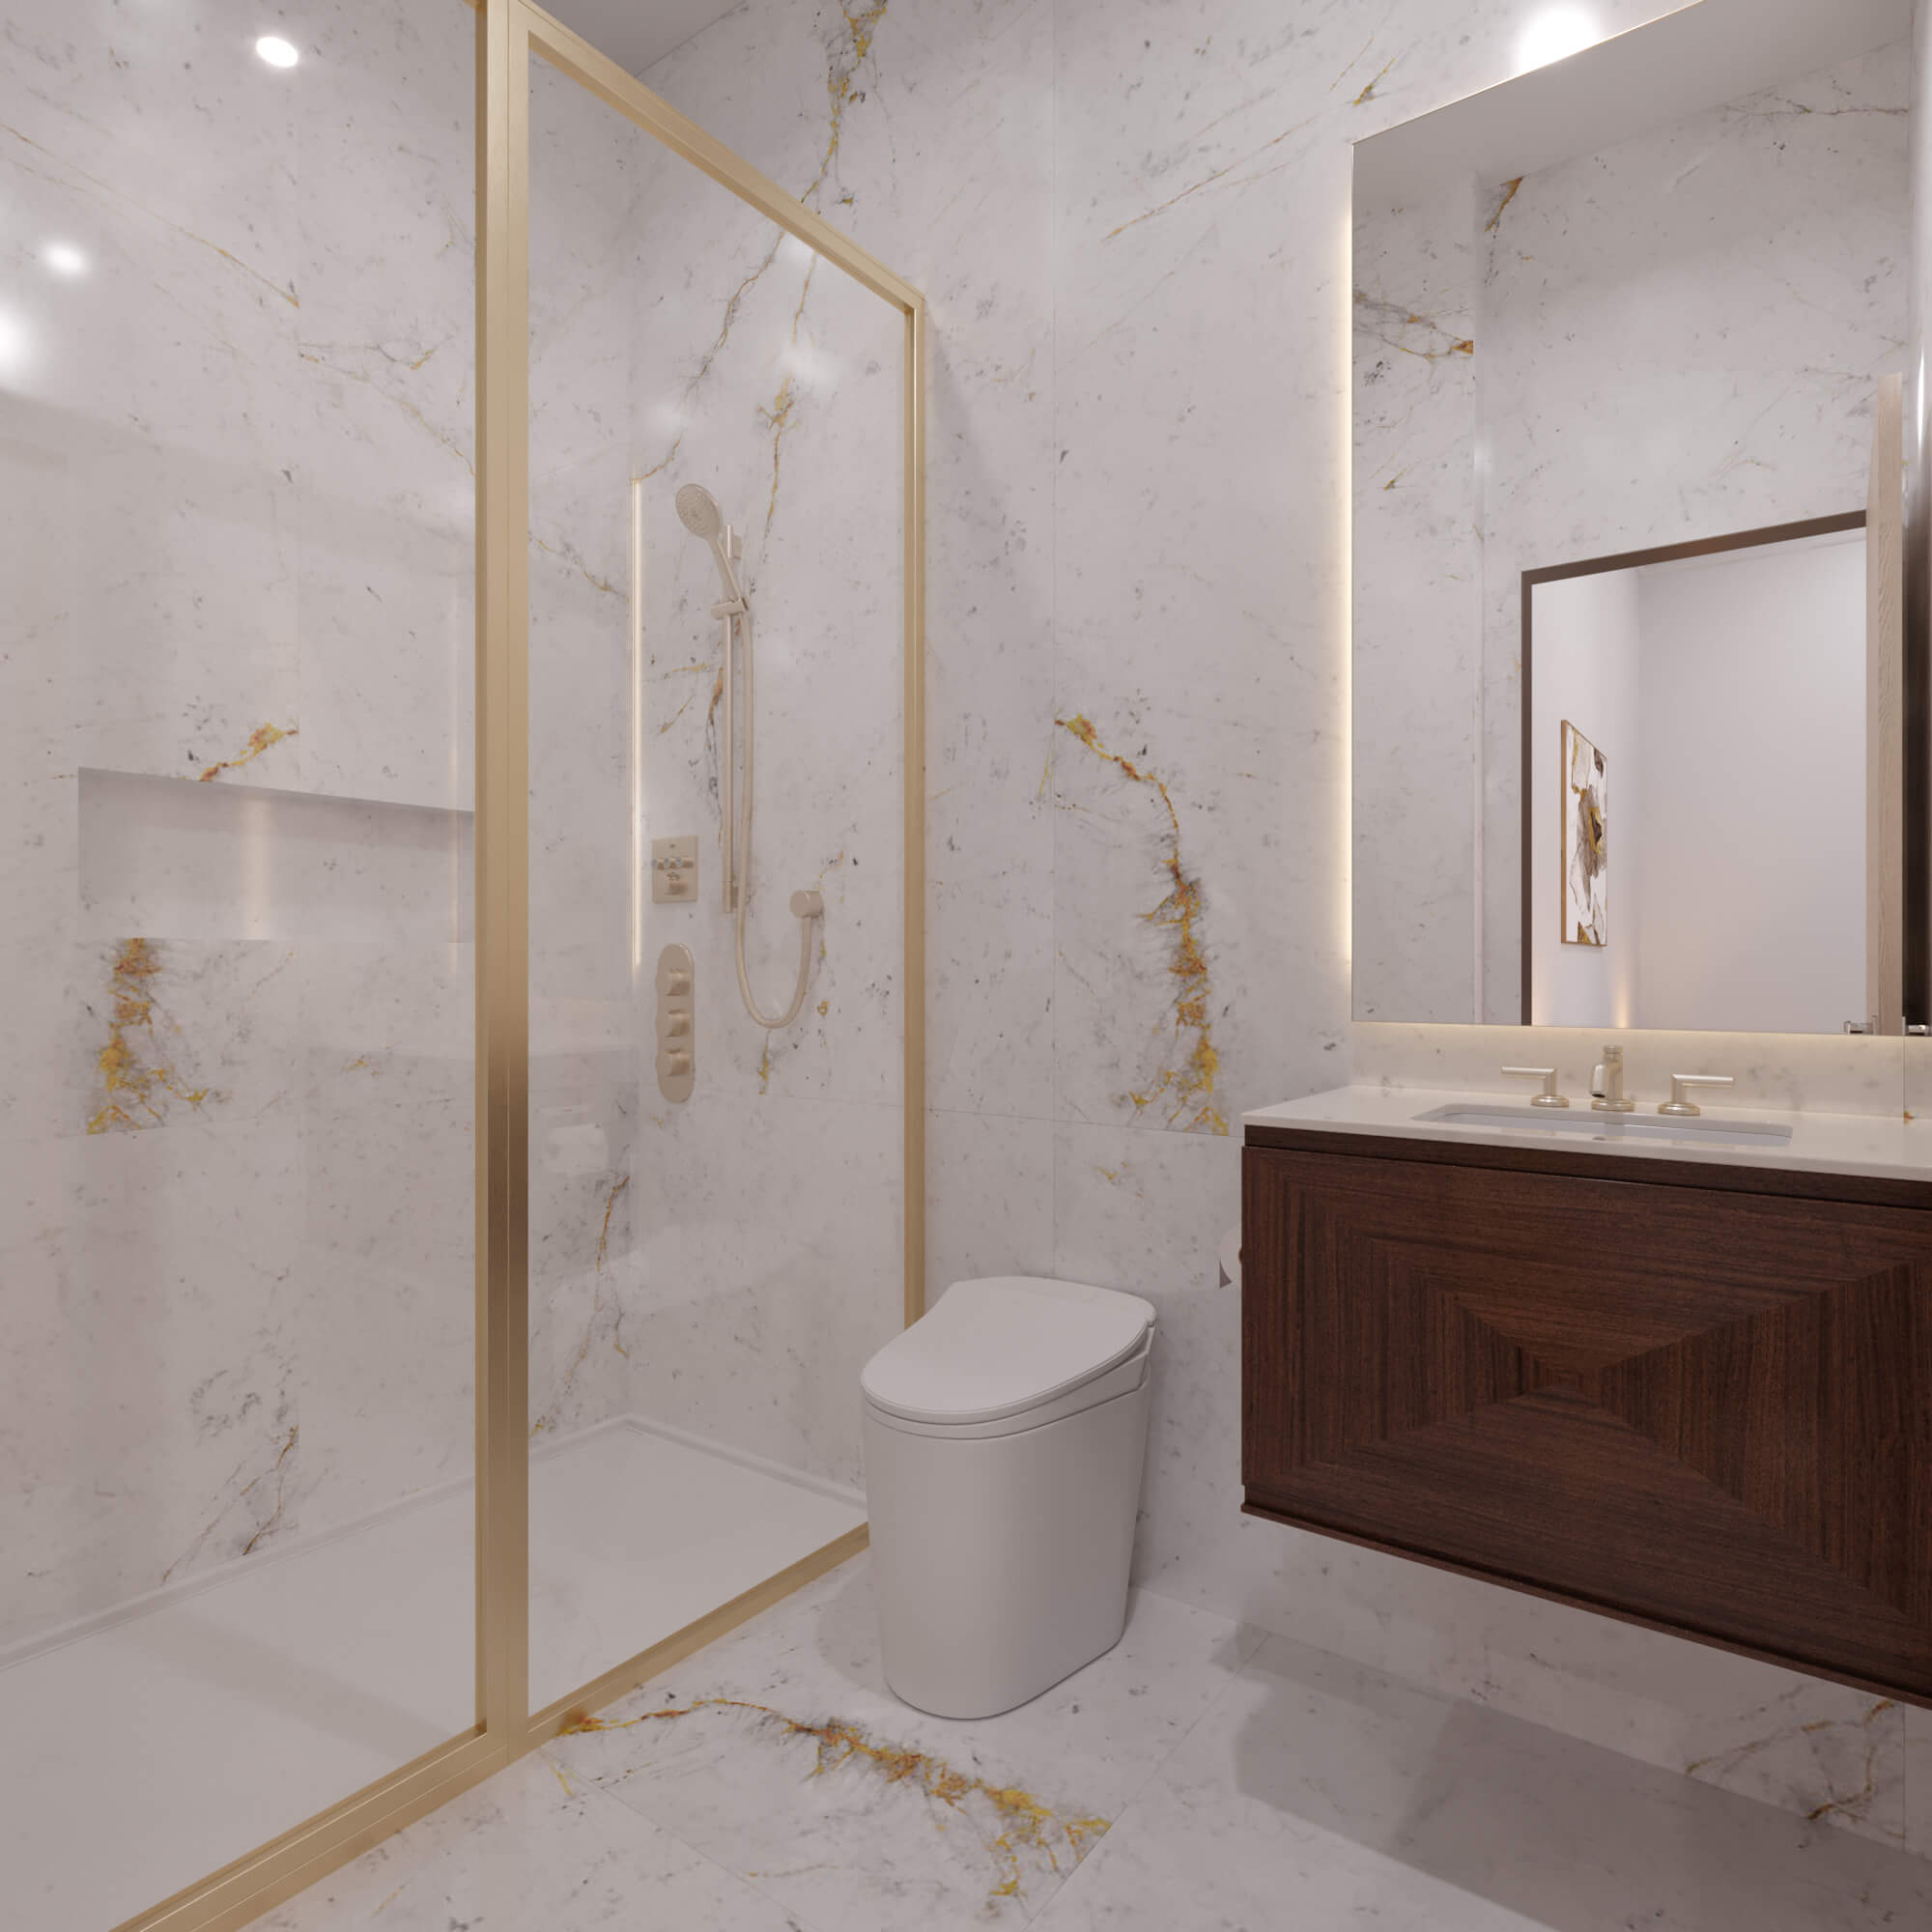
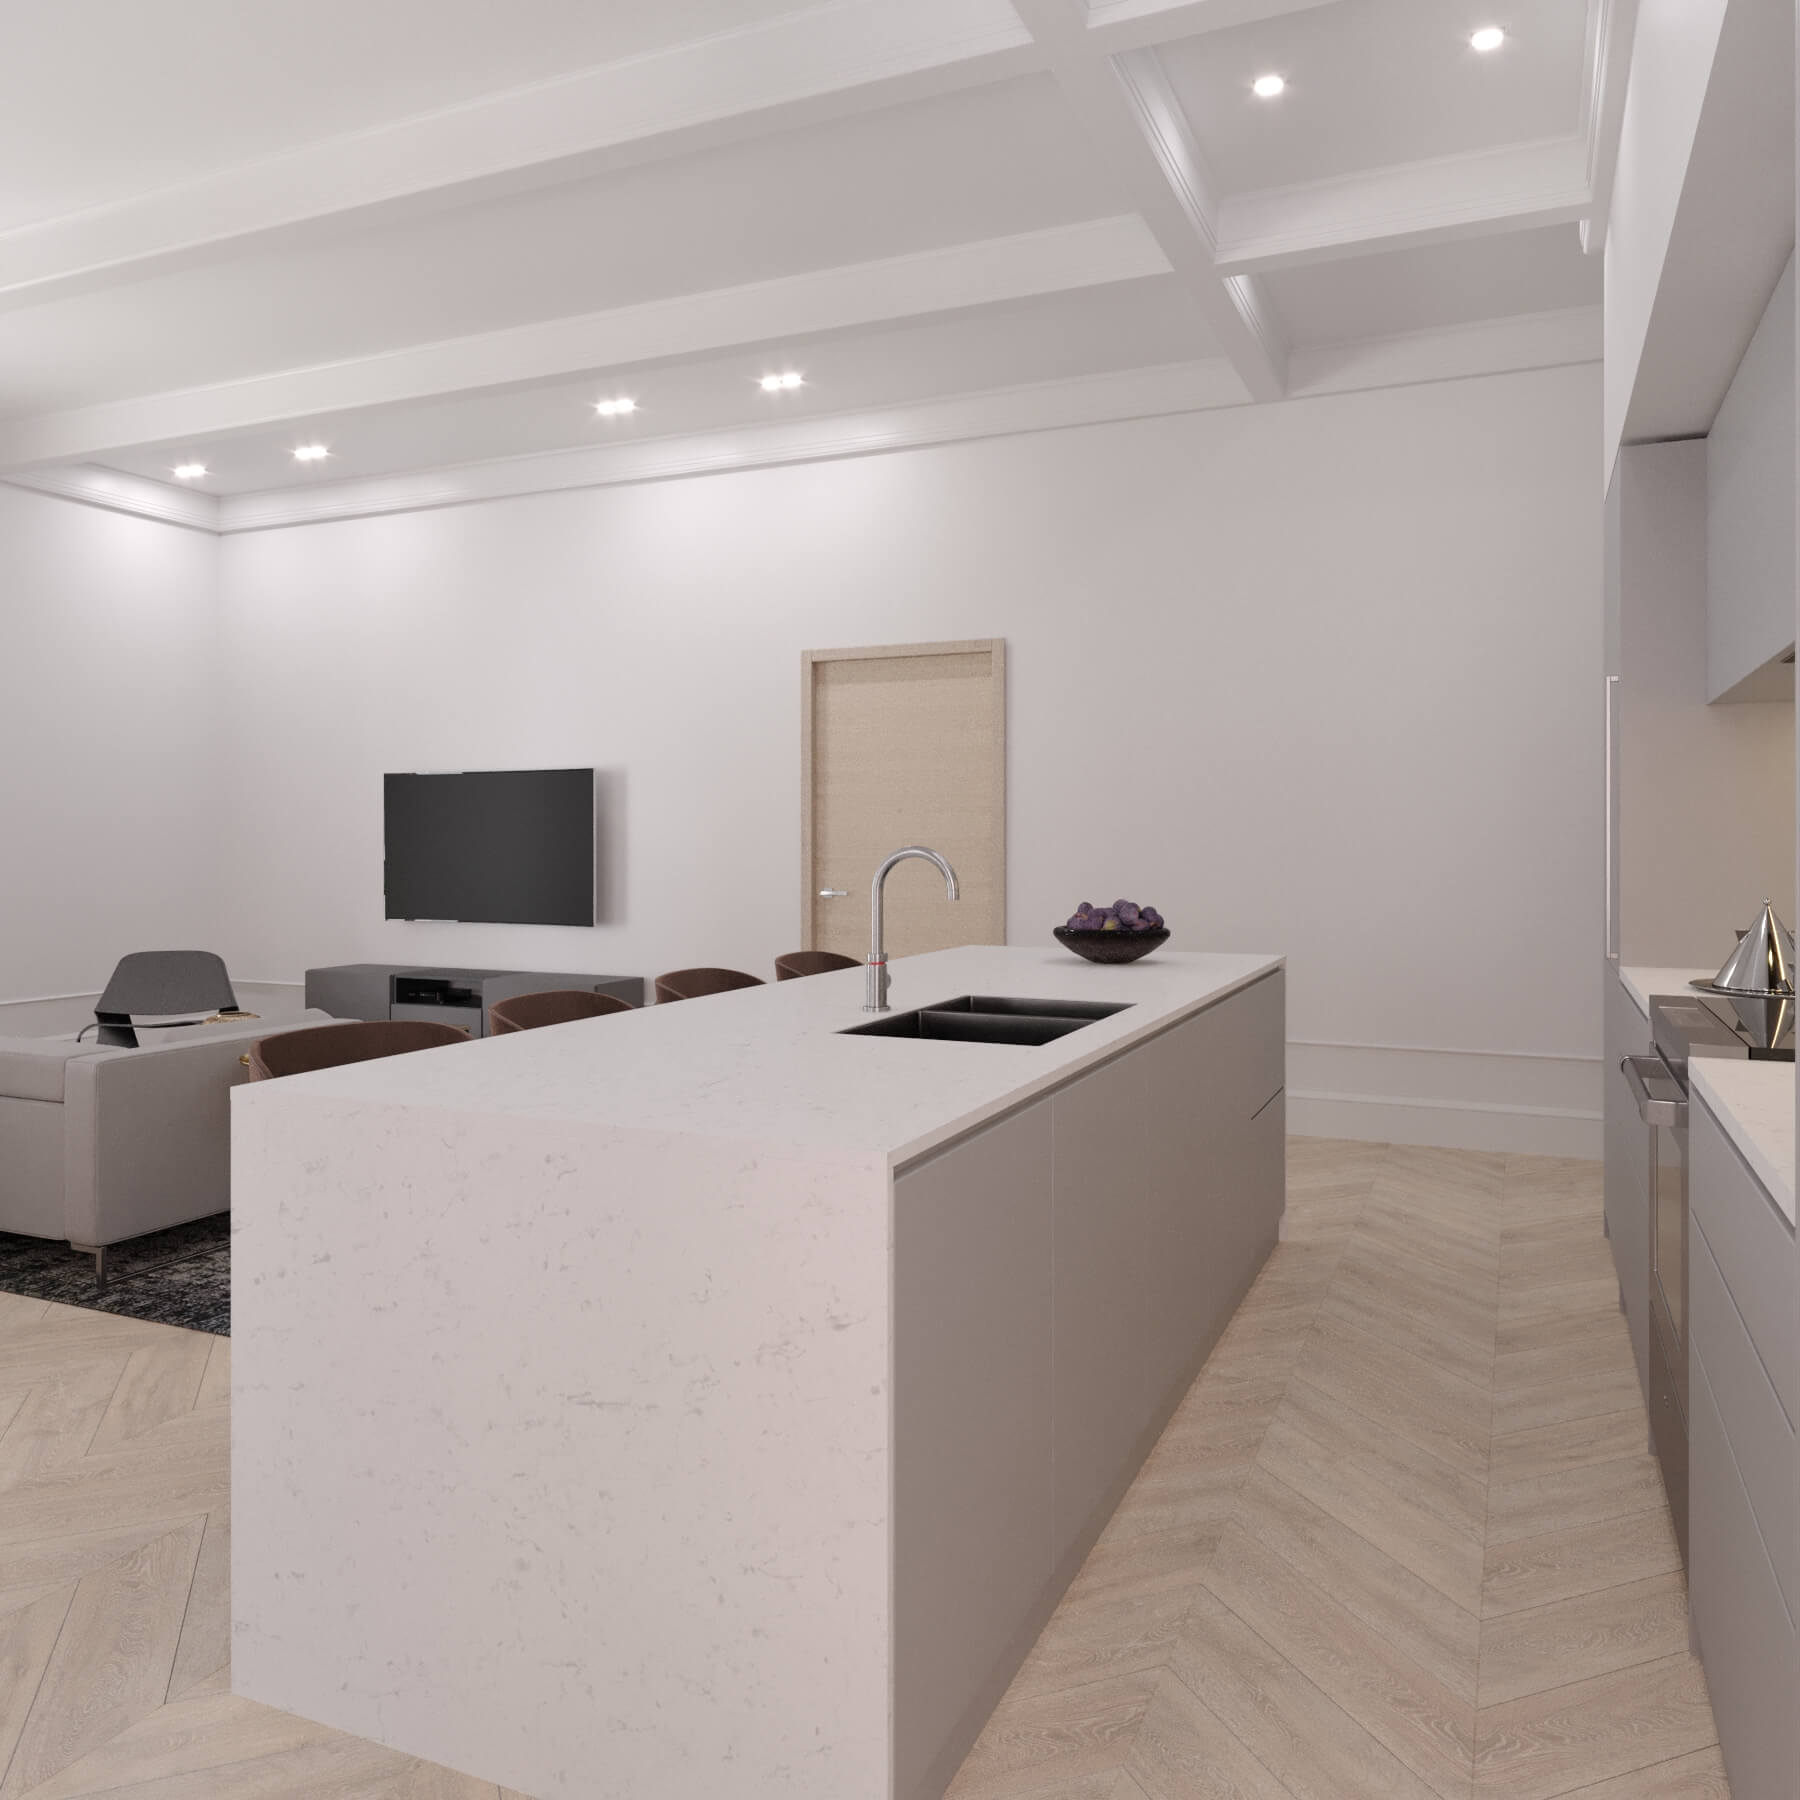
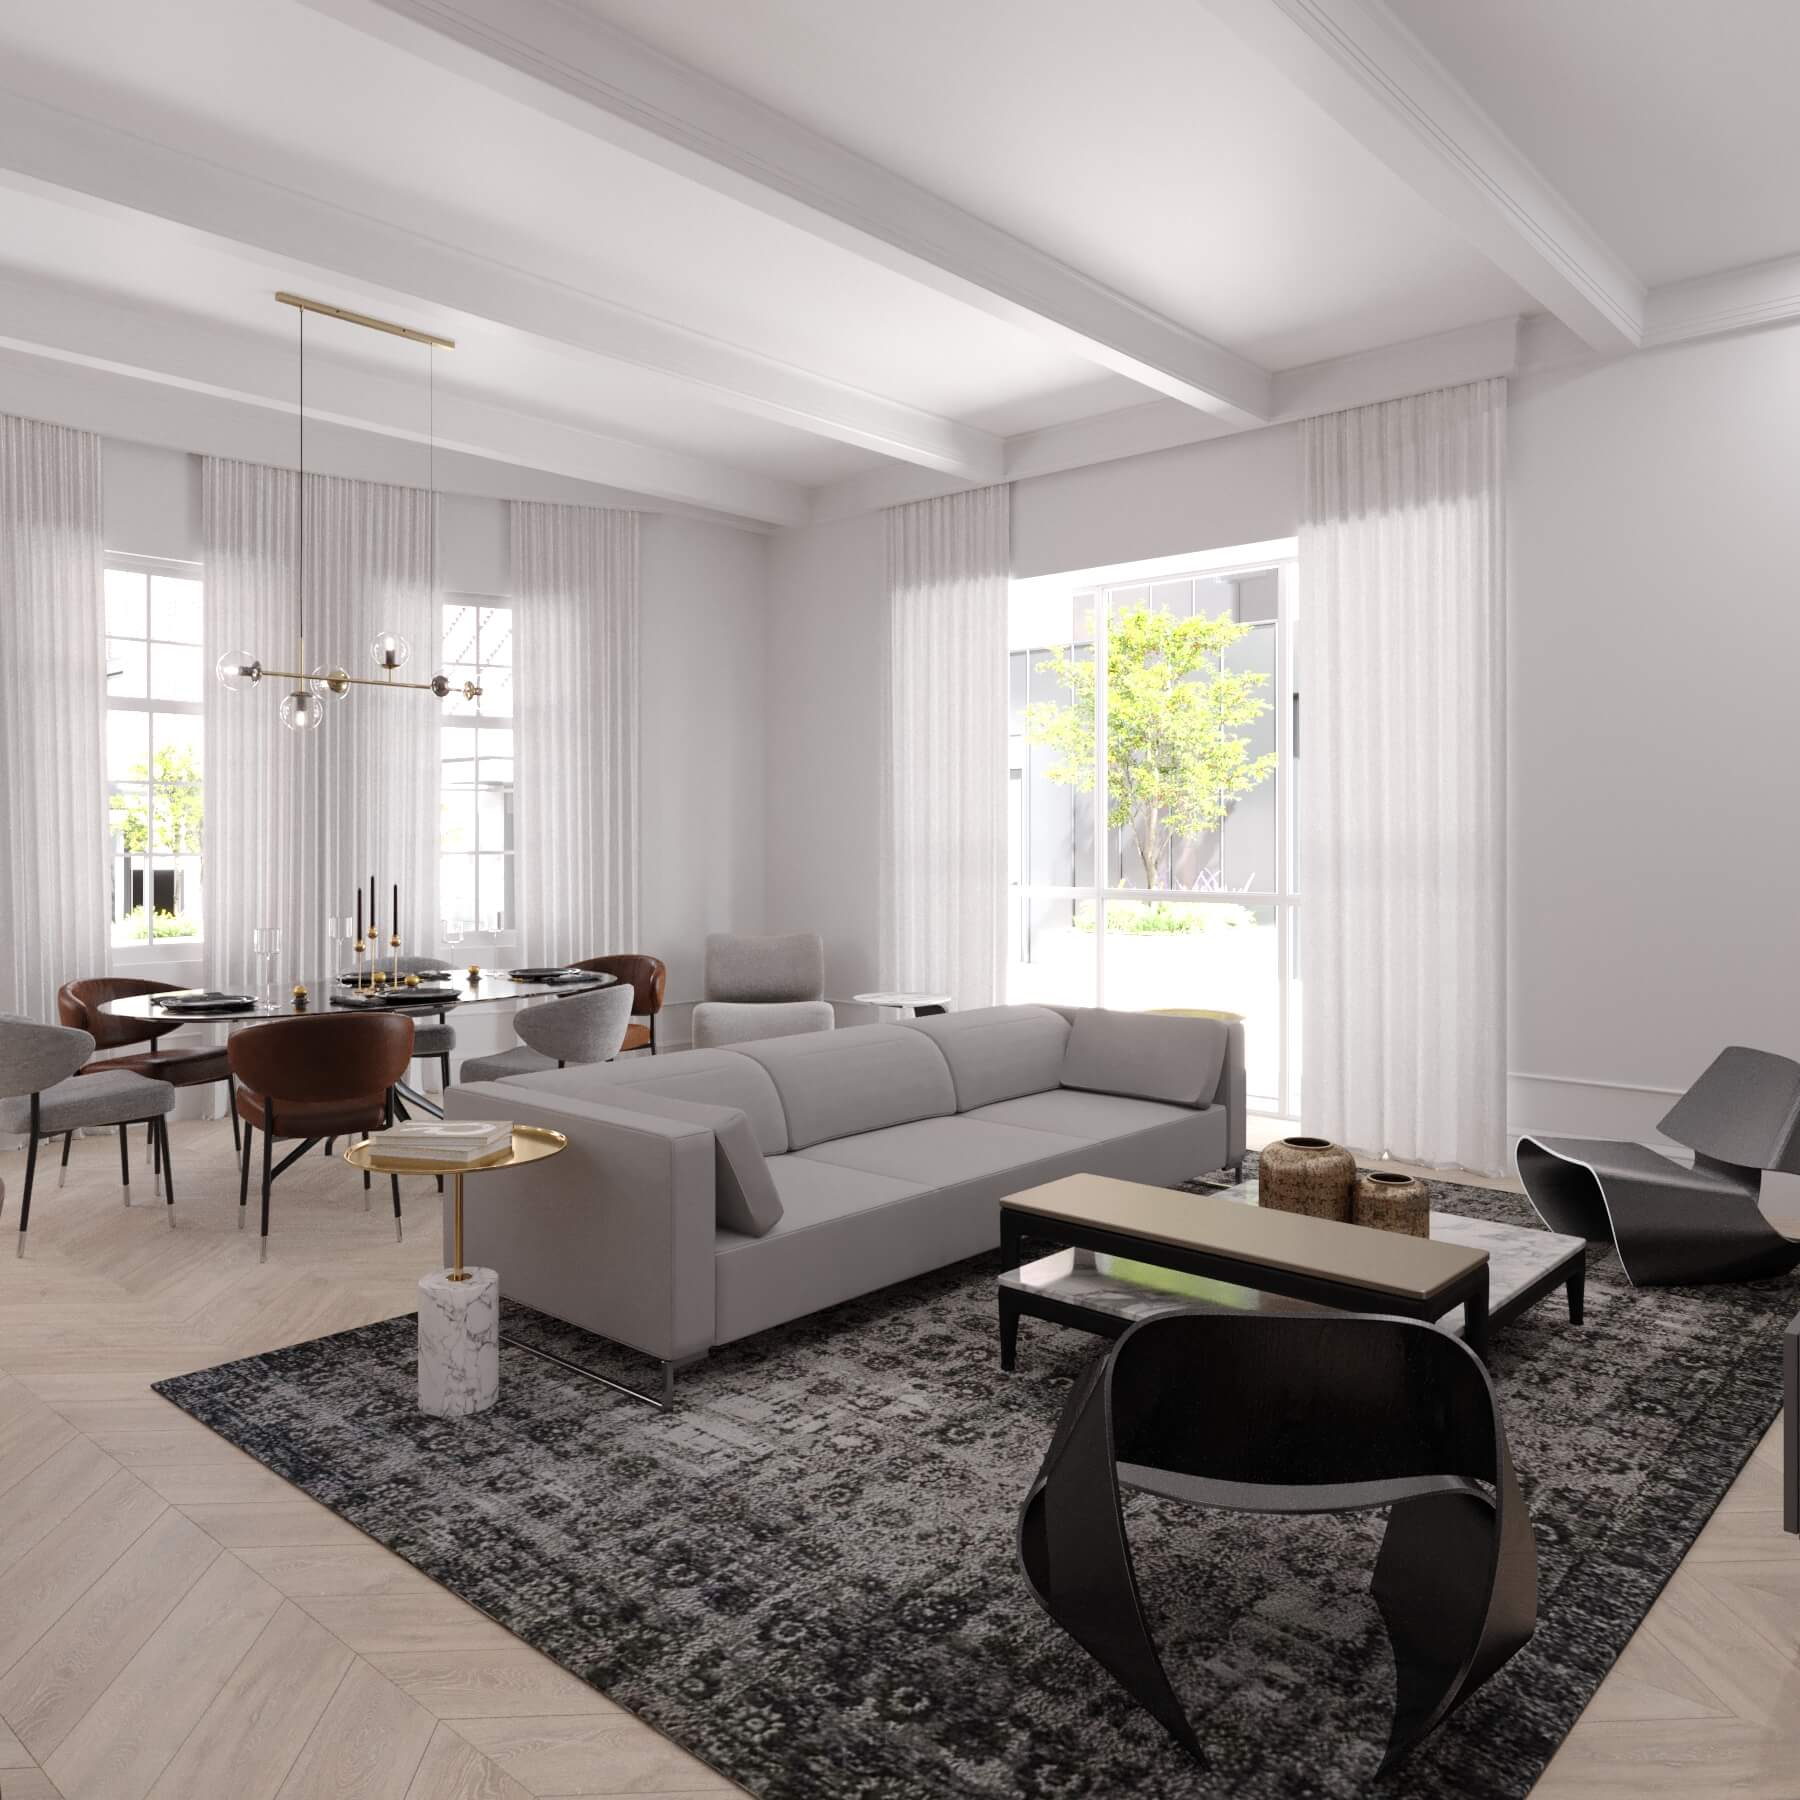
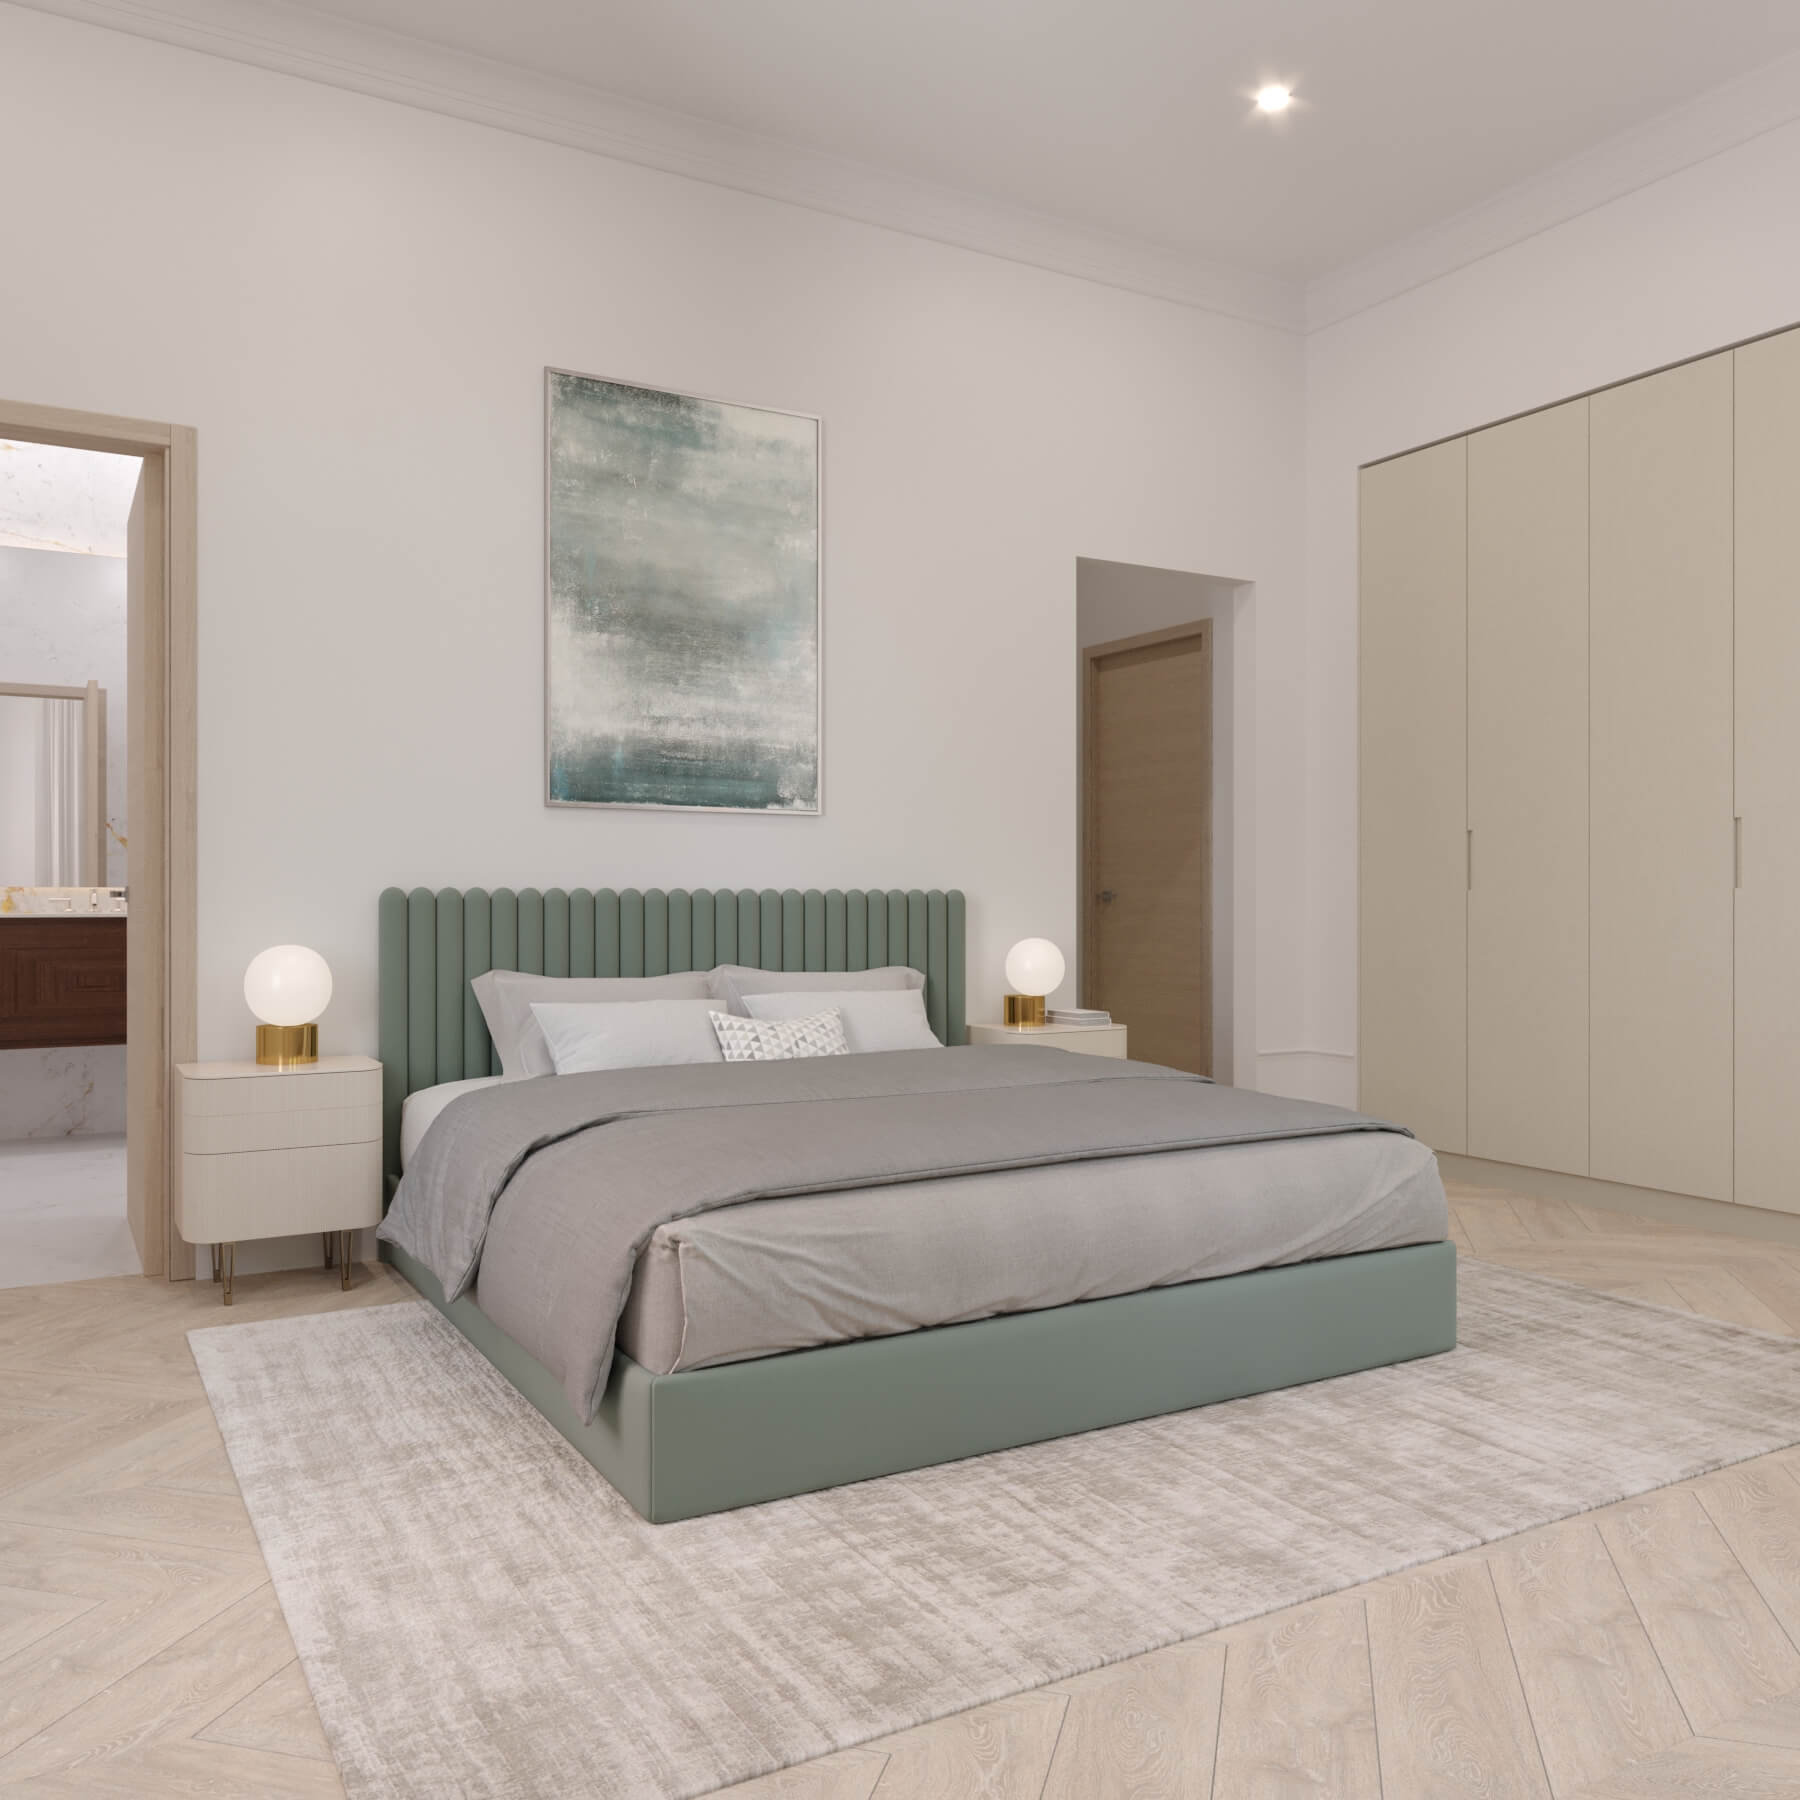
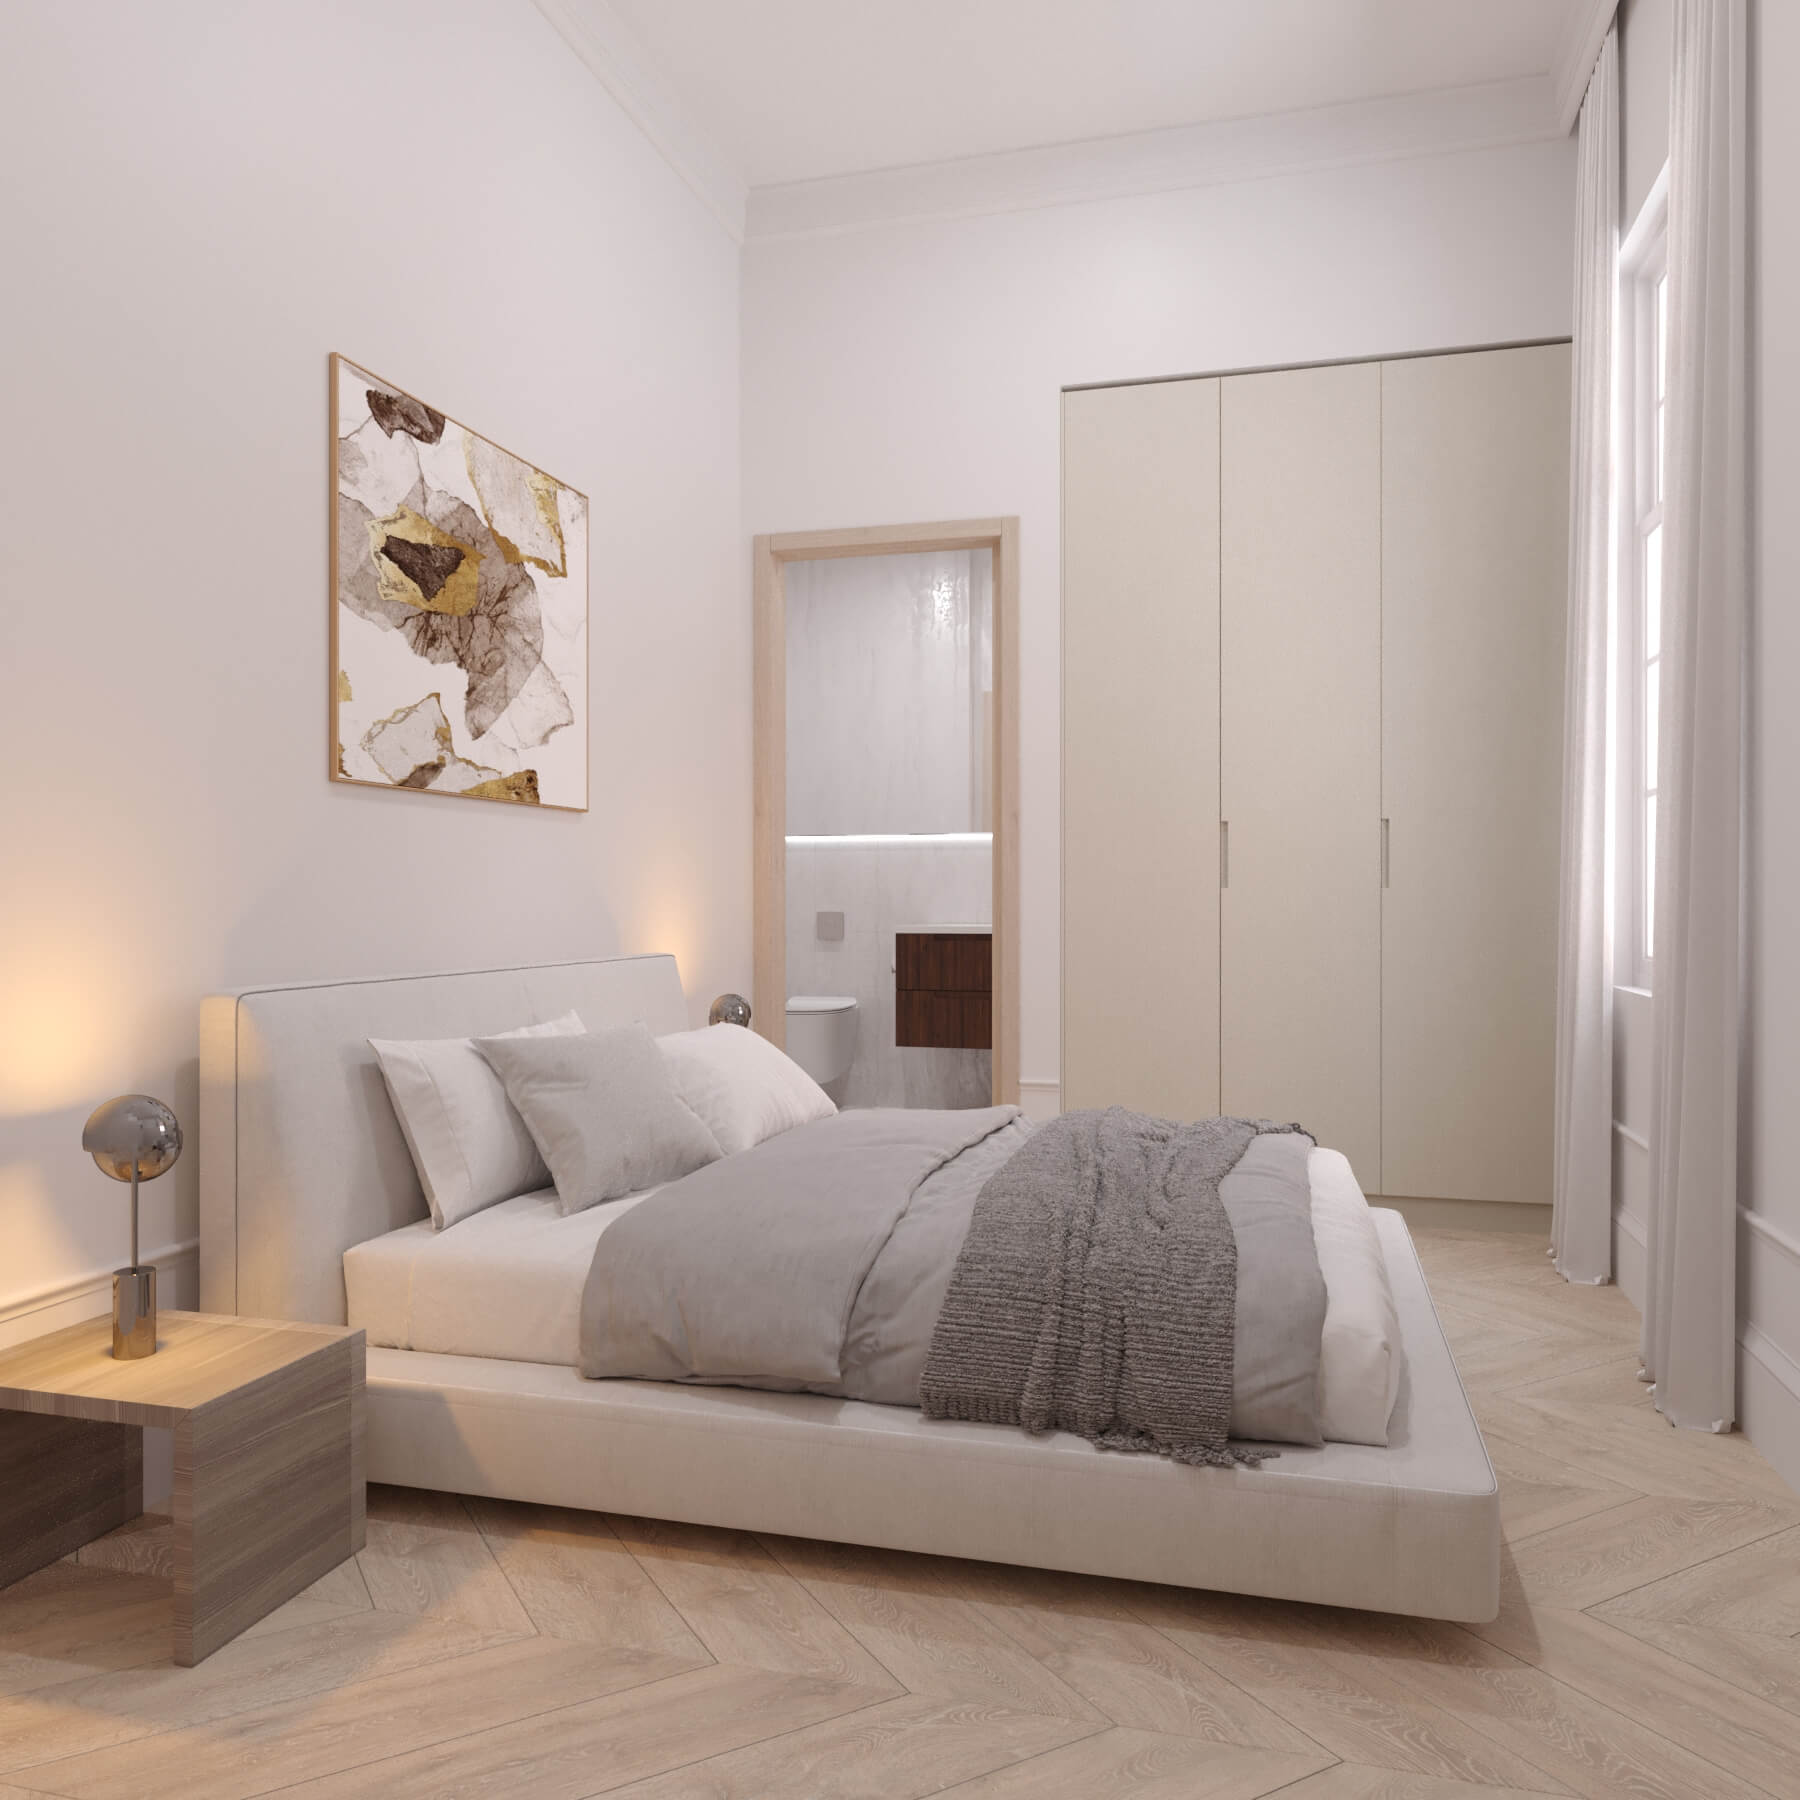
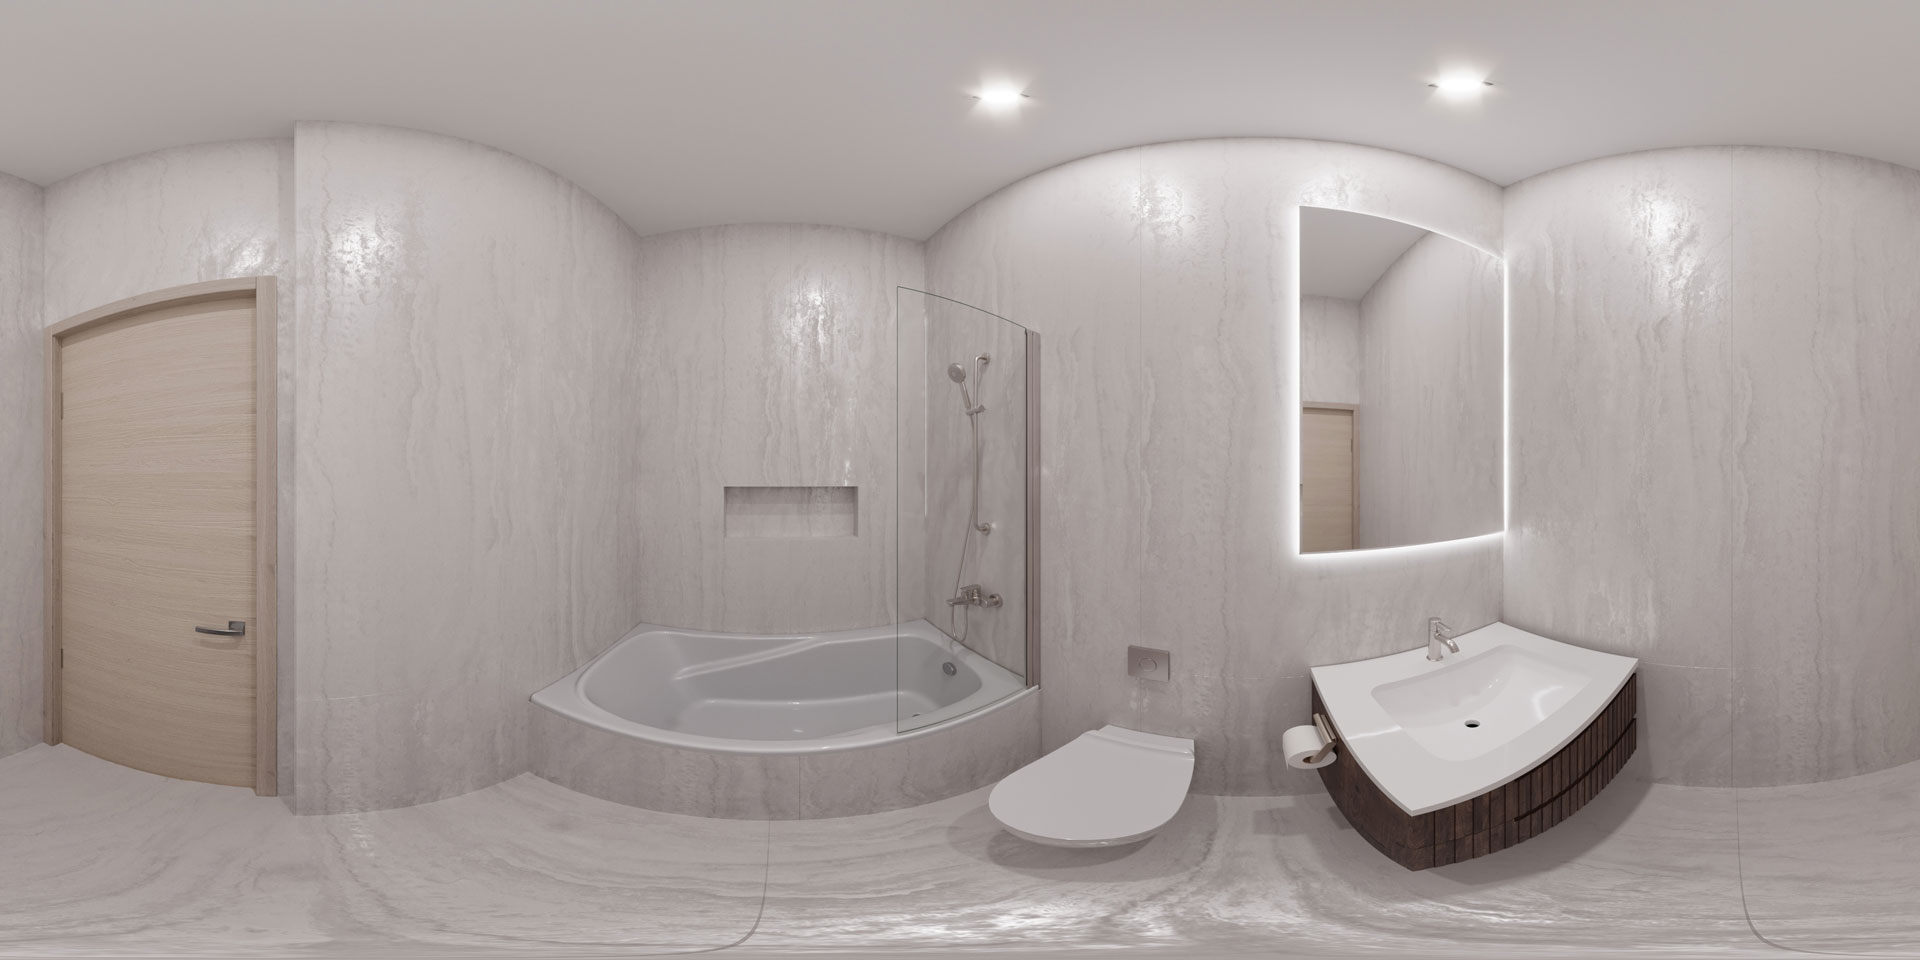
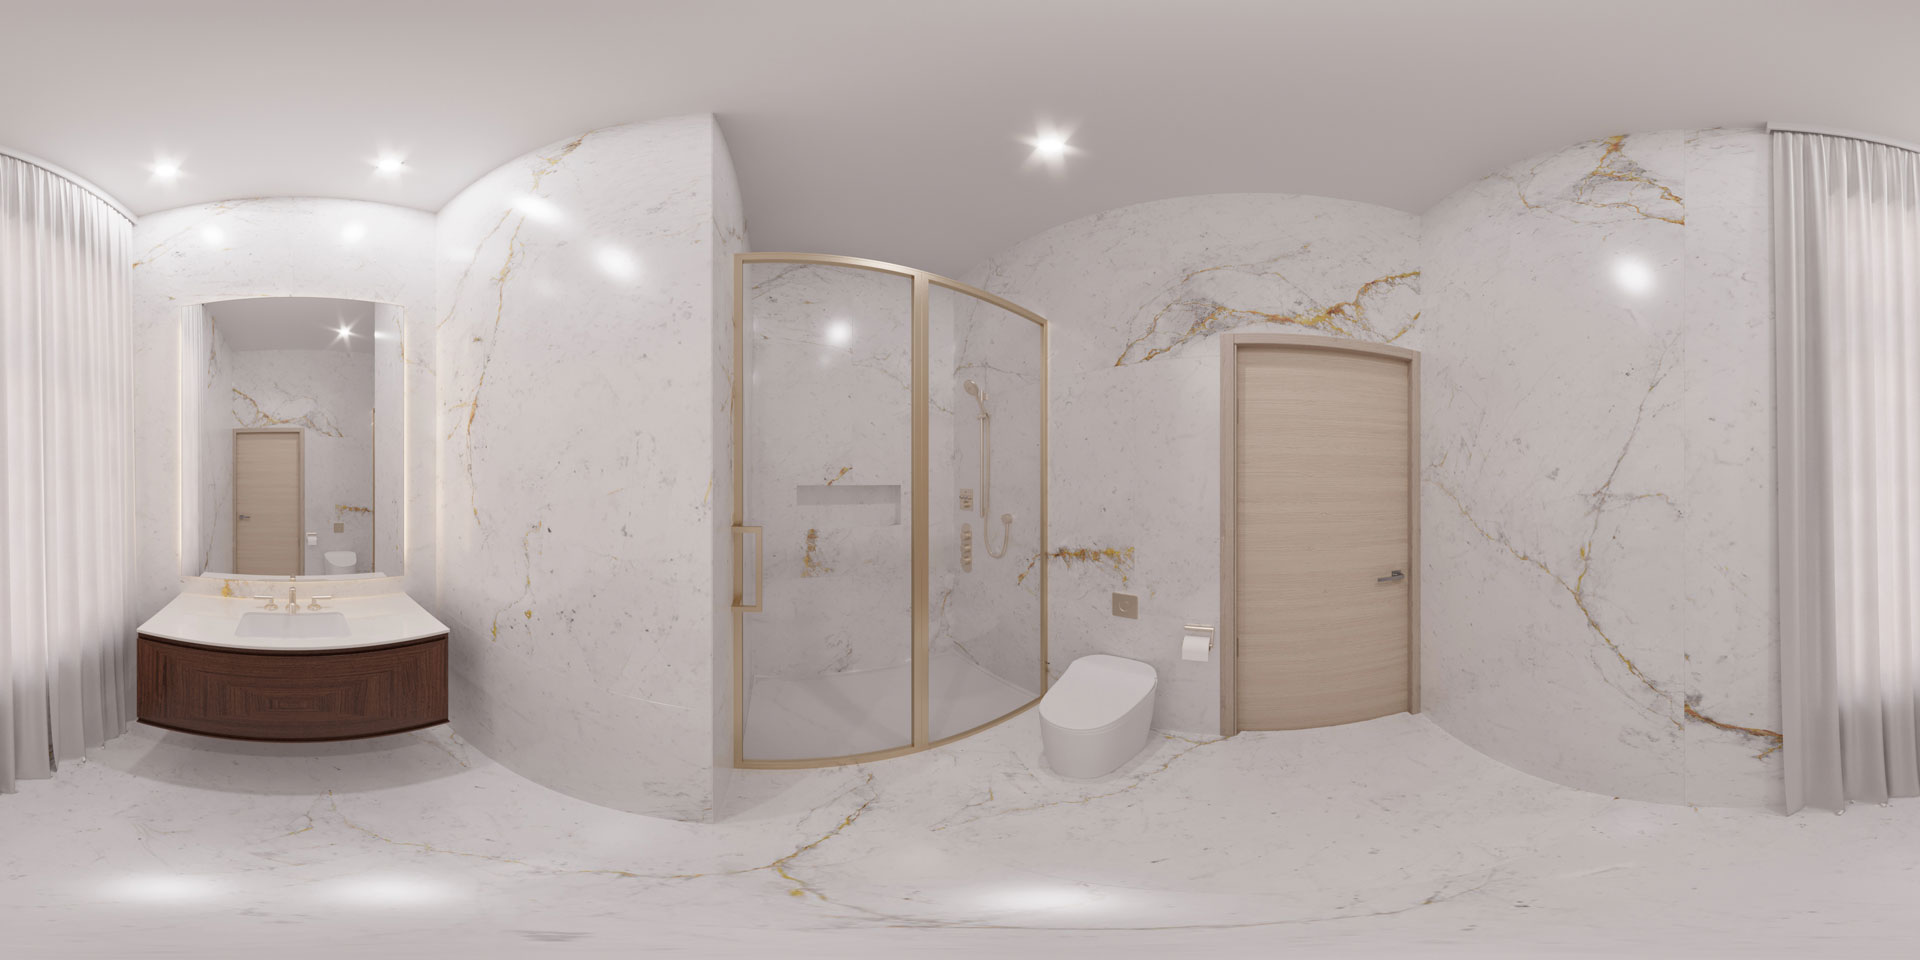
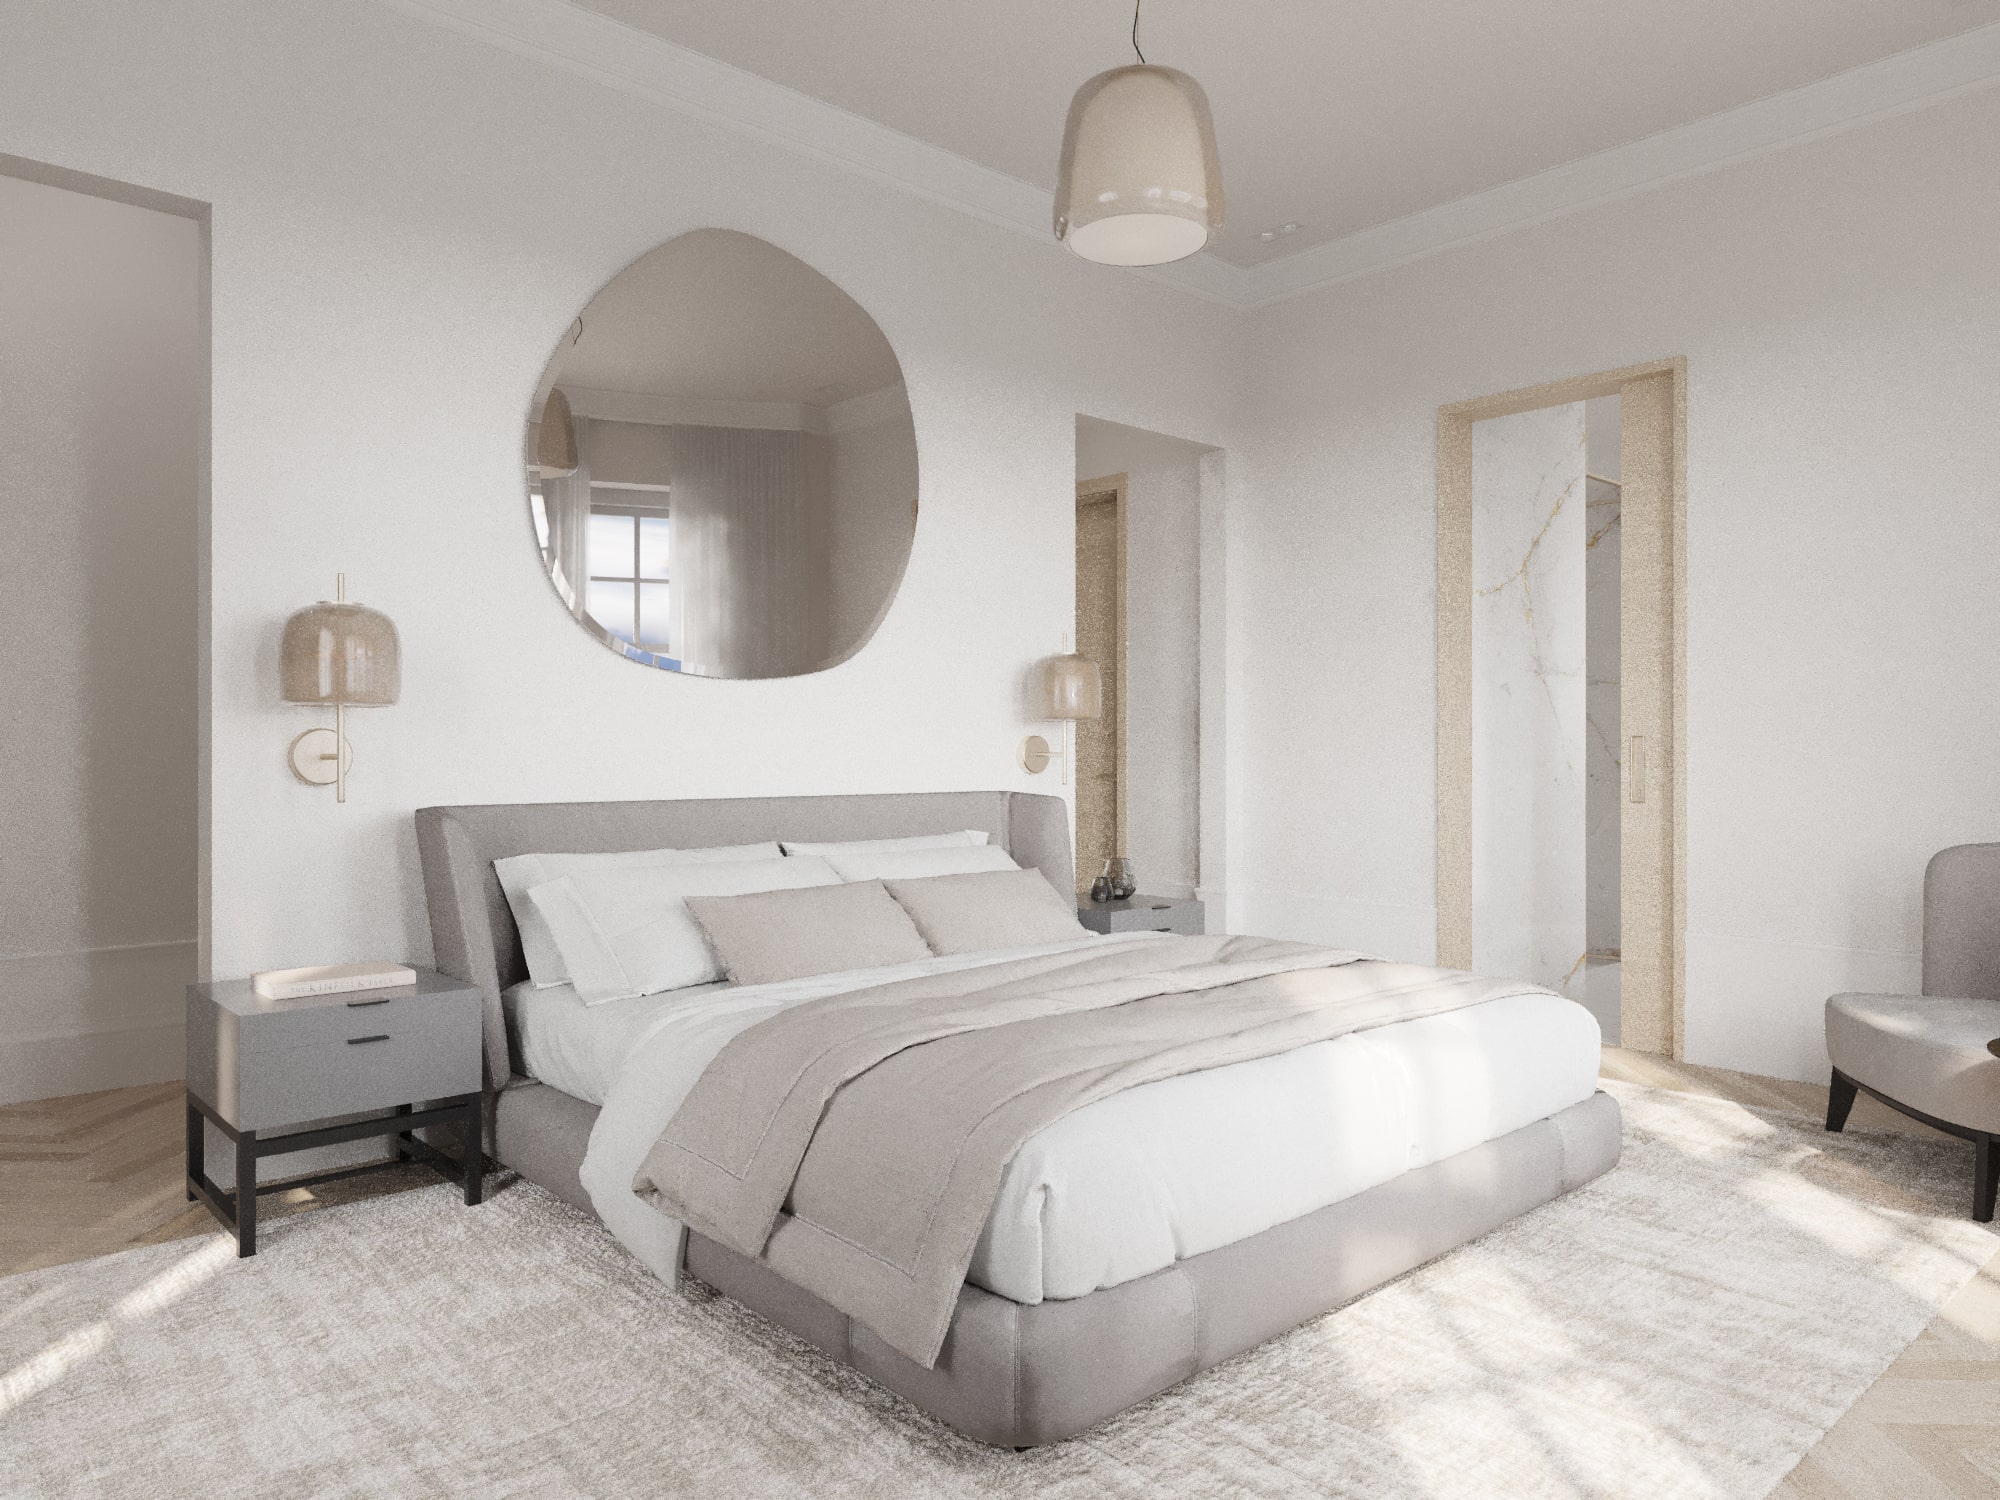
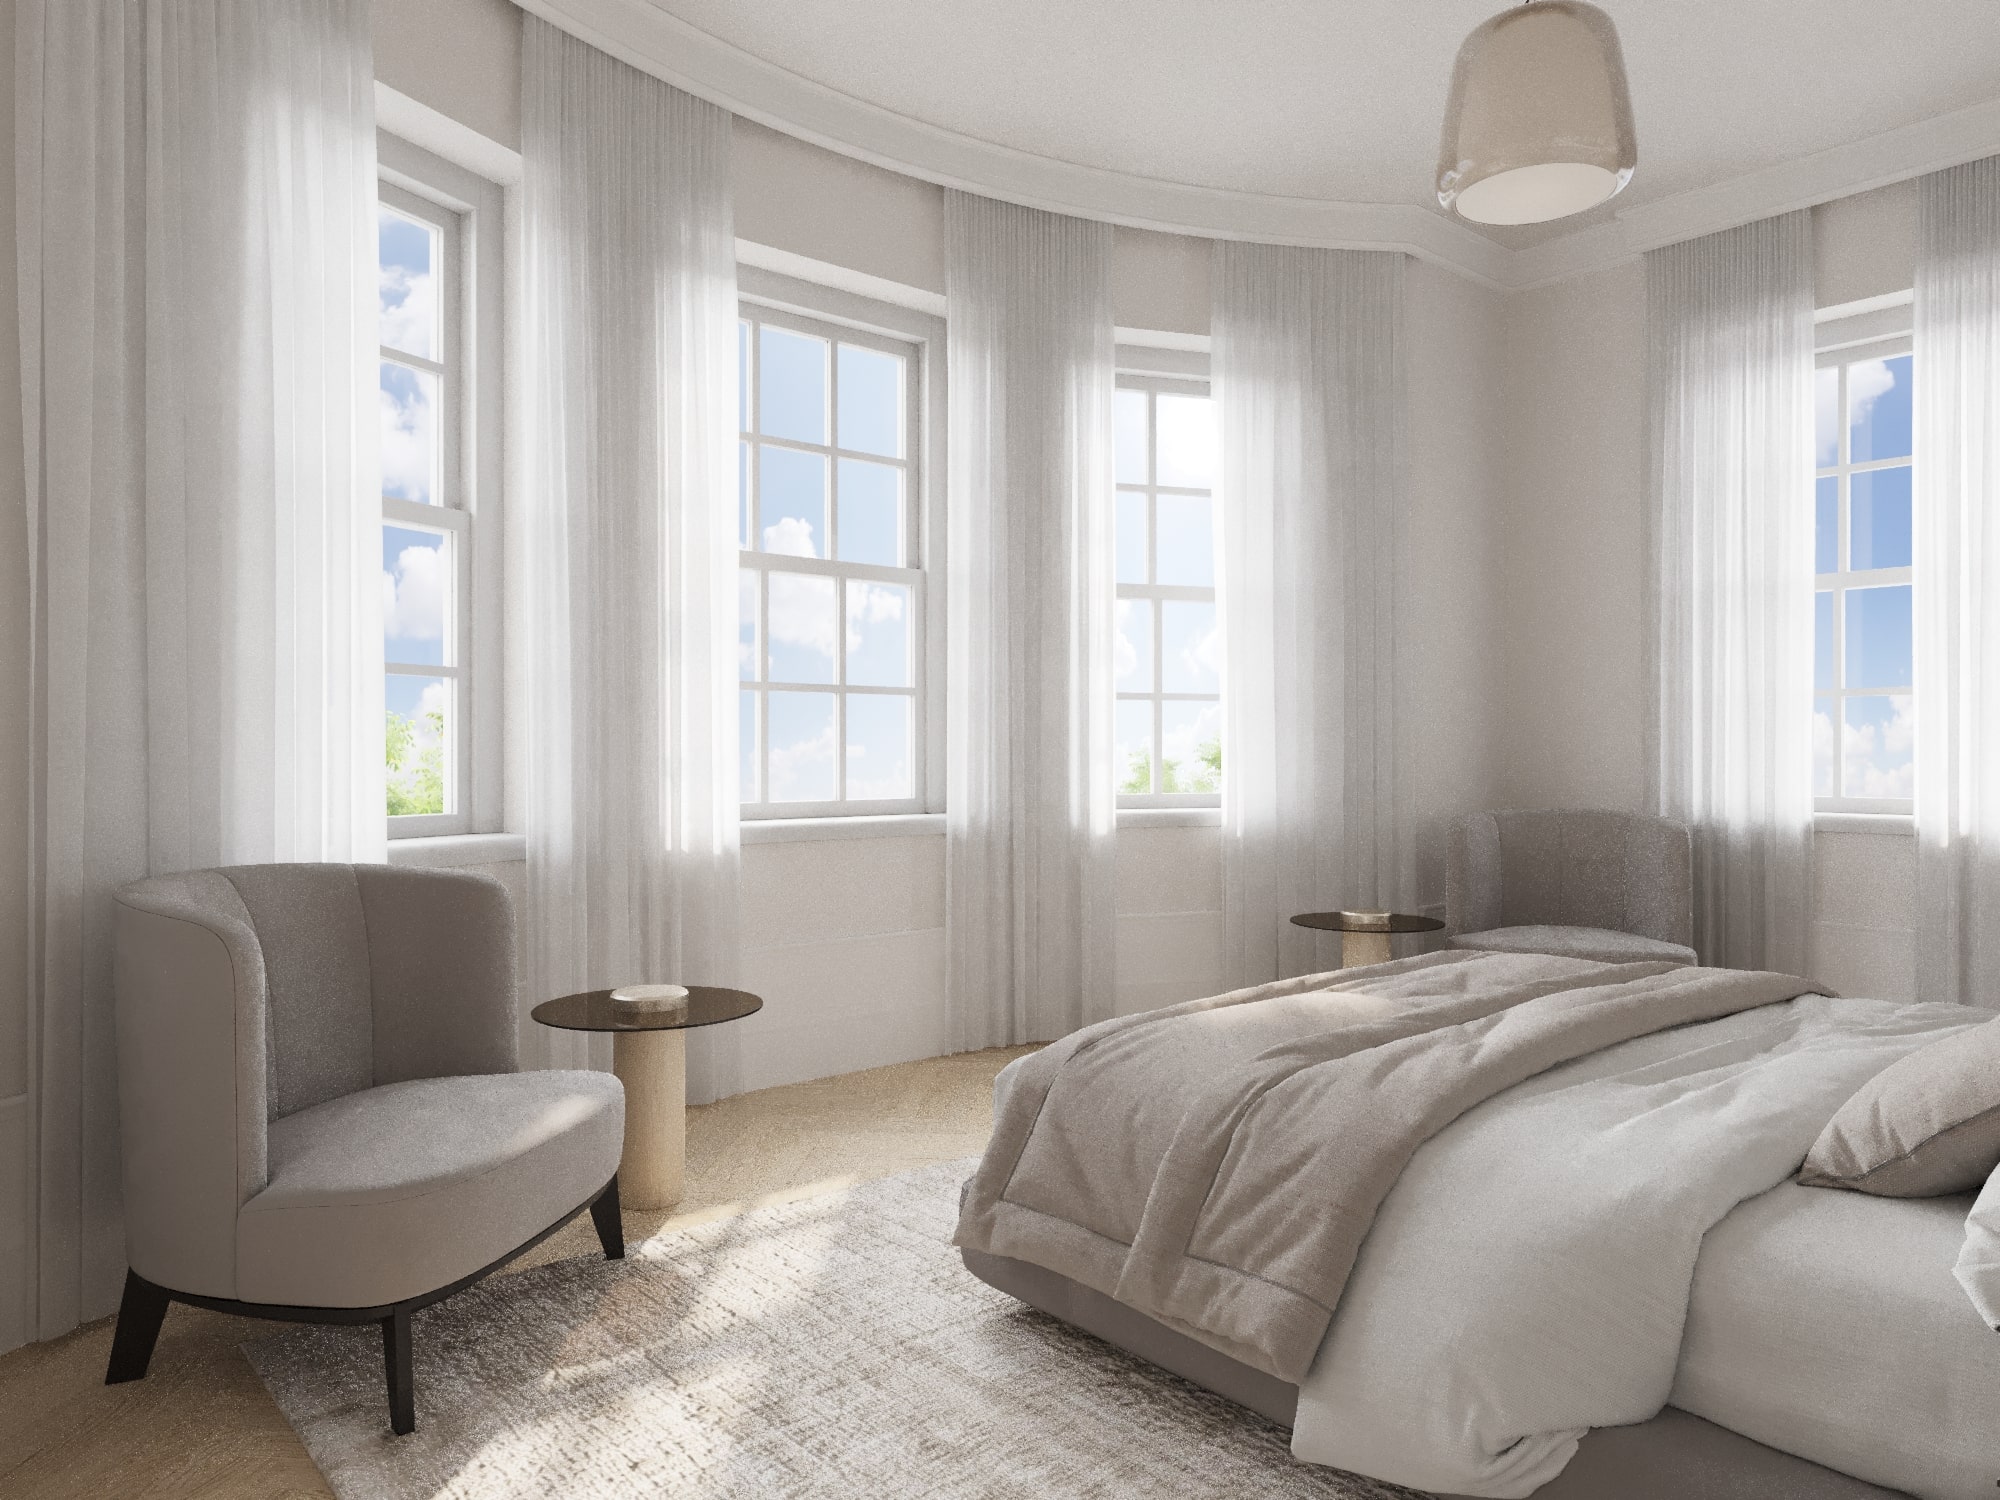
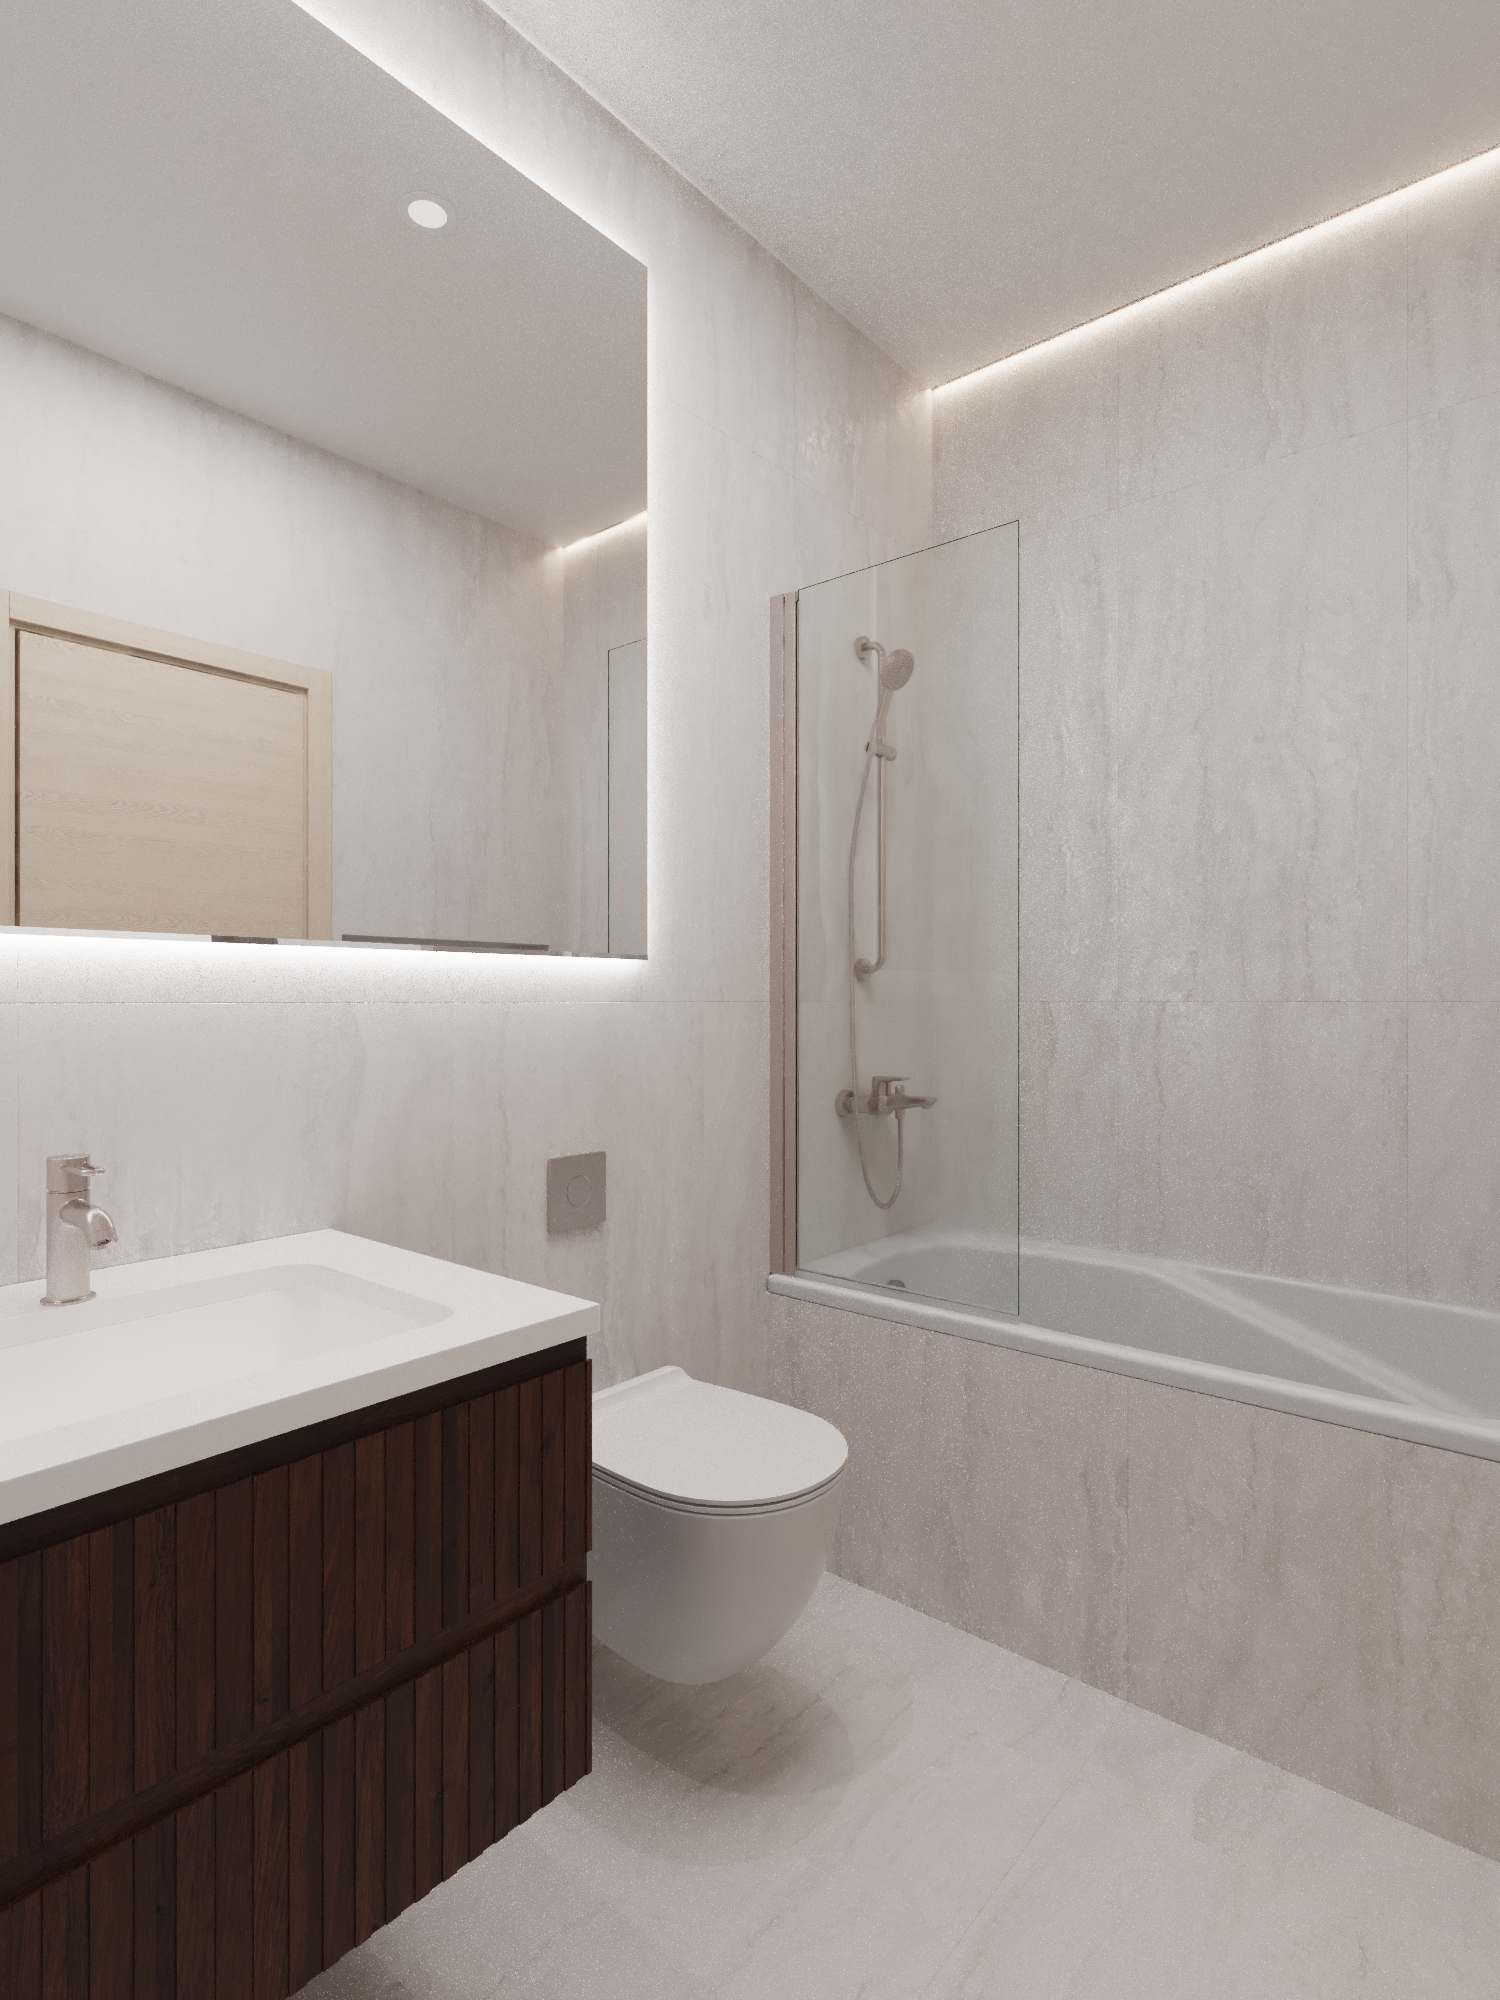
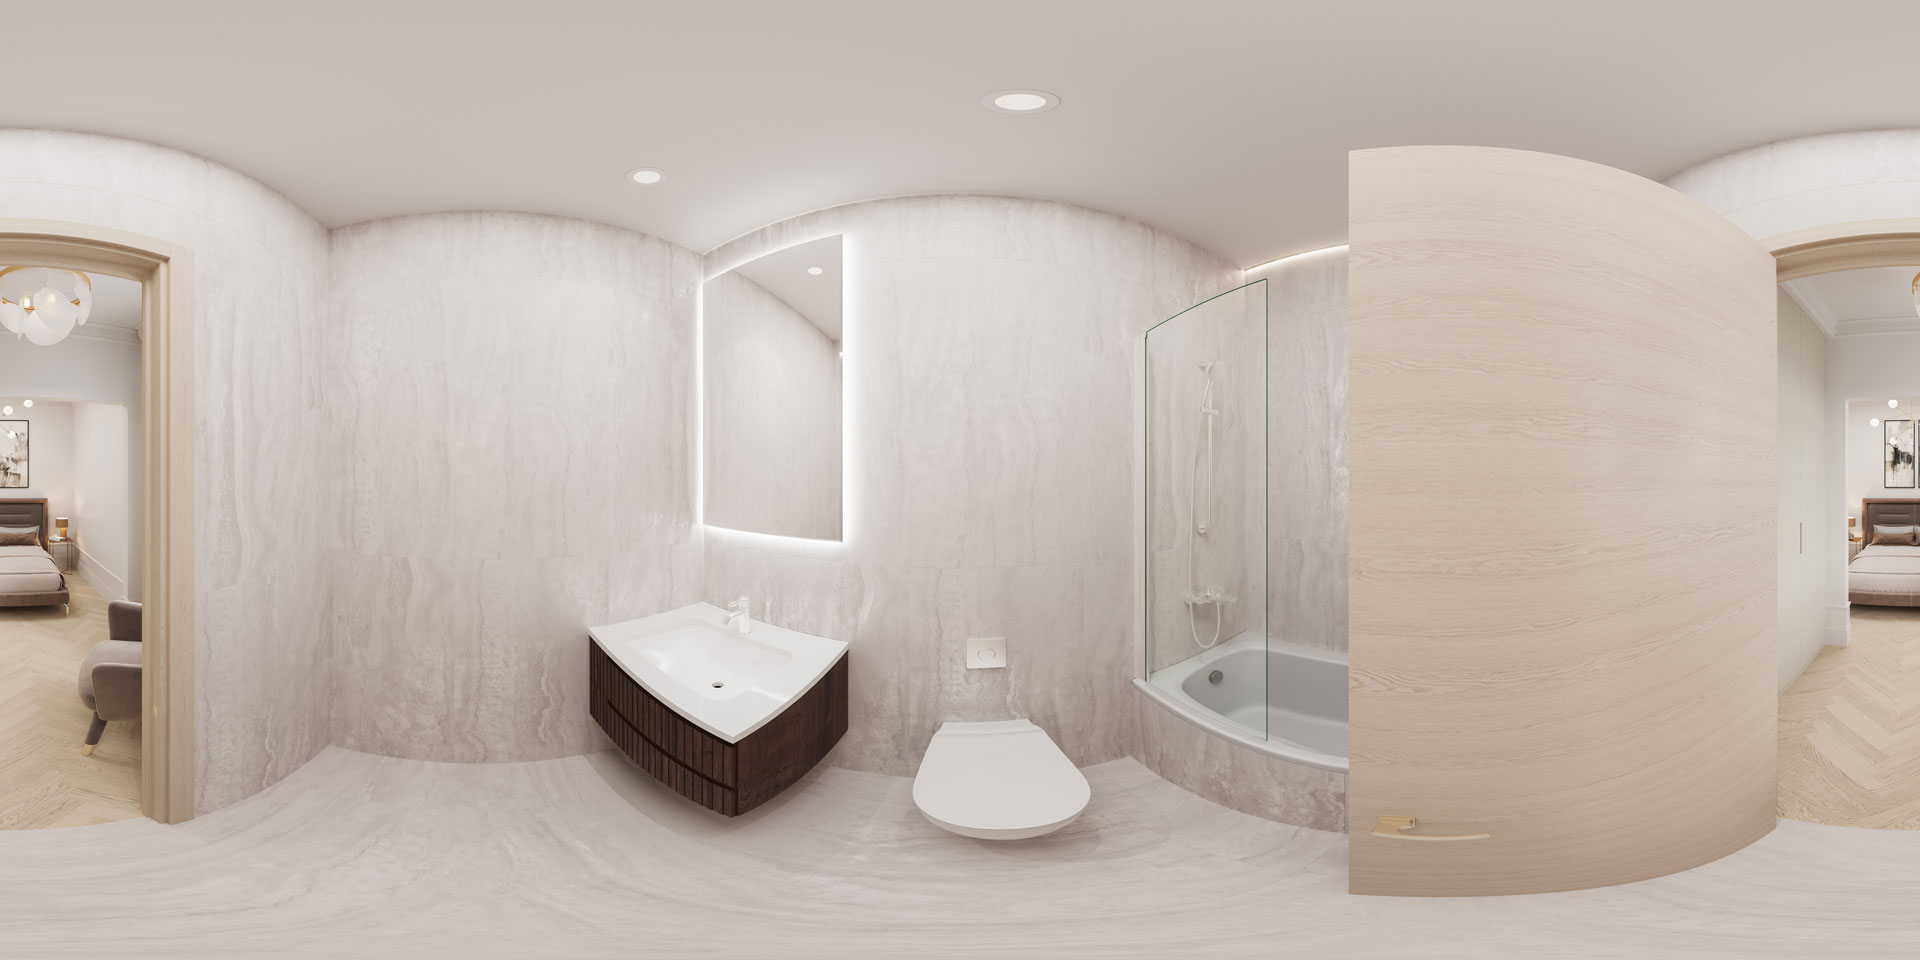
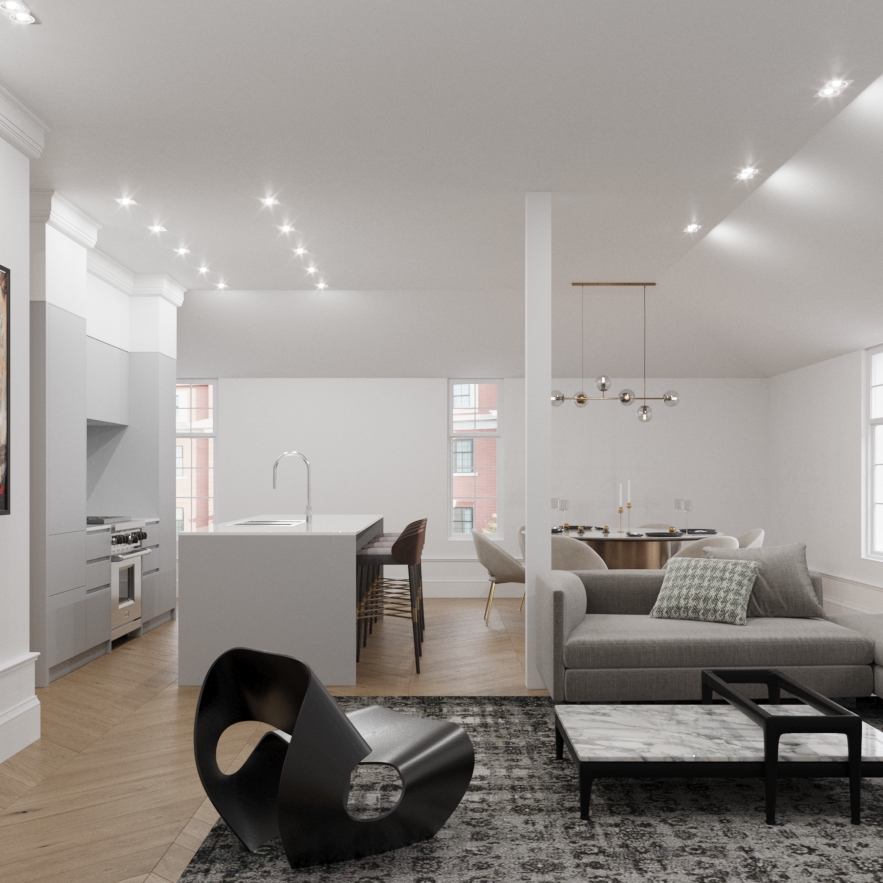
CG Real Estate Virtual Tour for Apartment 201, César
César unit will occupy the main floor of the building. It will have with 2 bedrooms, 2.5 baths, and a spacious open kitchen combined with a living room. The 11-ft ceilings and large bay windows will ensure that the space is permeated with light and air.
Brief
The brief for the 3D apartment tour production contained:
- Space plan for hotspots;
- Elevations;
- Reference imagery for flooring, moldings, baseboards, materials, etc;
- Reference interior visualizations for furniture.
Review Round 1
George Pamel viewed the results, wrote that everything looks good, and asked for several updates:
- all doors should have frames around them, as in the images from one of our previous projects
- the door handles should be in chrome finish
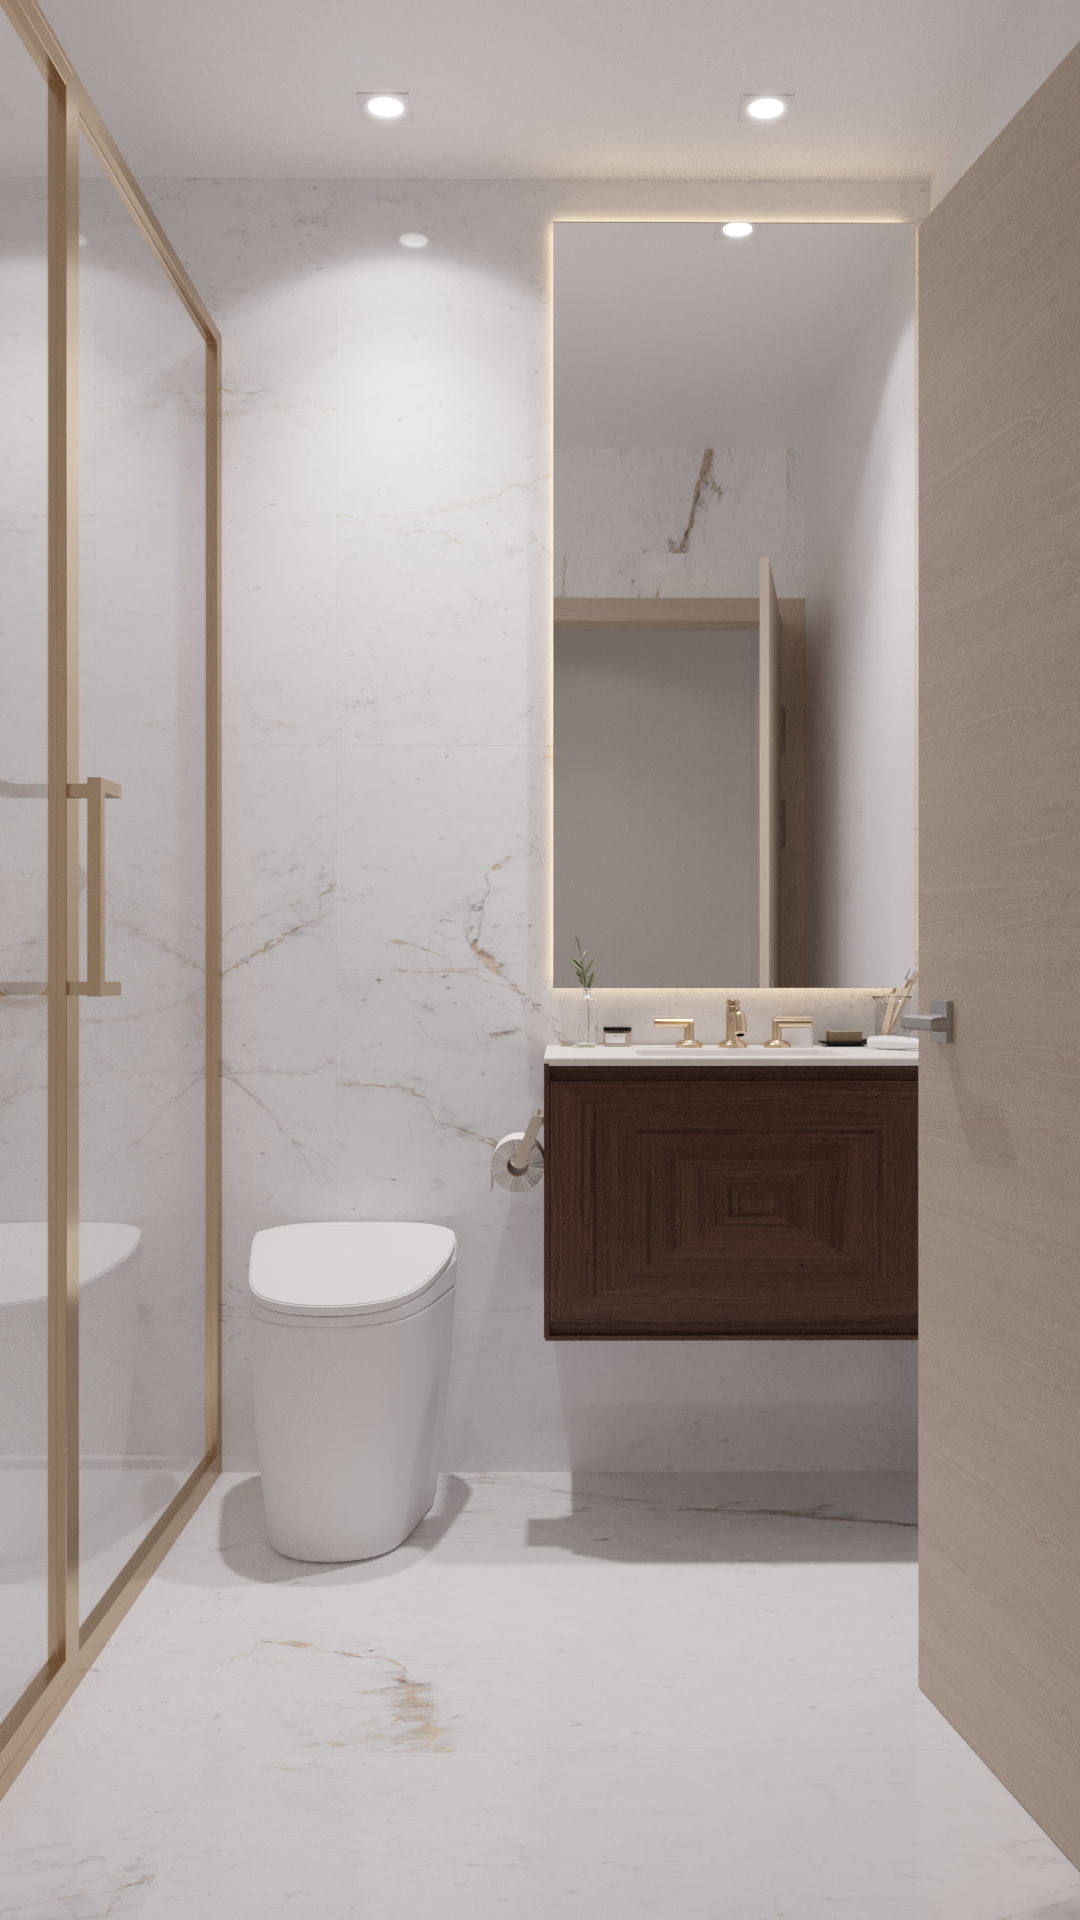
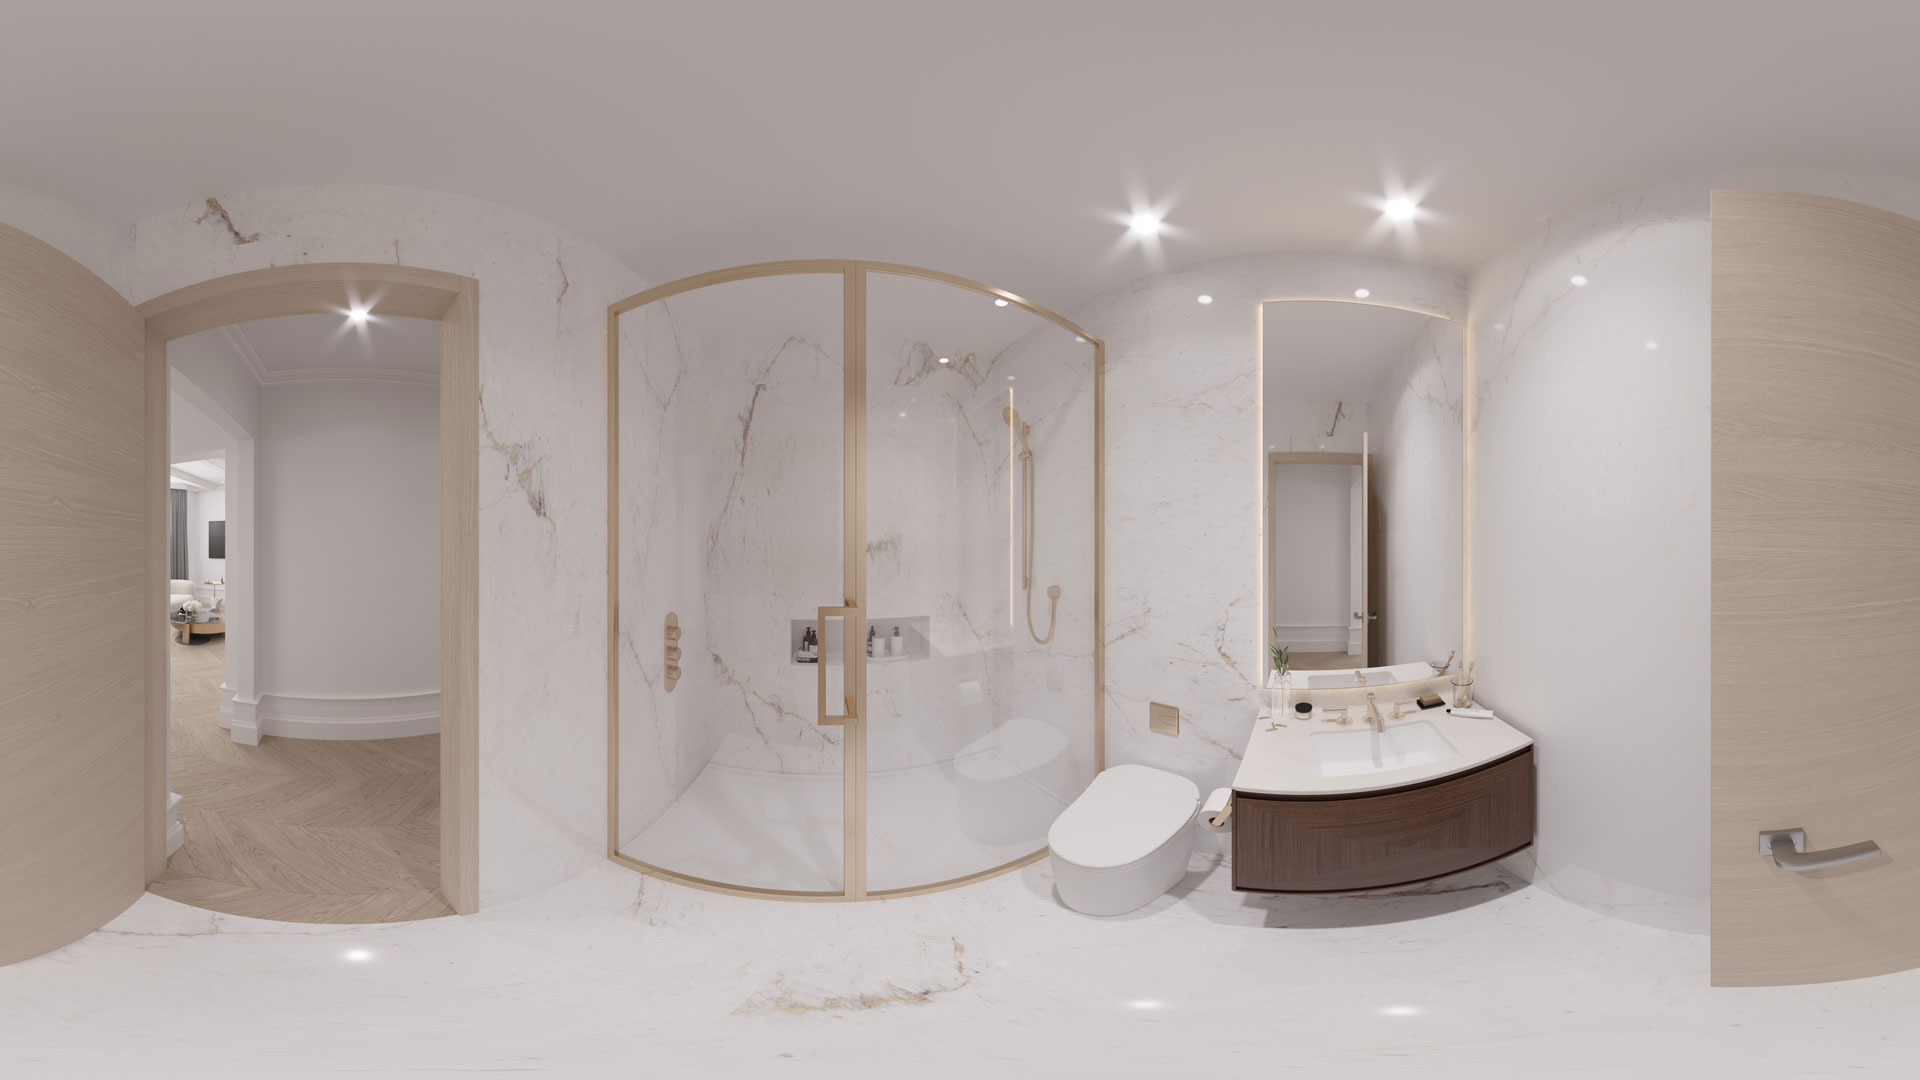
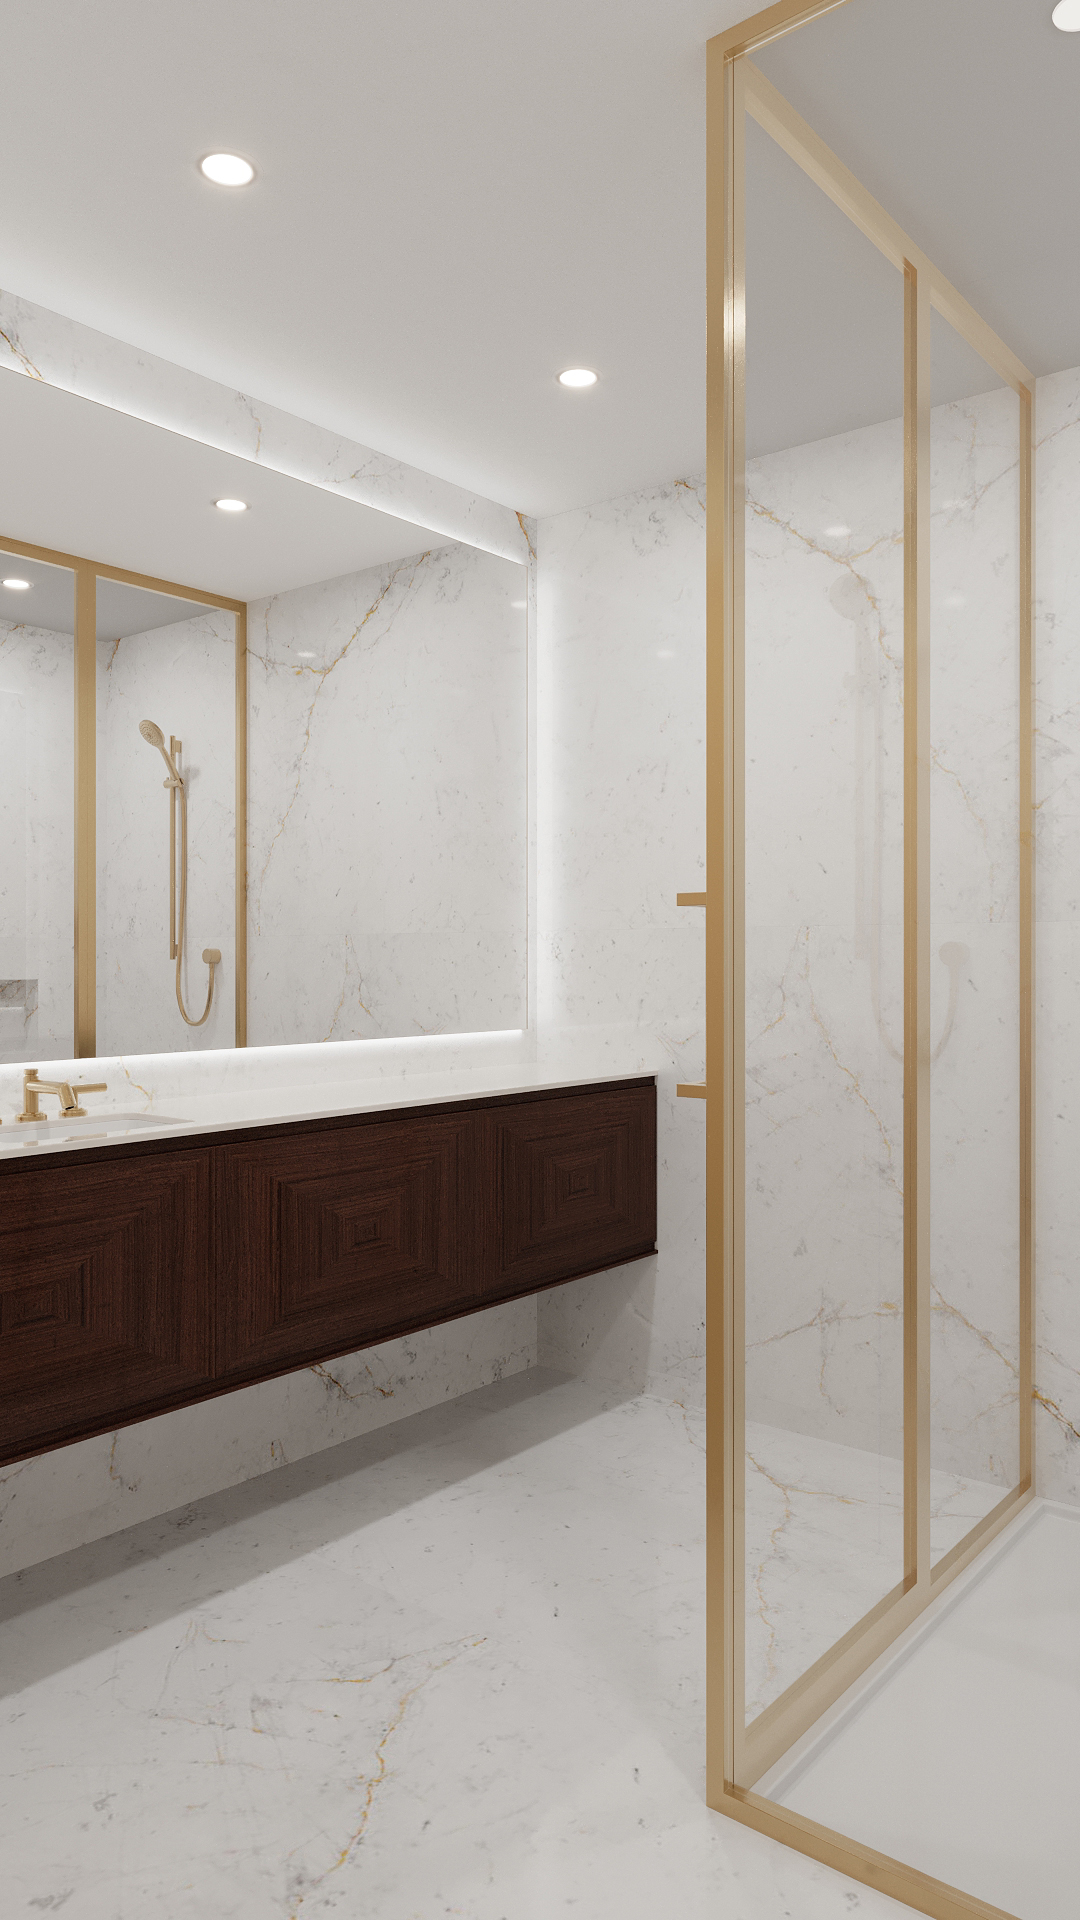
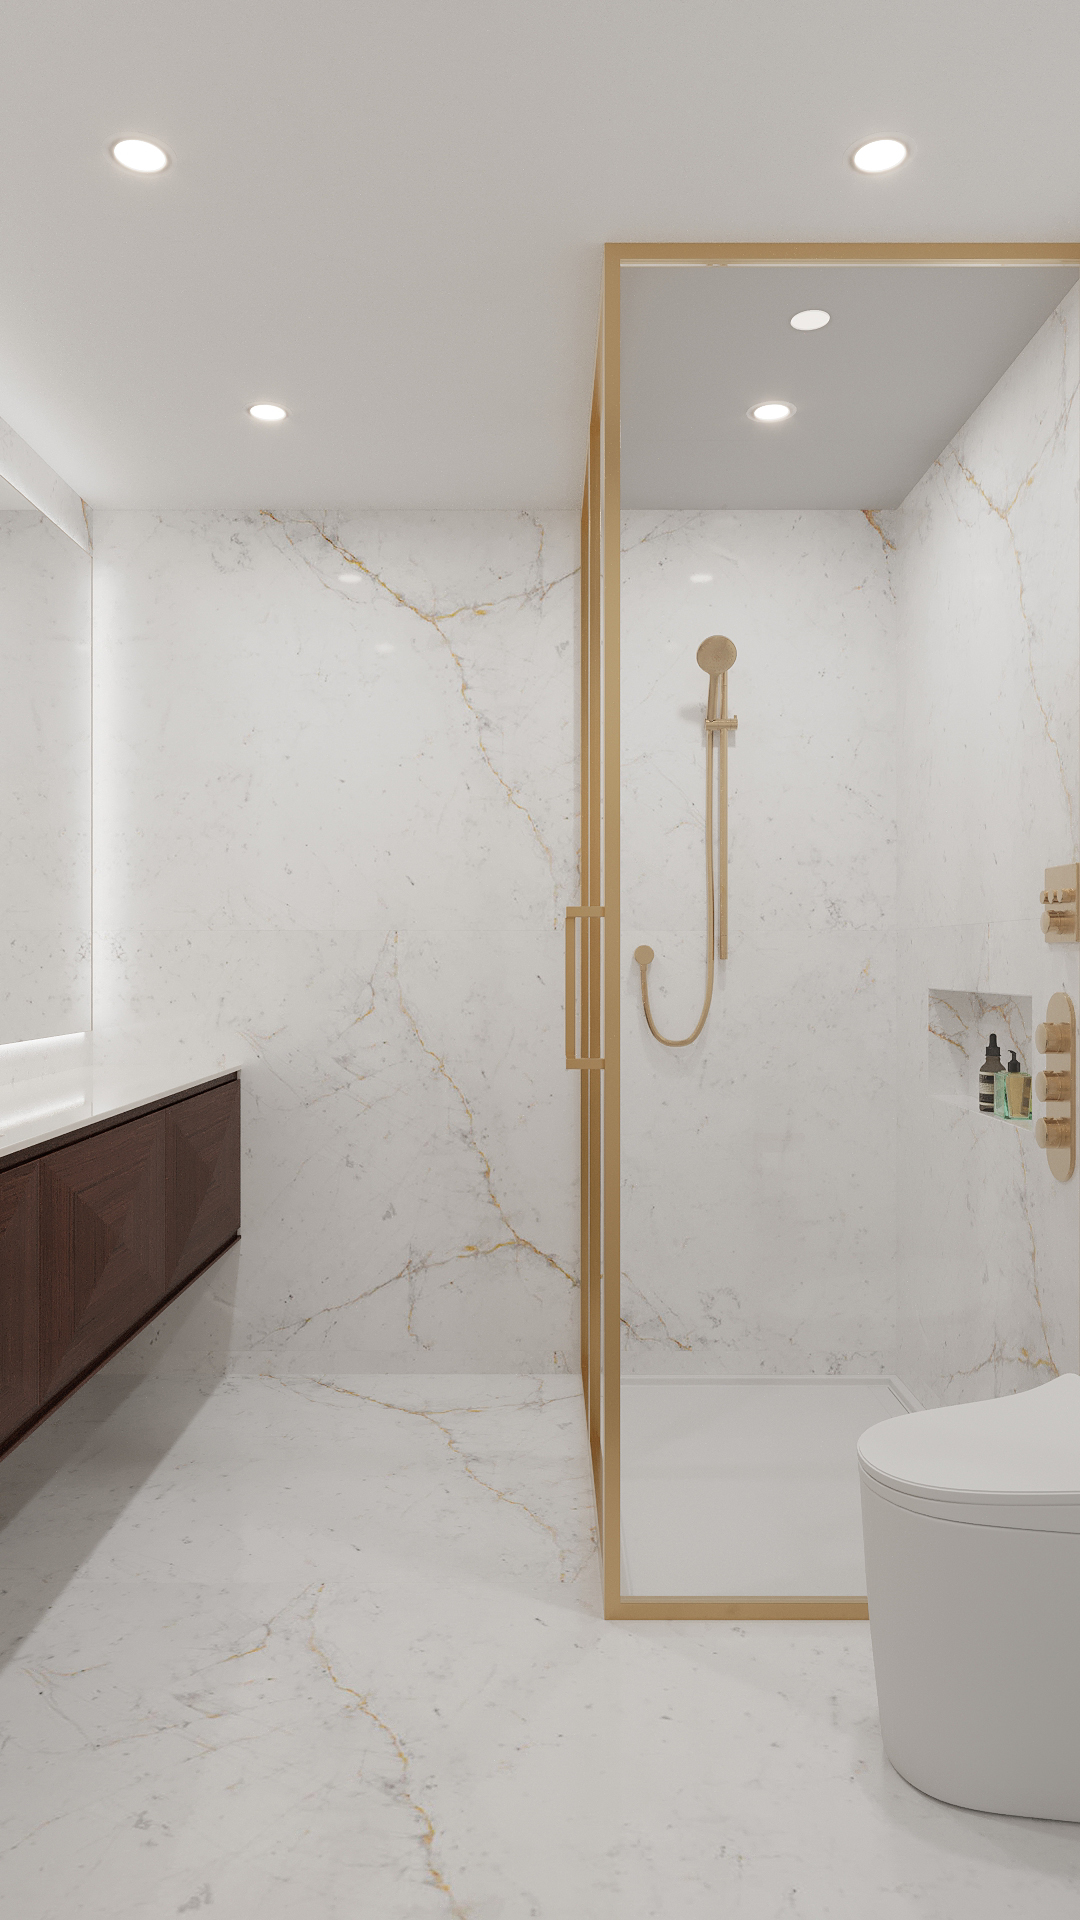
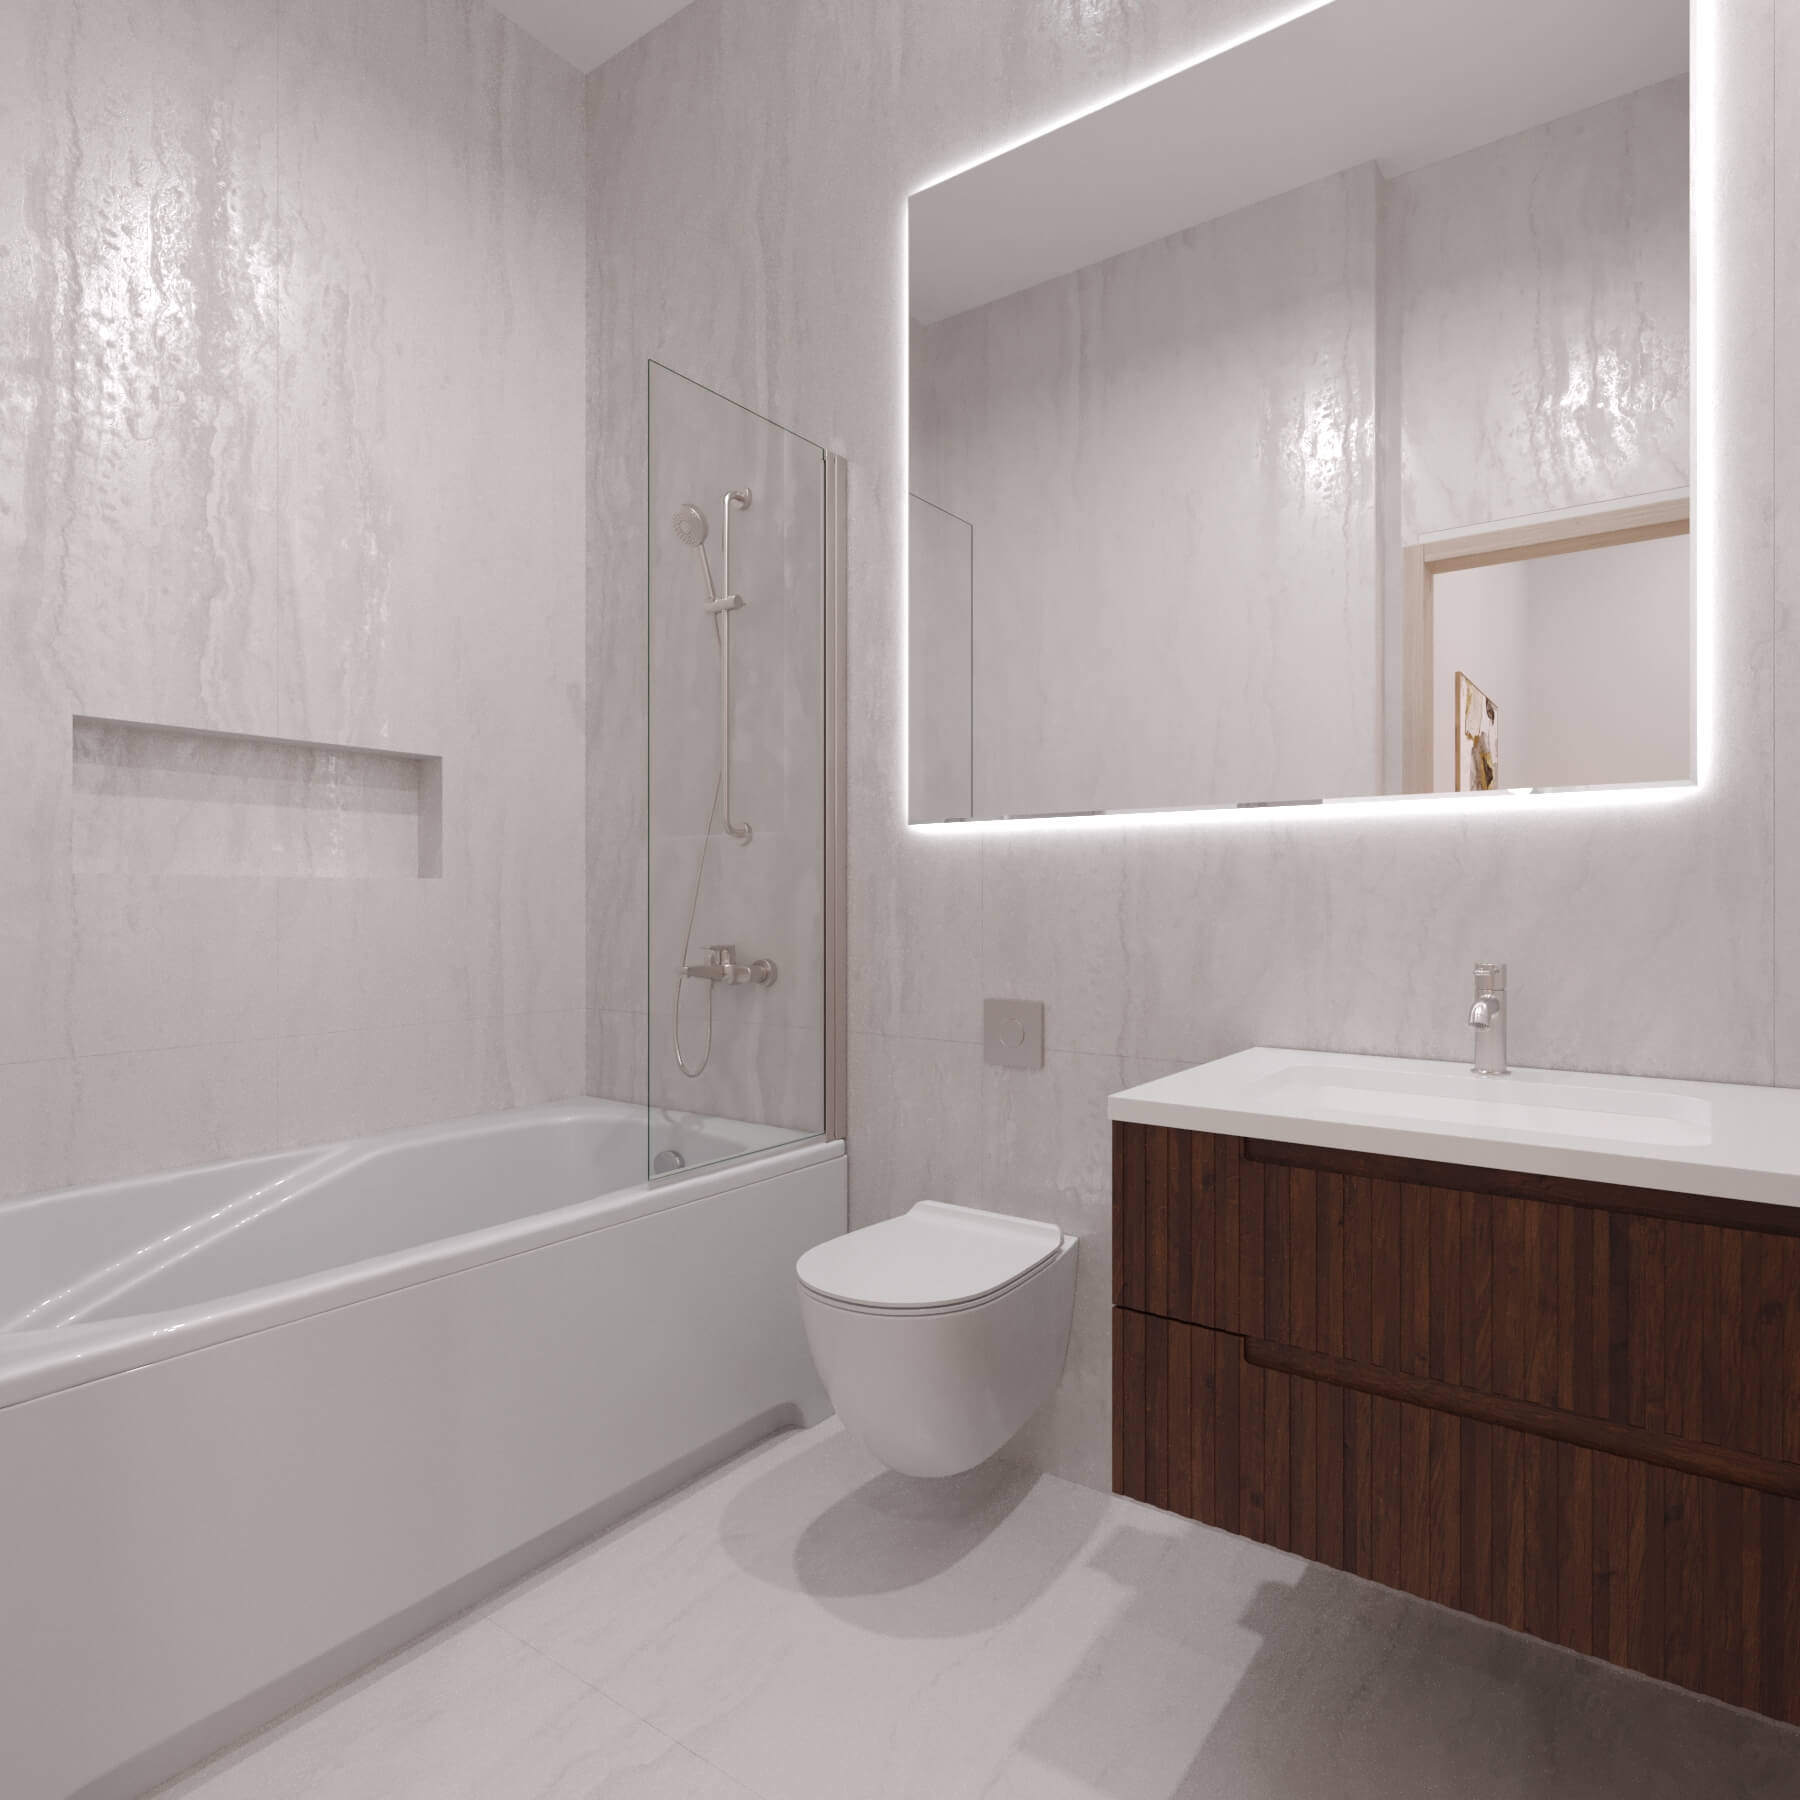
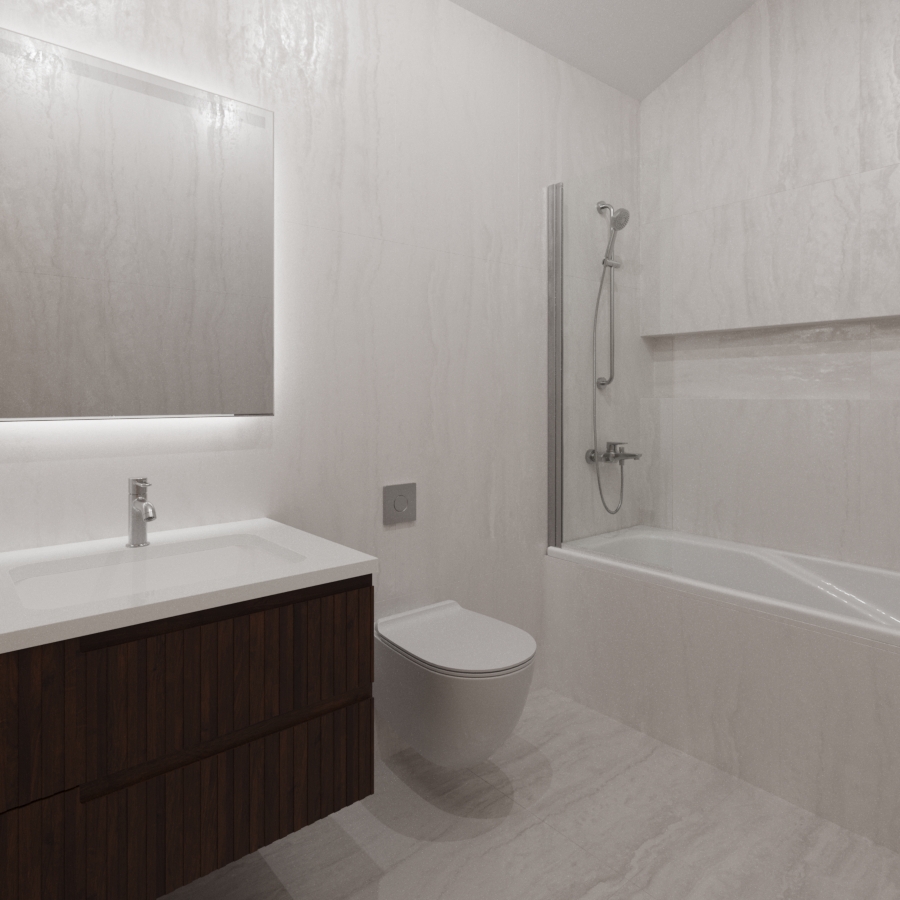
- the secondary bathroom should have the same finishes as in the reference renderings
- the ceiling should be coffered.
The 3D artist made the changes and sent the updated imagery. To speed up the process, she sent them in the form of raw renders and without post-production.
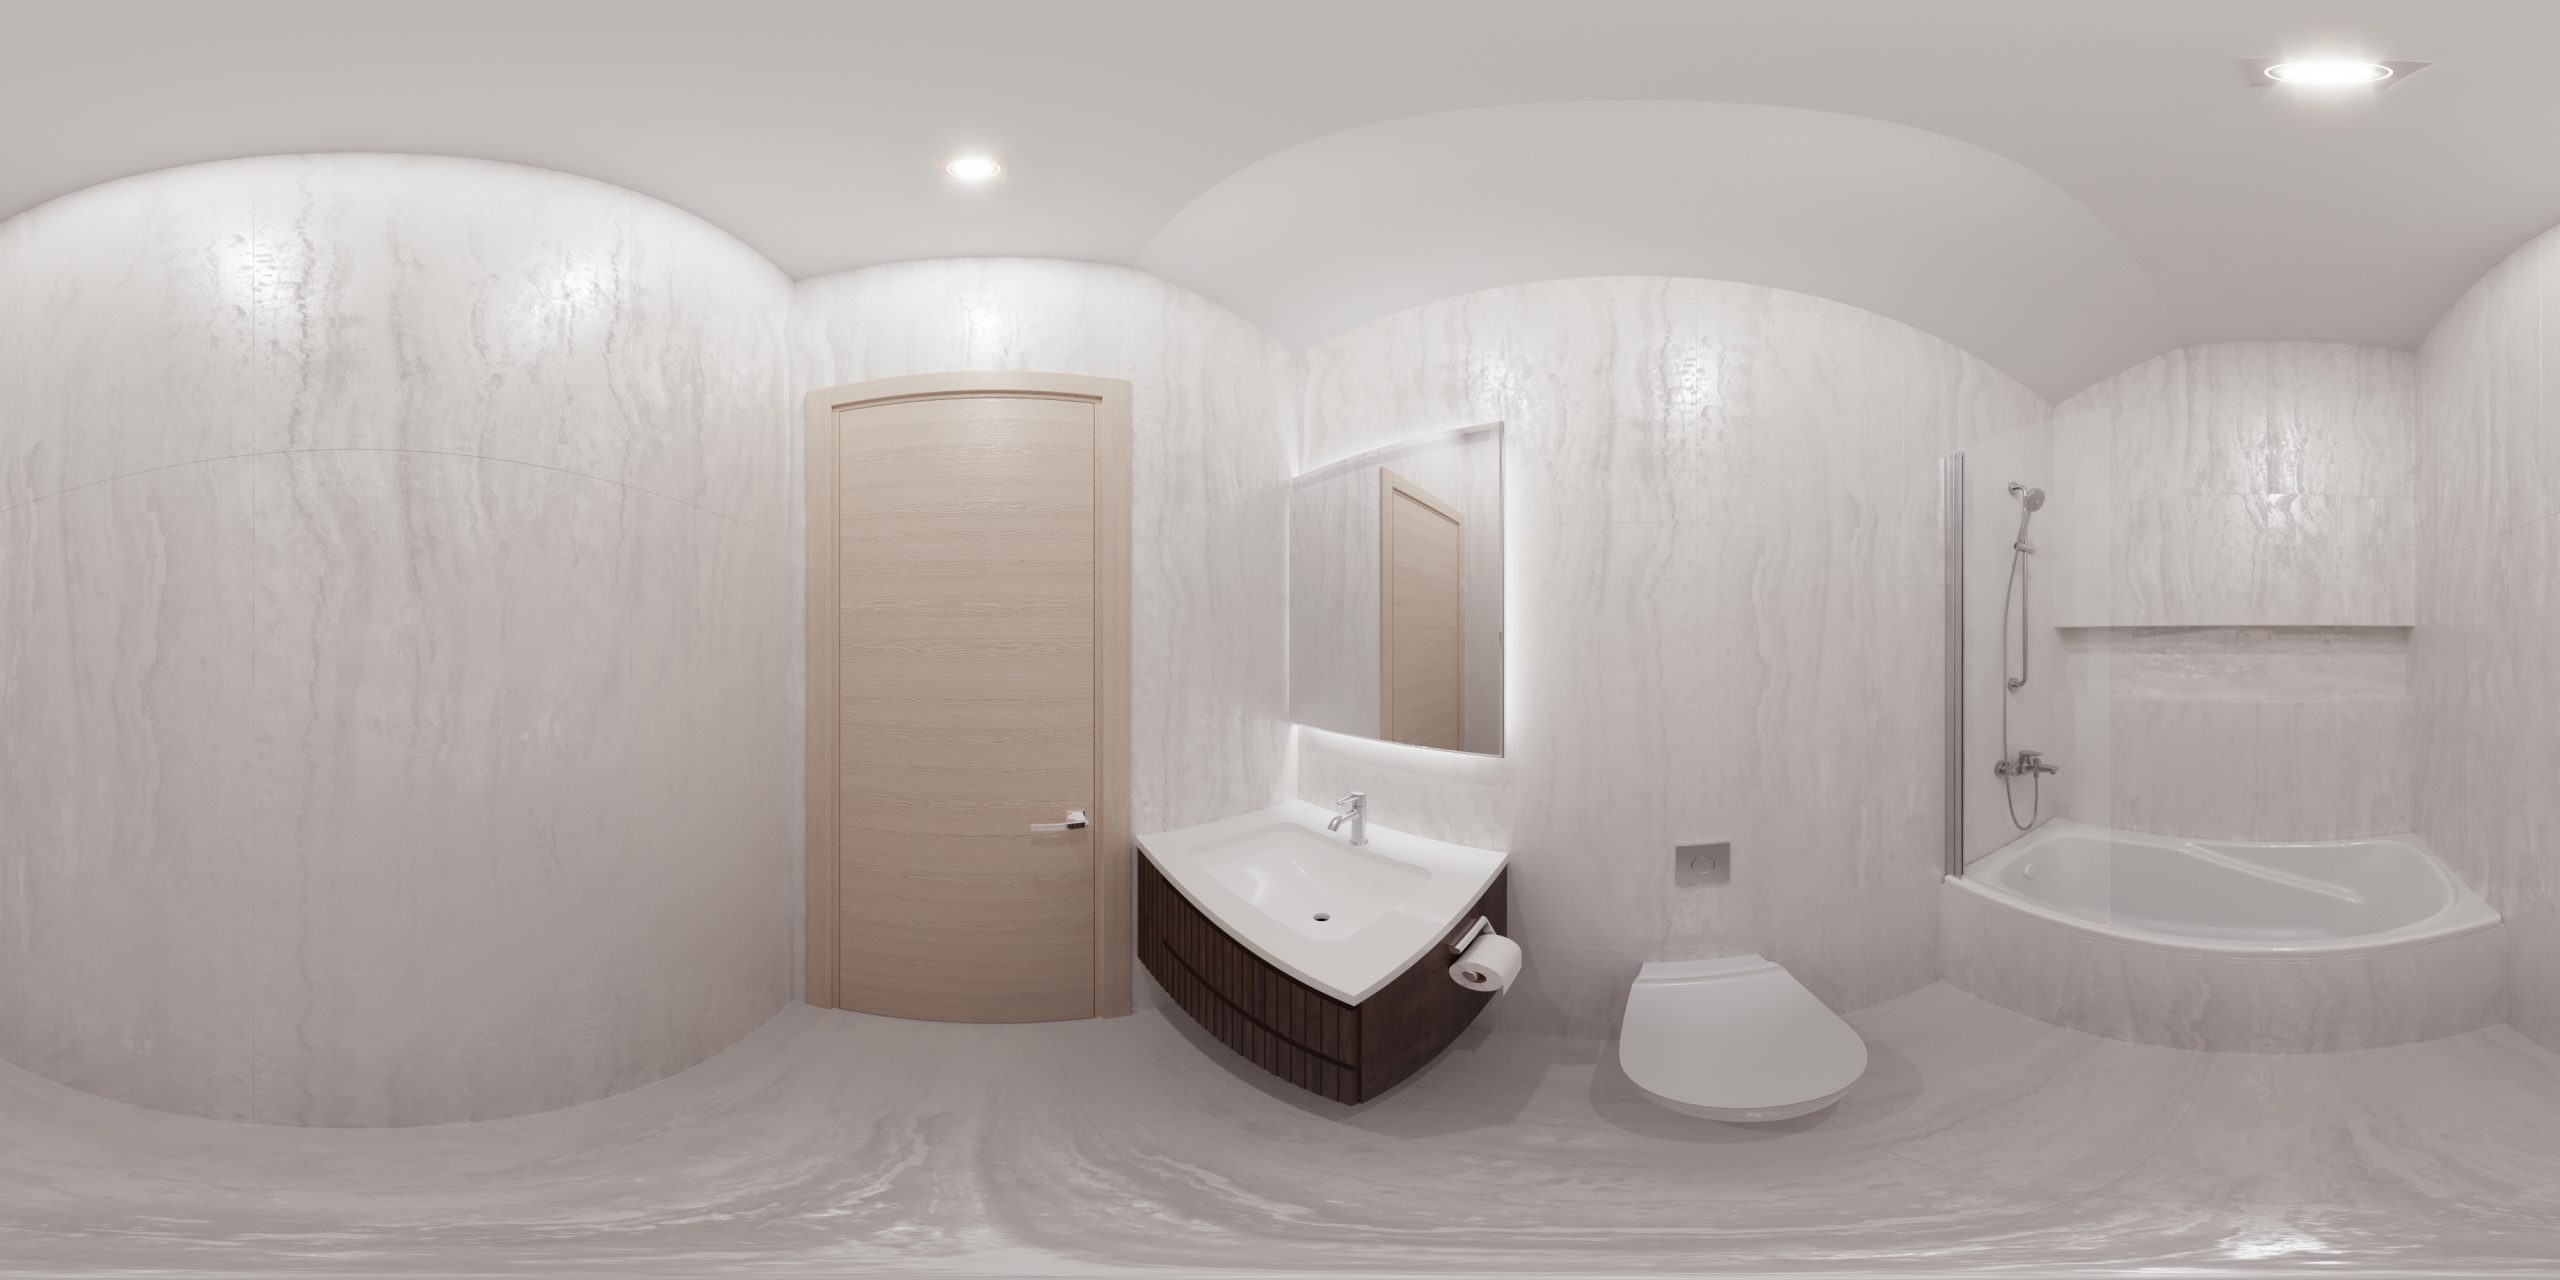
- the mirror in the secondary bathroom should be above the vanity and not exceed it;
- the window’s dimensions should be changed as per the elevations;
- ceramic in the bathroom should go up onto the bath side wall, with the same tile cladding;
- an artwork selected from our 3D library to the wall next to the kitchen.
The 3D artist made the changes, sent the results, and the client approved them. This way, the design, and the overall scene were ready.
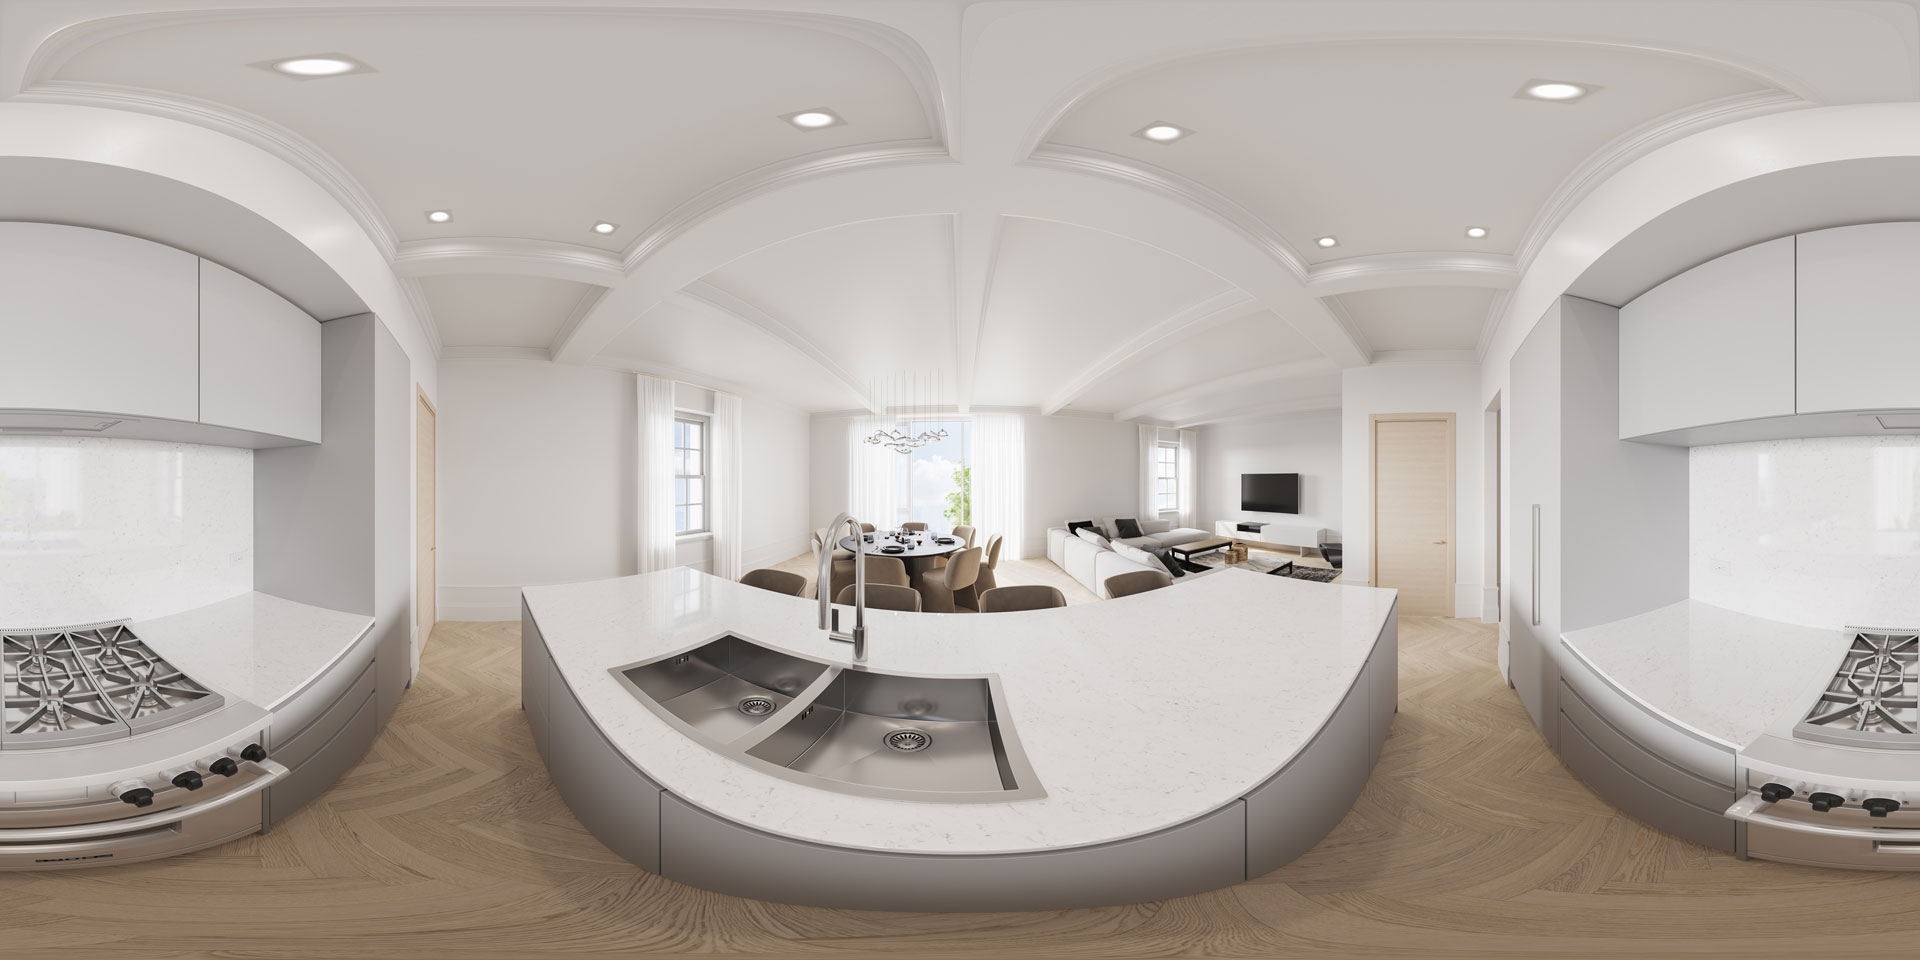
Stage 2: Making and Assembling Panoramas for 360-degree Tour
Then, the 3D artist created panoramic images which the client can use to see the render in the future tour on an online panorama viewer.
The client checked the images and sent the following feedback.


Advice from Kate, Sales Manager
When creating 3D real estate virtual tours, every detail matters. What really helps create an accurate and atmospheric image is knowing what materials there will be. So please send your CGI team all the links to the materials and reference images that you have. It will speed up the project and help you get sensational results.
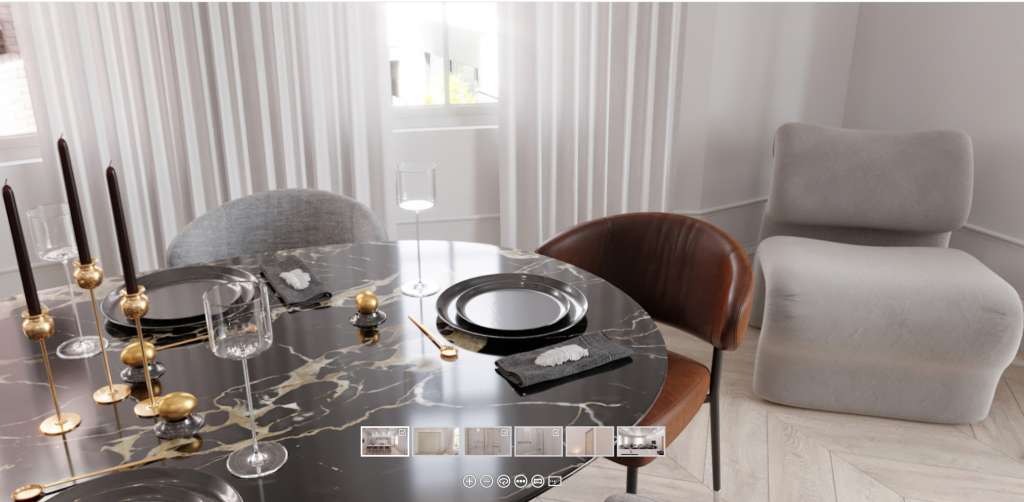

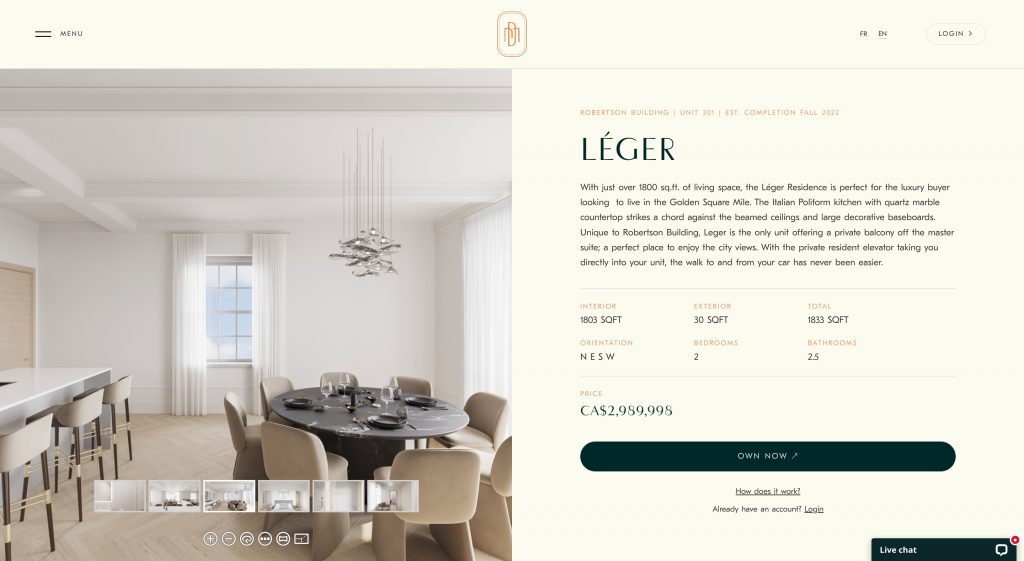
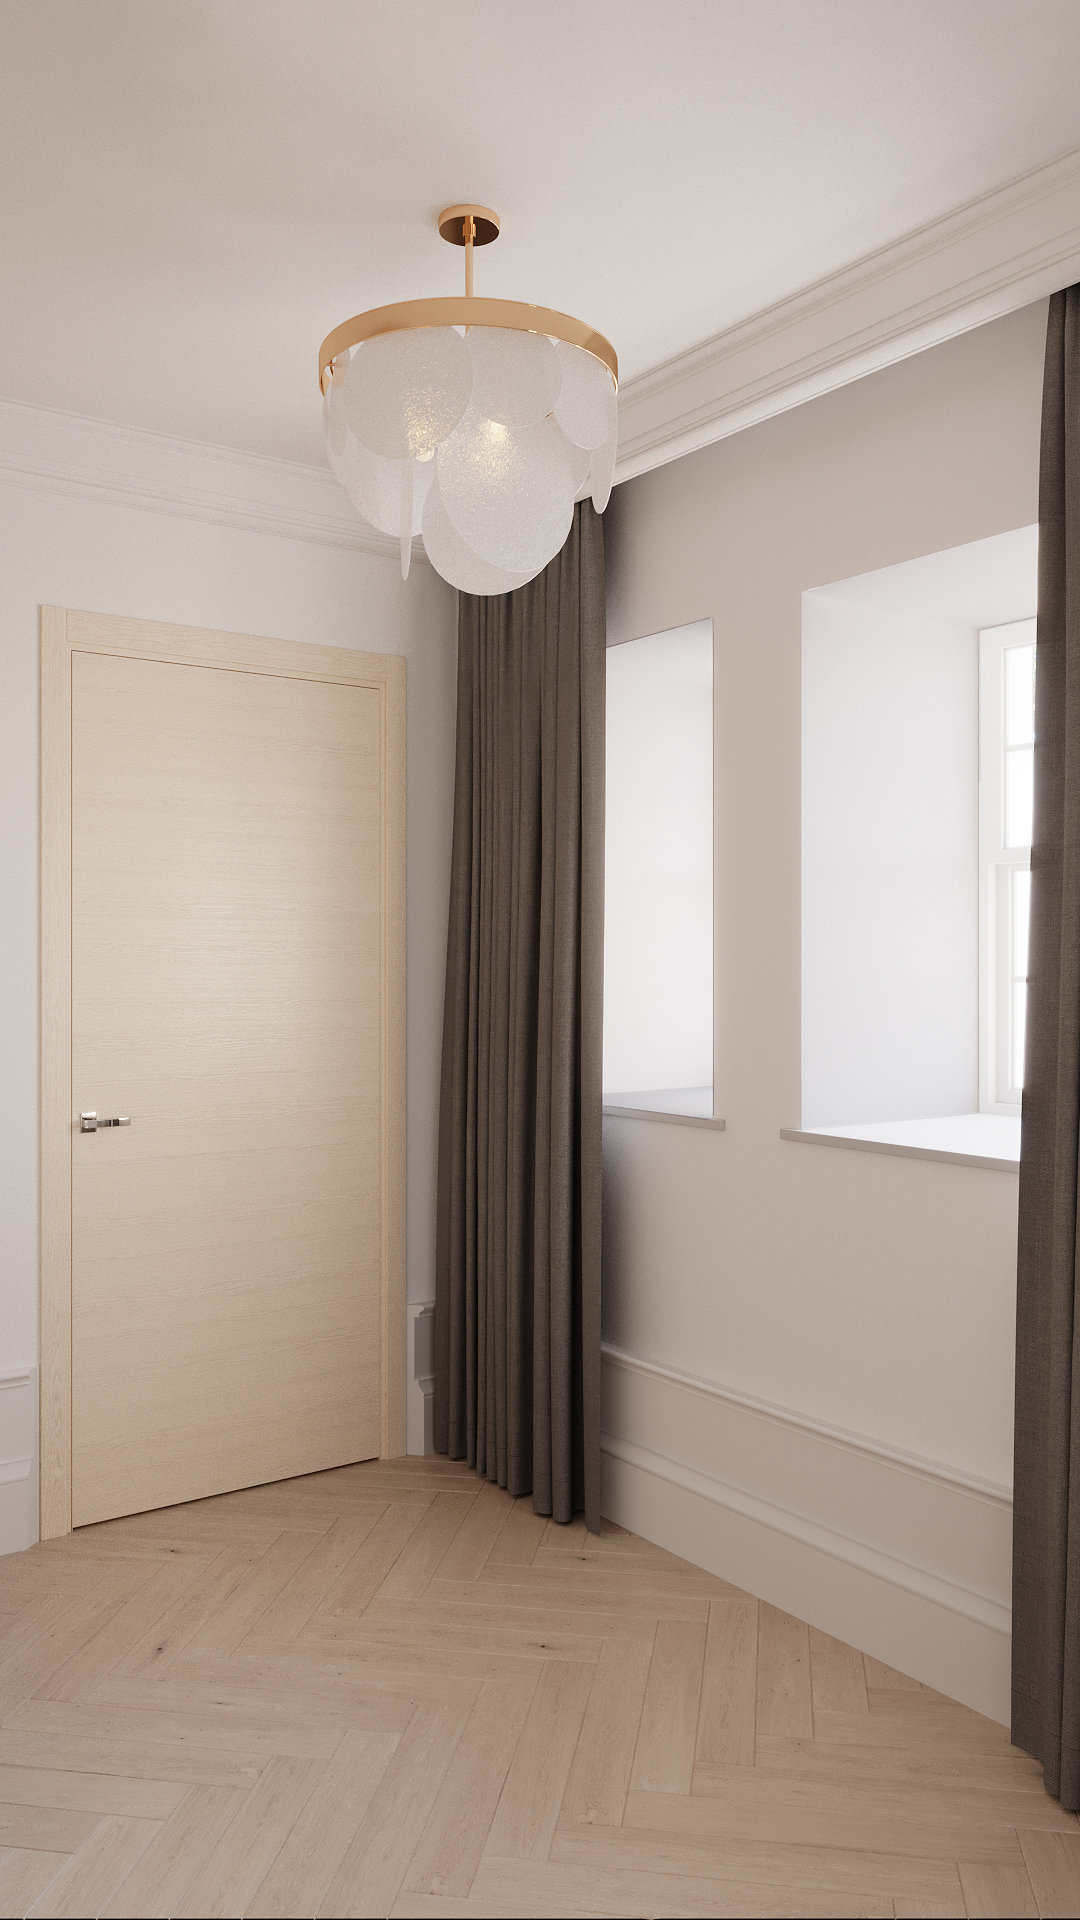
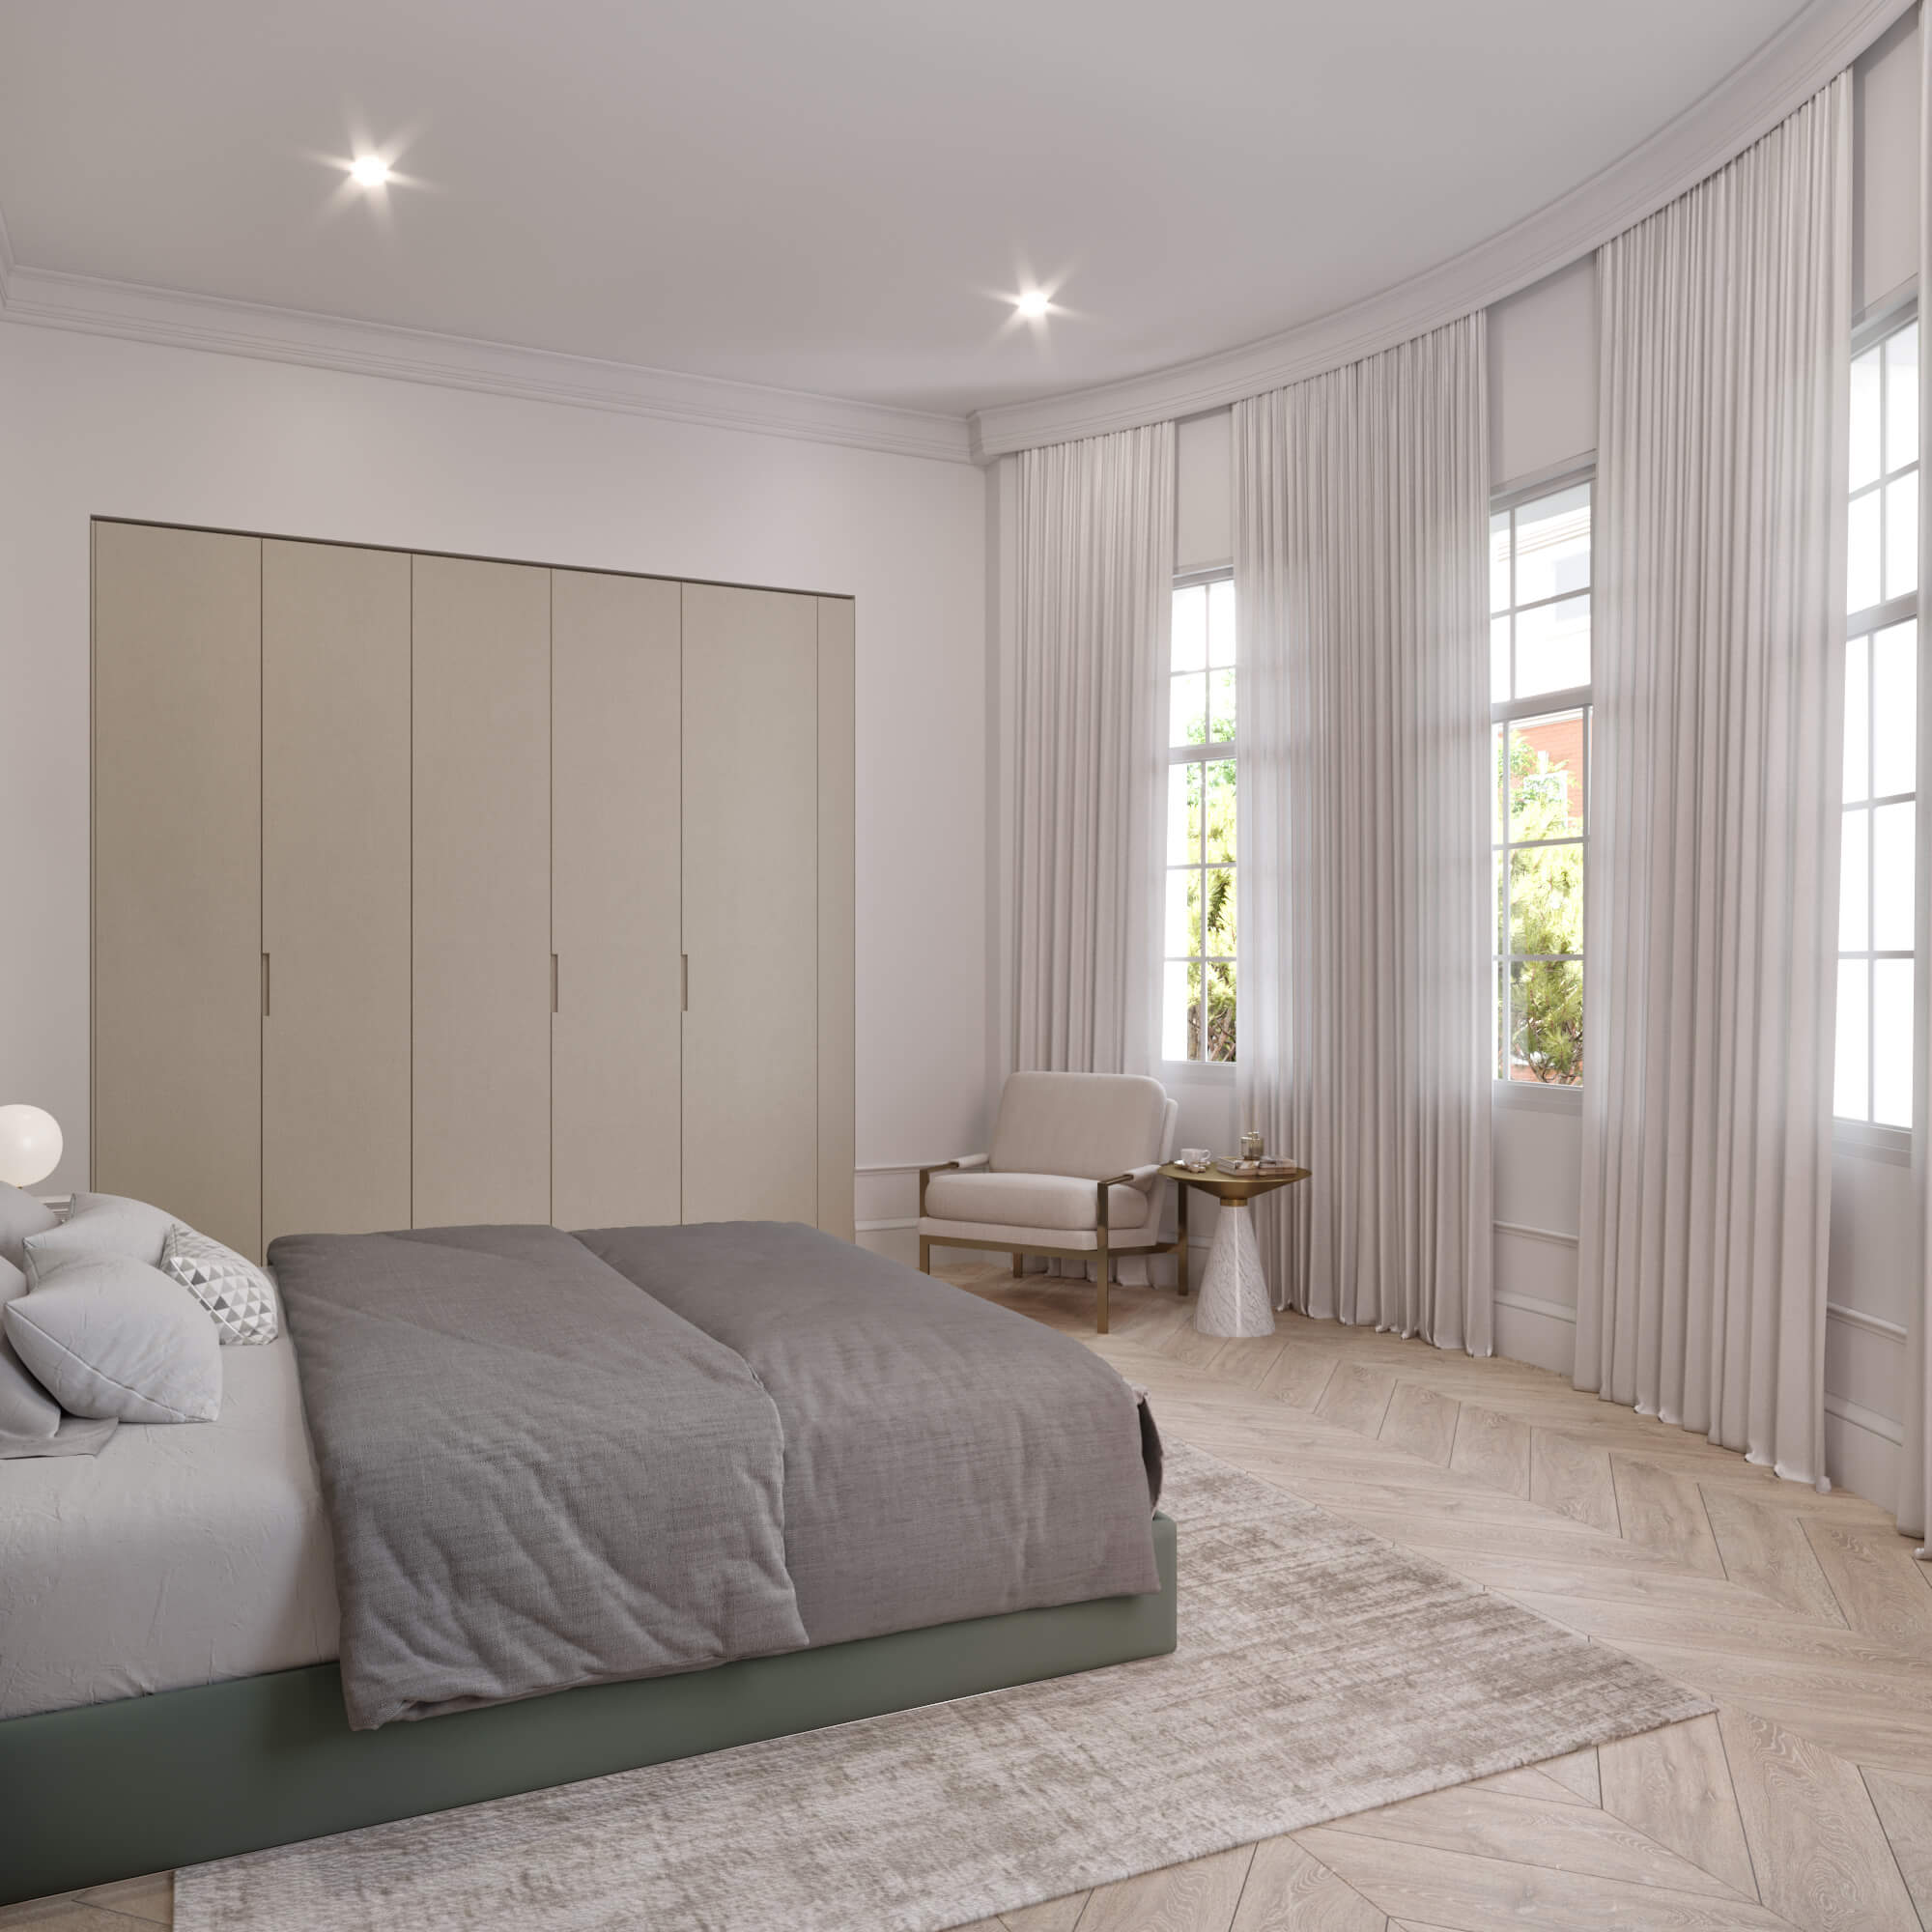
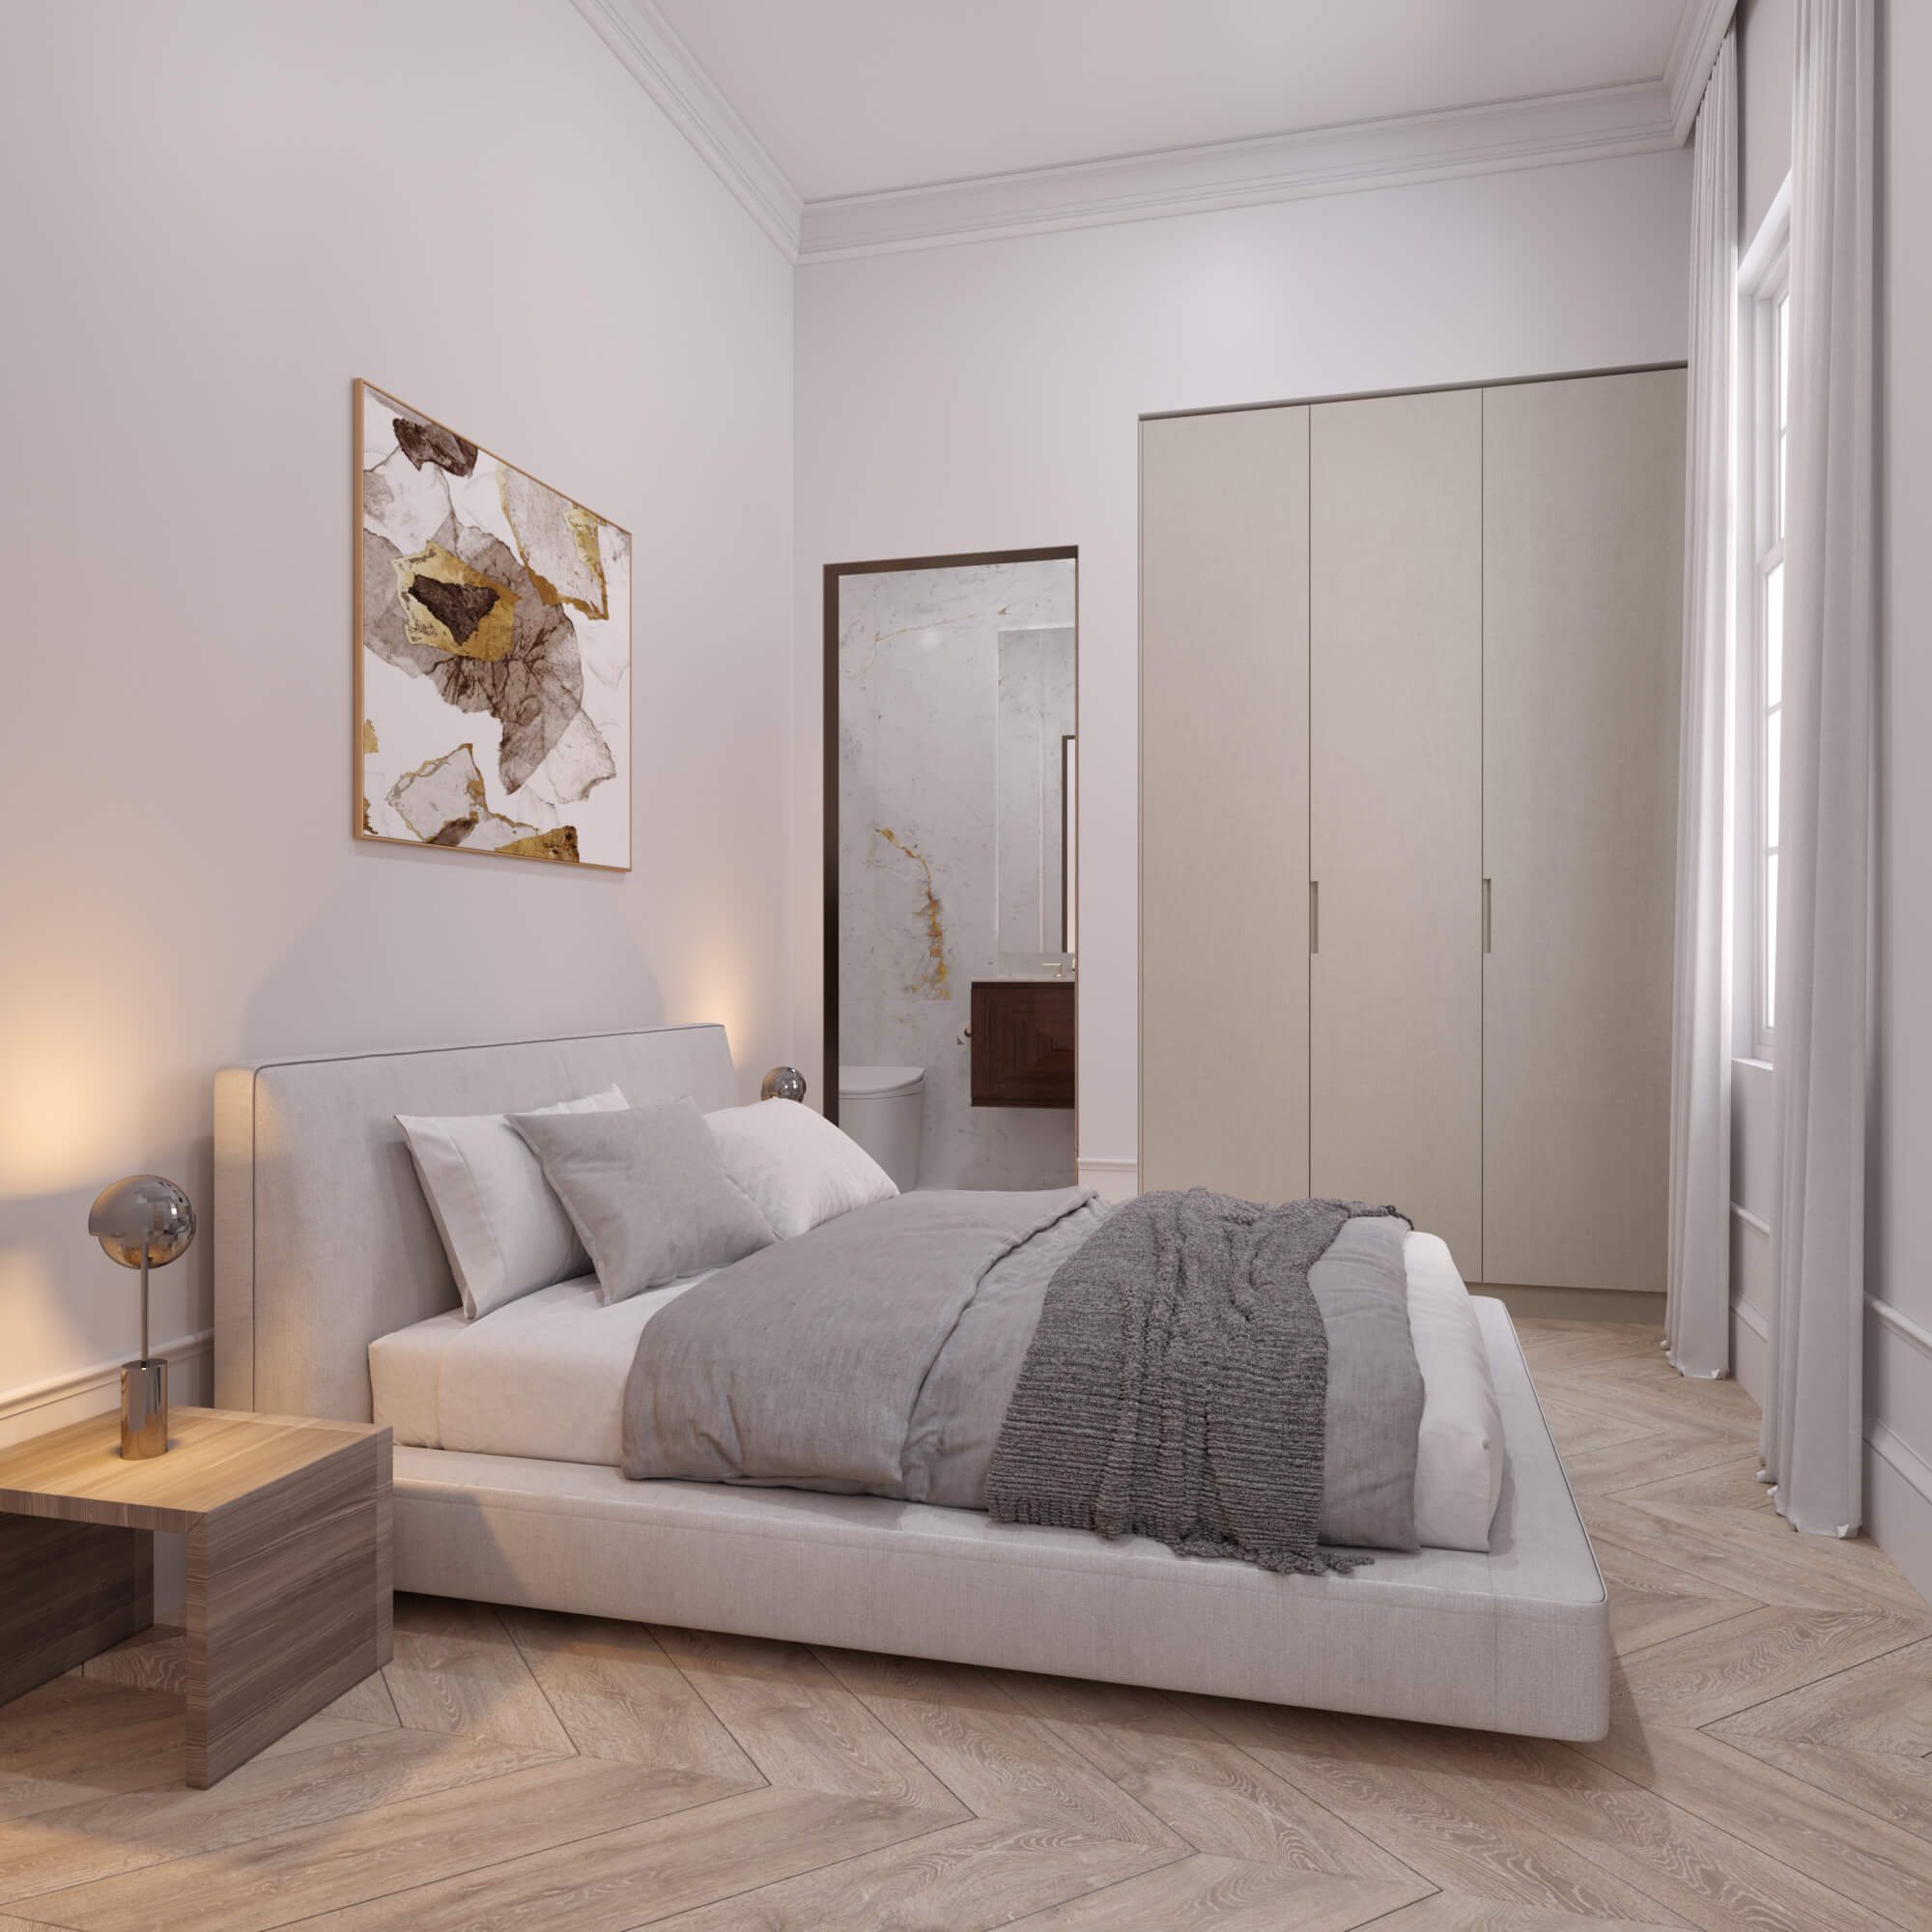
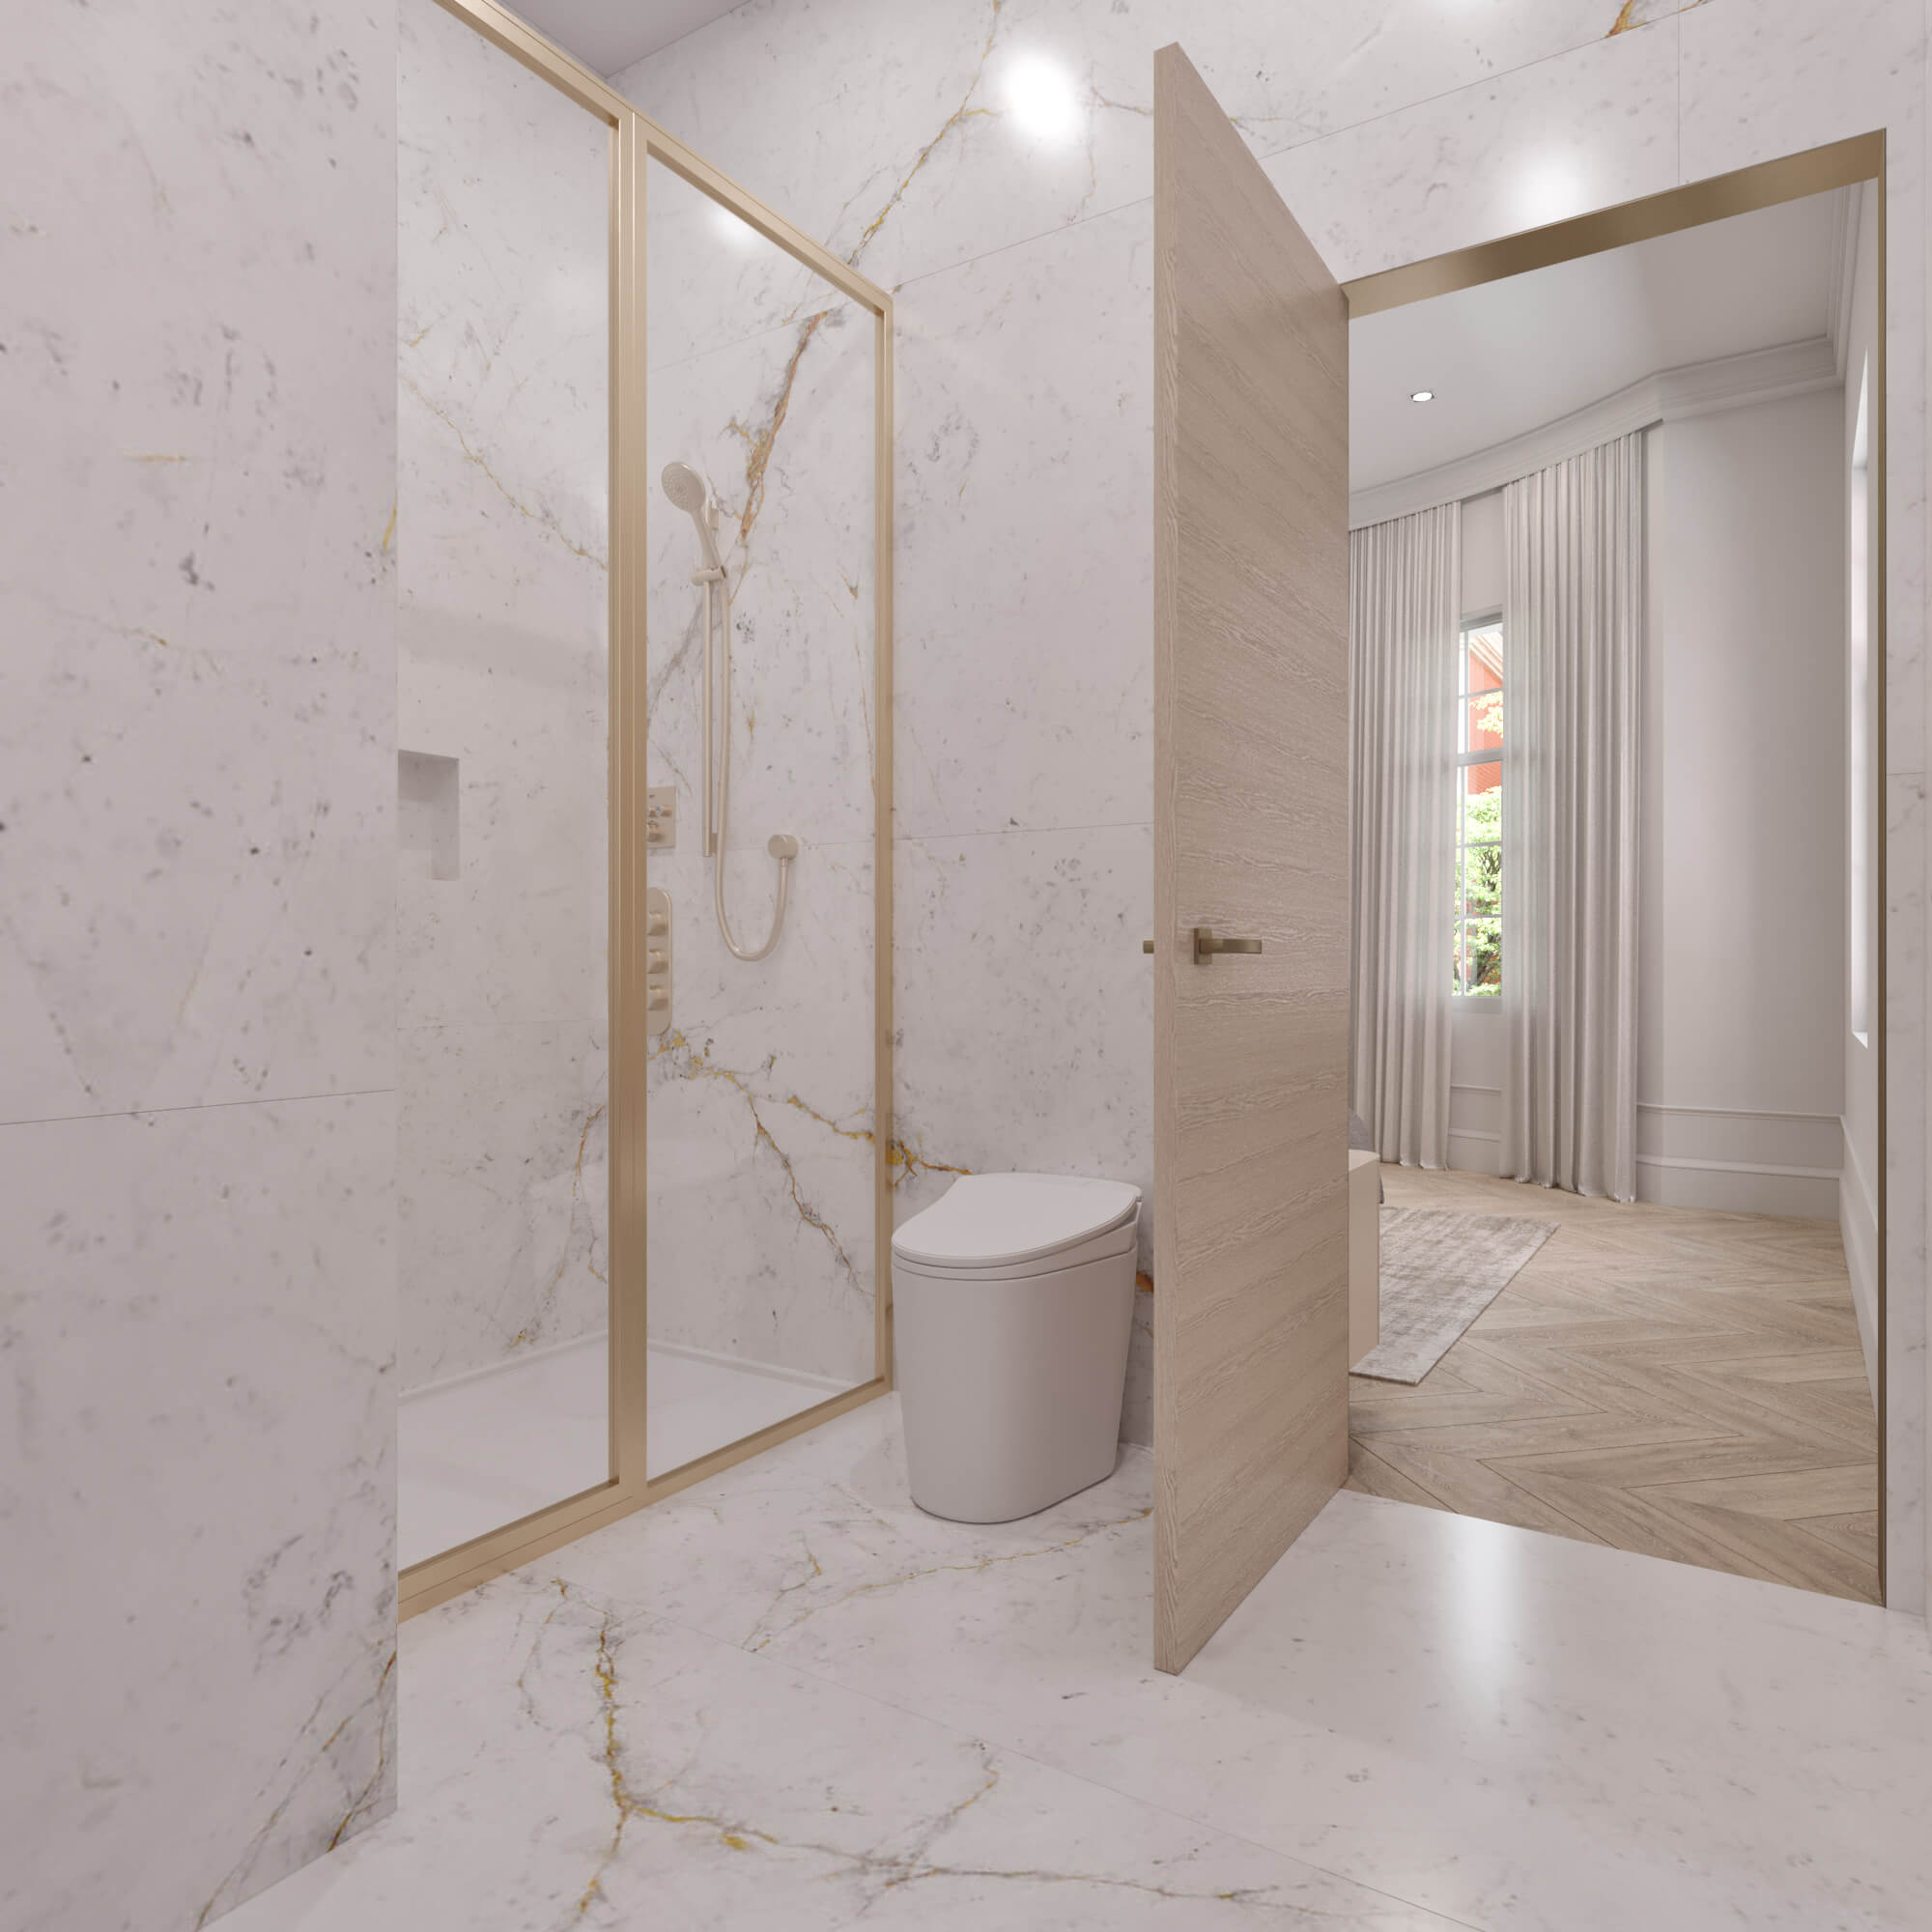
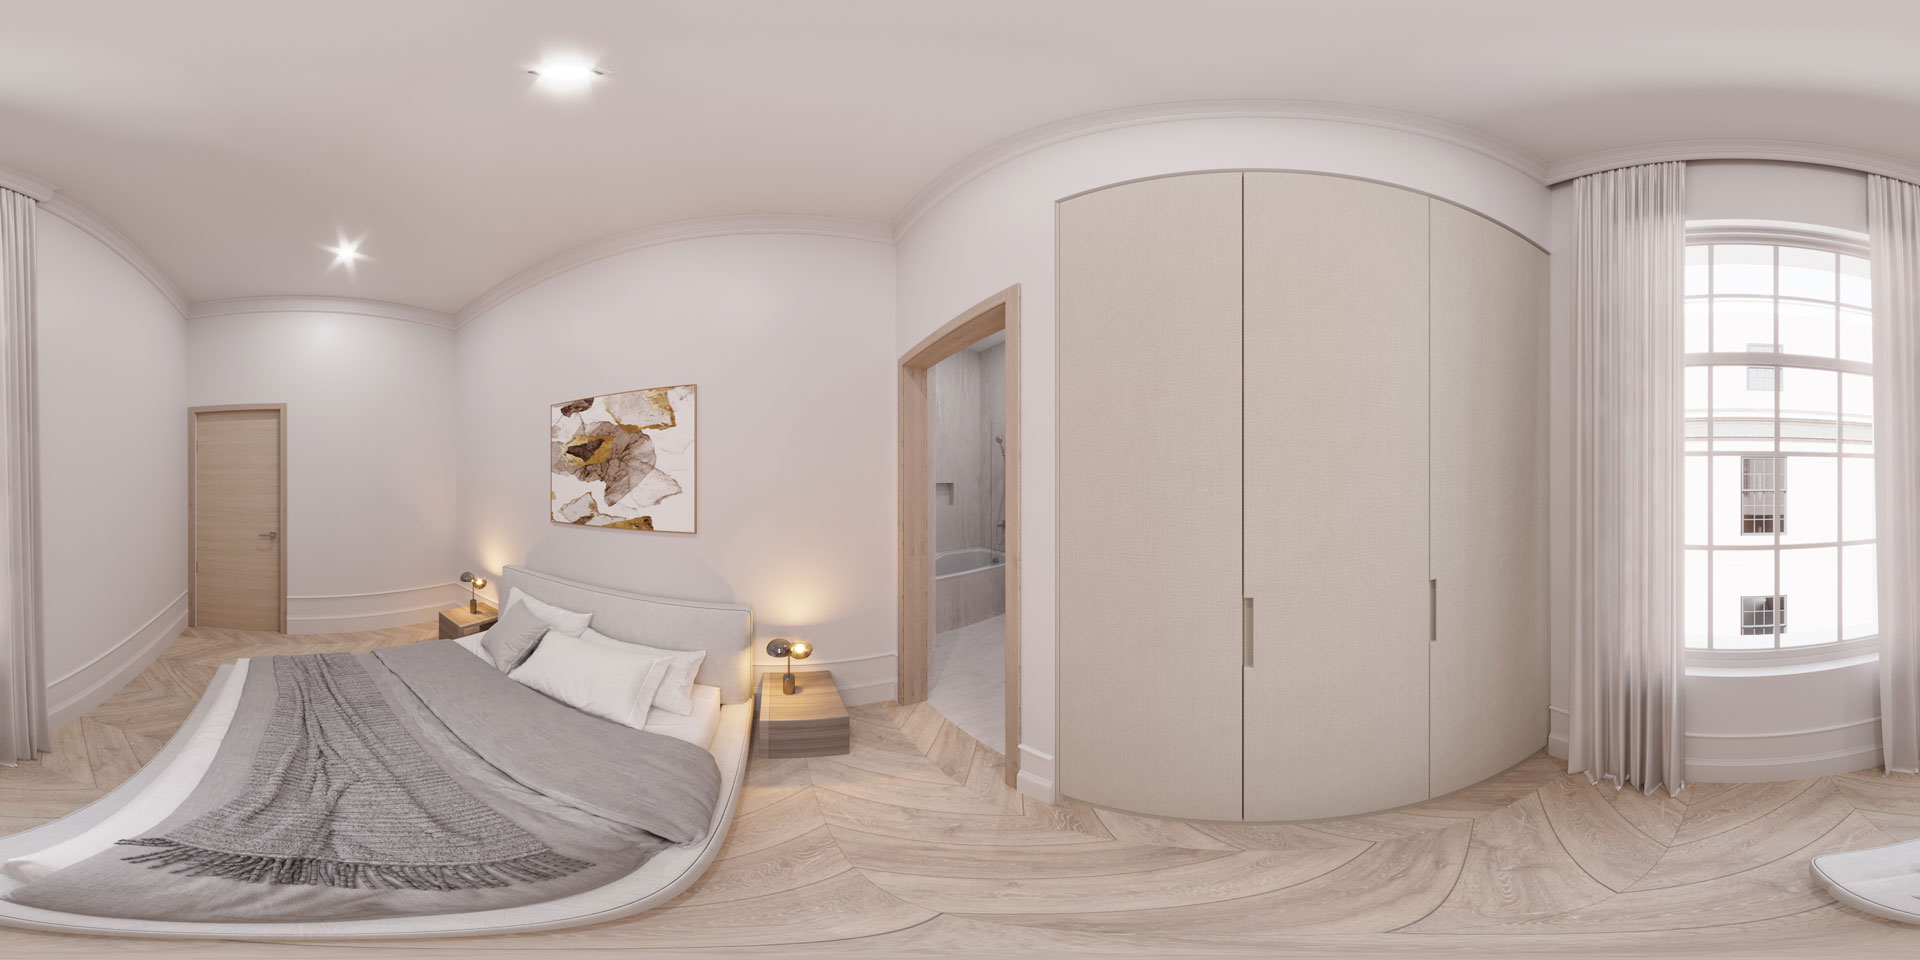
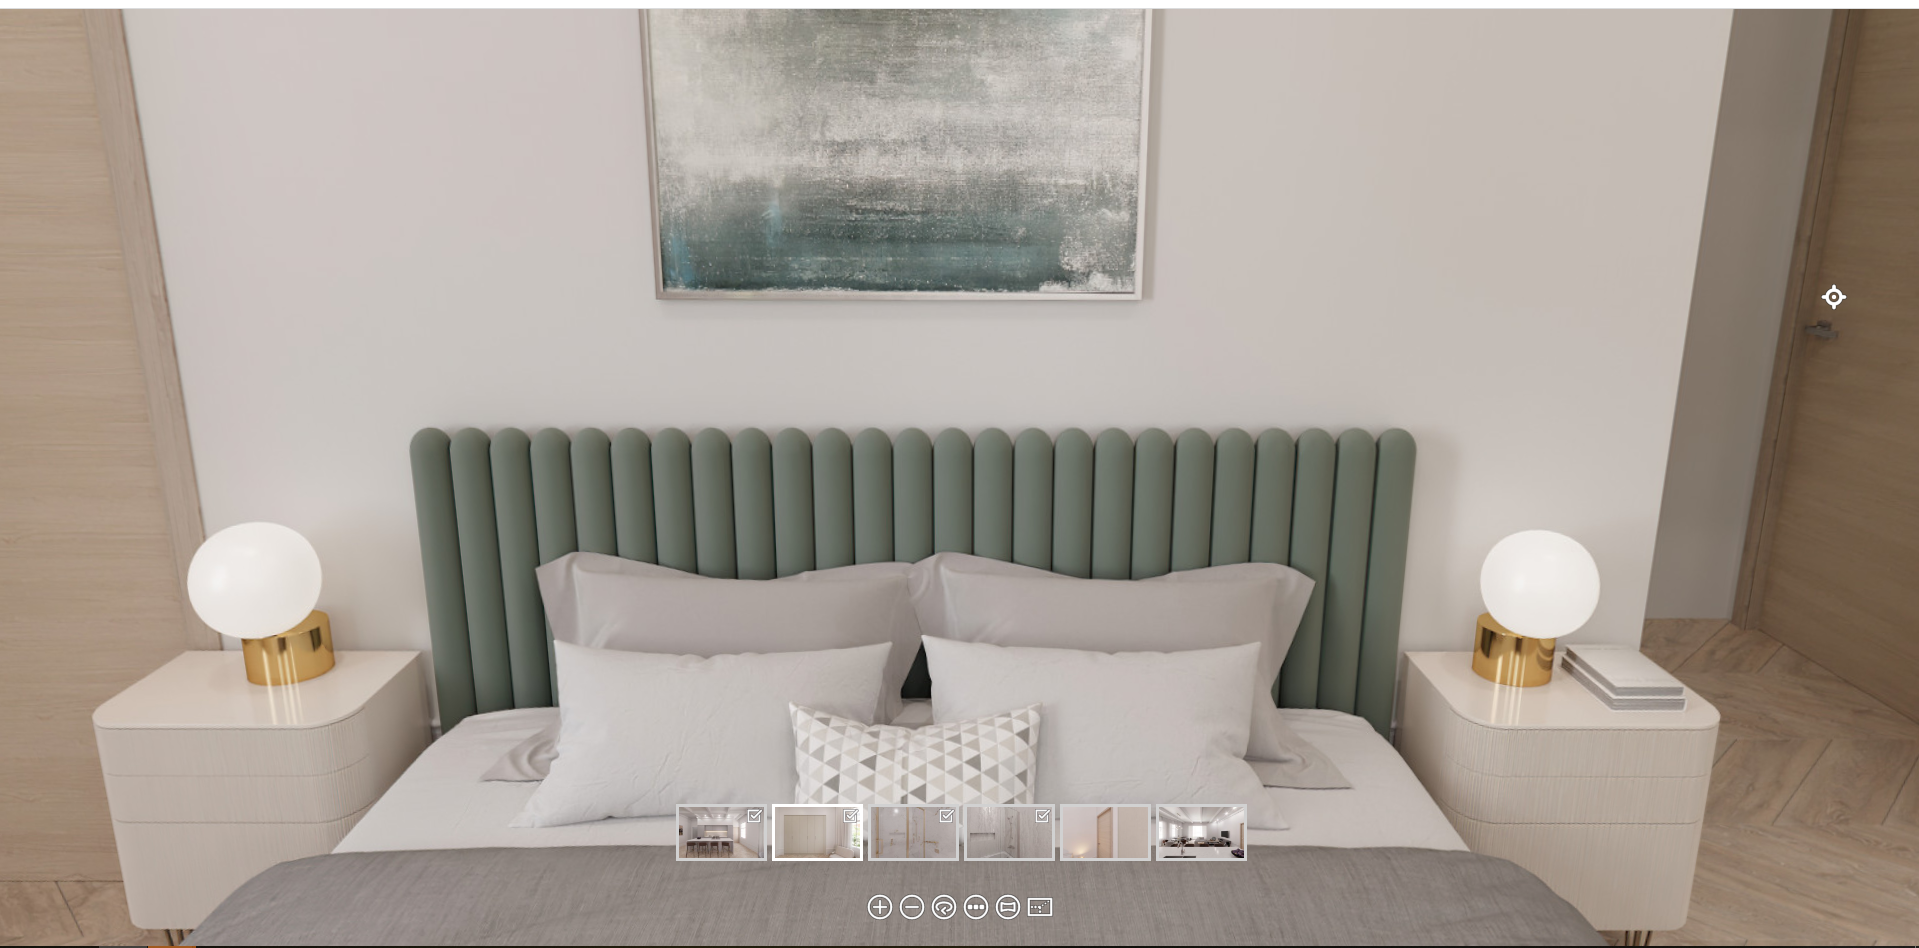
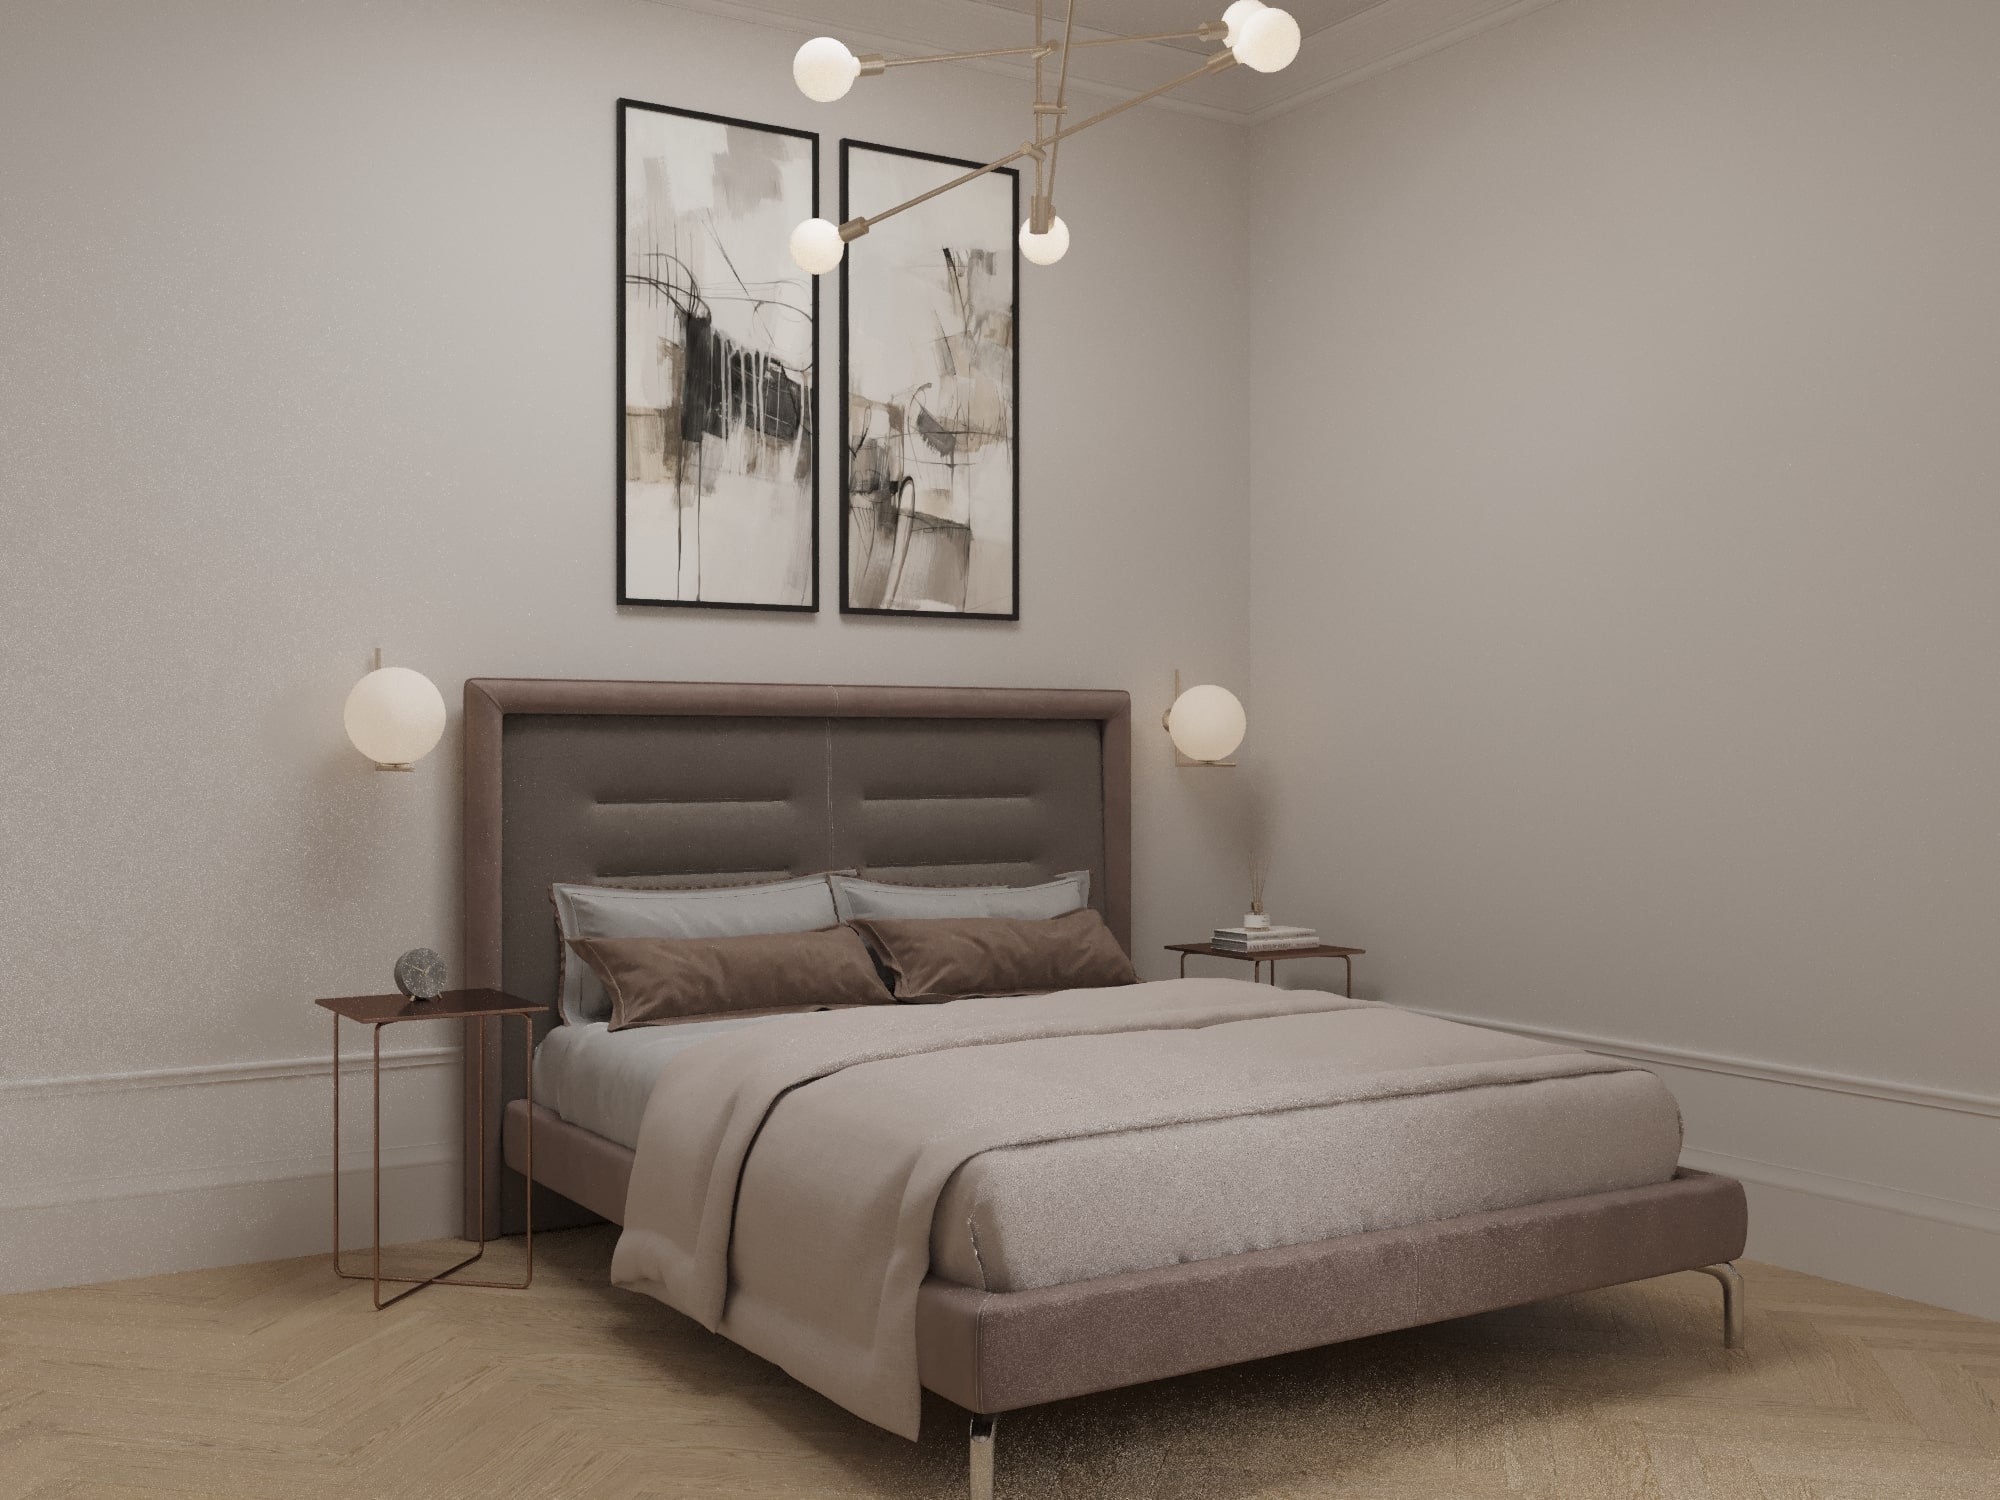
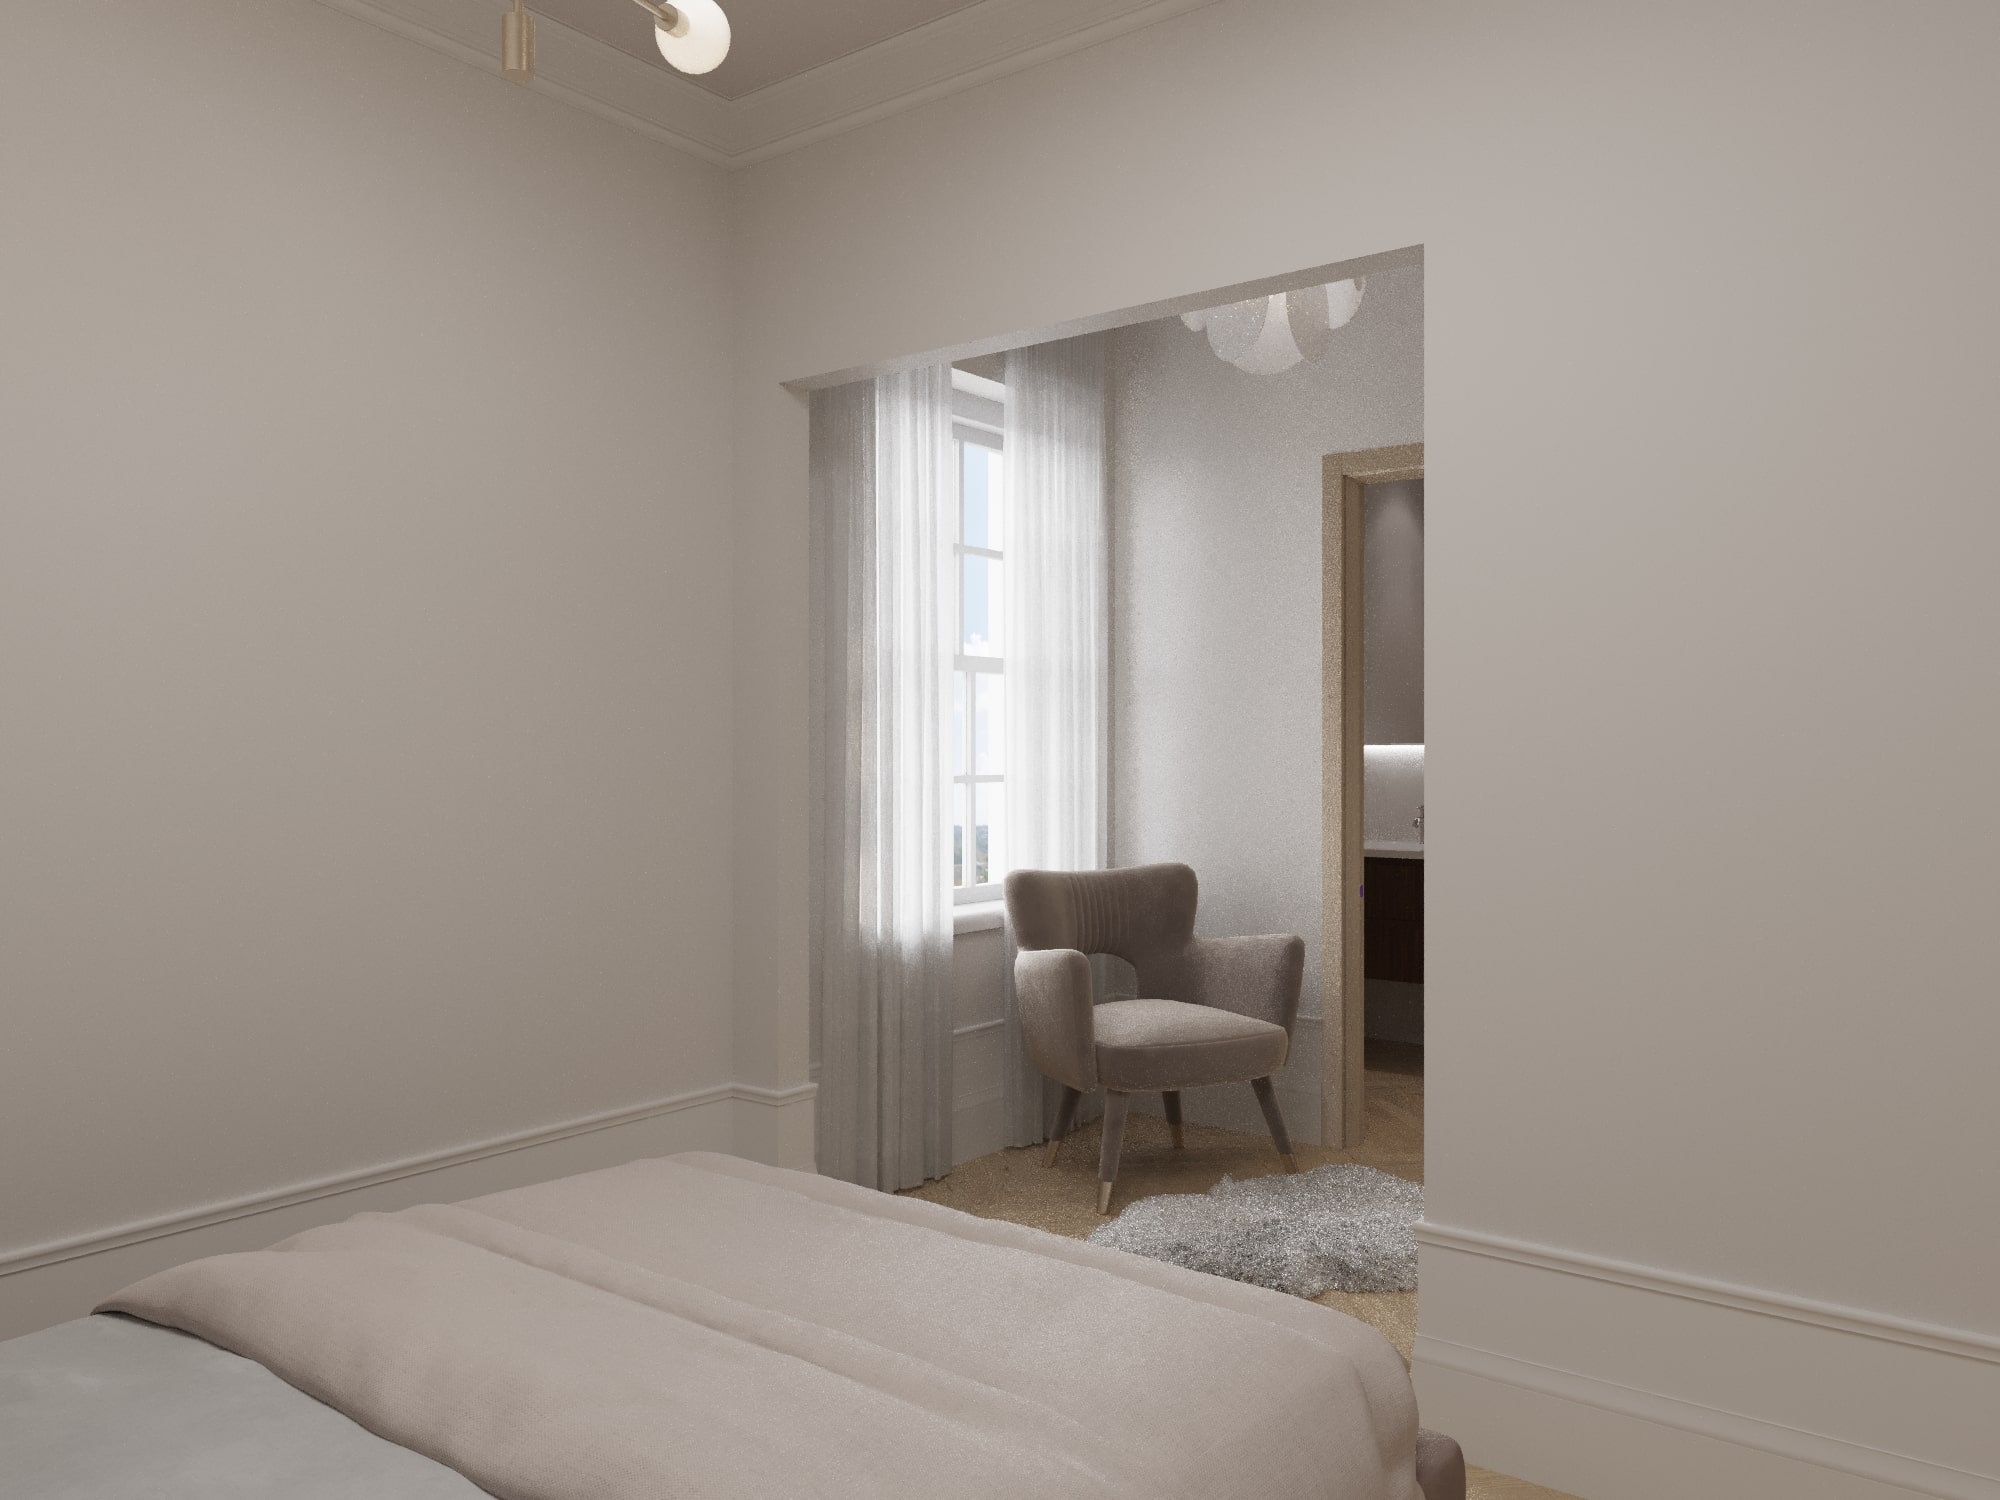
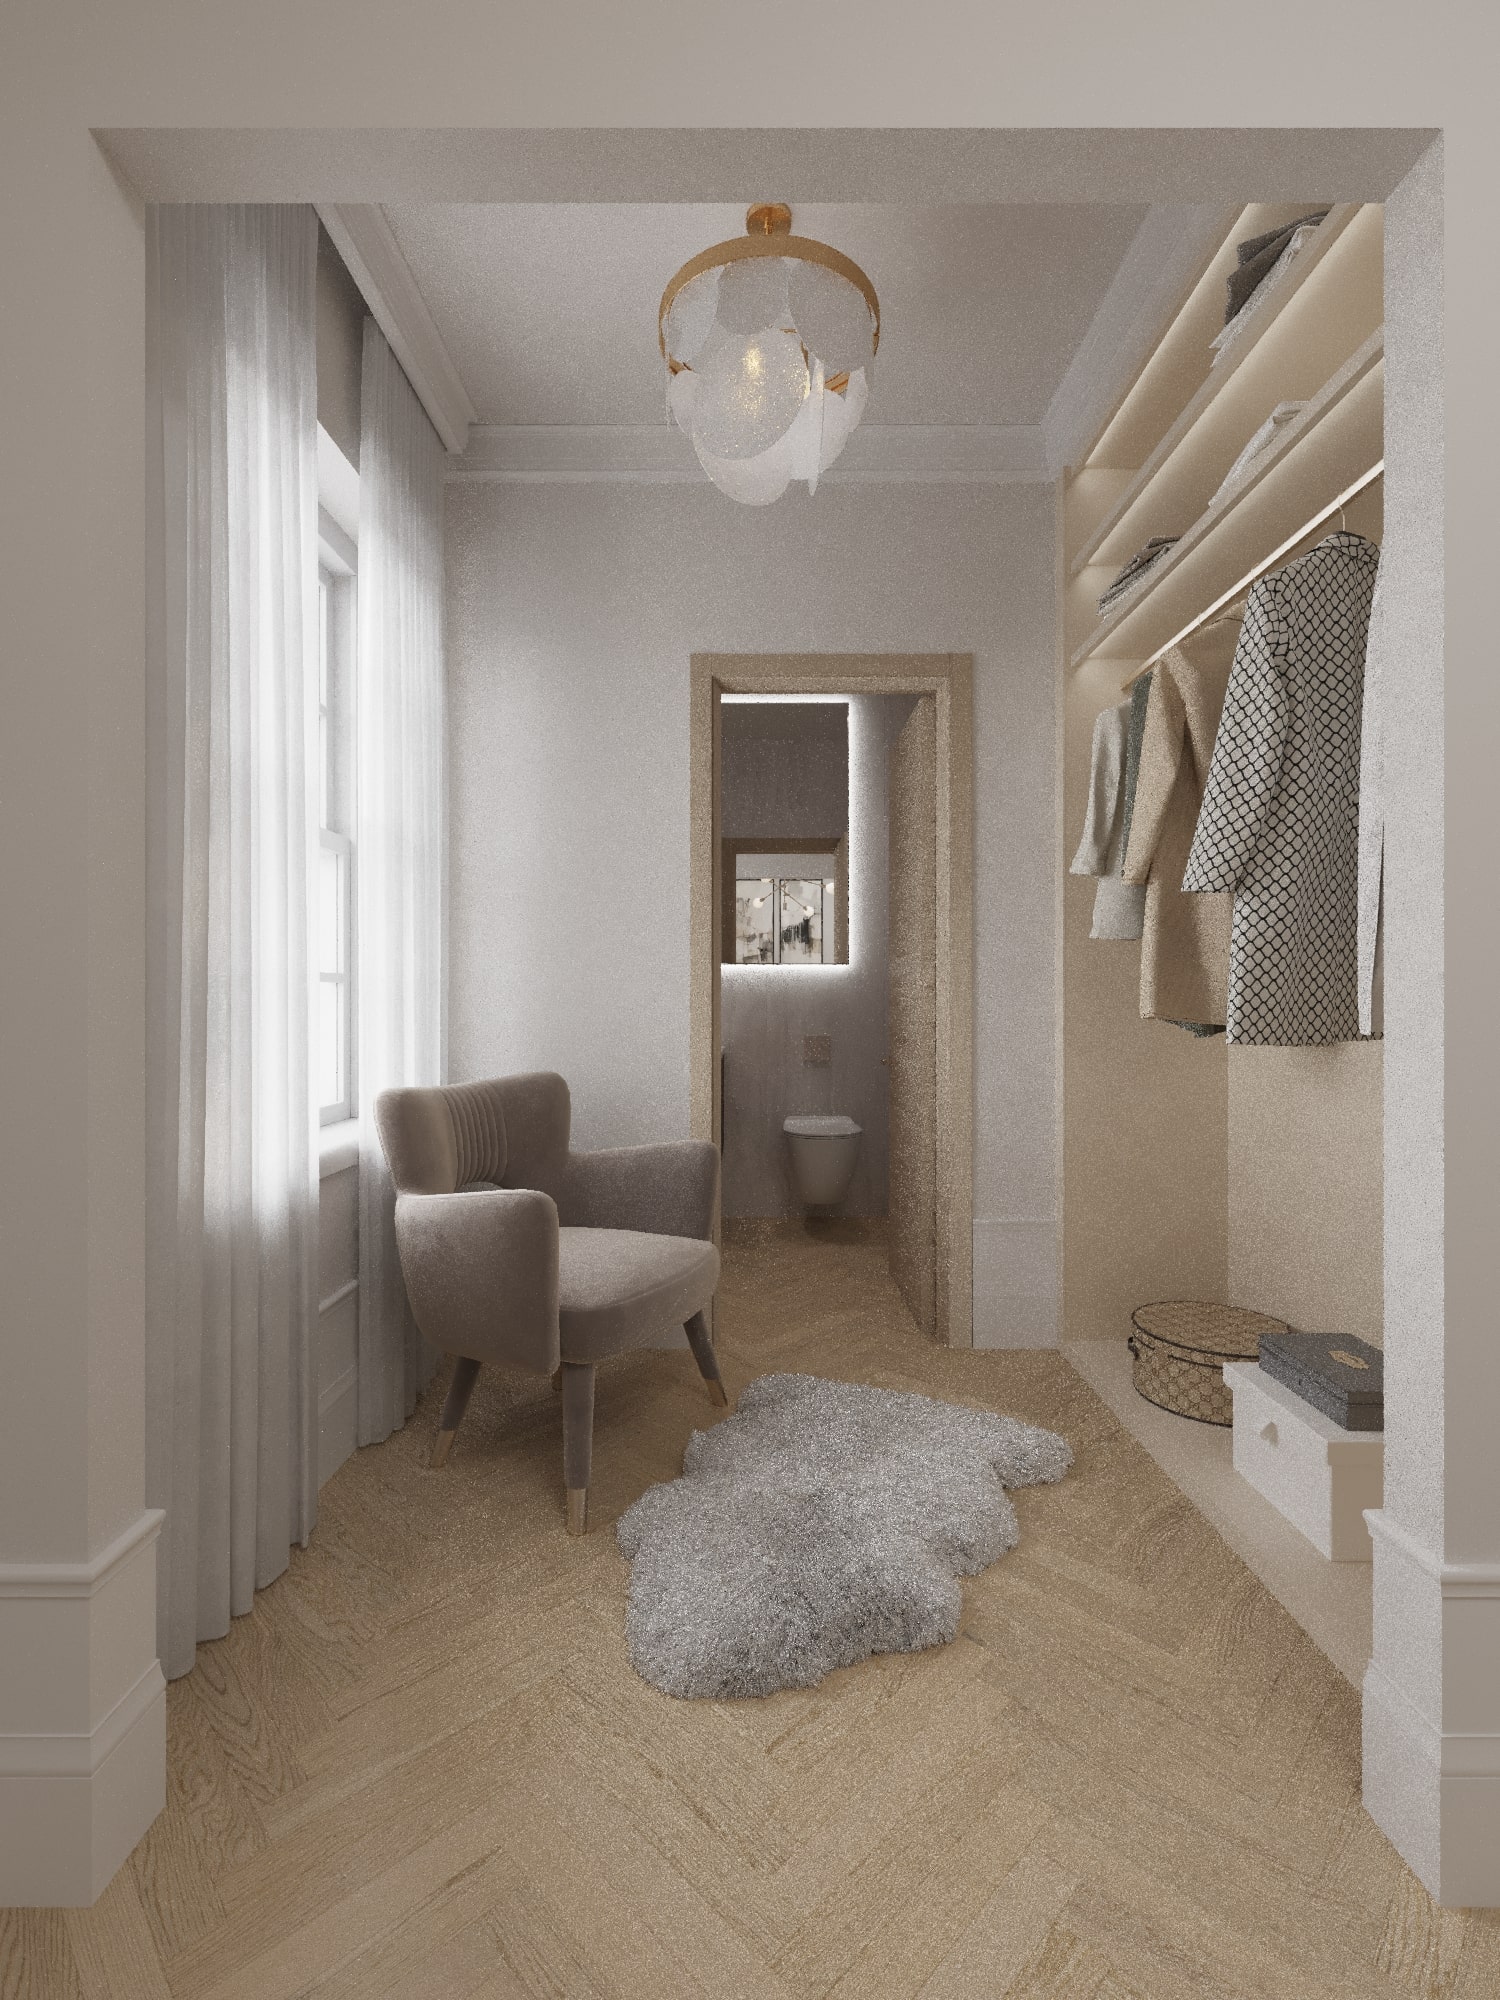
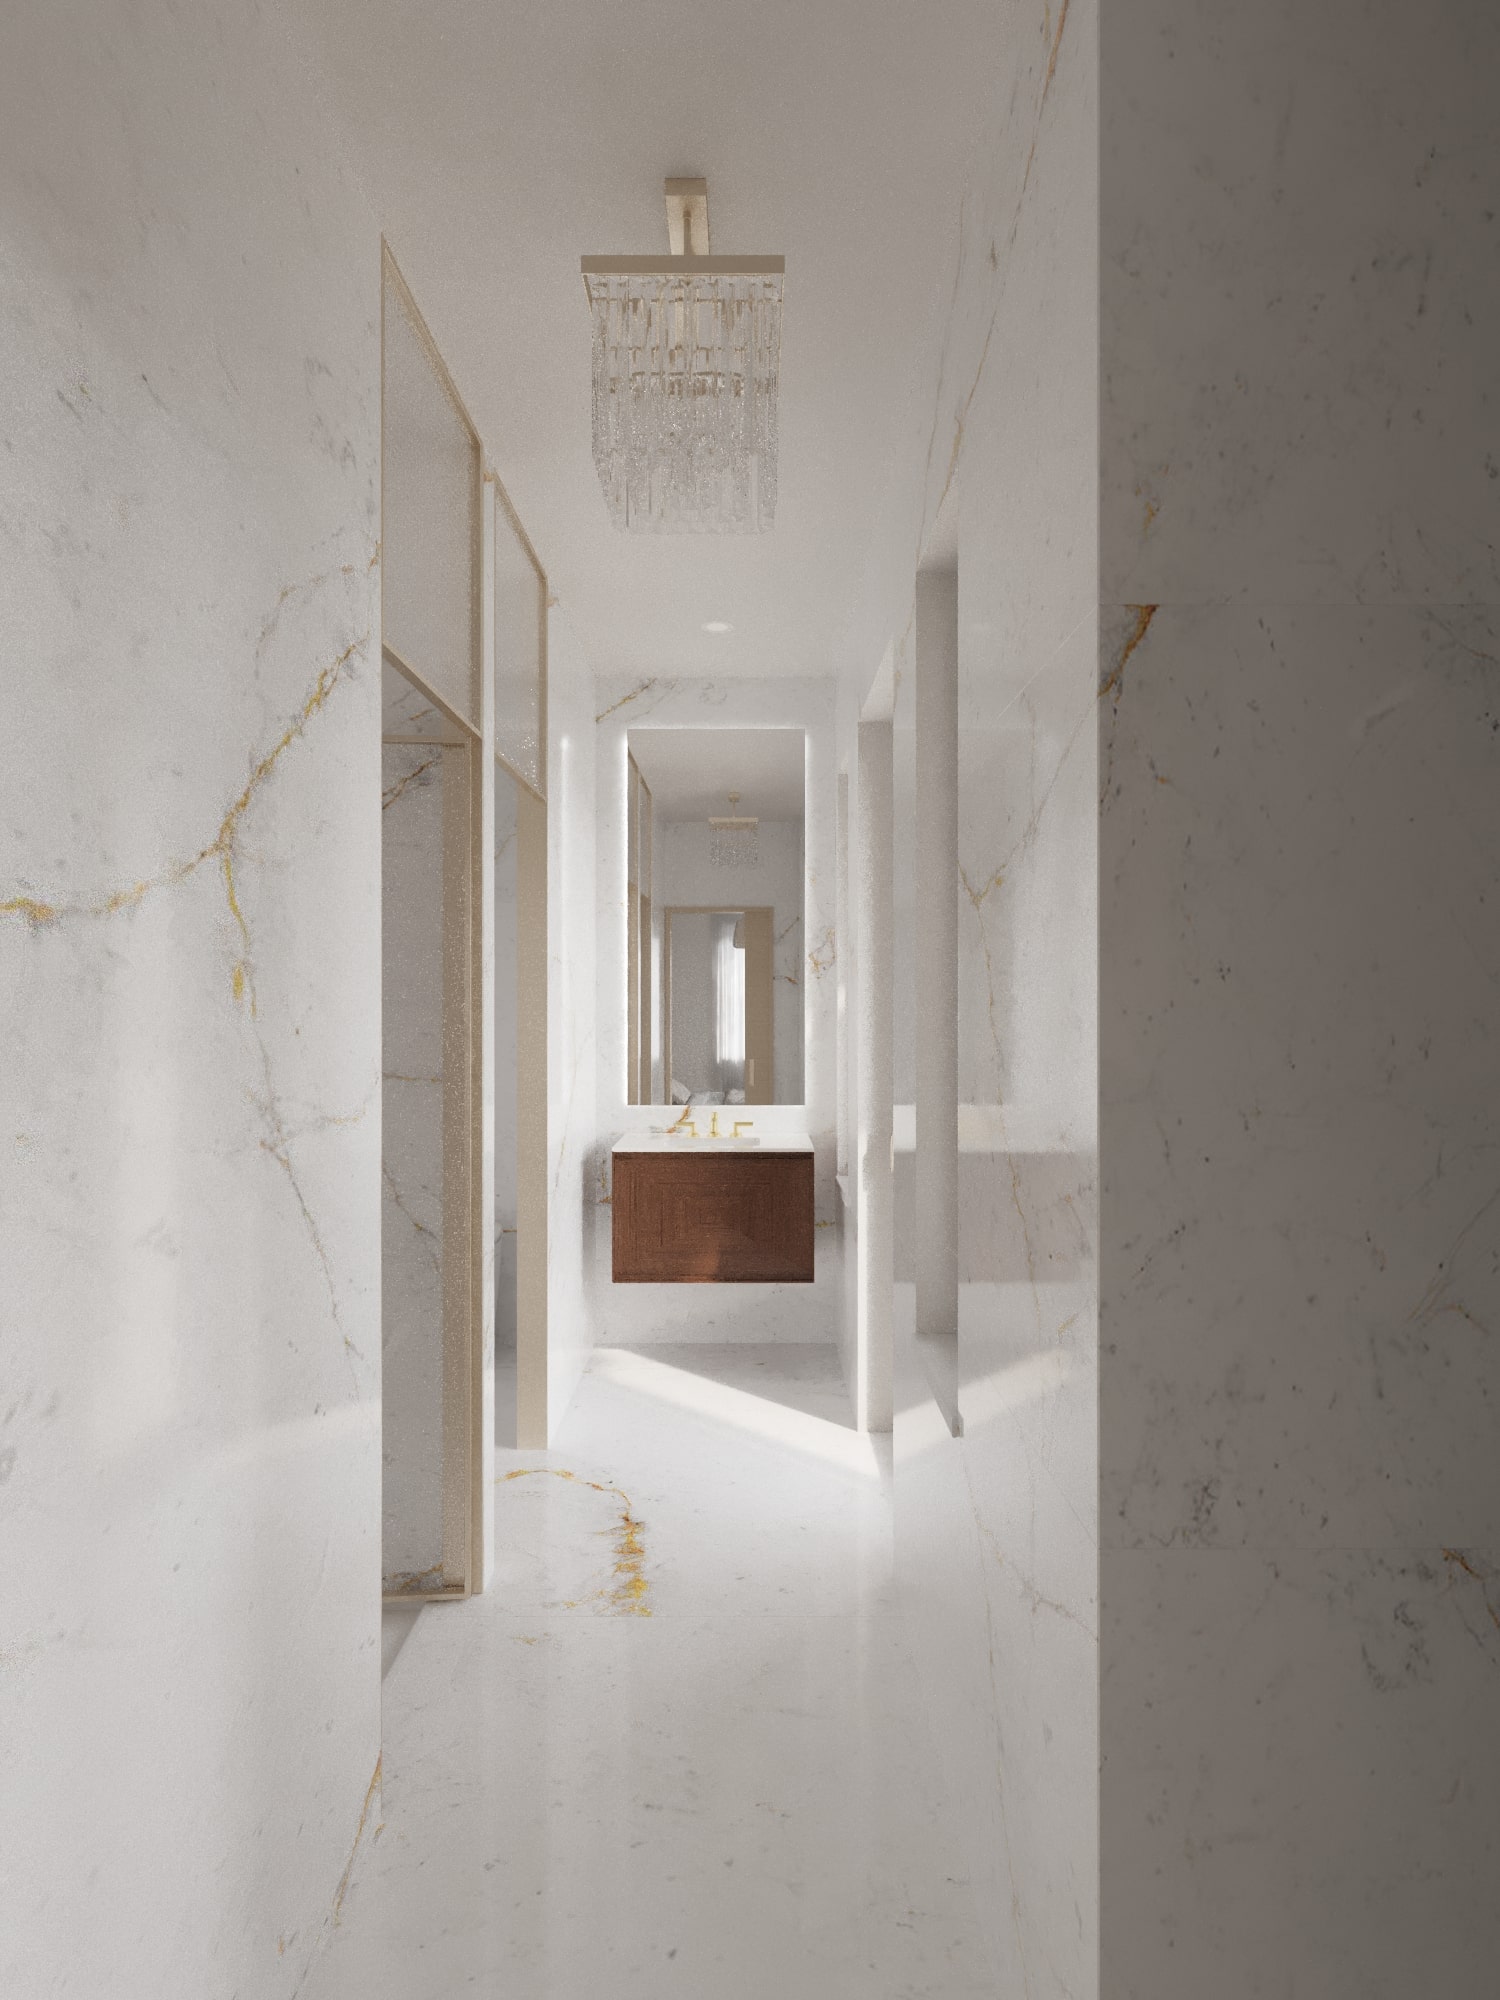
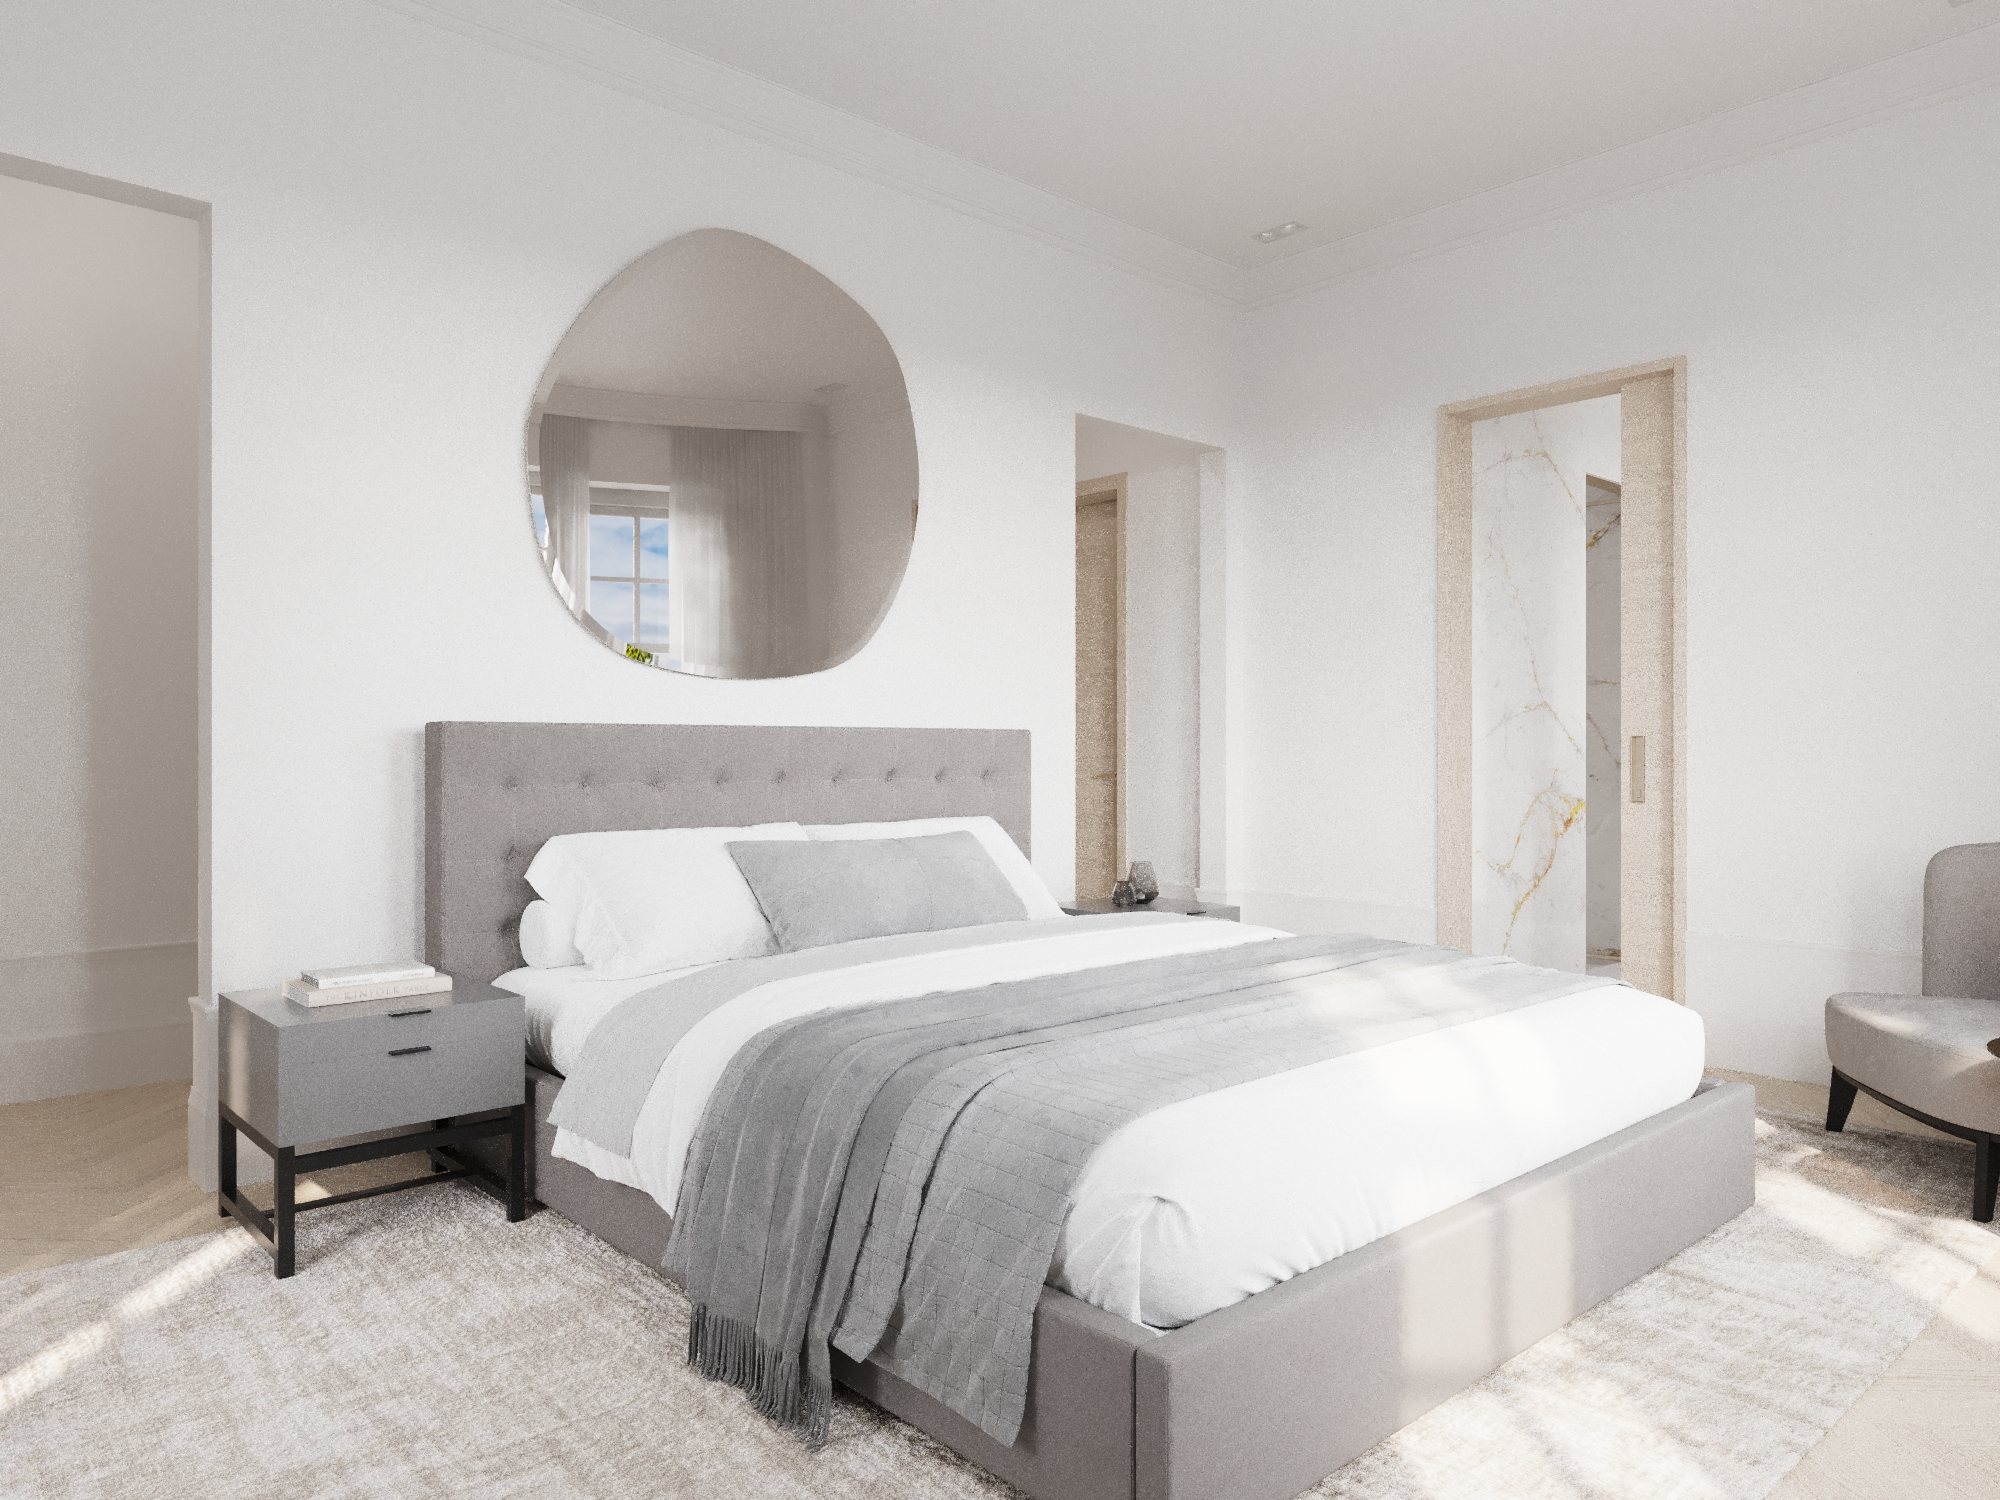
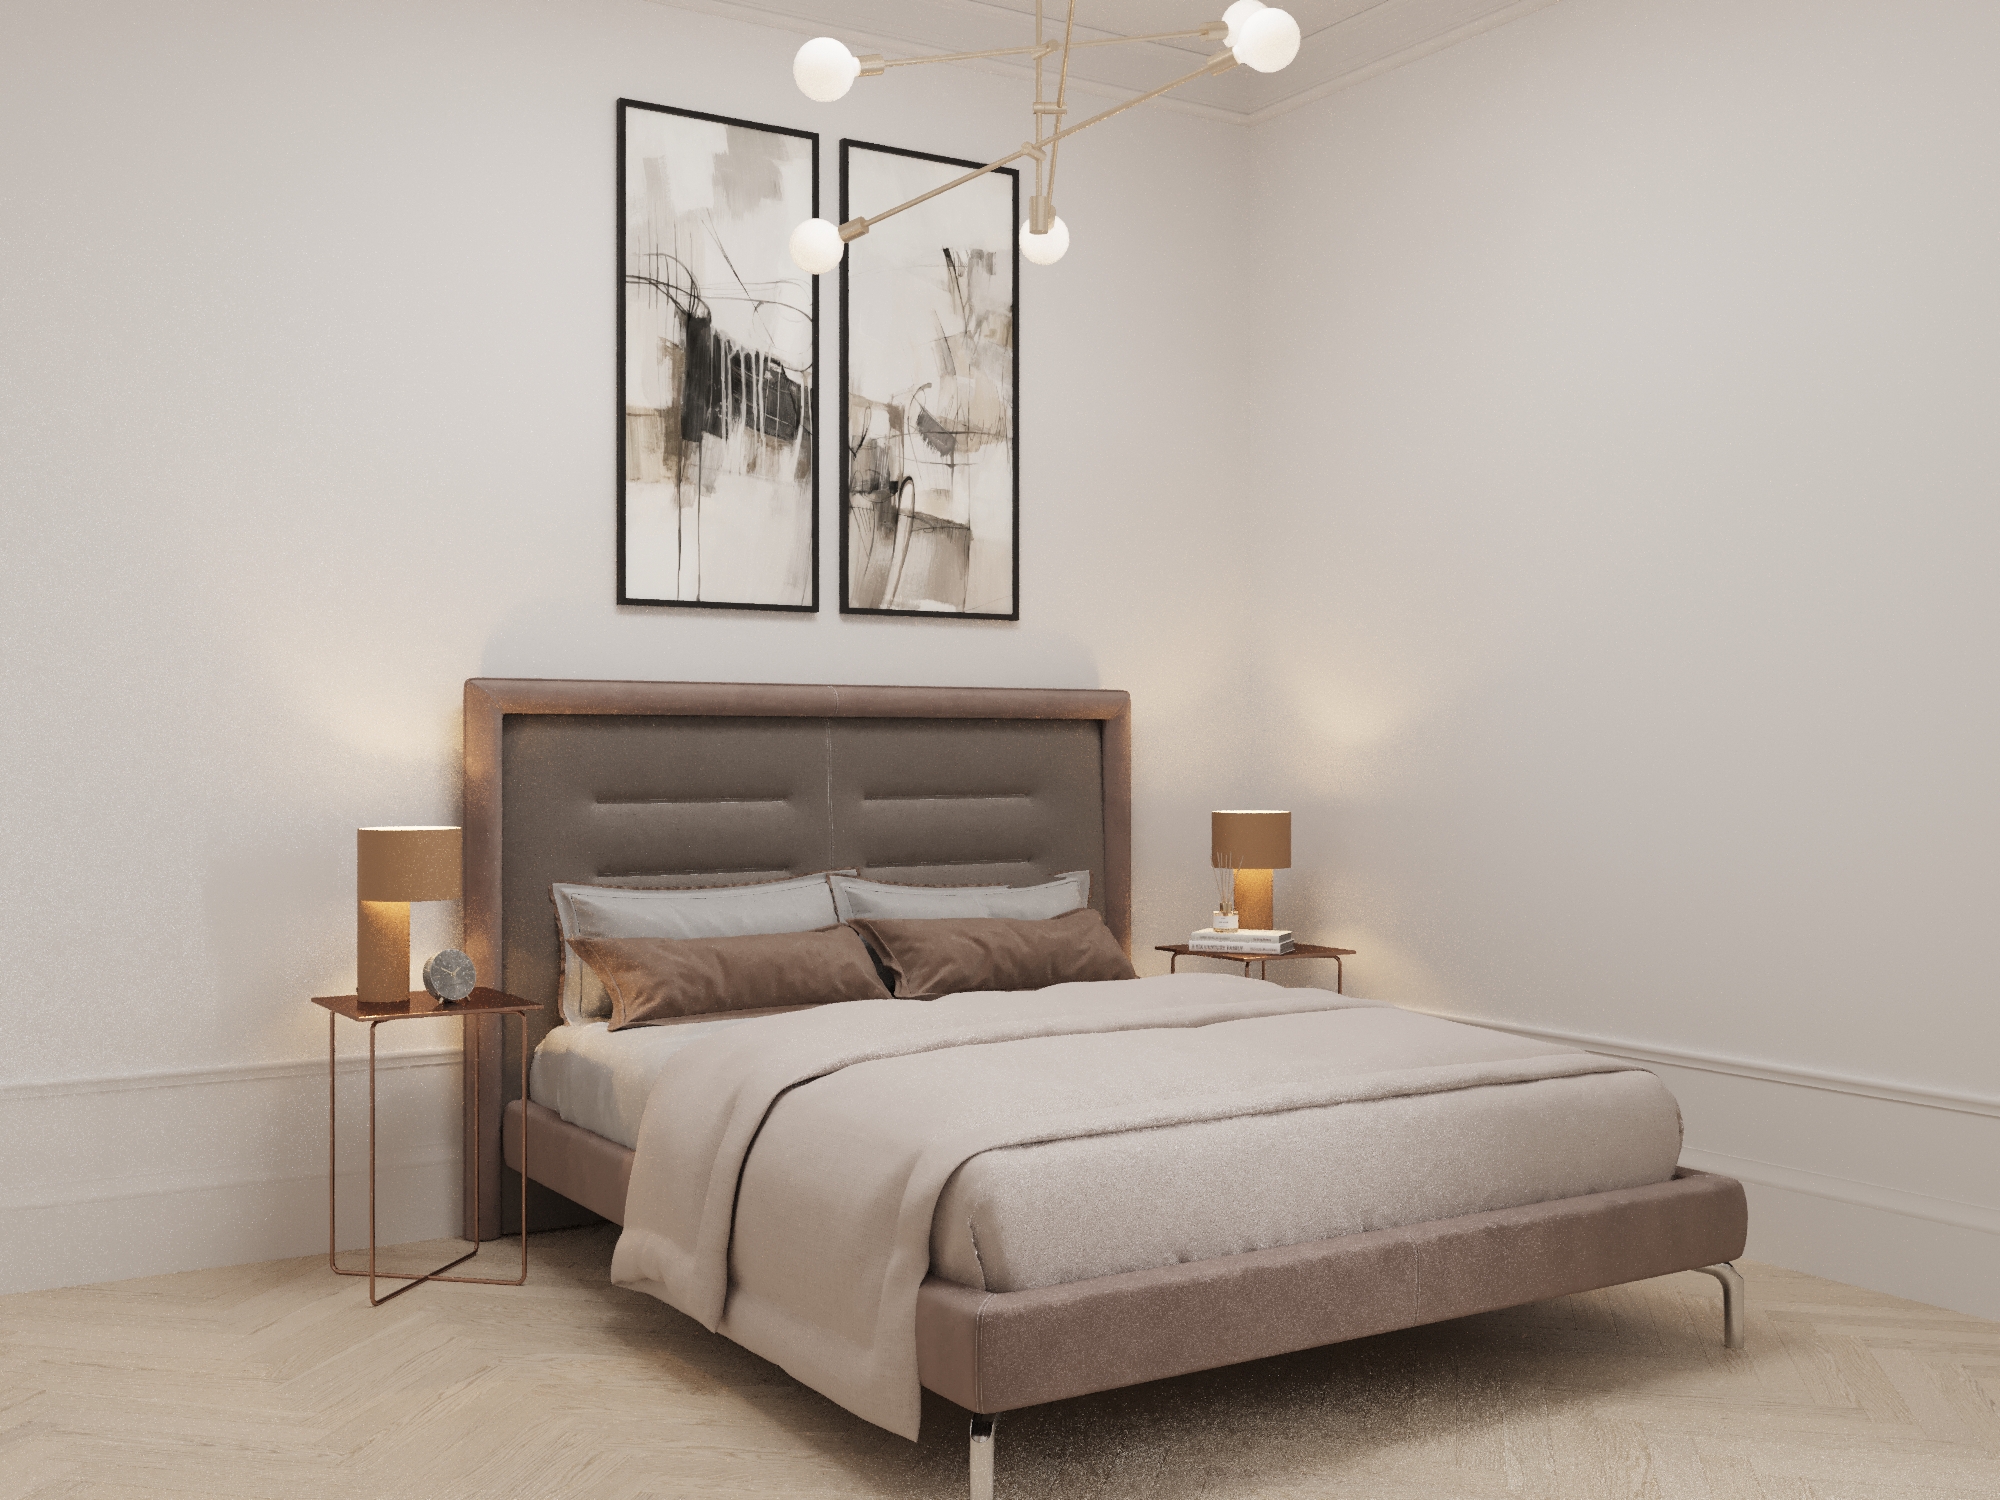
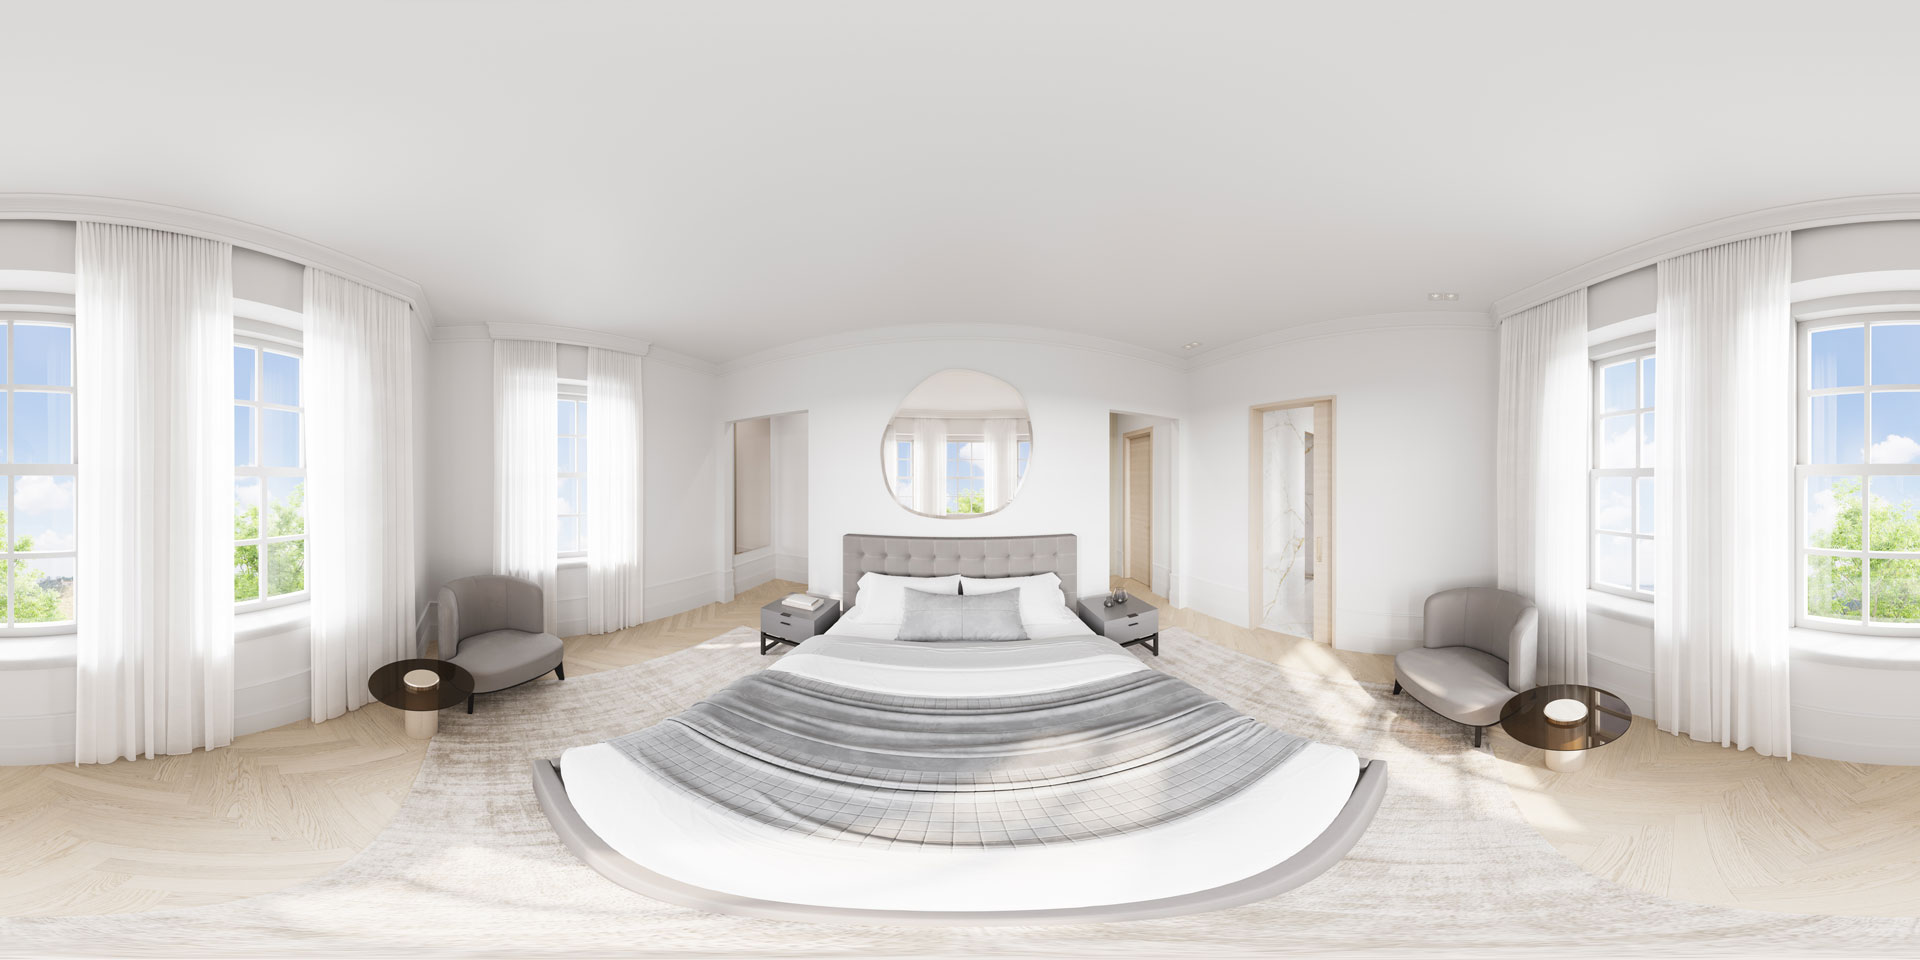
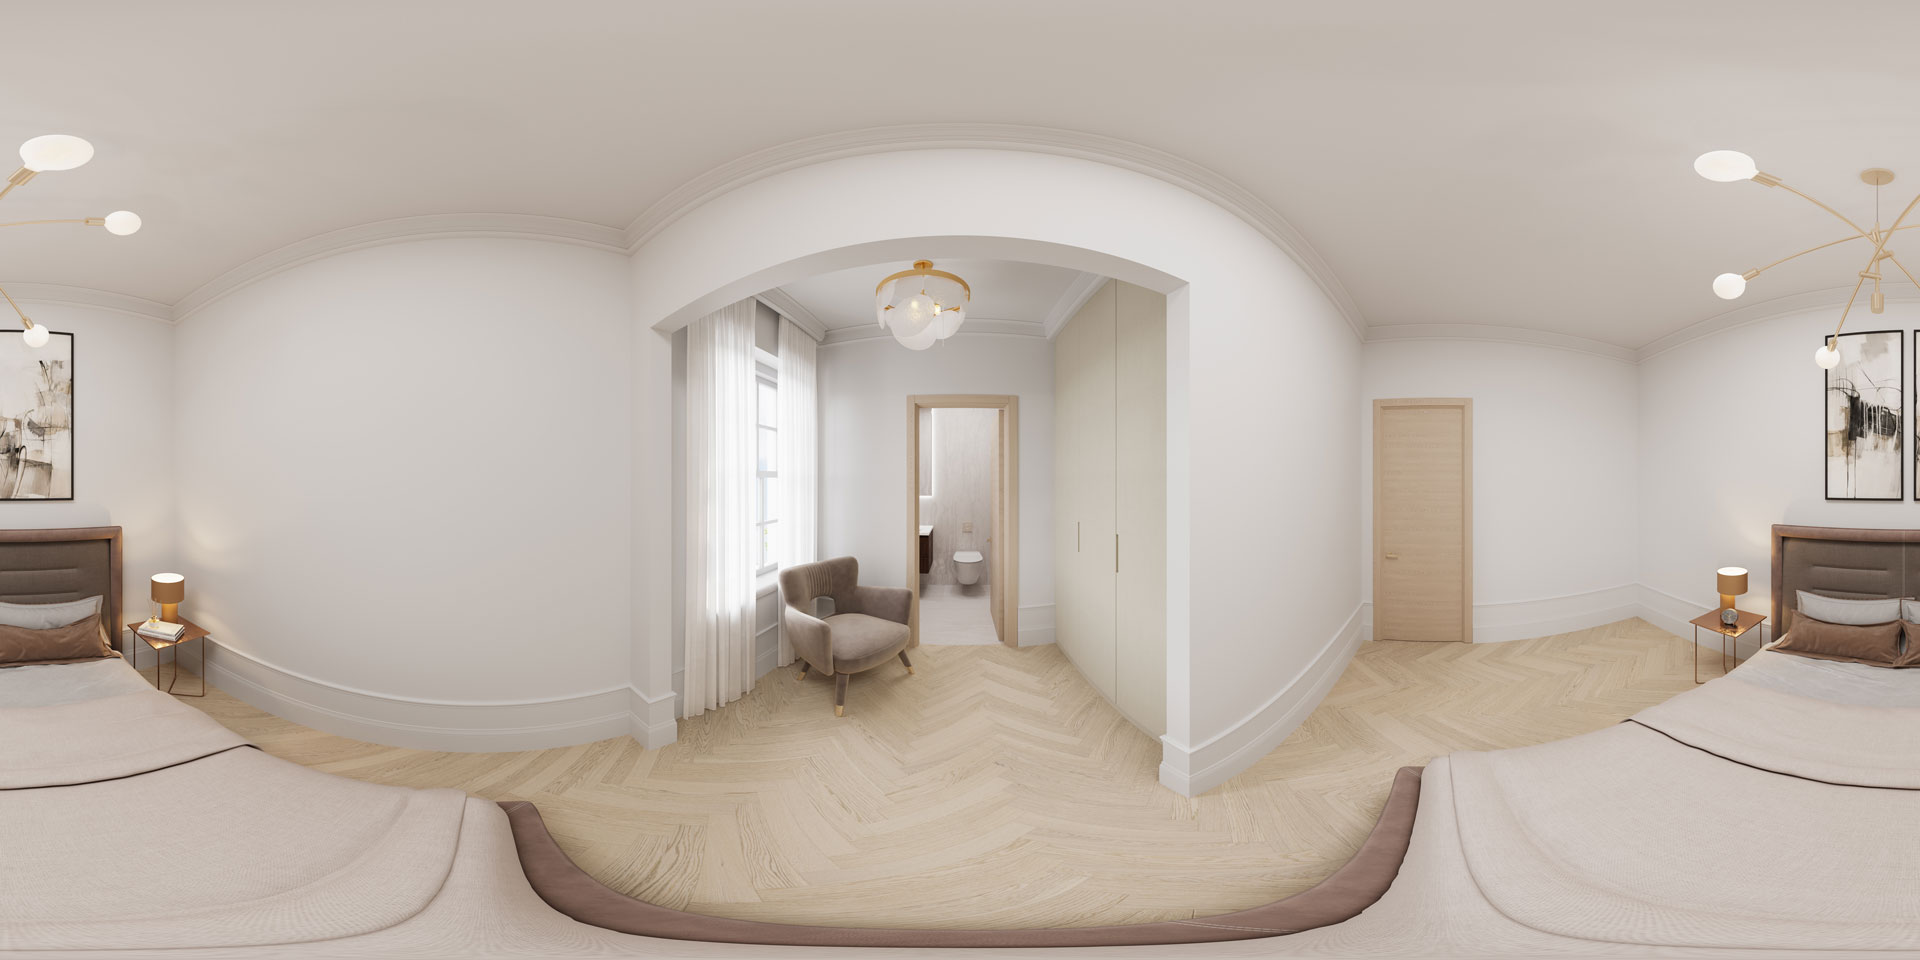
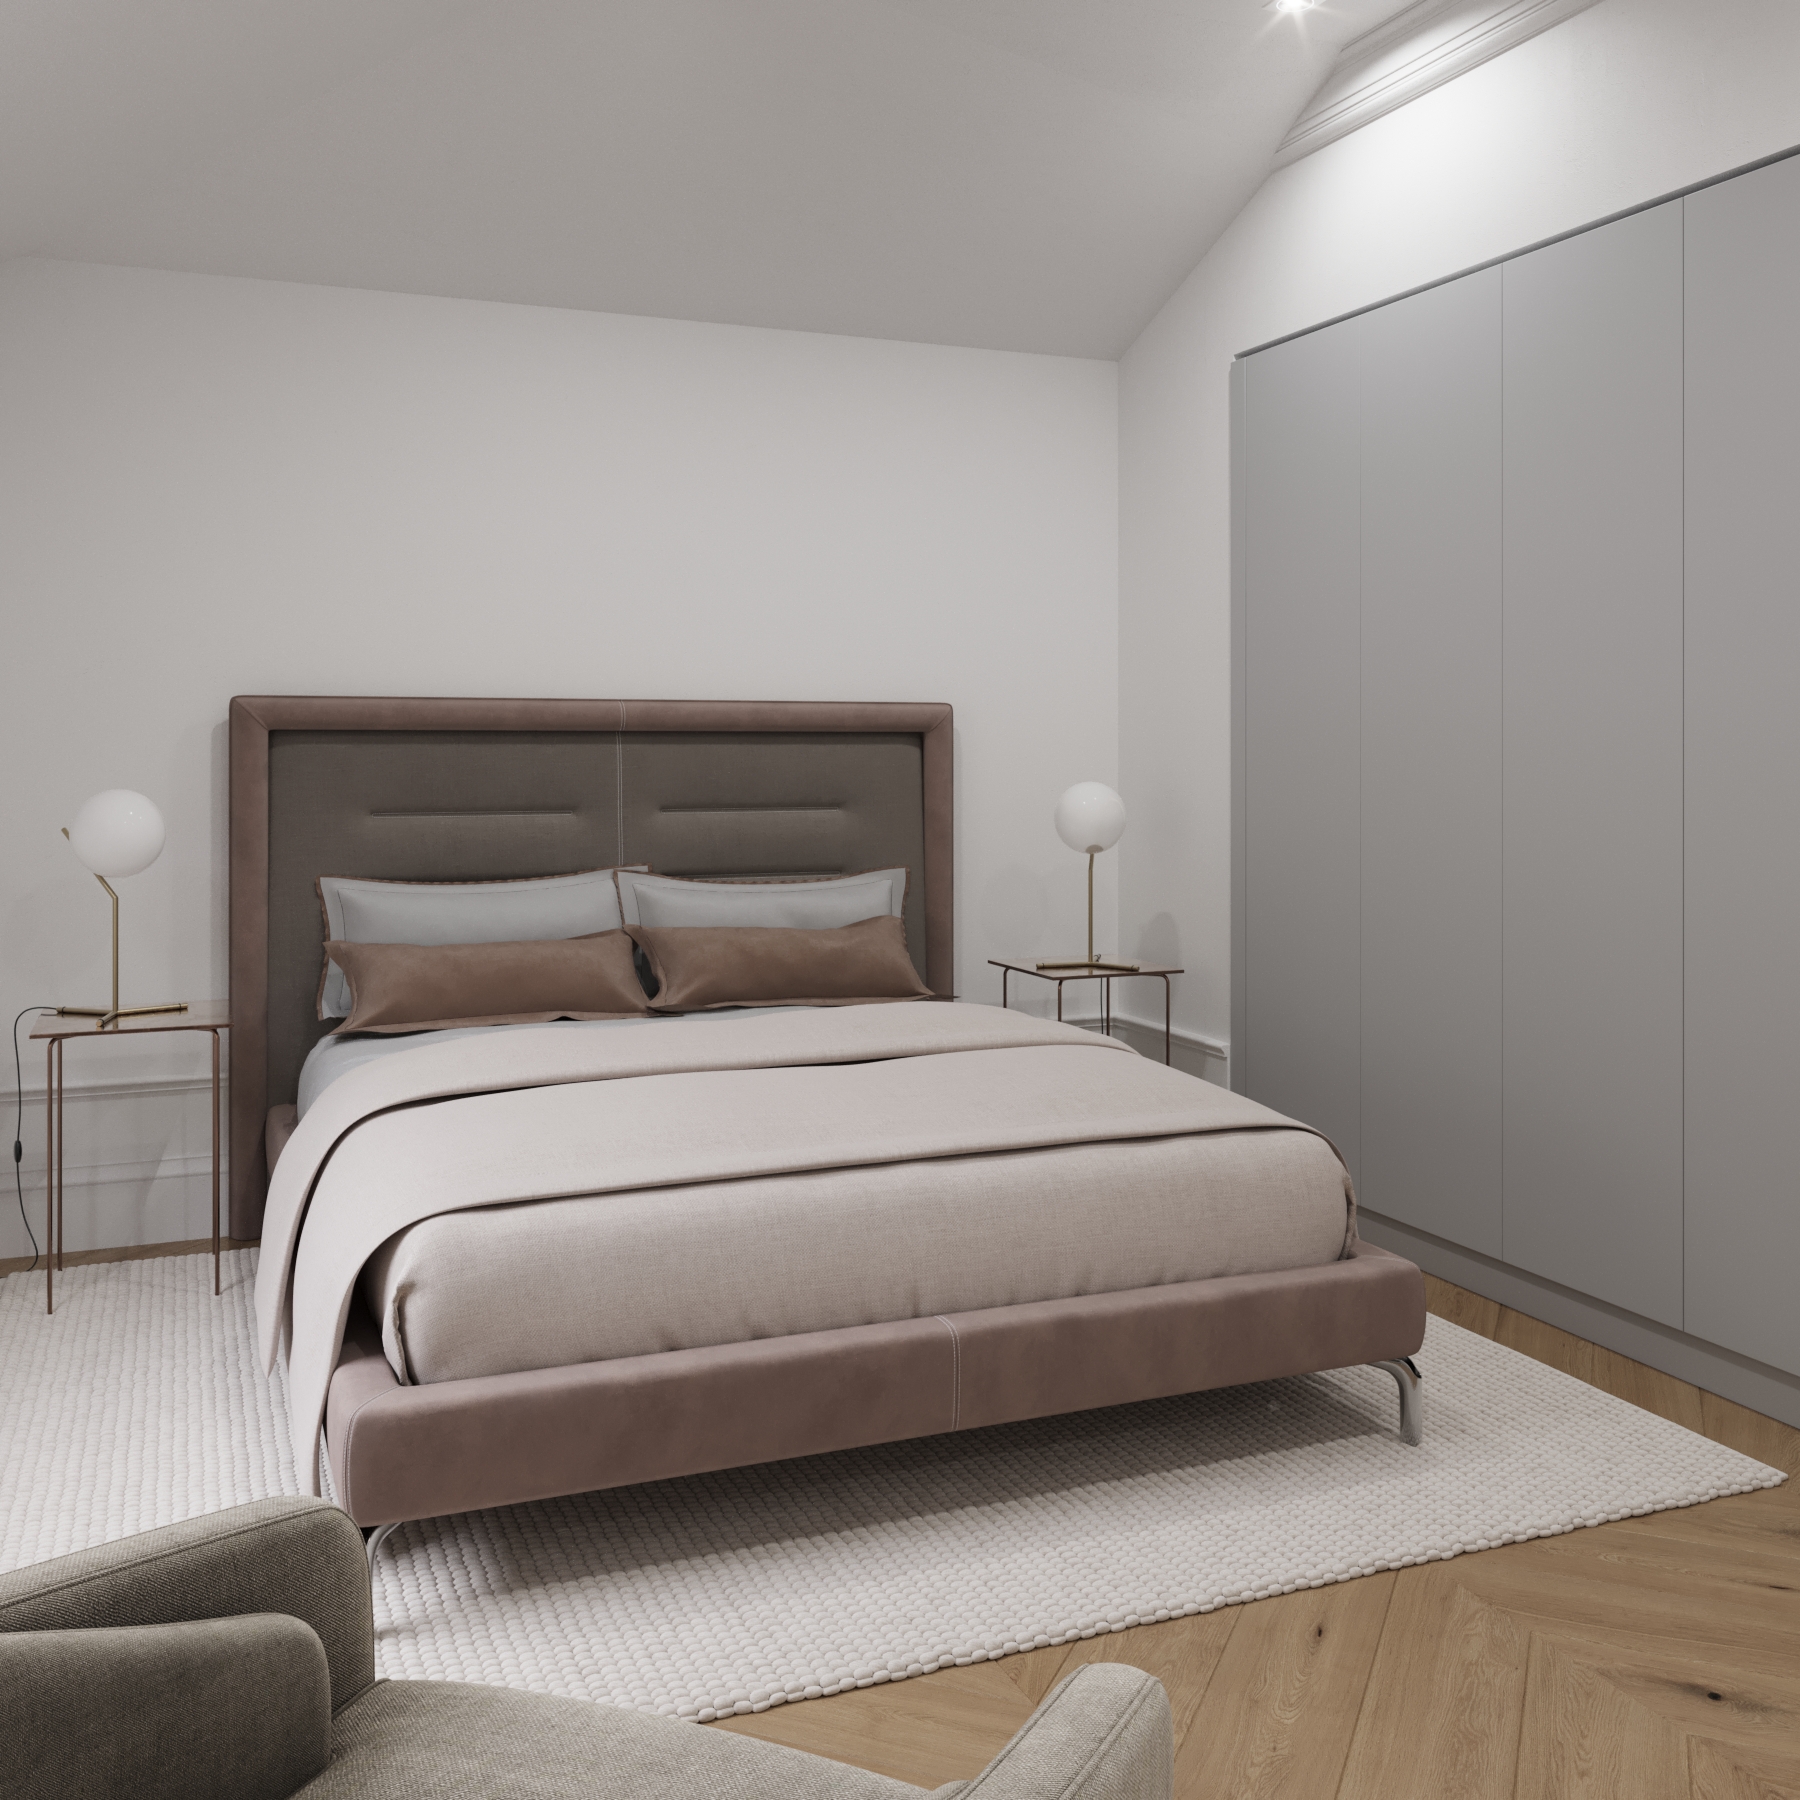
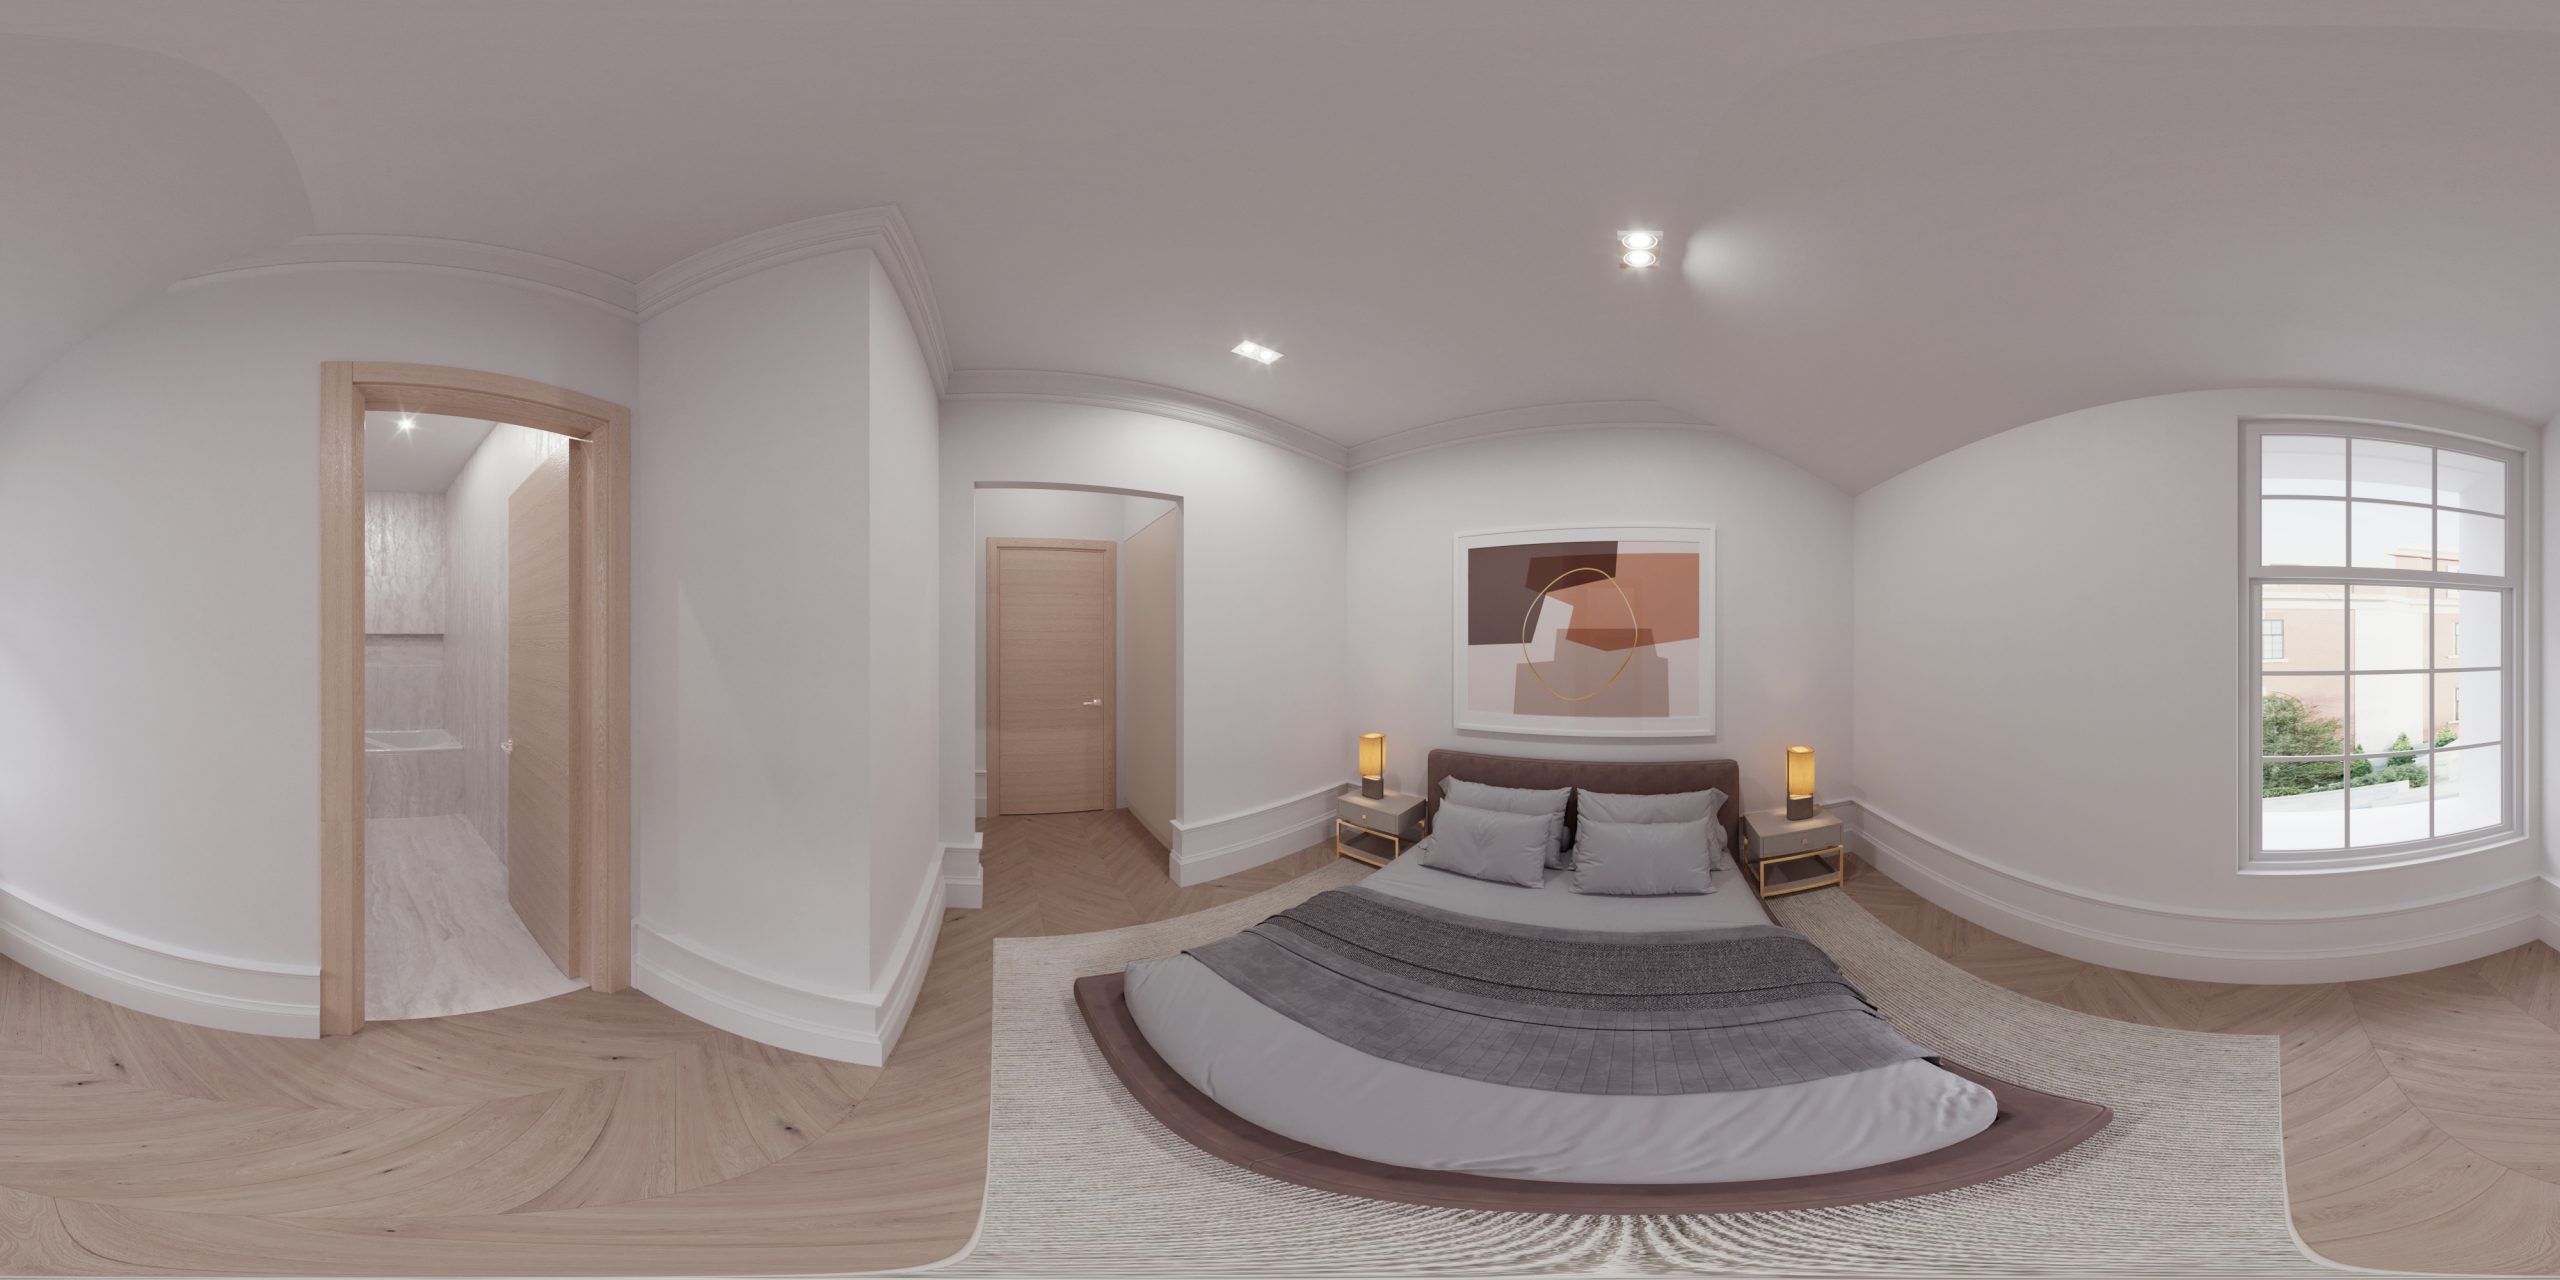
3D Virtual Tour for Léger, a Luxury Apartment in Robertson Building, 301
Léger is the only apartment in the Roberston building with a private balcony in the master suite. It has a 9.5 feet-high ceiling, more than 1800 sq. ft. of living space, and an utterly sophisticated interior. What a real estate gem the apartment is going to be!
Brief
The brief for 3D virtual tour production included the following:
- Floor plan;
- ceiling plan
- CAD plan and elevations;
- drawings for kitchen and wardrobes;
- furniture references
- references for flooring, moldings, baseboards, materials, etc.
Stage 1: Approving the Interior Design for the 3D Real Estate Tour
Based on this technical assignment, the 3D visualizer built the scene, applied textures, set the light, and sent low-resolution images. The client needed to check the geometry of the space, the materials, furniture, lighting, and decorative elements.
Round 1
George checked the low-res renders and sent us the visual comments below.
Round 2
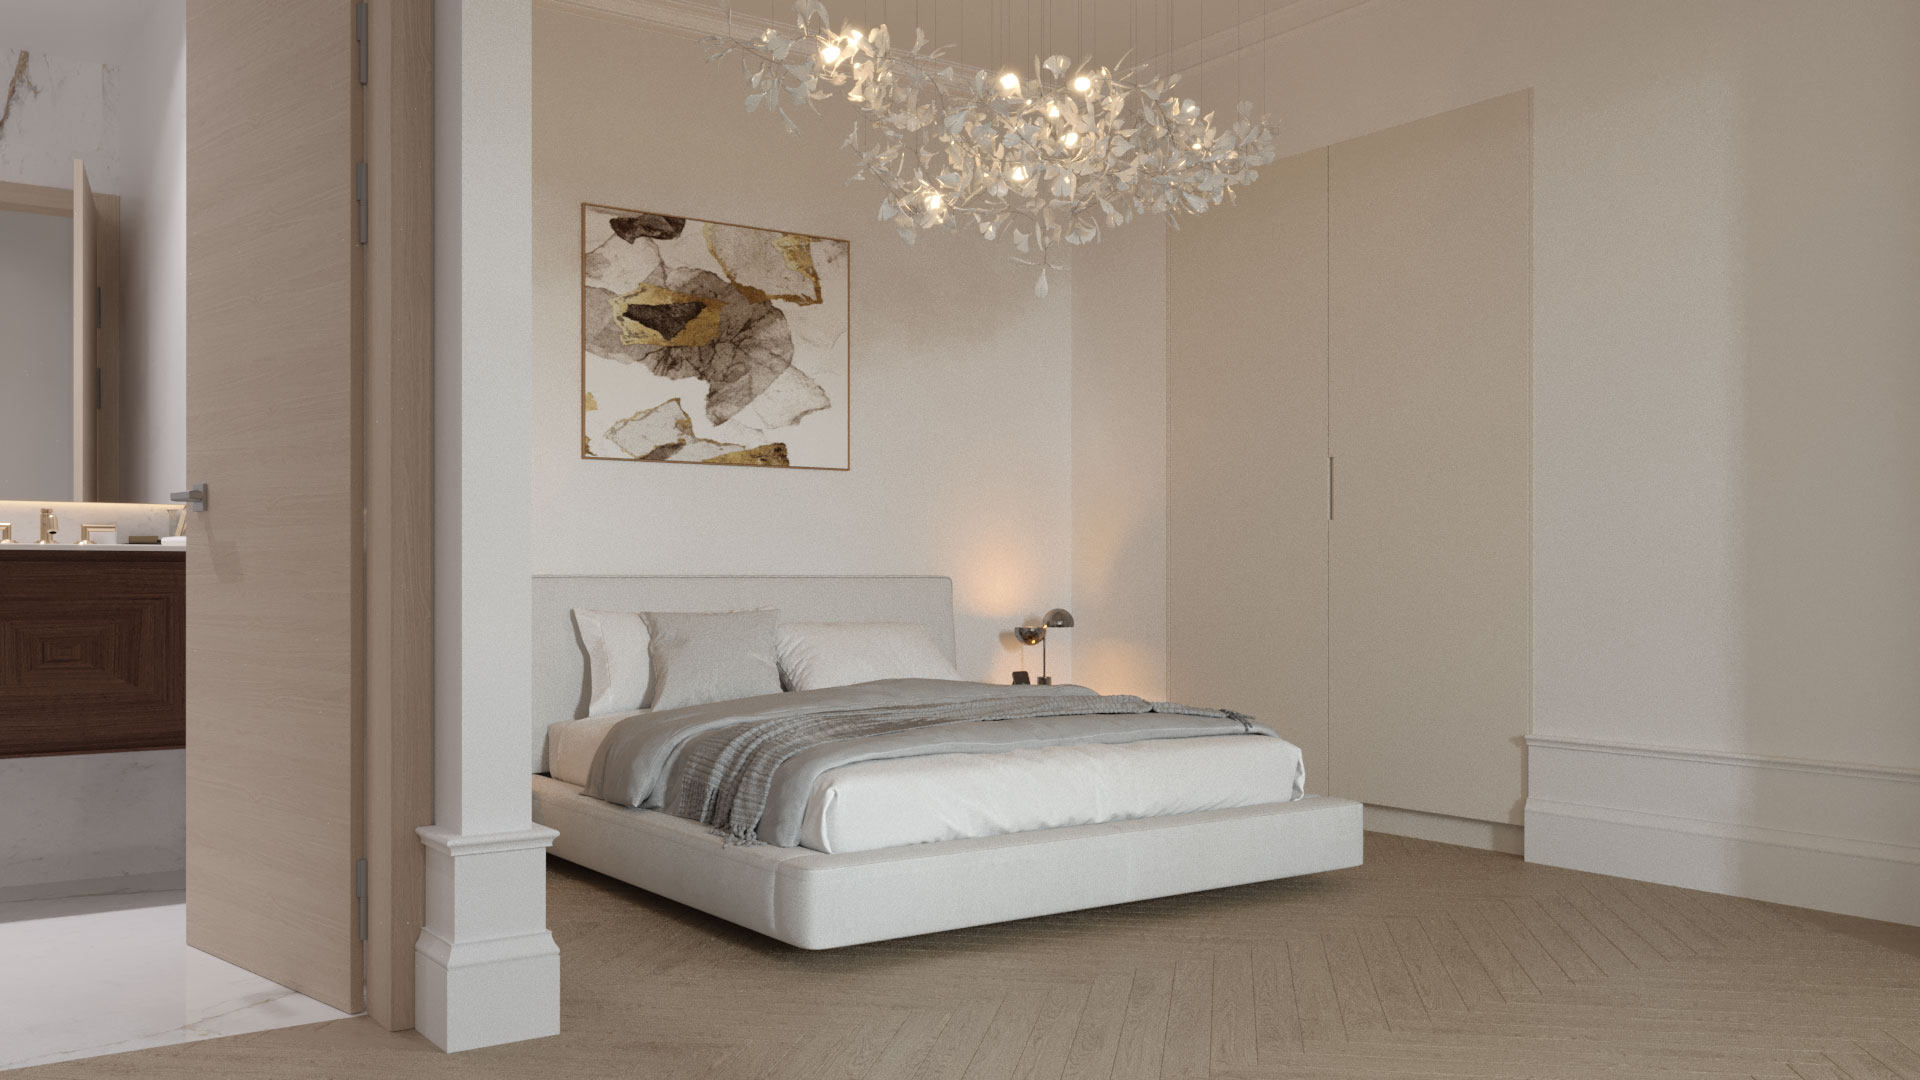
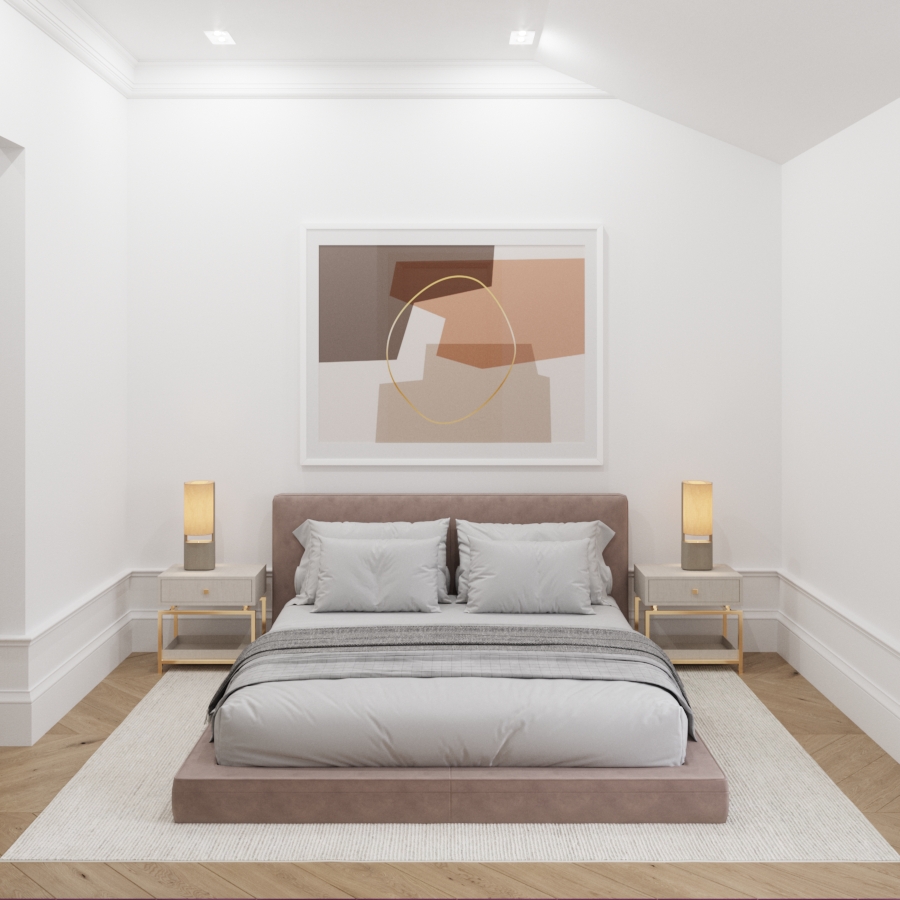
The 3D visualizer made the required corrections to the scene of the future virtual tour, made new pre-renderings, and submitted them for review. In response, George sent a series of visual comments and asked the 3D specialist to add a painting to the wall next to the TV.
Round 3
The 3D artist added the abstract painting to the wall, changed the color of the chandelier, removed the lamps, and worked on the materials in the bathroom. The client approved the design, and we moved on to the next stage of 3D real estate virtual tours production.
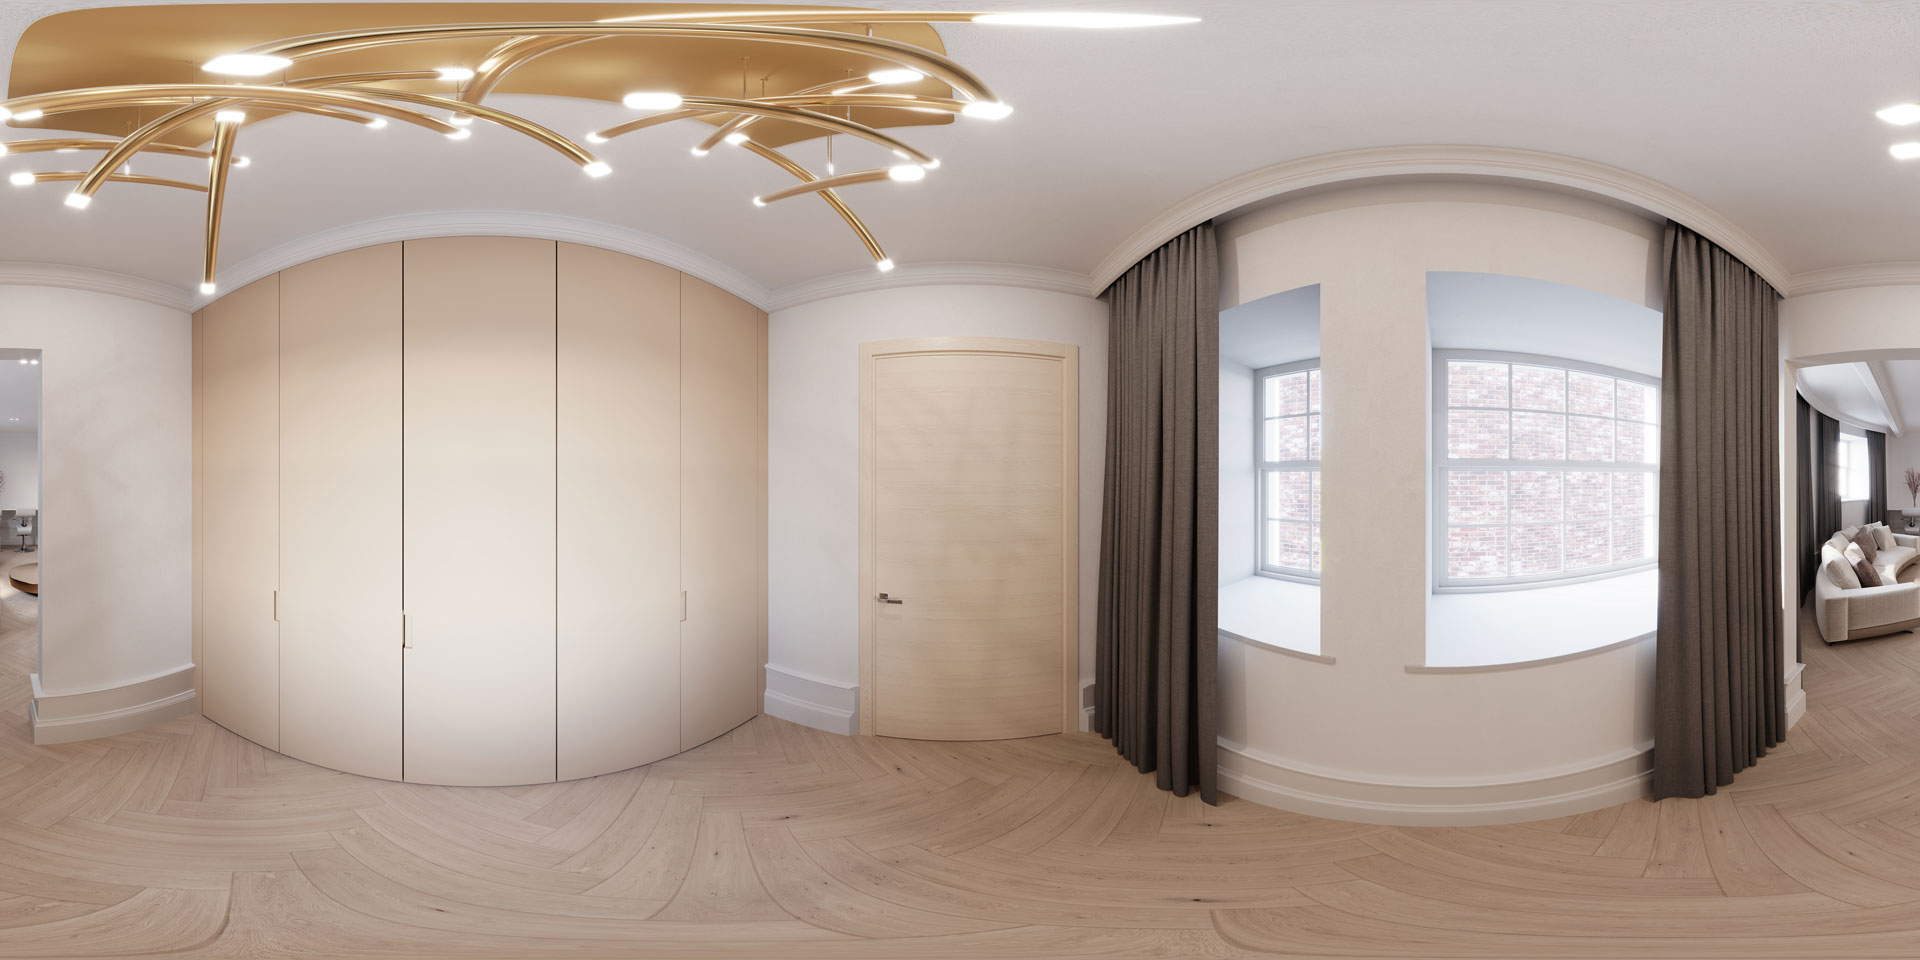
Stage 2: Making Panoramic Images for Previewing
With the design, materials, and light approved, the 3D artist made the panoramic images for the future 360-degree tour. The client viewed them online in an interactive form and liked them. At that moment, we were ready to move on to assembling the virtual tour.
George liked the result and placed it on the site. This way, the fourth out of five 3D real estate virtual tours started to sell the luxury apartments on the site!
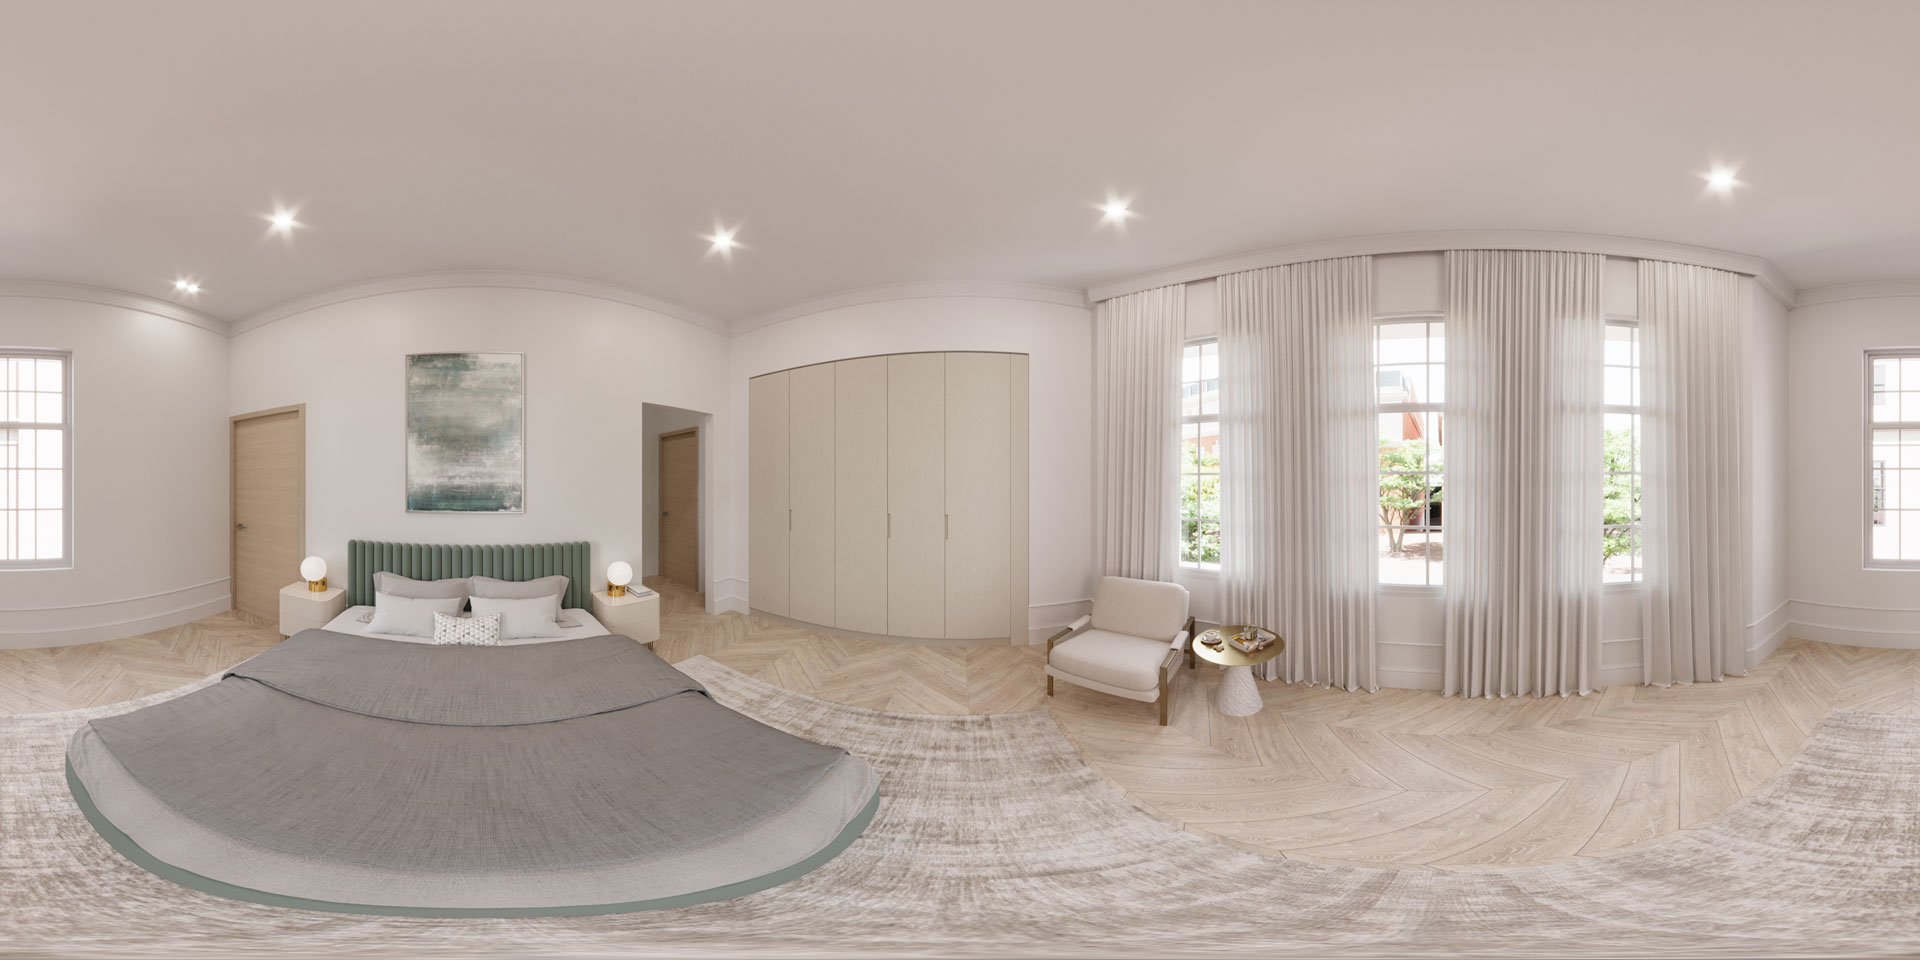
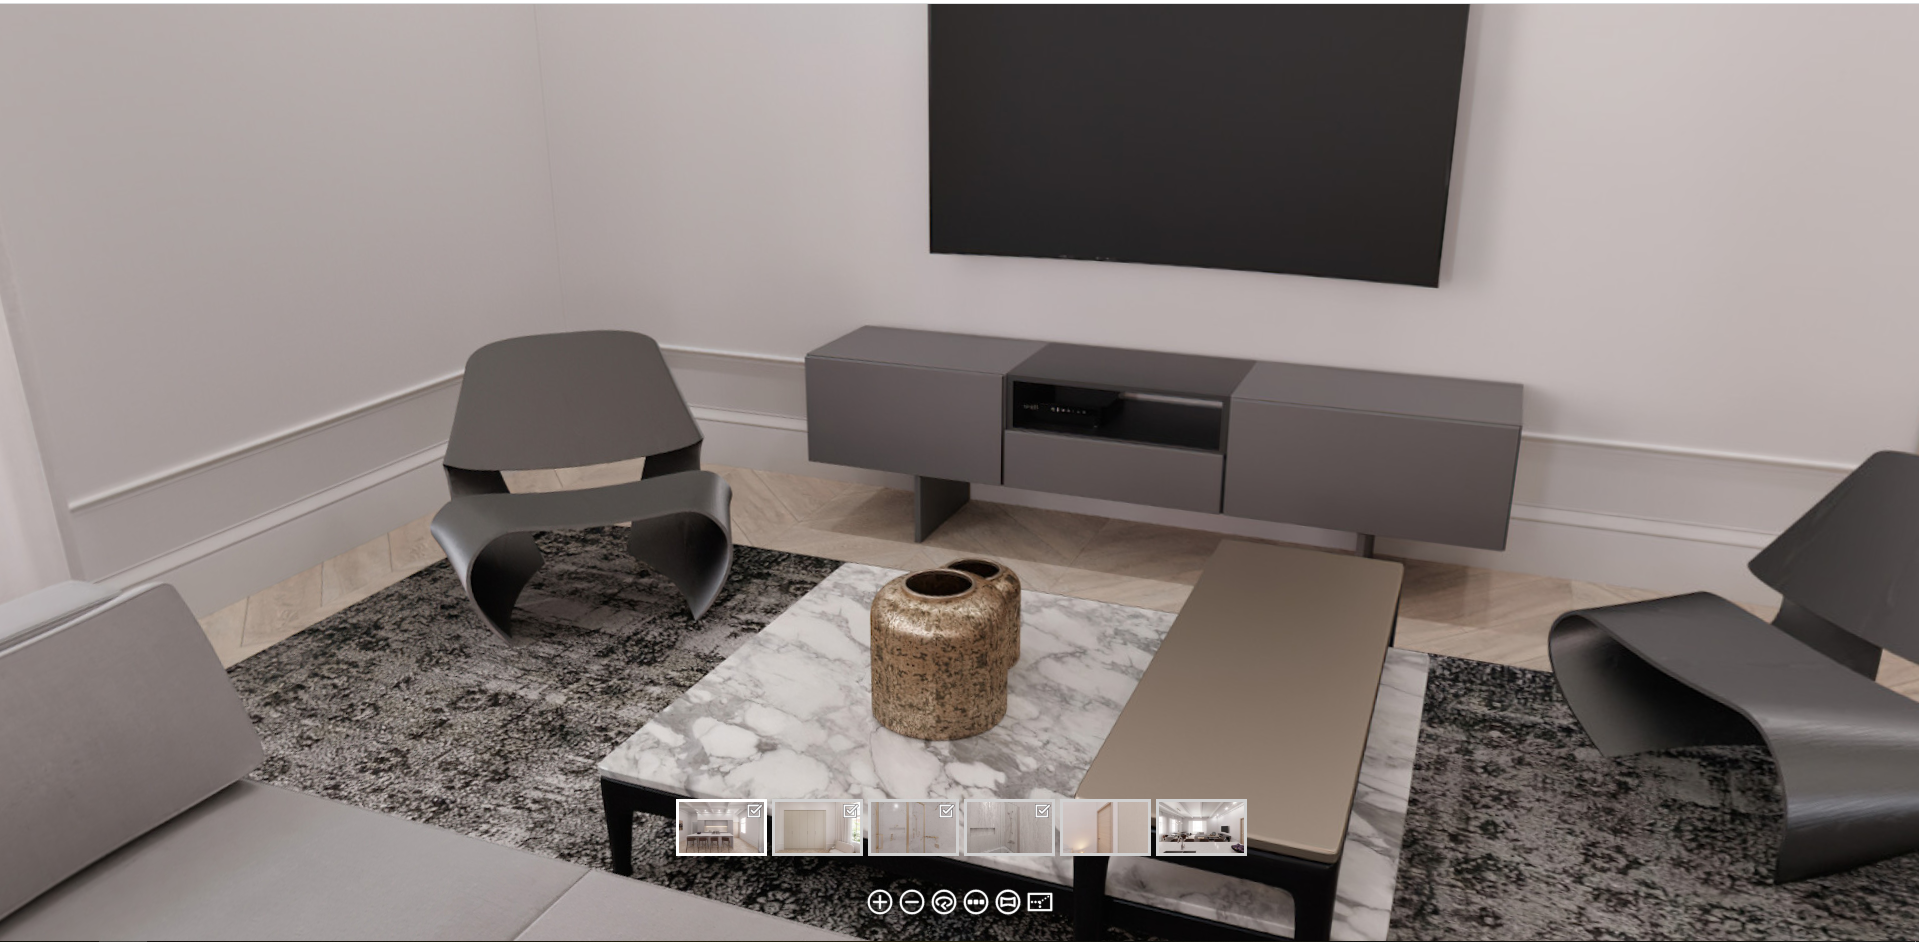
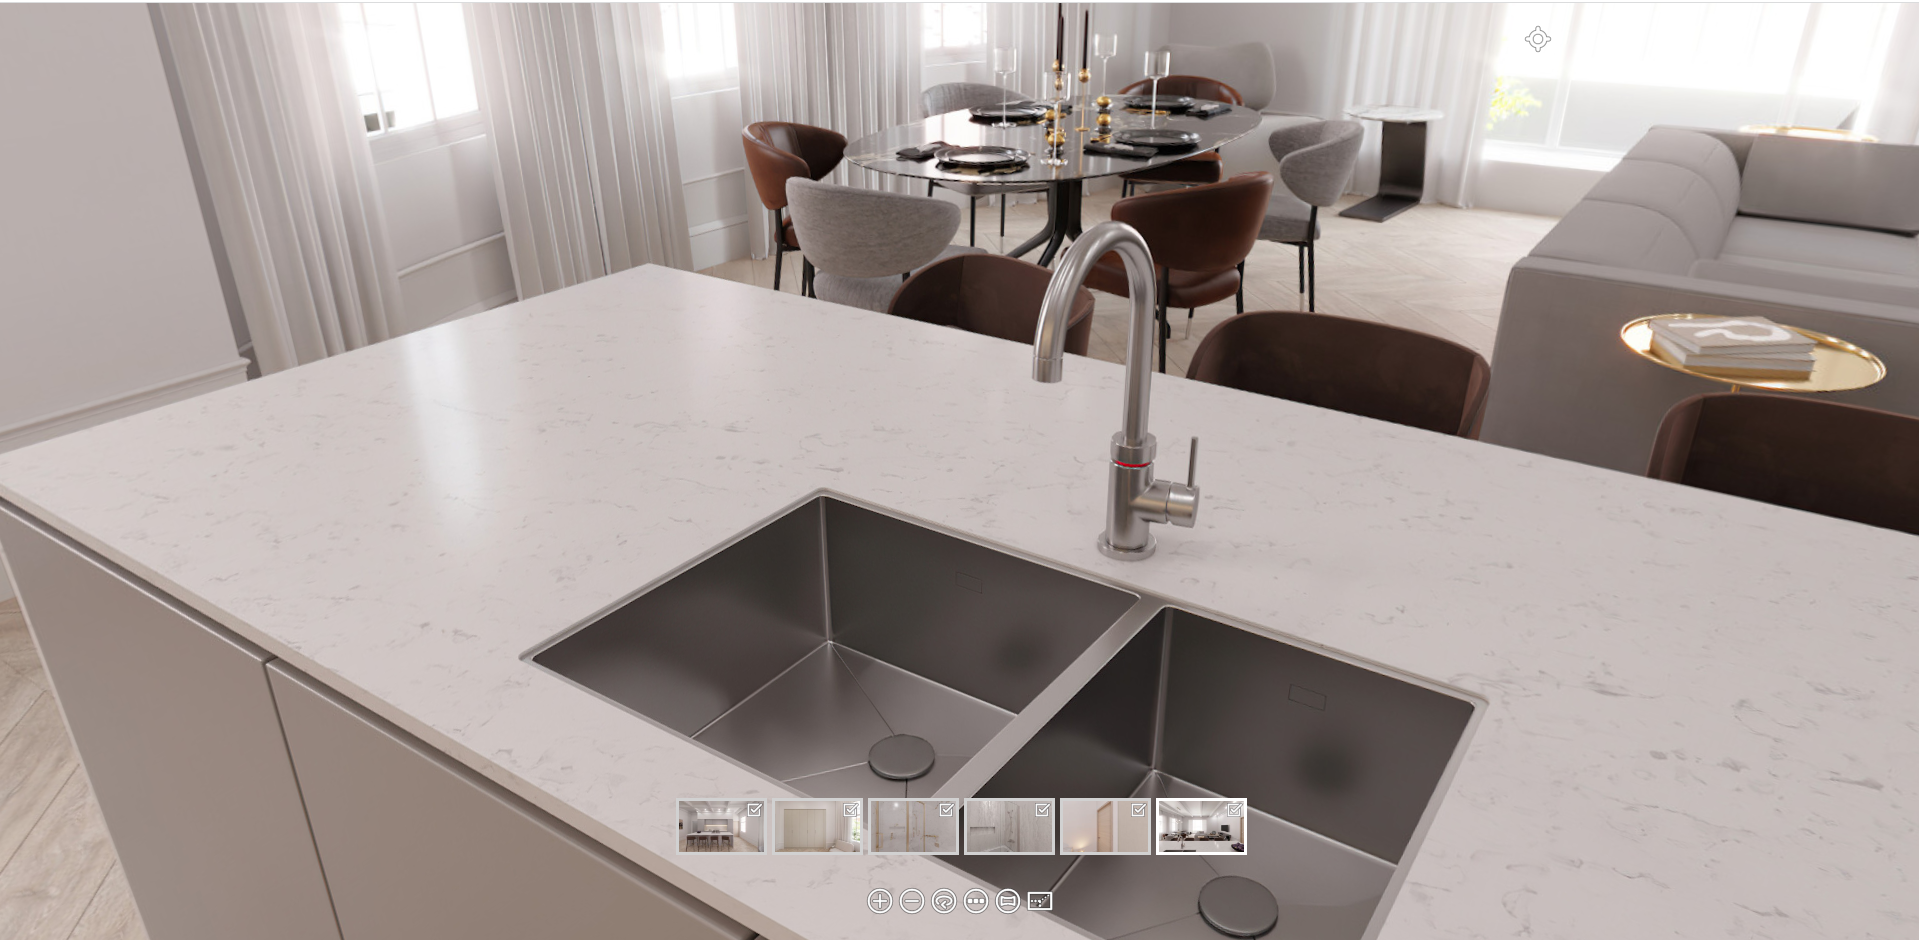
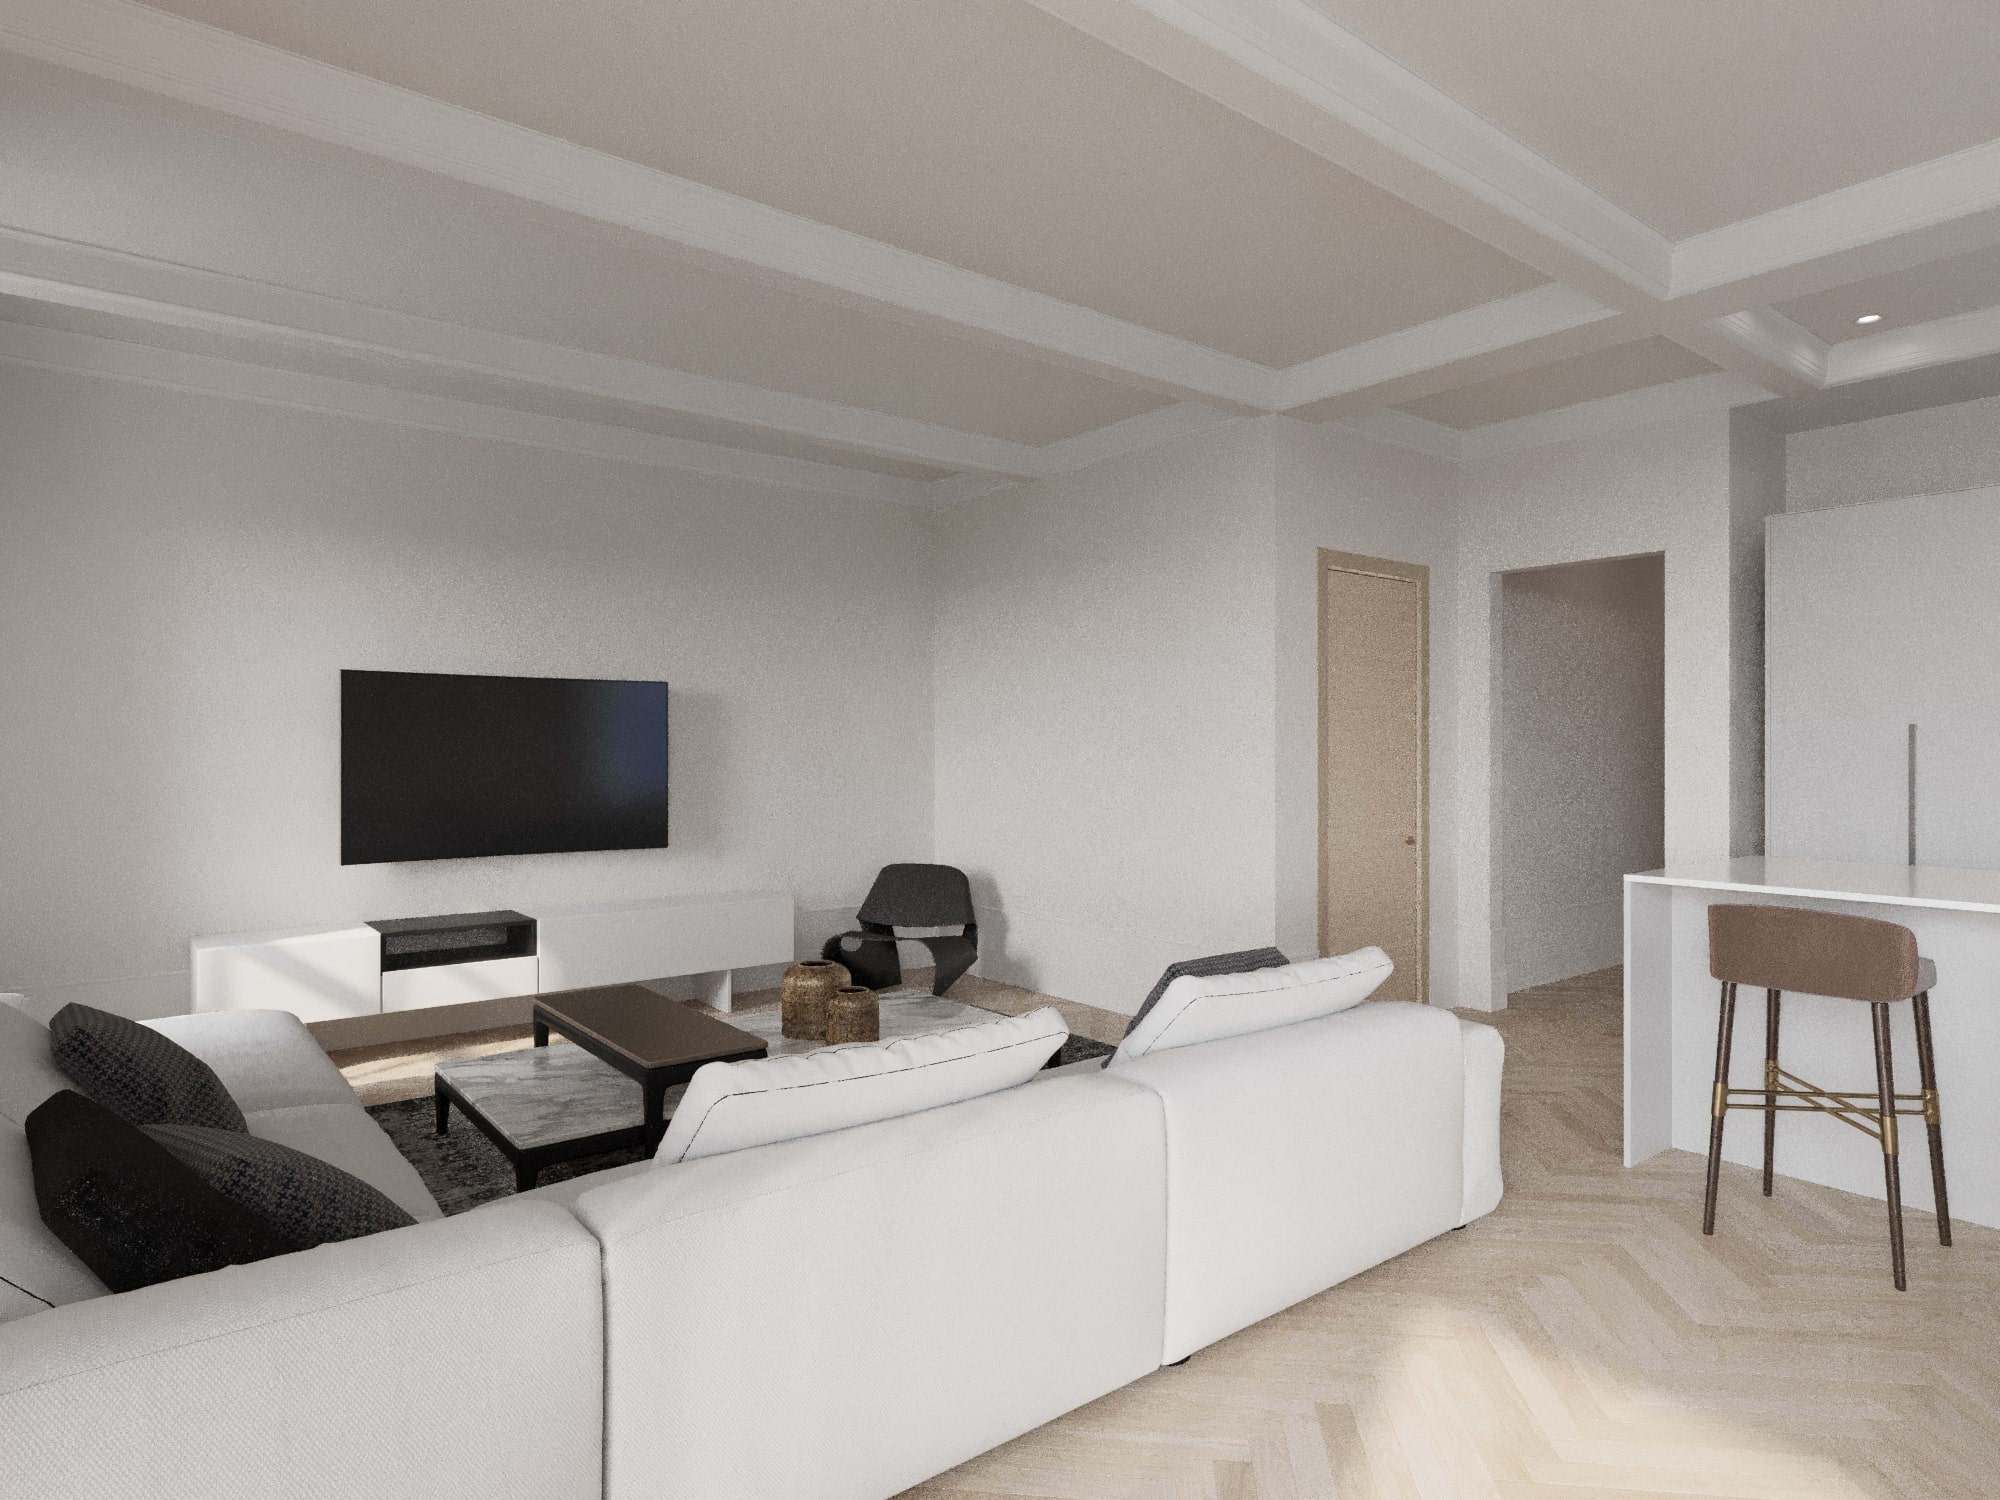
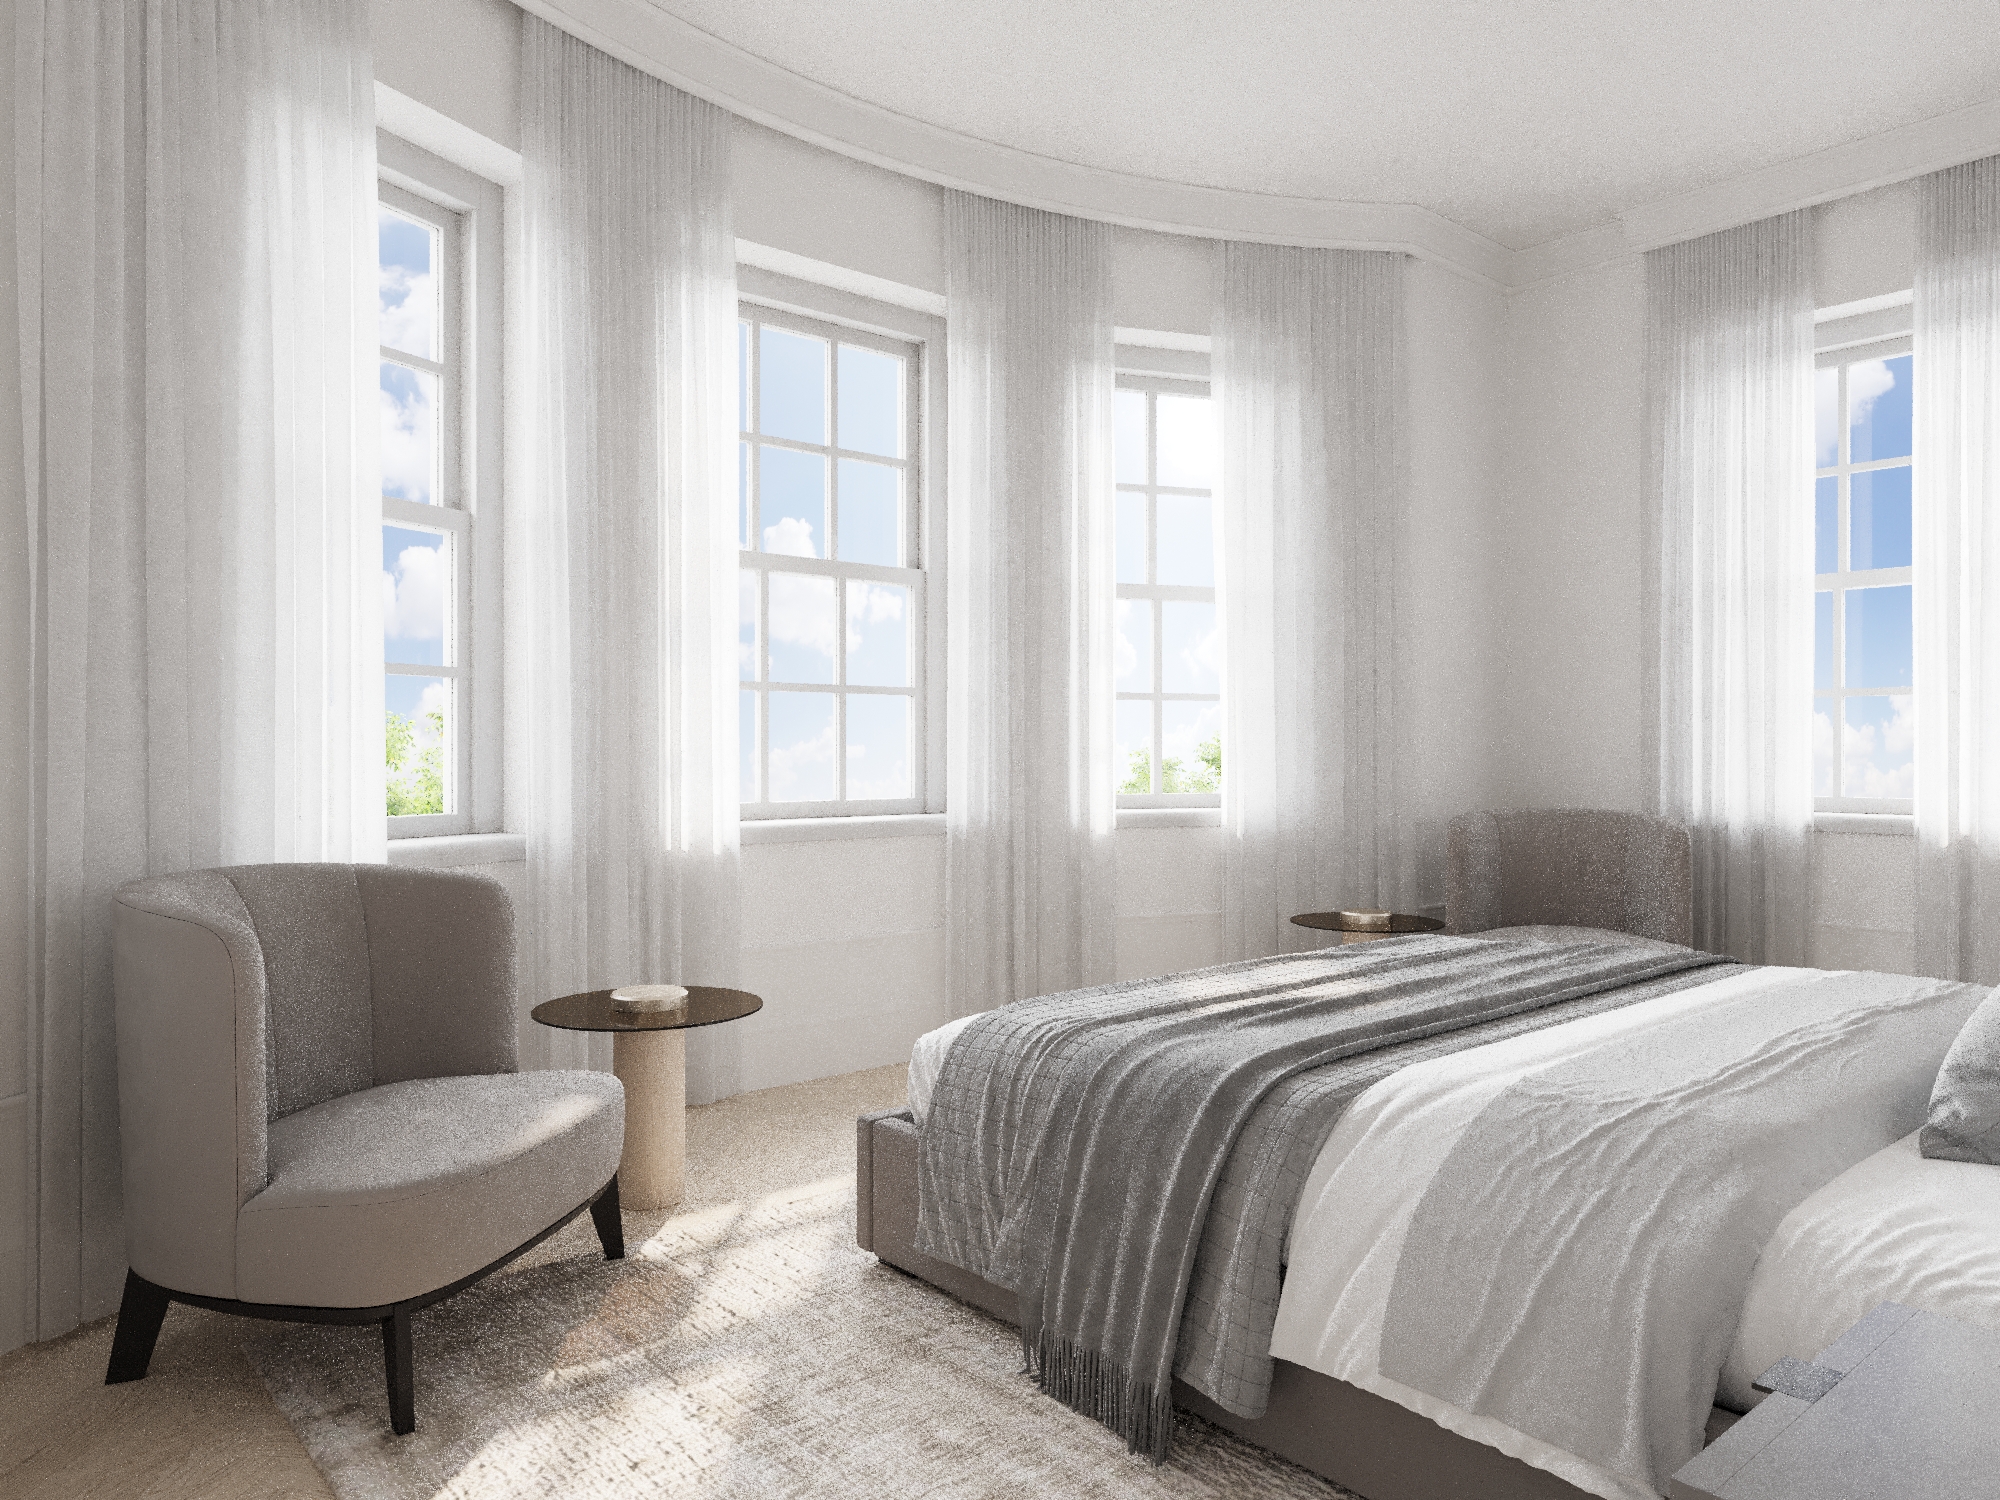
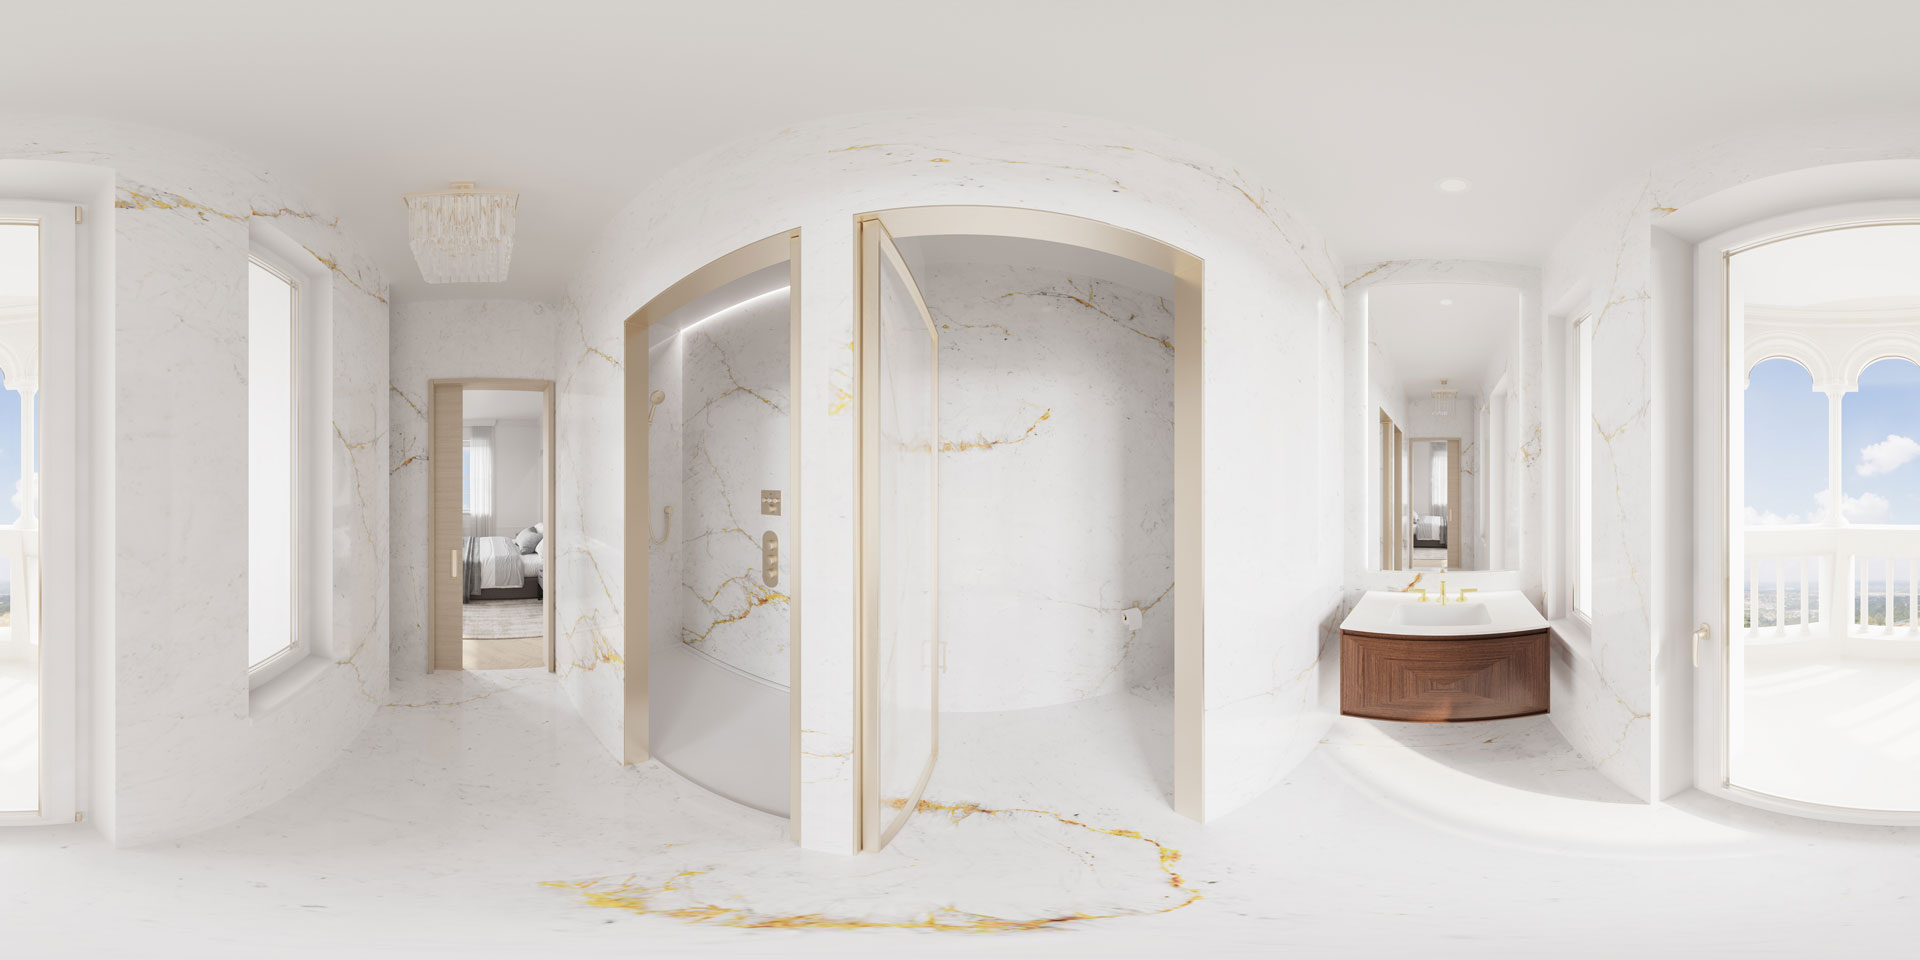
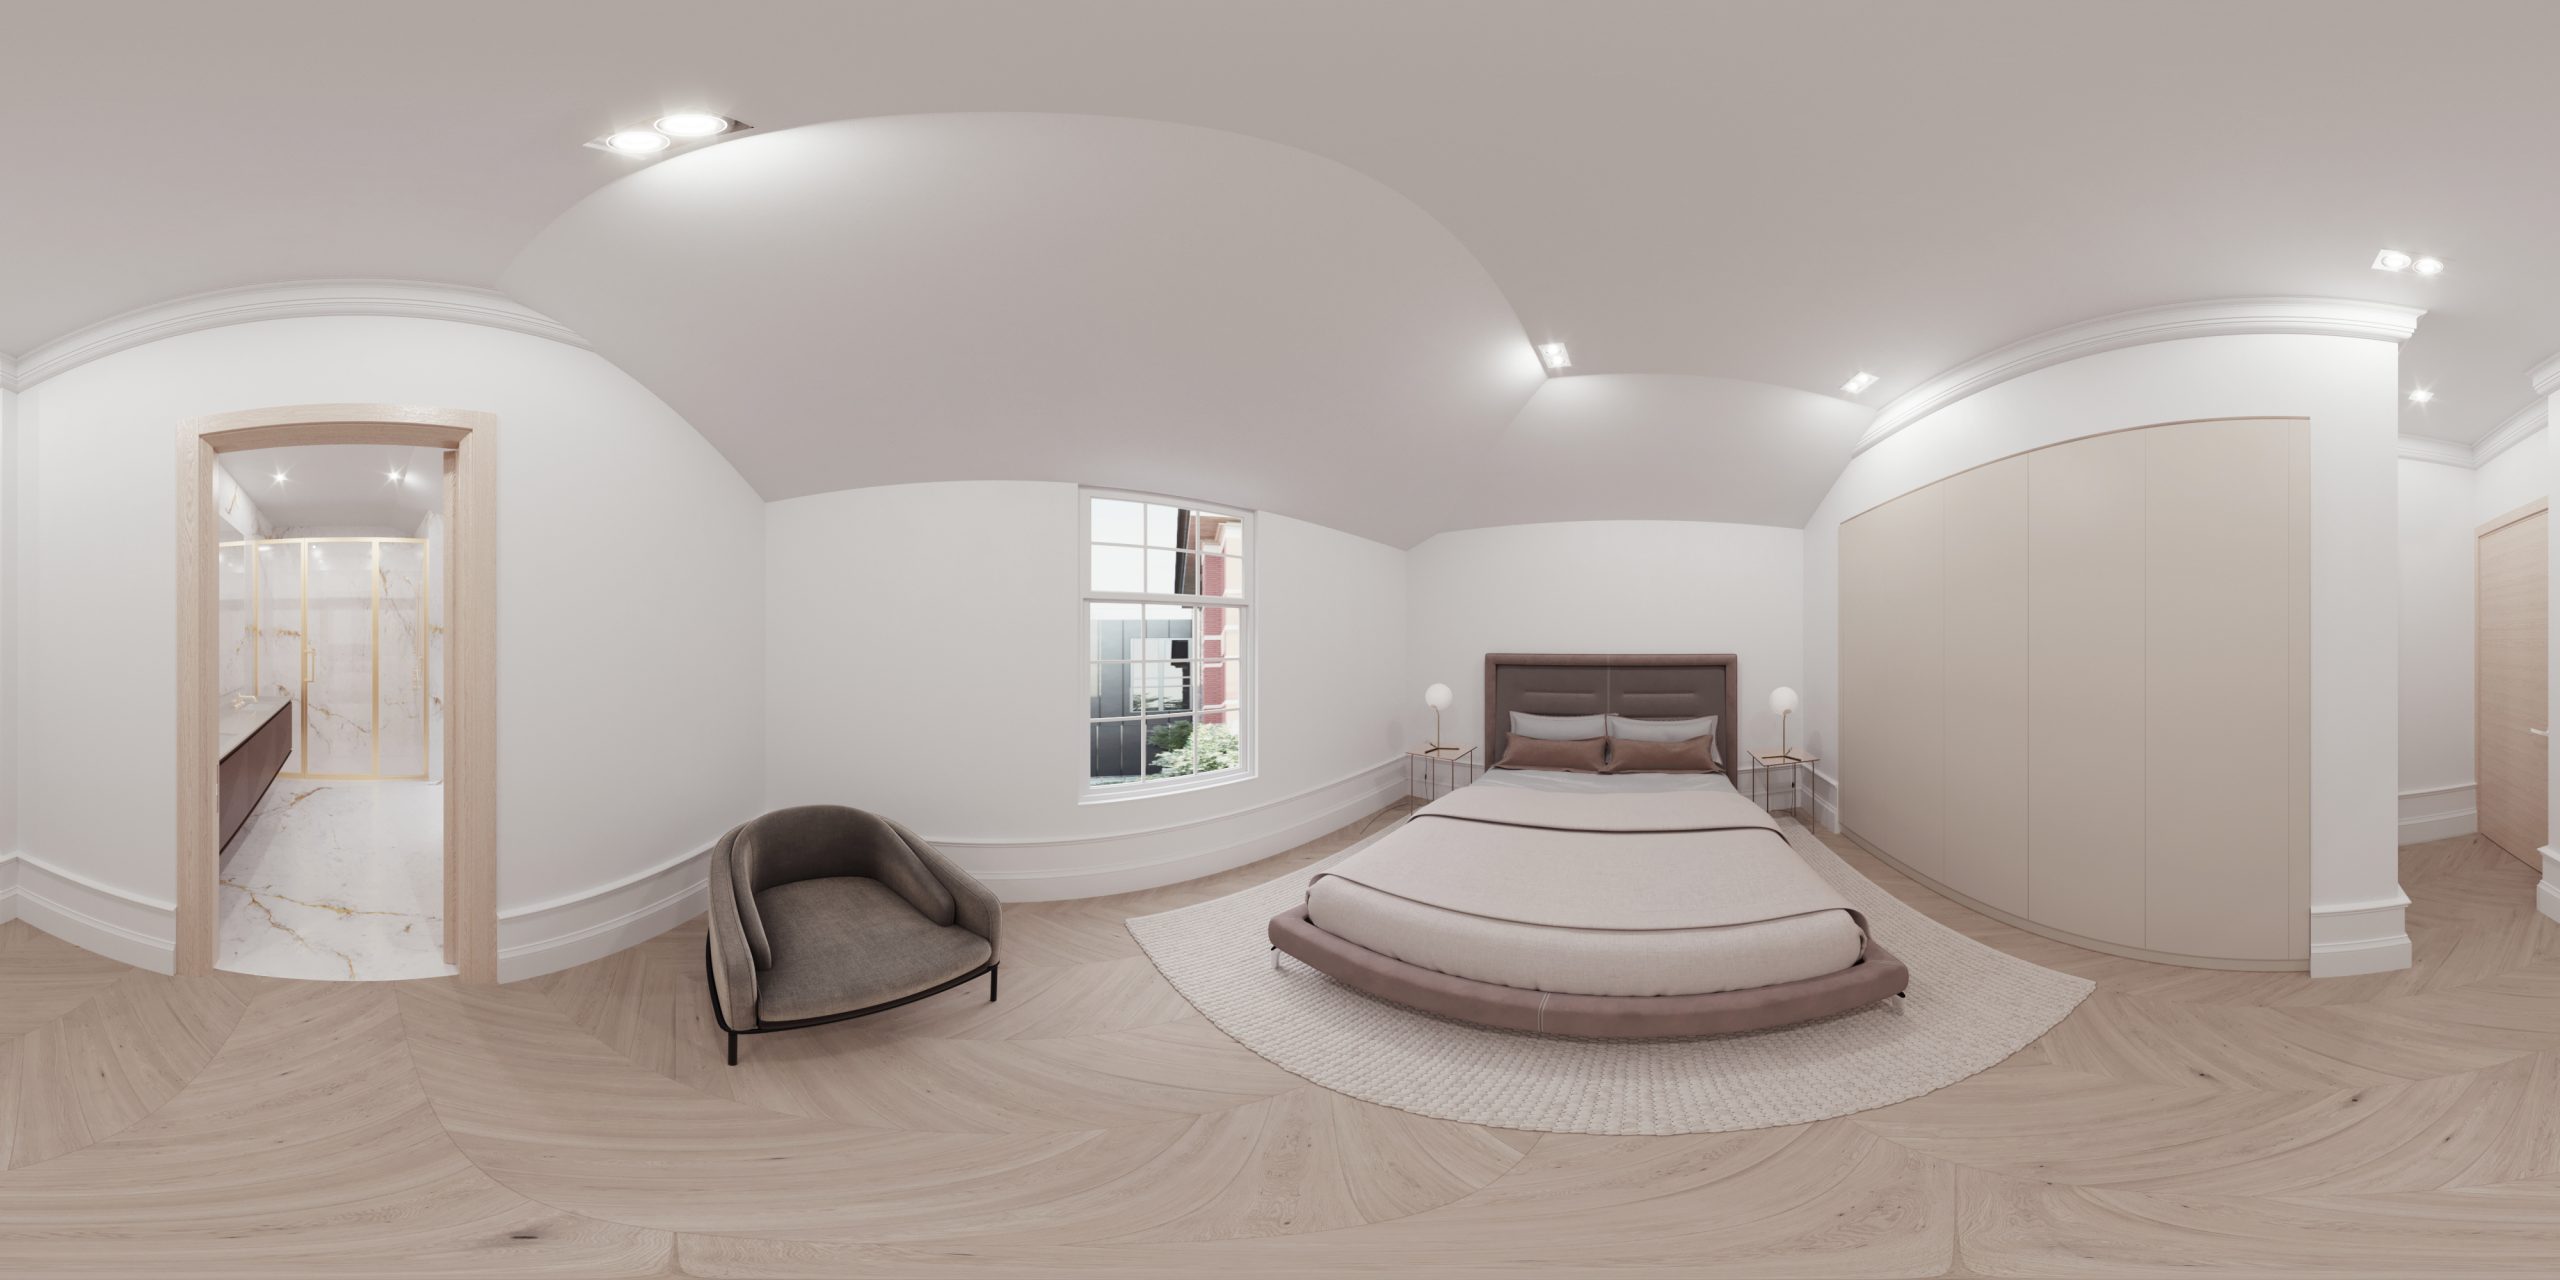
3D Virtual Walkthrough for Frink, Unit 401
The Frink residence will be the largest one in the Robertson building. It’ll have 1824 sq. ft. and comprise two bedrooms, 2.5 bathrooms, and vast living spaces. Placed on the top floor, the apartment will have a unique architectural feature — an irregularly shaped ceiling due to the sloped roof. What a luxurious piece of real estate! The experience it offers is enhanced by a private elevator.
Brief
The brief for the 3D virtual tour production contained the following materials:
- space plan with hot spots for the camera
- CAD floor plan and elevations
- ceiling and lighting plans
- kitchen and wardrobe drawings
- reference renderings for flooring, materials for bathrooms, kitchens, etc
- elevation drawings to be used for the windows
- 3D models for the dining set attached from our library.
Round 1
George checked the pre-renderings and asked us to add a painting to the wall next to the TV. Also, he sent us a series of corrections through the images.
The 3D artist made the required updates and sent the results below. The images were approved, so it was time to move on to the virtual panorama creation.
Stage 3: Virtual Walkthrough Assembly
Using Pano2VR, the 3D visualizer made the final one in this collection of 3D real estate virtual tours. The client was happy with the result and placed it on the listing, too.
Result

That task concluded the project. Did you like the results? We take great pride in how full of life and photorealistic they are. Also, we know that the tours will make great sales material.
If you liked the results, you can see similar projects in our article on 3D rendering for real estate in Canada.
Hardcore numbers back the benefits of 3D real estate virtual tours. They were proven to:
- increase the number of leads. According to research conducted by the National Association of Realtors, 54% of buyers will only consider a property if there is a virtual tour. Moreover, 50% of respondents said that 3D tours were instrumental for them in making a decision.
- increase the quality of leads. According to Property Week, virtual tours decrease the number of failed viewings by 40%.
- improve Google’s ranking of the listings. Realtor.com found that 3D real estate virtual tours get the website a whopping 87% more views. Moreover, these interactive assets make people spend 5 to 10 more time on a website and interact with it more. And the longer people examine a property with a 3D tour, the higher Google will rank it.
Best of all, real estate agents and developers can easily track the impact of 3D real estate virtual tours using Google Analytics. Their ROI is easy to calculate, too. Unlike other types of content, CGI tours give results in less than 4 weeks.
Would you like to enhance your marketing with 3D real estate virtual tours and 3D floor plan rendering services? Then contact us. We will create 3D rendering for Montreal projects that will attract buyers and increase sales manifold.

Irma Prus
Content Writer, Copywriter
Irma writes articles and marketing copy for ArchiCGI. Her dream is that more people discover the power of CGI for architecture. Irma is into neuromarketing, ruby chocolate and Doctor Who series.
Like this project? We’ve got plenty more! Check out these CGI beauties.
Planning a project in Toronto? Learn more about our 3D rendering services in Toronto.
