

How does a set of floorplans and mood boards become a fully interactive 3D virtual tour? This guide covers the entire creation process — from submitting your first brief to receiving a finished tour ready to embed on your website. Whether you’re marketing luxury listings that demand impeccable presentation or launching pre-sales for properties still under construction, understanding how 3D tours are made helps you plan budgets, timelines, and project scope with confidence.
Our 3D rendering studio has been producing 3D virtual tour services for developers, architects, and real estate agencies worldwide. See the full range of our rendering services for real estate. Combined with interior visualisation services and exterior rendering, 3D tours are among the most effective CGI assets for real estate marketing. Below, we break down the process, pricing factors, features, and practical uses.
#1. What is a Virtual 3D Tour?
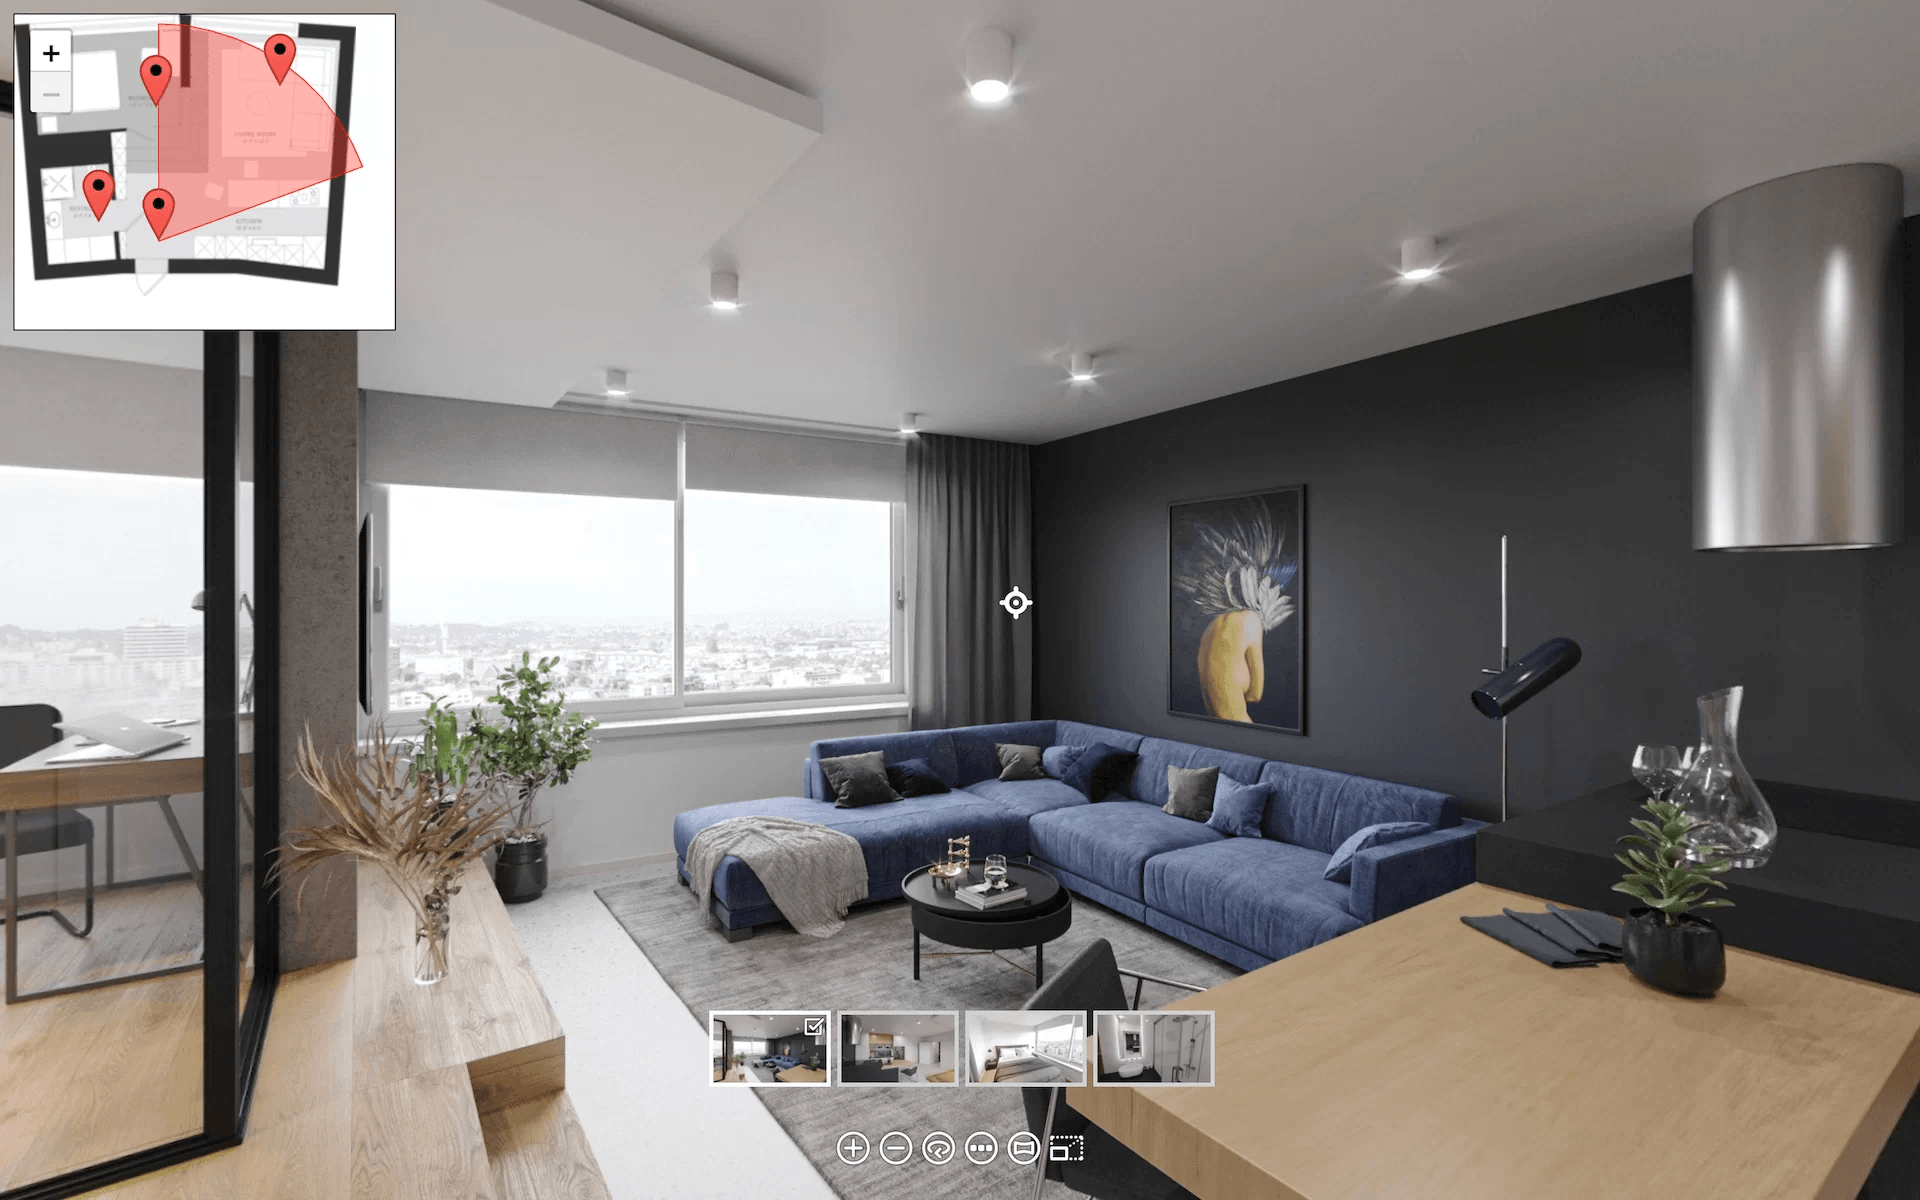
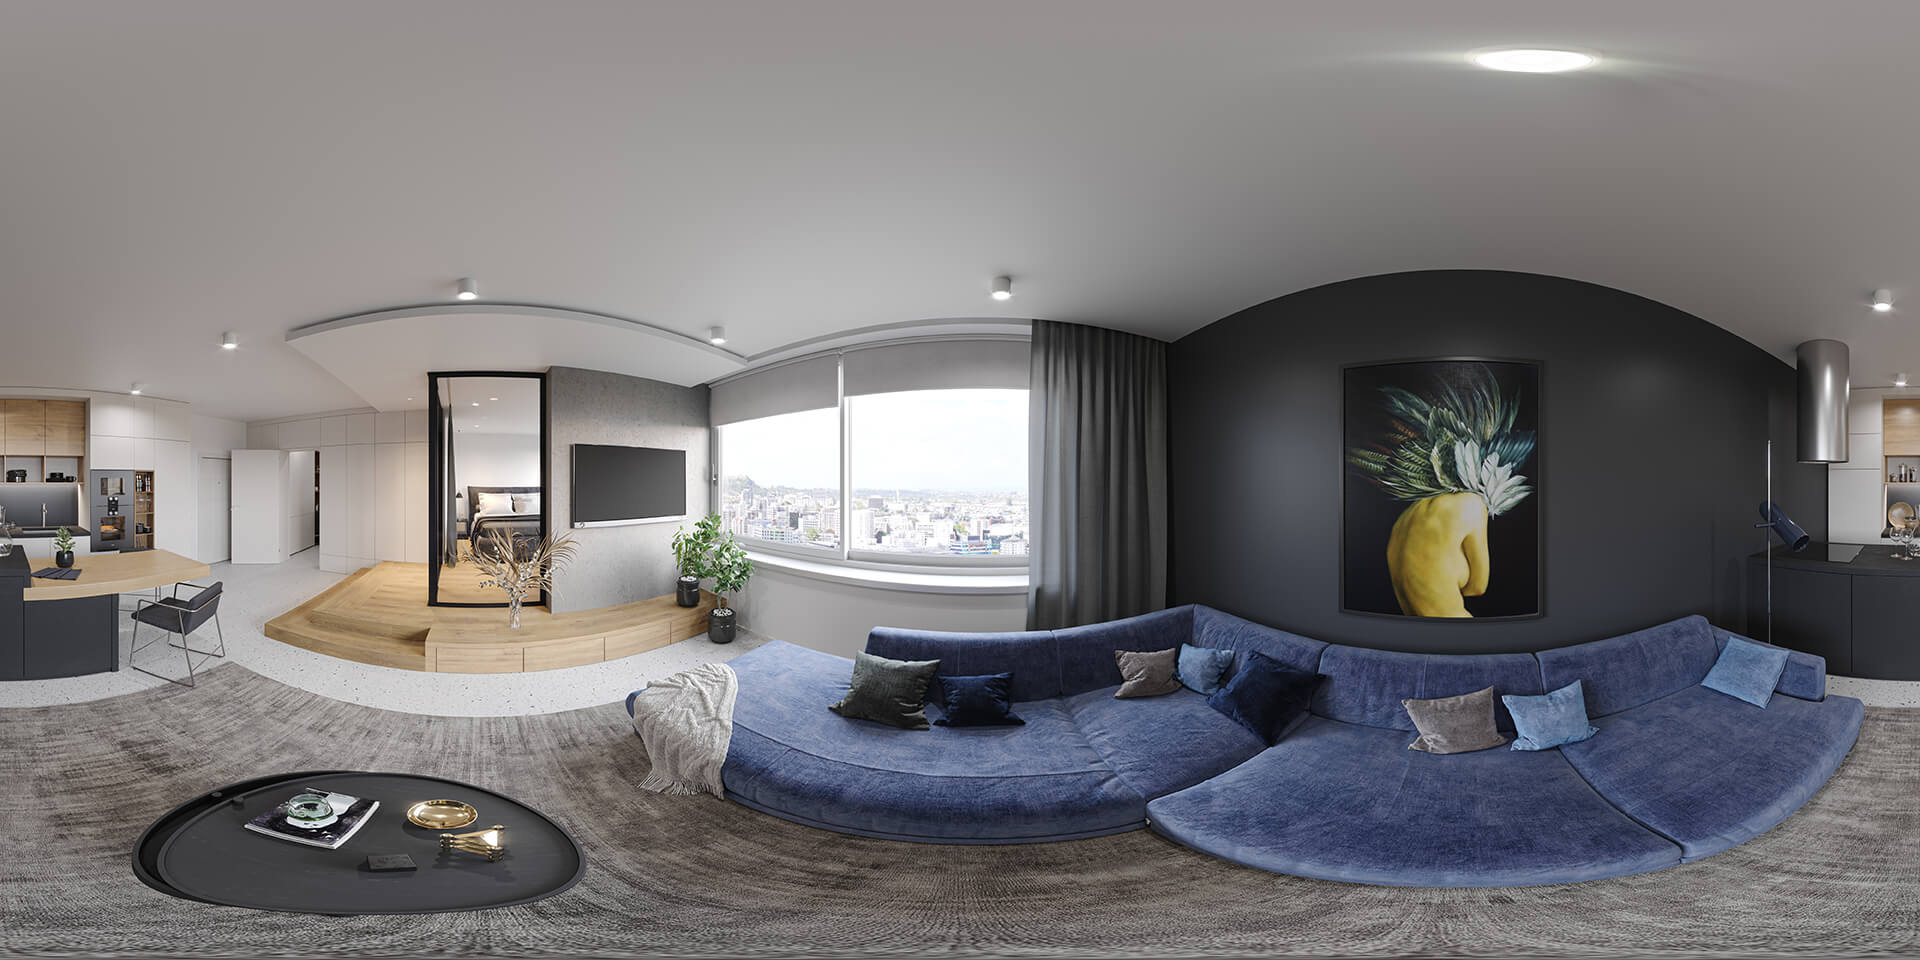
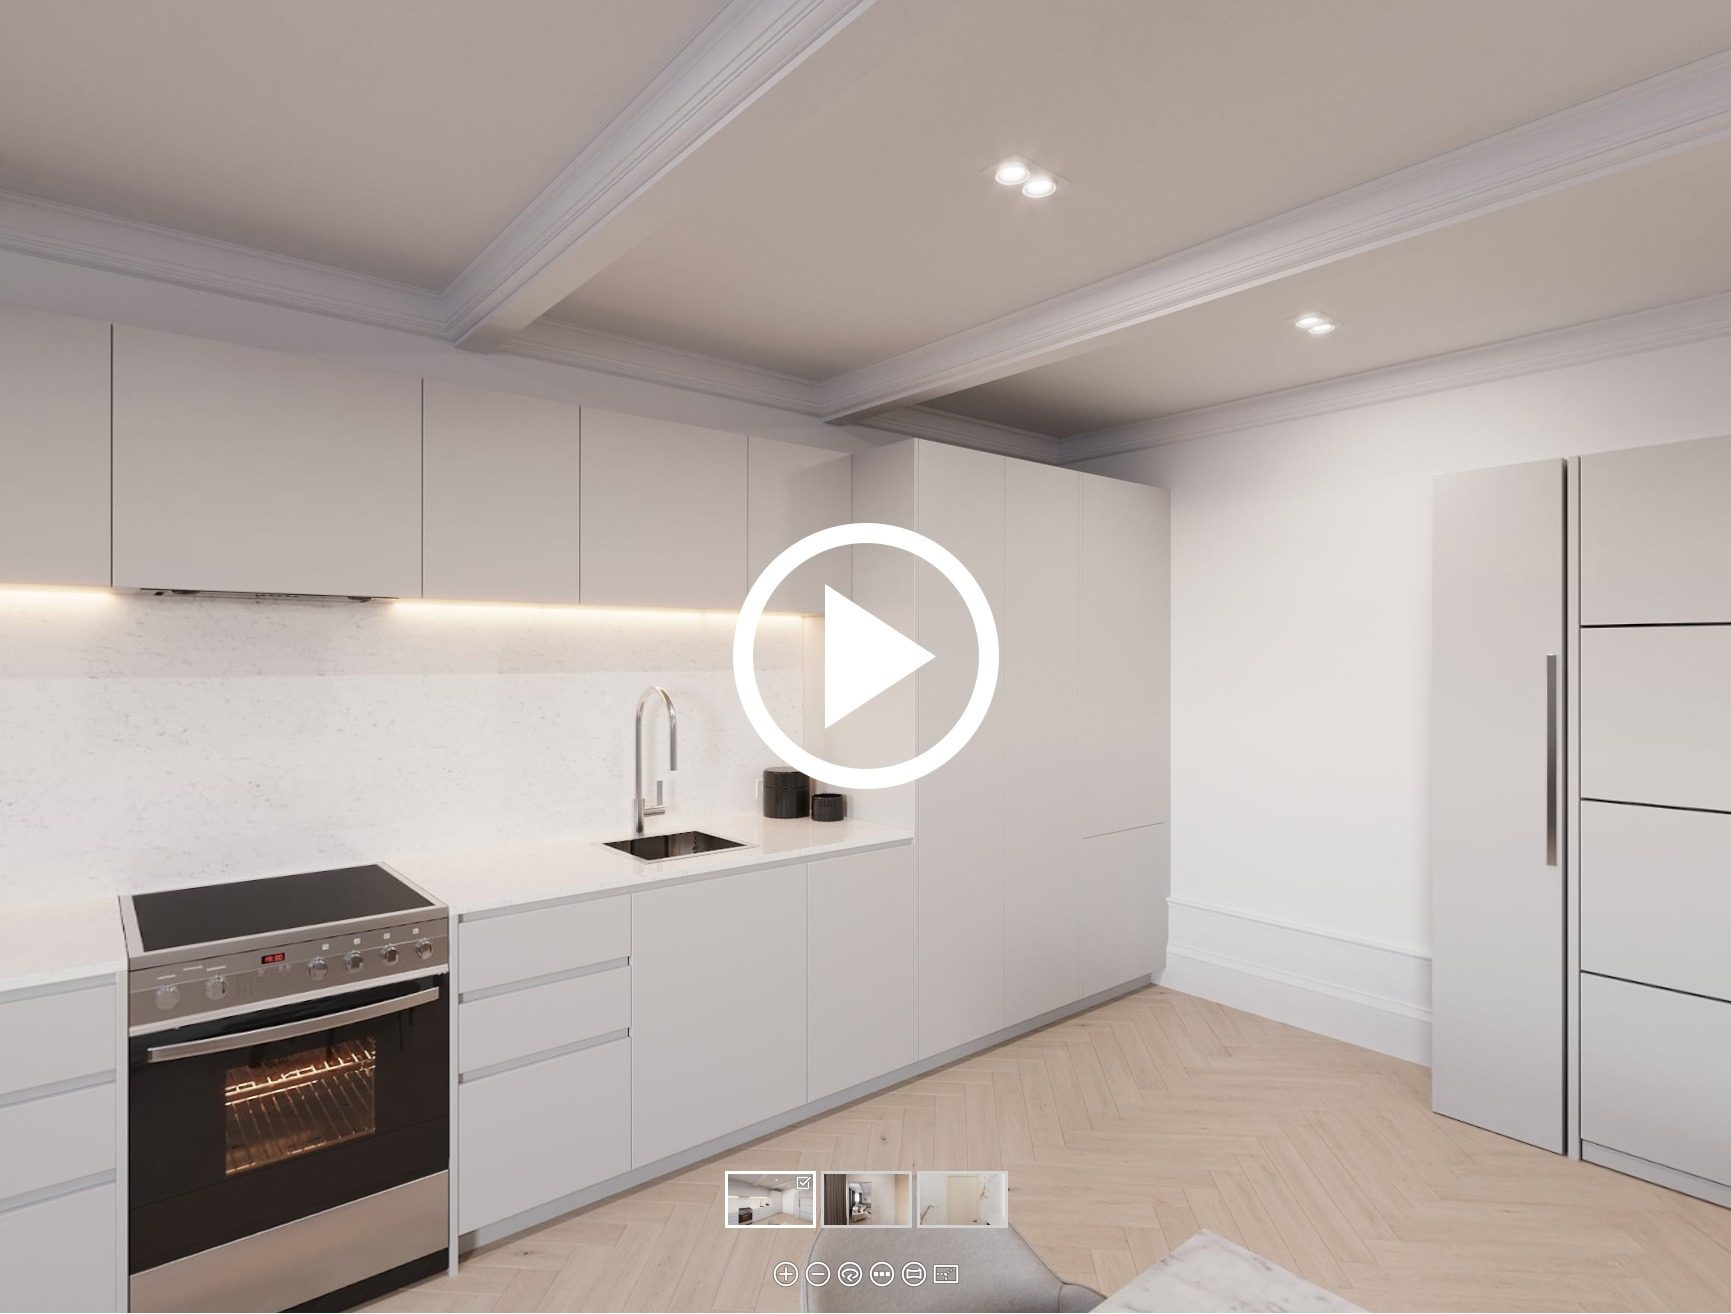
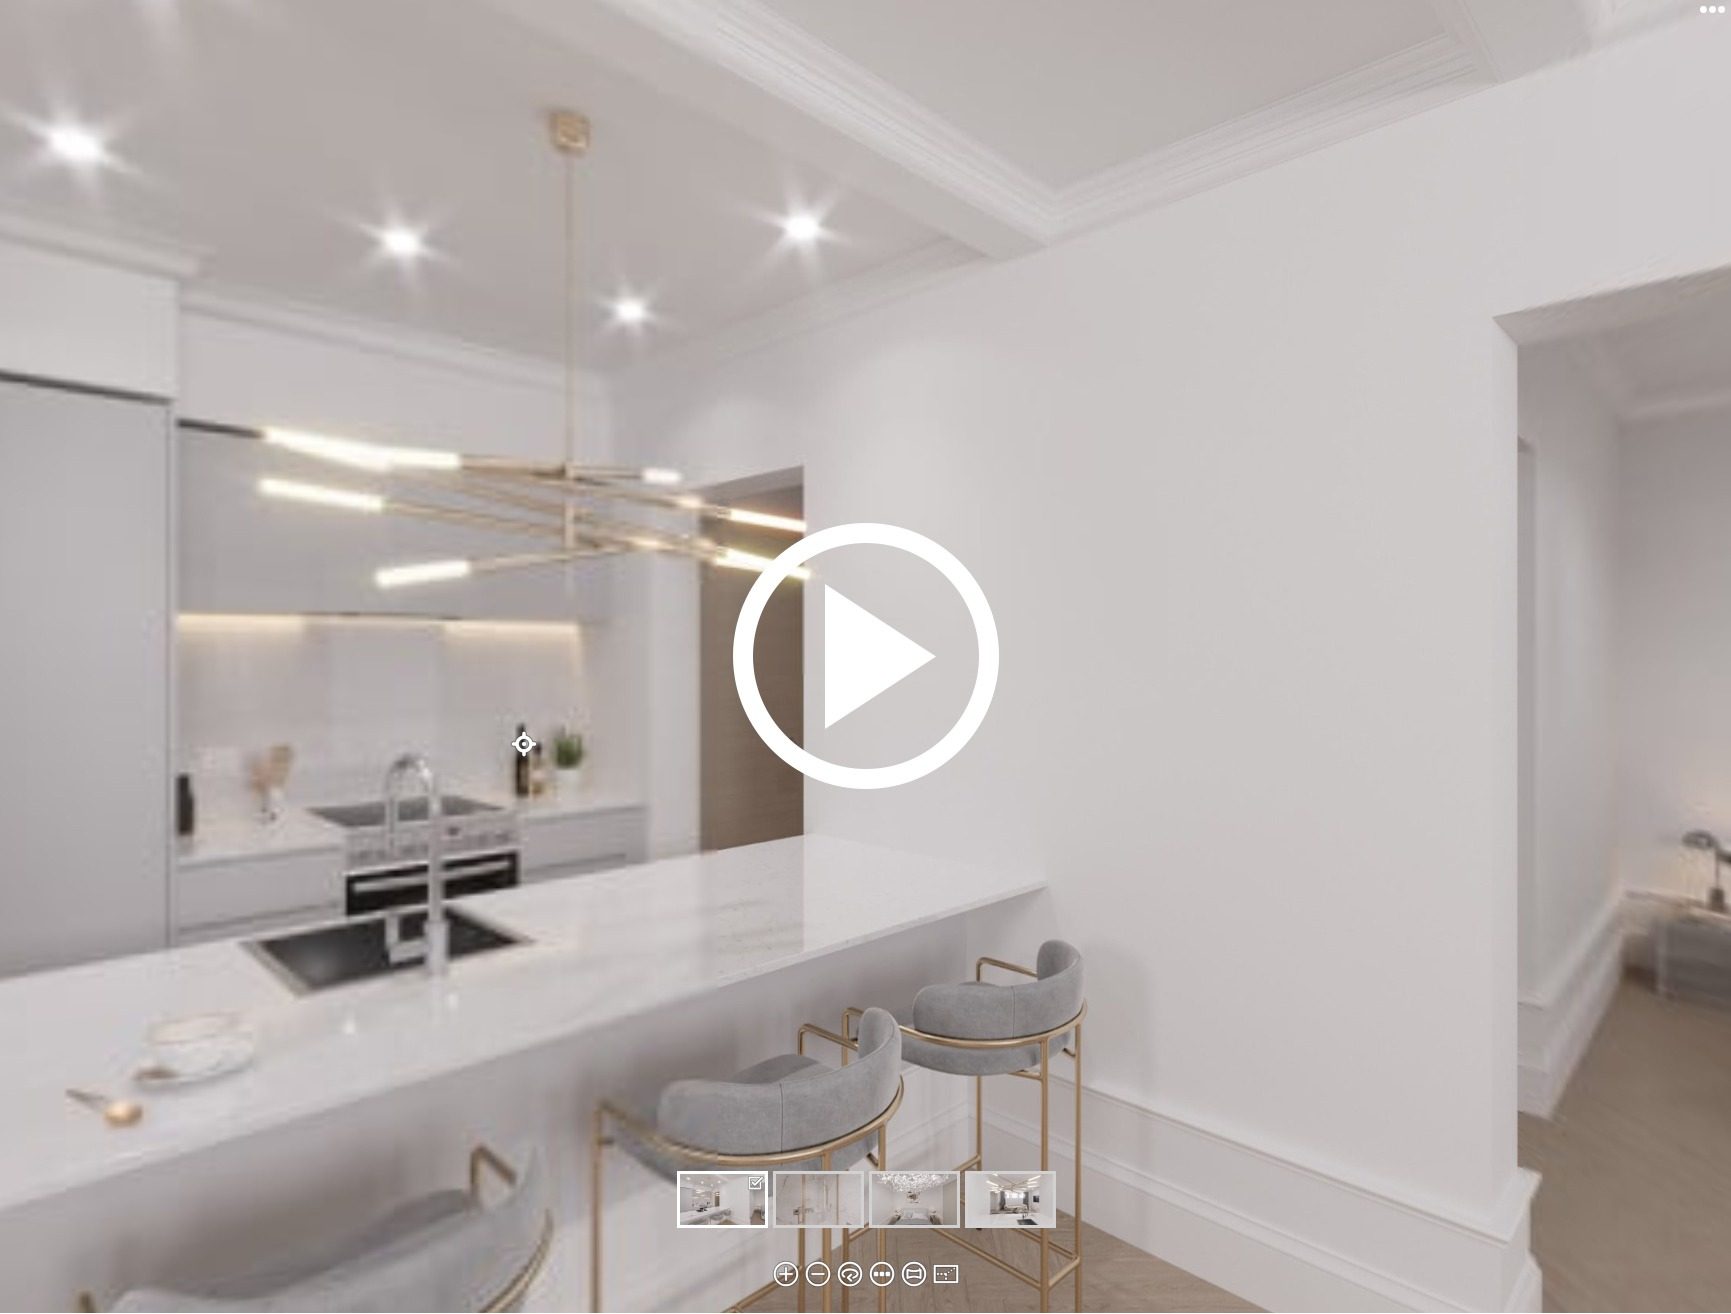
A 3D virtual tour is an interactive, computer-generated walkthrough of a real estate property — typically one that hasn’t been built yet. It lets viewers navigate rooms, inspect materials and furnishings, and experience the space in realistic detail, all through a simple browser interface.
Using advanced rendering technology, virtual 3D tours recreate spaces with ultra-realistic depictions of materials, furnishings, and lighting. With a simple navigation interface, they offer a near-authentic experience of walking through the property before it even exists.
How Are 3D Virtual Tours Created? 5 Stages
To get the most out of virtual tours, developers and realtors need to know what stages of production there are and what happens at each of them. This way, they can carefully plan the budget, timing, and scope of work.
Stage 1: Submitting the Brief
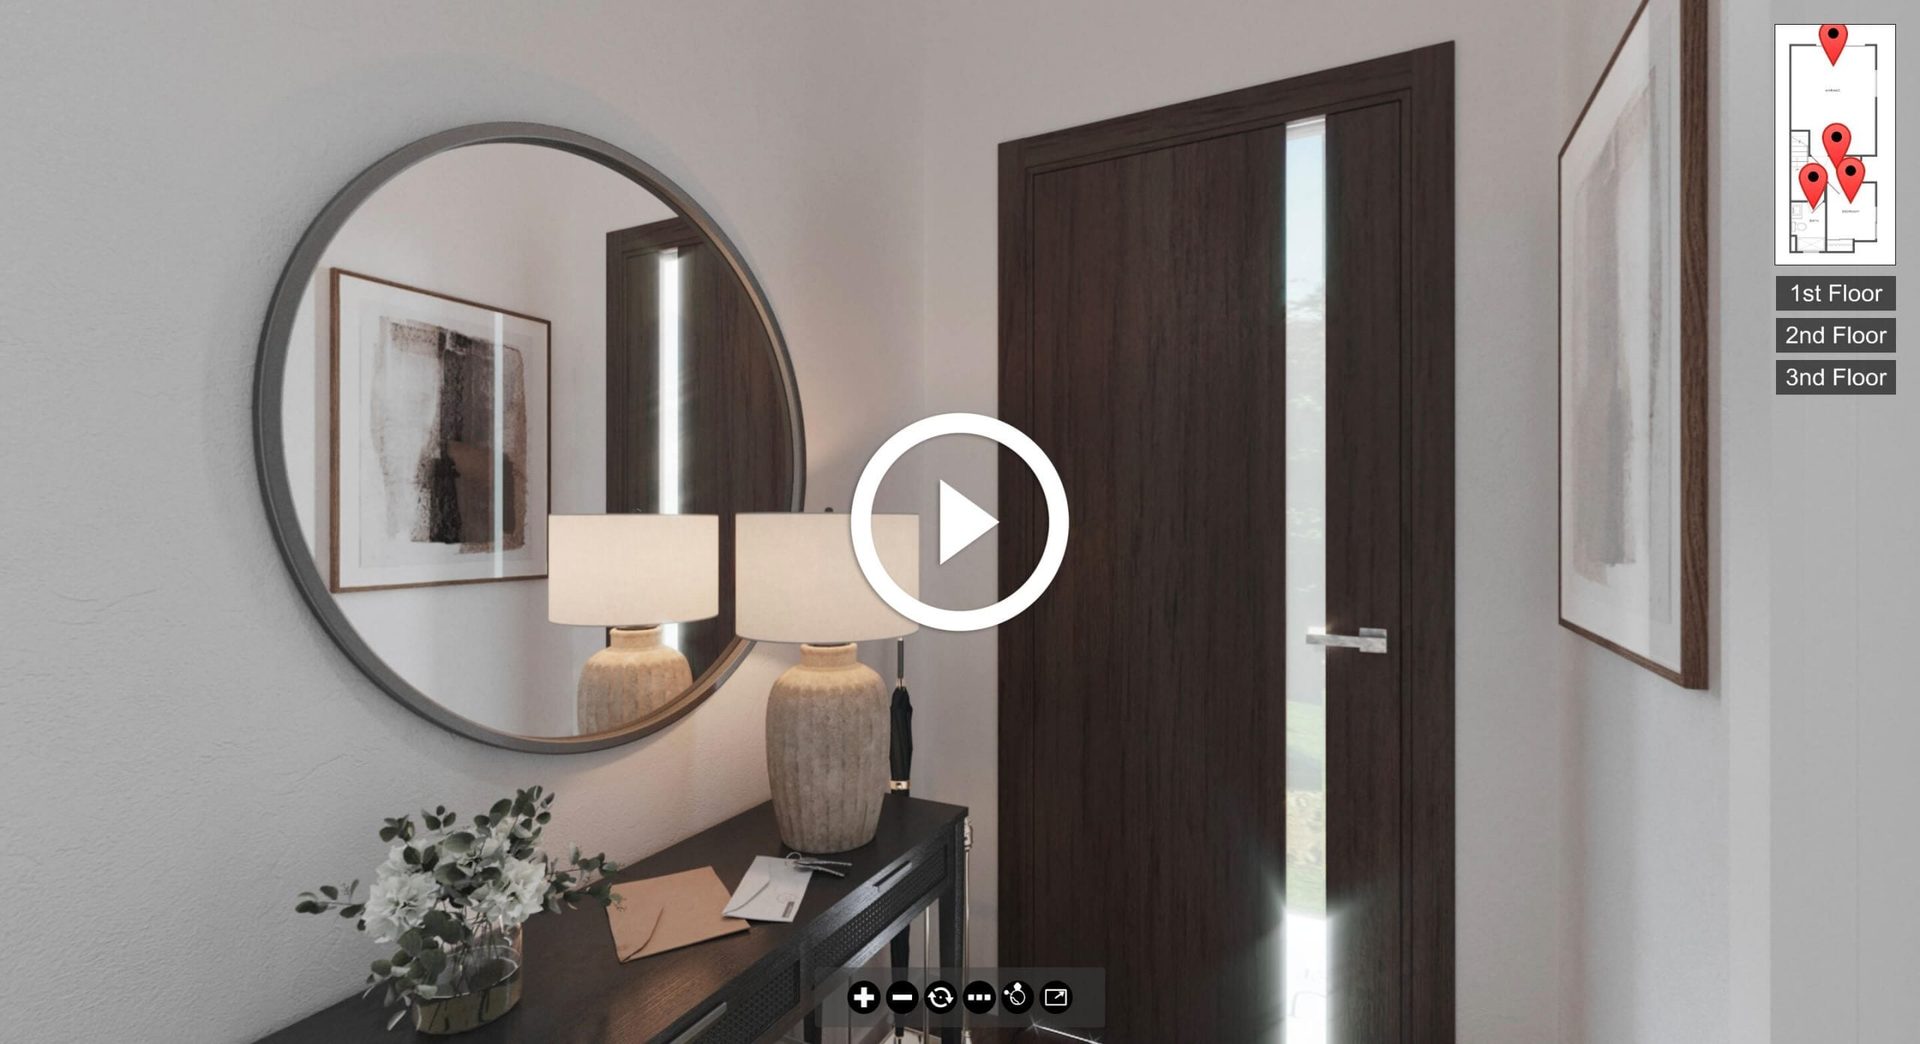
In this first phase, the developer or realtor submits a project brief with all the necessary references to a CGI studio. The client also needs to specify the intended use of 3D tours — for instance, whether they’re meant to go on a website or an app, and whether they have to be VR-compatible.

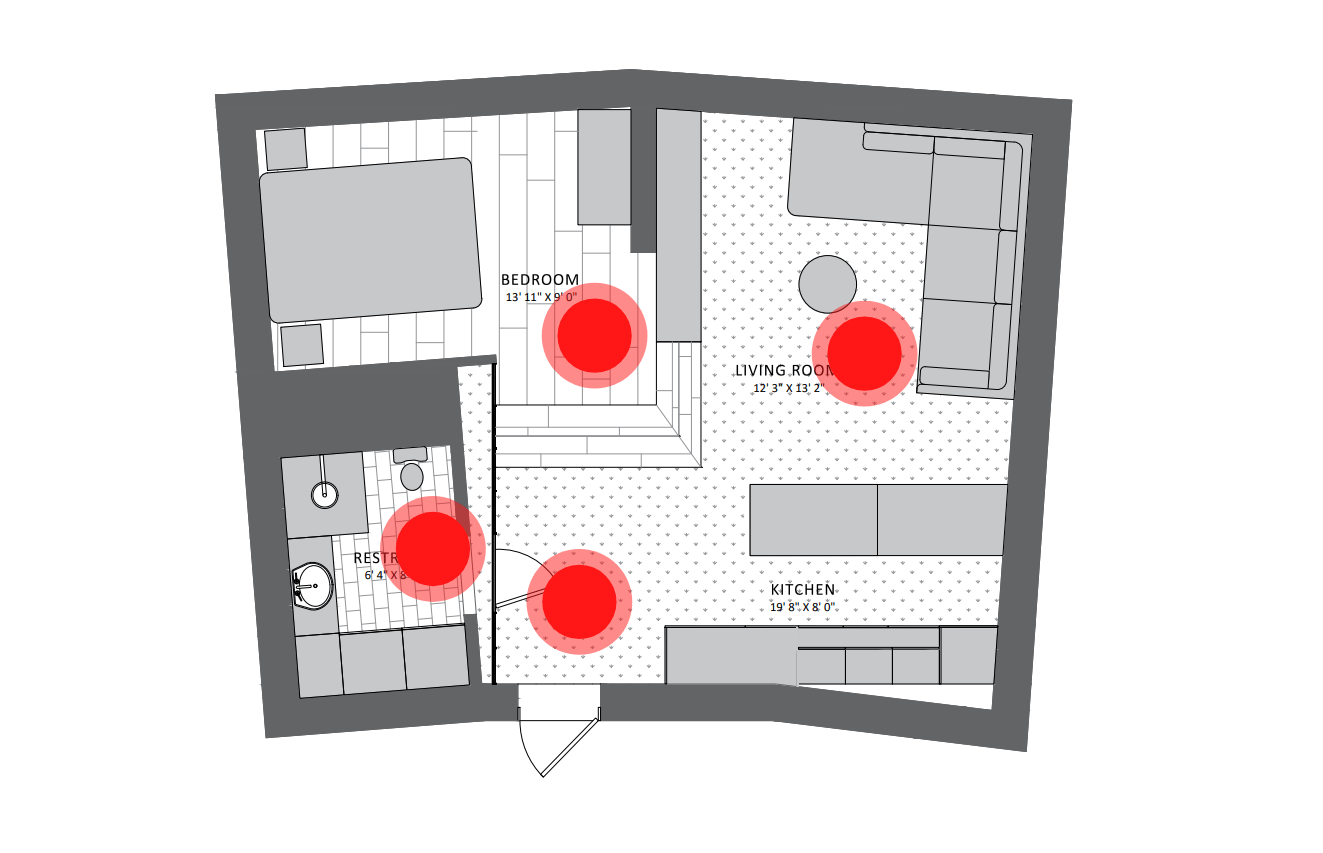
The client should mark viewpoints on the floorplans and specify if any additional buttons are needed — auto-rotate, zoom, mini previews of rooms, or view format controls. Information buttons with names and descriptions of furniture pieces can also be added. The more details and useful references you provide, the fewer corrections will be needed along the way.
Stage 2: Reviewing Drafts with Basics
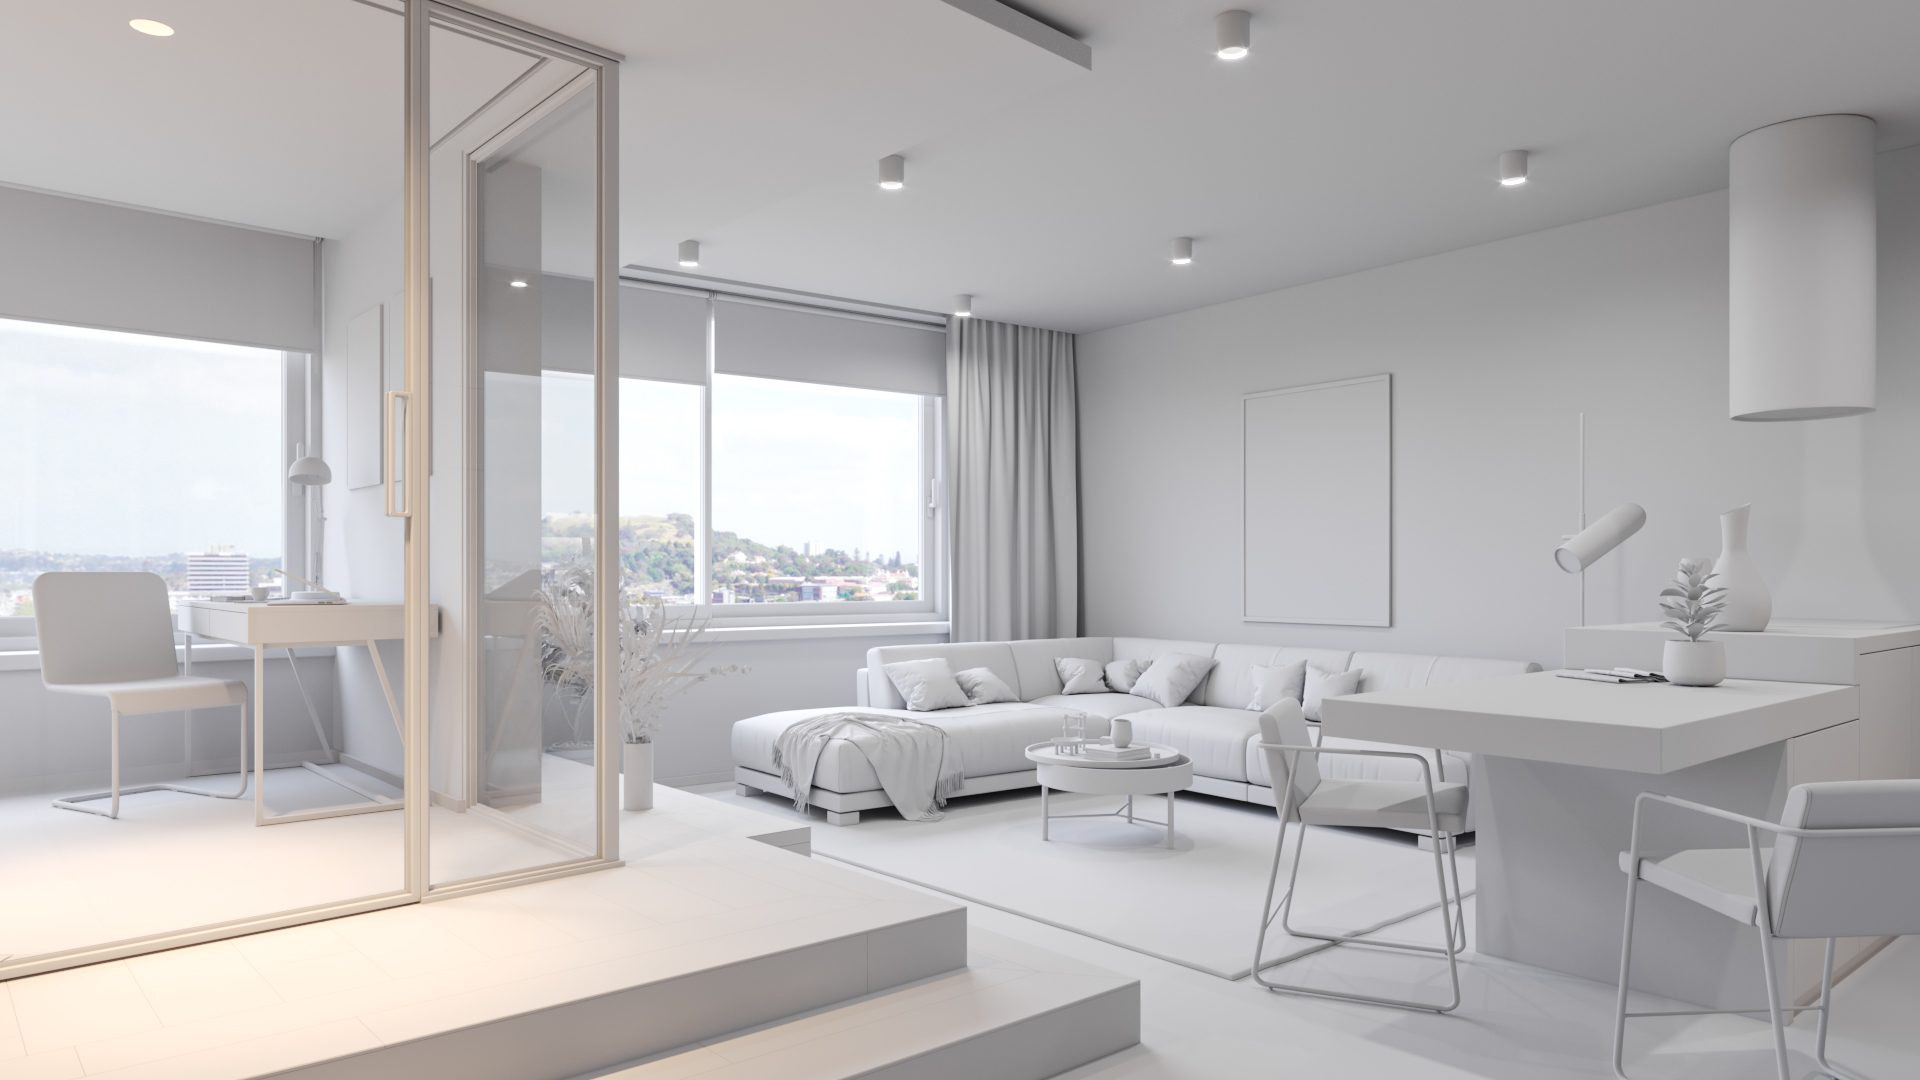
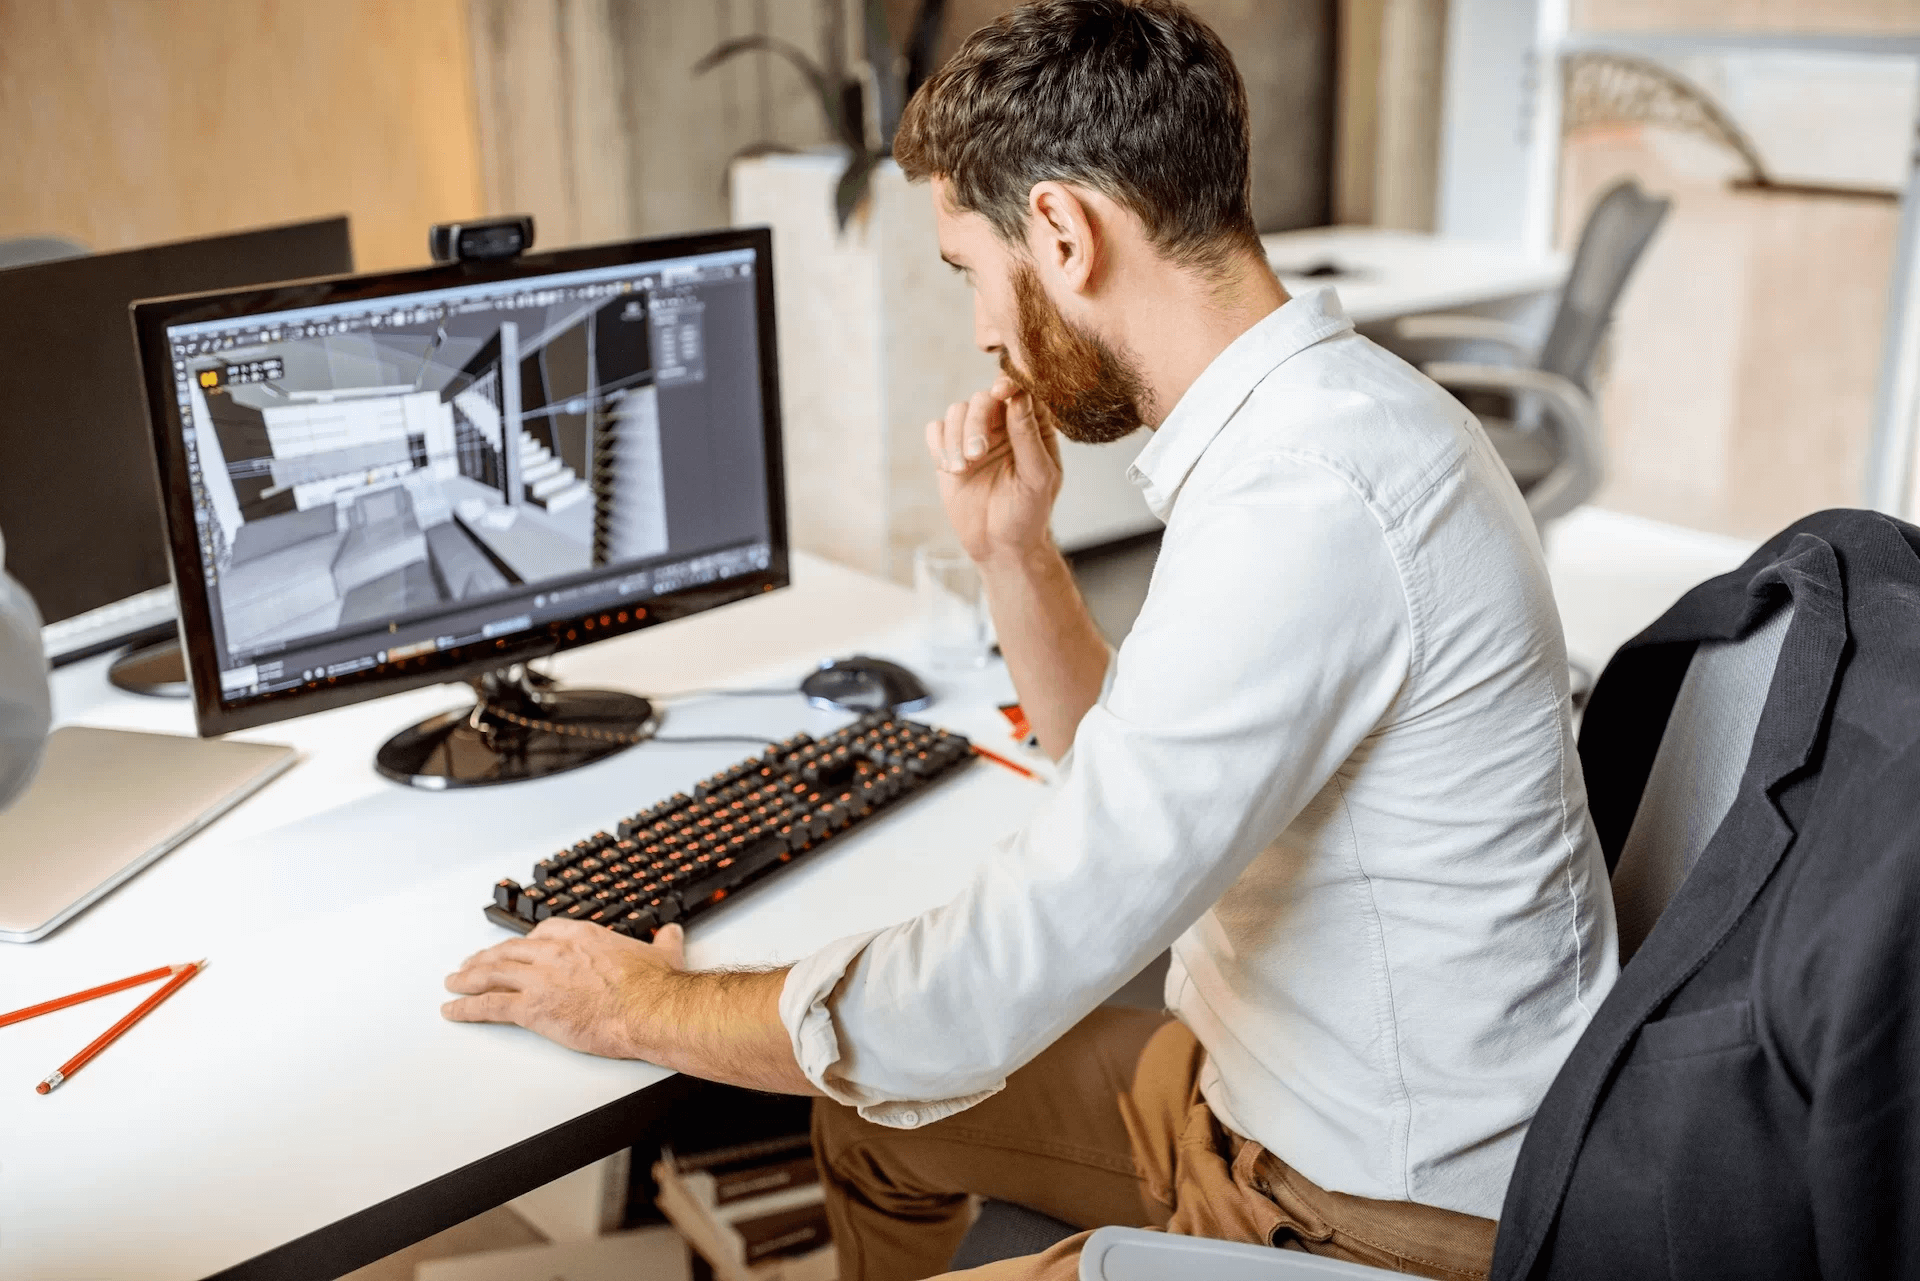
With the assignment set and all references provided, CGI specialists start working on interior visualization — the basis of all virtual tours of houses. At this point, the team creates custom 3D models of furnishings where necessary and uses pre-made ones where possible. They arrange those models in a scene without applying any materials and textures yet. Then, they render several still views of the grayscale scene and send the images for the client to approve.
Stage 3: Reviewing Drafts with Light and Materials
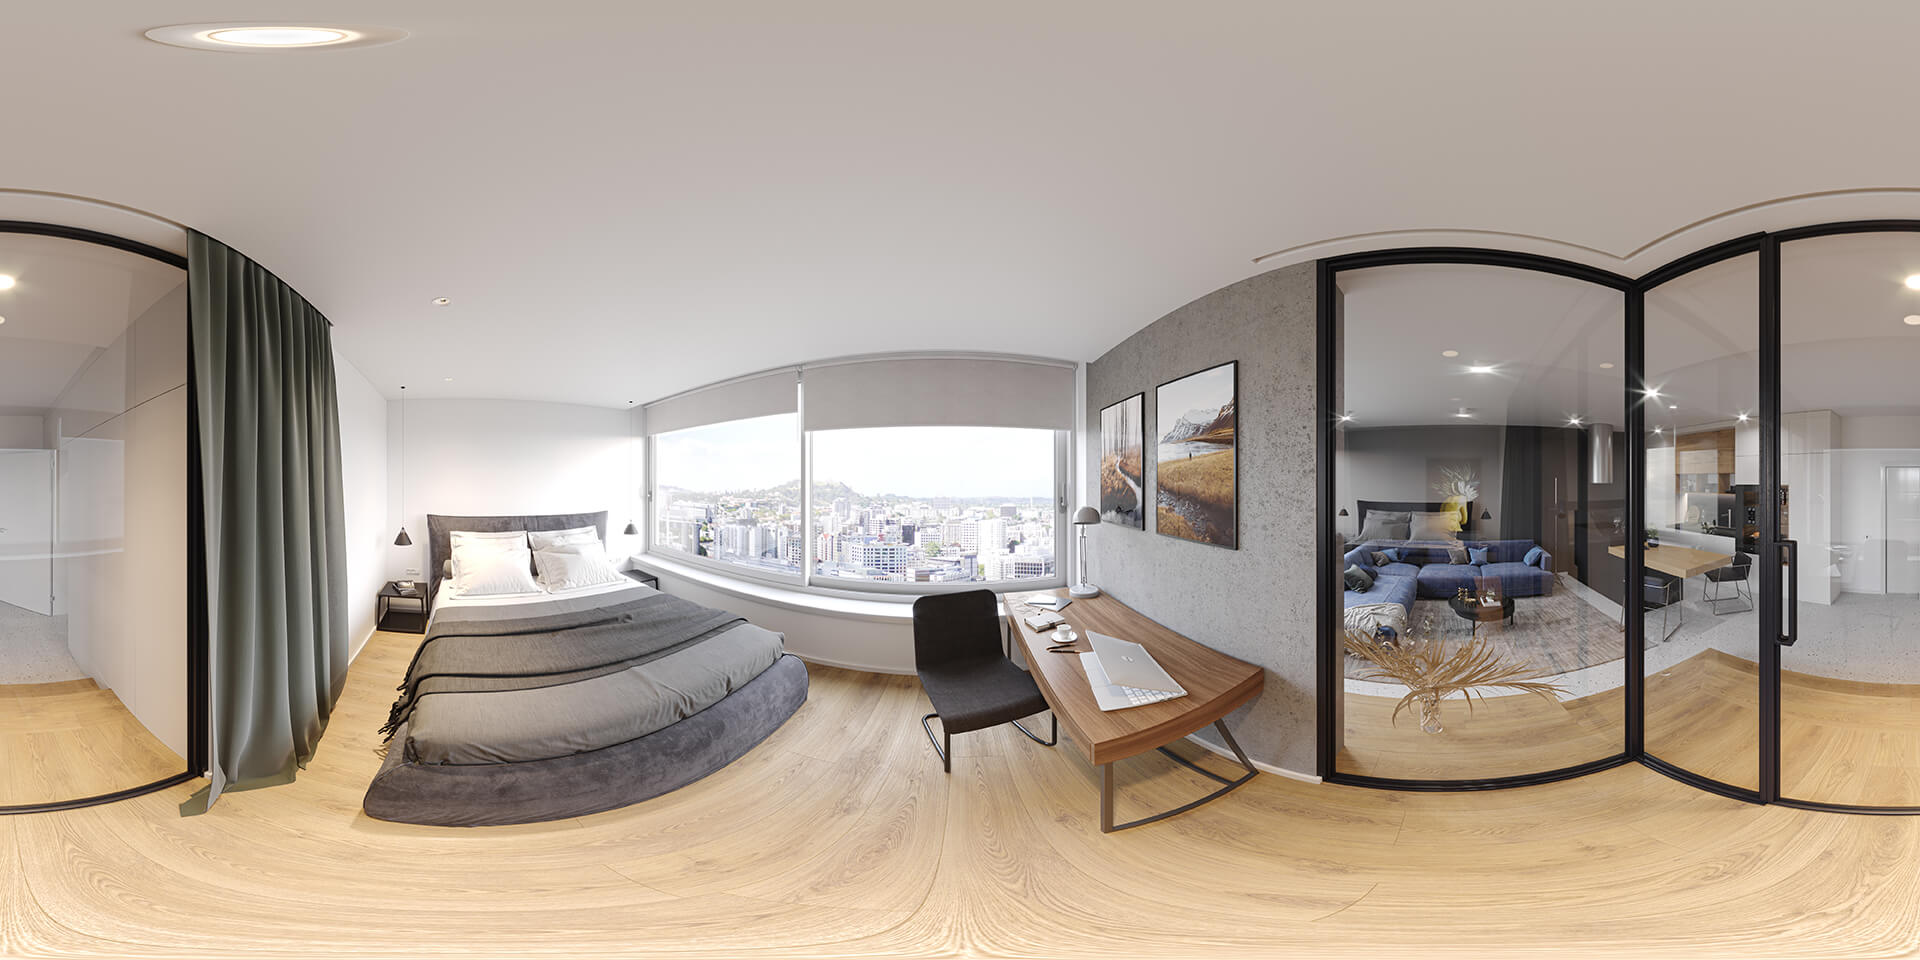
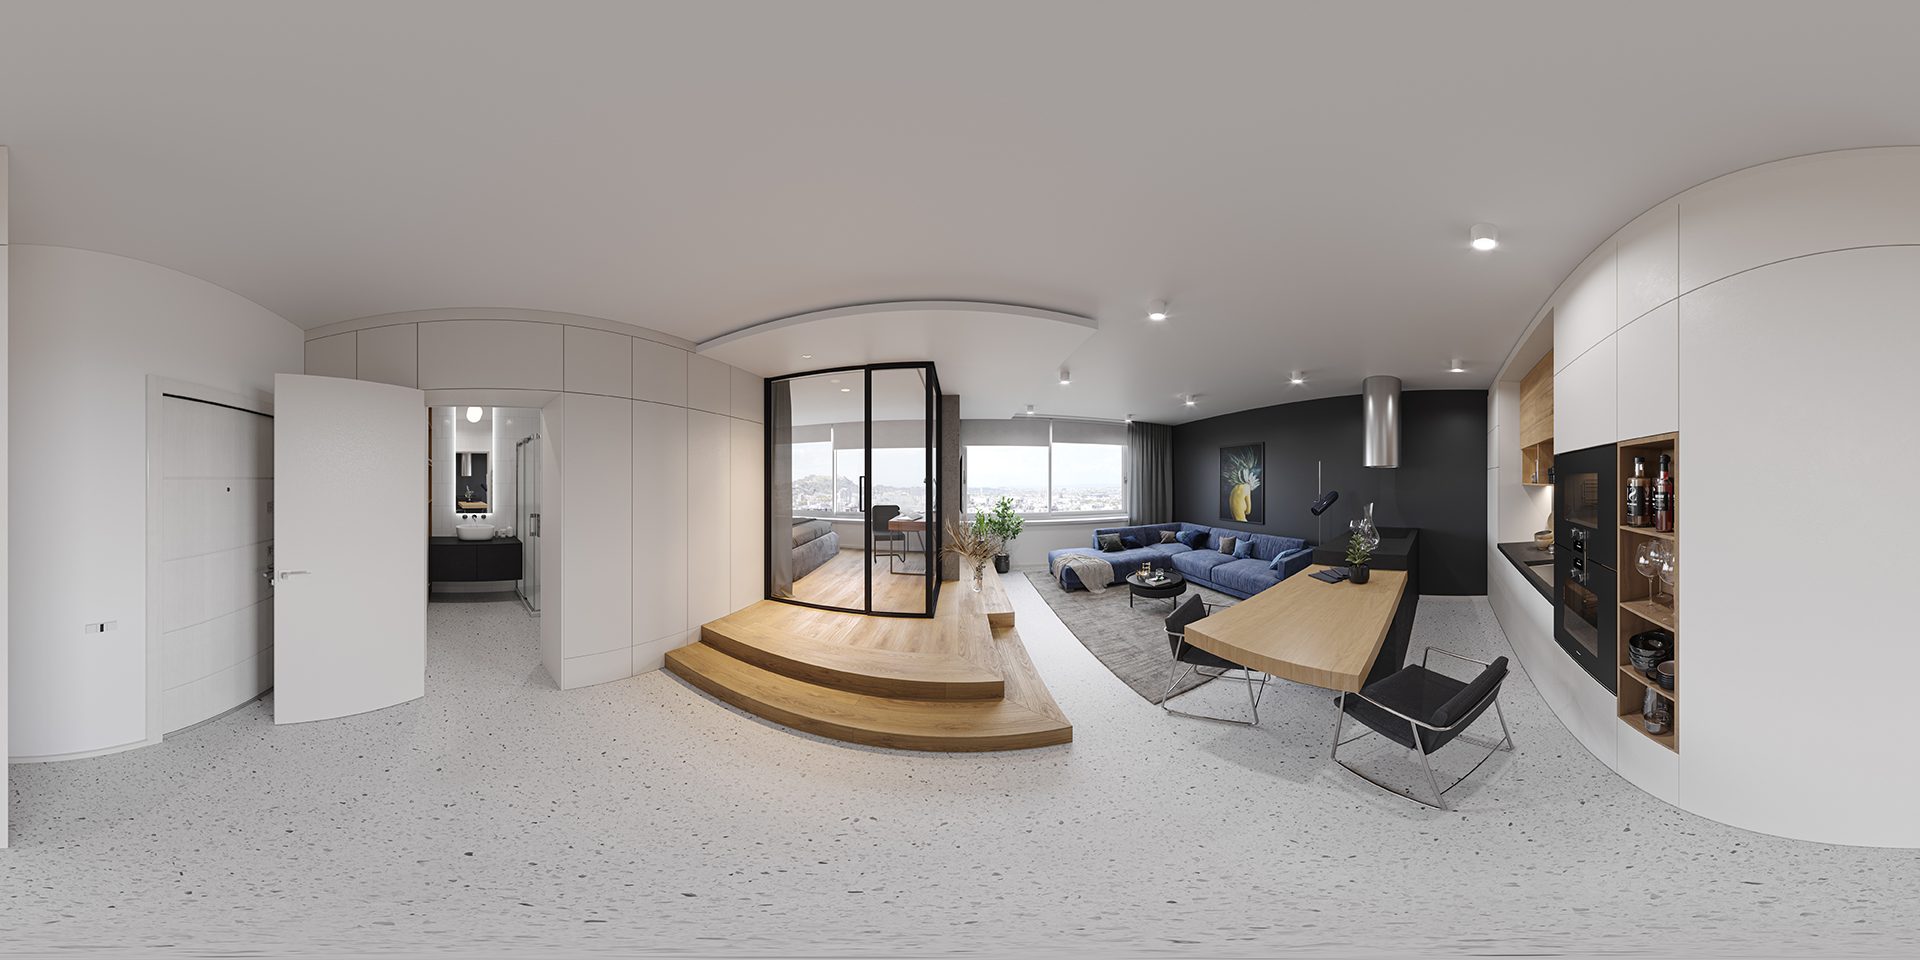
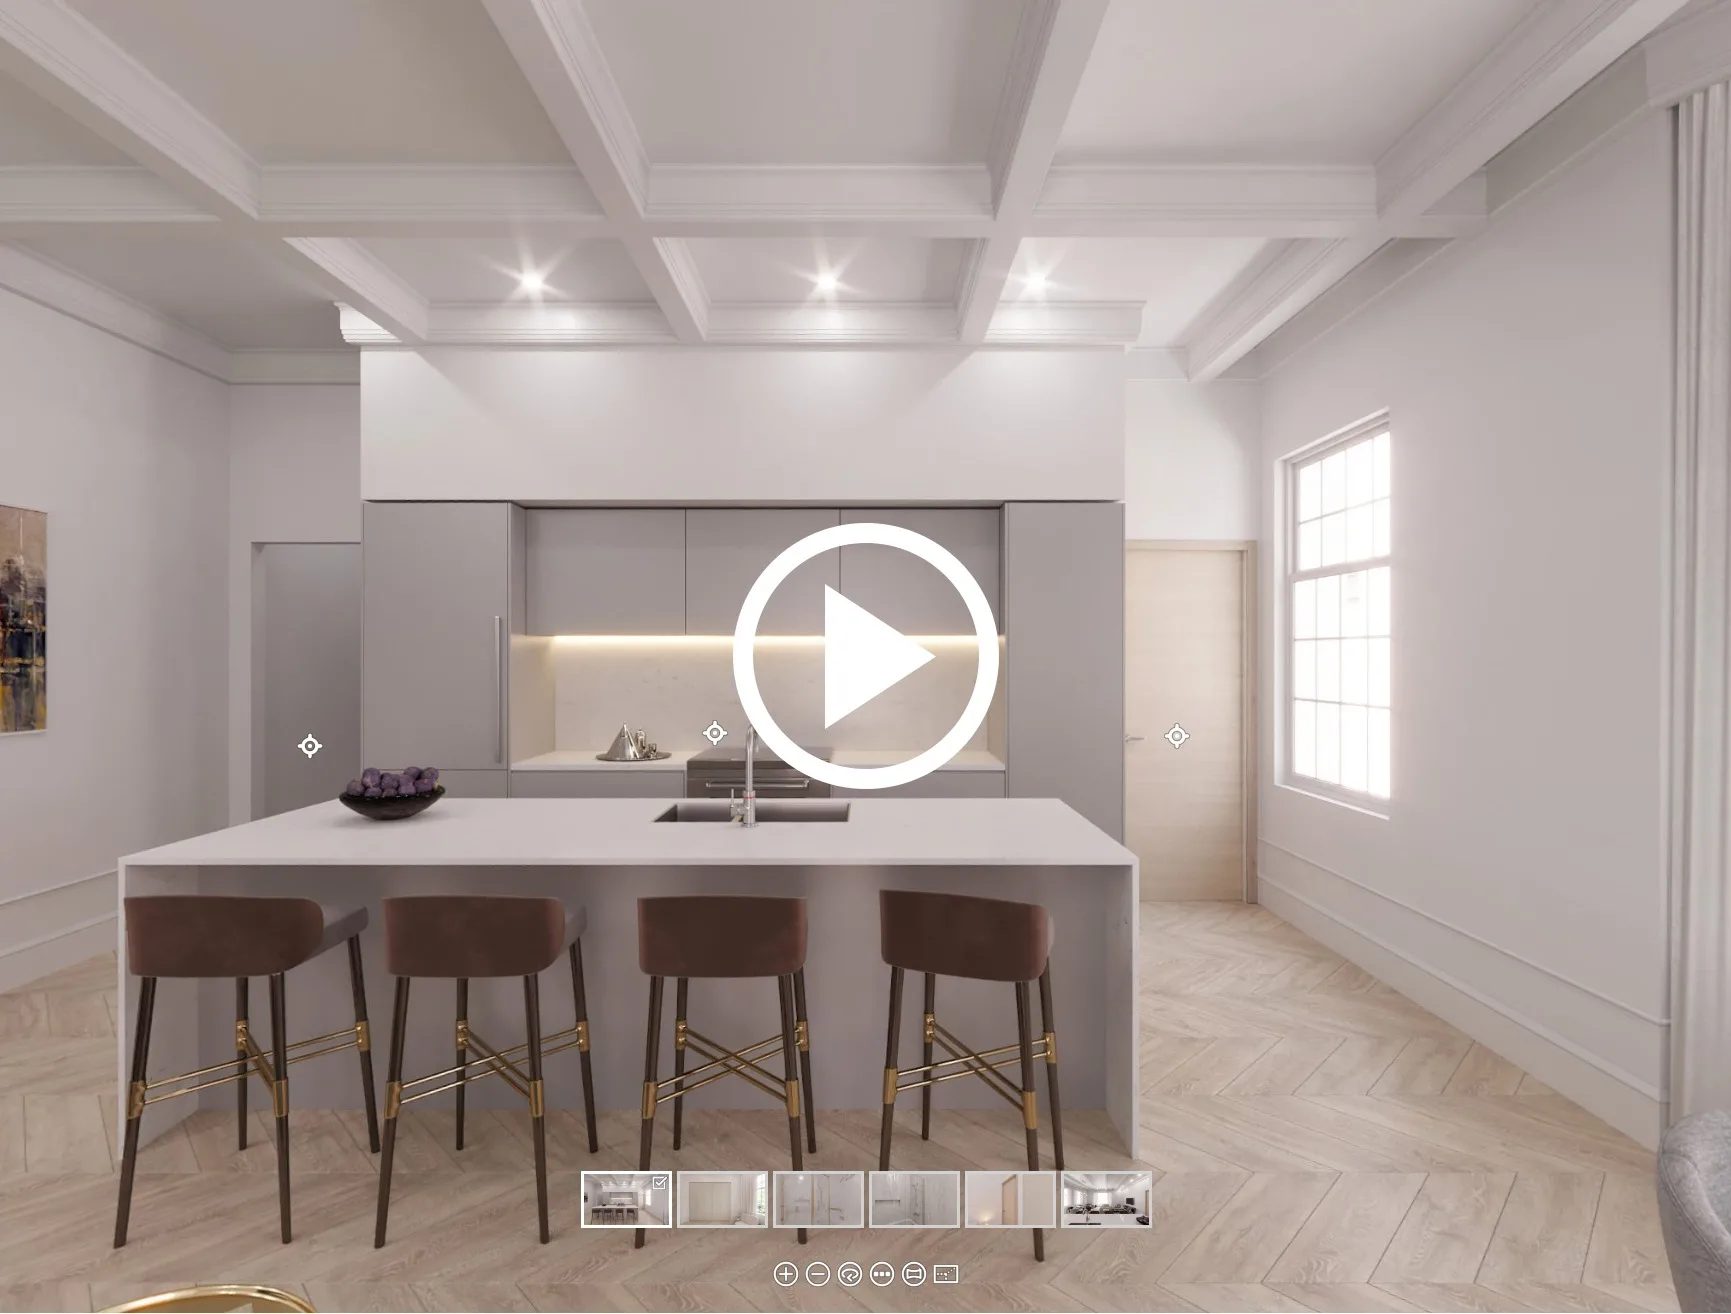
Next, 3D artists apply textures and materials to all the objects and surfaces in the scene. The lighting — natural and artificial — is set and adjusted at this point. CGI specialists work to make all the rooms evenly and organically lit, so that all the textures are well visible. Then, they render a panoramic image of the place in 4K or higher resolution and show the client an interactive version of the panorama so they can see what it will look like on their website.
Stage 4: Reviewing Post-Production Results
During post-production, CGI professionals add final touches to the virtual spaces — color correction, brightness and contrast adjustments. The goal is to tweak the images to perfection before they are converted to the format required for virtual tours of houses. Making changes after this conversion is significantly more difficult and costly, so it’s essential to have a solid vision for the result before reaching this stage.
Stage 5: Having the 3D Tour Assembled
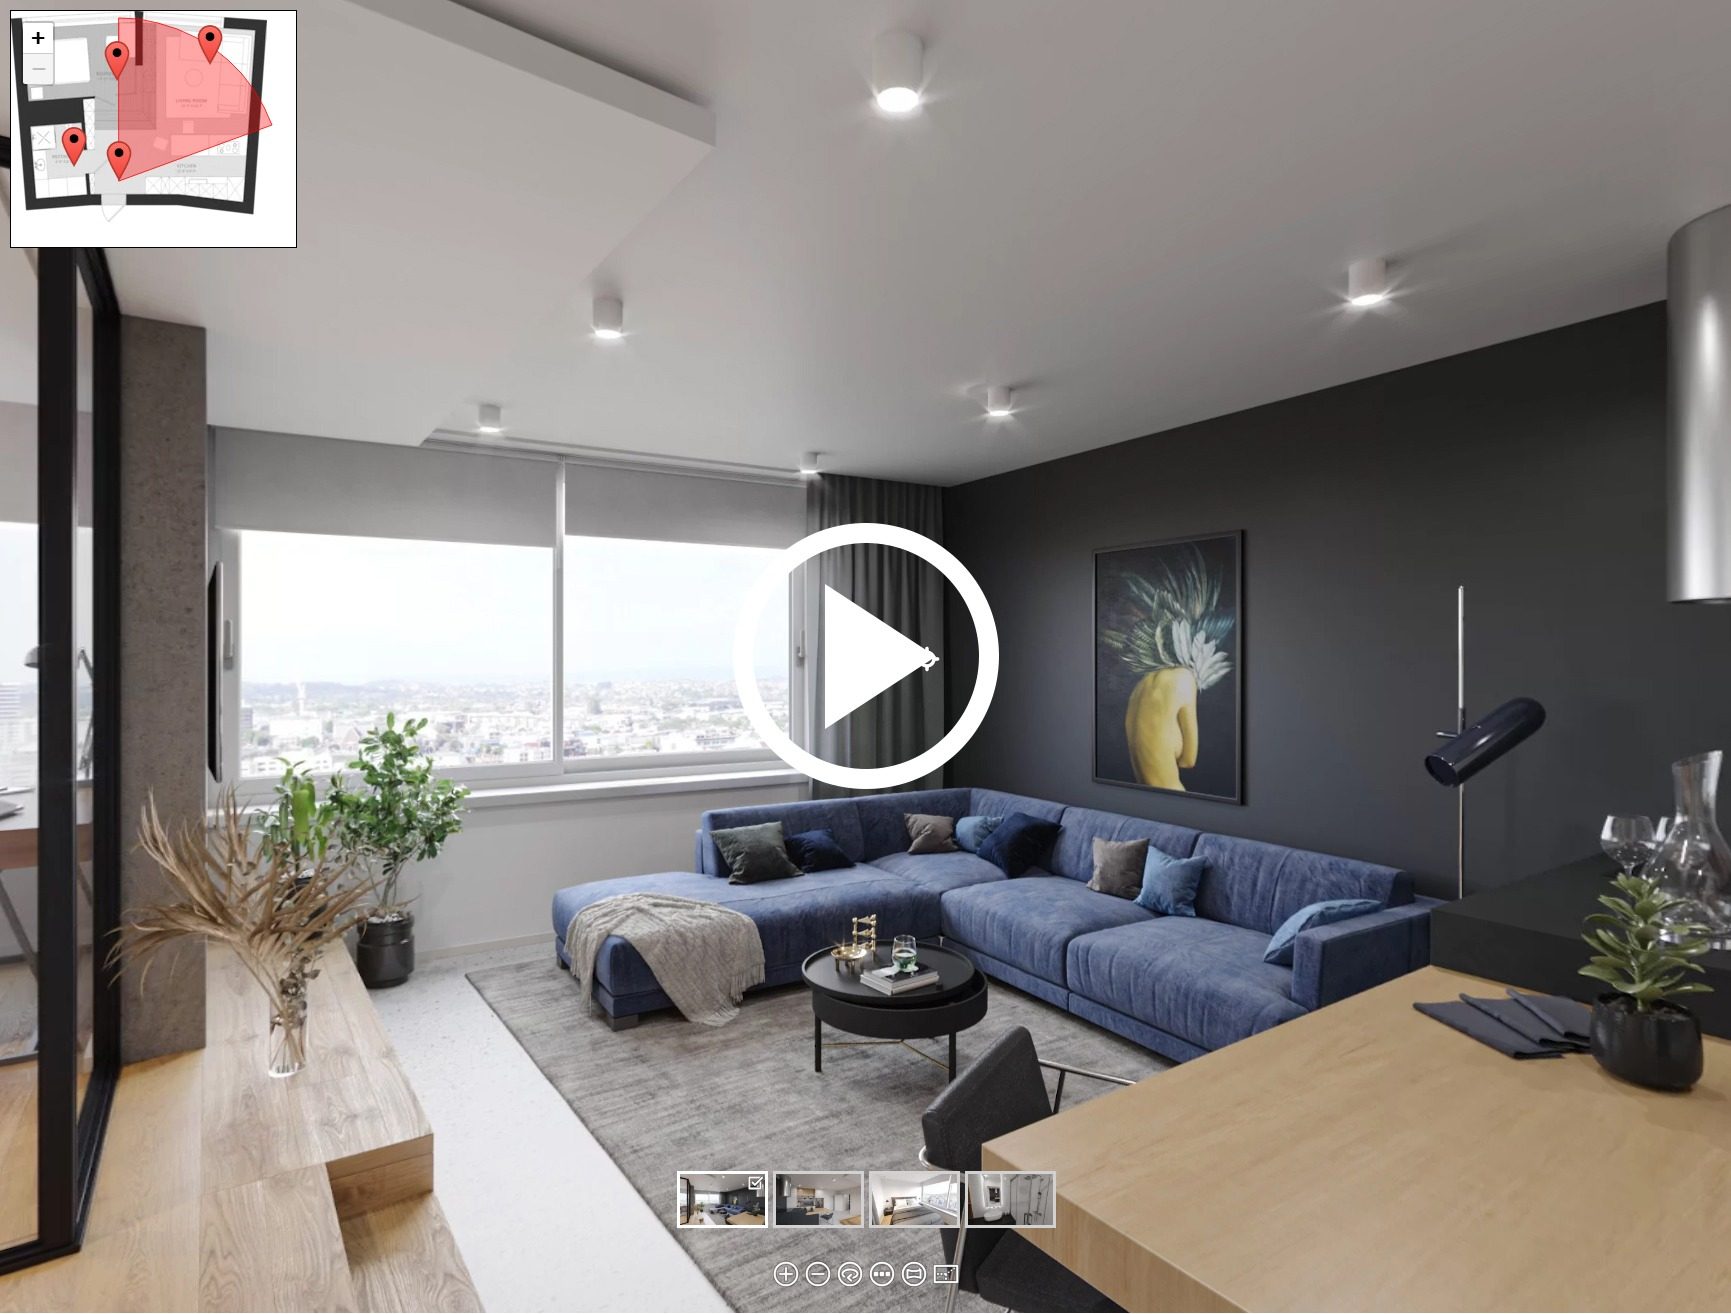
Finally, CGI specialists assemble 3D virtual tours and make them interactive. For that, they use specialized software such as Pano2VR — Garden Gnome’s latest version (Pano2VR 8, released May 2026) now also supports embedding 3D models and Gaussian splats alongside traditional panoramic scenes. The assembly process includes adding viewpoints, navigation and information buttons, and previews of rooms. After that, CGI professionals submit the final panoramic 3D renders and an HTML file containing the tour itself. The client can then upload the virtual 3D tour to their website using the iframe HTML element or specialized plugins like PanoPress.
What You Need to Start: the Brief
A complete brief is the single biggest factor in keeping a 3D virtual tour project on time and on budget. Here’s what 3D artists need to get started:
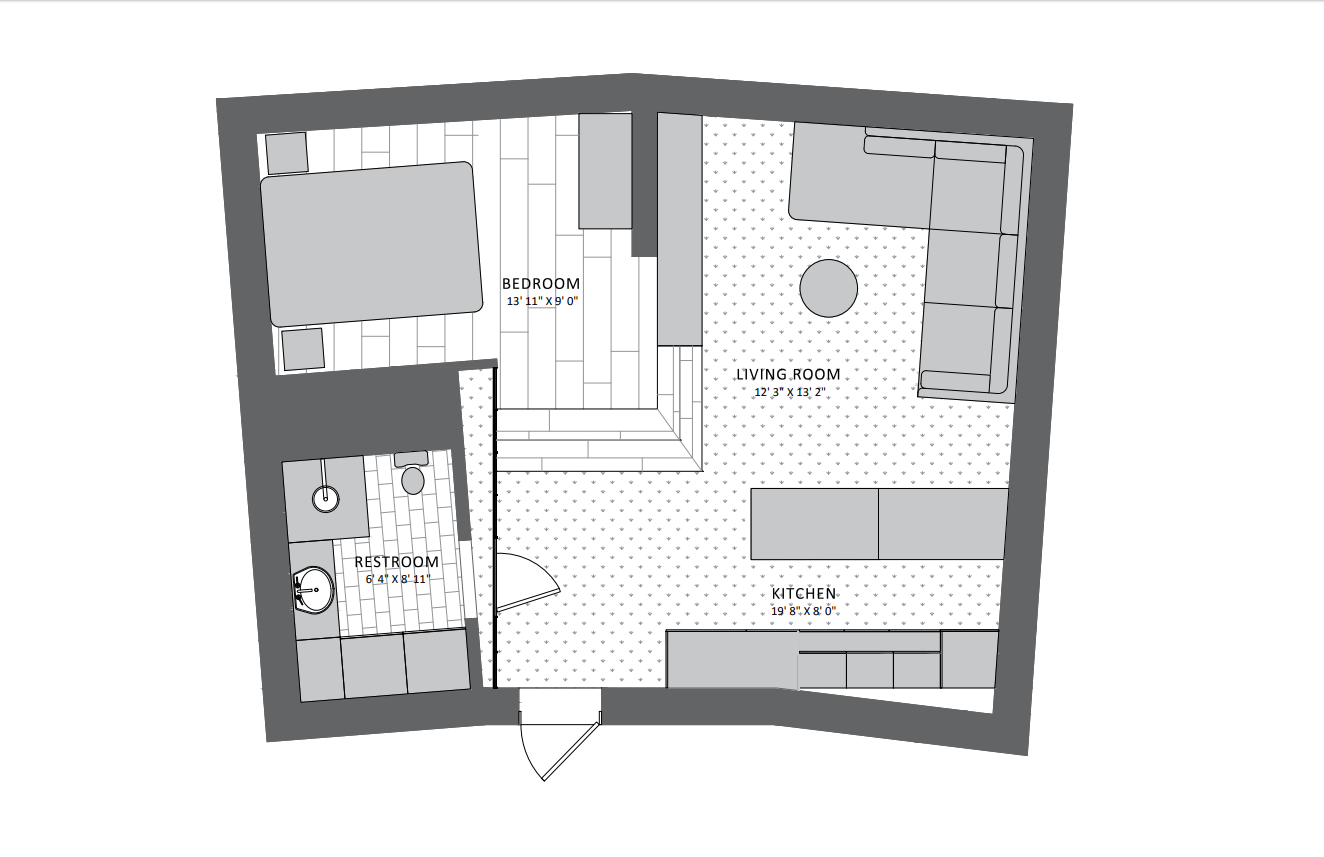
- Floorplans and elevations
- Furniture layouts
- Lighting schemes
- Style and mood references (photos, links, Pinterest boards)
- Background photos for window views
- Viewpoint markings on floorplans — these will become the clickable navigation points in the finished tour
- Button and navigation preferences (auto-rotate, zoom, room previews, information pop-ups)
The more you provide upfront, the fewer revisions you’ll need — and the less the final price will grow. You can use our brief template to make sure nothing is missed.
What Influences the Cost of a 3D Virtual Tour?
The cost depends primarily on the number of viewpoints (rooms), design complexity, custom 3D modeling needs, and your timeline. A simple single-room panorama is significantly less expensive than a full multi-room property tour with custom furnishings, tight deadlines, and multiple revision rounds. Below are the key factors that shape the price.
Number of Viewpoints
For the most part, the process of creating 3D virtual tours is the same as regular 3D interior rendering. The only difference is that for regular visualization, CG artists only need to build a part of the room that’s going to be in the frame. For a tour, they need to create entire rooms in 3D to provide a 360-degree view of each space. Every viewpoint is a separate panoramic render, where the camera is placed in the middle. So, the more rooms you want to show, the more viewpoints you’ll need — and the price will increase accordingly.
If you’re presenting a larger property with many rooms, consider placing viewpoints only in the most important areas to manage costs.
Custom 3D Modeling
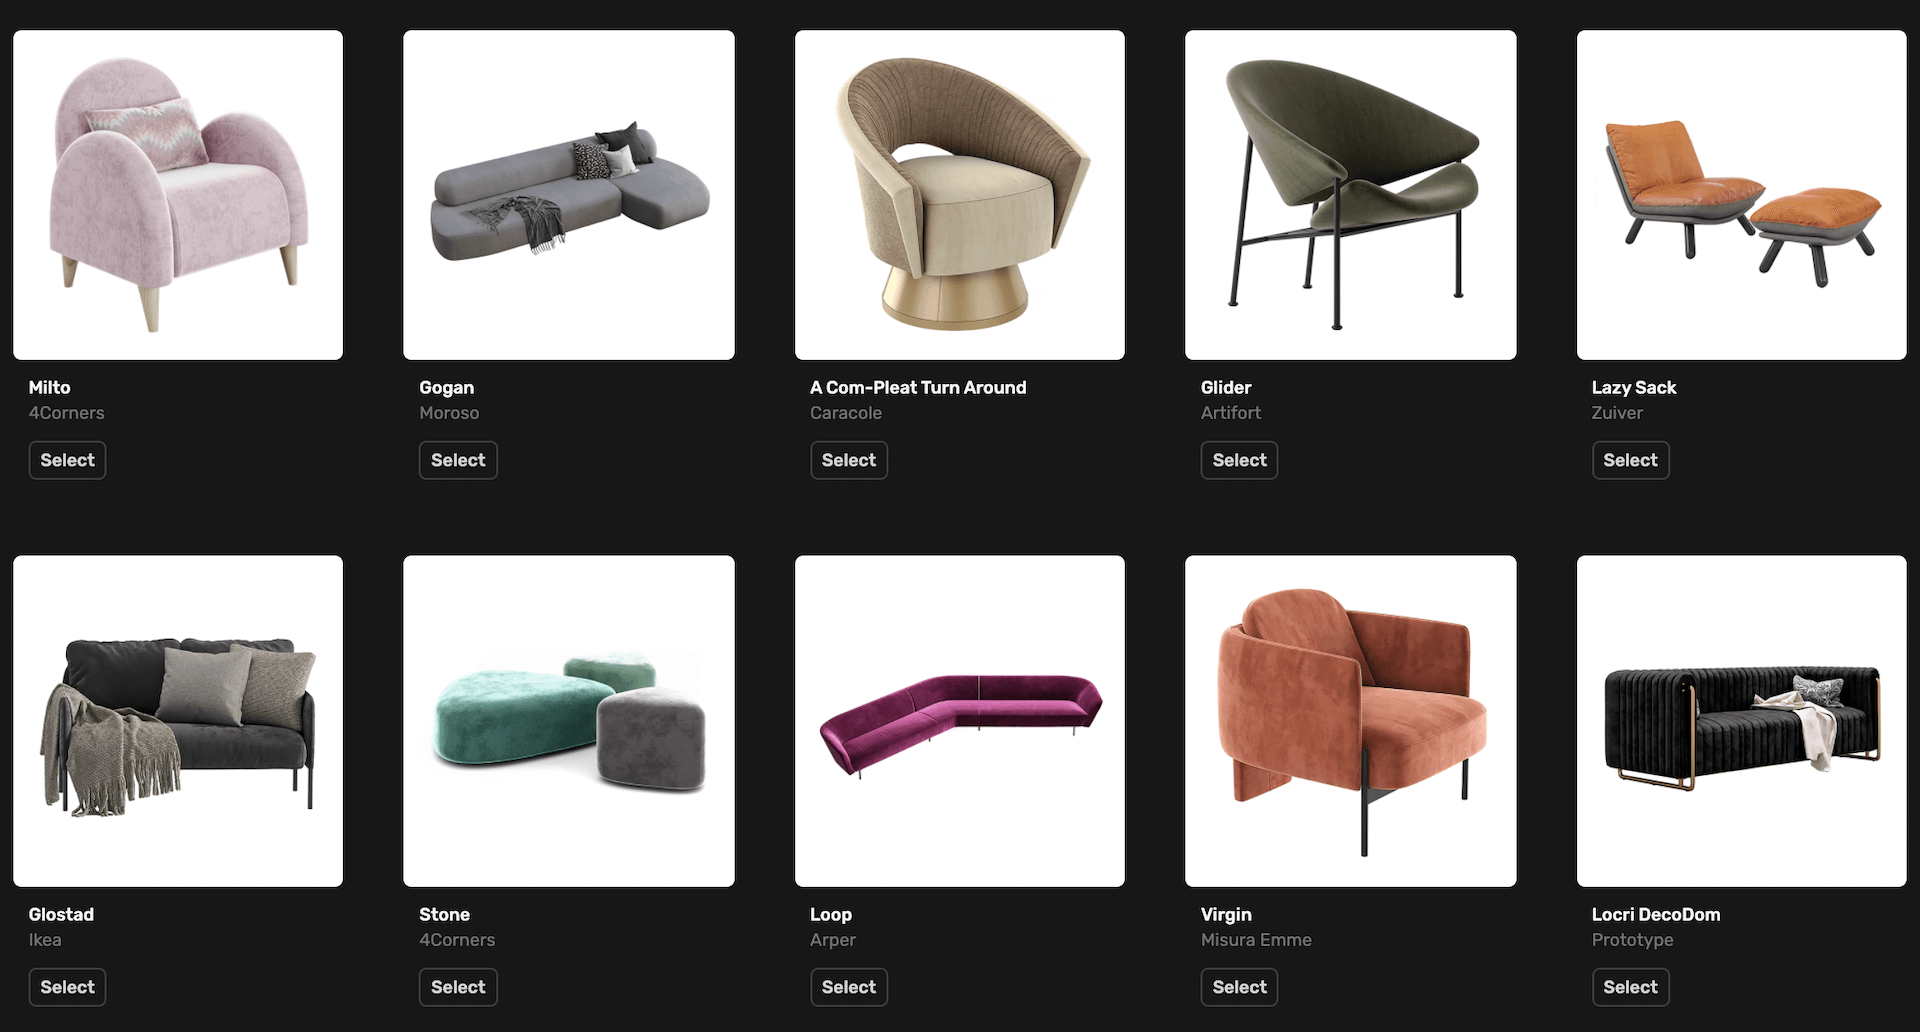
Another factor that can notably increase the cost of interior design visualization is the need to model certain items from scratch. Usually, most of the CG objects needed for a project can be found in a studio’s library of 3D assets or on external stock platforms. But if you want rare or custom-designed pieces of furniture or decor, a CGI specialist will need to create an entirely new photorealistic 3D model — and that adds to the price.
Design Complexity
The more complex the design, the more time 3D artists spend recreating every detail in 3D. A minimalist interior takes much less time to complete, while an eclectic space with many different elements requires many hours of meticulous work. To keep costs down, only include essential objects. Even though all the models in a studio’s library are ready-to-use, adding objects to a 3D scene involves careful positioning, adjusting shadows, reflections, textures, and ensuring visual harmony.
Deadlines

Rushing a detail-oriented task like 3D tour creation means your team of 3D artists will have to work overtime. If you partner with professionals, you’ll get top-quality results even under time pressure — but the price will be higher than usual. If possible, it’s always reasonable to place an order in advance.
Amount of Corrections
Normally, you have 1–3 revision rounds in a CGI project. Depending on the studio’s policy, up to 60% of corrections in total can be included in the original price. Everything beyond that will cost extra. So, it’s best to give all your notes in each project stage at once to stay within the limited number of free revisions. Last-minute changes requested after the final panoramic renderings have been submitted will increase the cost as well.
How Long Does It Take to Make a 3D Virtual Tour?
For a single room with a complete brief, expect initial results in 2–3 days. An apartment or hotel room typically takes about a working week. Larger projects may require several 3D artists working in parallel on different parts of the project to meet the deadline.
The number of viewpoints, design complexity, and custom 3D modeling affect creation time similarly to the price — the more viewpoints and complex or custom elements required, the longer the project takes. But there are also factors specifically related to timing.
Render Resolution
A virtual tour consists of a certain number of panoramic 3D images. The higher their resolution, the more time it takes to render them. Usually, the resolution for virtual tours starts from 6K, and at ArchiCGI we normally go for 15K. Why so high? When interacting with a virtual tour, a user only sees a part of the panorama on their screen. So, to look realistic, panoramic renders need to be in higher resolution than static images that are shown in the frame fully.
Availability of a Render Farm

When choosing service providers for virtual tour creation, find out from the very beginning whether they have a render farm — a large computer cluster used for faster visualization of complex 3D imagery and animations. Rendering a 15K-resolution virtual tour is computationally intensive and time-consuming. At ArchiCGI, we use a render farm to make sure the rendering process goes as quickly and smoothly as possible.
Features You Can Request
How do you make the most out of a 3D tour? Here are five useful functions you can ask your 3D visualization studio to include.
Pop-up Informational Windows
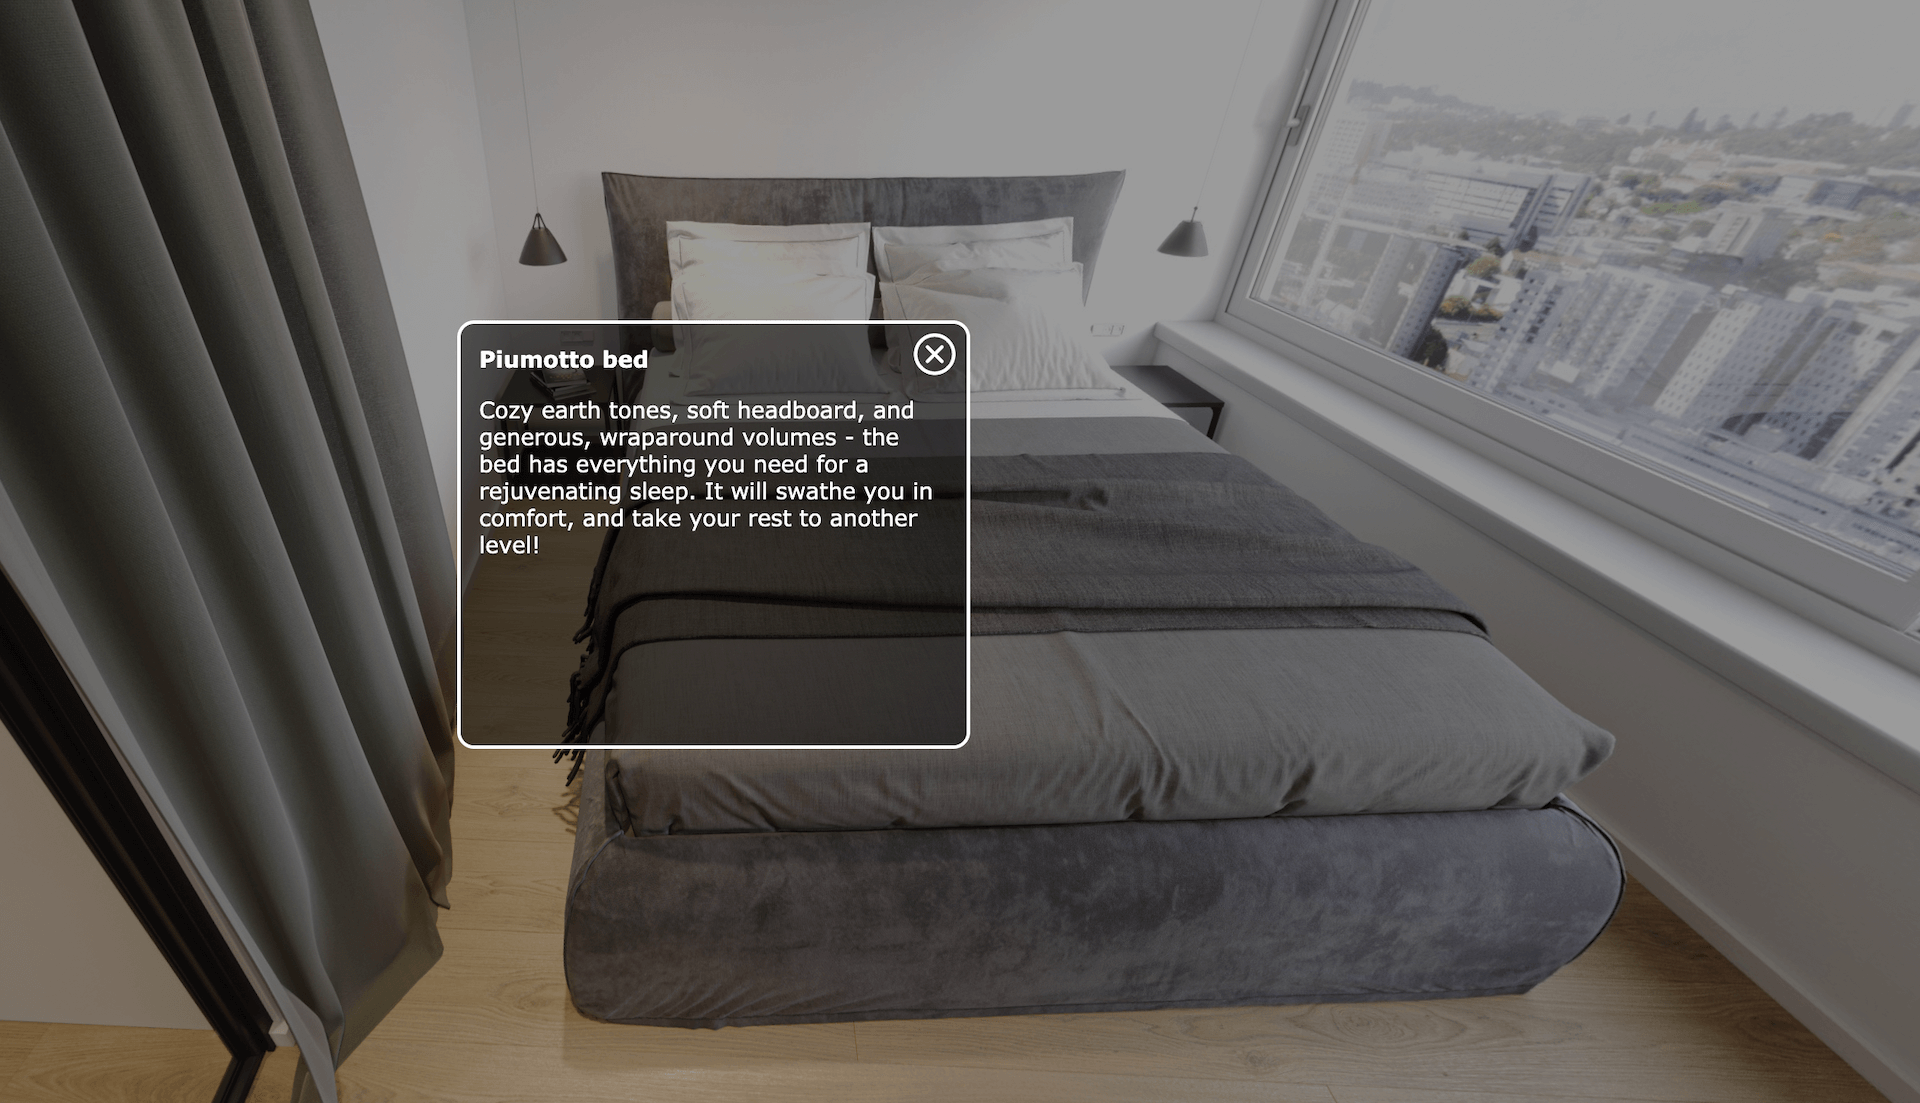
A helpful feature that makes 3D real estate virtual tours exceptionally informative is the presence of pop-up windows. In an interior tour, once one approaches a sofa or bed, one can click and call a pop-up window with the info about the model, brand, and specifications of that furniture piece. In case a tour covers the surroundings of the property, informational pop-ups can highlight important nearby amenities such as schools, parks, airports, and so on.
Special Viewing Functions
There are various ways to view a 3D virtual tour for real estate.
Auto-rotate is a handy alternative to manual exploration. It can instantly draw the viewer’s attention to the project’s selling points and highlight important areas. Auto-rotate works well for those who browse passively or need time to acclimatize to the technology.
Zoom-in/out mode allows one to examine a specific element in more detail or take a step back to get a more comprehensive overview.
Fisheye mode provides a wide panoramic view, creating an immersive experience as if the viewer is standing in the middle of the space. However, it usually distorts straight lines, so it’s better to combine this mode with other options.
Stereographic view offers a creative and visually striking wide-angle presentation with less distortion than the fisheye mode. Objects near the center of the image appear more natural, while distortion increases towards the edges.
Rectilinear mode offers a natural view with undistorted lines. It’s ideal for accurately conveying the space’s layout and dimensions, as well as architectural and design details.
VR Compatibility
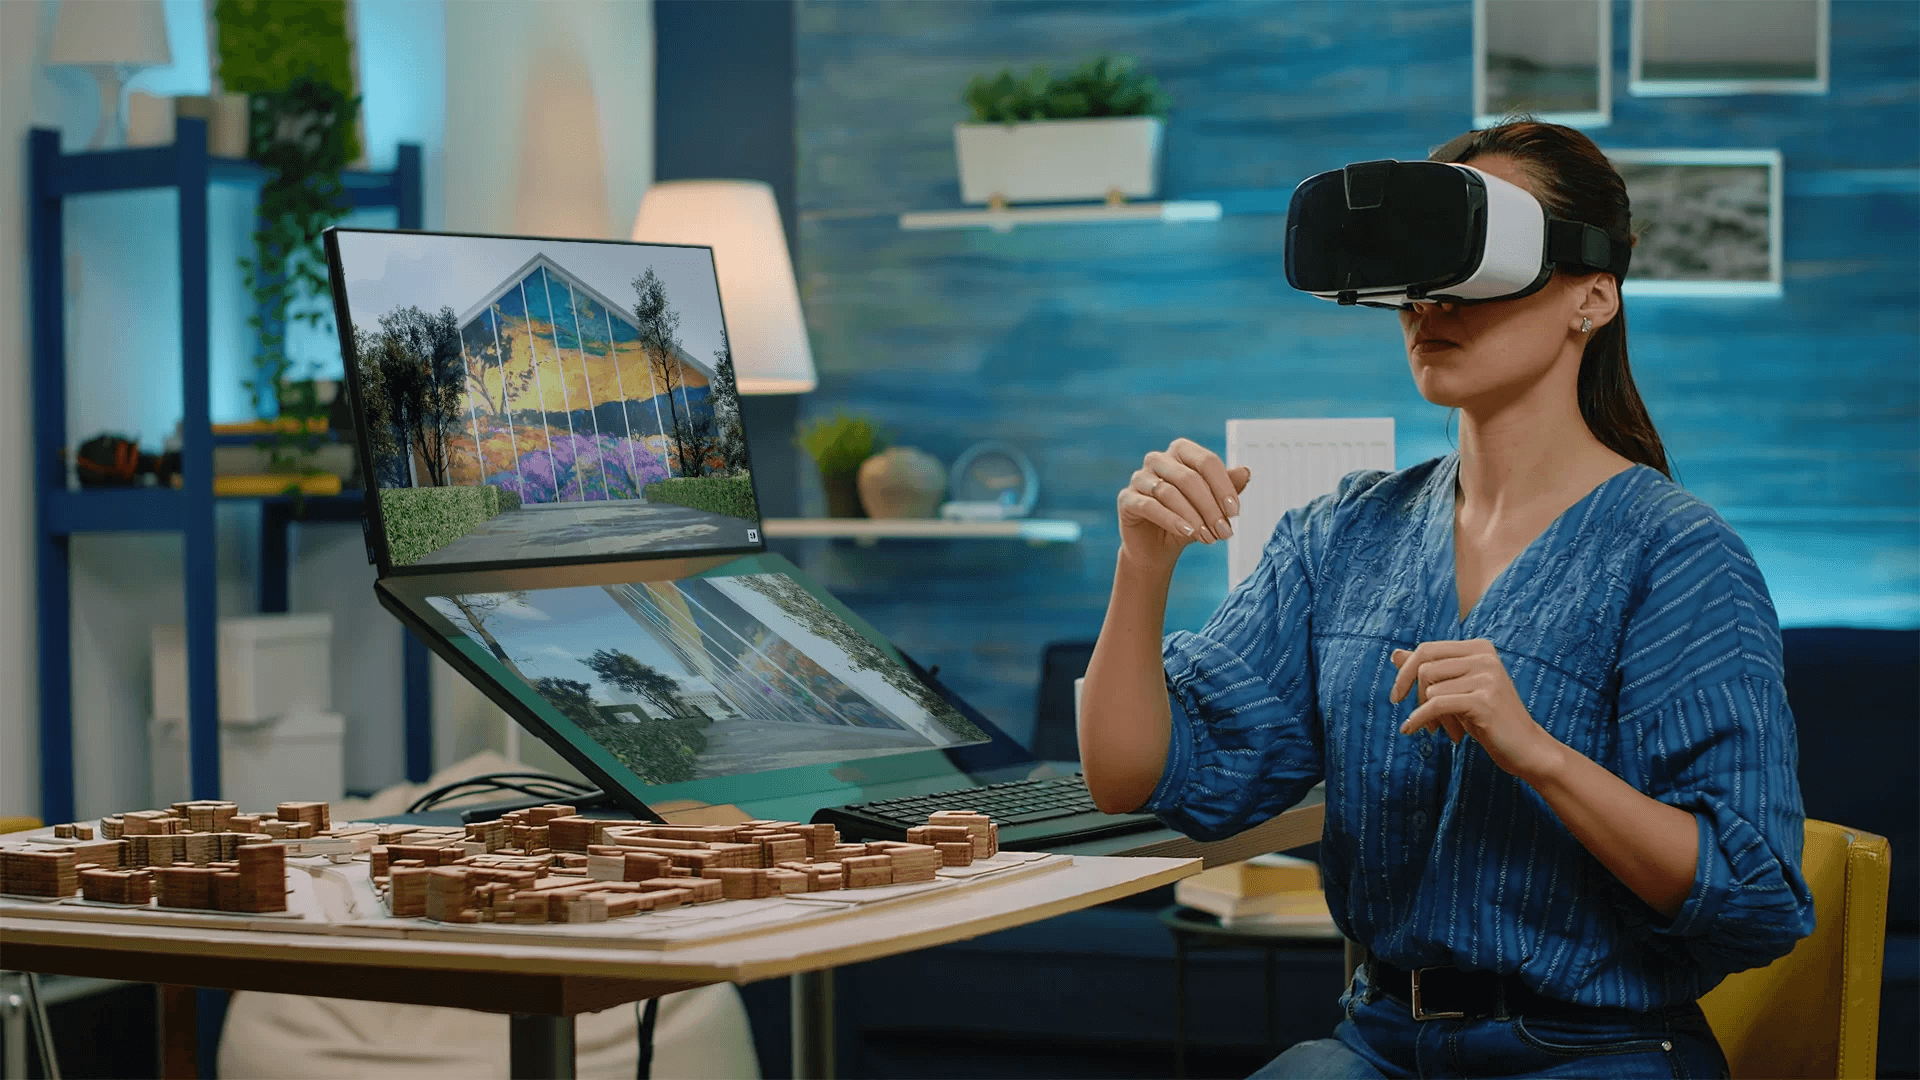
There are various benefits of using Unreal Engine in architecture and real estate, and one of them is the ability to create a VR-compatible real estate 3D virtual tour. This technology elevates tours to a new level, allowing users to explore the virtual space as if they were physically present.
If you choose this option, make sure to communicate it at the very beginning of the project. VR tours can only be made using Unreal Engine. Regular 3D tours, in contrast, are created in 3ds Max and are not compatible with VR technology.
Design Customization
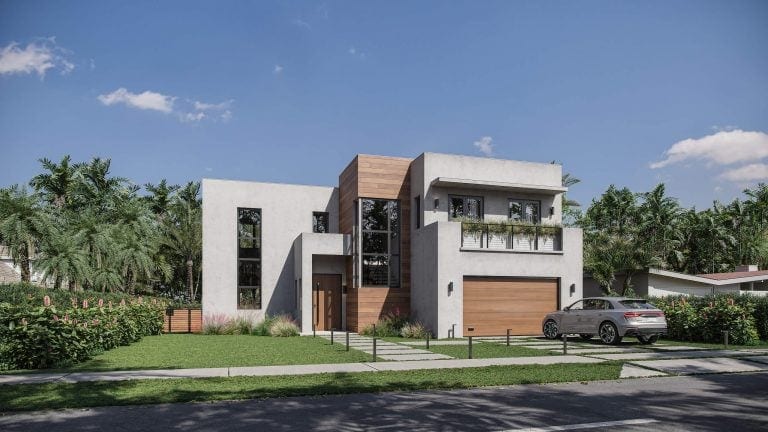
3D Virtual Tour for Interior
At ArchiCGI, you can commission a virtual tour in the VR Fusion format — our exclusive technology that allows for a more immersive and interactive experience. With VR Fusion, users can navigate through interiors and exteriors, customize design elements (for example, the lighting), and control the pace at which they take the tour. This feature allows viewers to become participants in the design process, making adjustments to suit their preferences.
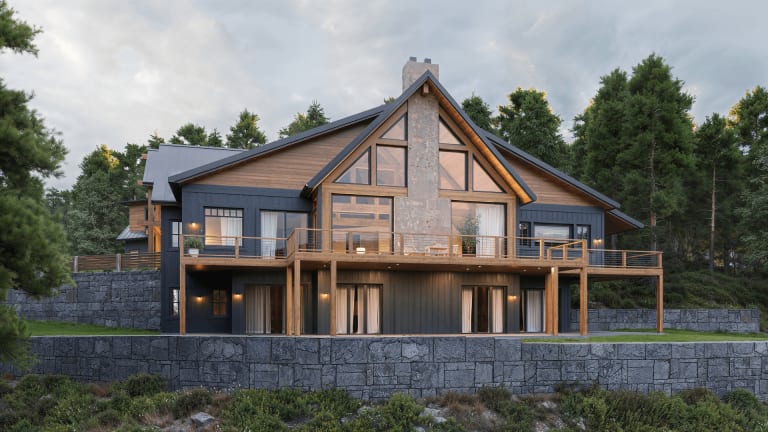
Real-life Environment Integration
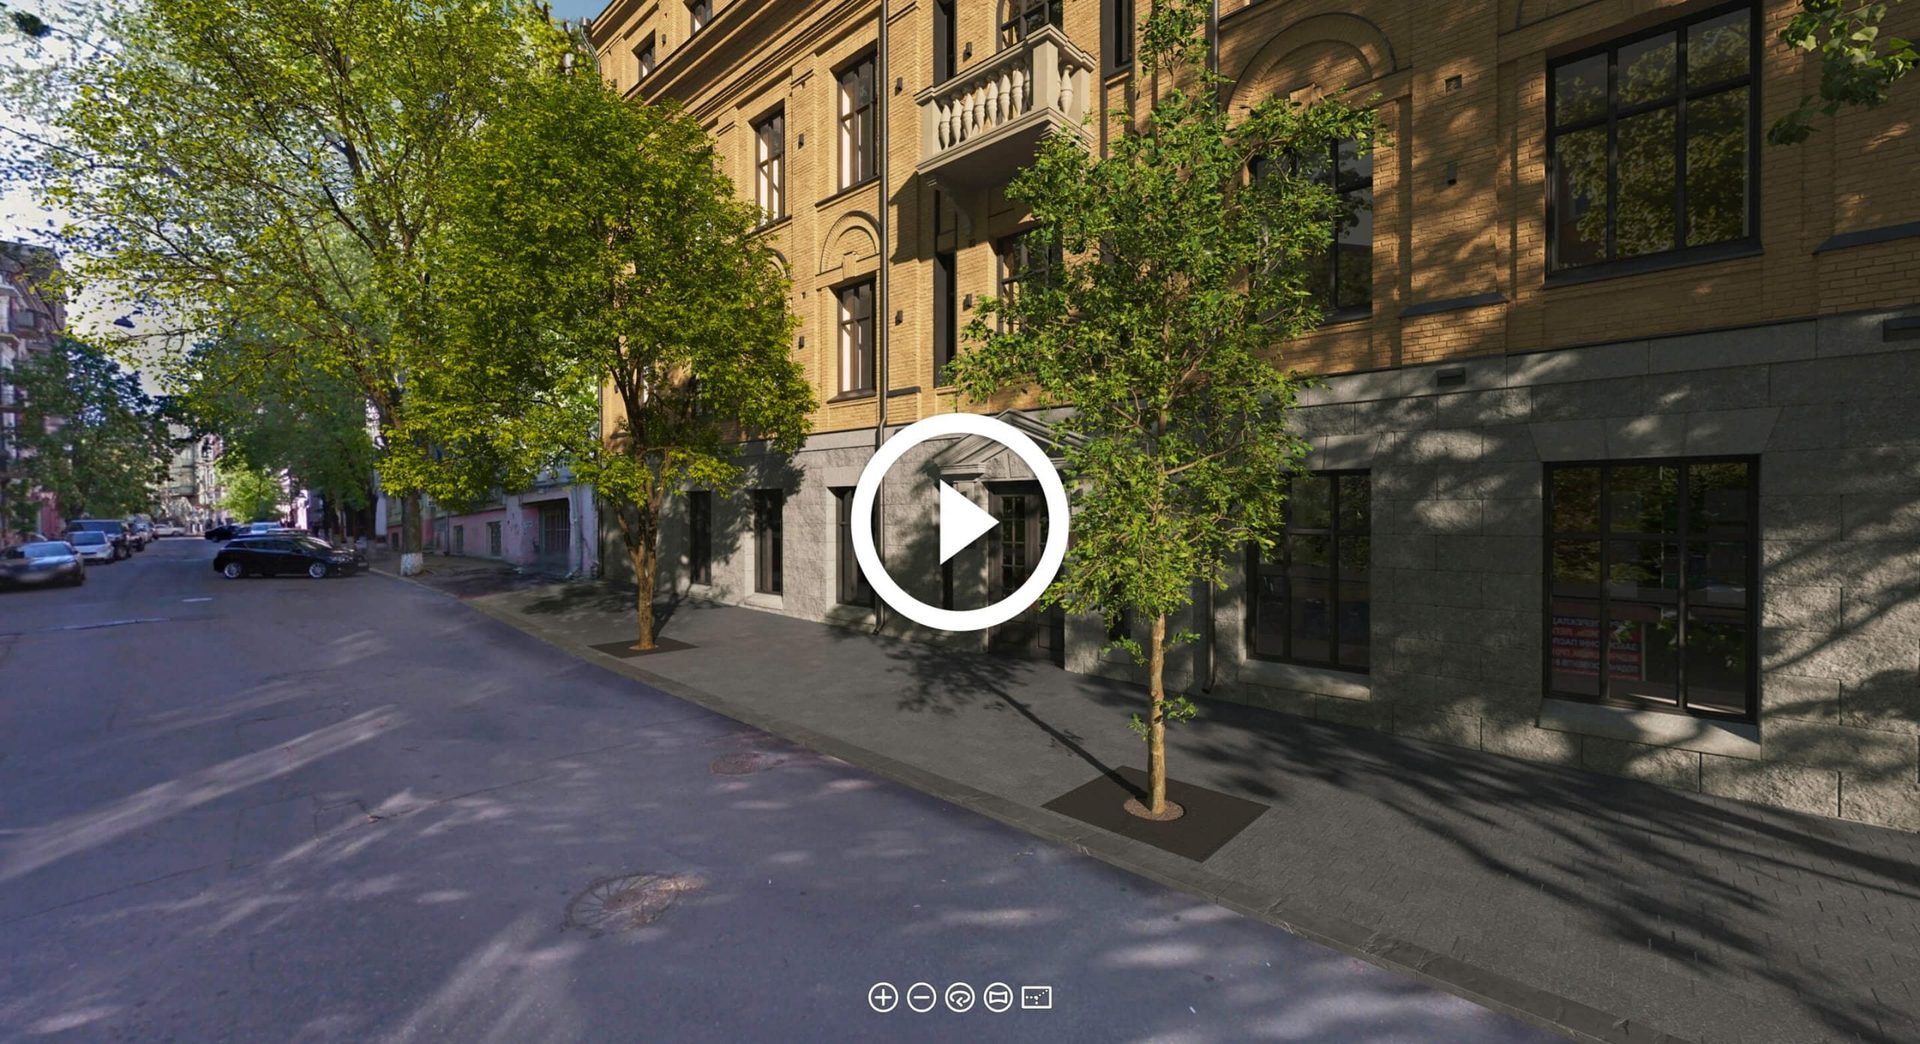
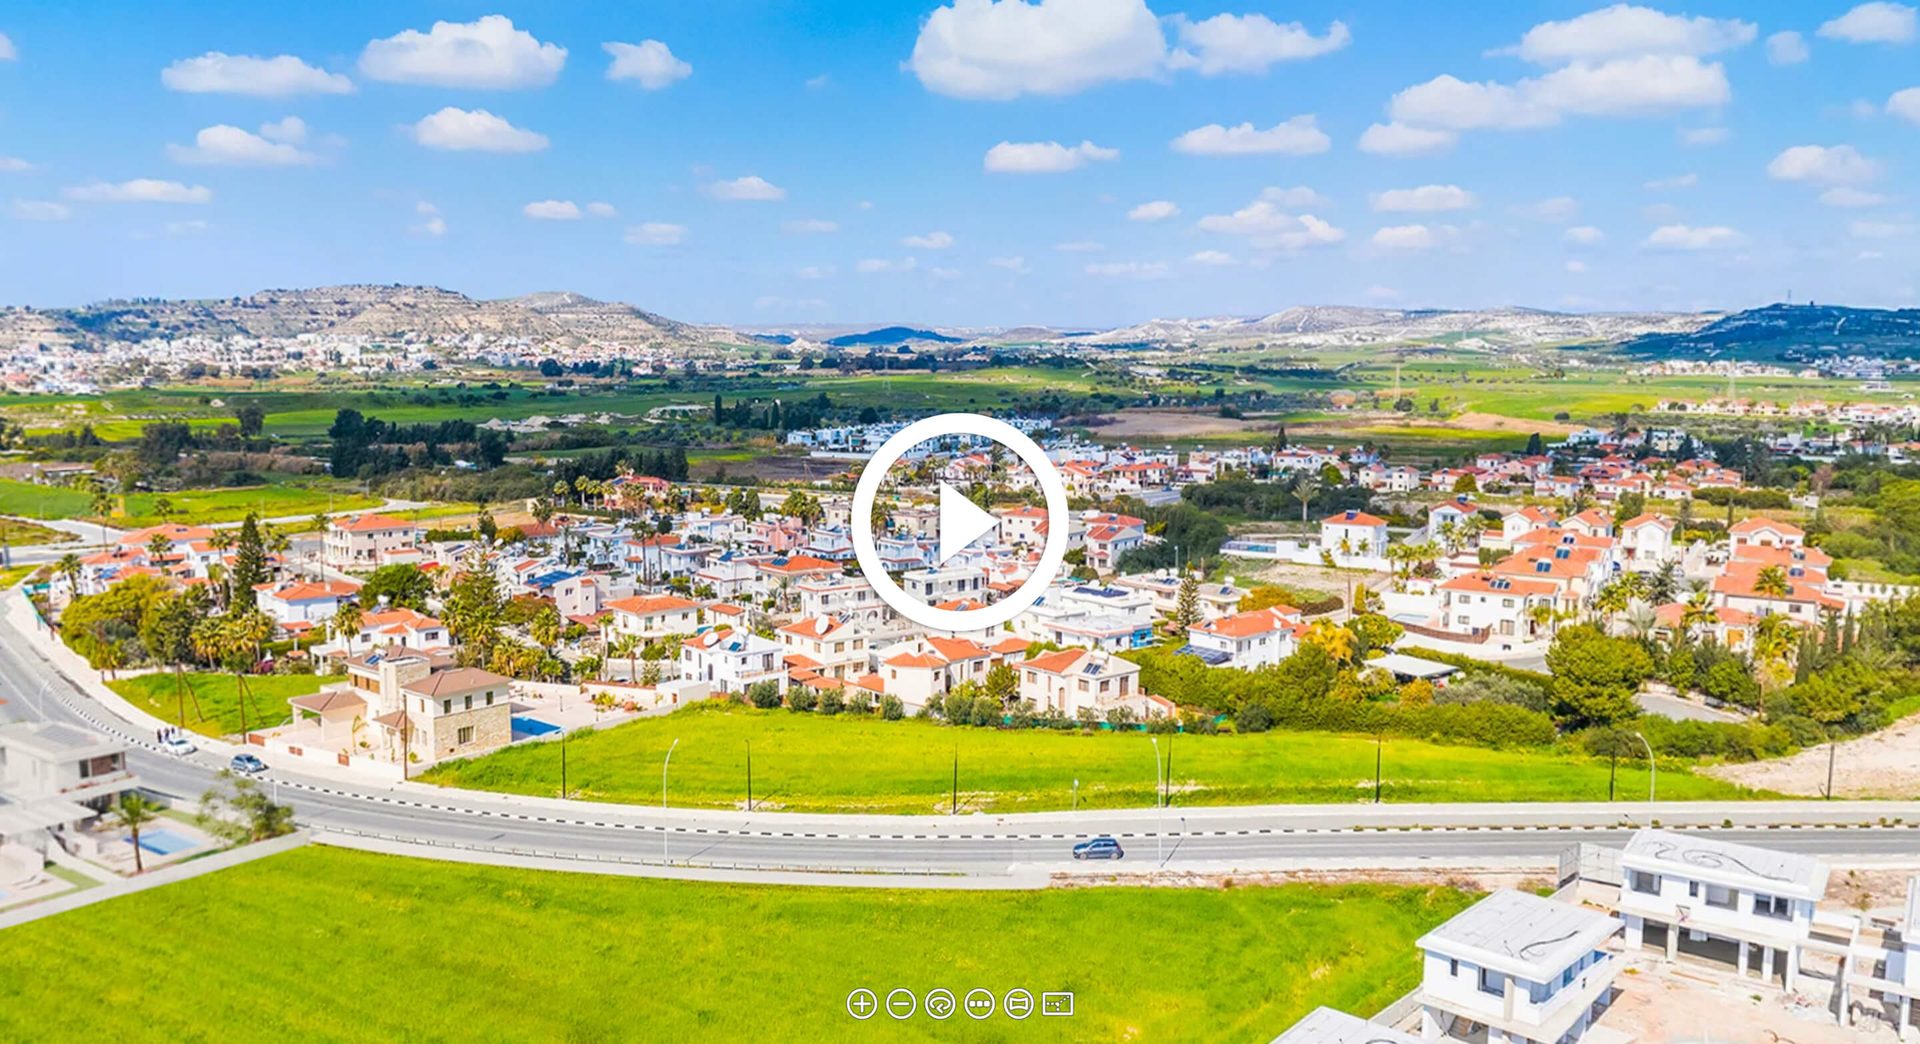
3D Virtual Tour for Exterior in Map
This type of real estate 3D virtual tour is called a virtual 3D map. It offers a unique opportunity to see the project in its real-life context. CG artists integrate lifelike 3D models of a future building into Google Maps views, allowing viewers to see how the new structure will fit into its neighborhood. The combination of real footage of the location with detailed 3D modeling achieves unmatched realism.
What Are the Key Benefits of 3D Real Estate Tours?
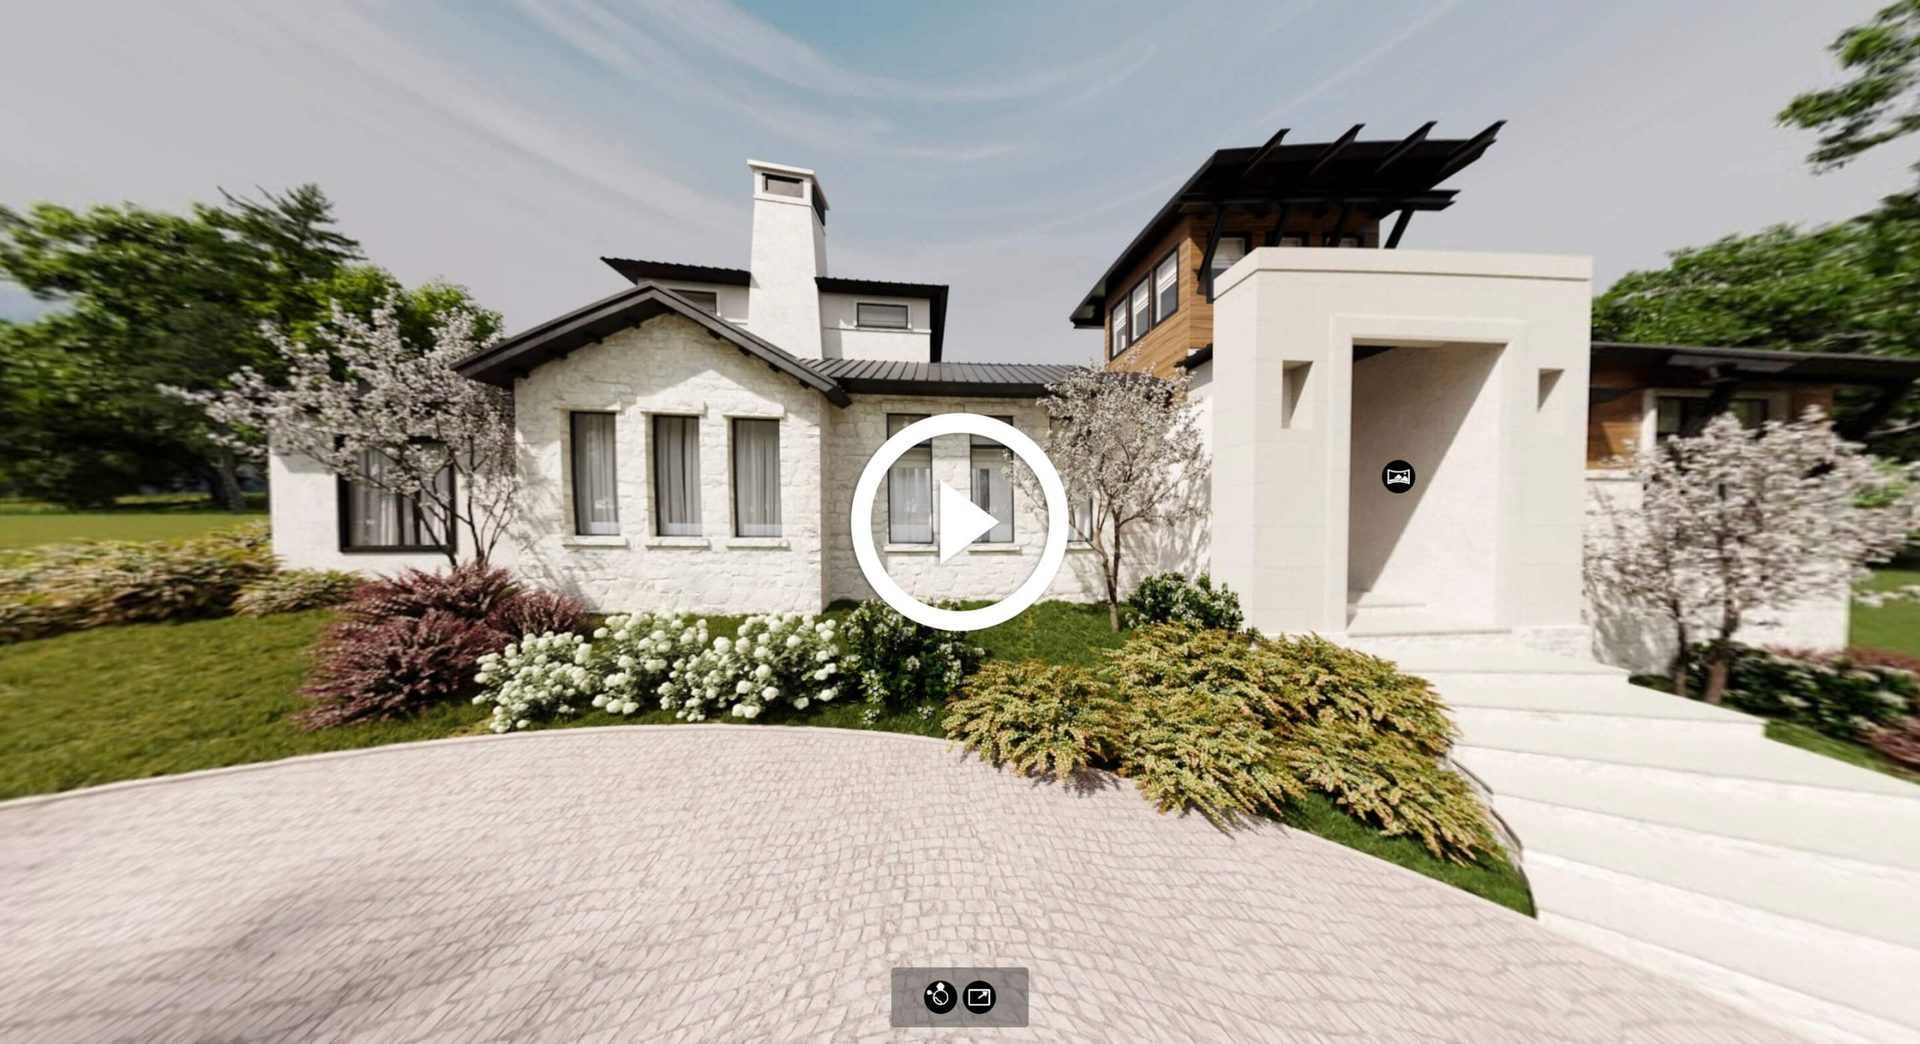
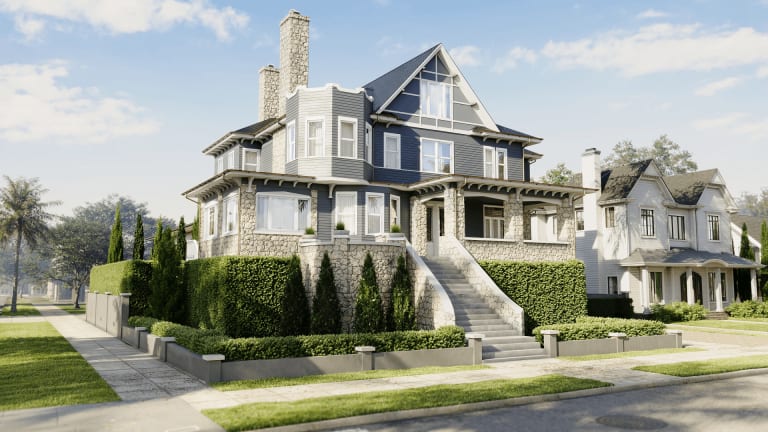
3D Virtual Tour for Townhouses
Enhanced Understanding and Smarter Decisions
Virtual tours let stakeholders “visit” spaces that haven’t been built yet. They provide immersive walkthroughs to navigate layouts, spatial flow, and scale — a buyer can stroll through a virtual home, picturing coffee in the kitchen or mornings in a sunlit bedroom. 3D tours also simplify the understanding of complex designs, ensuring clear visual communication for all stakeholders.
This clarity directly improves decision-making: teams can visualize layouts, optimize designs, and identify issues early, reducing costly revisions. A developer in London and an investor in Dubai can use the same virtual tour to share insights and make decisions remotely. When paired with 3D animation of architecture, the result is even more compelling.
Maximized Marketing Impact

Unlike static images, 3D virtual tours offer an interactive experience that captures interest and accelerates pre-sales. Buyers and tenants who explore a property virtually gain confidence, often committing earlier. This is especially valuable for large-scale projects, where combining interior and exterior rendering helps highlight architectural aesthetics and creates a stronger first impression.
Faster Sales and Pre-Sales
Listings featuring virtual tours receive significantly more engagement. Zillow’s own platform data shows that listings with 3D tours and interactive floor plans get 60% more views on average and are saved 79% more often than those without — and in A/B testing, they were 10% more likely to go pending within 30 days. But beyond traffic numbers, 3D tours directly impact conversions. When buyers can see exactly what they’re getting — the layout, the finishes, the light in every room — they feel confident enough to commit. The result: fewer doubts, faster decisions, and reduced reliance on imagination.
For developers, this translates into stronger pre-sales. A realistic visual representation of a property still under construction builds trust, secures investments sooner, and improves financial planning. Rather than asking prospects to take a leap of faith based on floor plans alone, a 3D tour shows them the finished product — which is often all it takes to close a deal.
Bringing Unfinished Properties to Life
Floor plans and photos of empty lots or unfinished shells are hard for most buyers to interpret. A 3D virtual tour removes this barrier, transforming lifeless spaces into furnished, welcoming interiors. This approach often goes hand in hand with 3D floor plan rendering services, which give buyers a clear overview of layouts and functionality before construction starts.
The right contextual elements make the difference — stylish furniture, appropriate decor, personal touches like plants or a reading nook. These details build an emotional connection, making it easier for prospects to picture their future life in the space. When someone can imagine their morning routine in a kitchen that doesn’t exist yet, the project stops being abstract and starts feeling like home.
A Showroom Alternative for Premium Listings
Physical showrooms are expensive, especially for large developments with multiple unit types. 3D virtual tours offer a scalable, cost-effective alternative that showcases layouts and design just as effectively. They’re particularly well suited for luxury projects, where building multiple showrooms would be impractical yet high-end buyers still expect detailed, immersive previews.
3D tours of luxury homes provide 24/7 access for international buyers, remote investors, and busy professionals — meeting the expectations of the most discerning clientele without the overhead. Developers using this technology are more likely to gain the trust of premium buyers, increasing the chances of closing a deal.
Where to Use 3D Tours
Getting a 3D tour produced is only half the job — the other half is putting it where buyers will actually see it. Here are the main platforms and channels that support interactive 3D content.
Website

The primary home for a virtual tour is your own website. Interactive 3D panoramas like the ones created at ArchiCGI using Pano2VR software can be easily embedded into any webpage via iframe or specialized plugins like PanoPress. In the context of real estate, that’s usually property listing pages, project landing pages, or dedicated gallery sections.
Listing Platforms
Major real estate marketplaces — Zillow, Realtor.com, Redfin, and their regional equivalents — support virtual tour embeds or links. In late 2024, Zillow and Realtor.com partnered to share 3D tours and interactive floor plans between both platforms, which means a tour uploaded to one is now visible on both. Zillow also offers its own free Zillow 3D Home tool for smartphone-based capture, and listings with a 3D Tour badge receive roughly 50% more views within Zillow’s search results. Adding a CGI tour via embed link to these platforms significantly increases engagement and helps your property stand out alongside hundreds of competing entries.
Social Media
3D Virtual Tour for Communities
While no major social platform natively supports full interactive 3D tours, there are effective workarounds. Facebook still supports panoramic 360° images — you can upload a panoramic render that moves with the viewer’s smartphone, allowing them to “look around” a space (though the feature can be inconsistent with newer devices and isn’t actively promoted by Meta). On Instagram, short video walkthroughs or screen-recorded tour snippets work well for Stories and Reels, driving traffic back to the full interactive version on your website. LinkedIn is a strong channel for commercial real estate and B2B developer audiences.
Email Campaigns
Including a tour link or an animated GIF preview in email campaigns is a reliable way to boost click-through rates. A compelling thumbnail from a 3D tour paired with a “Take the Tour” call-to-action works well for both nurturing sequences and new listing announcements.
Sales Offices and Touchscreens
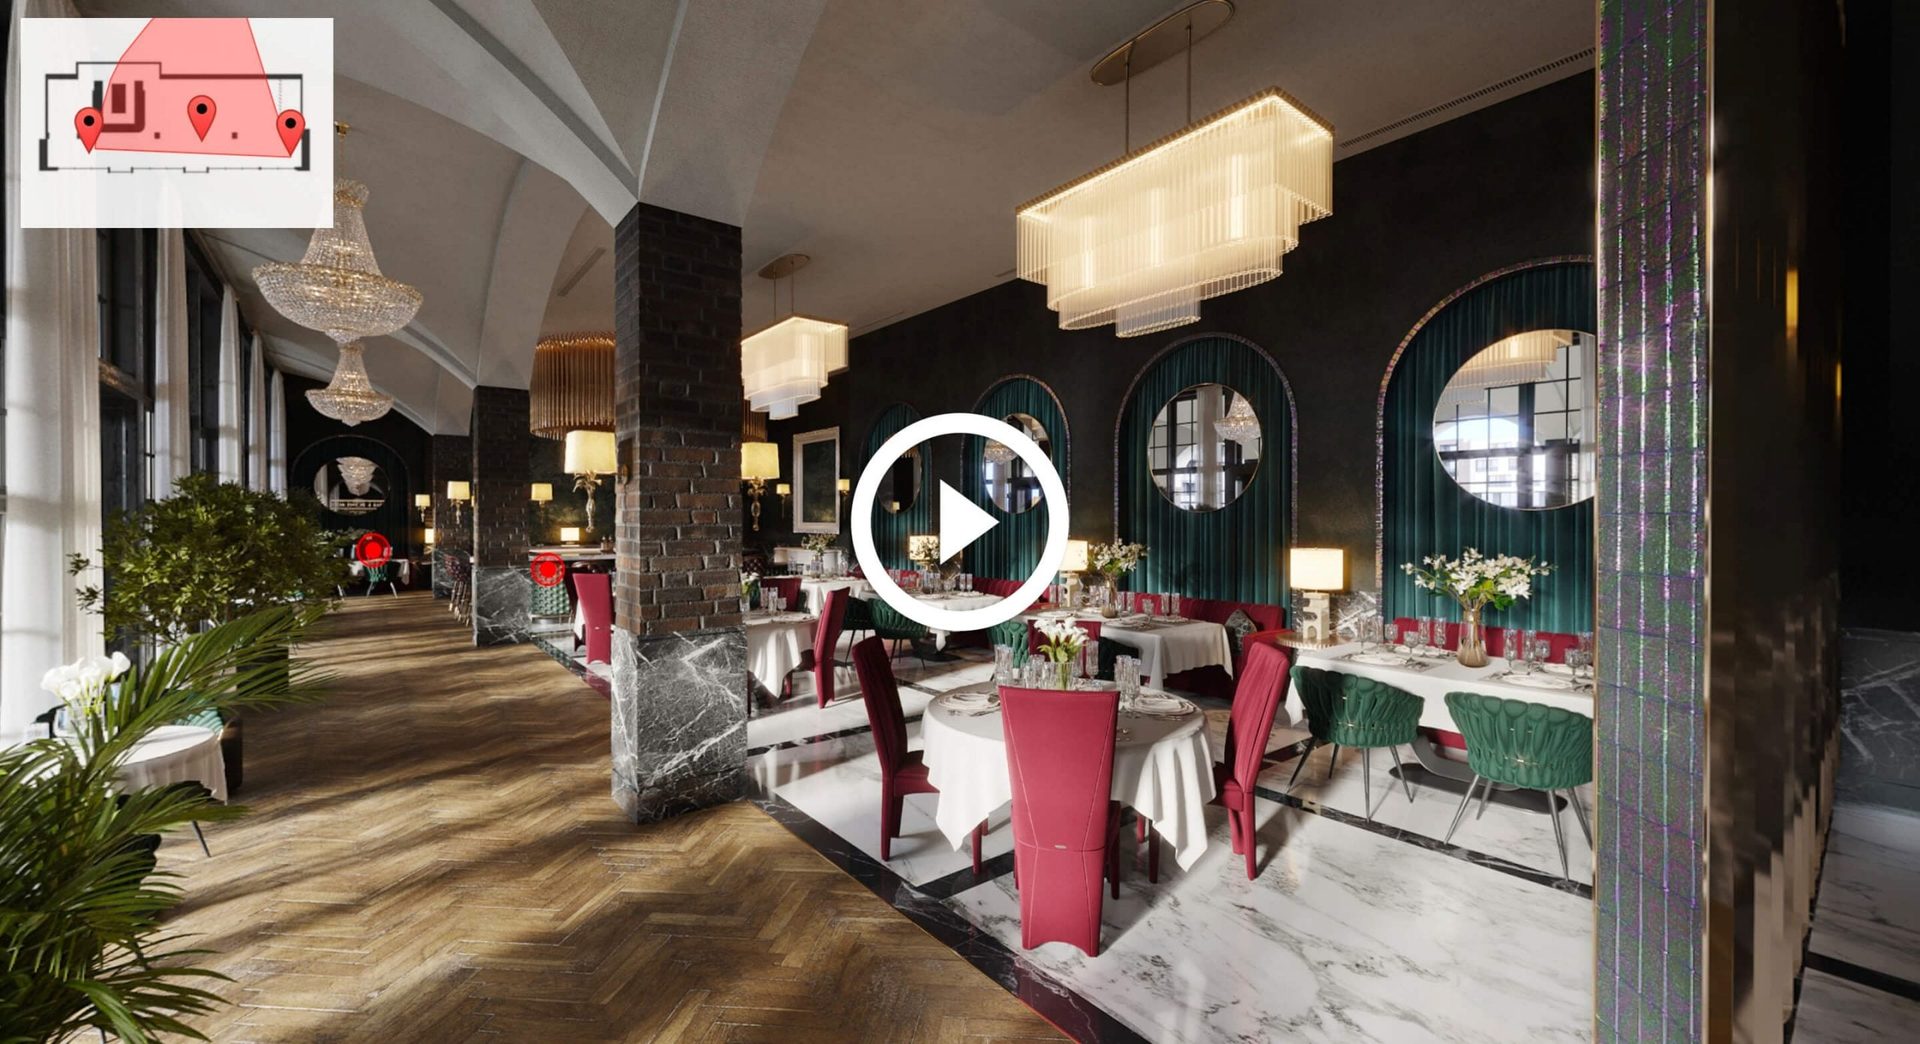
3D Virtual Tour for Commercial Interiors
3D tours aren’t limited to online use. In sales offices, show flats, and exhibition stands, tours can run on large touchscreens or tablets, letting prospects explore properties interactively during in-person meetings. This is especially effective for off-plan developments where there’s no physical space to walk through yet.
Apps

Several mobile and web applications make it easy to view and share 3D panoramic tours. TeliportMe (P360), Kuula, and CloudPano are among the most popular options for uploading 360-degree panoramas and linking them into full interactive tours — all available on iOS and Android or via browser. For larger developers, a custom-branded app with embedded tours can serve as a dedicated presentation and sales channel.
CGI Tours vs 360-Photo Tours: What Is the Difference?
Not all virtual tours are created equal. The two main types — photographic 360° tours and CGI-based 3D tours — serve different purposes and work best in different situations.
Photographic tours use cameras to capture 360° images of existing spaces. The traditional approach (pioneered by Matterport, now part of CoStar Group) stitches panoramic photos into a navigable walkthrough. A newer technique called Gaussian Splatting — which Zillow, CoStar, Realtor.com, and DJI all added support for in 2025 — uses AI to reconstruct photorealistic, fluid 3D scenes from standard video footage, producing results that feel even more immersive than stitched panoramas. Both methods excel at capturing properties that are already built and furnished. However, neither can show what doesn’t physically exist yet. If the space is an empty shell, a construction site, or hasn’t been built at all, photo-based approaches have nothing to work with.
CGI tours are built entirely in 3D software. This makes them the only viable option for properties that haven’t been constructed yet — or for existing spaces that need to be shown with a different design, furnishing scheme, or layout. Because every element is modeled digitally, CGI tours offer full control over lighting, camera placement, and interactive features like design customization, information pop-ups, and navigation paths. For real estate developers selling off-plan, CGI-based 3D tours remain the standard regardless of how far photo-capture technology advances.
What Types of Properties Can Benefit from 3D Tours?
3D Virtual Tour Vacasa
3D virtual tours work across every property type. In residential real estate, they let buyers explore houses, apartments, and entire communities before a single wall goes up — walking through rooms, checking window views, and getting a sense of the neighborhood. For developers selling multi-unit projects, tours can cover shared amenities, landscaping, and unit variations in a single interactive package.
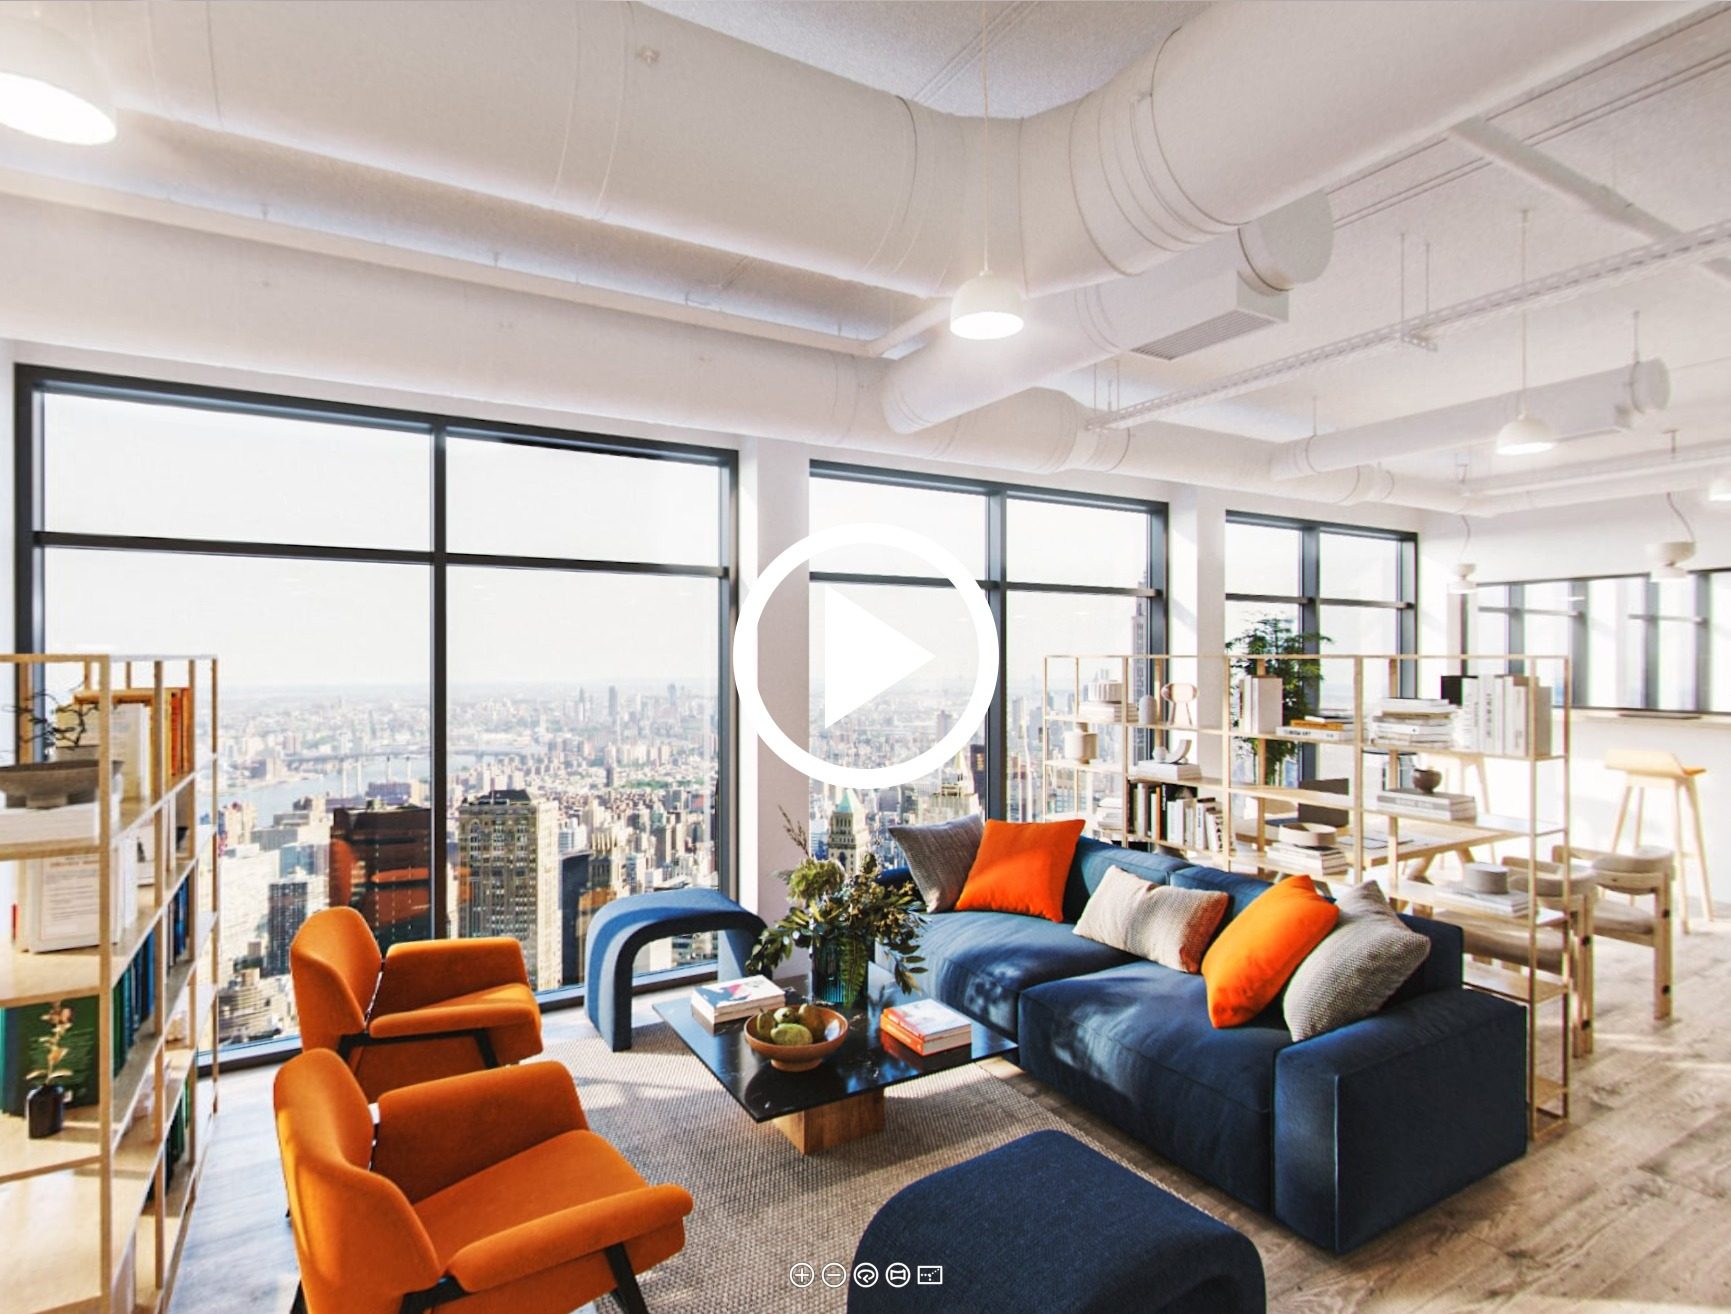
For commercial projects, virtual 3D tours in real estate enable a walkthrough of restaurants, offices, business centers, and hospitality venues, showcasing optimized layouts and design details that static images can’t convey. Whether it’s a signature restaurant interior, a co-working hub, or a full business center from lobby to conference rooms, 3D tours help prospective tenants and investors evaluate the space with precision.
For more on specific property types and tailored CGI solutions, see our 3D virtual tour services page. We also offer specialized restaurant 3D visualization and office 3D visualization for commercial projects.
Schedule a free demo of 3D solutions for your business
Now you know how 3D virtual tours are made — from the first brief to the final interactive file. We hope this guide helps you plan your next project with clarity.
Have questions or need high-quality 3D virtual tours or other types of our services? Our team is here to help. Contact ArchiCGI and get 3D solutions tailored to your needs.

Chris Kostanets
Senior Project Manager, Mentor
Chris manages the work of 2 CGI teams and teaches Middle PMs. She loves Scottish landscapes, Ancient Greek culture, and Plein-air painting. At home, Chris is a caring parent for 3 cute chickens and a magnificent rooster.

Comments
Emily
Yvonne
James