Architects, interior designers, realtors, and developers often go for 3D visualization to get attractive visuals for their projects and listings. And here at ArchiCGI, we’re always happy to help them with that. To ensure that every interior 3D rendering project goes smoothly, we have developed a standard workflow and perfected it over the years. It begins when a client submits a brief using our CRM system and we get to work.
Now, what is it one needs to include in that brief? And what happens next? What preliminary results will a customer receive and what actions should they take further? We want the clients of our architectural visualization company to know what to expect at every stage of the process. Particularly, we’d like to help them understand what kinds of references to provide and what kind of feedback to give their project team during the review rounds to get the best results.
In this short article, you will find out about the 4 steps of the rendering process that make our interior 3D rendering workflow so efficient and yet simple and transparent. Knowing this will help you to get the best 3D interior rendering services in the shortest time and with a minimum of revisions. Now, read on and see for yourself!
#1. Submitting the Brief
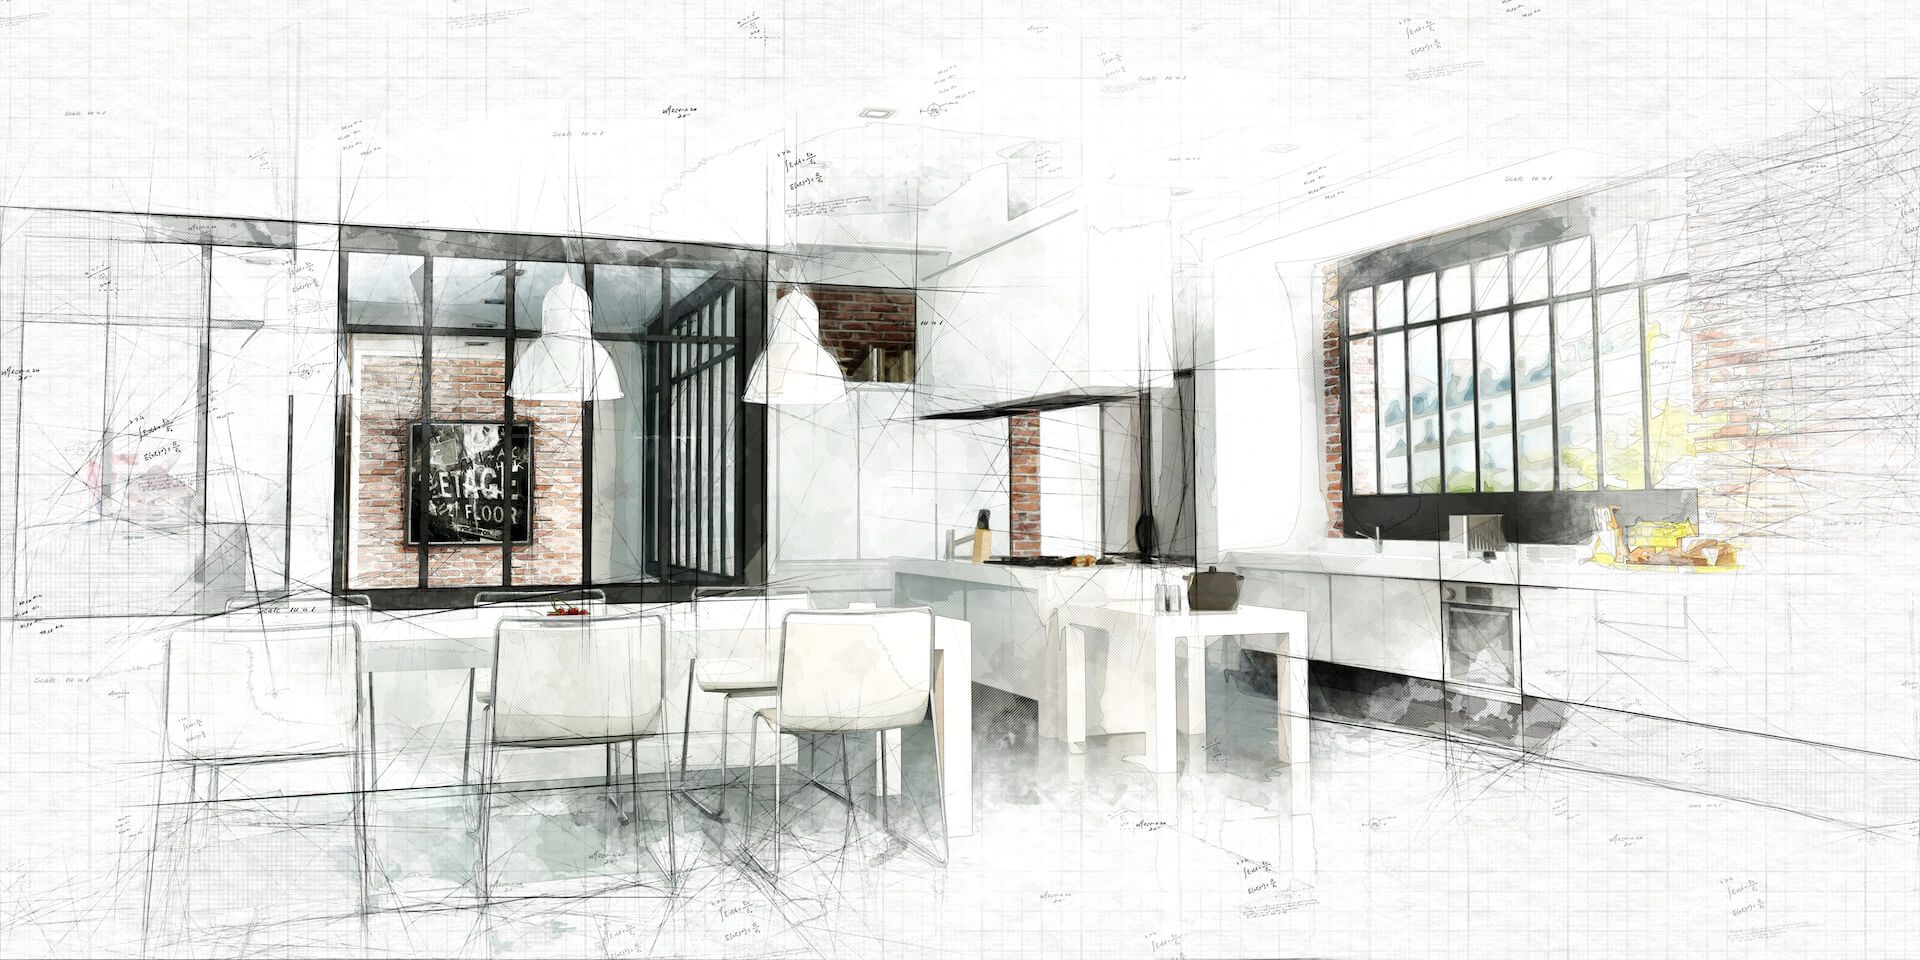
The standard interior 3D rendering project workflow process at ArchiCGI begins when the client submits a brief. Normally, it includes floor plans and elevations, lighting schemes, style and mood references, and background photos. Also, if possible, one should reference furniture, appliances, and decor items, as well as textures and materials used in the design. To learn more about the things to add here, read this article about a perfect project brief for interior renderings.
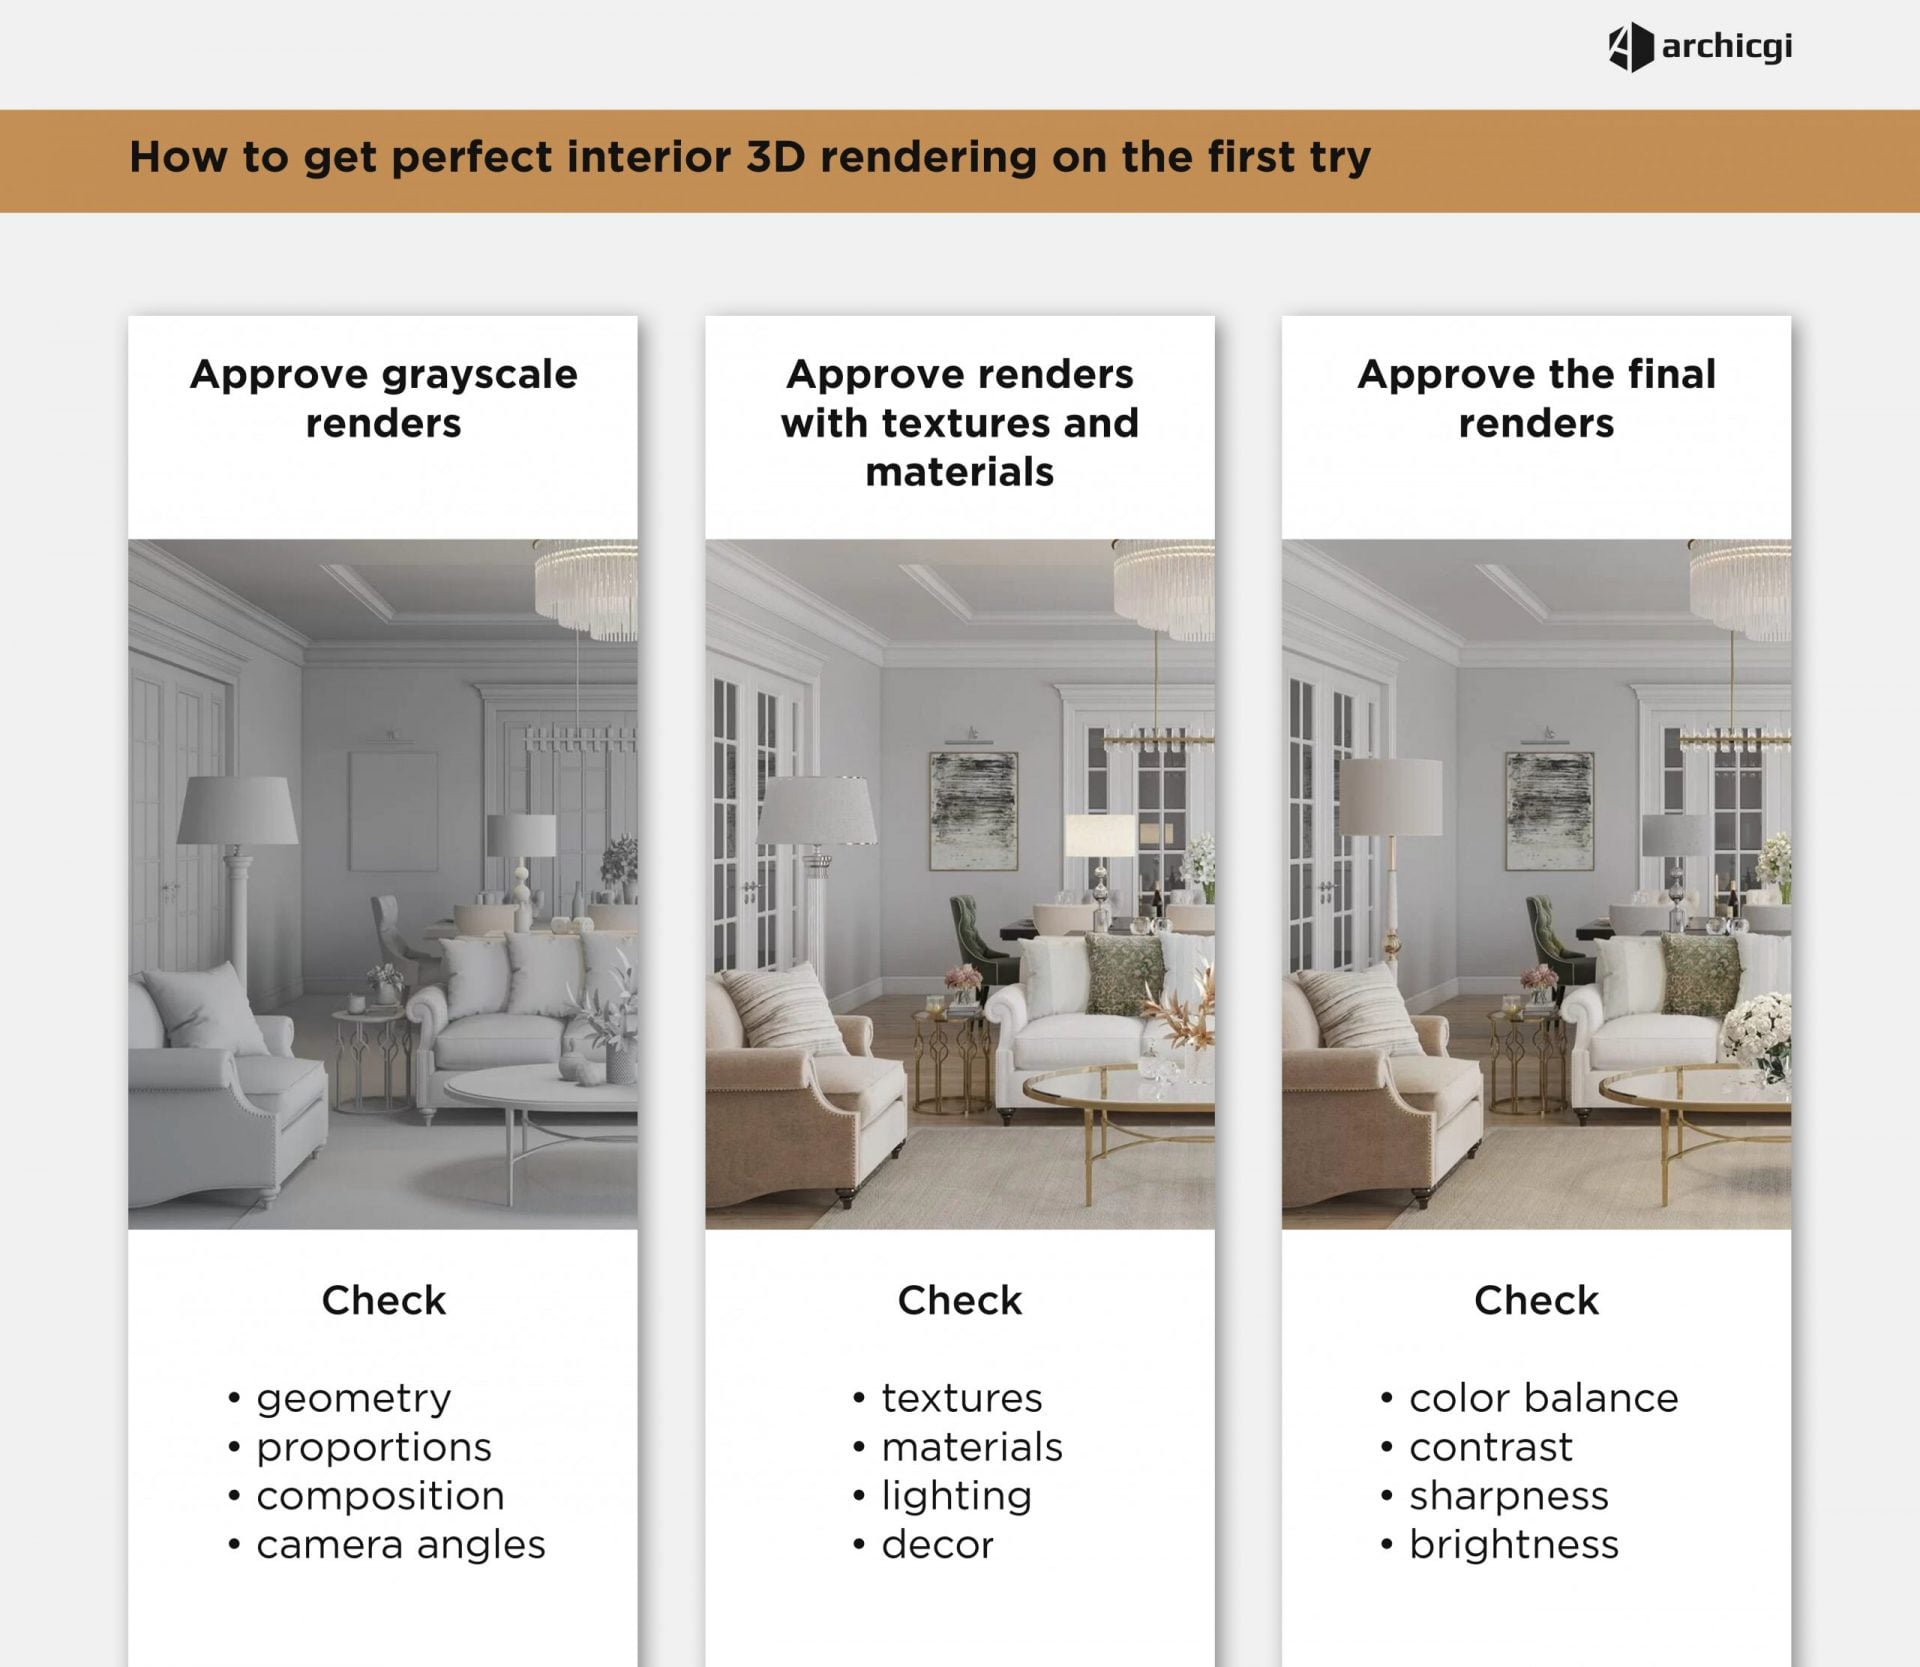
#2. Approving Grayscale Renders
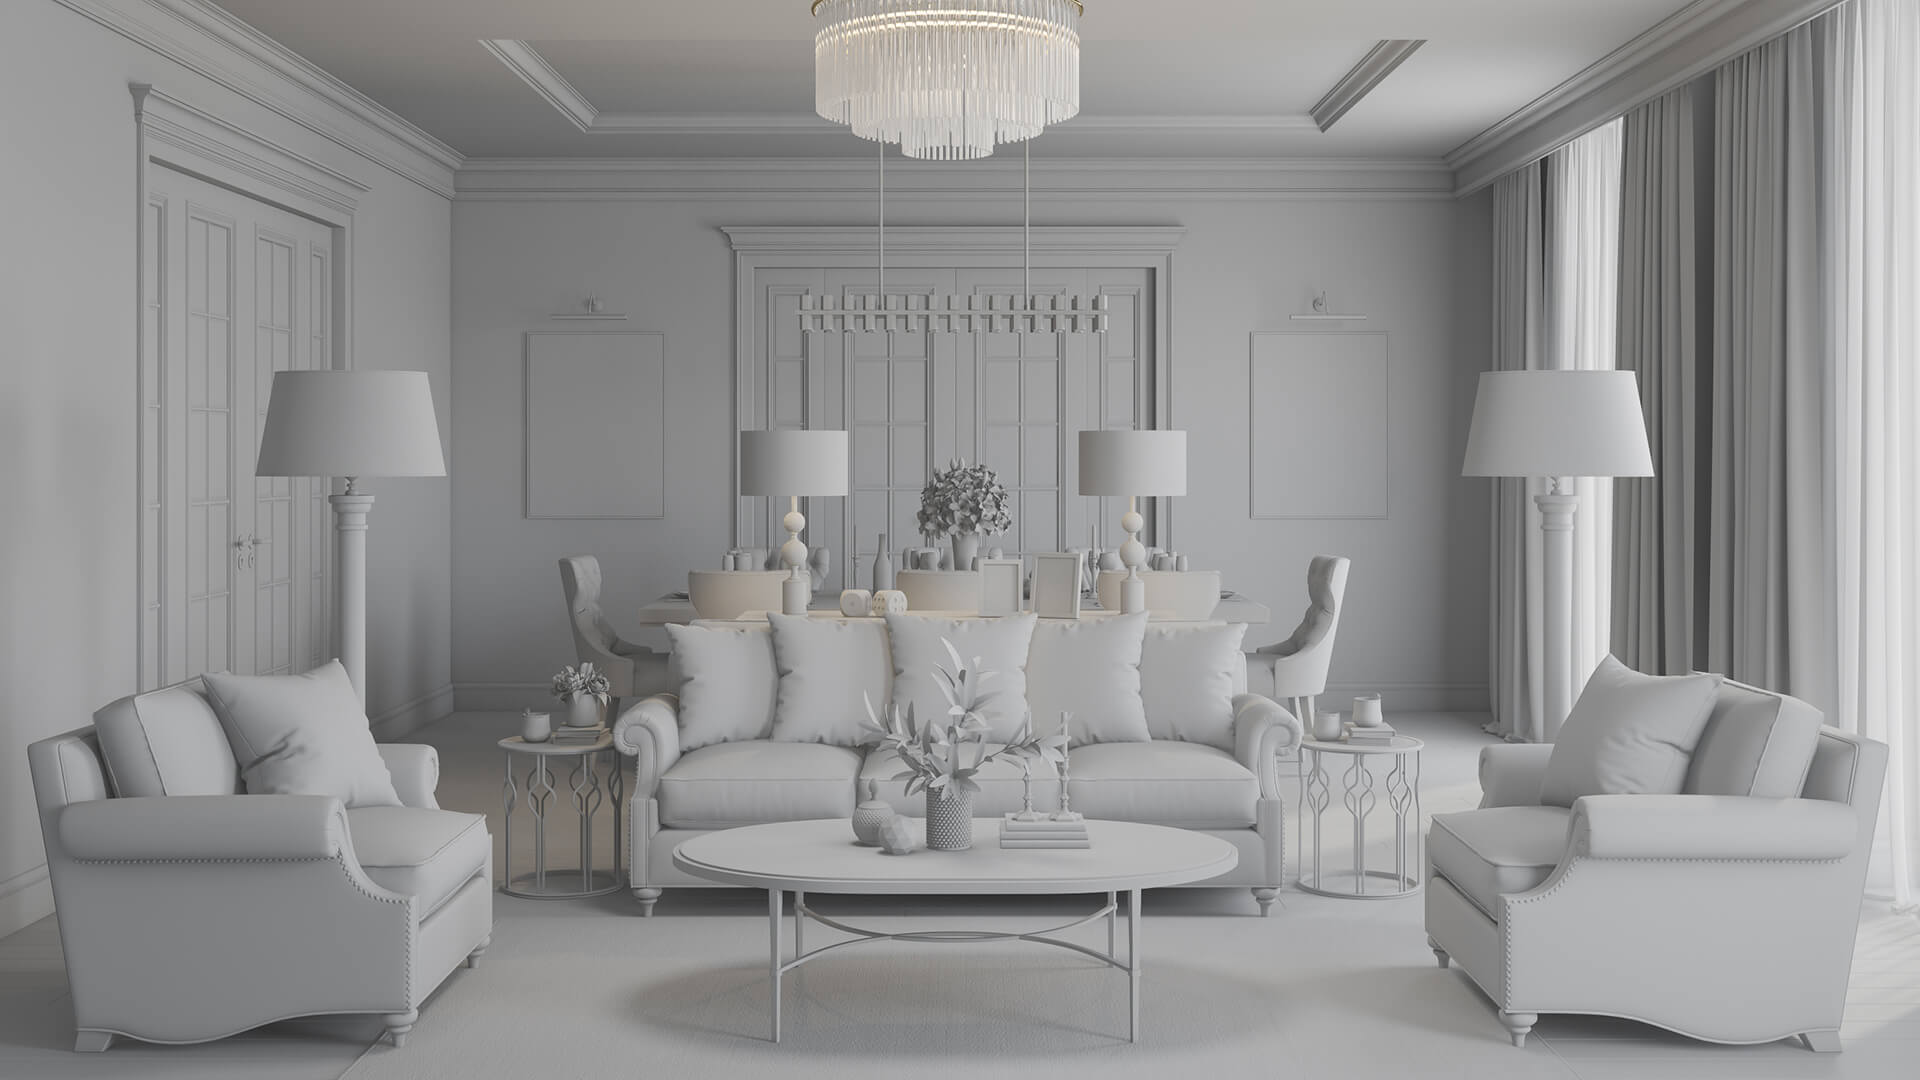
This stage of the 3D rendering process takes place after we’ve received a brief and started our work. Here, we submit the first preliminary results — grayscale, or so-called “clay” renders for our customers’ approval. Essentially, those are images of a room that have all the main objects in them, but there are no colors, materials, or textures. In particular, those visuals help our customers to check if the geometry of the room, the positioning of the furniture, and the camera angles are correct.
Also, at this point, our specialists can suggest making some additional views if it doesn’t require any extra 3D modeling. Overall, this stage of the workflow process of an interior 3D rendering project can include 1-2 revision rounds. Here, the 3D artists will ask the client to give some comments on the above-mentioned aspects. And if everything is alright, we proceed to the next step of the project, which we call “Colored Proof 1”.
#3. Approving Renders with Textures and Materials on Colored Proof 1
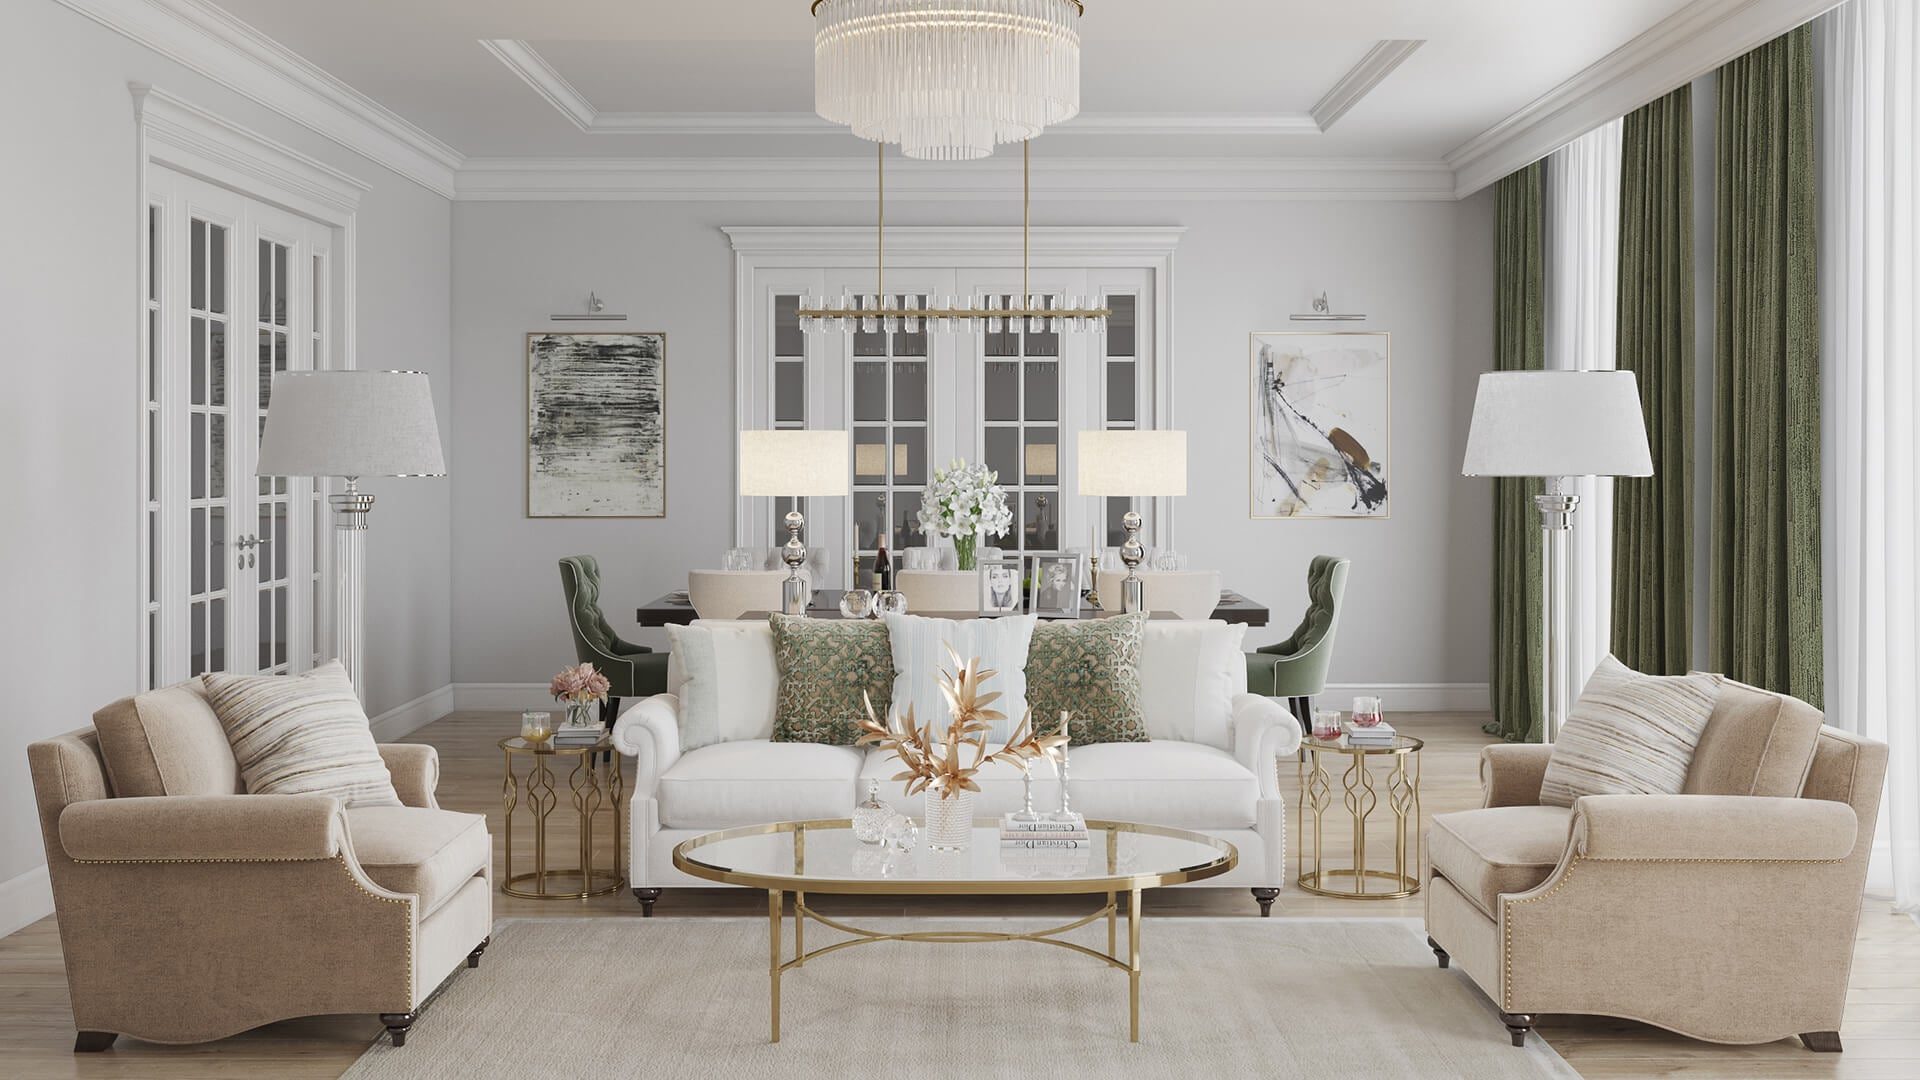
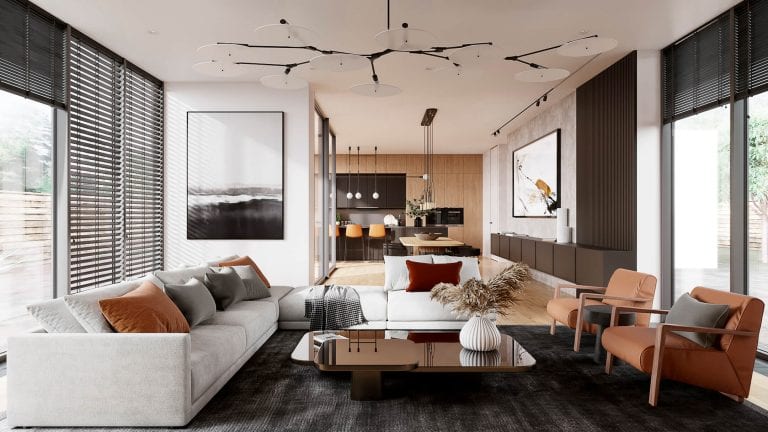
Next, we create interior renderings with textures, materials, lighting, and decor items. The standard image resolution here is 2k, which allows one to perfectly see all the details. At this point in the workflow process, the customer needs to either approve the CG images as they are or ask for some corrections in the newly introduced aspects.
Strengthen your design presentations with professional interior rendering
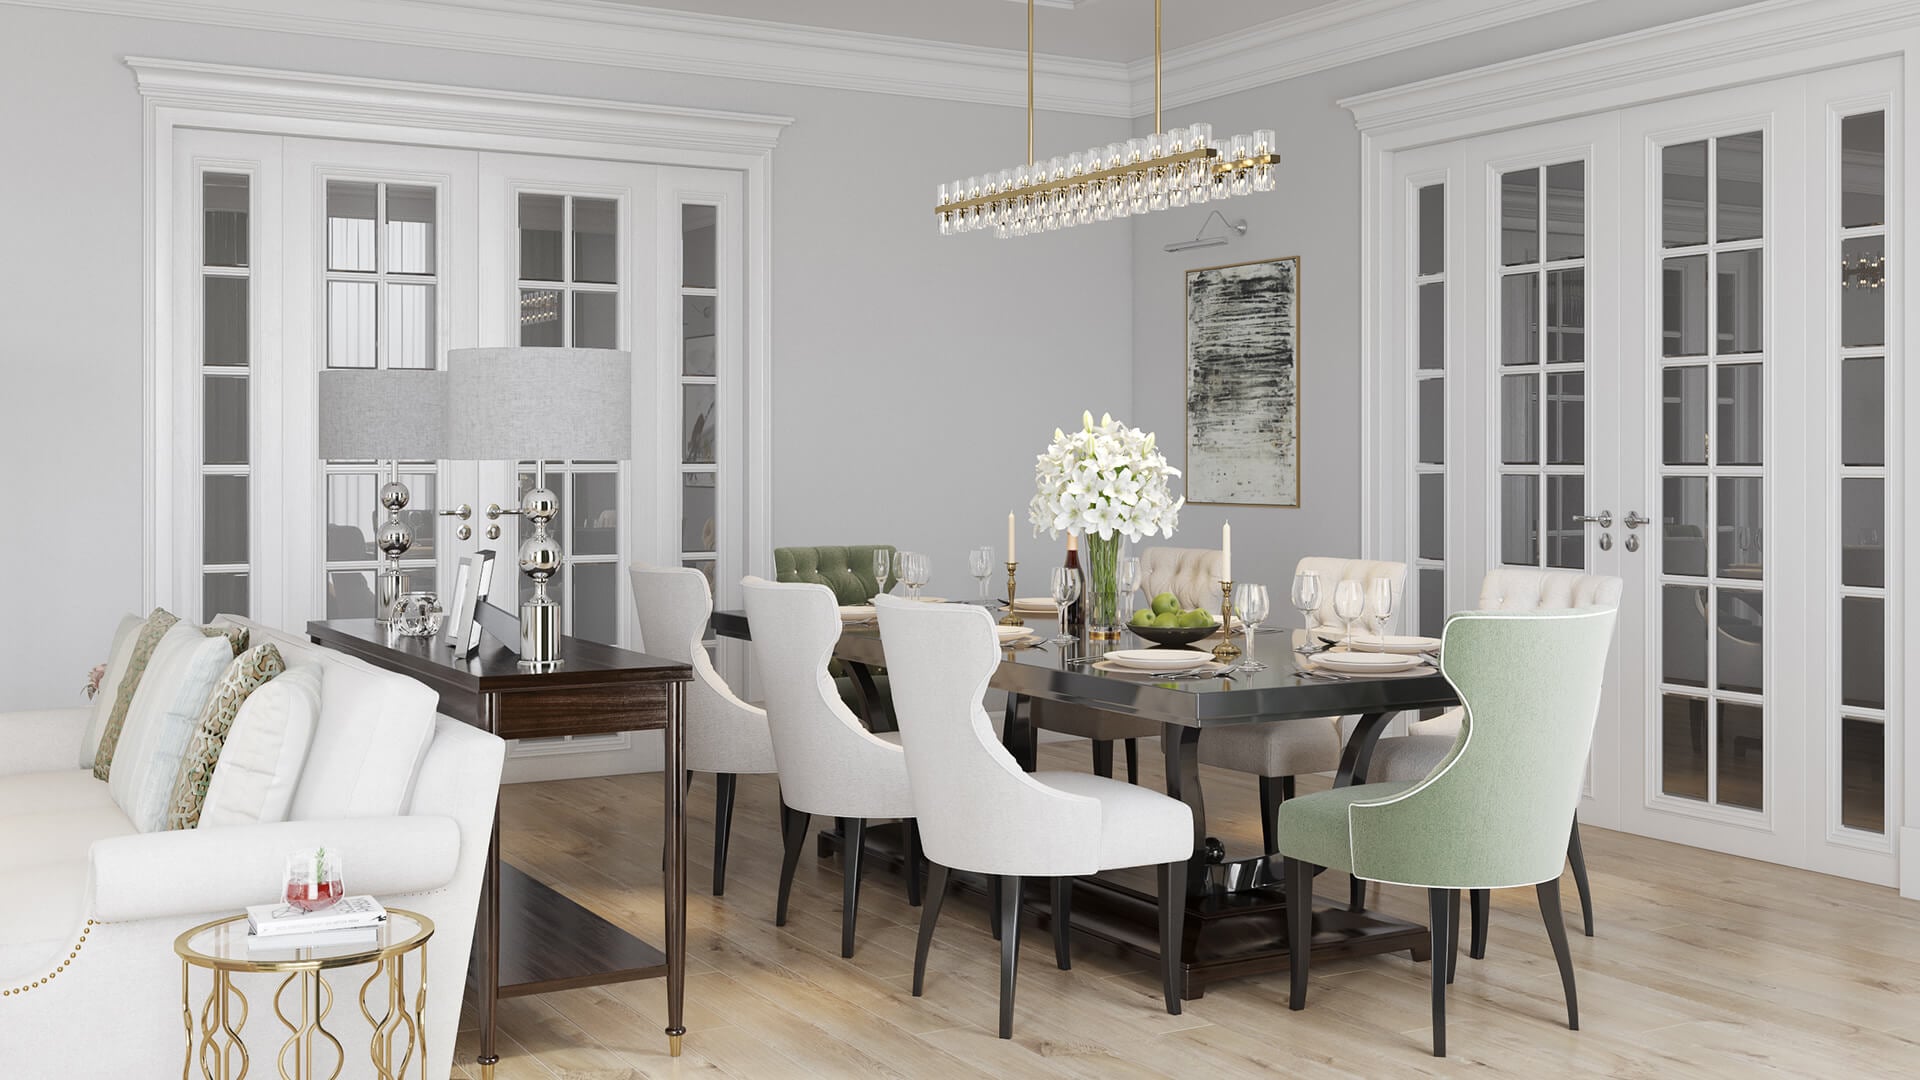
For instance, one might want to change certain accessories or colors of the objects in the 3D scene. Normally, this stage of an interior 3D rendering project includes up to 3 minor revision rounds. And if the client has no comments, they need to tell their team of CGI specialists that it’s alright to proceed with making the final renders.
#4. Getting the Final Results
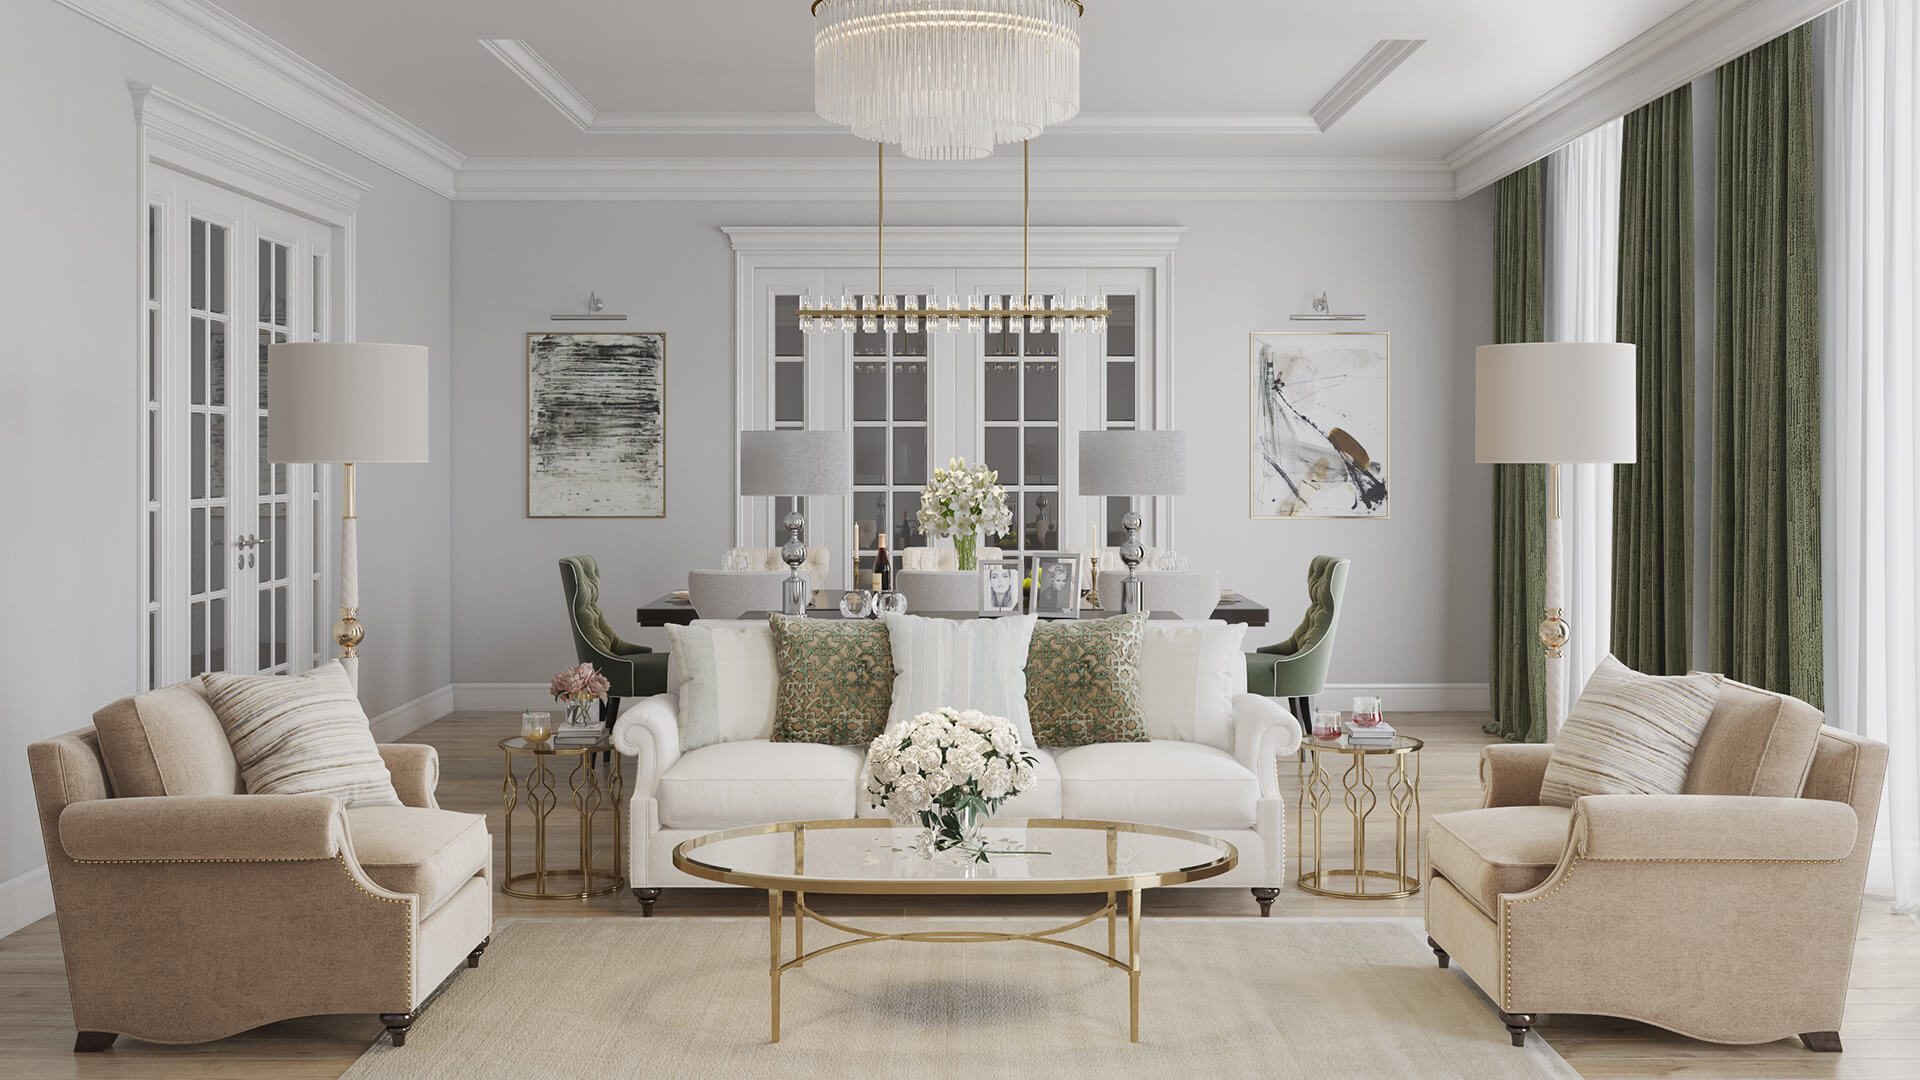
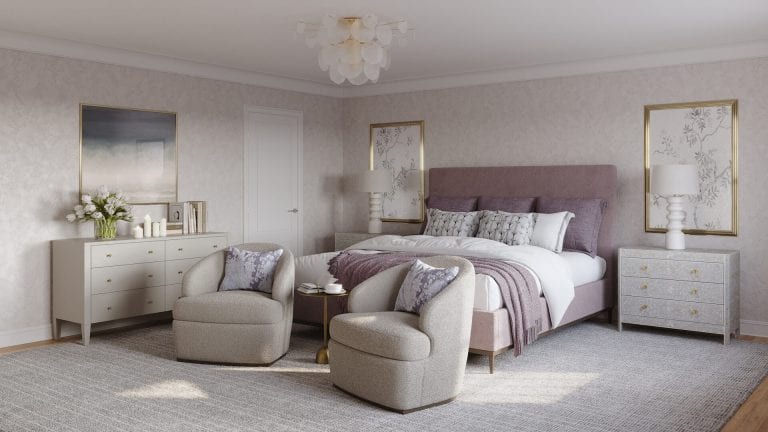
After our 3D artists make all the necessary corrections, it’s time to create the final renders. To fine-tune the resulting CG images, our specialists can adjust the color balance, brightness, and contrast using Photoshop. And, at the end of the interior 3D rendering project, the customer receives extremely photorealistic visuals in high resolution. The standard option for the finals is 4k, suitable for printing in the A1 format. But it can be higher or lower if one requests so.
We also appreciate your feedback on the final results.
Well, this is it! Now you know all of our 4-step interior rendering workflow. Sticking to this routine allows us to produce top-quality CGI within a very short time. And all of our regular clients will agree that doing an interior 3D rendering project this way is incredibly easy and effective. Plus, we’re constantly working on improving our workflow even further. To learn more, read our architectural rendering guide.
Ready to try professional 3D interior rendering services to improve your project presentations, listings, or marketing visuals? Contact us at ArchiCGI and get mind-blowing interior design renderings with minimal effort and for a reasonable price!

Chris Kostanets
Senior Project Manager, Mentor
Chris manages the work of 2 CGI teams and teaches Middle PMs. She loves Scottish landscapes, Ancient Greek culture, and Plein-air painting. At home, Chris is a caring parent for 3 cute chickens and a magnificent rooster.