Architectural rendering is the process of turning architectural plans, sketches, and CAD drawings into photorealistic images — showing what a building or space will look like before anyone breaks ground. If you work in real estate, architecture, or construction, there’s a good chance you’ve used 3D architecture rendering to sell a project, get approval on a design, or just communicate an idea that floor plans couldn’t convey on their own.
But how are architectural renderings actually made? What happens between “here are my CAD files” and “here’s your finished image”? This chapter walks through the creation process from start to finish — five stages, from the first 3D model through texturing, lighting, and rendering, all the way to post-production. We’ll also cover techniques like photo matching, where CGI gets blended with real photography, and the role AI is starting to play in rendering architecture projects. For how a project is organized between you and the studio — the briefs, the timelines, the revision rounds — that’s Chapter 5.
Everything starts here. The CGI team takes whatever the client has provided (architectural drawings, CAD files, sometimes just rough sketches), which are among the files you need to kick off a rendering project, and builds a digital replica of the design. Walls, floors, rooflines, windows, all constructed to exact dimensions in 3D software. You can see what this looks like in practice in our case study about the architectural rendering process for a London project.
Usually, the first thing you’ll see is a whitebox model. Think of it as the rough draft: a simplified version of the building with the right proportions and spatial relationships but none of the fine detail. It’s there so everyone can agree on the overall shape and composition before the team invests hours in window mullions and decorative moldings. Once the whitebox is approved, the model gets fleshed out — architectural elements, structural features, all the specifics that make a building look like itself and not a placeholder.
Secondary objects come in around this point, too. For an exterior scene, that’s landscaping, driveways, street furniture, maybe neighboring buildings for context. For interiors — furniture, fixtures, decor, all selected based on the client’s specs or the target audience for the project.
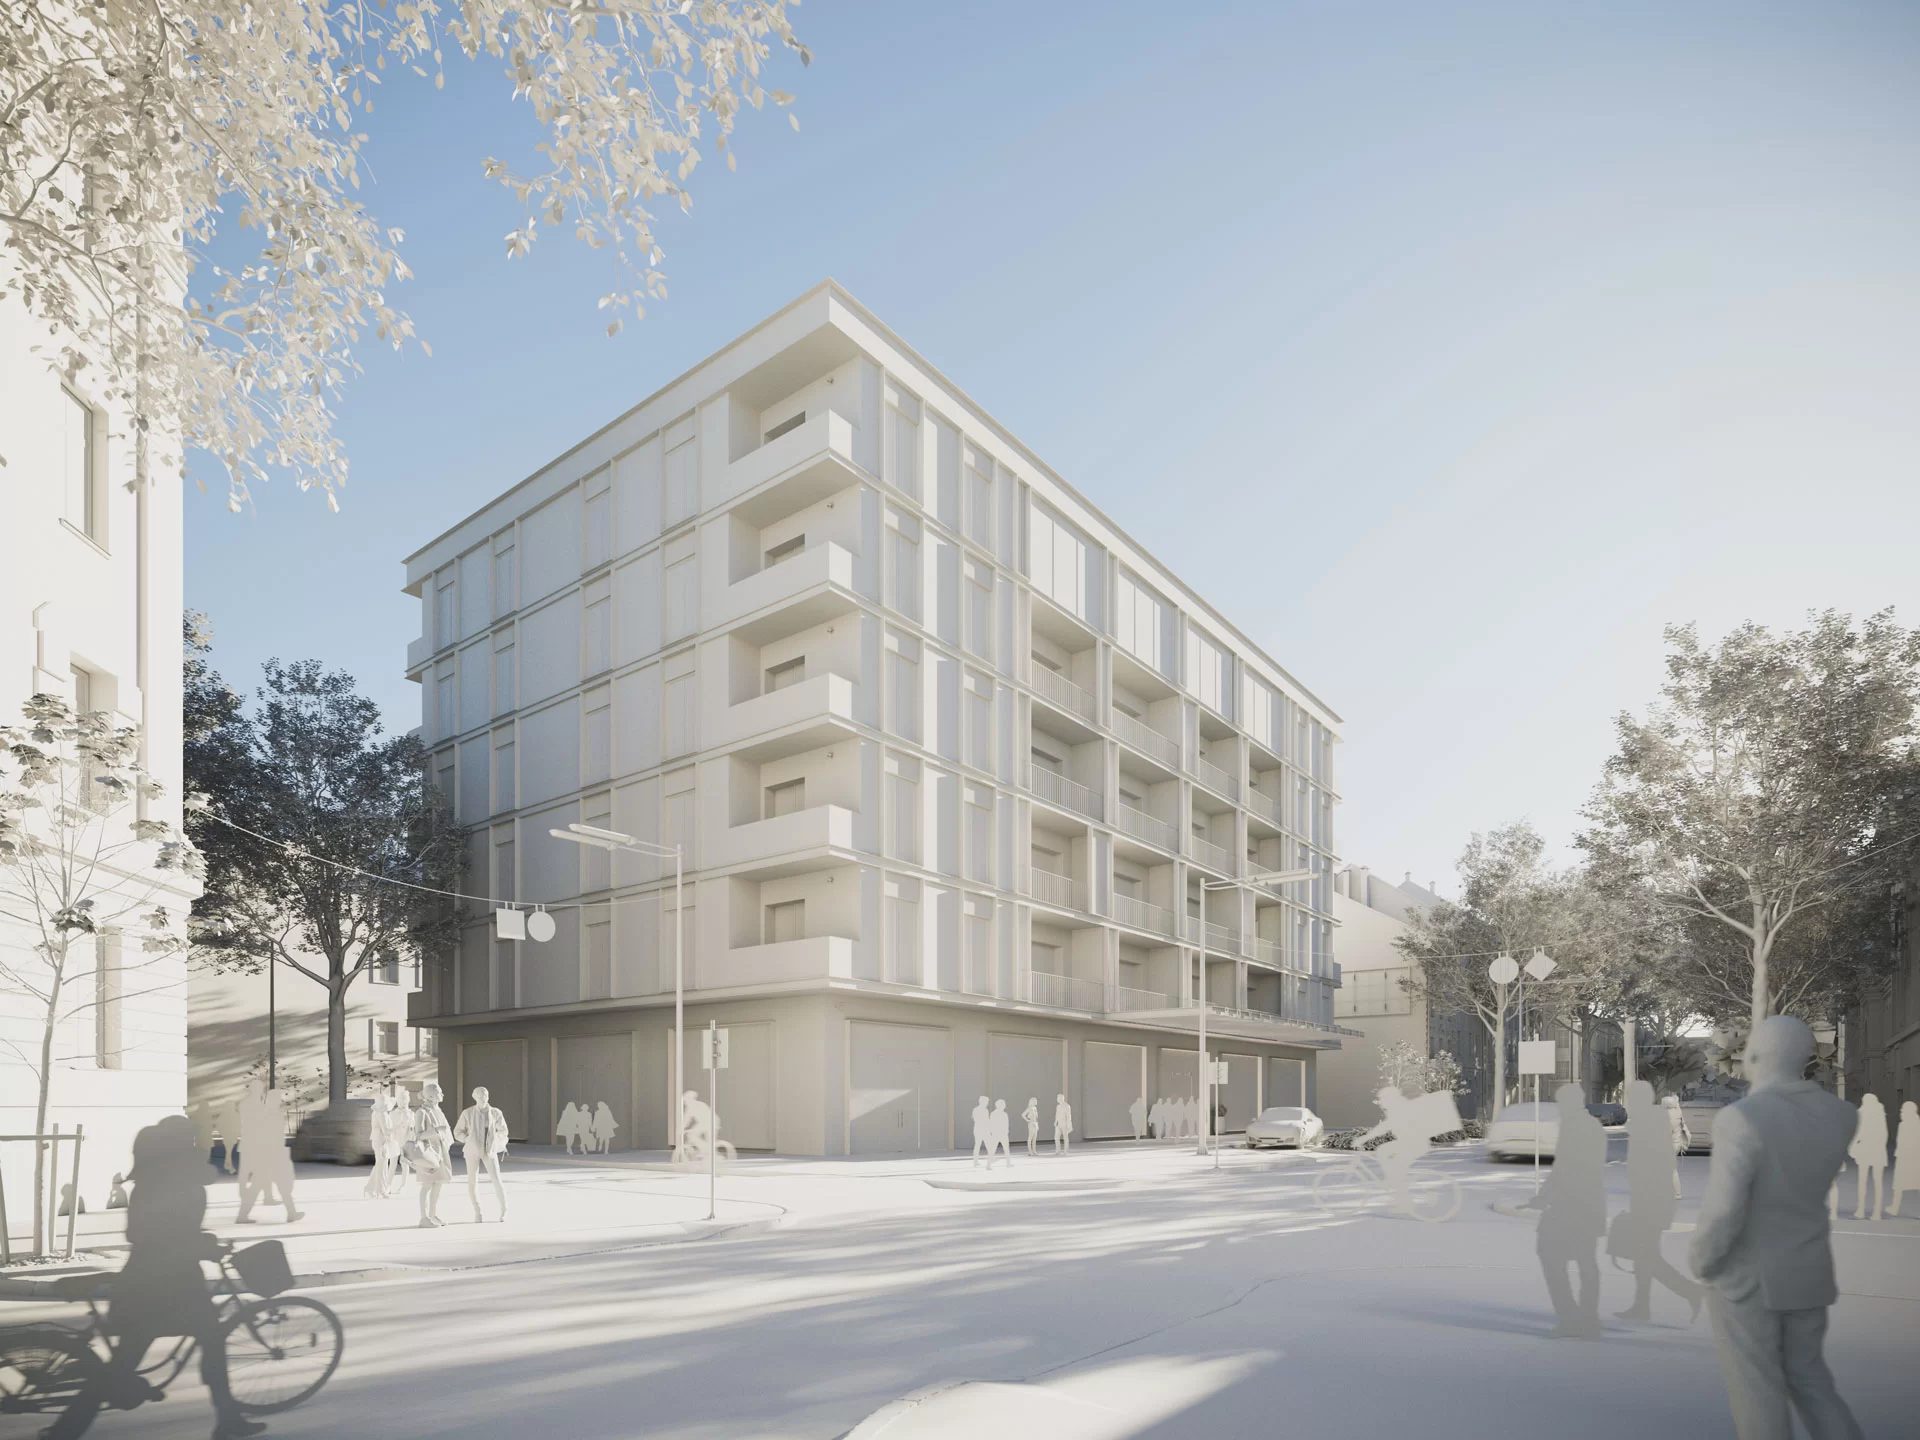
Before anything moves to the next stage, the studio will typically share a clay render. That’s a grayscale, untextured image of the model — no materials, no lighting, just the raw geometry. It’s one of the most useful checkpoints in the whole process, because it lets you catch problems with proportions, camera angles, or spatial layout before those issues get buried under textures and atmosphere. For a closer look at the software behind 3D modeling, see Chapter 2.
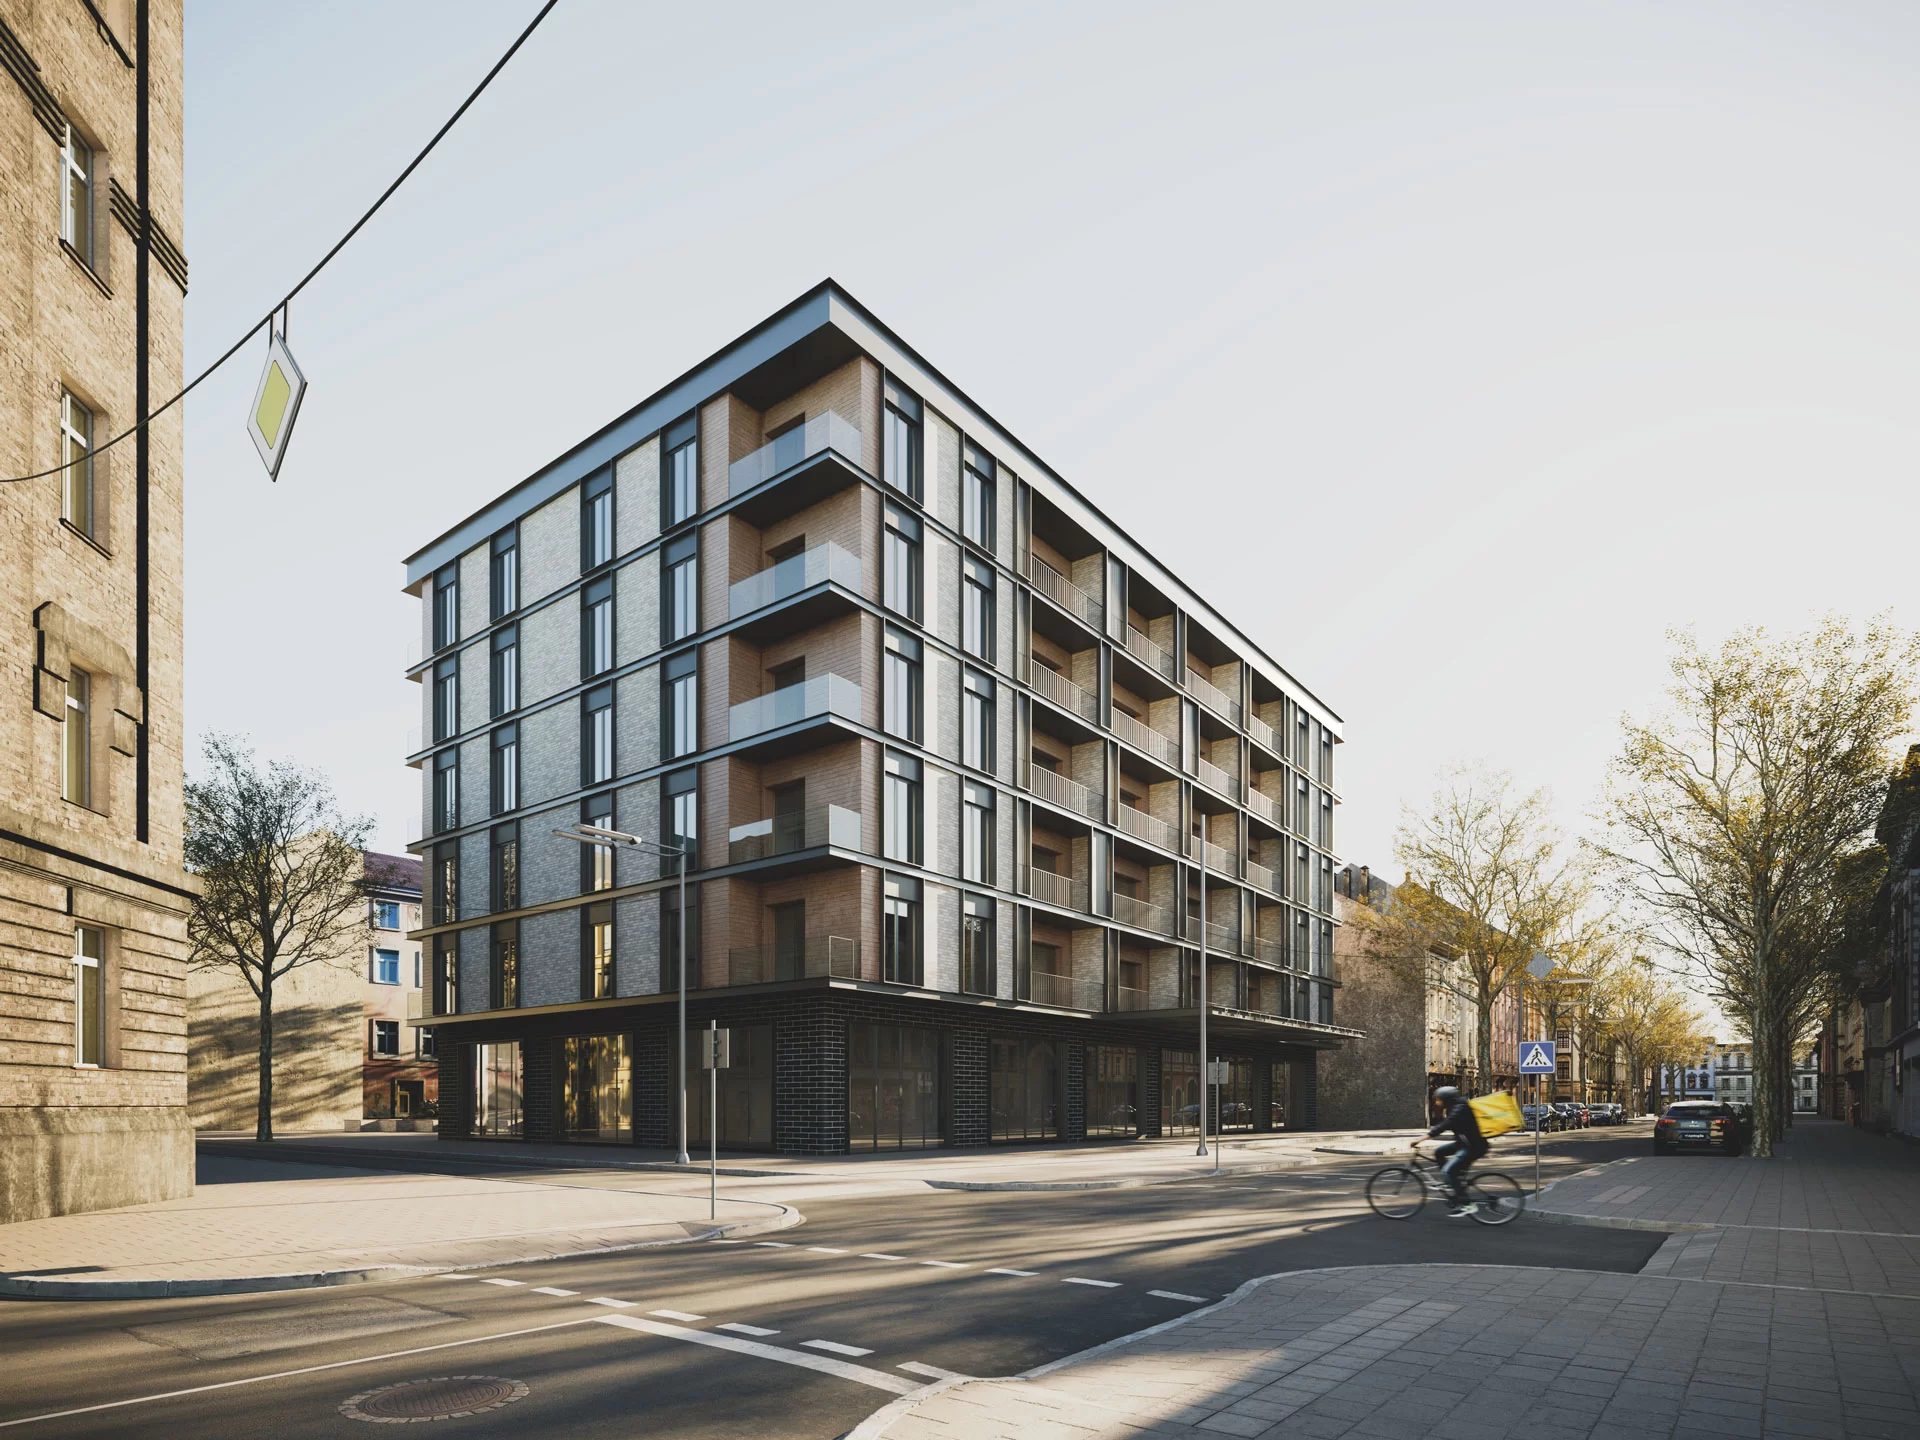
Once the 3D model is locked down, the artists start applying textures and materials. This is what makes geometry look like actual objects. Concrete starts reading as concrete. Glass picks up reflections and transparency. Wood gets grain, wear, and subtle color variation. Without this stage, even the most detailed model looks like a gray plastic toy.
Most modern architectural rendering relies on PBR materials, or physically based rendering, to simulate how real surfaces react to light. Each material has its own set of properties: color, roughness, reflectivity, surface bumps, transparency, and more. Studios usually have large material libraries ready to use, but it’s very common to create custom materials for a specific project.
For example, a client might need a particular brand of stone cladding for the facade, a specific fabric for the lobby furniture, or a proprietary paint color that isn’t available in any existing library. In that case, the material has to be built from scratch.
There’s also UV mapping, which is the process of wrapping 2D texture images onto 3D geometry so that brick courses line up at corners, tile grout stays consistent at every angle, and wood planks don’t suddenly warp when a surface curves. When it’s done right, you don’t notice it at all. When it’s done wrong, something looks off — even if the viewer can’t quite pinpoint what.
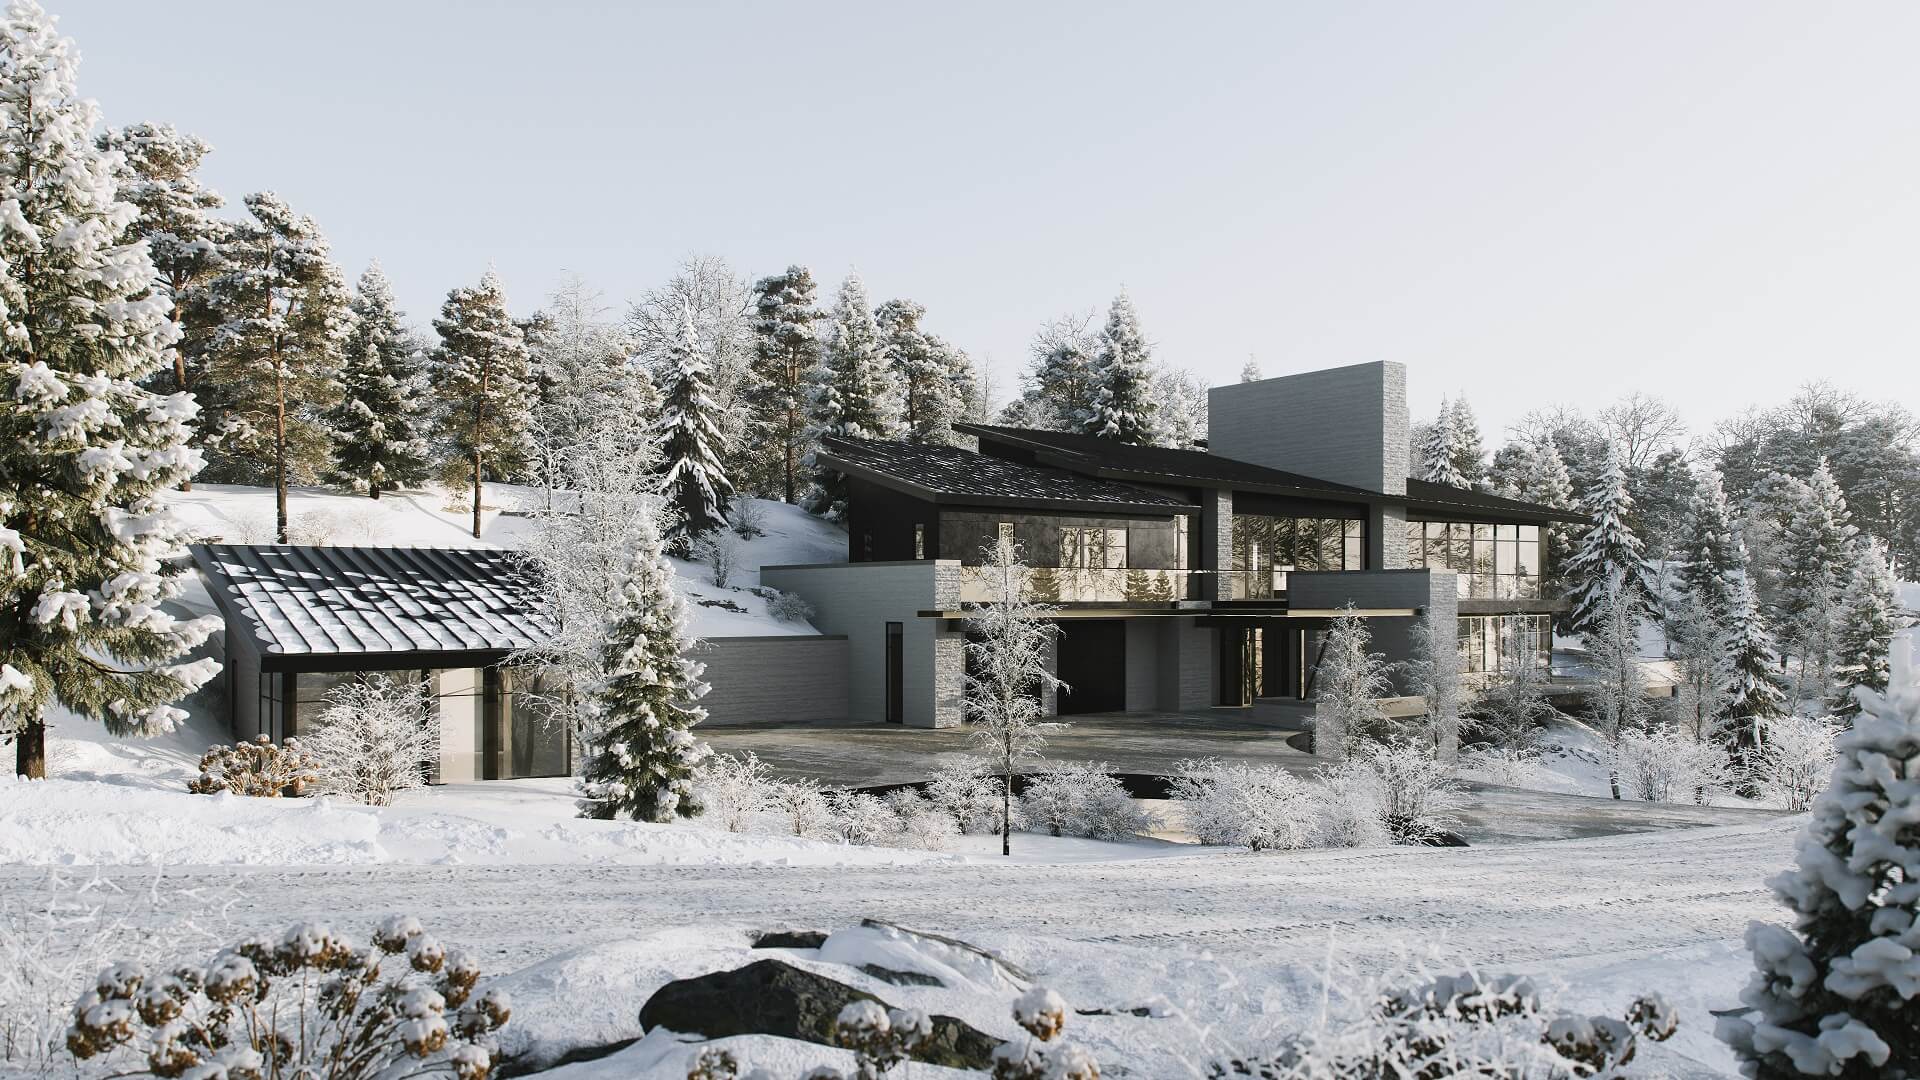
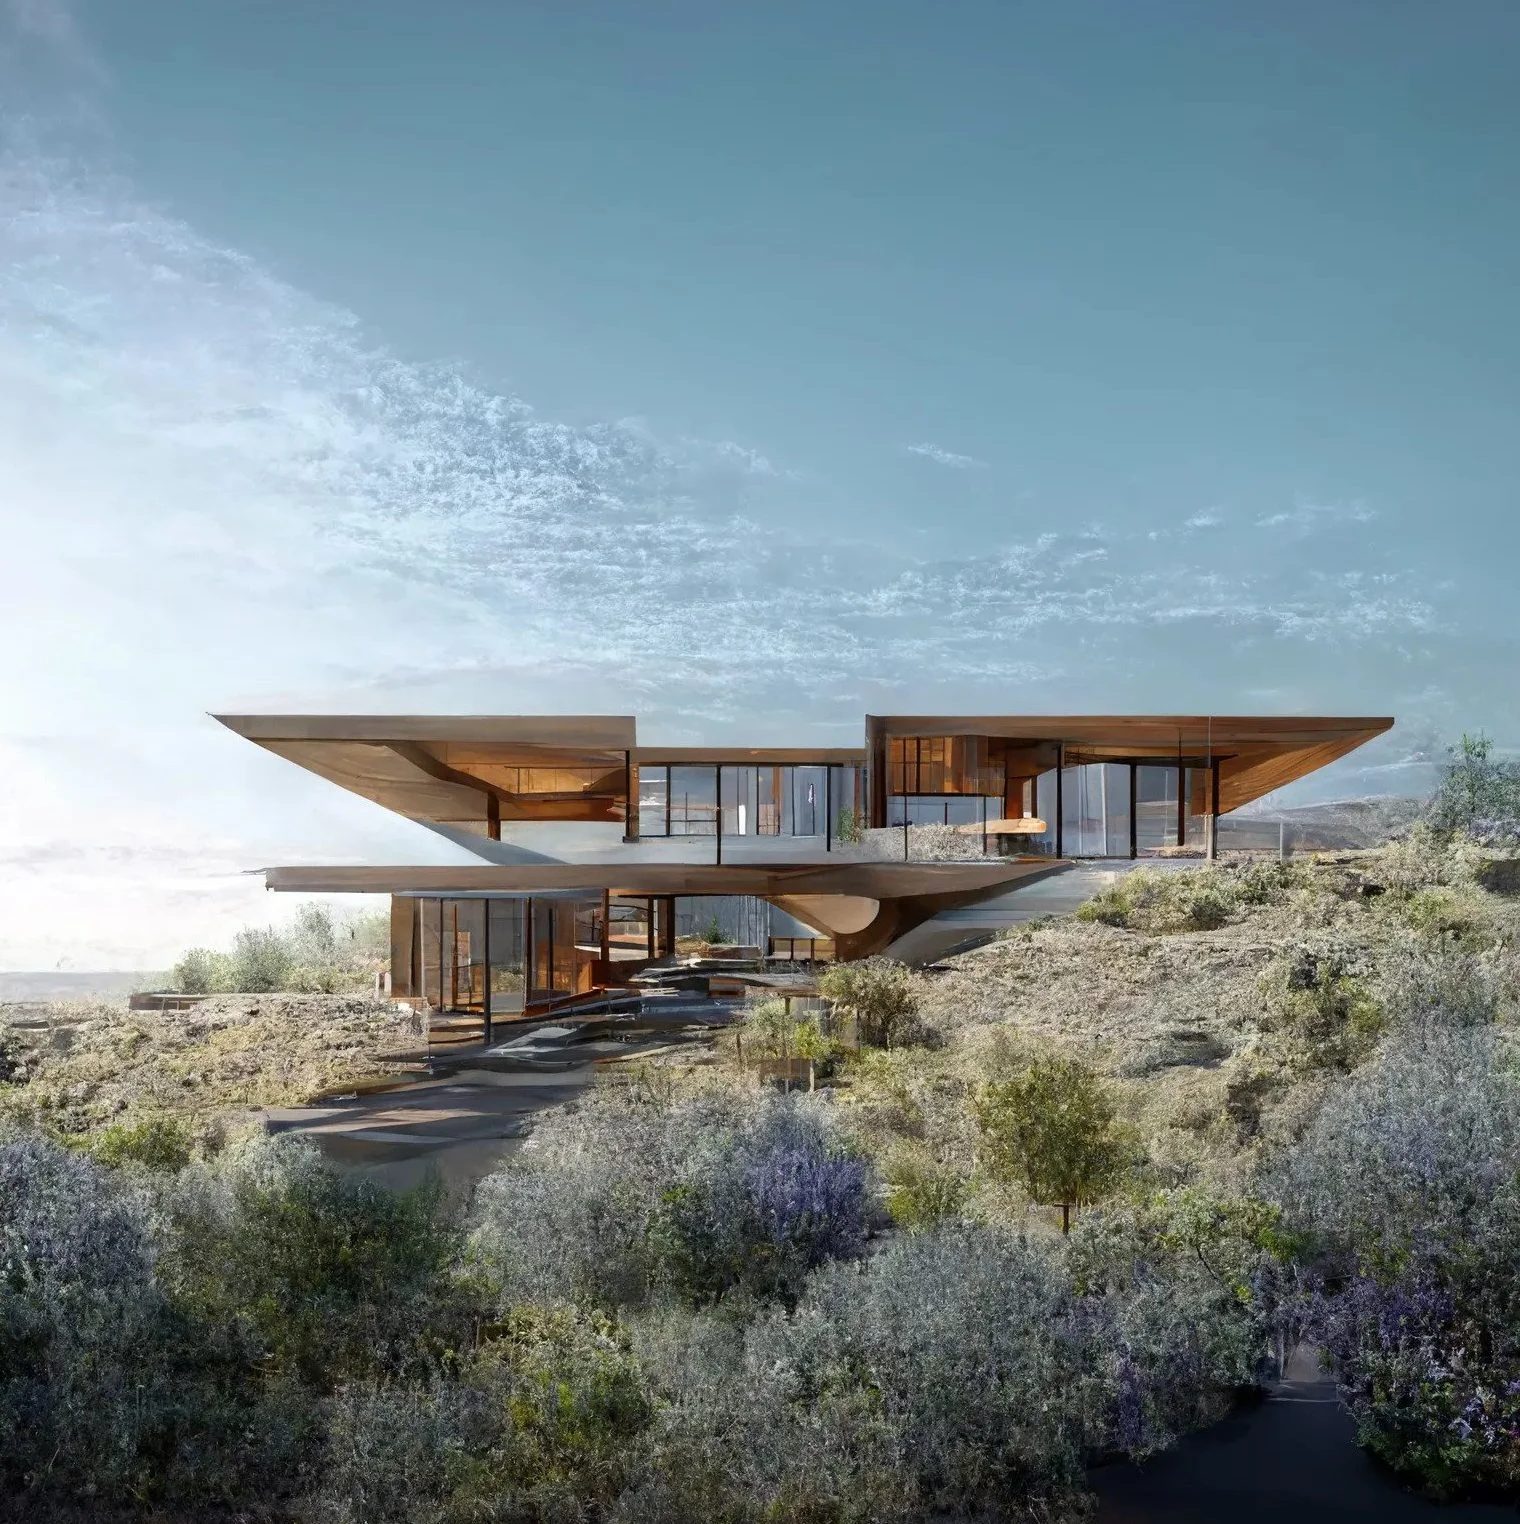
If there’s one stage that can make or break a rendering, it’s lighting. It’s probably the biggest single factor in whether the final image looks photorealistic or clearly computer-generated. When lighting works, the viewer’s brain accepts the scene as a real photograph. When it doesn’t, the whole image starts to fall apart, even if the model and textures are excellent.
For exterior renders, the main choices usually come down to time of day and weather. Midday sun creates sharp shadows and strong contrast. Golden hour brings warmth and drama, which is why it’s so popular for marketing visuals — it simply makes everything look more expensive. Overcast lighting is softer and more balanced, so it can be a better option when the goal is to show materials and details without heavy shadows getting in the way. HDRI environment maps, or High Dynamic Range Imaging, are often used to recreate realistic sky lighting and reflections at the same time, without having to place dozens of separate light sources.
Interior scenes add another level of complexity: artificial lighting. Every lamp, recessed downlight, and LED strip under a kitchen cabinet needs to behave like it would in real life, with the right color temperature, brightness, and falloff over distance. Then global illumination algorithms calculate how light bounces between surfaces, adding the soft indirect light that makes a room feel real rather than like a lit-up box.
Camera setup runs in parallel with lighting. The artist picks the viewpoints that best sell the design — angles that emphasize spatial flow, ceiling height, how natural light moves through a room, or whatever the standout feature is. The thinking is the same as in real estate photography: make the viewer feel like they’re standing in the space, not looking at a picture of it.
This is the computational stage. Everything built so far — the geometry, the materials, the lighting setup, the camera positions — gets fed into a render engine, and the software does the math. It calculates every ray of light, every material interaction, every reflection and refraction, and produces a final image. Or, more accurately, it starts producing one. This part takes time.
There are two main approaches. CPU rendering uses the processor and tends to handle complex lighting scenarios with high precision — engines like Corona work this way. GPU rendering leverages graphics cards and is significantly faster, which matters a lot when you’re working on animations or dealing with tight deadlines. Plenty of studios use both, switching between them depending on the project. Scene complexity and deadlines also drive the budget — you can see how each factor shapes 3D rendering prices in our cost breakdown. For more on rendering software and engines, see Chapter 2.
A single high-resolution architectural rendering can take anywhere from a few minutes to several hours to compute. It depends on scene complexity, output resolution, and how much detail went into the lighting and material setup. Alongside the main image, studios often generate render passes — separate layers for things like reflections, shadows, and ambient occlusion. These give the post-production team granular control in the next stage, which is worth the extra render time almost every time. For a more detailed look at how long it takes, see Chapter 10.
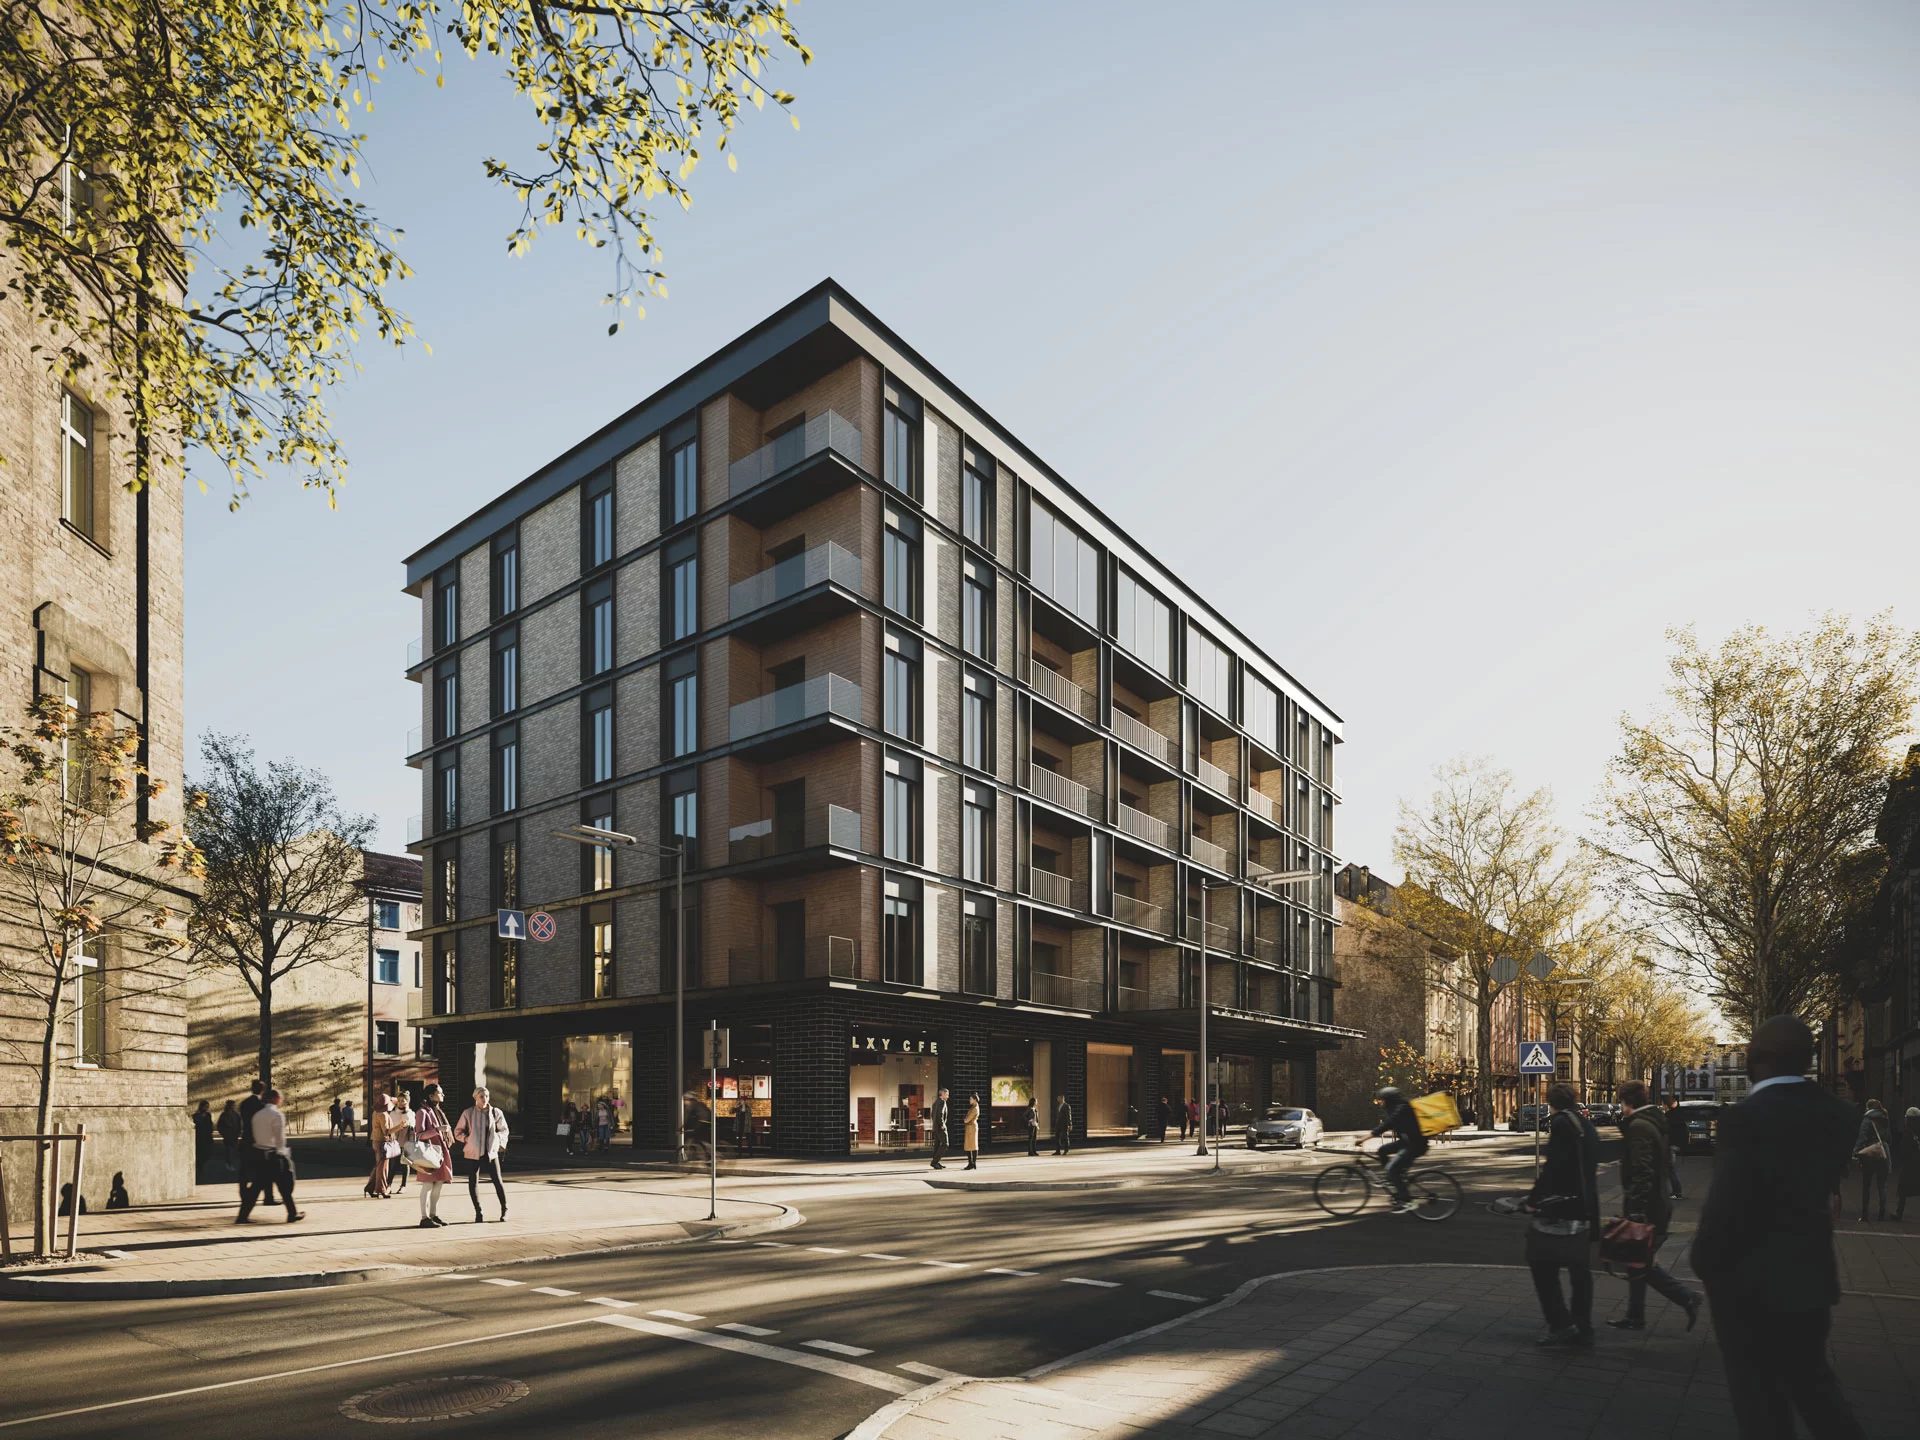
A raw render straight out of the engine is like an ungraded film scan. Technically complete, but not finished. Post-production is where the image goes from “accurate” to “compelling” — and even a technically flawless render benefits from it.
The work usually happens in Photoshop or a similar compositing tool. Artists tweak brightness, contrast, color balance. They might add atmospheric effects — some haze to push back the background, a touch of lens flare to sell the camera feel, or depth of field to draw the eye. These things would be computationally expensive to simulate inside the render engine, but they’re fast and easy to control in 2D, so it makes more sense to handle them here.
This is also where those render passes from the previous stage earn their keep. Because reflections, shadows, and lighting were all rendered as separate layers, the artist can adjust each one independently. Darken the shadows without blowing out the highlights. Boost reflections on a glass facade without affecting the stone wall next to it. That level of control is what separates a good final image from a great one.
On projects that combine CGI with photography (more on that in the next section), post-production is where compositing happens, blending the 3D building into a photographic backplate until the boundary between real and rendered disappears entirely. Once that’s done, the final deliverables go out: polished, high-resolution architectural CGI ready for marketing or client presentations. This applies whether you’re producing visuals for an architecture firm or creating 3D rendering for real estate developers. For how feedback and revisions work after delivery, see Chapter 5.
The five stages above describe how a rendering gets made. But the approach can look pretty different depending on what goes into the scene. Not every project is pure 3D geometry from sky to sidewalk. Some combine CGI with real-world photography or drone footage, and the results can be strikingly convincing, sometimes more so than full CGI. Here’s how the main techniques break down.
The stages themselves also play out a bit differently depending on the deliverable type. If you want to see how the pipeline works for specific formats, check out our breakdowns of the exterior rendering workflow, the interior rendering pipeline, virtual tour creation, and the architectural walkthrough pipeline. For a deep dive into interactive product creation, take a look at the 3D modeling project we did for QiSpace.
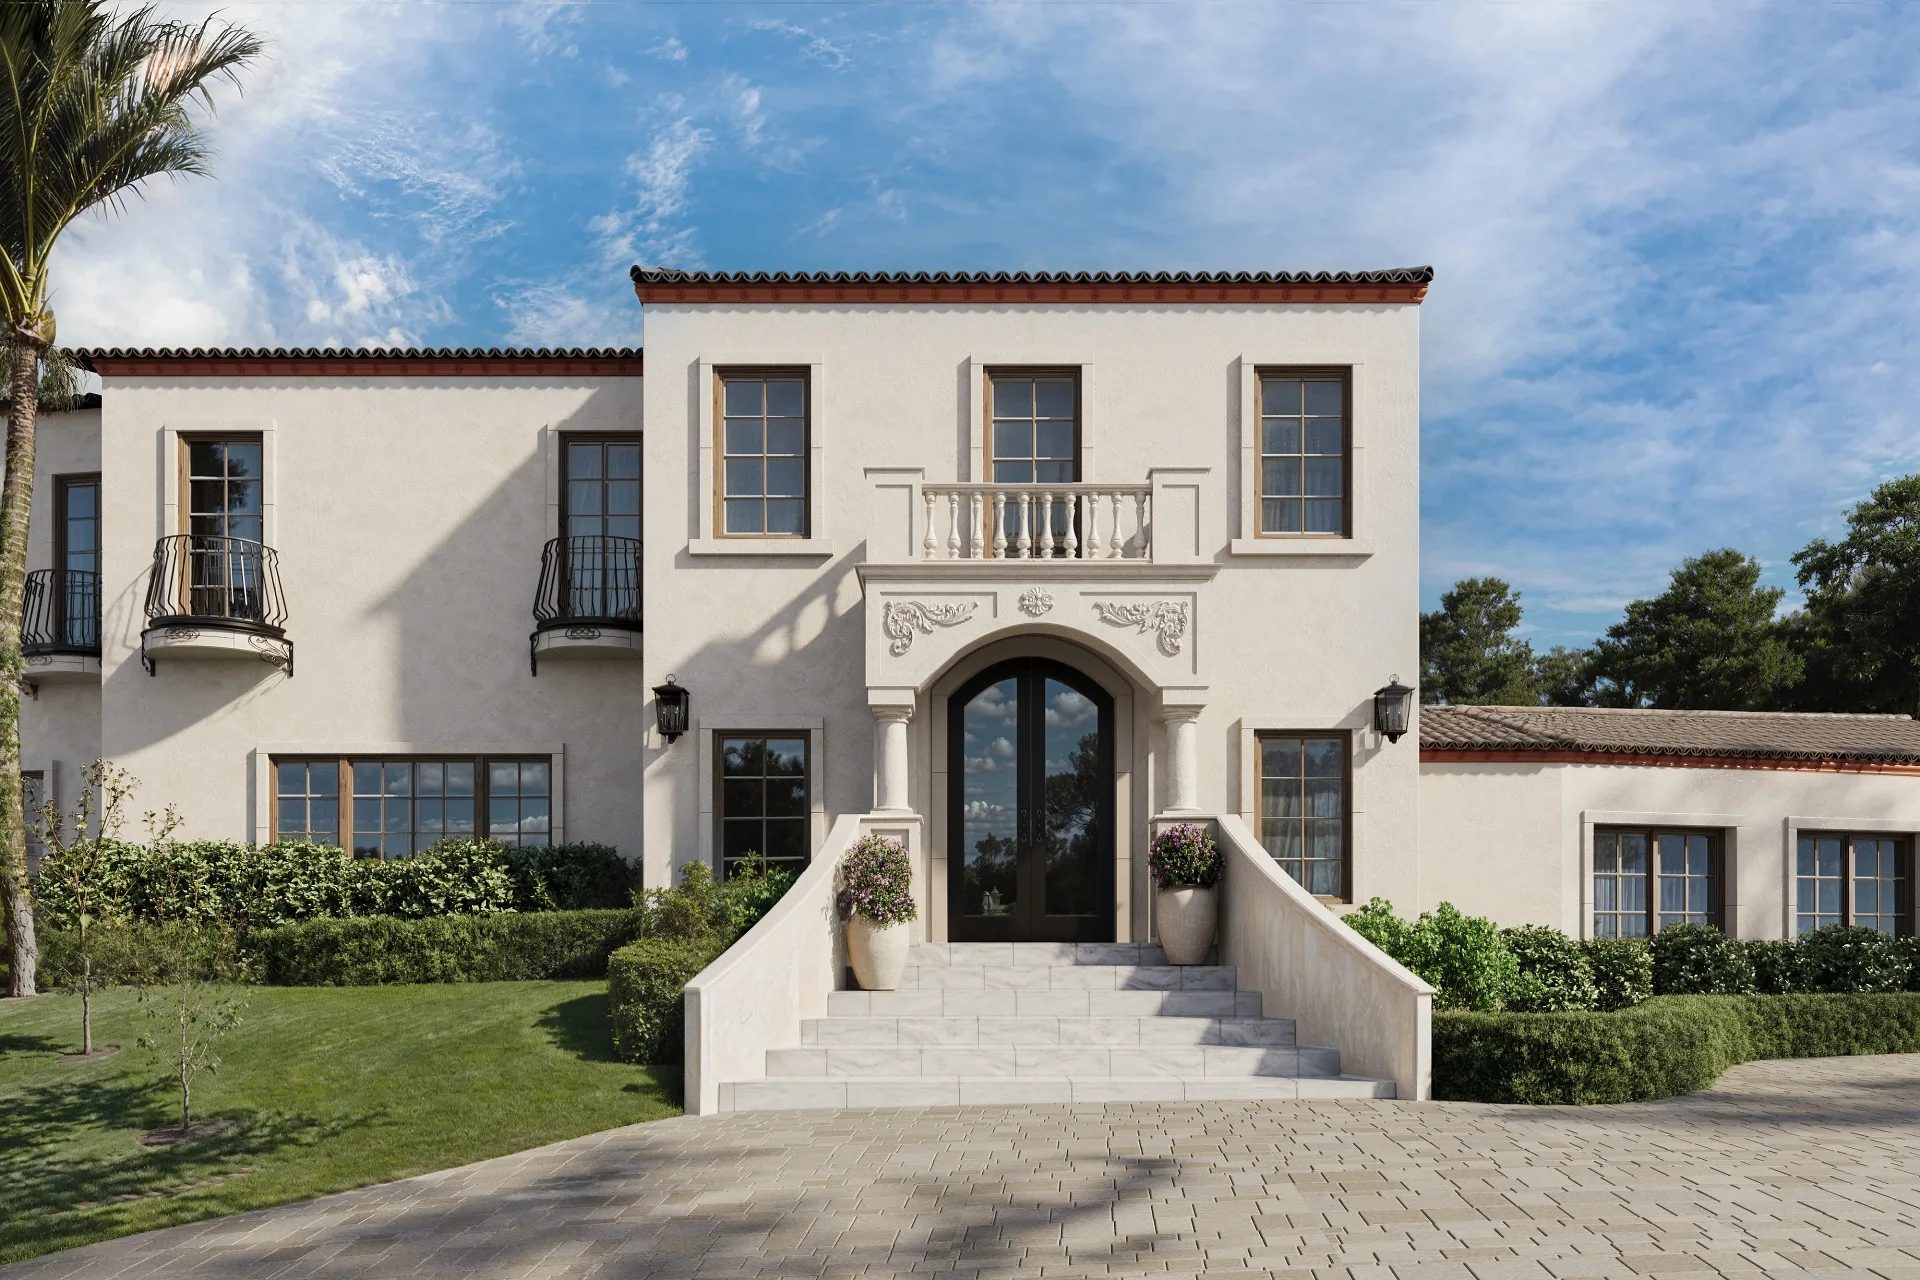
In a full CGI rendering, every element in the scene is built digitally. The building, the landscaping, the sky, the cars on the street, the people on the sidewalk. All of it. This is the most common approach, and it’s what the five-stage process above describes in its purest form. A 3D exterior rendering company has complete control over everything: time of day, season, weather conditions, camera angle, styling. Nothing is constrained by what exists in the real world.
Full CGI makes the most sense when the site doesn’t exist yet, when the surroundings are still under construction, or when the client wants total creative flexibility — the ability to change a facade material or swap out the landscaping without reshooting anything.
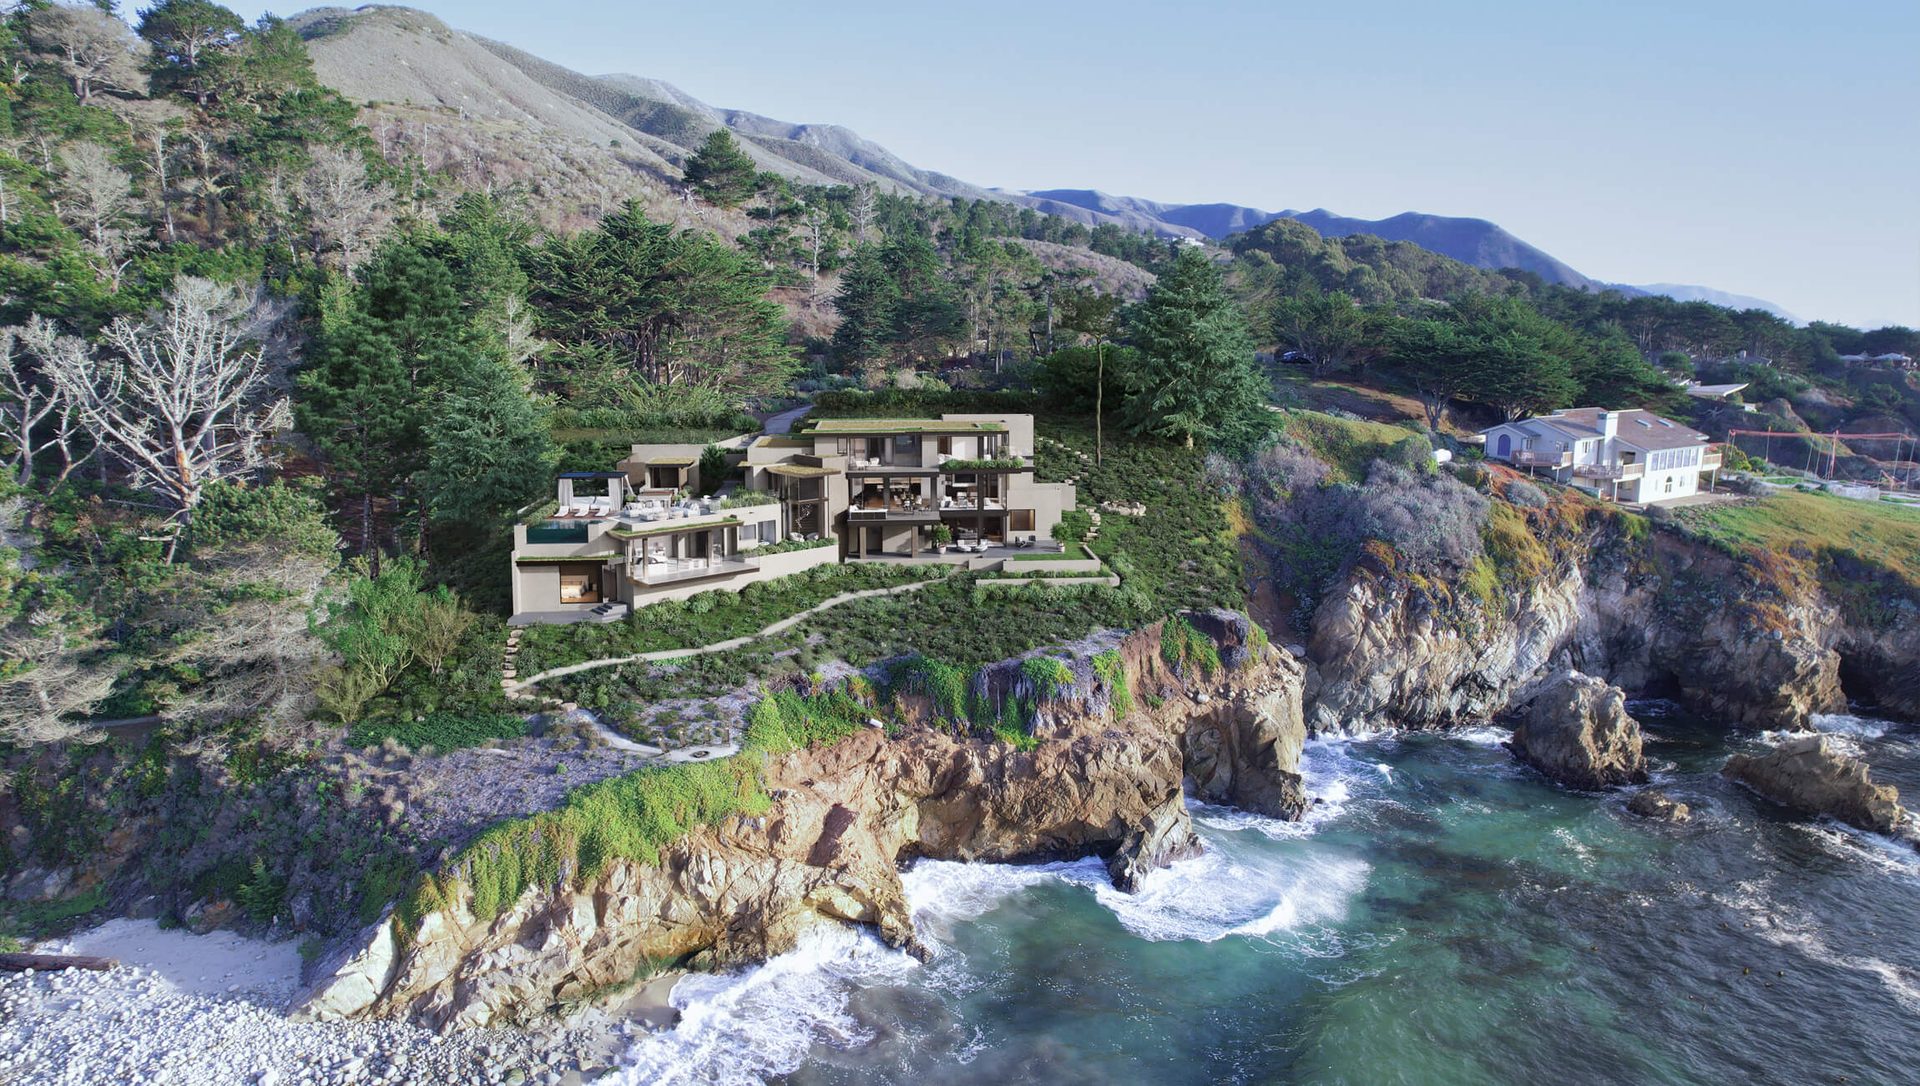
Here’s where things get interesting. Instead of modeling the entire environment from scratch, the studio takes photos of the real location — the actual street, the actual skyline, the actual neighboring buildings — and composites a 3D model of the new building into that photographic scene. The technique is called photo matching, and when it’s done well, the result has a specific kind of persuasiveness that full CGI can’t always match.
The camera angle in the 3D software gets matched to the perspective of the original photograph. Lighting and shadows are aligned. The rendered building slots into the scene as if it were already standing there. For listings and investor presentations, this kind of real-world context can be more convincing than even the most polished fully digital render — because the viewer recognizes the street, the park, the skyline. They’re not imagining the location. They’re seeing it.
The ratio of photo to CGI shifts depending on the project. Sometimes a backplate photo needs tweaks — adding vegetation, adjusting the lighting, correcting the color balance so it matches the rendered building. You can see that kind of hybrid work in the case study about 3D rendering for a Scandinavian church, where subtle edits to the photographic environment were essential to making the final image work.
The same principle applies to video. For architectural flythroughs and animations, a 3D architectural animation company can take drone footage of the real site (streets, terrain, surrounding buildings) and then track the CGI model of the new building into that footage, frame by frame. The viewer sees the actual neighborhood from above, with the proposed development integrated into the landscape as if construction were already finished.
This technique tends to work especially well for large-scale projects where site context matters: waterfront developments, urban infill, campus expansions. The surrounding environment tells a big part of the story, and real drone footage tells it more convincingly than a digital stand-in. You can see how this comes together in the case study about 3D animation for an office building in Pittsburgh, where drone footage and architectural animation were combined to show the project in its actual urban setting.
Over the last couple of years, AI has gone from a buzzword to a practical tool inside the rendering pipeline. It hasn’t replaced the process described above — not by a long shot — but it has started to speed up specific parts of it in ways that actually matter.
The biggest visible change is at the concept stage. AI-powered rendering can take a sketch, a floor plan, or even a text description and generate a realistic-looking image in seconds. Not render-quality. Not something you’d put in front of investors. But good enough to test a design direction, try out a material palette, or show a client three different moods before anyone commits to a full production render. That kind of rapid exploration used to require days of work. Now it’s measured in minutes.
Inside the production pipeline, AI handles some of the heavy computational lifting that doesn’t require creative judgment. Denoising algorithms can clean up a render mid-calculation, cutting render times dramatically without a visible drop in quality. AI upscaling takes a lower-resolution image and sharpens it into something usable at full size, for a fraction of the processing cost. Some tools now suggest lighting setups or material combinations, giving artists a starting point to refine instead of building everything from zero.
But there’s an important line between AI-generated concepts and production-grade architectural renderings. The concepts are fast, they’re useful for ideation, and they keep getting better. What they can’t do — not yet — is deliver the precision, the consistency, and the controllability that professional CGI provides. Exact material specs matched to the client’s samples. Accurate dimensions you can trust. Lighting physics that hold up under scrutiny. Pixel-level control over every element in the scene. For anything client-facing — marketing materials, planning submissions, buyer-facing presentations — the full rendering process is still where the quality lives.
At ArchiCGI, AI works as one more tool inside an established production workflow. It speeds things up where speed adds value. The creative decisions and the technical precision stay with the team. For a closer look at the specific AI tools reshaping the software landscape, see Chapter 2.
That’s the full arc — from a set of CAD files to a finished, polished image ready for print or screen. Five stages (modeling, texturing, lighting, rendering, post-production), each one building on what came before. The techniques and tools keep evolving, and AI is starting to reshape parts of the workflow. But the core logic hasn’t changed: take a design that only exists on paper and turn it into something a viewer can believe in.
Now that you know how a rendering is made, the next question is what kind of rendering you actually need. Chapter 7 covers the types of architectural rendering — still images, animations, virtual tours, interactive formats — and when each one makes sense for your project.
Frequently Asked Questions
How long does the architectural rendering process take?
For a single still image, expect roughly 2 to 5 business days once the brief is approved. Animations and large multi-image packages take longer, sometimes several weeks. The biggest variable is usually feedback speed on the client side. We cover the full timeline picture in Chapter 10: The Timeframe of a CGI Project.
What is the difference between 3D modeling and rendering?
They're two separate stages. 3D modeling is building the digital geometry of a structure: walls, floors, windows, roof, all to exact dimensions. Rendering comes later. That's when the software calculates how light interacts with the model's materials and produces a photorealistic image from a chosen camera angle. One creates the object, the other creates the picture.
What is photo matching in architectural rendering?
Instead of building the entire scene digitally, the studio takes photos of the real location and composites a 3D model of the building into them. Camera perspective, lighting, and shadows all get matched to the original photograph. The result looks like the building is already standing on site, which tends to be very persuasive for listings and investor materials.
Does AI replace traditional architectural rendering?
Not at this point. AI tools are useful for quick concept visuals and can speed up parts of the production pipeline (denoising, upscaling), but they can't match the precision, material accuracy, or scene-level control you get from a professional CGI studio. Most firms treat AI as one tool in the workflow, not a replacement for it.
What files do you need to start a rendering project?
Architectural drawings or CAD files are the starting point. Material specifications help a lot, and so do any references you can share: site photos, mood boards, sketches, brand guidelines. The more context the studio has upfront, the fewer rounds of revision you'll need later. Chapter 12 has a full checklist.